Starting the teardown

 12-17-2014, 04:52 PM
#82
Safety Car

Thread Starter
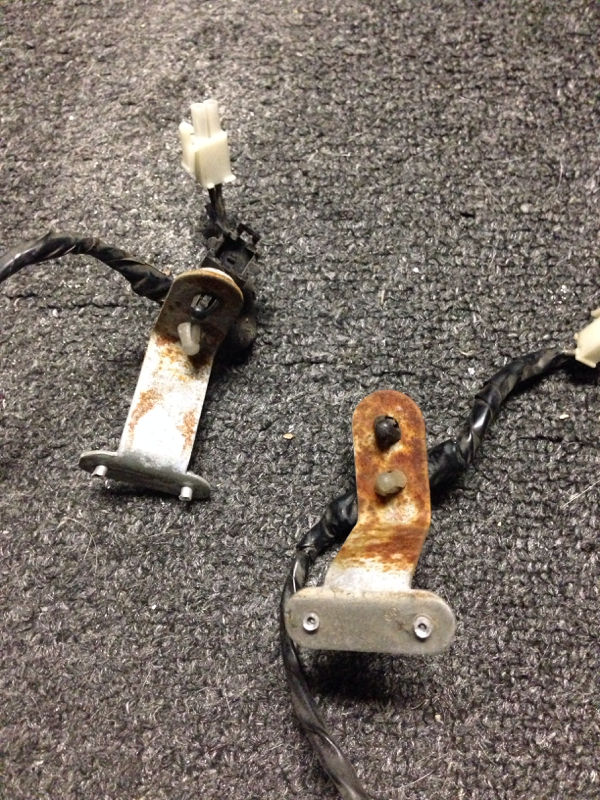
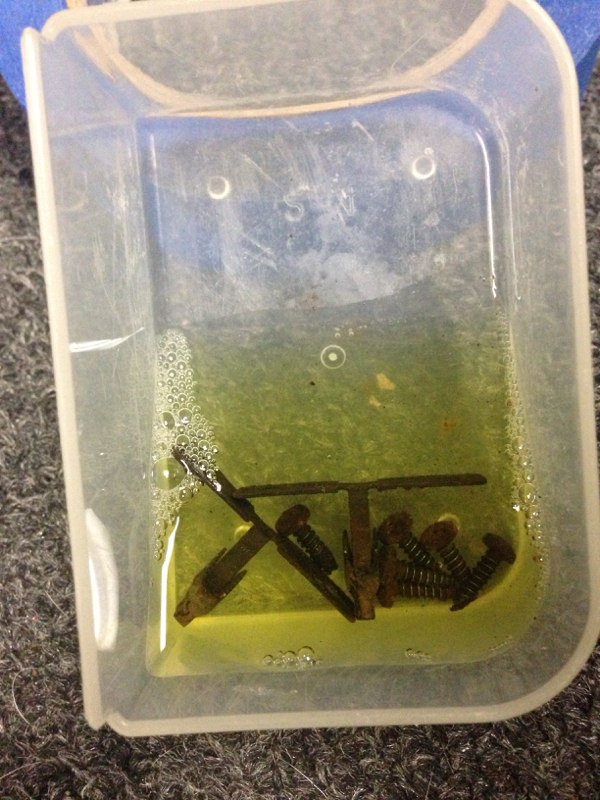
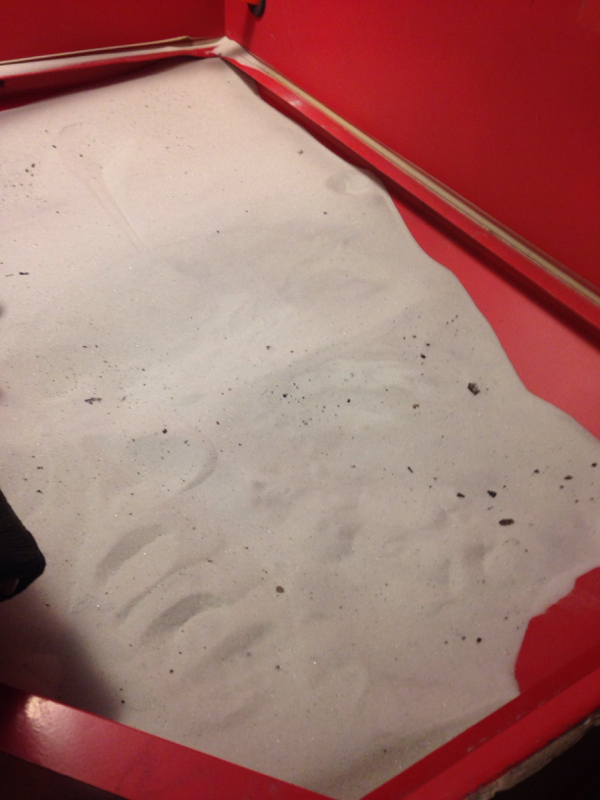
Going to hunker down and get my body moldings cleaned up. I have 2 sets to go through and sort out the best pieces. The moldings I took off have overspray from the last paint job so that will have to be cleaned up. All of the molding mounting tabs and screws are rusty.
Going to give this stuff a try. Anyone have experience with it?
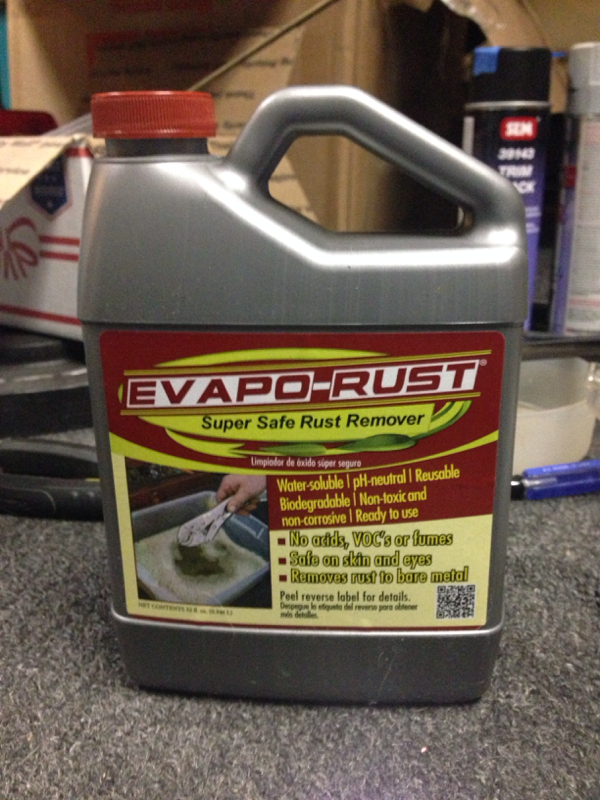
Got a little test batch going. Im hoping this works out because I really dont want to sandblast all of it!
Going to give this stuff a try. Anyone have experience with it?
Got a little test batch going. Im hoping this works out because I really dont want to sandblast all of it!
12-17-2014, 05:46 PM
#83
Burning Brakes


Rock on!
 12-17-2014, 05:54 PM
#85
Safety Car
Thread Starter
Thank you for the response, it's encouraging. I am planning to do one big batch if it works well on the test parts. Did you do any prep before using it?
12-17-2014, 09:12 PM
#87

Can't tell you how impressed I am with your attention to detail. This is how it's supposed to be done. The pictures are great and give a realistic feel to what's involved in a restoration. Please keep the posts coming! We all look forward to seeing your progress!
12-17-2014, 09:38 PM
#88
Safety Car
Thread Starter
Thanks a lot! I really appreciate that. I will keep the pics coming and try to document the project the best I can. With all the projects on my car I have always tried to bring everything back to "like new" condition. Putting a rusty nut or bolt back onto a new or freshly cleaned/painted part makes me cringe, lol. I am just picky like that. Hopefully we all can learn a little something in the process. I have learned a lot from the great folks here on the forum and to help someone else is what the forum is all about.
12-18-2014, 04:08 PM
#89
Safety Car
Thread Starter
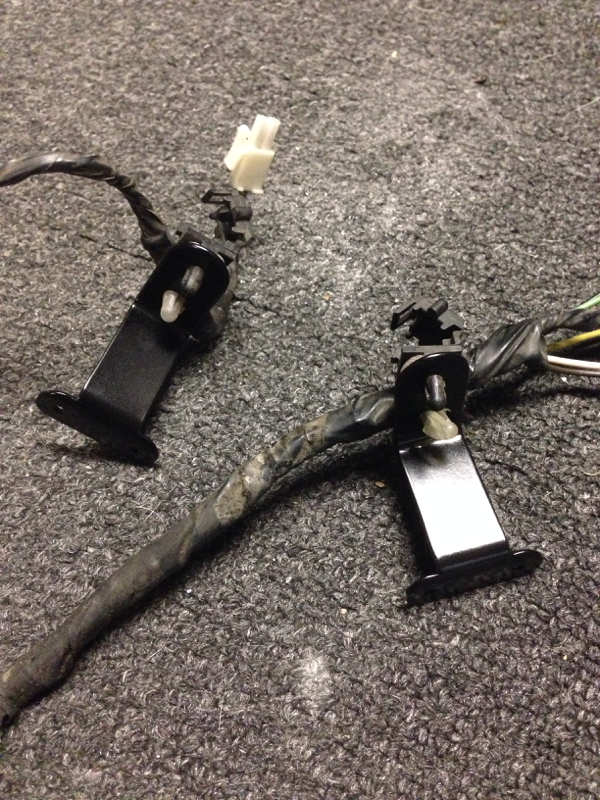
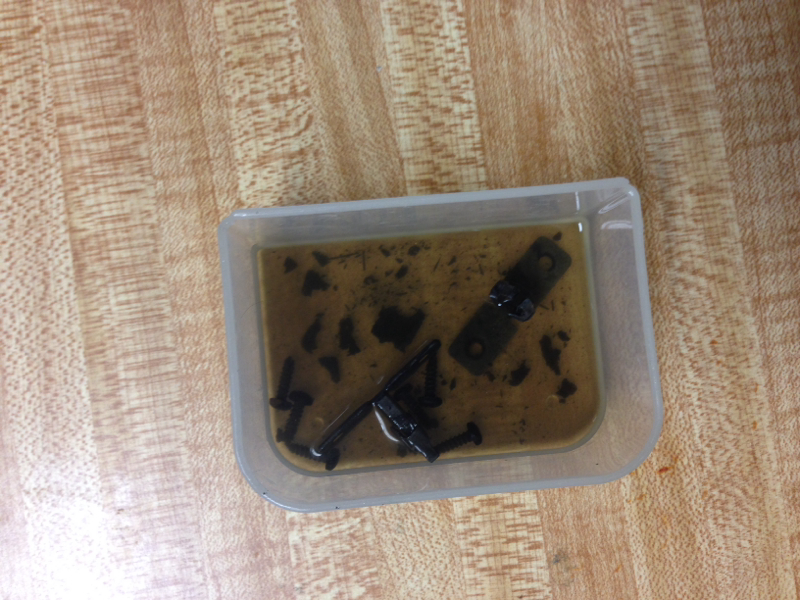
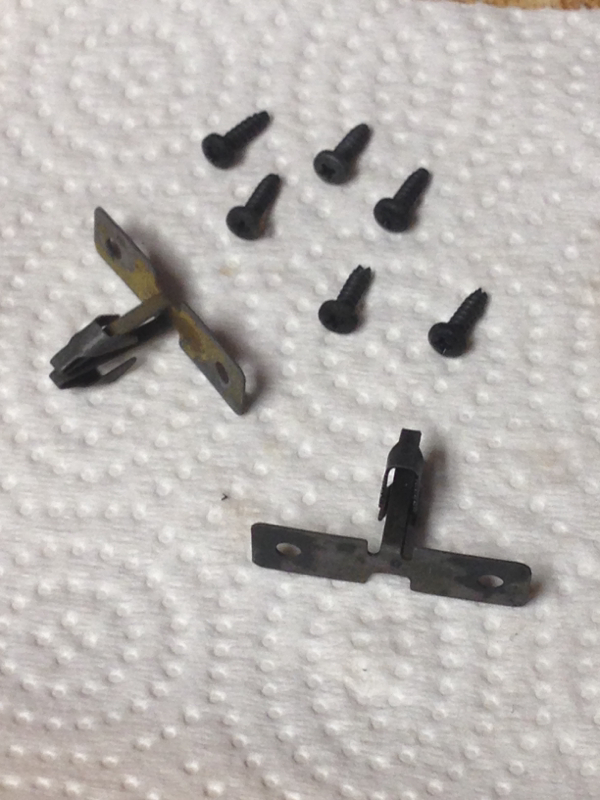
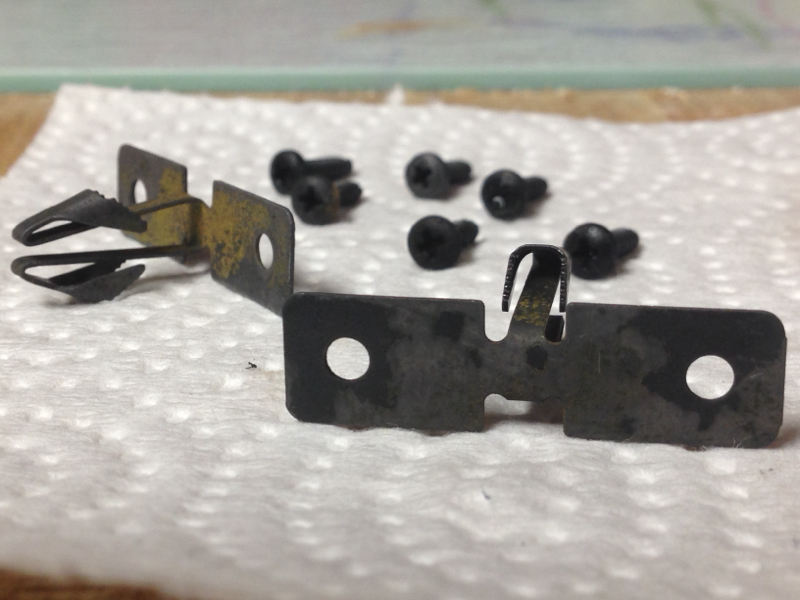
This is what the fasteners and screws look like after a day. Pretty good overall. Going to soak for another day with fresh solution and see if they will clean up even better. Feeling optimistic about it!
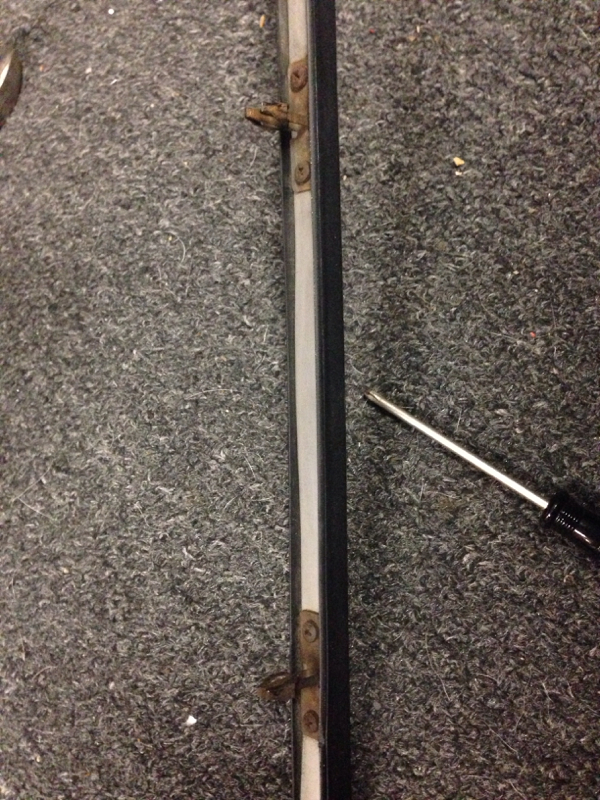
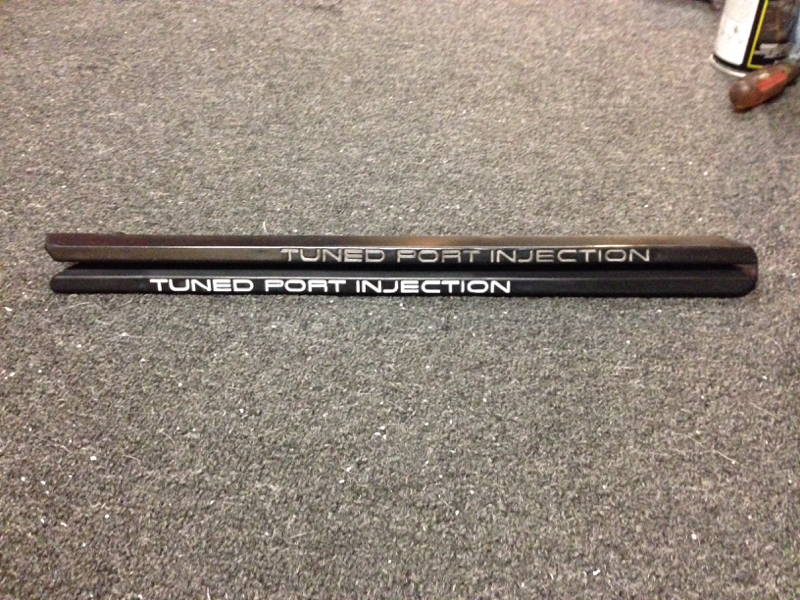
Rubbing the moldings with lacquer thinner works well but some spots are more stubborn than others and require a lot more scrubbing. Worked on the smaller pieces for a few hours lastnight and got them done. Now onto the bigger pieces.

Rubbing the moldings with lacquer thinner works well but some spots are more stubborn than others and require a lot more scrubbing. Worked on the smaller pieces for a few hours lastnight and got them done. Now onto the bigger pieces.
12-18-2014, 07:21 PM
#91
Safety Car
Thread Starter
Thanks! Needed a break from scrubbing the moldings so I started working on another project I have for the car. I am upgrading my window regulators to the late C4 ones. I am also installing the late C4 window guides. I'm good to go with the bolt holes for the regulators but have to modify my doors for the guides. Old and newer styles 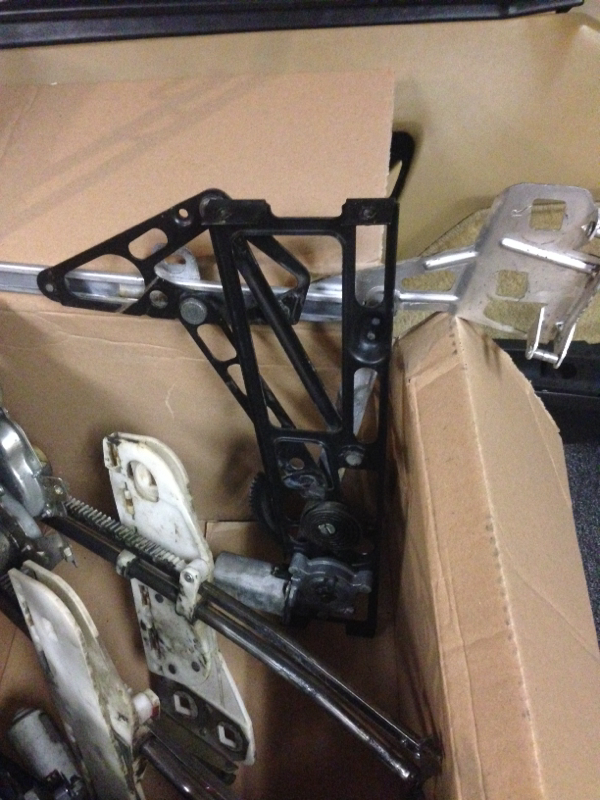 The square slot is where the guide bolts to. It needs to be cut out like the rest of the slots in the door.
 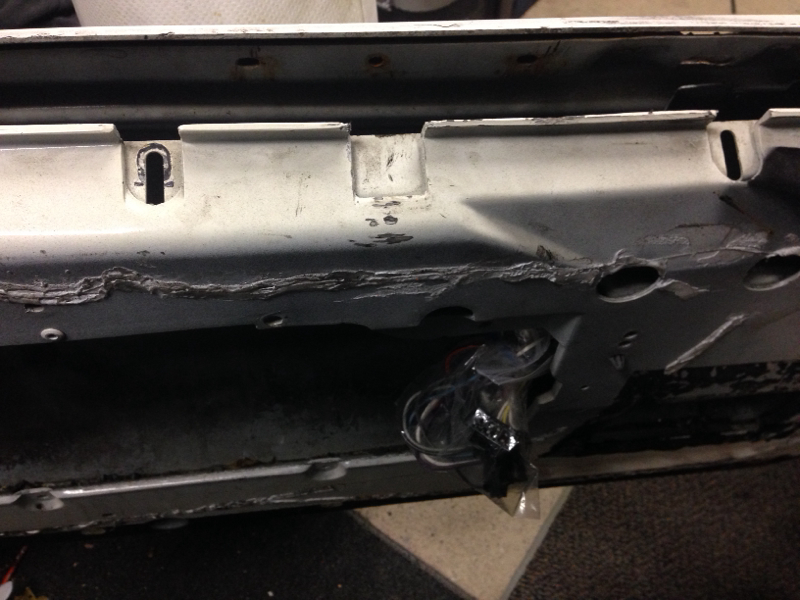 I used a punch and dimpled where the ends of the slot would be, then drilled the holes.
 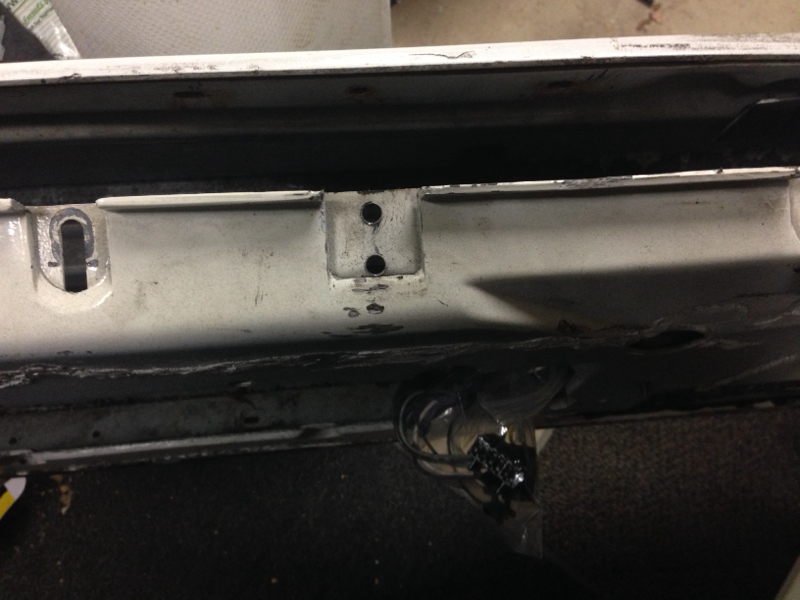 Next with a dremmel and cut off wheel I cut out the middle. Deburred the hole and cleaned and primed it.
 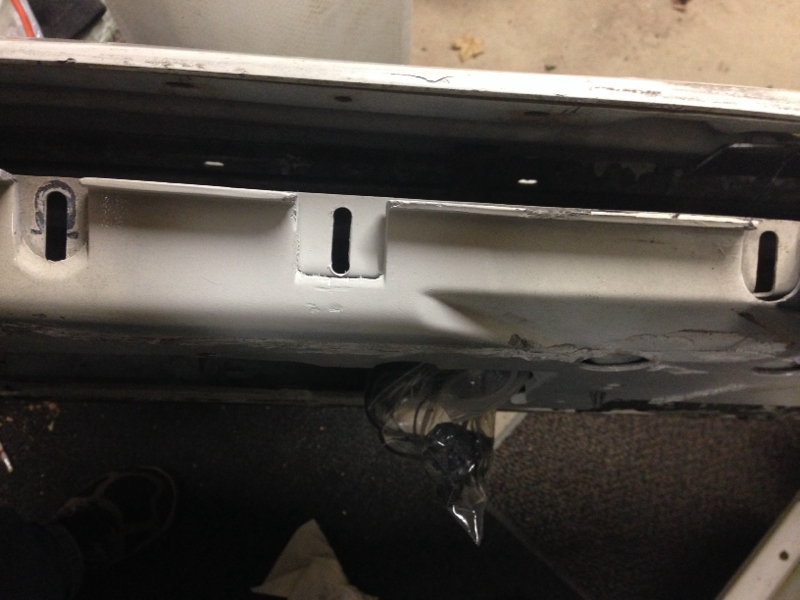 Next will be drilling holes on the bottom of the doors once I measure them out.
The square slot is where the guide bolts to. It needs to be cut out like the rest of the slots in the door. I used a punch and dimpled where the ends of the slot would be, then drilled the holes. Next with a dremmel and cut off wheel I cut out the middle. Deburred the hole and cleaned and primed it. Next will be drilling holes on the bottom of the doors once I measure them out.
12-21-2014, 02:47 PM
#92
Safety Car
Thread Starter
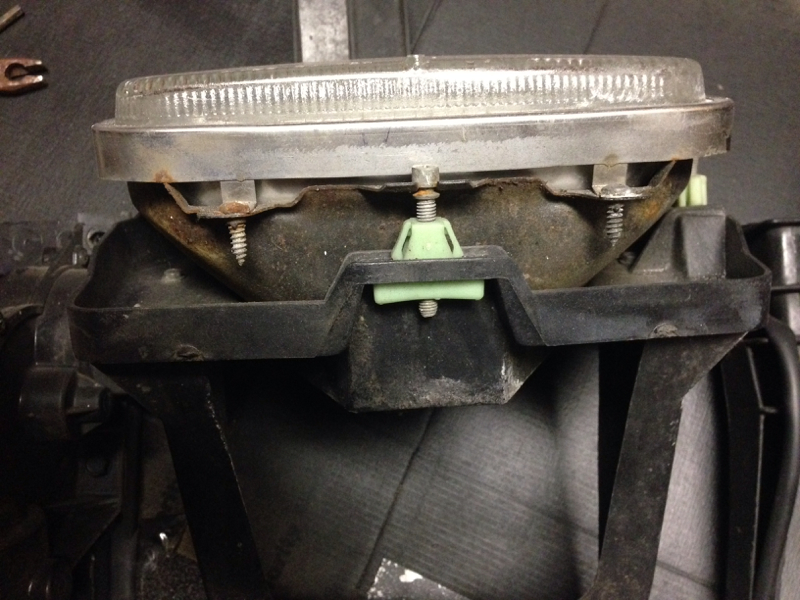
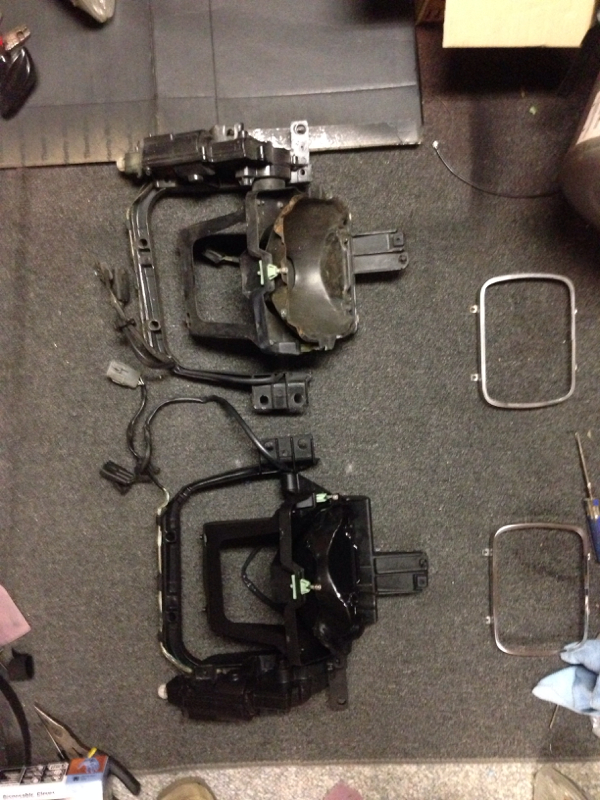
Time to get these headlight assemblies cleaned up. The trim ring screws and headlight buckets are starting to rust after 28 years of being in the northeast. And the motors and mounting brackets need a good cleaning or paint.
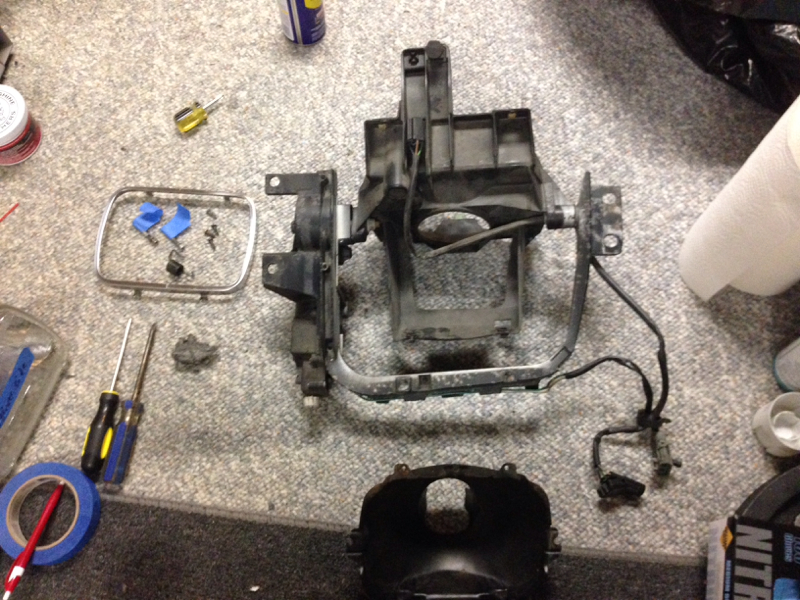
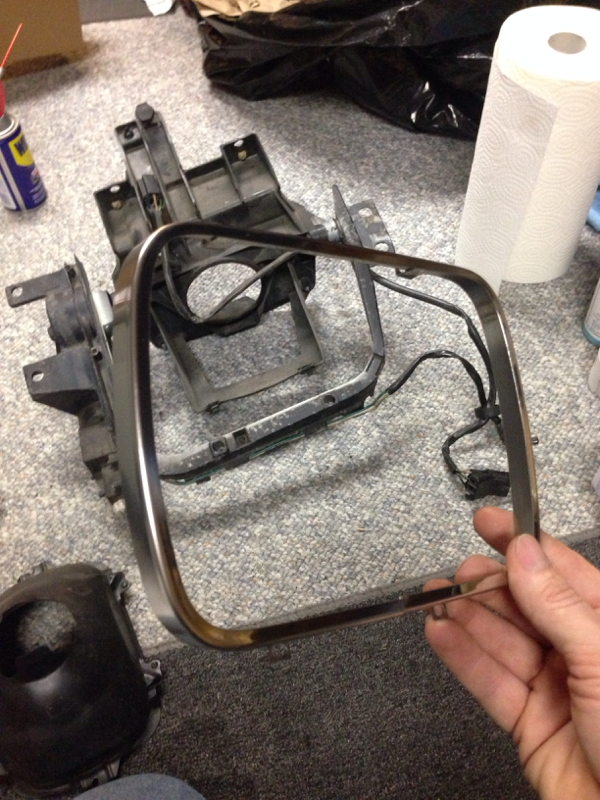
The trim rings cleaned up nice with some 0000 steel wool and mothers polish.
Started blasting the buckets and my gun kept getting clogged. I know why... been putting this off and cant anymore. Time to clean my media. Ugg.
The trim rings cleaned up nice with some 0000 steel wool and mothers polish.
Started blasting the buckets and my gun kept getting clogged. I know why... been putting this off and cant anymore. Time to clean my media. Ugg.
12-21-2014, 11:18 PM
#93
Safety Car
Thread Starter
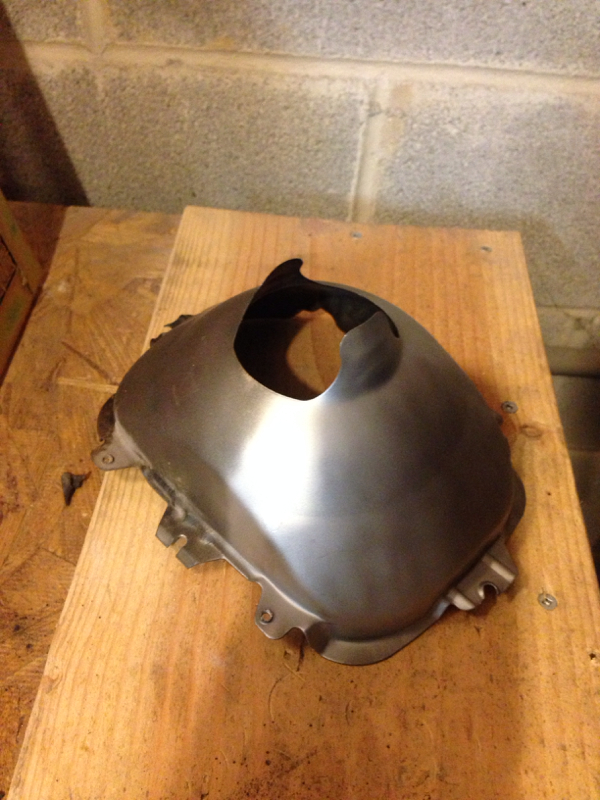
Cleaned the mounting bracket with soapy water and a scotchbrite pad hoping to get the overspray off but no luck. Went to plan B. SEM soap wash/scrub, plastic adhesion promoter and SEM trim black. Prepped and powder coated the headlight bucket. Much better.
Easy bake headlight bucket!
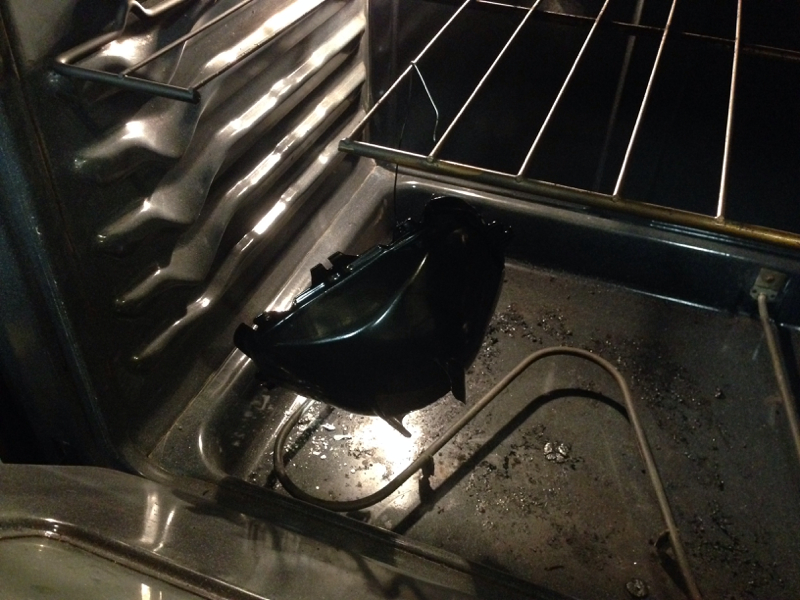
Mocked up
The screws and spring are soaking in evaporust and will go back on tomorrow. And then on to the passenger side.
Easy bake headlight bucket!
Mocked up
The screws and spring are soaking in evaporust and will go back on tomorrow. And then on to the passenger side.
01-06-2015, 11:40 PM
#94
Safety Car
Thread Starter
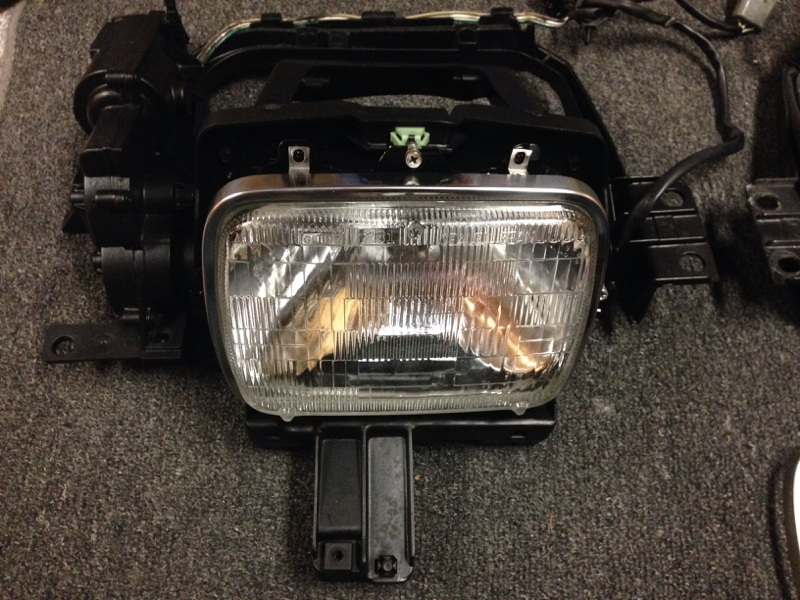
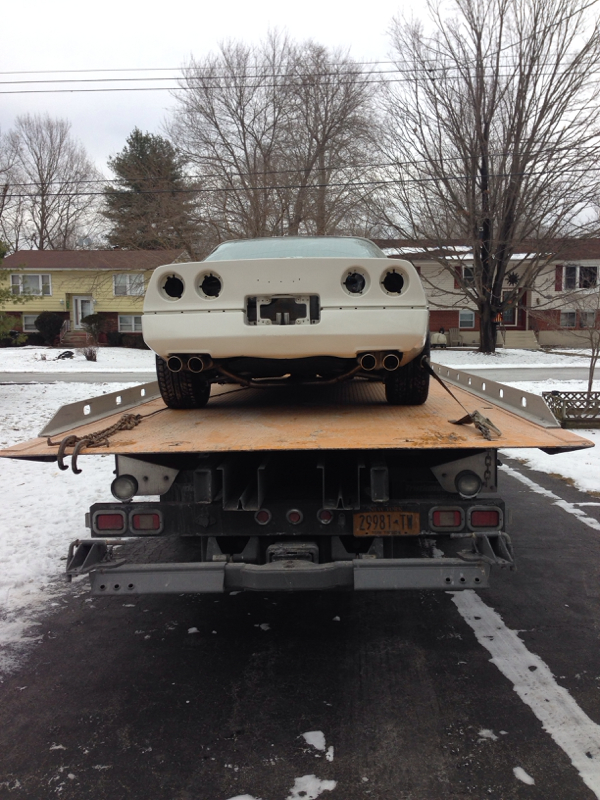
Headlight assemblies are done and put away. 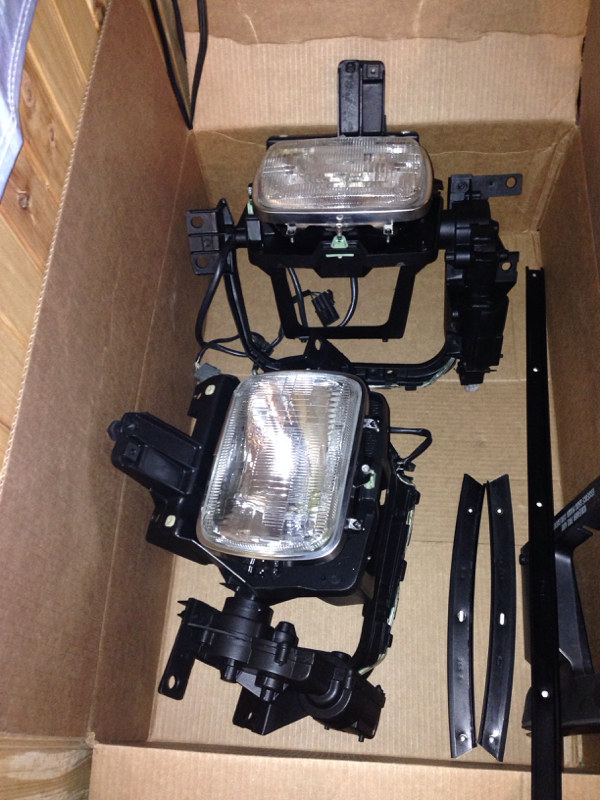 All bolt on pieces cleaned and degreased as well as the body and bumpers.
  Supposedly the flatbed is coming on Friday to pick her up and bring her to the paint shop.
All bolt on pieces cleaned and degreased as well as the body and bumpers. Supposedly the flatbed is coming on Friday to pick her up and bring her to the paint shop.
01-11-2015, 02:21 AM
#95
Safety Car
Thread Starter
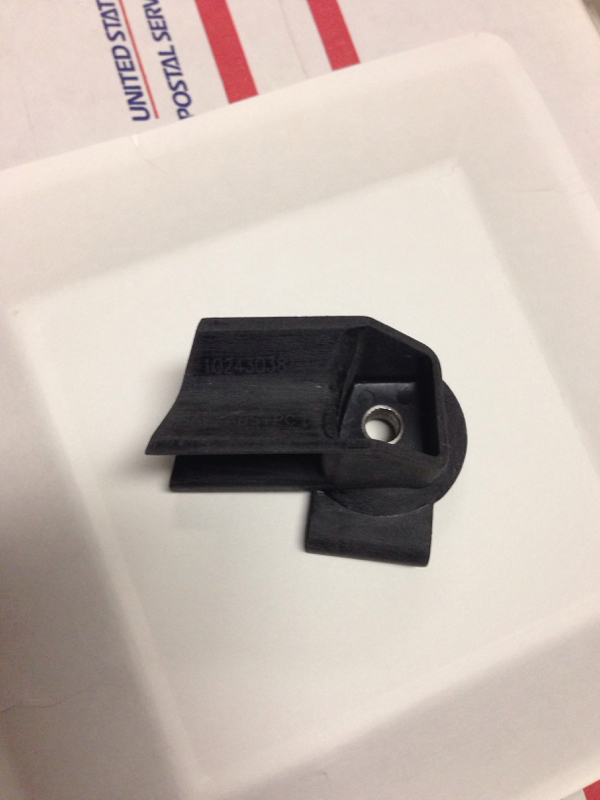
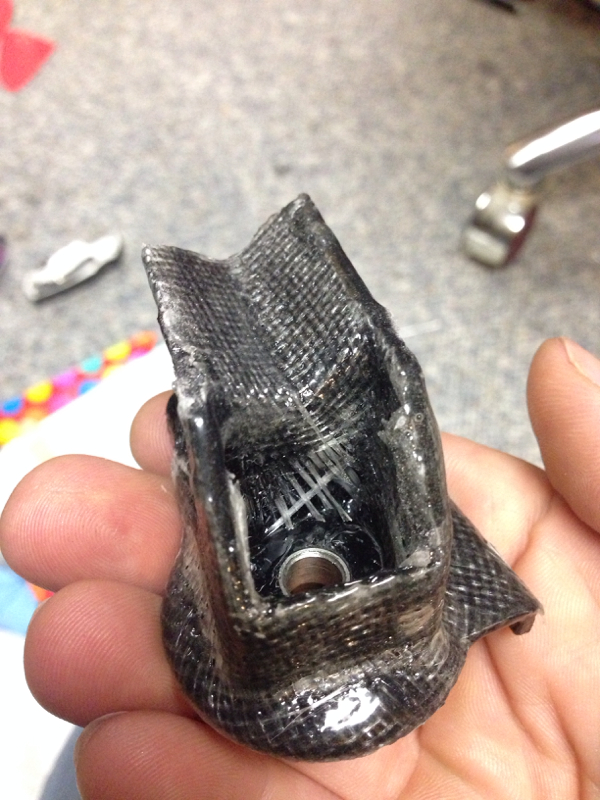
Like I mentioned previously I am upgrading to late C4 window regulators and window guides. While a vast improvement from the early C4 design it is not without its own problems. In particular, the guide is plastic and can break. What happens then is the window pushes into your B pillar and can cause damage or even worse your glass breaks! No thanks! So I decided to add strength to the guides with plastic epoxy and fiberglass matt.
First I sanded with 150 grit in a criss cross pattern. Then washed with soap and water. Dried it off and wiped it with isopropyl alcohol
Next I cut two squares for the outside "arms" and mixed and applied the epoxy. Then laid in the matt working it in all corners and ensuring it was fully saturated. Wear gloves!
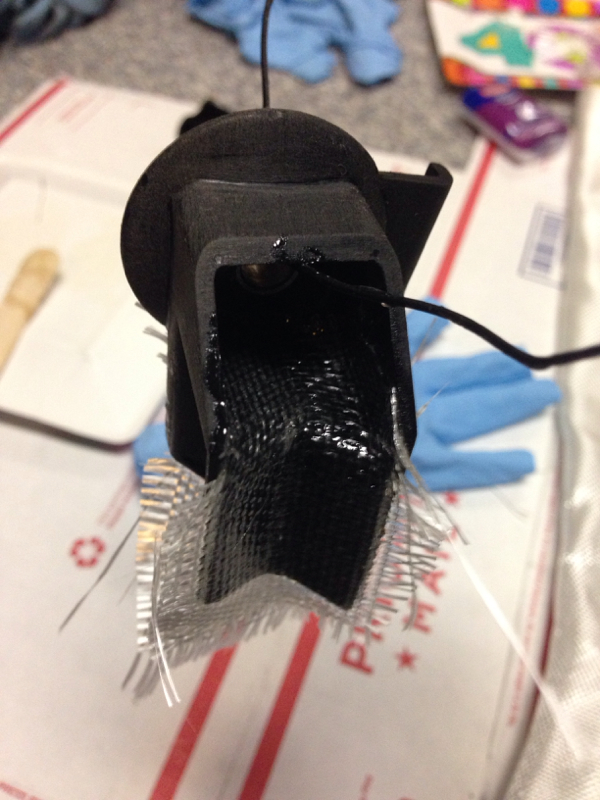
Then after an hour or so I trimmed the edges with a razor blade. Next I cut a piece of matt to wrap around the outside of it and applied it the same as before.
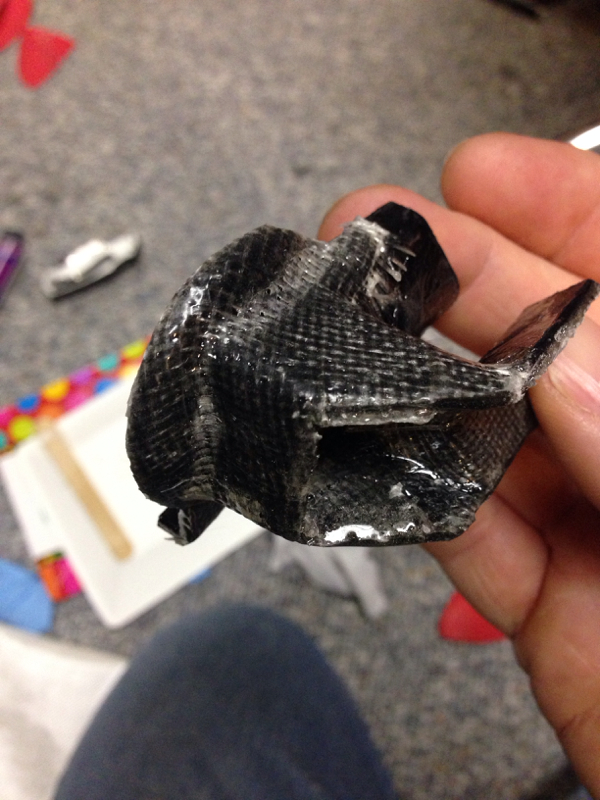
After fully curing I cleaned up the edges with a razor blade and some light sanding then added the velcro.
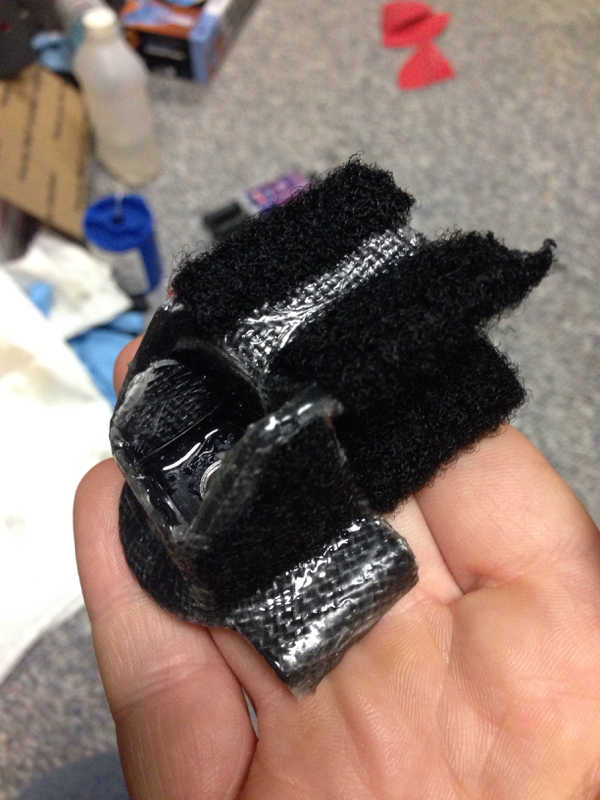
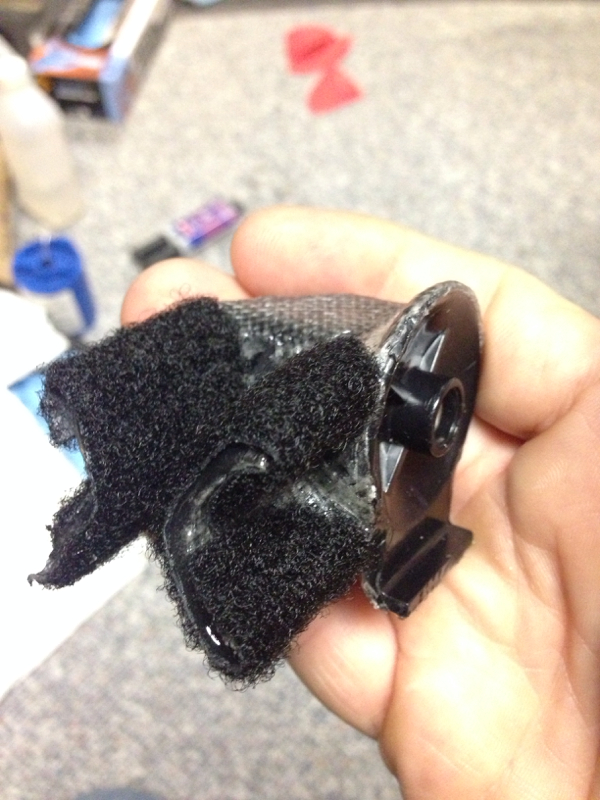
Wether it will still break who knows? I know it is a much stronger piece now though. And I will feel better with that in my door than the stock piece.
First I sanded with 150 grit in a criss cross pattern. Then washed with soap and water. Dried it off and wiped it with isopropyl alcohol
Next I cut two squares for the outside "arms" and mixed and applied the epoxy. Then laid in the matt working it in all corners and ensuring it was fully saturated. Wear gloves!
Then after an hour or so I trimmed the edges with a razor blade. Next I cut a piece of matt to wrap around the outside of it and applied it the same as before.
After fully curing I cleaned up the edges with a razor blade and some light sanding then added the velcro.
Wether it will still break who knows? I know it is a much stronger piece now though. And I will feel better with that in my door than the stock piece.
 01-11-2015, 02:56 AM
#97
I'm new here so I just read the whole thread. Looks like you are certainly going about it right and not taking any short cuts. Cant wait to see the results!! Planning any upgrades or just keeping her stock?
01-11-2015, 03:14 AM
#98
Safety Car
Thread Starter
Thanks and welcome to the forum! I have a 3.07 rear end in the garage and will put that in after it's back from paint. Currently has the 2.59. Last summer I put a borla catback on. Maybe some headers in the future and move up to 17" wheels.
 01-11-2015, 02:03 PM
#100
Burning Brakes
This is my favorite thread. Your attention to detail is inspiring.  I hope to be half as thorough myself!
I bet that 3.07 is going to be a fun addition, too. Outta feel like a different car once thats installed. I look forward to seeing it all come together.
I hope to be half as thorough myself!I bet that 3.07 is going to be a fun addition, too. Outta feel like a different car once thats installed. I look forward to seeing it all come together.