When you click on links to various merchants on this site and make a purchase, this can result in this site earning a commission. Affiliate programs and affiliations include, but are not limited to, the eBay Partner Network.
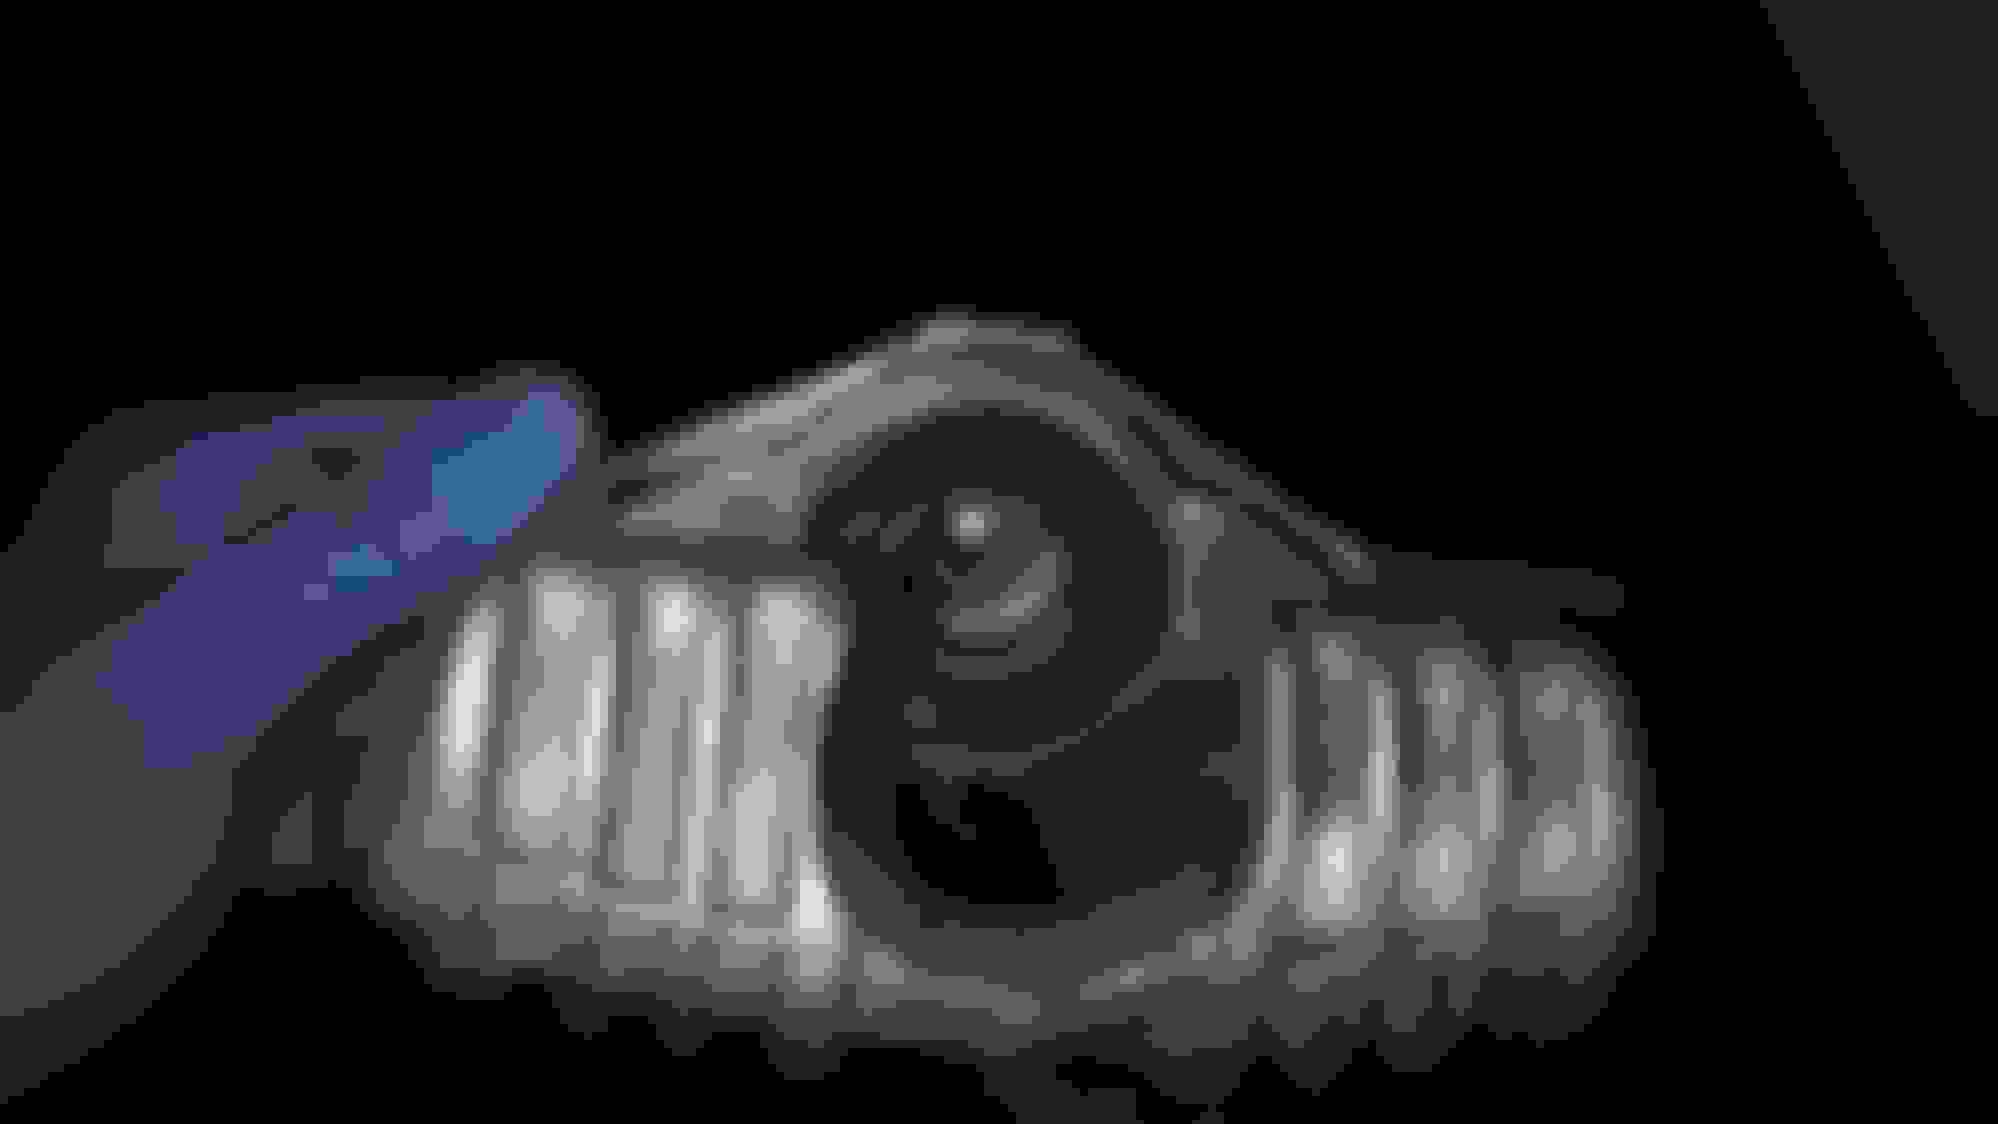
Inner Fender Covers Cleaned cleaned and cleaned some more the inner fender covers. Then sprayed with a matte finish. I then assembled them, you will see the initial assembly then i noticed how crappy the nuts and bolts looked, so i removed them and sprayed them with the same matt black paint. Oh and new stainless braided brake lines and neoprene shields as well as fender seals.
Notice the difference in the new painted and the old non-painted hood seal? Going to fix that later
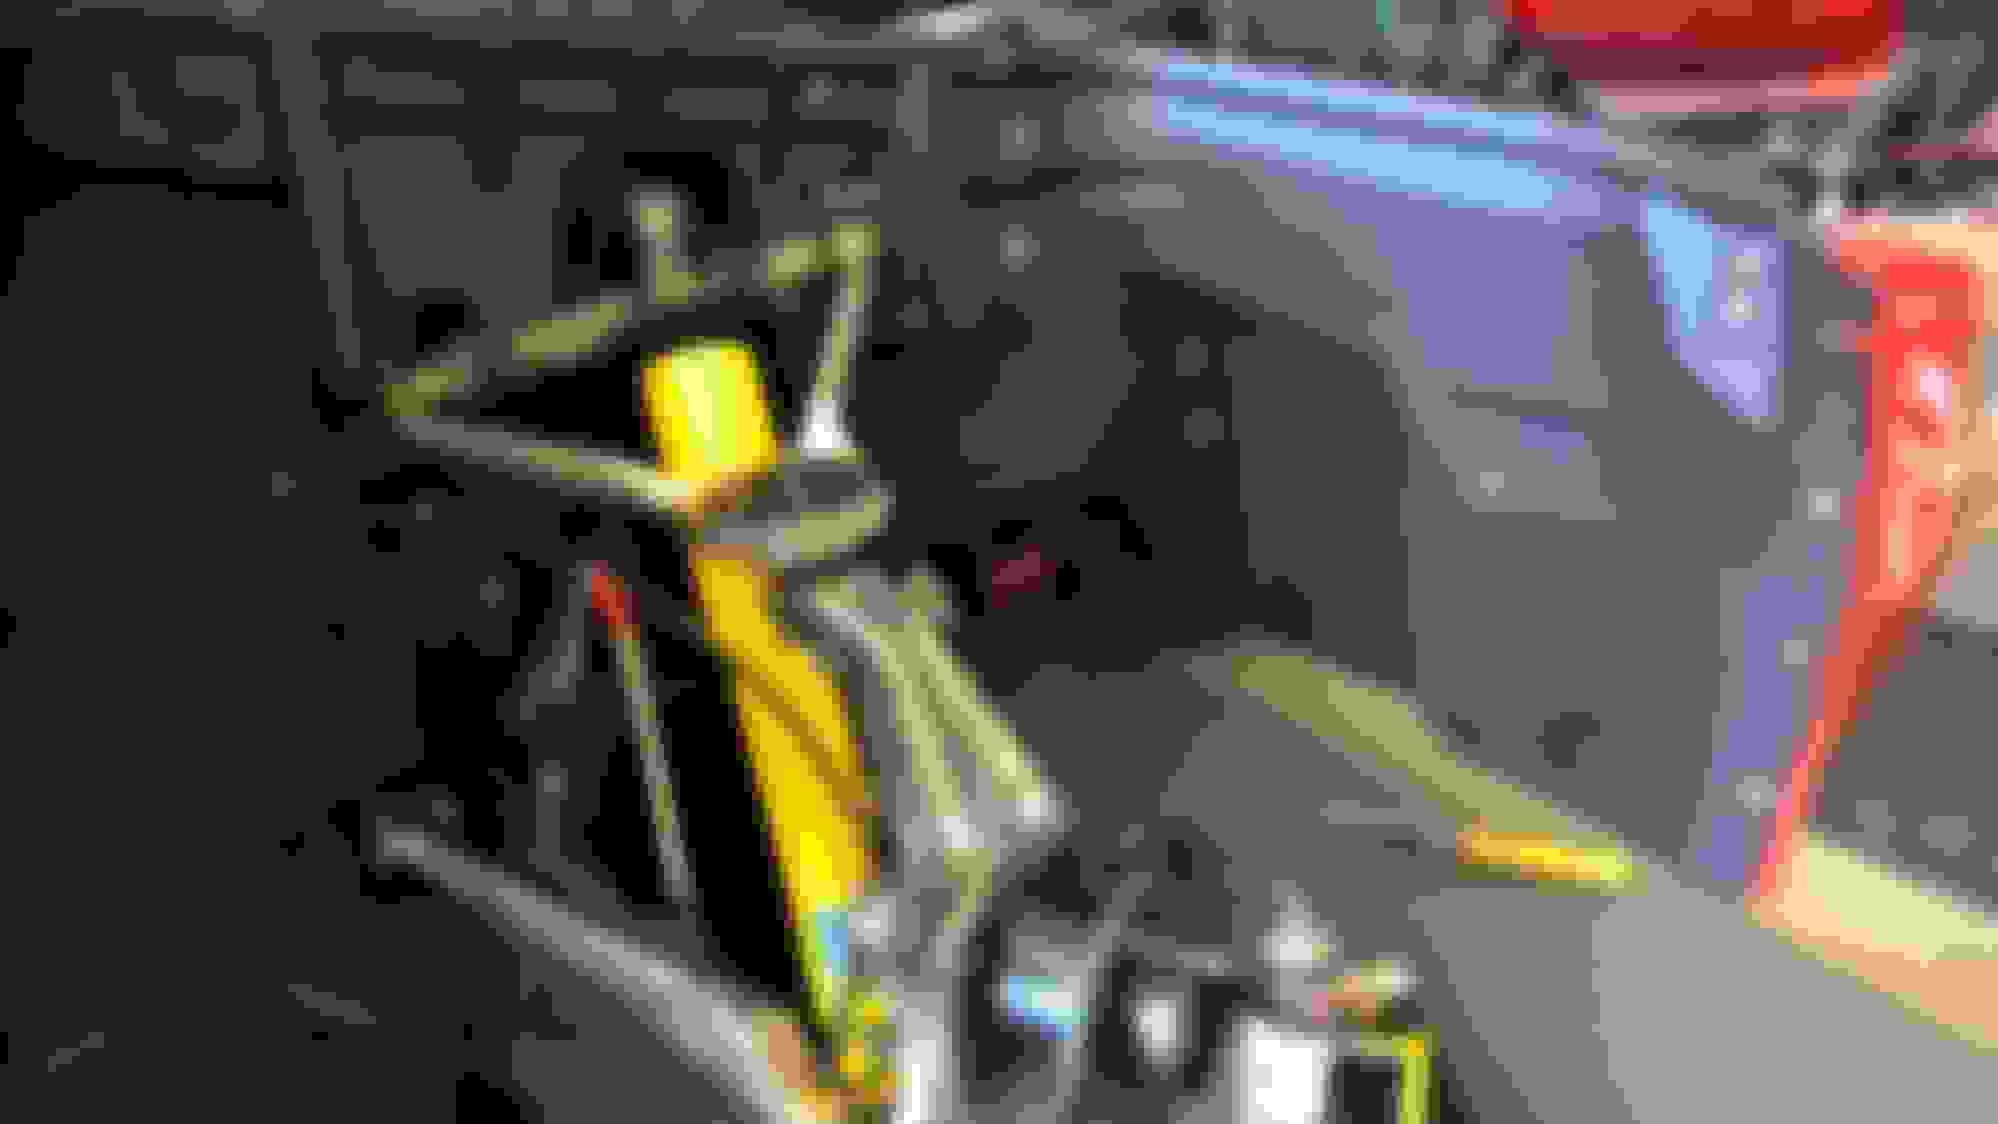
FYI i love the functionality of the Neoprene shields that cover the upper control arm...yet I am almost depressed that you don't get to see the intricacy of the Upper portion of the shock and control arm with the FX3 actuator on top.
Oh well, just trying to protect the investment i guess since i drive this daily.
Prepping Brake Calipers I used a wire brush disc on an Air Grinder as well as Code Red cleaner (which is almost god like to clean brake dust) However you can still see some residual "crap" left on them, however they should be good enough to hold up with G2 Paint. Wish i had the cash to powder coat them, or the equipment to powder coat them at the house but gotta make do with what I have.
Who says you can't clean these? No amount of brake clean would get them this clean, you must grind it or use some sort of acid. Luckly Code red has the properties of Acid, without being acid and it is safe for the environment.<br/>
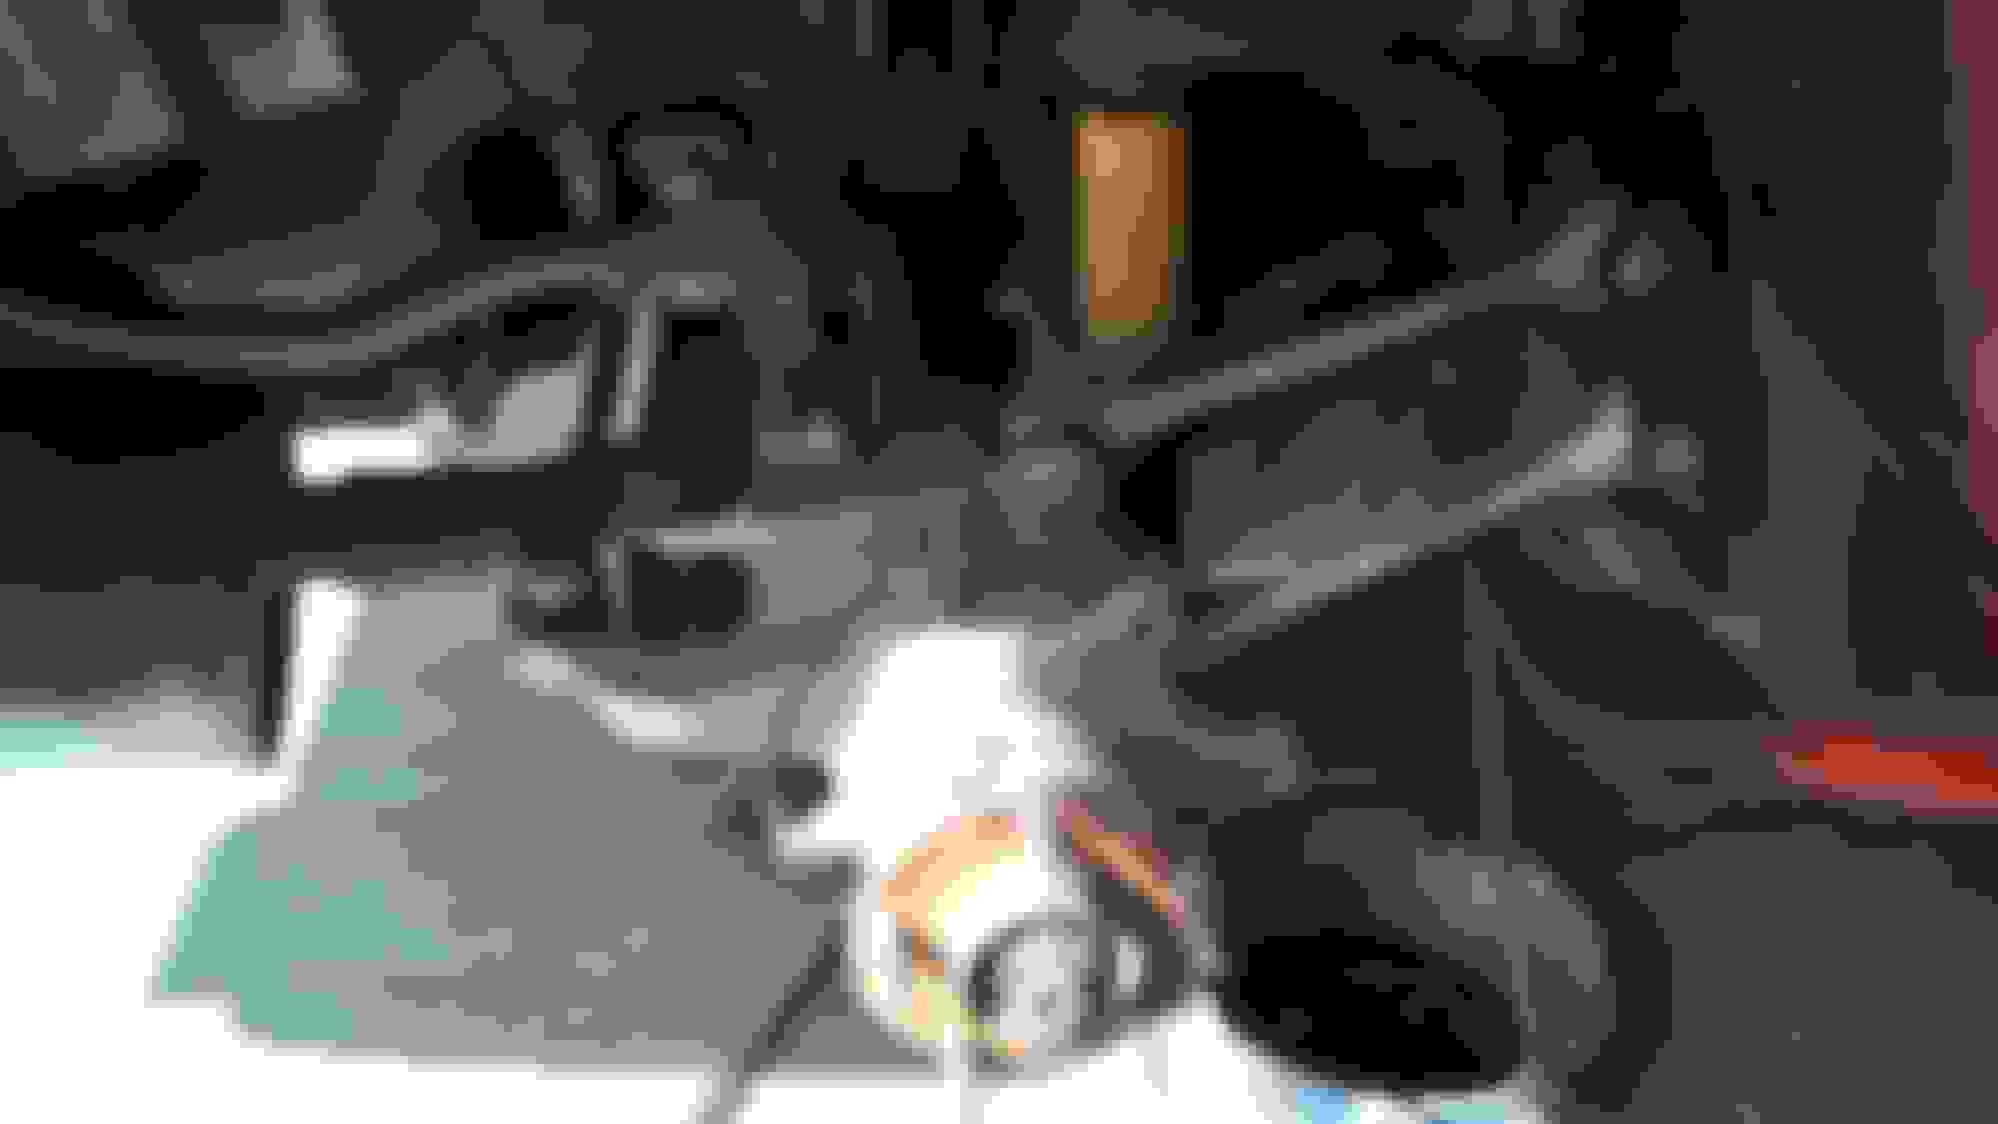
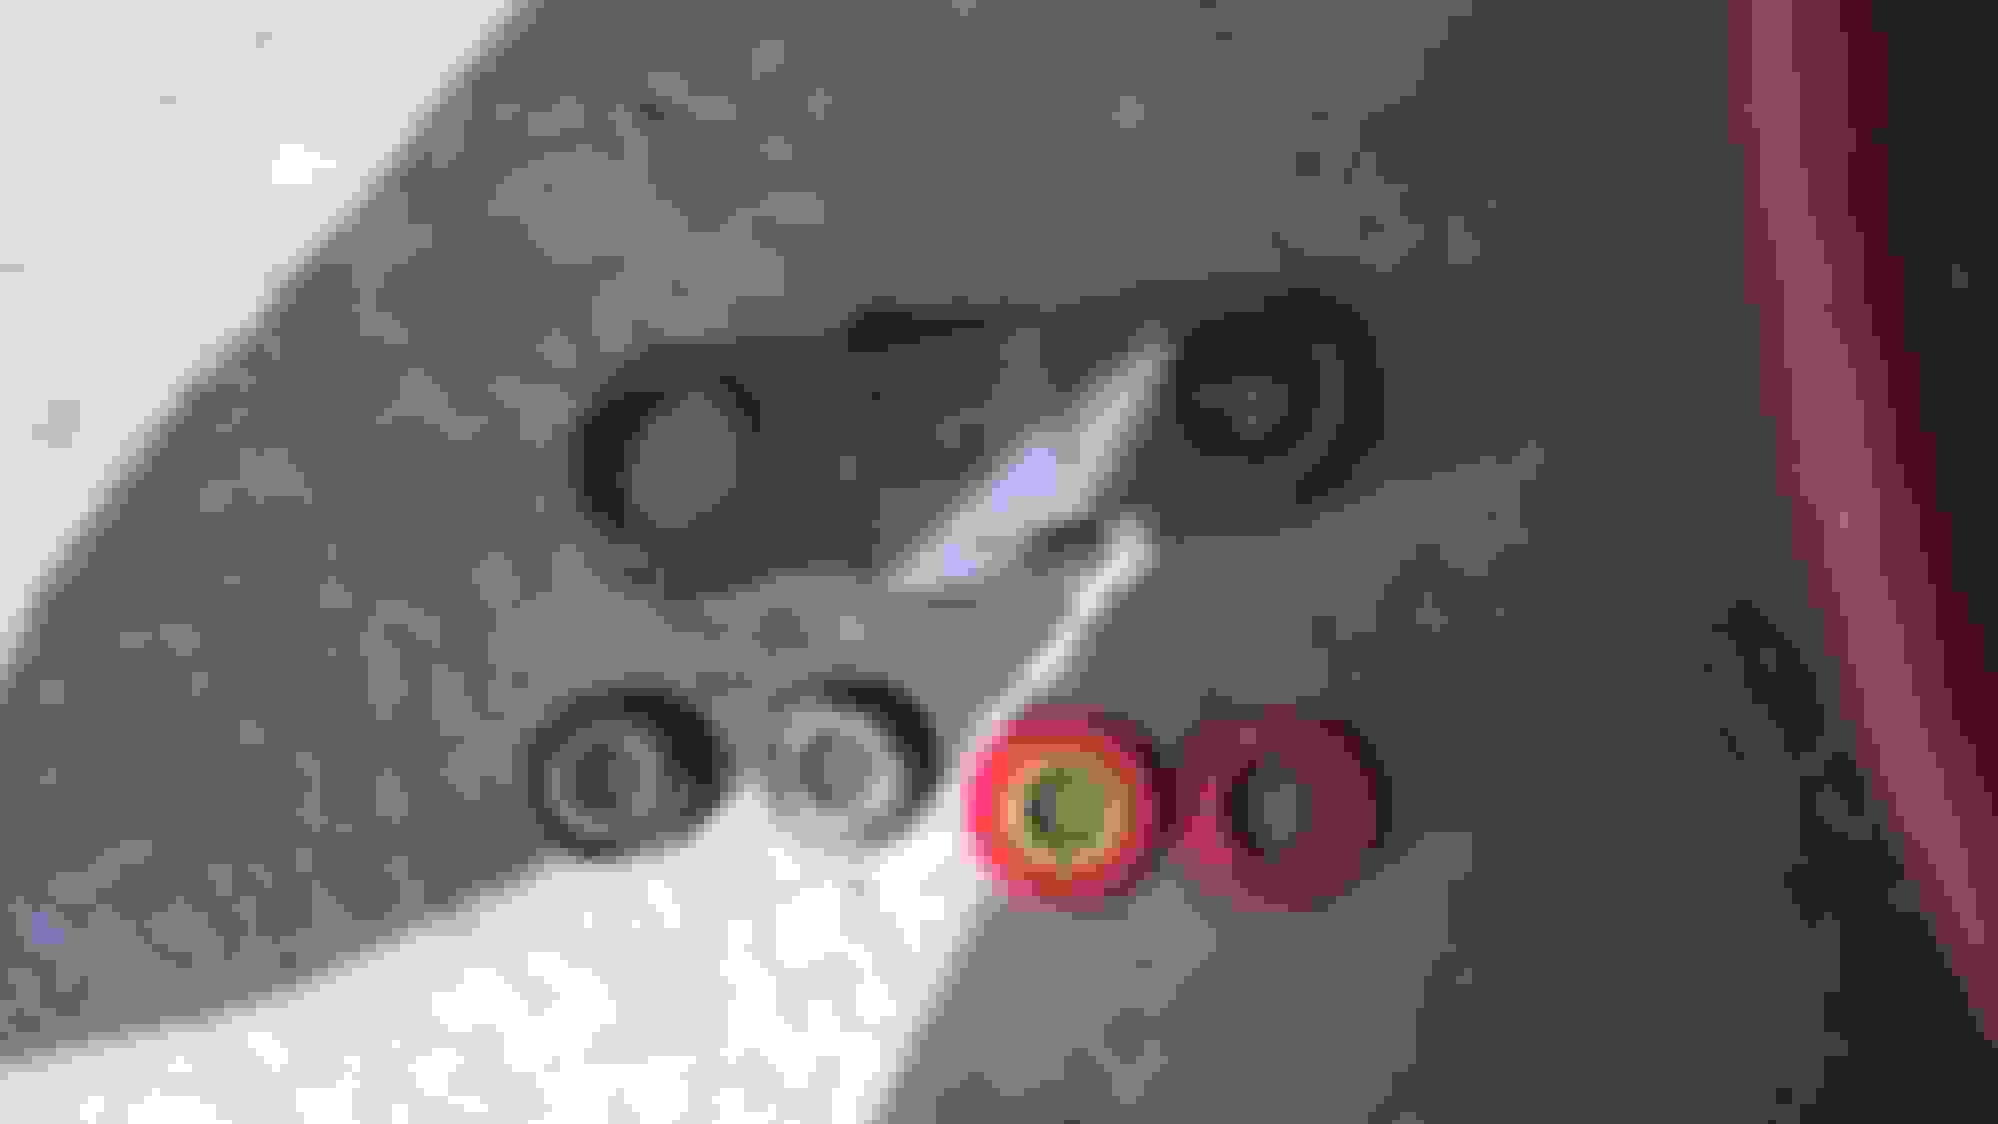
Rear Sway Bar Bushings Started working on the rear and decided to tackle the Bushings first and foremost.
The old bushings literally fell out of the sway bar linkage, good thing I have new poly bushings to go in
This bushing must come out before installing new poly bushings. There is one located on the actual sway bar and one on the linkage. The best way we found was for the following to take the linkage and use a socket that has a diameter of the bushing. Use a hammer to pound it out. As for the sway bar, you can't hammer at it from the back side since it's on the inside of the car. So what I did was used an air grinder to weaken the metal, then using a pry bar, hooked it onto one end and pried out. It seemed to work really well.
Fuel Door Hinges and Cover So here is a little plug for my wife, she did this one all by herself, from disassembly to reassembly. She installed the gas filler as well
My painter accidentally left the screws on the body when he painted, i actually really like leaving the attaching screws red. Gives it some character back there.
I'm thinking of a way to seal the rear fuel door so that leafs/dust do not get into the fuel filler area.
What i'm thinking is actually placing some sort of either rubber or foam weatherstrip to the actual Fuel Door so it would seal along the yellow lines i'm showing in this illustration. So the adhesive portion would be on the door and the yellow lines would just be the contact points.
We aren't talking a very firm seal, just something light enough to keep the dust out.
It's sure coming along, what have you done to the engine, you sure making look brand new.
Nicely done.
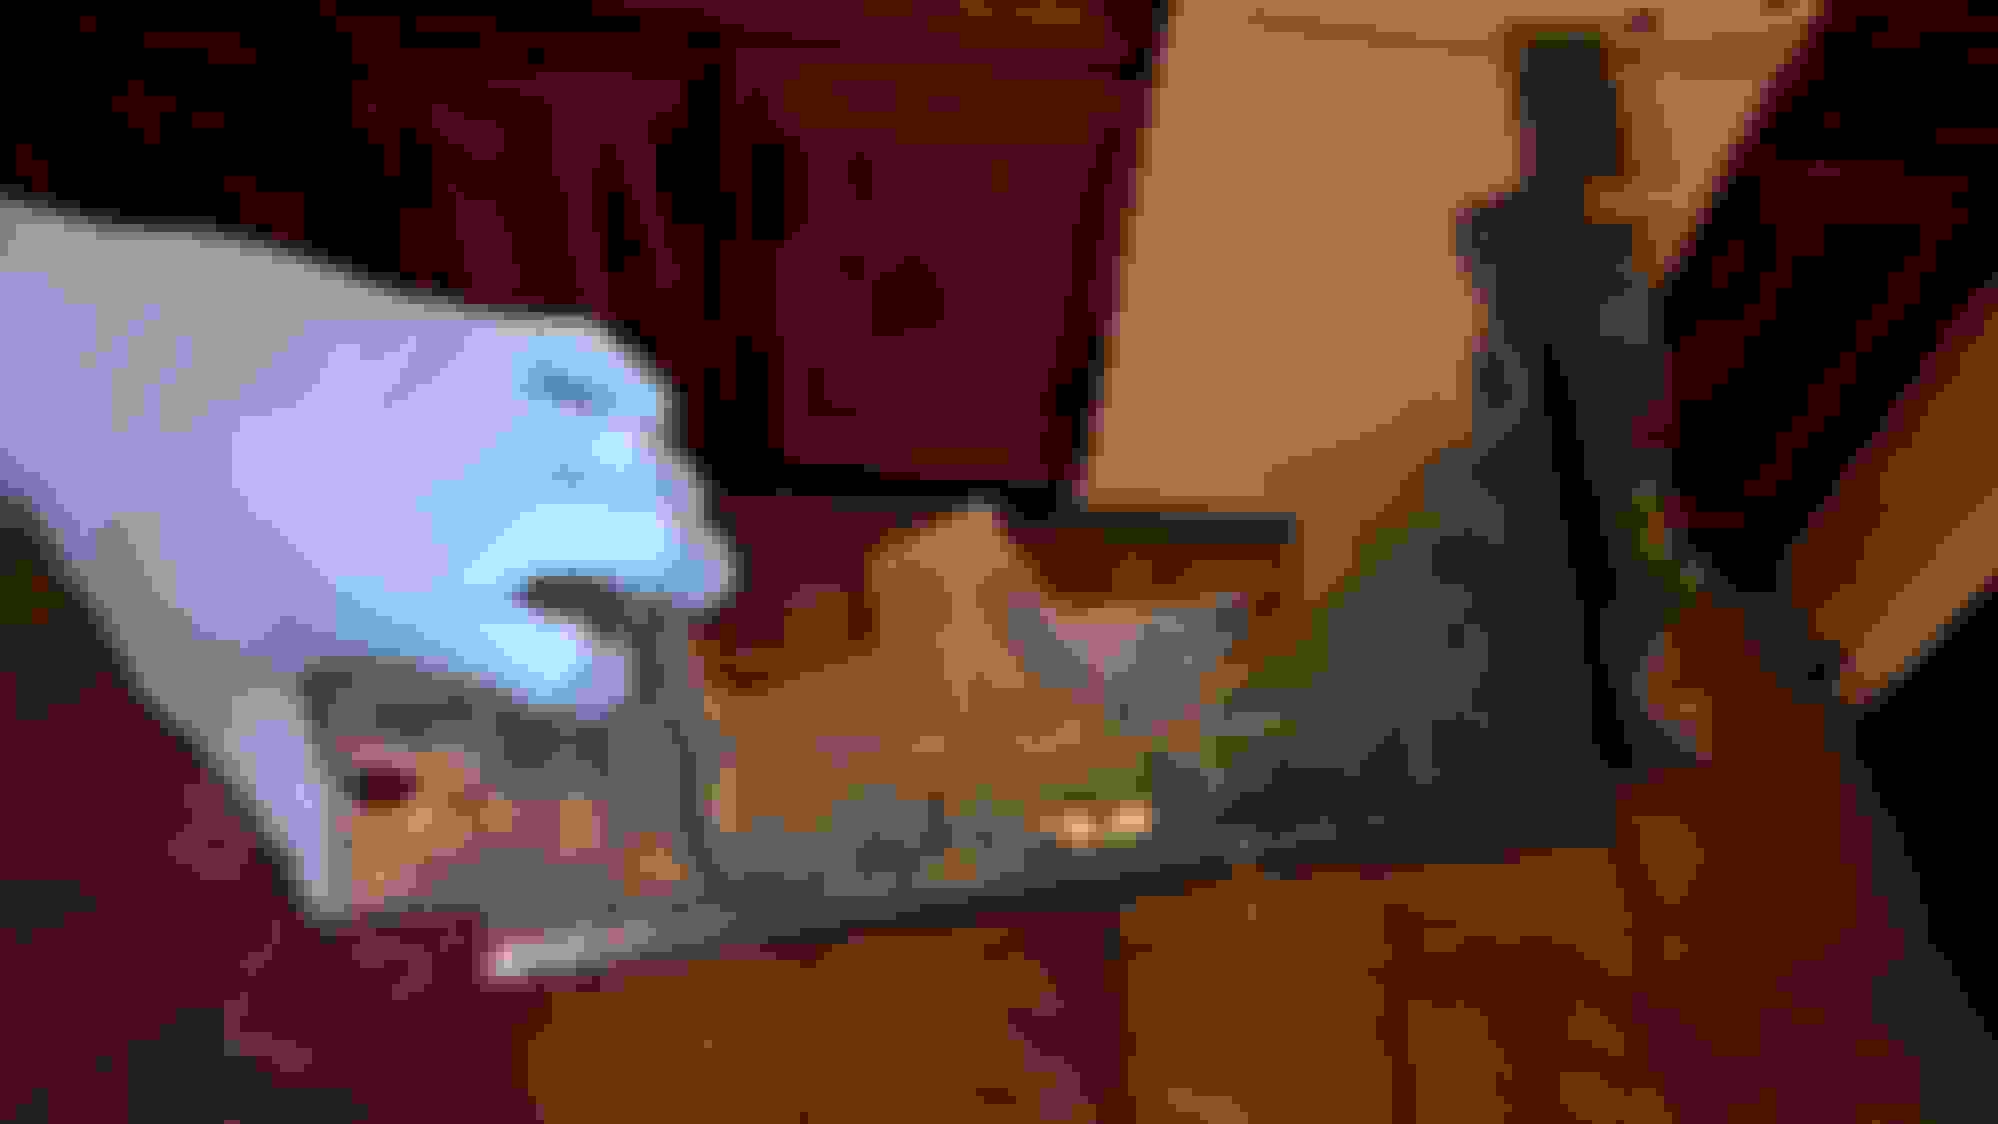
I'm waiting on the engine, It looks like i have an oil leak coming out of the back of the intake manifold due to an improper seal. So looks like i have to take that off, i don't want to clean anything on the engine without addressing that.
Definitely do not want to get any water inside if the hole is big enough. I already pulled the radiator out and cleaned it, gotta put new fluid in. I'm going to fully flush my brake lines, they haven't been flushed since i've owned it so I figure it's time.
When i remove the intake manifold i'm going to put new o-rings on the injectors and gaskets on the throttle body.
I'm also going to remove the composite valve covers and wrinkle paint them. they have a few very minor stress cracks that leak so i'm going to patch them / sand then paint.
I have cleaned up the sides of the engine the best i can while i have the inner fenders out. I'm excited to dive into the driver side, i believe i have a vacuum leak coming out by the cruise control so i'm anxious to fix anything over there.
Looking good man. You are getting a LOT done. I hope I can make the same progress on mine when it gets back. What black paint did you use on the front wheel hubs? I had the same problem with the rear sway bar. I did the socket method. One came out right away but the other was a pita. If you've got time and want the calipers powder coated I can do them for you. I have a spare set for my car I'm going to do. I like your idea for sealing the gas door going to think about that one. Keep up the great progress and pictures! Oh funny thing, I never noticed the gas door panel was bilingual until I redid mine! Lol.
Looking good man. You are getting a LOT done. I hope I can make the same progress on mine when it gets back. What black paint did you use on the front wheel hubs? I had the same problem with the rear sway bar. I did the socket method. One came out right away but the other was a pita. If you've got time and want the calipers powder coated I can do them for you. I have a spare set for my car I'm going to do. I like your idea for sealing the gas door going to think about that one. Keep up the great progress and pictures! Oh funny thing, I never noticed the gas door panel was bilingual until I redid mine! Lol.
I used Rustoleum Semi Gloss Black, 2 coats. I removed all the grime before hand. I appreciate the offer on the powder coating, I am in a bit of a time crunch with the car so I'm in the process of rebuilding them (with pictures of the rebuild). One of my calipers looks questionable and may need to be replaced so i'll know more about it soon. The 96 vettes did not have a bilingual gas door panel, checked my brothers cause i thought they were all the same too.
You are an inspiration. I need to get of my lazy AZZ and start working. What type of paint did you use on the front inner fenders?
Just trying to document what i'm doing to help people see that you don't need to dump a ton of money to restore these, just a lot of elbow grease.
I used Rustoleum Semi Flat, I only did 2 coats so it remains a tad flexible. It may chip off in some places, but since it's not glossy you won't notice it very easily since it matches the hue of the flat plastic look;
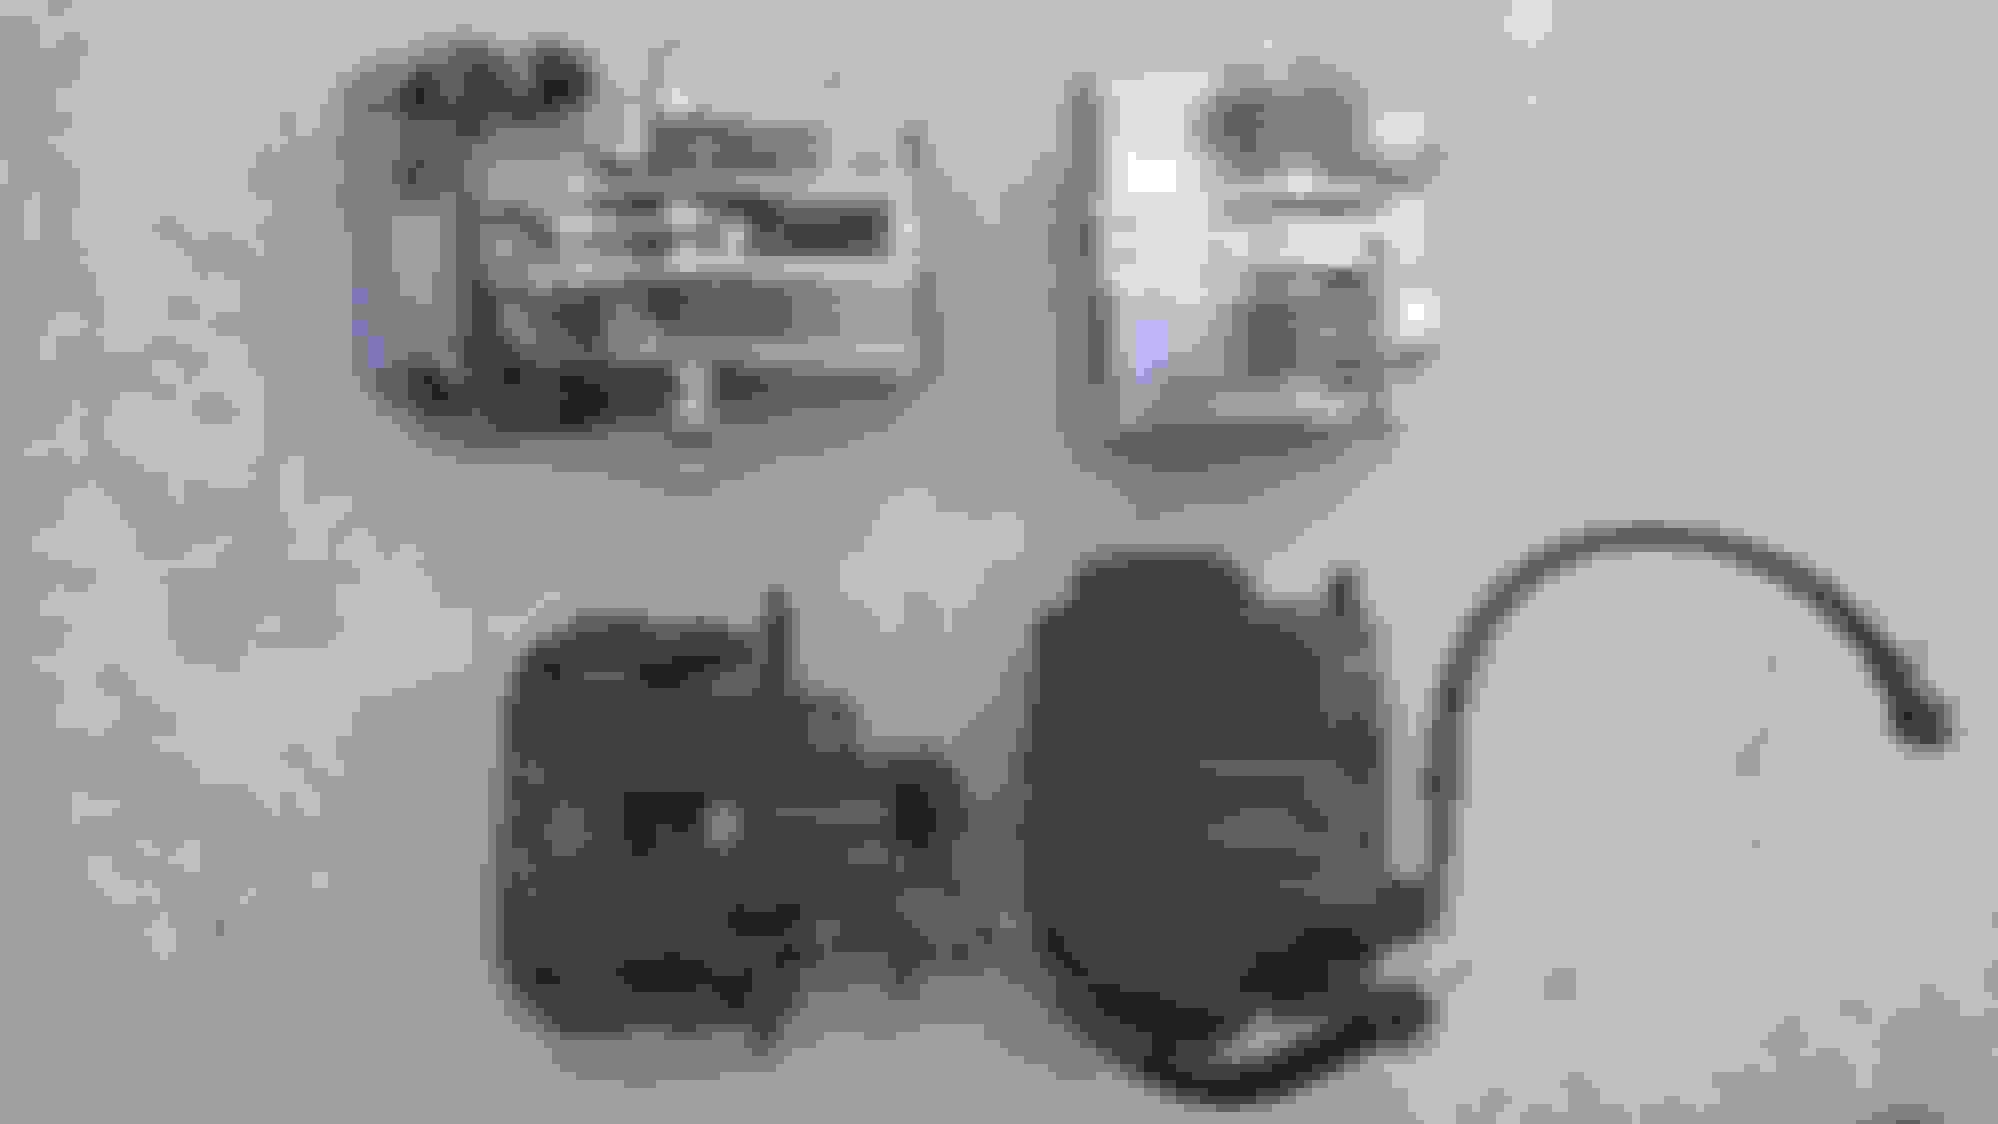
Brake Caliper Disassemble Step By Step removal of pistons and seals
Inspected and found a Broken Dust boot
Pull this straight out, if your boots are fine, make sure you slide them off as you pull
Inspect for any damage
First look at the cylinder
Inspection of retainer spring (not sure what it's called)
Use a flathead screwdriver to peel back the tabs holding this dust boot retainer (if that's what i's called)
Remember how this spring is attached
Start separating the two shields
Take note how this goes back together
Once the tabs have been straightened you can remove the front shield
Once the shield is out, you can just pop the outer dust shield out
Remove this ( no idea what it's called ) note how it goes back in
There is a channel for the other guide pin to sit in, make sure you put this back the correct direction
Slide pin ( I am going to restore these when i'm finished)
Inspect cylinder and piston (this piston is done for) My brother failed to realize he drove all night with my damn emergency brake on when i let him borrow the car, none-theless the rear pistons are done for. These have a groove in them now.
The rear dust shield just pulls straight out, you will feel like you are going to tear it, but i assure you they just pull straight out. You can use a toothpick to pry it out. Do not use any metal tools i know that some individuals use metal picks...i would advise against them and just use toothpicks.
Rear dust shield out
Inspect front caliper, looks like i may need pistons for the front. after searching and searching, GM discontinued the front pistons. So unless you buy aftermarket Stainless Steel, you may be able to just restore these.
Getting the pistons out is quite easy. All you need is an air compressor and an air nozzle with a rubber tip. Place something soft to catch the piston because it will shoot out. Insert your nozzle into the brake line port, and tap the air. You do not need to hold the air down, it will fly out with a simple tap.
Repeat for the other side.
Doing this procedure on the front will eject 1 piston, then the other one will be stuck.
I resolved getting the other piston out by inserting my finger and plugging this channel in the side where the piston came out. Then you blow the air through and it will eject the other piston.
Painting Calipers I used the G2 Paint Caliper Kit, it has a lifetime guarantee and i really like how well the paint went on. It was a little cold outside so the wife let me build a make-shift paint booth inside with 2 card tables. It worked out well, wen through Toy Story 1, Toy Story 2, and Toy Story 3 so about 3-4 hours for all 8 components.


 04-21-2015, 10:20 AM


 It's sure coming along, what have you done to the engine, you sure making look brand new.