My 1994 Z07 M6 Restoration Progress
 04-13-2015, 10:23 AM
#1
Instructor

Thread Starter


Well,
Got her back from the paint shop on saturday night. Going to be a fun few weeks putting her back together. Pictures to follow (just organizing them)
-Jeremy
Got her back from the paint shop on saturday night. Going to be a fun few weeks putting her back together. Pictures to follow (just organizing them)
-Jeremy
Last edited by 94Z07; 04-13-2015 at 10:52 AM.

The following users liked this post:
Scooter94 (12-17-2015)
04-13-2015, 10:48 AM
#2
Instructor
Thread Starter
Body Prep
Prepping the body for primer, removing panels, parts etc.
I probably should have taken more pictures of how to remove certain parts but I was in crunch mode to get it to the shop.


Prepping the body for primer, removing panels, parts etc.
I probably should have taken more pictures of how to remove certain parts but I was in crunch mode to get it to the shop.


 04-13-2015, 10:56 AM
#5


Did you jamb the car also? What did you do regarding the "Certification Label" and "Tire Placard" on the driver door?
What was the "badging" on the hood? Looks like maybe it was a "poser"?
It's certainly quite an effort.
What was the "badging" on the hood? Looks like maybe it was a "poser"?
It's certainly quite an effort.
Last edited by WVZR-1; 04-13-2015 at 11:01 AM.
 04-13-2015, 10:57 AM
#6
Racer
Looking forward to more pictures. Do you mind sharing cost details? PM is fine if you'd rather not post here. Looking specifically to see if you saved a good amount by doing a lot of prep yourself....
04-13-2015, 10:57 AM
#7
Instructor
Thread Starter
Interior Trim
Trying my hand at carbon fiber vinyl wrapping
All parts are finished on the interior now, i'll take some more pictures during the re-assembly.


Trying my hand at carbon fiber vinyl wrapping
All parts are finished on the interior now, i'll take some more pictures during the re-assembly.


 04-13-2015, 10:58 AM
#8
Instructor
Thread Starter
I did not jamb the car yet, I will just wanted to get the bulk of it and do the jambs after re-assembly. My jambs are in fairly decent condition that they mostly just need re-conditioning. for the certification labels I believe there is a company that will re-produce them if you can validate originally via pictures of your own. And they will print you brand new ones.
04-13-2015, 11:03 AM
#9
Instructor
Thread Starter
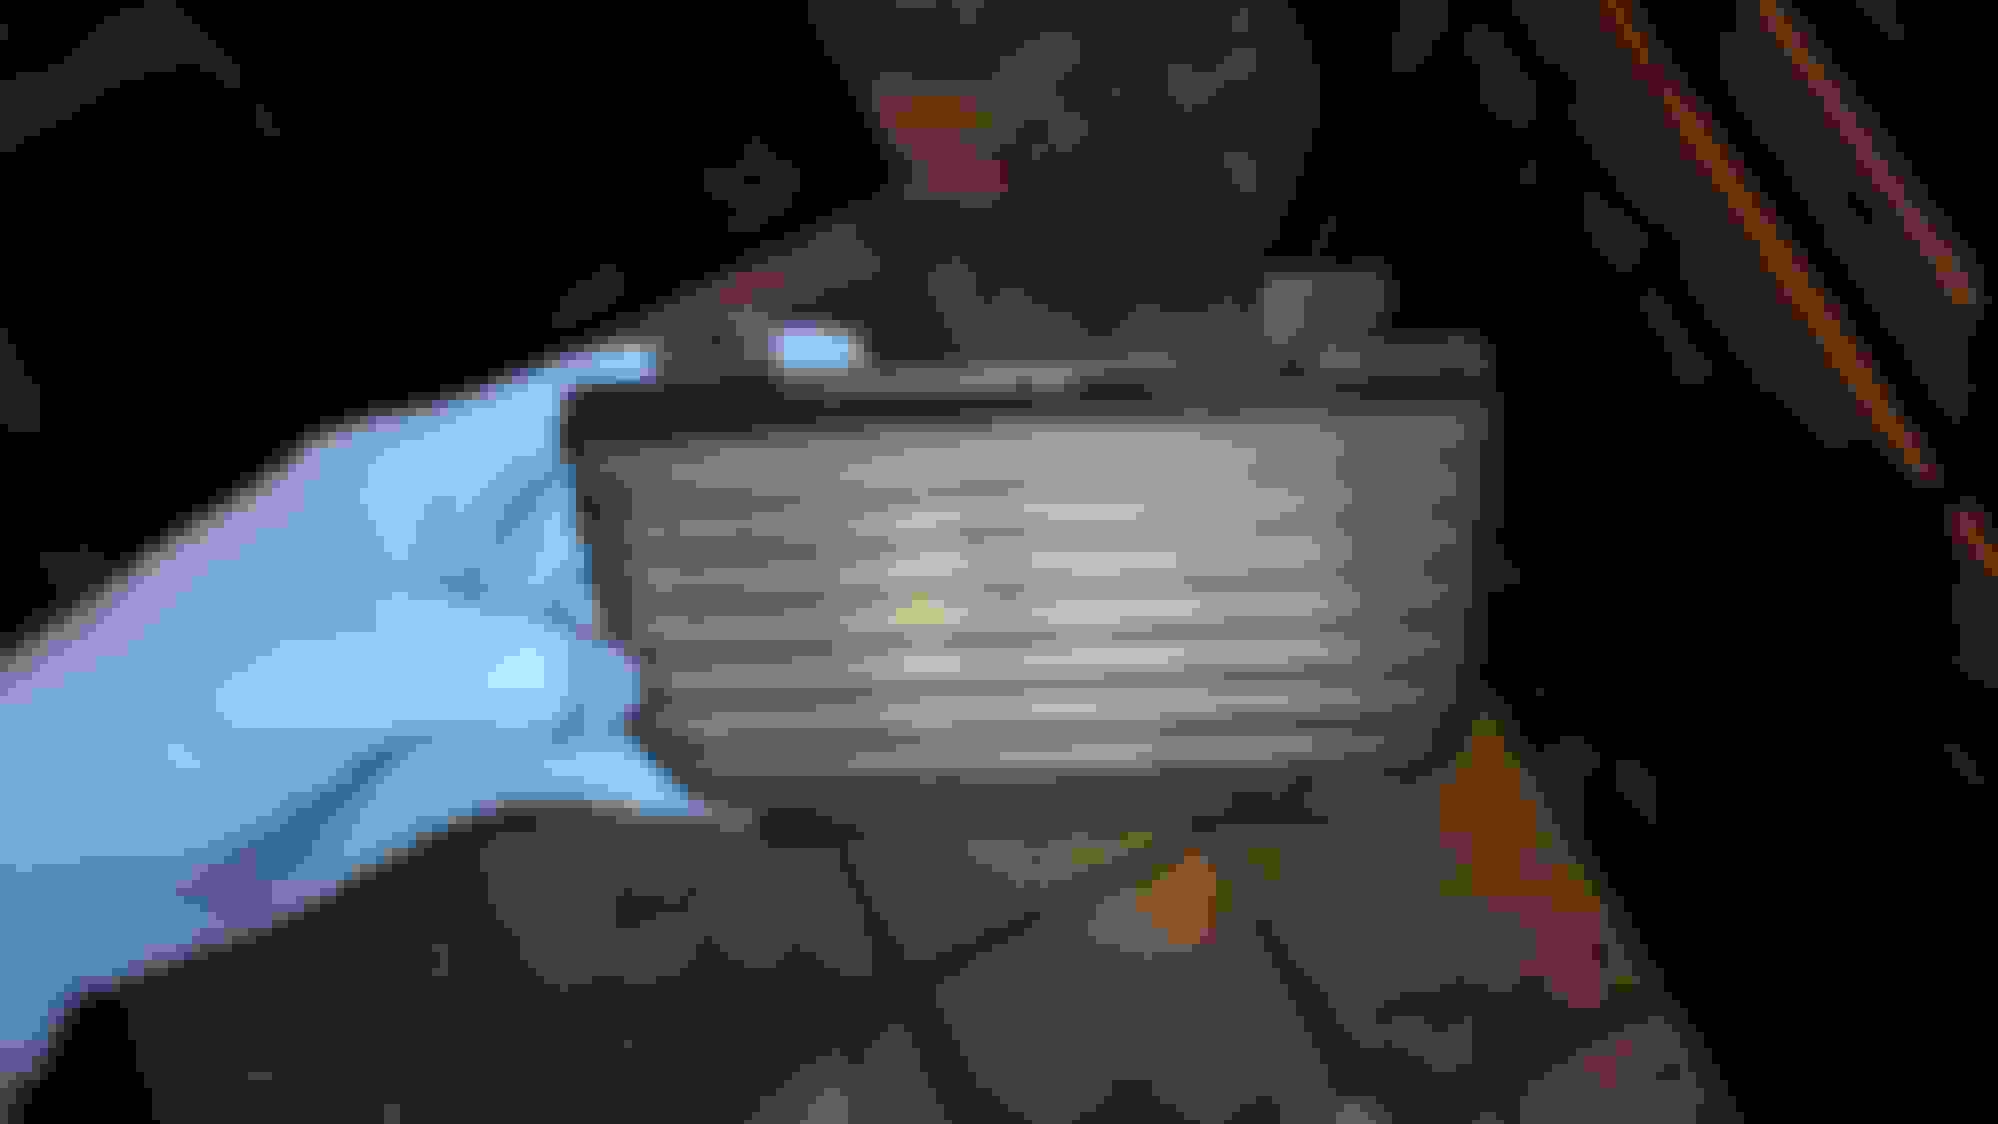
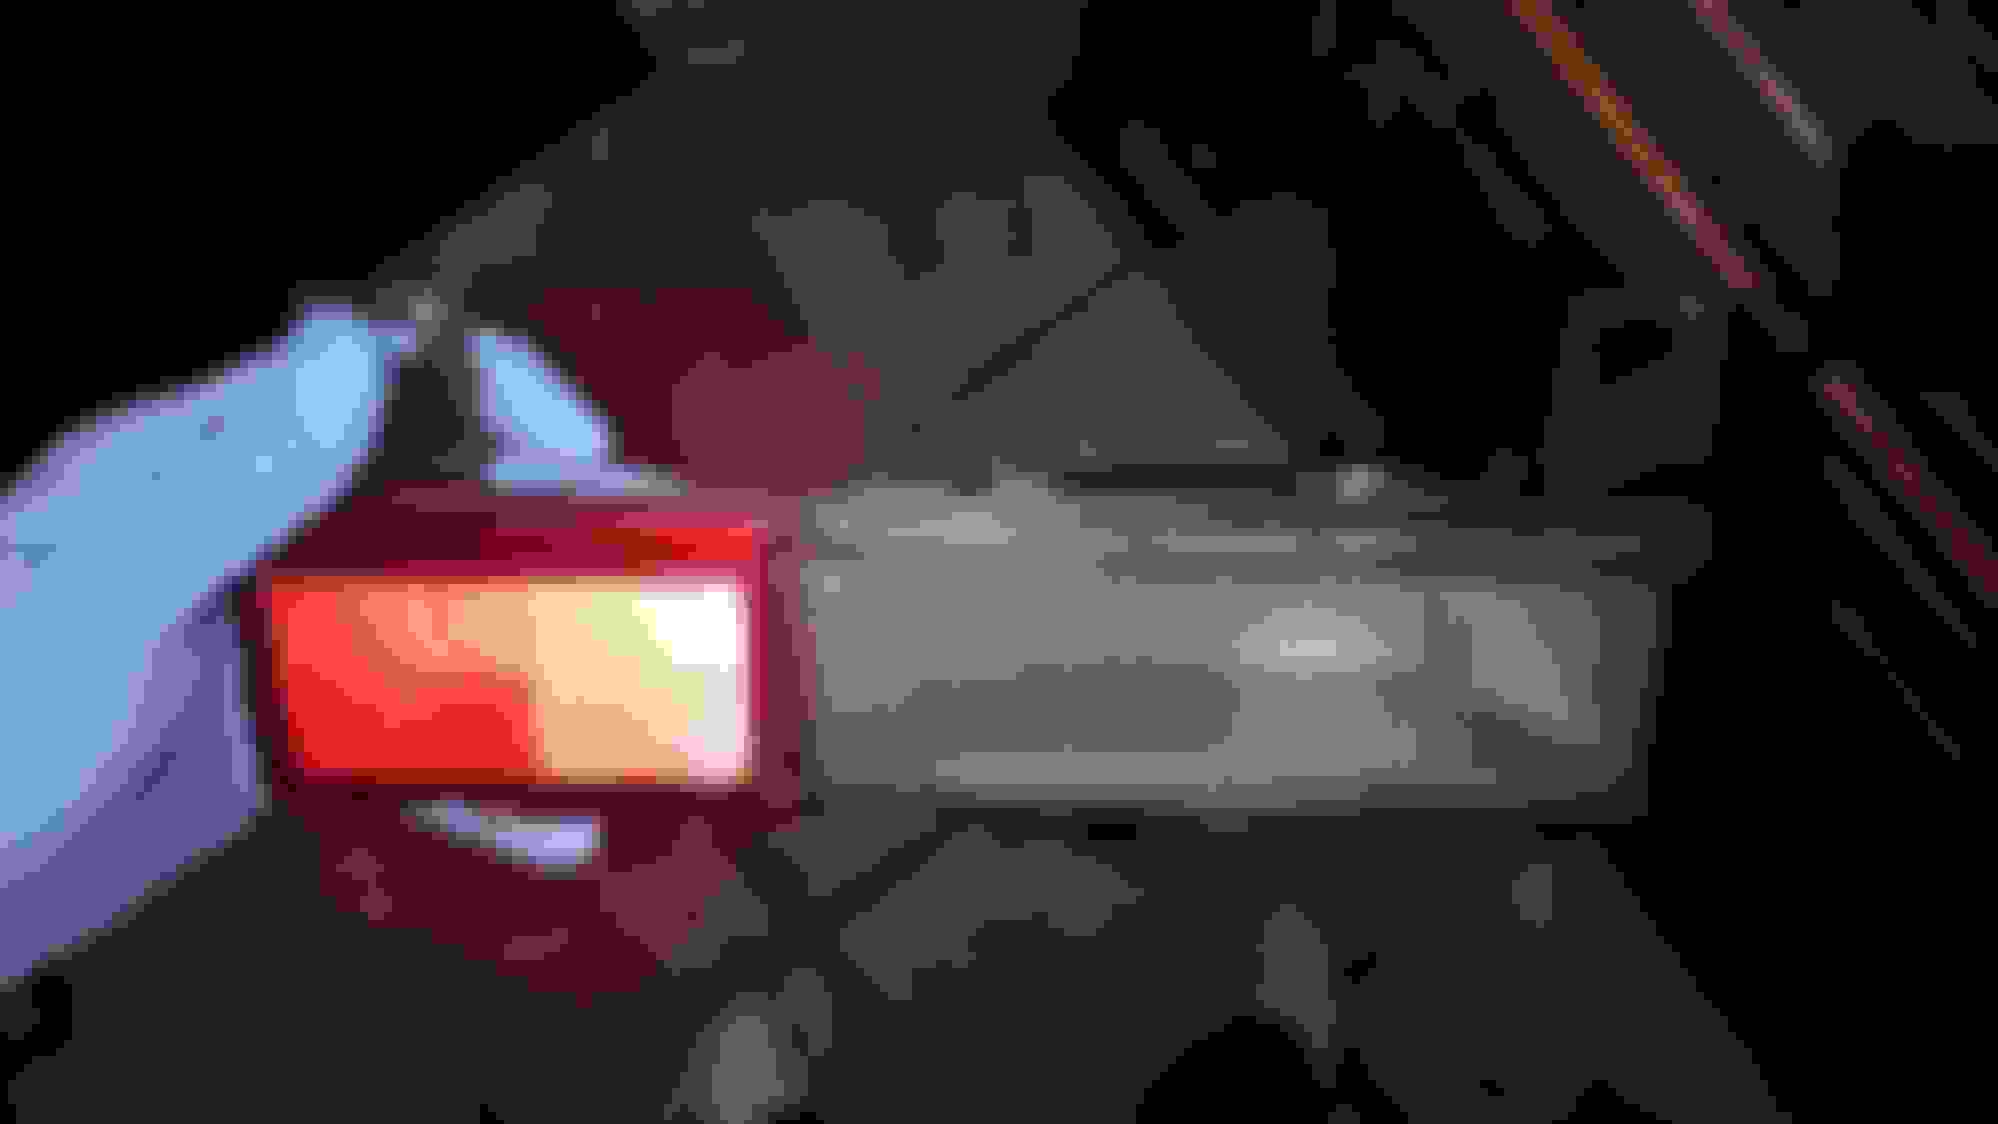
Lights
Who needs new lights when you can refurbish?
These are before and afters, wet sand with 1000 grit in horizontal motion, then wet-sand with 3000 grit, opposite (vertical motion) then polish and protect. You can see the hazy before and the clear after. It took me about 15 -20 minutes per light very easy to do. I could get every single swirl mark out if I wanted to, but i was tired as heck.


 04-13-2015, 11:05 AM
#10
That's why I asked. You need very good "macro" images to supply them for replacements. If there's any doubt about legibility they'll just say "NO".
04-13-2015, 11:40 AM
#11
Instructor
Thread Starter
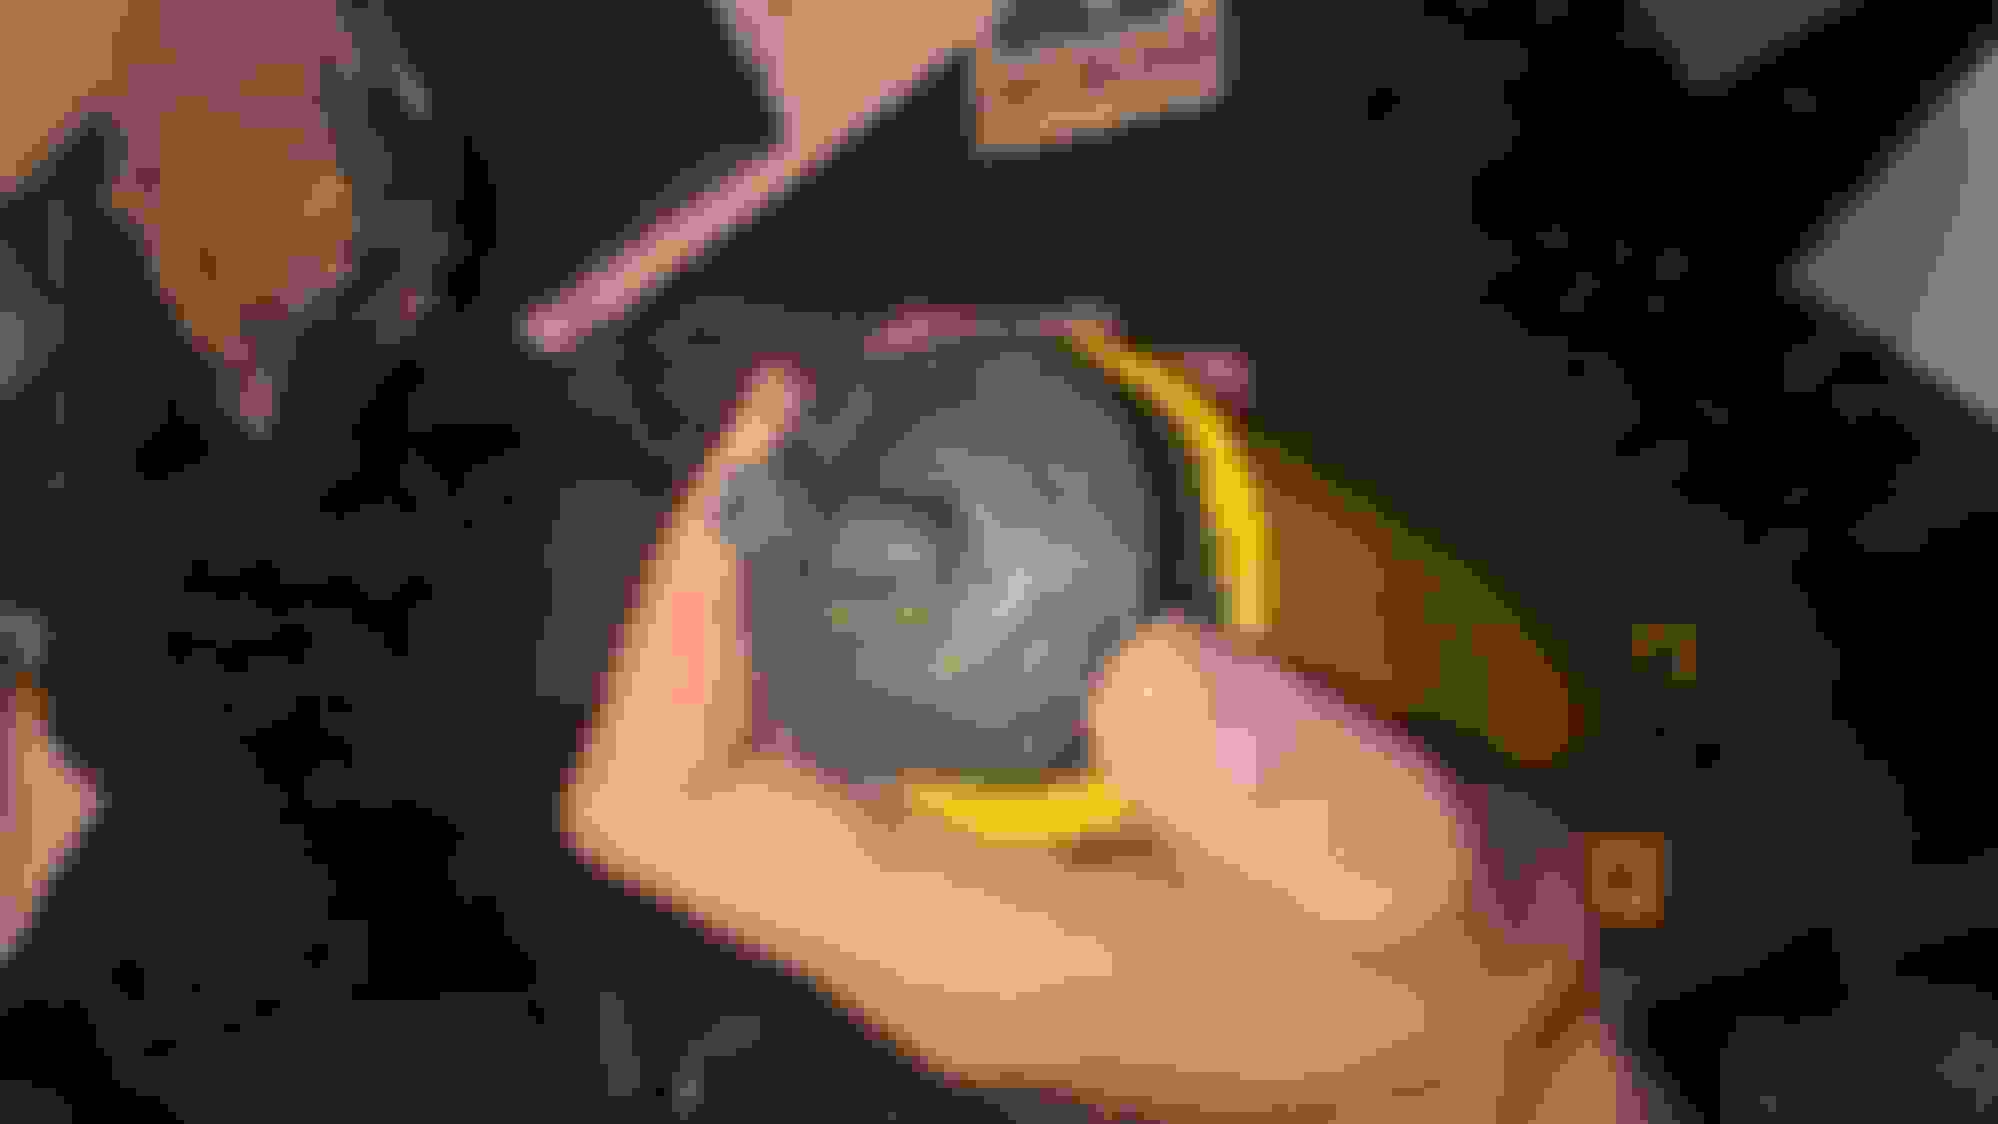
Front Shocks
Refurbishing the Z07 Bilsteins, didn't have the car to do the rear.
I know it's the wrong color yellow but it looks decent. I taped around all the decals to use the original ones.


Refurbishing the Z07 Bilsteins, didn't have the car to do the rear.
I know it's the wrong color yellow but it looks decent. I taped around all the decals to use the original ones.


 04-13-2015, 11:46 AM
#12
Instructor
Thread Starter
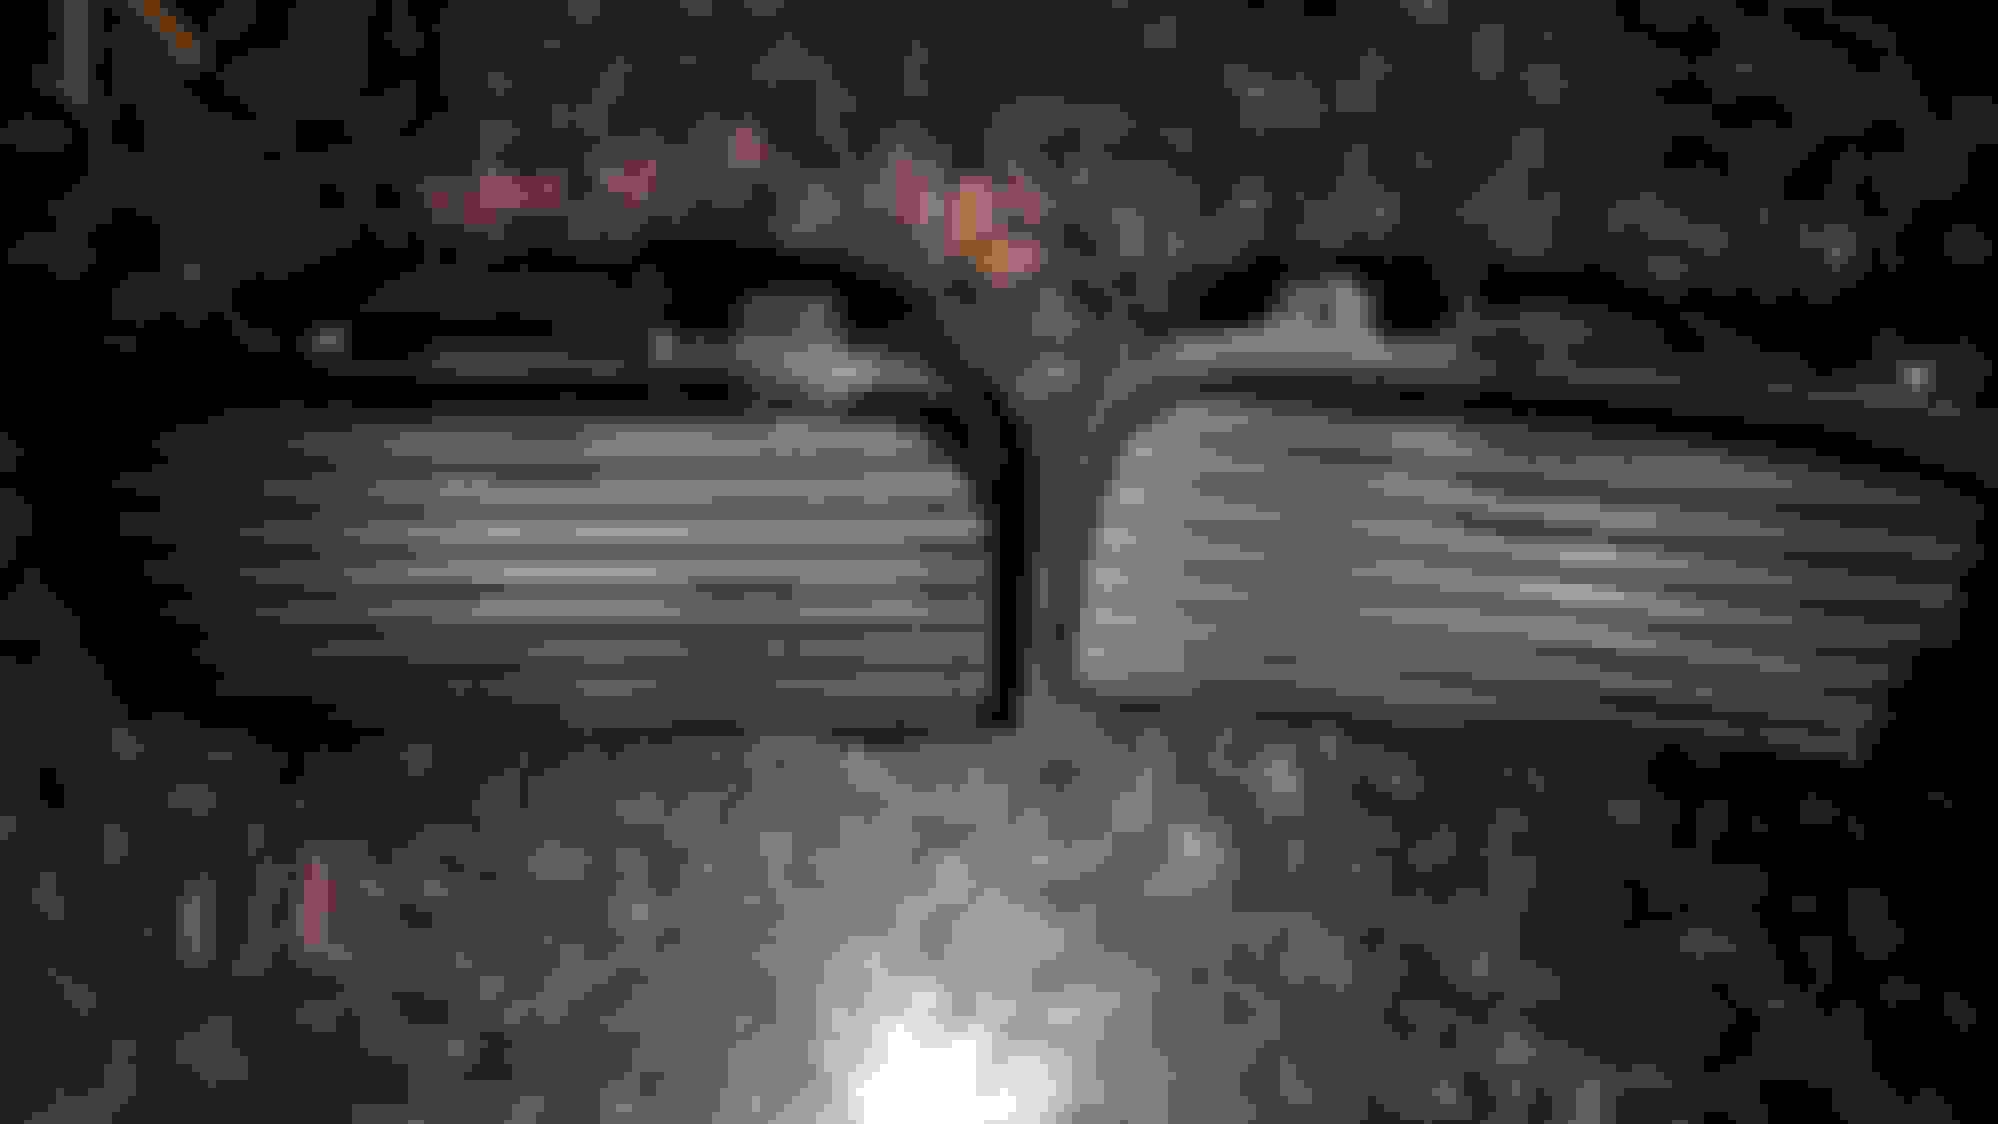
Door Skeleton and Door Panel Repair
Repairing the splines on the door panel, and refurbishing the Inner Skeleton
I went through the inner skeleton and replaced every pad and most of the plastic pieces that needed to be replaced. New door lock actuators as well. The first few pictures are what it looked like at the beginning then i start doing side by side comparisons. I found a good use for some spare carbon vinyl on the edges since it was the same durability as the stuff that was on from the factory.


Top is Before Bottom is after


 04-13-2015, 12:01 PM
#13
Instructor
Thread Starter
Back From the Shop
Loading her up after a polish, and back home for a bit.
I have not taken pictures of all the parts that were also painted such as the Bumper Cover, Door Trim, Headlight Covers, Door Handles, Mirrors, rocker panels etc.. I will take pictures upon re-assembly.
The paint job was done by Freddie with Freddies Automotive in Utah. The man (in my opinion) is an artist. He removed more off the car than I even did because he wanted to do the job right. He has painted 100's of c4 corvettes and knows the pitfalls of not removing certain parts and in his words "half-assing" the job. He even removed the rear glass out of the car and painted it with the top off so he could properly paint all the channels.


 04-13-2015, 12:02 PM
#14
Instructor
Thread Starter
I would first attempt to just put very good painters tape around the decals if you could. Sometimes that works, sometimes it doesn't.
 04-13-2015, 12:19 PM
#16
Instructor
Thread Starter
The pantera is my fathers and boy is it fun

Just borrowing my dads garage for the next 2 weeks while i put it back together.


 04-13-2015, 01:24 PM
#18
Instructor
Thread Starter
Trying to figure out what color to paint them though. I also made a template for hash marks that I can cut vinyl out of for.

 04-13-2015, 03:58 PM
#20
Instructor
Thread Starter

