Notices
C4 General Discussion General C4 Corvette Discussion not covered in Tech

The tear down begins for paint

Thread Tools
 
Search this Thread
 
Old 07-22-2015, 05:18 PM
  #21  
Dalesc4
Racer
Thread Starter
 
Dalesc4's Avatar
 
Member Since: Jun 2015
Location: Melbourne Victoria
Posts: 333
Received 19 Likes on 11 Posts
Default

We are located is the south eastern subarbs of Melbourne Australia Called Carrum downs
Old 07-22-2015, 06:05 PM
  #22  
ghoastrider1
Le Mans Master
 
ghoastrider1's Avatar
 
Member Since: May 2006
Location: indy indiana
Posts: 7,708
Received 265 Likes on 240 Posts

Default

small world. My wife used to live in Mel. She is from NSW, on the northern border, near "gold beach"(?).We Landed there when we went to vist her parents in Ballina NSW. She will be right mate.
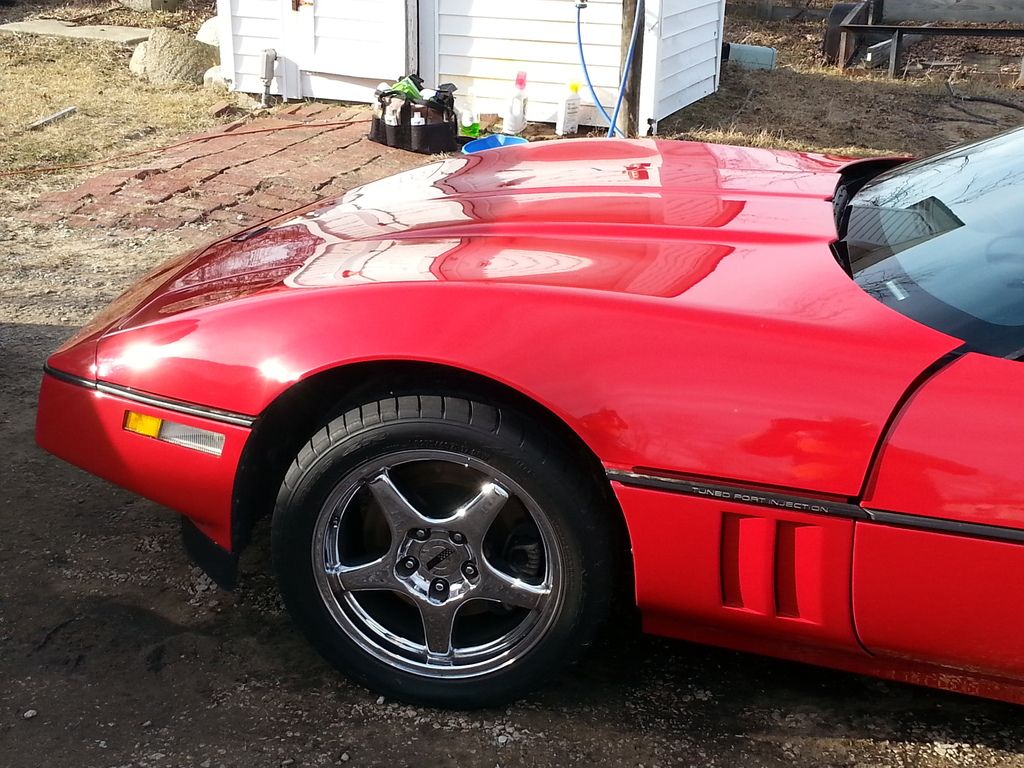
Old 07-23-2015, 07:31 AM
  #23  
Dalesc4
Racer
Thread Starter
 
Dalesc4's Avatar
 
Member Since: Jun 2015
Location: Melbourne Victoria
Posts: 333
Received 19 Likes on 11 Posts
Default

Time to remove rear bumper
U can to a lot of the bolts by removing
The rear plastic mud guard
Using a 10mm spanner and socket
Pics to follow
Old 07-23-2015, 08:45 AM
  #24  
shootnstarz
Burning Brakes
 
shootnstarz's Avatar
 
Member Since: Dec 2014
Location: Pensacola Florida
Posts: 1,038
Received 43 Likes on 34 Posts
Default

Ahh, didn't realize you were down under. Do the bolts and nut unscrew the opposite direction down there?

Rick
Old 07-23-2015, 09:11 AM
  #25  
Dalesc4
Racer
Thread Starter
 
Dalesc4's Avatar
 
Member Since: Jun 2015
Location: Melbourne Victoria
Posts: 333
Received 19 Likes on 11 Posts
Default

Well bumper off
Wow
Not really hard but some of the bolts are a pain to get to
To get to the two bolts behind the fuel filler
Remove the rubber boot around filler ( make sure it's clean as u have
To remove the cap to remove it )
And there are two blots in the number plate area
Leave them until last as it holds the bumper in place
Old 07-23-2015, 09:14 AM
  #26  
Dalesc4
Racer
Thread Starter
 
Dalesc4's Avatar
 
Member Since: Jun 2015
Location: Melbourne Victoria
Posts: 333
Received 19 Likes on 11 Posts
Default


27 years of dust and mud <br/>Never been on the road in Australia <br/>So that's American mud and dust. Lol


Rubber filler boot removed


Old 07-23-2015, 10:25 AM
  #27  
Paul Workman
Le Mans Master
 
Paul Workman's Avatar
 
Member Since: Oct 2004
Location: South-central Missouri
Posts: 6,314
Received 500 Likes on 395 Posts

Default

Ah... That looks oh, so familiar!

My 90 has the same belt as yours. But, due to the (incredible!) hassle to get the belts off of the doors, we left them on and very carefully masked the strip - even over the back edge of the strip so NO over spray would find its way to the strip. It took some time, but it turned out perfect: NO issues at all. (However, the rest of the belt was removed and sanded.)

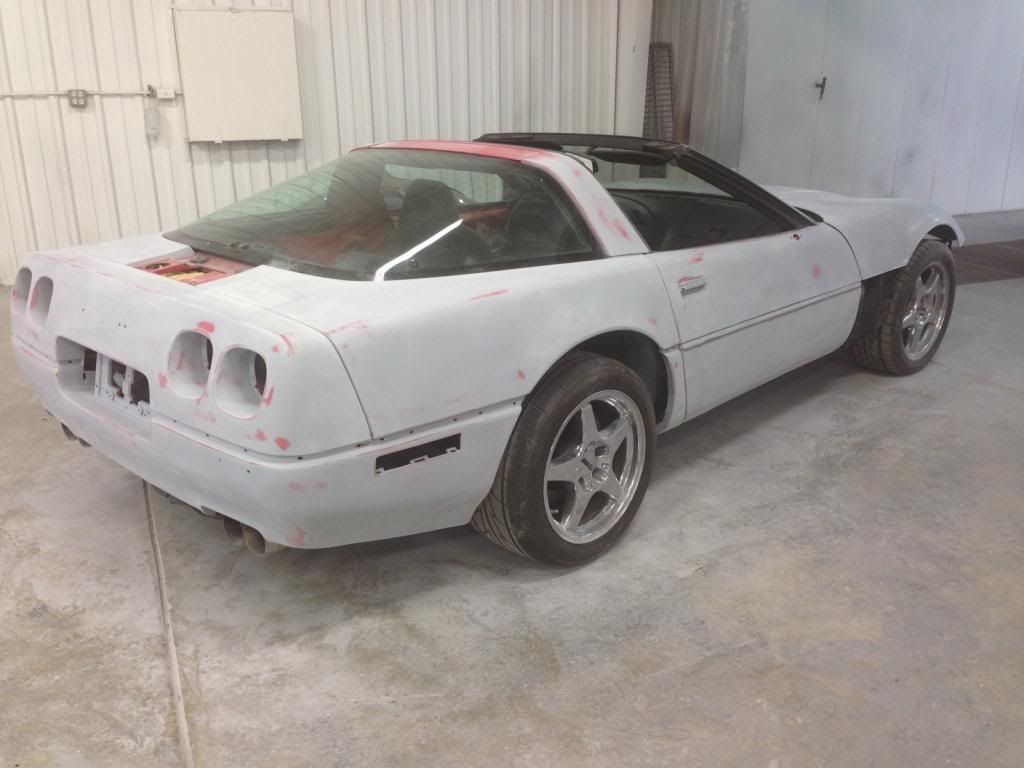
Brett Henderson assisted and coached me on the repaint process. He should know, I recon. Anywayz, we rough sanded the body panels with 280 and 320 grit w/ air powered palm sanders, but did NOT strip the paint (a la paint stripper). Then he shot it with the primer, and did a final sanding in prep for the painter (I'd have to ask him what grit he used; probably 400(?).

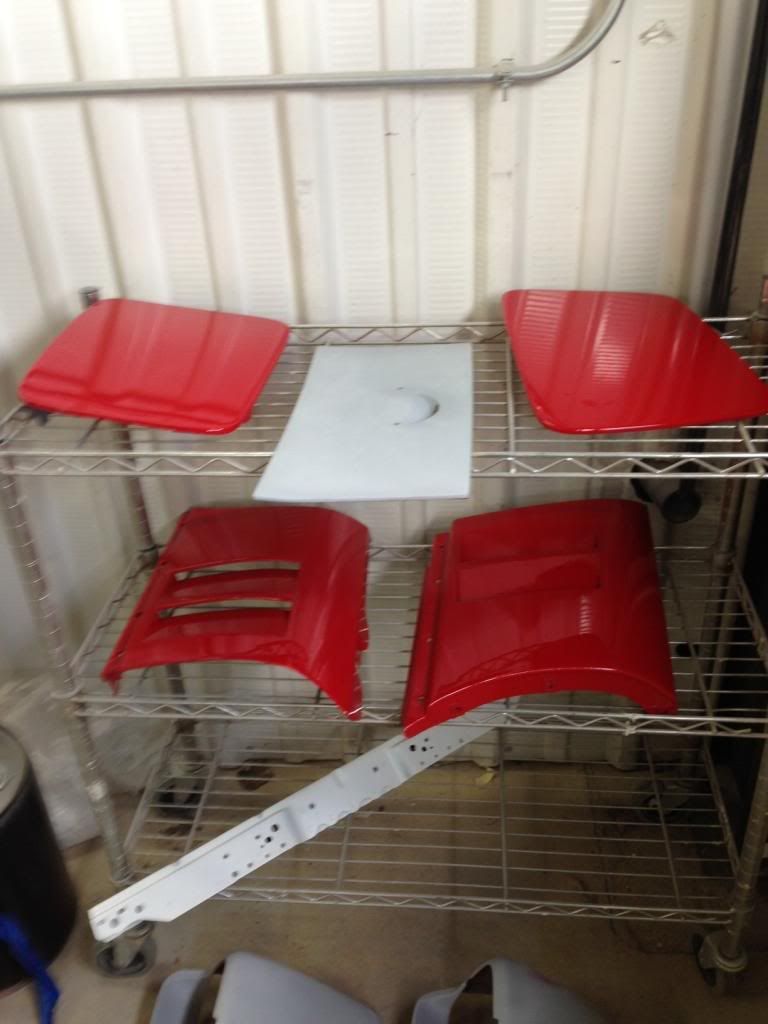
Panels were painted separately, including the bumpers. Because I was not changing the color, the doors didn't have to come off; painted in place, after masking.


The hood stayed attached, but the bumpers came off for priming and sanding - reattached in photo with just enough fasteners to hold them on.

The primer fine sanded for the trip across town to the paint shop...


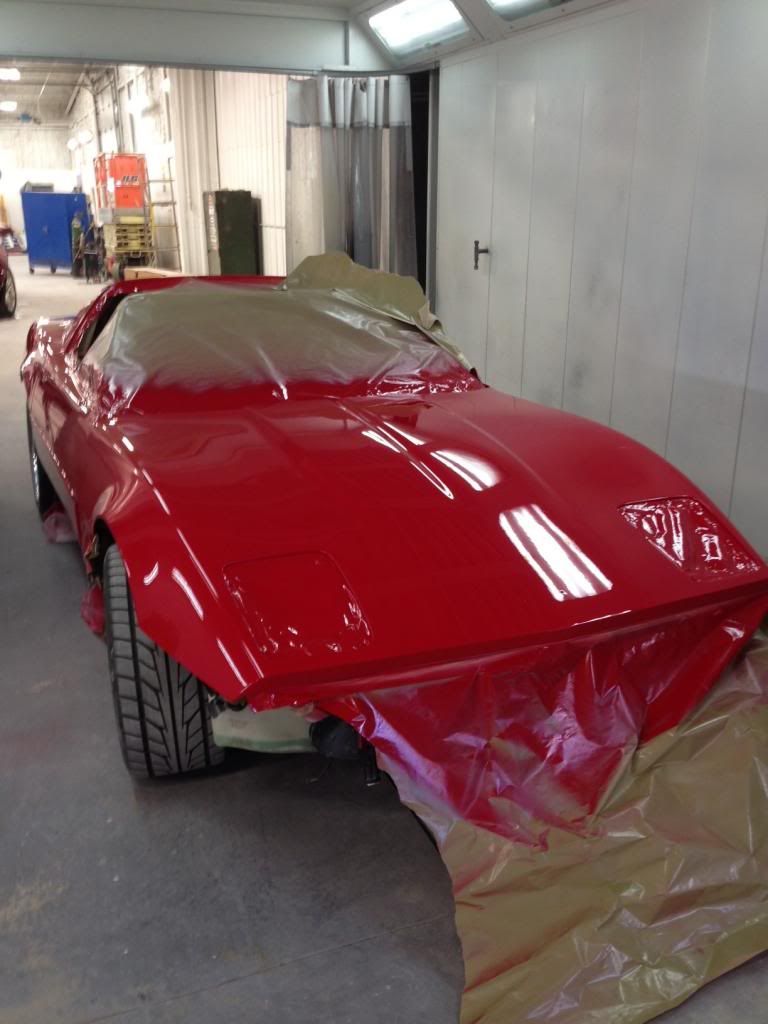
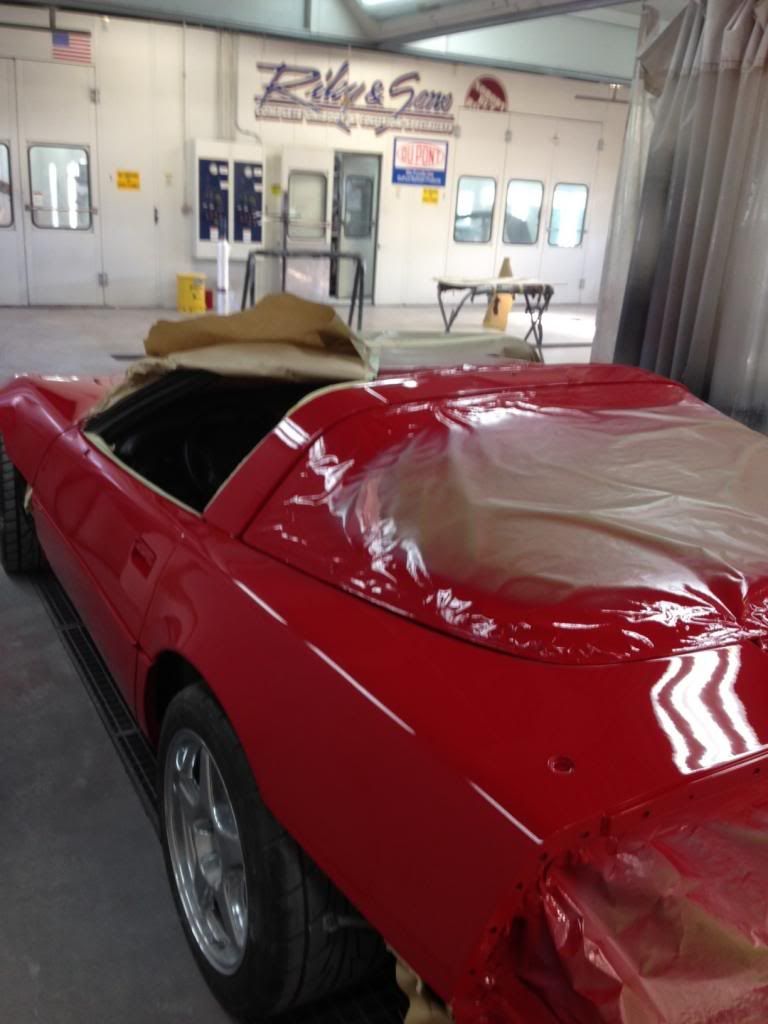
I bring these photos to this thread to show some of the basic steps that one can do before heading to the paint shop. In my case, the cost was approx 1/3 of what a "turn-key" job would have cost, in spite of the increased cost for the new Du Pont "single stage" paint (now used by BMW and some others...NOT GM tho...)

After...


Old 07-23-2015, 10:40 AM
  #28  
Dalesc4
Racer
Thread Starter
 
Dalesc4's Avatar
 
Member Since: Jun 2015
Location: Melbourne Victoria
Posts: 333
Received 19 Likes on 11 Posts
Default

Looks great mate Well I'm going to try and dos semblance the doors tomorrow
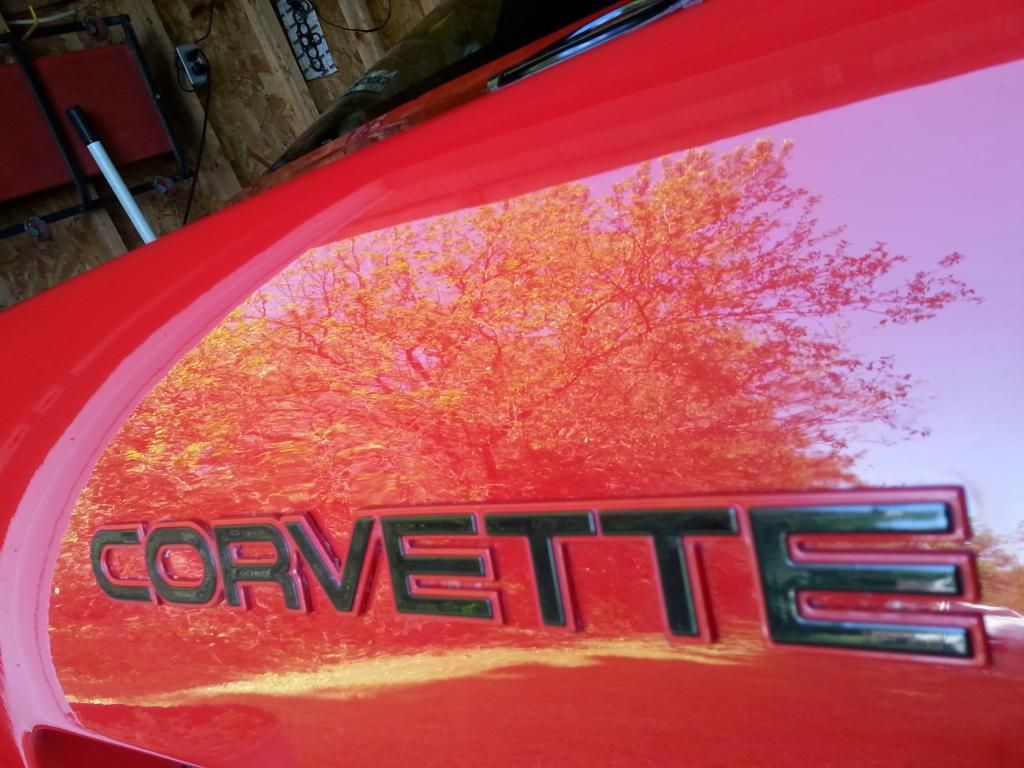
The main issue with mine is it used to be silver and now it's black
As the just taped up the strips
That's where the paint has peaked off
The passenger side window is not work
Correctly so worth pulling the doors apart
To remove handles and strips
I have a friend doing the painting in his booth
So will do similar to you with the prep


Thanks for the info
Old 07-23-2015, 11:35 AM
  #29  
shootnstarz
Burning Brakes
 
shootnstarz's Avatar
 
Member Since: Dec 2014
Location: Pensacola Florida
Posts: 1,038
Received 43 Likes on 34 Posts
Default

Looks great Paul, one step paint?

Rick
Old 07-25-2015, 02:47 AM
  #30  
Dalesc4
Racer
Thread Starter
 
Dalesc4's Avatar
 
Member Since: Jun 2015
Location: Melbourne Victoria
Posts: 333
Received 19 Likes on 11 Posts
Default

While it's getting stripped
Decided to machine sand blast and paint the
Rotors


Old 07-25-2015, 07:44 AM
  #31  
Dalesc4
Racer
Thread Starter
 
Dalesc4's Avatar
 
Member Since: Jun 2015
Location: Melbourne Victoria
Posts: 333
Received 19 Likes on 11 Posts
Default

Windows and door strips removed
Was able to get window out thru a hole that had already been cut in top of
Door
I could not undo the pin but some one had already cut the hole in the drivers side
I then used a hacksaw blade to cut a slot on the passenger side
Will remove the door handles and the rear window and weather strip tomorrow
Old 07-25-2015, 11:01 AM
  #32  
Dt86
Safety Car
 
Dt86's Avatar
 
Member Since: Jan 2014
Location: Poughkeepsie New York
Posts: 4,017
Received 482 Likes on 342 Posts
Default

Originally Posted by Dalesc4
Windows and door strips removed Was able to get window out thru a hole that had already been cut in top of Door I could not undo the pin but some one had already cut the hole in the drivers side I then used a hacksaw blade to cut a slot on the passenger side Will remove the door handles and the rear window and weather strip tomorrow
Those window stops can be a real pain to get off. One of mine came off easy and the other fought me for every mm.
Old 07-26-2015, 03:05 AM
  #33  
Dalesc4
Racer
Thread Starter
 
Dalesc4's Avatar
 
Member Since: Jun 2015
Location: Melbourne Victoria
Posts: 333
Received 19 Likes on 11 Posts
Default

Spent a few hours today
Removed the rear glass hatch
Door handles
Rear bumper strip
And rear carpet
As u can see from the pics the last person that
Painted the car did a crap job


Glass hatch off had to remove the sealant to get to the bolts and the rear stop light plug


Head lights out and will be putting new gears in the headlight motors


Rear carpet removed <br/>New carpet ordered


As u can see the last paint job was shocking <br/>U can see it pealing off


Door handles removed was simple <br/>The hardest part was undoing the nuts


Rear spoiler removed form rear bar <br/>


Rear strips removed <br/>As u can see they were not removed last time it was painted
Old 07-26-2015, 07:44 AM
  #34  
BlueMyMindC4
Advanced
 
BlueMyMindC4's Avatar
 
Member Since: May 2014
Posts: 93
Likes: 0
Received 0 Likes on 0 Posts
Default

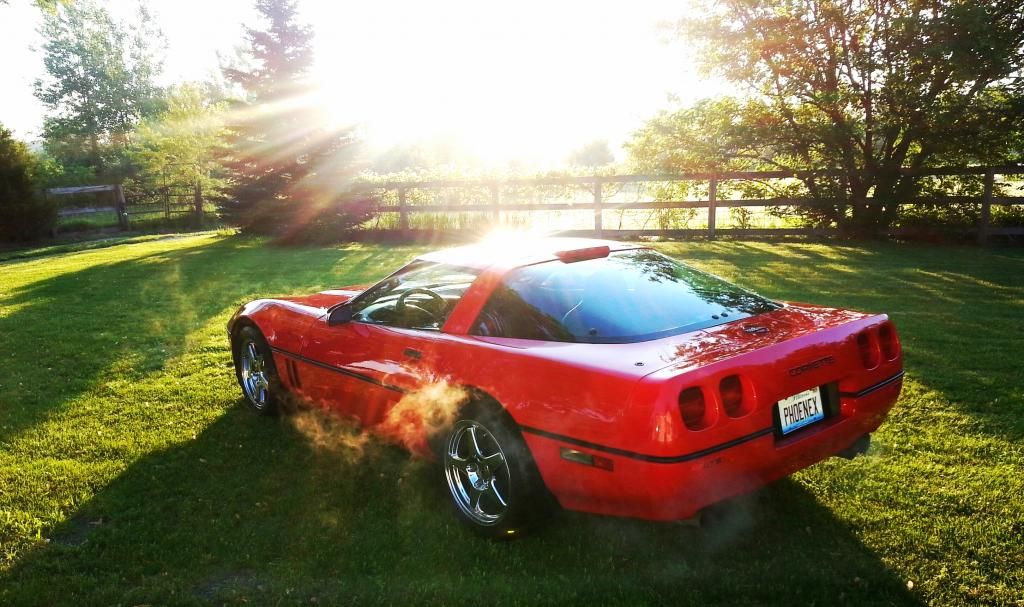
My 89 was in the same condition, as someone had painted it black and done a very poor job. Found out it was originally red, then had to decide to go back to red, re do the black or pick whatever color i wanted. In the end i went with something different (c7 blue) and havent regretted it for a second, good luck choosing a color! In the end its your car, pick whatever YOU want. Good luck
Old 07-26-2015, 10:53 AM
  #35  
Dt86
Safety Car
 
Dt86's Avatar
 
Member Since: Jan 2014
Location: Poughkeepsie New York
Posts: 4,017
Received 482 Likes on 342 Posts
Default

You're making great progress. Always nice to see them given the attention. I'm sure it's difficult to do the corvette being you're in Australia. Keep up the good work!
Old 07-26-2015, 12:51 PM
  #36  
enventr
Safety Car
 
enventr's Avatar
 
Member Since: Aug 2006
Location: Port St. Lucie West Florida
Posts: 4,115
Received 438 Likes on 397 Posts

Default

You are doing a great job. You would have to pay a fortune to strip it down like you did but the end result will be worth it
Old 07-27-2015, 08:38 AM
  #37  
Dalesc4
Racer
Thread Starter
 
Dalesc4's Avatar
 
Member Since: Jun 2015
Location: Melbourne Victoria
Posts: 333
Received 19 Likes on 11 Posts
Default

Thanks

Get notified of new replies

To The tear down begins for paint

Old 07-27-2015, 08:41 AM
  #38  
Dalesc4
Racer
Thread Starter
 
Dalesc4's Avatar
 
Member Since: Jun 2015
Location: Melbourne Victoria
Posts: 333
Received 19 Likes on 11 Posts
Default

Pulled off the door strikers today and some other parts on the doors Off to be re zinc plated
Old 07-27-2015, 08:45 AM
  #39  
Dalesc4
Racer
Thread Starter
 
Dalesc4's Avatar
 
Member Since: Jun 2015
Location: Melbourne Victoria
Posts: 333
Received 19 Likes on 11 Posts
Default

Zinc plated parts
Old 07-27-2015, 09:05 AM
  #40  
ghoastrider1
Le Mans Master
 
ghoastrider1's Avatar
 
Member Since: May 2006
Location: indy indiana
Posts: 7,708
Received 265 Likes on 240 Posts

Default

looks like its gonna be a lot of time just sanding. Looks great tho.


Quick Reply: The tear down begins for paint


All times are GMT -4. The time now is 08:00 PM.