When you click on links to various merchants on this site and make a purchase, this can result in this site earning a commission. Affiliate programs and affiliations include, but are not limited to, the eBay Partner Network.
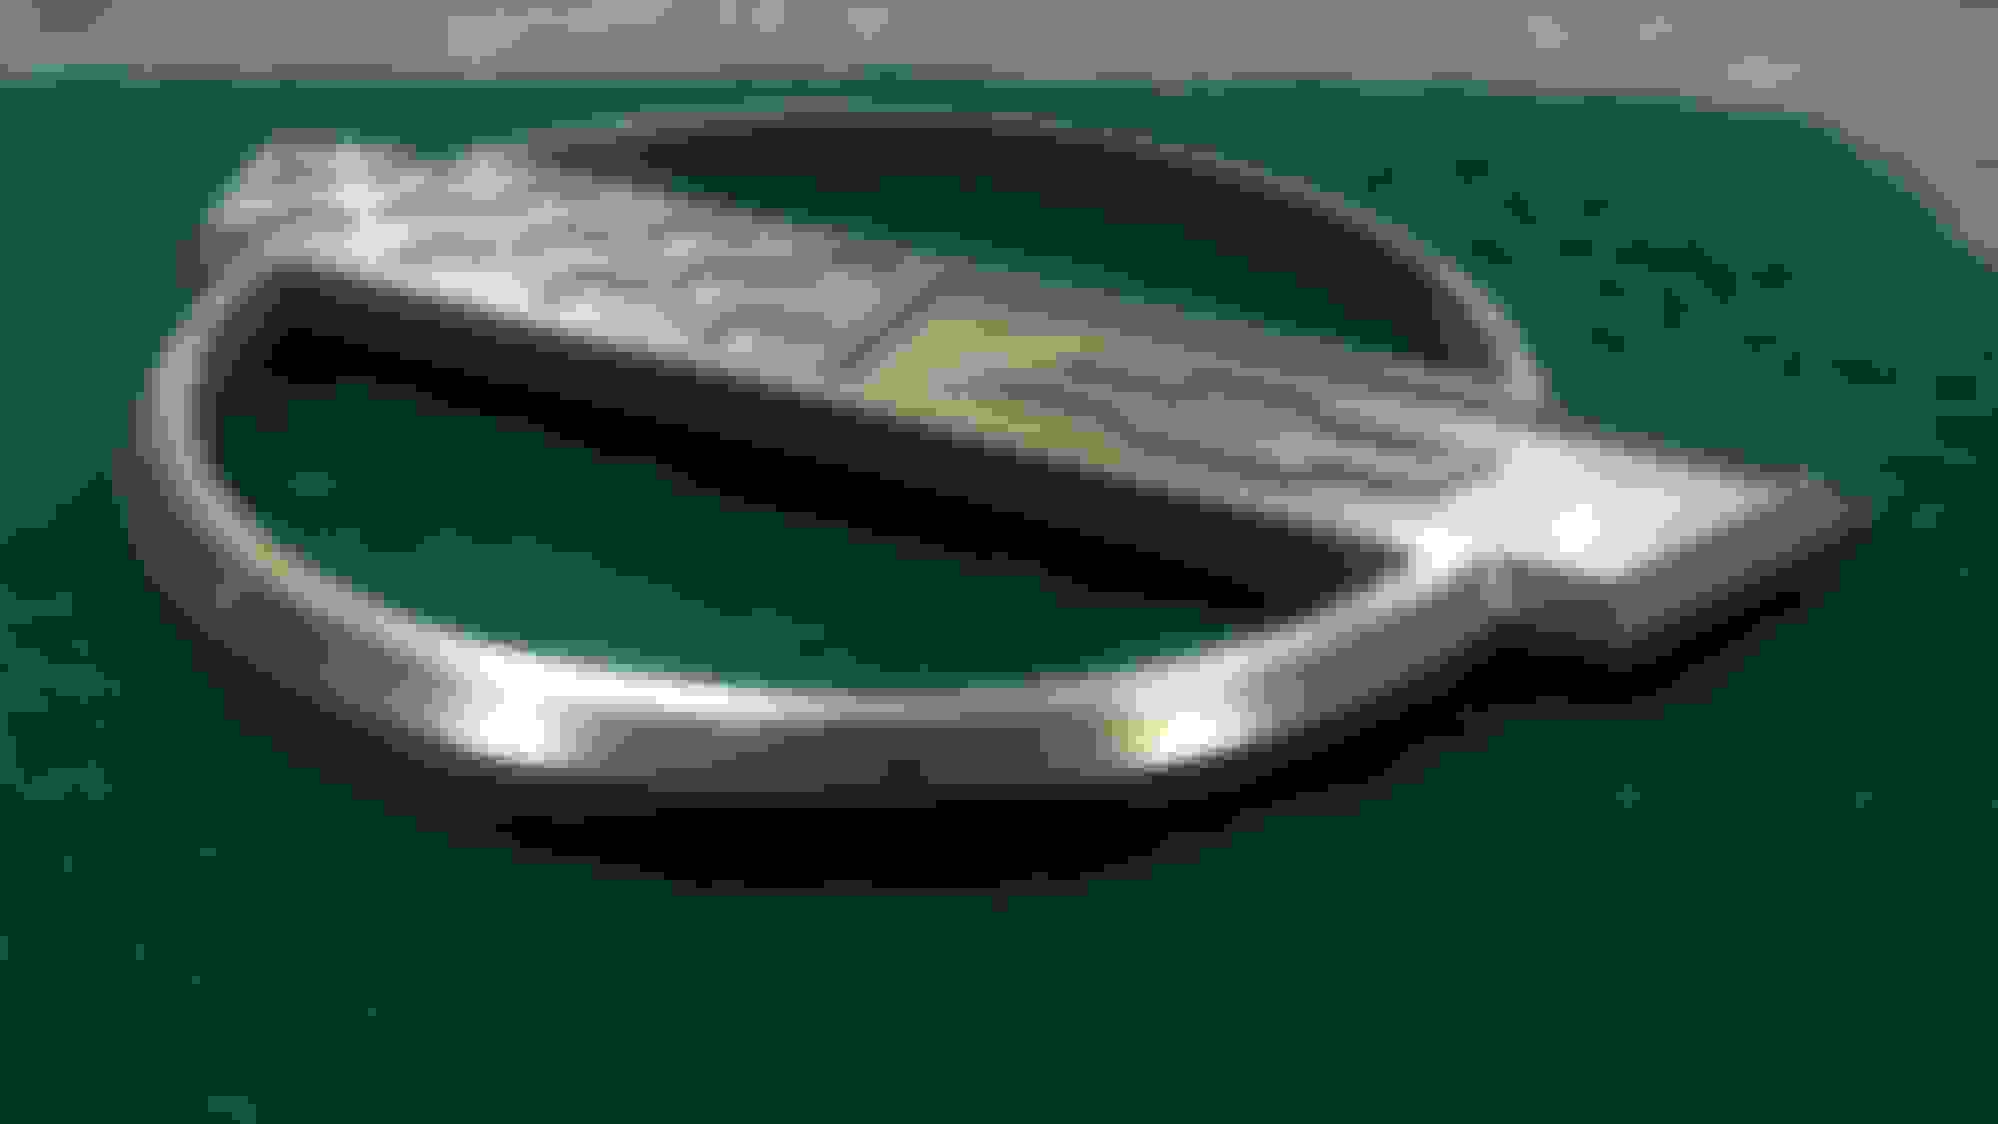
Hey everyone! Along with other various cnc C4 projects, I've been working on a new rear emblem for my polo green 93 vert, made from solid bronze. I'm going to polish and clear coat it, but other than that its finished! I'm using a m4 screw with washers to attach it to the gas lid. I'll be working on a front emblem soon as well, along with a custom plate filler to follow. Just wanted to share it, thanks for stopping by!
The attachment points match up with the original holes, and the embossments are slightly undersize in terms of length. There is an m4 screw with a washer that pulls it against the car. I'm going to try attaching it after I polish and coat it. EDIT: MESSED UP GUYS, the embossments wound up not matching up, due to a stupid error on my part, see below.
Antfarmer- I modeled out the whole case and made a test run of the outside, and I now have the polycarbonate to make a functional prototype- but the one I bought is still holding up so I took a break from it to work on my rear emblem and plate filler, since the plate filler is missing and the rear emblem is falling apart.
I'll eventually finish the FOB case.
I'm not really planning on selling these, at least not now. Just a little project I did on my break at work. I was too cheap to shell out big bux for the casted logos, and wanted to add a personal touch to them anyways
I am a machinist and I have to say that is nice work. How did you get the corners where the ring meets the crossbar to blend so well? Really small tools and 3D motion? Looks great. I wish I could have access to our machines at work but the government agency that oversees our production processes wouldn't allow it. 😩
Agh! I can't believe I did this, the hole spacing was totally wrong! I don't know how I managed to mess it up, there's like half the space there should have been, exactly. I must have accidentally spaced the holes out in autocad using the distance from the middle to each end as the overall. I rarely make mistakes like this, what a nightmare!
Oh well, I can either make another one (I've got it all programmed already), or poke two holes into my gas lid, which I'd rather not do. The old holes wouldn't be seen from the top, but still... how embarrassing. I should have made absolutely sure on the spacing before I machined it out. I'll run through another one on monday, still in disbelief I made such a stupid error.
Anyways, thank you Roys- always cool to meet another machinist! I Wire EDM'd the two half-circles out, then wired the entire piece after CNC milling the details, so that I could have a perfect sharp corner. I used a .030" flat endmill to pick out the corners on the flag/chevy logo, after roughing it out with a larger em.
Sweet looking! Machinist here also. I used to have a TAIG in the garage, selling off my equipment a bit at a time while I plan my escape to a warmer climate but the guy I sold it to is doing mostly emblem work for automotive with it. I see this keeping you busy for quite some time with all the members here.
You are correct all mine are off center. 91, 93, 95
So even if I wound up making the holes spaced correctly, it would have been off center. Weird how they did it like that, was not expecting it to be actually off center!
It was a good thing I originally made the first one as a prototype I suppose, I just thought it looked good enough to use as a final- if it fit that is.
I was hoping to keep the old one on while I made the new one, and just pull dimensions off without ripping off the old. I've got it off now, I should have been more cautious and did it the first time.
Welp, fixed the model. What a strange offset- Its not only spaced weird, but the other side is slightly lower too. Oh well, I wont make the same mistake twice!
Welp, fixed the model. What a strange offset- Its not only spaced weird, but the other side is slightly lower too. Oh well, I wont make the same mistake twice!
Nice Job, I like the order of operations, CNC machine > wire edm...what CAM software are you using? High Speed Machine?? Nice Finish..Yep you guessed it another CNC Machinist/Programmer here
Nice Job, I like the order of operations, CNC machine > wire edm...what CAM software are you using? High Speed Machine?? Nice Finish..Yep you guessed it another CNC Machinist/Programmer here
I'm using Gibbscam, intially drawn out in autocad. I plan to make this new emblem look even better!
It's cool to see so many machinists here! I squared up some more stock and will make the final emblem this week most likely.
If you do end up selling these in different designs/textures i'm sure you'd make a nice little business out of it, custom badges etc. I may also be interested in some in the future!
 01-30-2016, 12:07 AM