When you click on links to various merchants on this site and make a purchase, this can result in this site earning a commission. Affiliate programs and affiliations include, but are not limited to, the eBay Partner Network.
Hi guys I'm having trouble posting updates evertime I try to post and update with pictures it says i'm not logged in and then when I log in AGAIN it freezes up. Tried twice to post a lengthy update and it was lost both times hopefully I can figure this out soon.
Before I get to my assembly process I want to give a couple tips to anyone thinking of doing their first engine rebuild, if you are already familiar with engine assembly feel free to skip this section.
*Please note I am by no means an expert and this is not a comprehensive list*
Engine and assembly tips:
Before you start assembling an engine make sure your shop/ work space is good and clean. You don't want a bunch of dust flying around from doing body work or a random metal shaving from a drill press etc... getting inside you new engine and causing problems!
Next thing you want to do is get yourself a box of disposable mechanics gloves and change them anytime they get dirty at all.
Third thing, buy a nice box of lint free towels or rags, paper towels tend to send very fine dust out when they are torn, I personally prefer not to risk it causing a problem. Be sure to use these lint free towels to keep all the bearings and other contact surfaces clean!
Furthermore, before you start inspect all your bearings and rings for defects/ damage. Don't just assume that because they are new that they are fine. One of my 'new' main bearings had taken a hit in shipping and had a mark and a sharp edge plus a subtle Crack, that I would have missed if it did not carefully inspected it before assembly.
If possible have a good air supply available (compressor with water separator and filter), and buy an attachment that has a long narrow tube on it so you can blow out all the oil passages in the block. Be really through when doing this as you want to make sure that there is nothing in there. I did this even though my block was hot tanked because I did not want to chance it.
If you don't finish assembly all in one day be sure to seal up your engine inside a garbage bag or something to make sure it stays clean and dust free.
Check everything! Don't assume that the machine shop got it right. You really need to check every bearing for proper clearance as well as the piston to valve clearance etc� If anything is not correct fix it now! In my case everything was correct.
Don't get in a hurry or be distracted, use your whole focus and be methodical. It is easy to make assembly errors that can destroy your motor like forgetting to torque one main bolt properly because you had to quickly text someone in the middle of assembly... - don't risk it!
Once you have the Crankshaft installed but before installing pistons, spin the crank around several times in the correct direction, you should be able to easily spin it with your bare hands (no tools required), if it does not spin easily or seems to have resistance at any point during its rotation, now is the time to investigate. In my case it spun around very easily.
Be sure to gap your piston rings properly for your motor�s intended usage and for the type of pistons you are using. Unless, your rings are pre-fit. Personally, I prefer to gap mine.
Be sure you torque all bolts correctly using the recommended sequence, also be sure the torque is reached in a series of 'steps', please refer to a good engine building book for what is appropriate for your particular engine as I can only speak to what I did on my particular engine.
Buy a good assembly lube and use it on the contact surfaces of the main, connecting rod and cam bearings. The piston wrist pins should also be lubricated where they connect to the connecting rod. DO NOT put assembly lube between the block and the bearing (outside of bearings), this could cause a spun bearing!
DO NOT put assembly lube on the cylinder walls, just a light coating of clean light weight motor oil should be fine.
On ROLLER CAMSHAFT cars like mine only the cam journals/cam bearings need assembly lube, the lobes do not need assembly lube, just a little clean motor oil is fine. Please note flat tappet camshaft engines have different assembly lube requirements!
Soak your lifters in motor oil overnight before you install them.
Please buy or rent the necessary tools. If you really don�t want to spend any money, I know Canada tire offers free tools rentals in my area. Don�t do anything silly like trying to �twist a ring onto a piston, because you didn�t buy/ rent the proper installation tool!
Be aware that putting a long extension or any extension between a torque wrench and the socket may have some effect on your torque readings. You should not need any extensions when assembling the bottom end of a gen 1 SBC anyway.
Finally, please get a good engine building/ assembly book as there are many things to watch out for and many engine types.
Again please note this is not a complete list and I am not an expert, just a regular guy wanting to help my fellow enthusiasts with a few of the tips I have learned.
Next the piston rings were file fit to the appropriate gap... each ring was fit to the cylinder it would be in.
Next the floating wrist pin was installed to connect the Piston to the connecting rod. the wrist pin was lubricated and then the spiro-locs were installed to retain the wrist pin. (sorry forgot to take a picture of this)
The Piston rings were then installed using a ring expander tool... be careful that they go on the correct piston as they are fit to each cylinder.
The connecting rods and pistons were then installed and all the rod bolts were torqued to spec...
If you are doing this please be sure to use a piston installer so you don't damage the rings, additionally when you push the pistons down into the block be sure to watch that you don't nick the crankshaft with the rod bolts, some people put hose over them to reduce the risk...
In order to install the seal into the housing I put it between two sturdy pieces of metal and then pressed it in using a bench vise until it was fully seated... it is important that the seal goes in straight as it can be easily damaged, also do not ever just hammer a rear main seal into its housing!
Here is the new seal in the housing...
I like to put some RTV sealant on the outside of the seal where it meets the rear main seal housing to prevent leaks... DO NOT put sealant between the crank and the seal itself!
The rear main seal was then installed onto the engine.
Next I installed the oil pump and pick up. In MY application the tube bolts on in a fixed position and is matched to my oil pan. (sorry forgot to take a picture.) I think normally you need to set the height of your pick-up tube compared to the bottom of your oil pan then press the tube into the oil pump and tack it in place.
New GM one-piece oil pan gasket
Oil pan and timing chain cover ready to go into the car
Timing chain cover, gaskets and s/s ARP bolts.
ARP s/s oil pan bolts...
Oil pan and timing chain cover installed...
I love the ARP s/s bolts
The bottom end of the engine is now assembled!
I put a plastic garbage bag around the engine, sealed it closed with electrical tape and pushed the engine into my shops closed storage room and called it a day!
Great pictures! What Pistons are you using? I'm in the same journey as you, but my engine never rotated when I started.
I loved shifting the 4+3 once I figured how the damn thing worked.
Great solution to the HVAC filter!
I make multiple trips to Montreal for work and would love to see this completed in person. Keep us updated!
I found getting the rear main installed while on the engine stand a PIA!
My one recommendation is that you check your oil dipstick clearance before install oil pan. I had a rebuild once where the dip stick was hitting that I did not anticipate.
Great build!
No knock sensor or oil cooler on your build?
I would be happy to show it in person, however I am actually located in Langley British Columbia rather than Montreal.
Thanks for the tip on the dipstick, I did test it and was lucky as it still worked with the new oil pan.
I did install a new knock sensor, I just forgot to take a picture of it.
I was going to reuse my oil cooler, but when I looked inside of it had a bunch of little metal shavings stuck inside of it, (even though the old motor had not failed) didn't want to risk any of that stuff getting in my new motor. Also the T-hose that connects the oil cooler to the rest of the coolant system is discontinued and mine was pretty old.
The pistons are Scat ICON - 2618 Alloy.
It was a little tight to get the rear main seal on the engine while it was on the stand but I had just enough room to get it on there.
I started to read about your build earlier, just haven't finished reading it yet. It's cool to meet another C4 owner doing the same kind of build, I look forward to reading more about your build soon and best of luck on it. If I can be of any help please let me know.
Now that the bottom end of the motor was completed I moved my attention to the top end.
As I had mentioned before I had done a top end rebuild on the motor about 5 years ago (only 12,000km) so the top end was pretty fresh. None the less I still wanted to do a quick refresh on it.
First up was the cylinder heads, I first removed the rocker studs...
Next I removed the springs, valves and seals...
The heads already had Stainless valves that had a 3 angle valve job done and they look pretty good so I just cleaned them til they looked new... the springs are from comp cams and are matched to my camshaft (also low mileage) so they are good.
I had put fresh valve guides in the head only 12,000km/7,000mi ago so they should be fine too.
Head Porting Work:
The heads already had a nice bowl-blend done to them, however I opened up the intake and exhaust ports exhaust a little for better breathing. The intake port was hand scratched up with 60grit to ensure the ports were not too smooth. the exhaust port was polished nice and smooth to prevent carbon build-up. the combustion chambers were also smoothed a bit to help reduce the chances of detonation.
Finally, I smoothed out all the areas around the oil return holes as well as cleaned up the oil return holes in order to prevent oil getting trapped in the top end.
Next, I cleaned the head in the parts washer (It was hot tanked a few years ago so it didn't need much clean-up).
I did take the heads down to the machine shop and had the take 5 thousands off the heads to ensure they were good and flat and had them install new valve seals.
Here is the heads back from a quick machining...
Here are the heads assembled again...
I gave the aluminum head a nice coat of black engine paint to match the rest of the engine...
I also checked the piston to valve clearance and pushrod length at this point.
Piston to valve was fine but I had to get slightly shorter pushrods so the rocker tip would be centered on the valve.
When I did the top end re-fresh a few years ago I had gotten an edlebrock TPI intake and had it ceramic coated. I also have a ceramic coated BBK throttle body. The intake looked and worked good but I wanted to try to get a bit more out of it.
Here's what I started with...
Got my die grinder out and went to work, I don't have many pictures as it was a tiring and messy process (aluminum flakes everwhere!)
It's a bit hard to see, but on the lower intake manifold I spent a fair bit of time smoothing out the transitions between the runners and the lower intake. I also opened up the narrow section a bit near the bottom of the lower intake and tried to match it to the ports in the heads a bit better.
Here's the end result...
I don't have any pictures but I worked on the tops of the intake runners quite a bit to make the transition from the plenium better, this included a slight bit of simesing of the runners near the top.
Next, I tried to get all of the obstructions in the plenium removed and I simesed the runner holes as best I could to match the work I did on the runners.
Here's some pictures...
While porting the plenum the grinder slipped and ran onto the top and ruined the ceramic coat SO, I had to have it recoated after porting, but it did not cost much.
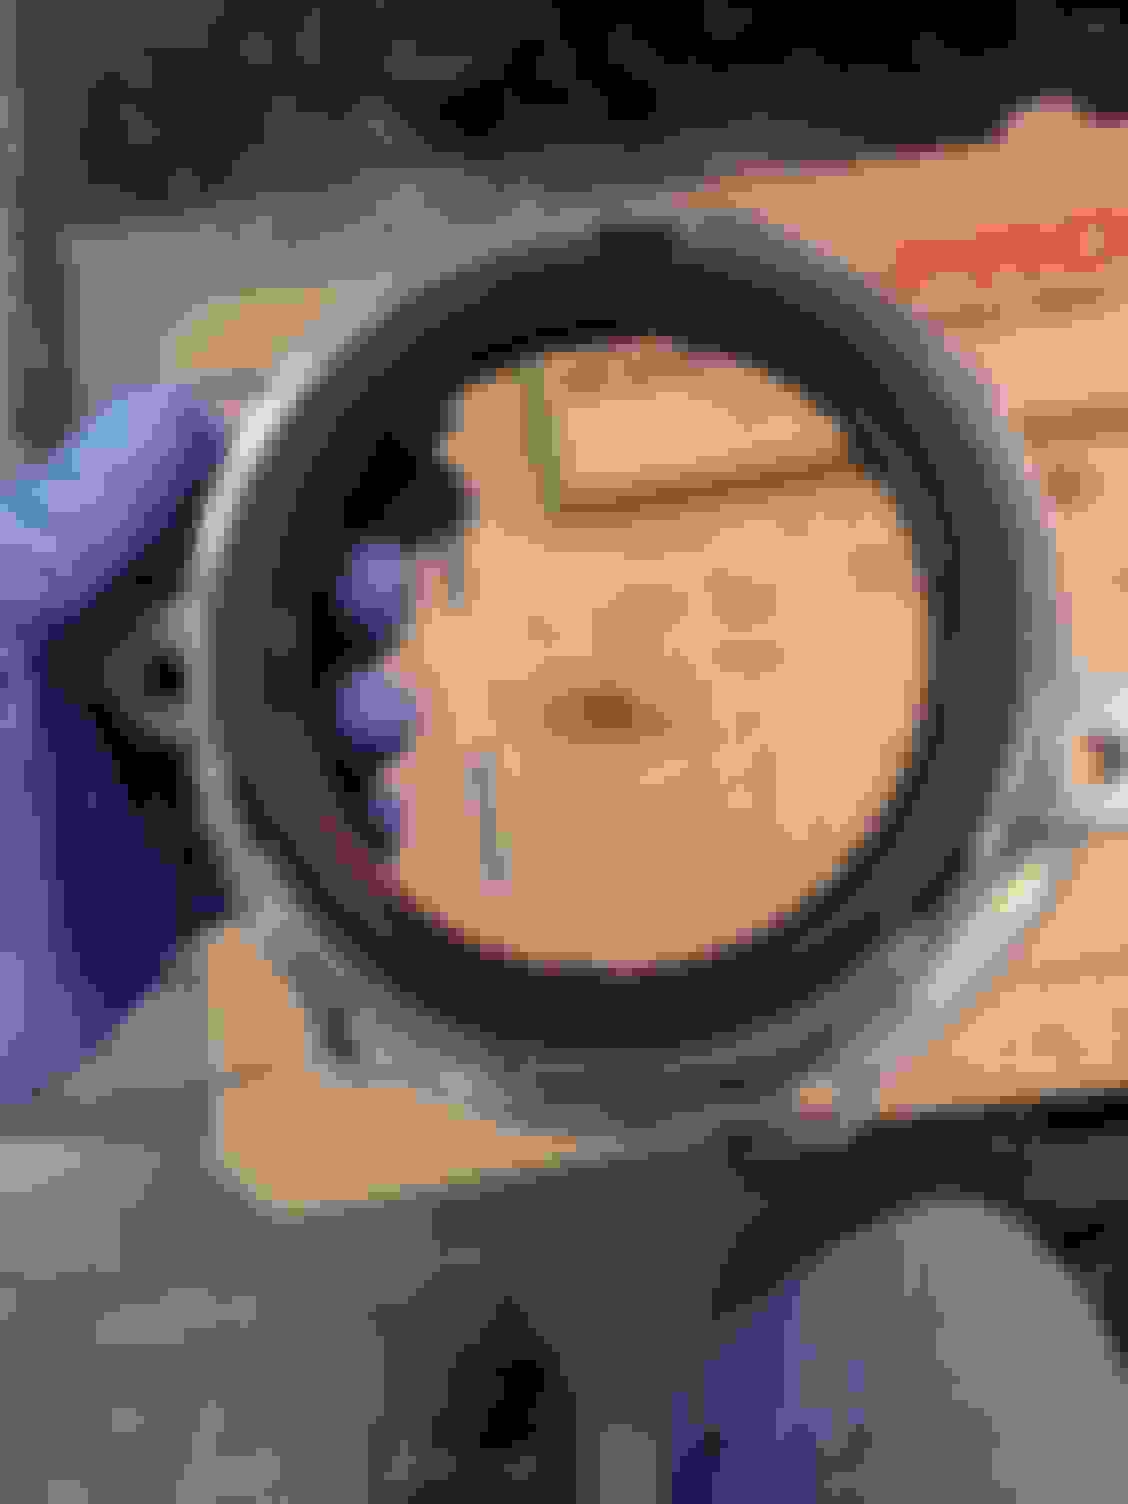
This is what the inside of the plenum looks like where it meets the runner...
I'm Not sure how much all this porting work will help, but its hard to imagine it not having some affect when I think about what I started with! Anyway at least it was almost free aside from all my time and a little re-coating.
The 4+3 came back from the trans shop as well. They said everything was good inside. So I just had them replace all the rings, bearings, seals, gaskets and syncros as a preventative measure.
I had the hard parts of the trans all cryo treated when I first had it rebuilt back in 2004 which seems to have been a good investment since it has stood up so well after all these years.
Almost forgot- I replaced the throw-out bearing with the one that came with my new clutch - you have to remove the bellhousing to do this, which took me a bit to figure out!
 03-15-2016, 01:59 PM

 hopefully I can figure this out soon.


 SO, I had to have it recoated after porting, but it did not cost much.