When you click on links to various merchants on this site and make a purchase, this can result in this site earning a commission. Affiliate programs and affiliations include, but are not limited to, the eBay Partner Network.
The factory stereo received a speed sensor signal and got louder as speed increased. Does this aftermarket have the same provision?
I'm not sure If the CD player has that provision as I got it given to me for free. My factory Tape player died over a decade ago and the whole stereo is an aftermarket system my friends and I put in back when I was in high school, I need to redo the stereo system again to get a more balanced sound, but for now this works and sounds decent.
I apologise If this post is a bit wordy, but I wanted to be through so everyone knows what's involved in getting a new engine started.
Now that everything else I needed to do first was out of the way it was finally time to start the engine for the first time and bring my Corvette back to life. being that this is the first engine I have done a full rebuild by myself on an engine, I was nervous, I mentally went over everything several times and so far as I knew everything was done correctly but I still worried. Anyway, to help my odds of everything going successfully I called for some backup, I had my friend's Will and Kurt come by to help me get it going. Since Will is a mechanic and Kurt is a welder/ fabricator I figured things would work out ok.
After inspecting the engine, they noticed I had a couple spark plugs wires on the wrong plugs, whoops... but no harm done, we just quickly switched them around. Next we primed the oil pump and turned the engine over by hand a few times in the process - gauge showed good pressure
Since I have a gauge on my fuel pressure regualtor we could see I had good fuel pressure at the fuel rail...
Coolant was topped off and we did a final check of all fluids.
Now was the big moment, tried cranking it... cranked over for a couple seconds but did not start, so we looked into the timing. After a slight adjustment to the position of the distributor cap we tried again...
Cranked it over and this time it fired up after a couple seconds of cranking, ran for about 30 seconds and then died.
Will and Kurt didn't see and leaks so we got the timing gun ready and fired it up again, after the timing was adjusted we shut it off, reconnected the electronic timing control and fired it up again. Although I have a roller cam to be safe I varied the rpm from 1800-2500 until the engine was fully warmed up (20minutes) and did not let it idle at all and then shut it off.
when we did a final check for leaks there was one small coolant leak that I had to fix, I had put a plug where the little fitting that connects to the heater core hose used to be and that leaked even though I used thread sealant??? - I replaced that with a bolt and different thread sealant the next day which fixed the problem. Here's a few pictures of the engine now that it was running and my two friends who kindly helped me get it running - big thanks to them for their knowledgeable help!
The next day I drove the corvette down the drive way to the house and washed it for the first time in 2 years (was very dusty) After washing it it started to rain, so I pulled it back into the workshop again.
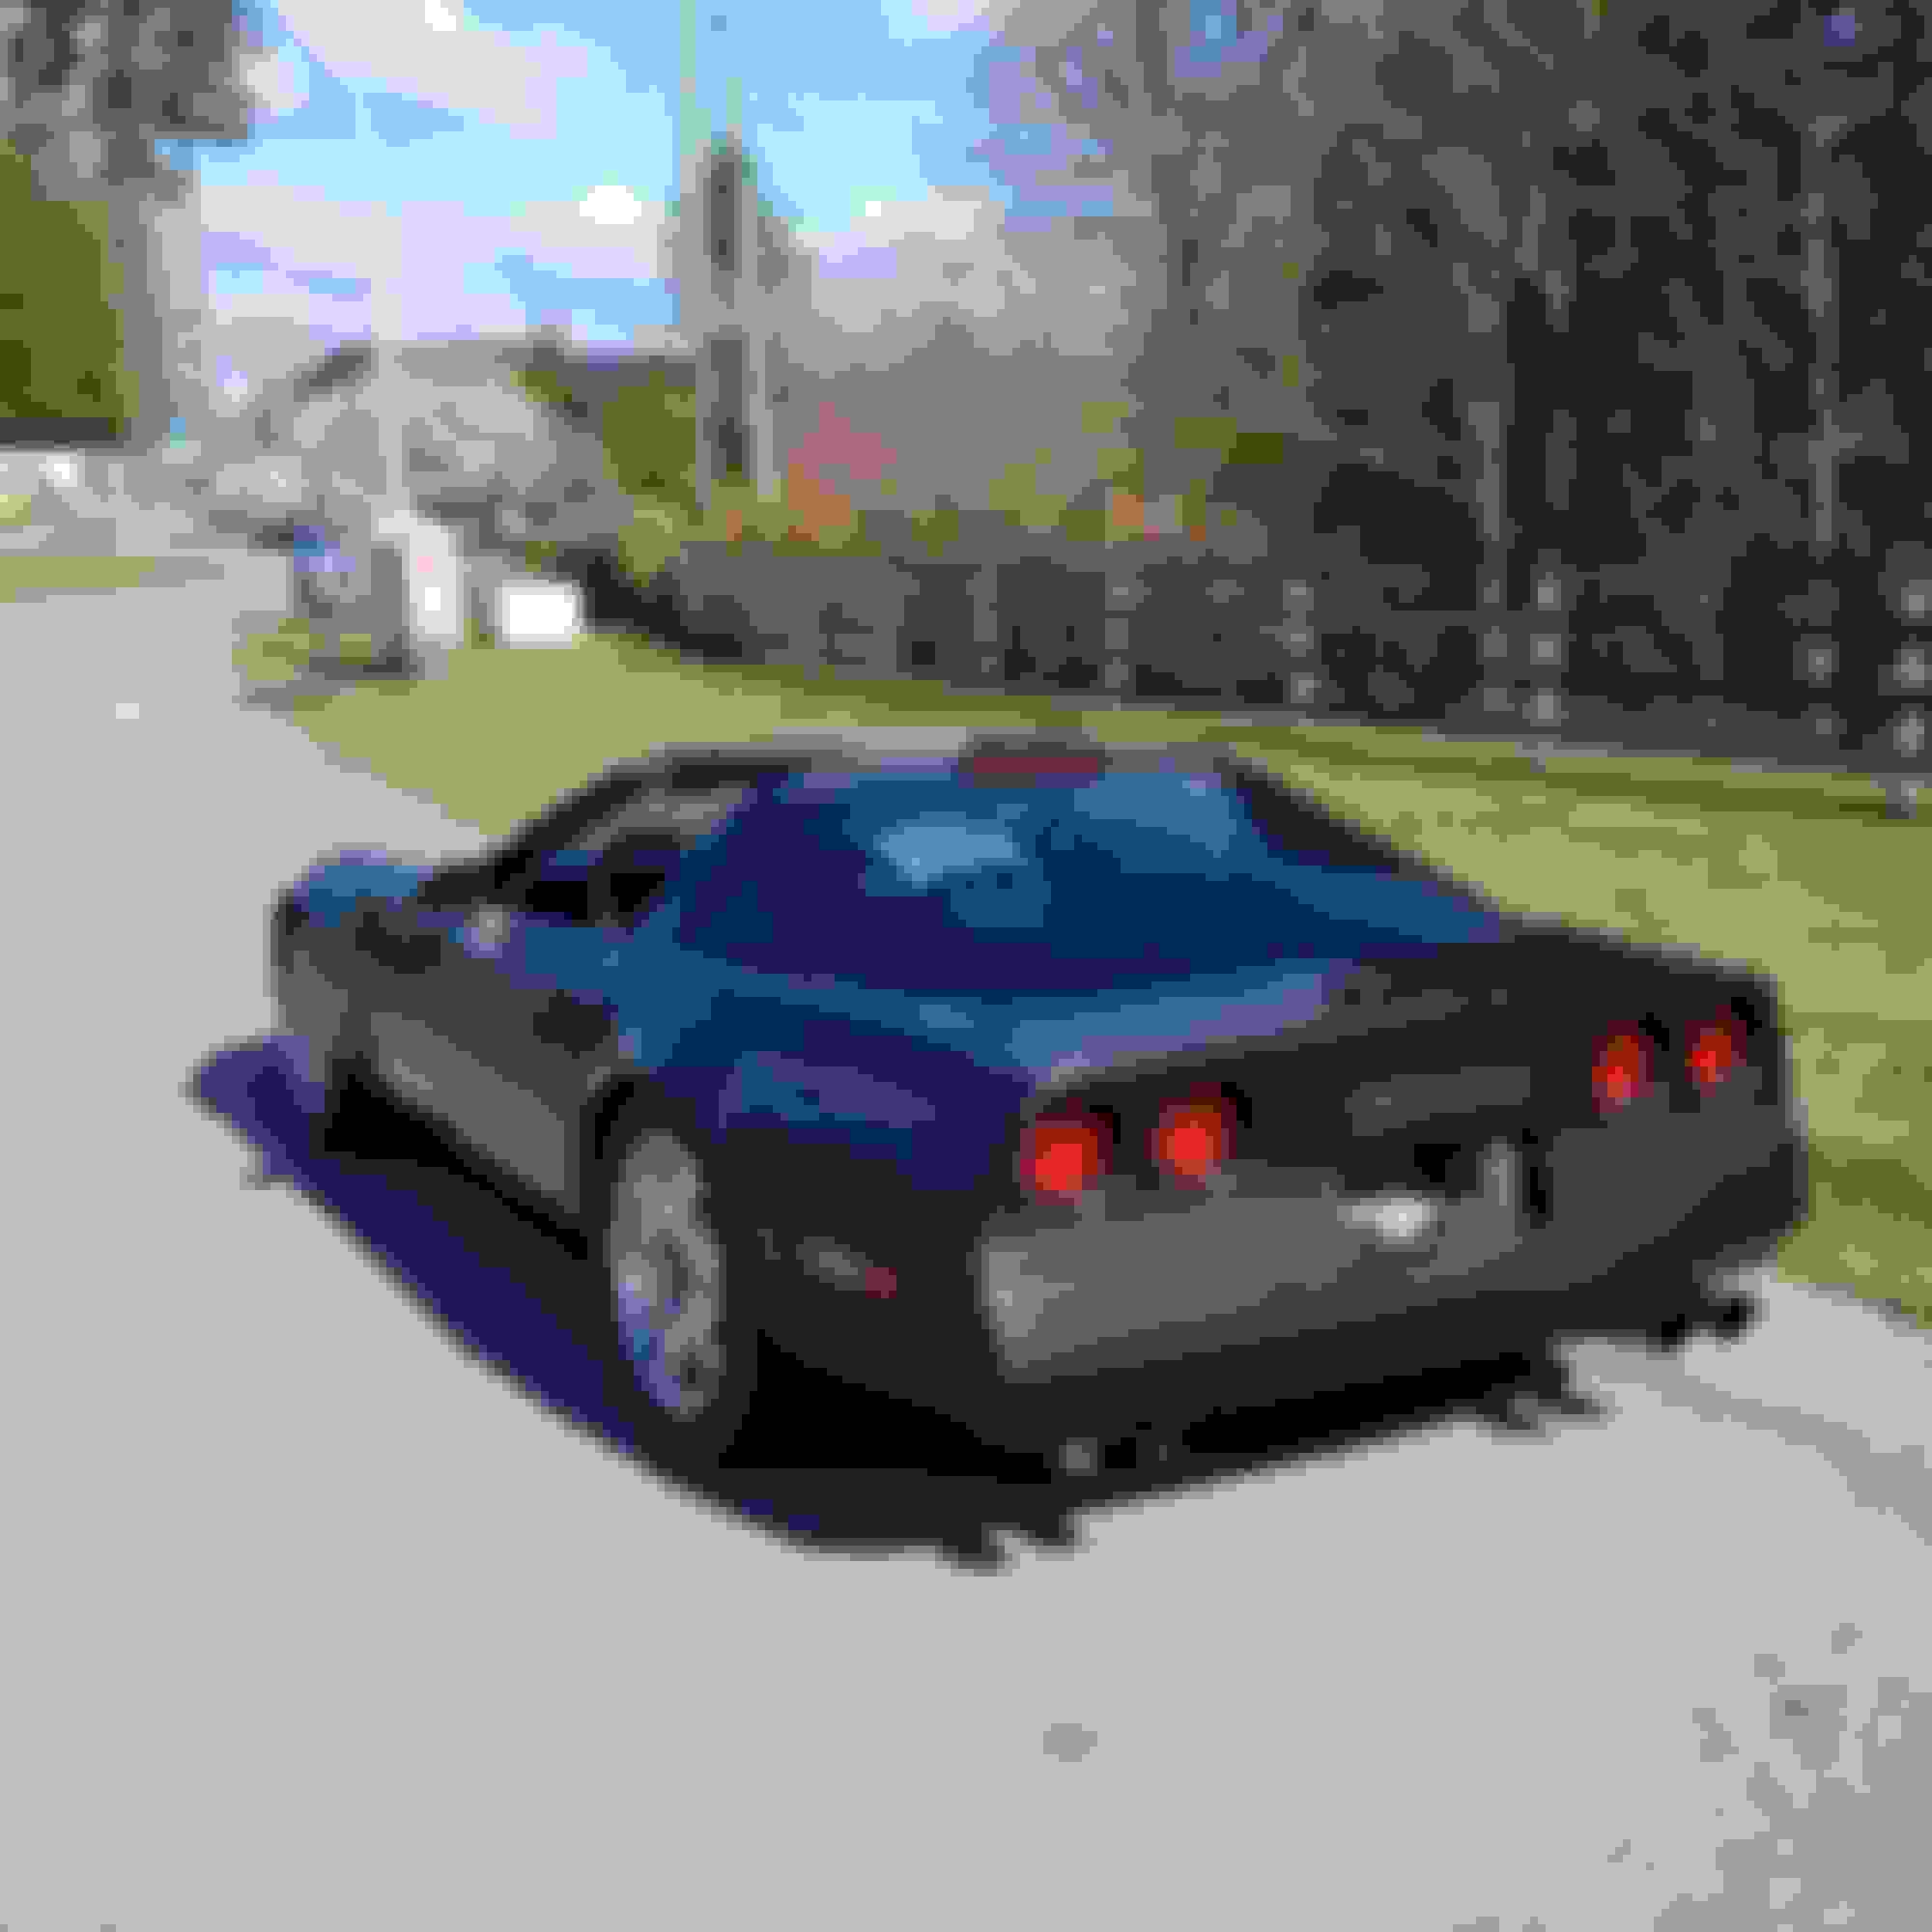
The Corvette finally moving out of my workshop under its own power after 2 years of work!
After its first wash in 2 years...
Of course being mid-February in Canada I had to wait two days for the weather to co-operate before I could put a permit on it...
The day I put a permit on the Corvette it rained in the morning but let up in the late afternoon so I seized the opportunity...
When I first got on the road I immediately found I had an issue with the suspension... the front end was almost hoping forward, took it back into my workshop and adjusted the toe setting, now it drove ok...
I drove the corvette for about 30min to seat the rings, during the drive I did not let it idle and varied the RPM, I also did several part throttle acceleration runs to 3,000RPM and then let it slow down while in gear, this was followed by a few full throttle acceleration runs up to 4,000RPM and again let it slow down while in gear. So far so good engine ran pretty strong and no problems and no smoke out the tail-pipes, so drove it back into my workshop. Did not find any leaks upon inspection, so I called it a day.
Awesome progress, glad to see it on the road! Must of been such a good feeling!
It was super rewarding to get the car out again for its first post rebuild drive. It was also a big relief that the engine I built worked properly. Although I did still have a fair bit left to do but now I know It runs
One thing on the interior that I needed to deal with before I could start driving the car again was to fix the driver's side hush panel. Mine was broken and kept falling down in front of the pedals, which was both annoying and dangerous.
Here's a picture of my old one, which was missing a big piece of plastic...
Found another one on ebay after some searching. It's in mint shape.
When I put the two side by side I noticed that they were a bit different, I figured out the reason for this was that my car is a manual trans so it needed a larger 'slot' in the panel to fit the clutch pedal...
Here is the new one and the old hush panel...
The solution was simple, I just used a little hand saw and cut a little material out so there was room for the clutch pedal and then everything fit...
When I had the engine out for the first drive I did notice a couple small issues that needed to be addressed. The engine was idling at around 1,000 RPM once it was warmed up and had a slight whistling sound. So I have a vacume leak. Also, it has a bit of a lifter tick, so I need to adjust the valve lash.
After adjusting the valve lash, I did not hear any lifter noise when the engine was cold but I will have to see once the engine I warmed up if it makes any lifter noise at hot idle.
I also found the source of the vacume leak, I was a small vacume line that runs just below and behind the fuel rail, it was disconected at a coupling that joins the hose together. reconnected it and now I idles fine. Here's the hose...
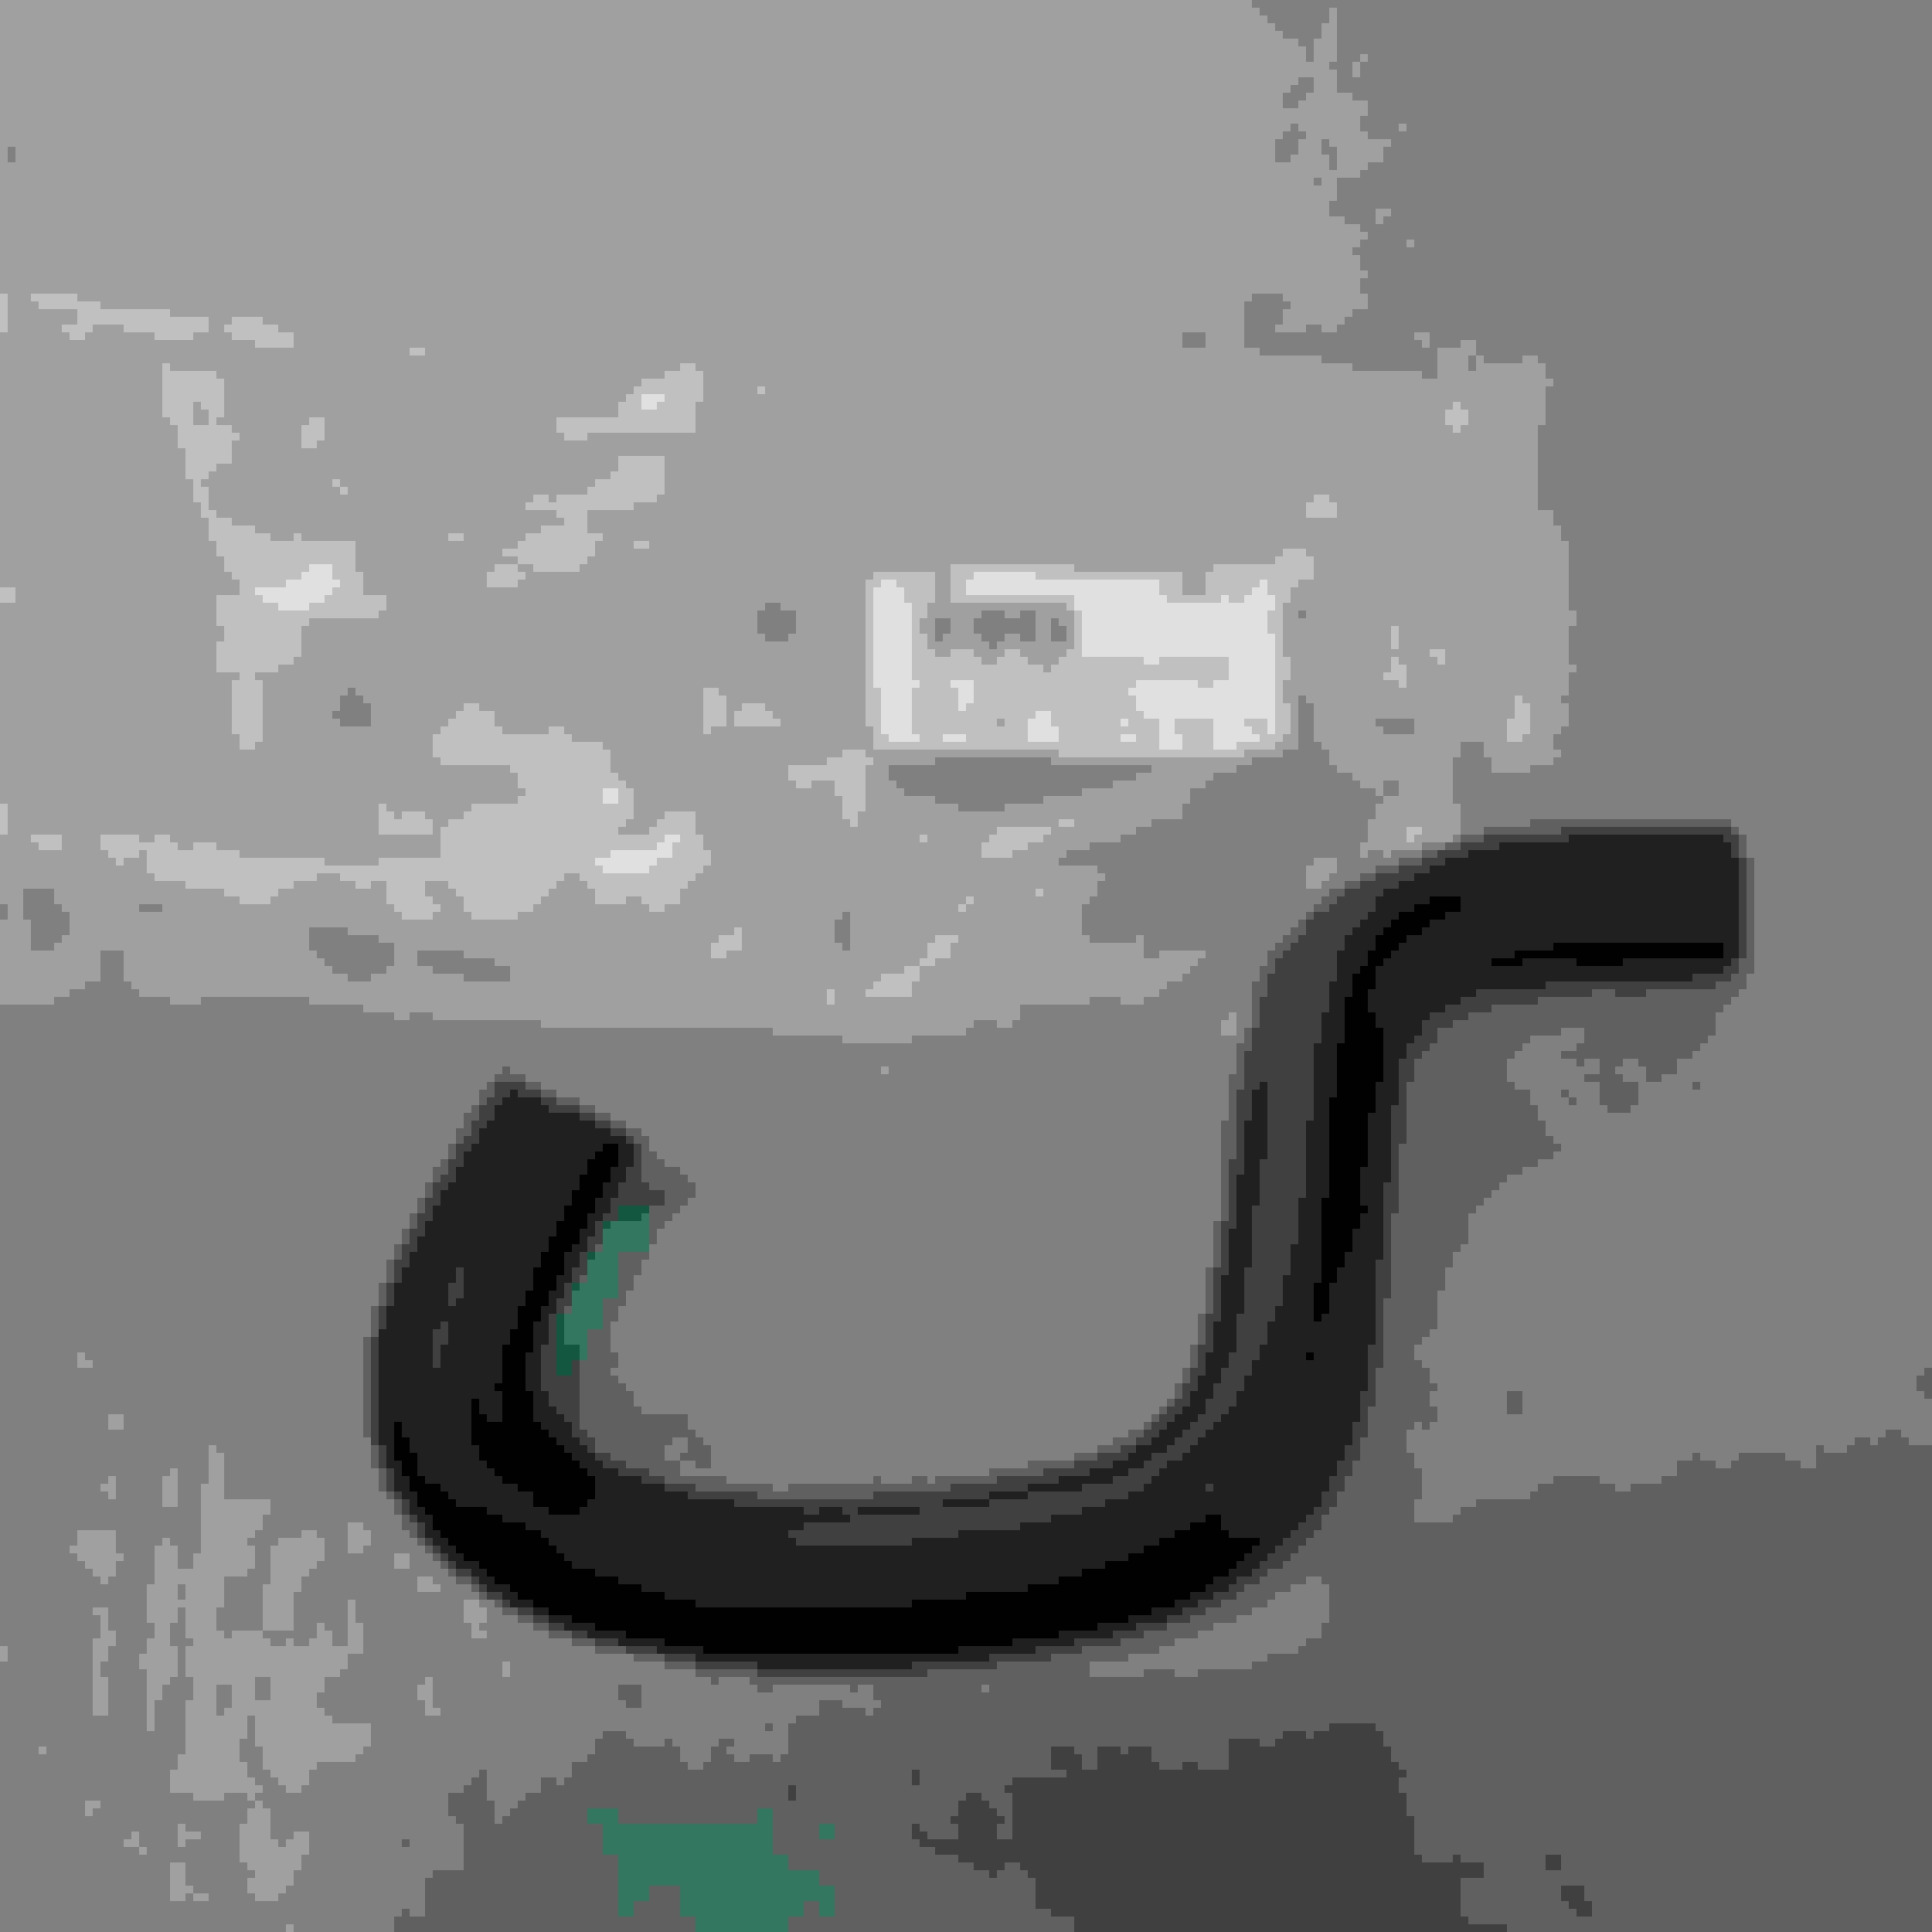
I had already replaced the power steering pump and pressure hoses, I figured the non-pressure hose would be fine as I replaced it some years ago, but it started leaking at this point, so I replaced it with a new one.
Here's the old hose compared to the new one.
Replacing the power steering hose stopped the small leak of power steering fluid so that's one more problem solved.
Good to hear Is the car going to be dyno'd? would love an idea of how much power the car makes on the rebuild and the money you put into rebuilding it, not sure if you said already!
not sure if the pick don't show it or maybe you let that detail slip but if theirs metal in filter it will be on the outer side of the filter in the folds . the side shown in the pic should be spotless. and I would think you would find a few small particles
not sure if the pick don't show it or maybe you let that detail slip but if theirs metal in filter it will be on the outer side of the filter in the folds . the side shown in the pic should be spotless. and I would think you would find a few small particles
what I did with the filter was to use tin snips and cut the metal outer case away, I then pulled the actual filter out (intact) and did not see any metal on the outside of it, so I then tore the actual filter material open and carefully looked through it for metal with a light. I did not see any pieces or anything sparkling at all. I also used a super clean oil drain pan to caught the oil I took out of the pan, and when I drained it out into a waste oil container using a funnel I had a light shining on the oil as it poured out, I did not see any sparkles, so I'm pretty sure it is metal free. I am going to change the oil again after 500-600 miles and open the filter up again to check for metal. If there is a better way to check for metal please let me know...
Good to hear Is the car going to be dyno'd? would love an idea of how much power the car makes on the rebuild and the money you put into rebuilding it, not sure if you said already!
Hi Branden,
As far as cost, please remember I live in Canada and our dollar was/is worth a fair bit less during the time I was building it, also we have taxes and even some tariffs on certain things when I import them so Its a lot more expensive to build cars up here, not to mention shipping. I believe my total cost for the build is about 11k in Canadian dollars, this included the wheels and tires (I will cover that in an upcoming post) and all taxes and shipping. I'm guessing I would be around 6-7k to do the same build in the US, paying with US dollars instead of Canadian dollars. It is well worth the money to me just for the experience alone. Plus I'm quite happy with the way the car is turning out
I have not decided if I will spend the money to dyno it or not, HP was not one of my main goals but I am a bit curious- we shall see. my guess is it between 375-400 hp at the flywheel and over 450lbs of torque. Not crazy fast by any means but should be durable and fun. Plus I have a 500hp daily driver anyway. But the corvette will handel really well I think.
The cost to build just the motor was right around 3K (Canadian dollars), but I was able to reuse a lot of the top end parts from my old motor to save money.
I can't remember If I covered this already but around the time I started the motor I also replaced all the clutch hydraulics as the system failed. Didn't really take many pictures, but I replaced the clutch master, hose and slave cylinder.
Installation is easy, you have to reach up under the dash to disconnect the pedal from the master then you can just un-bolt it. I had to remove the driver's side header to gain access to the slave cylinder. I also put some insulation around the Slave and hose since they are very close to the header. After I finished the clutch pedal worked and felt normal again.
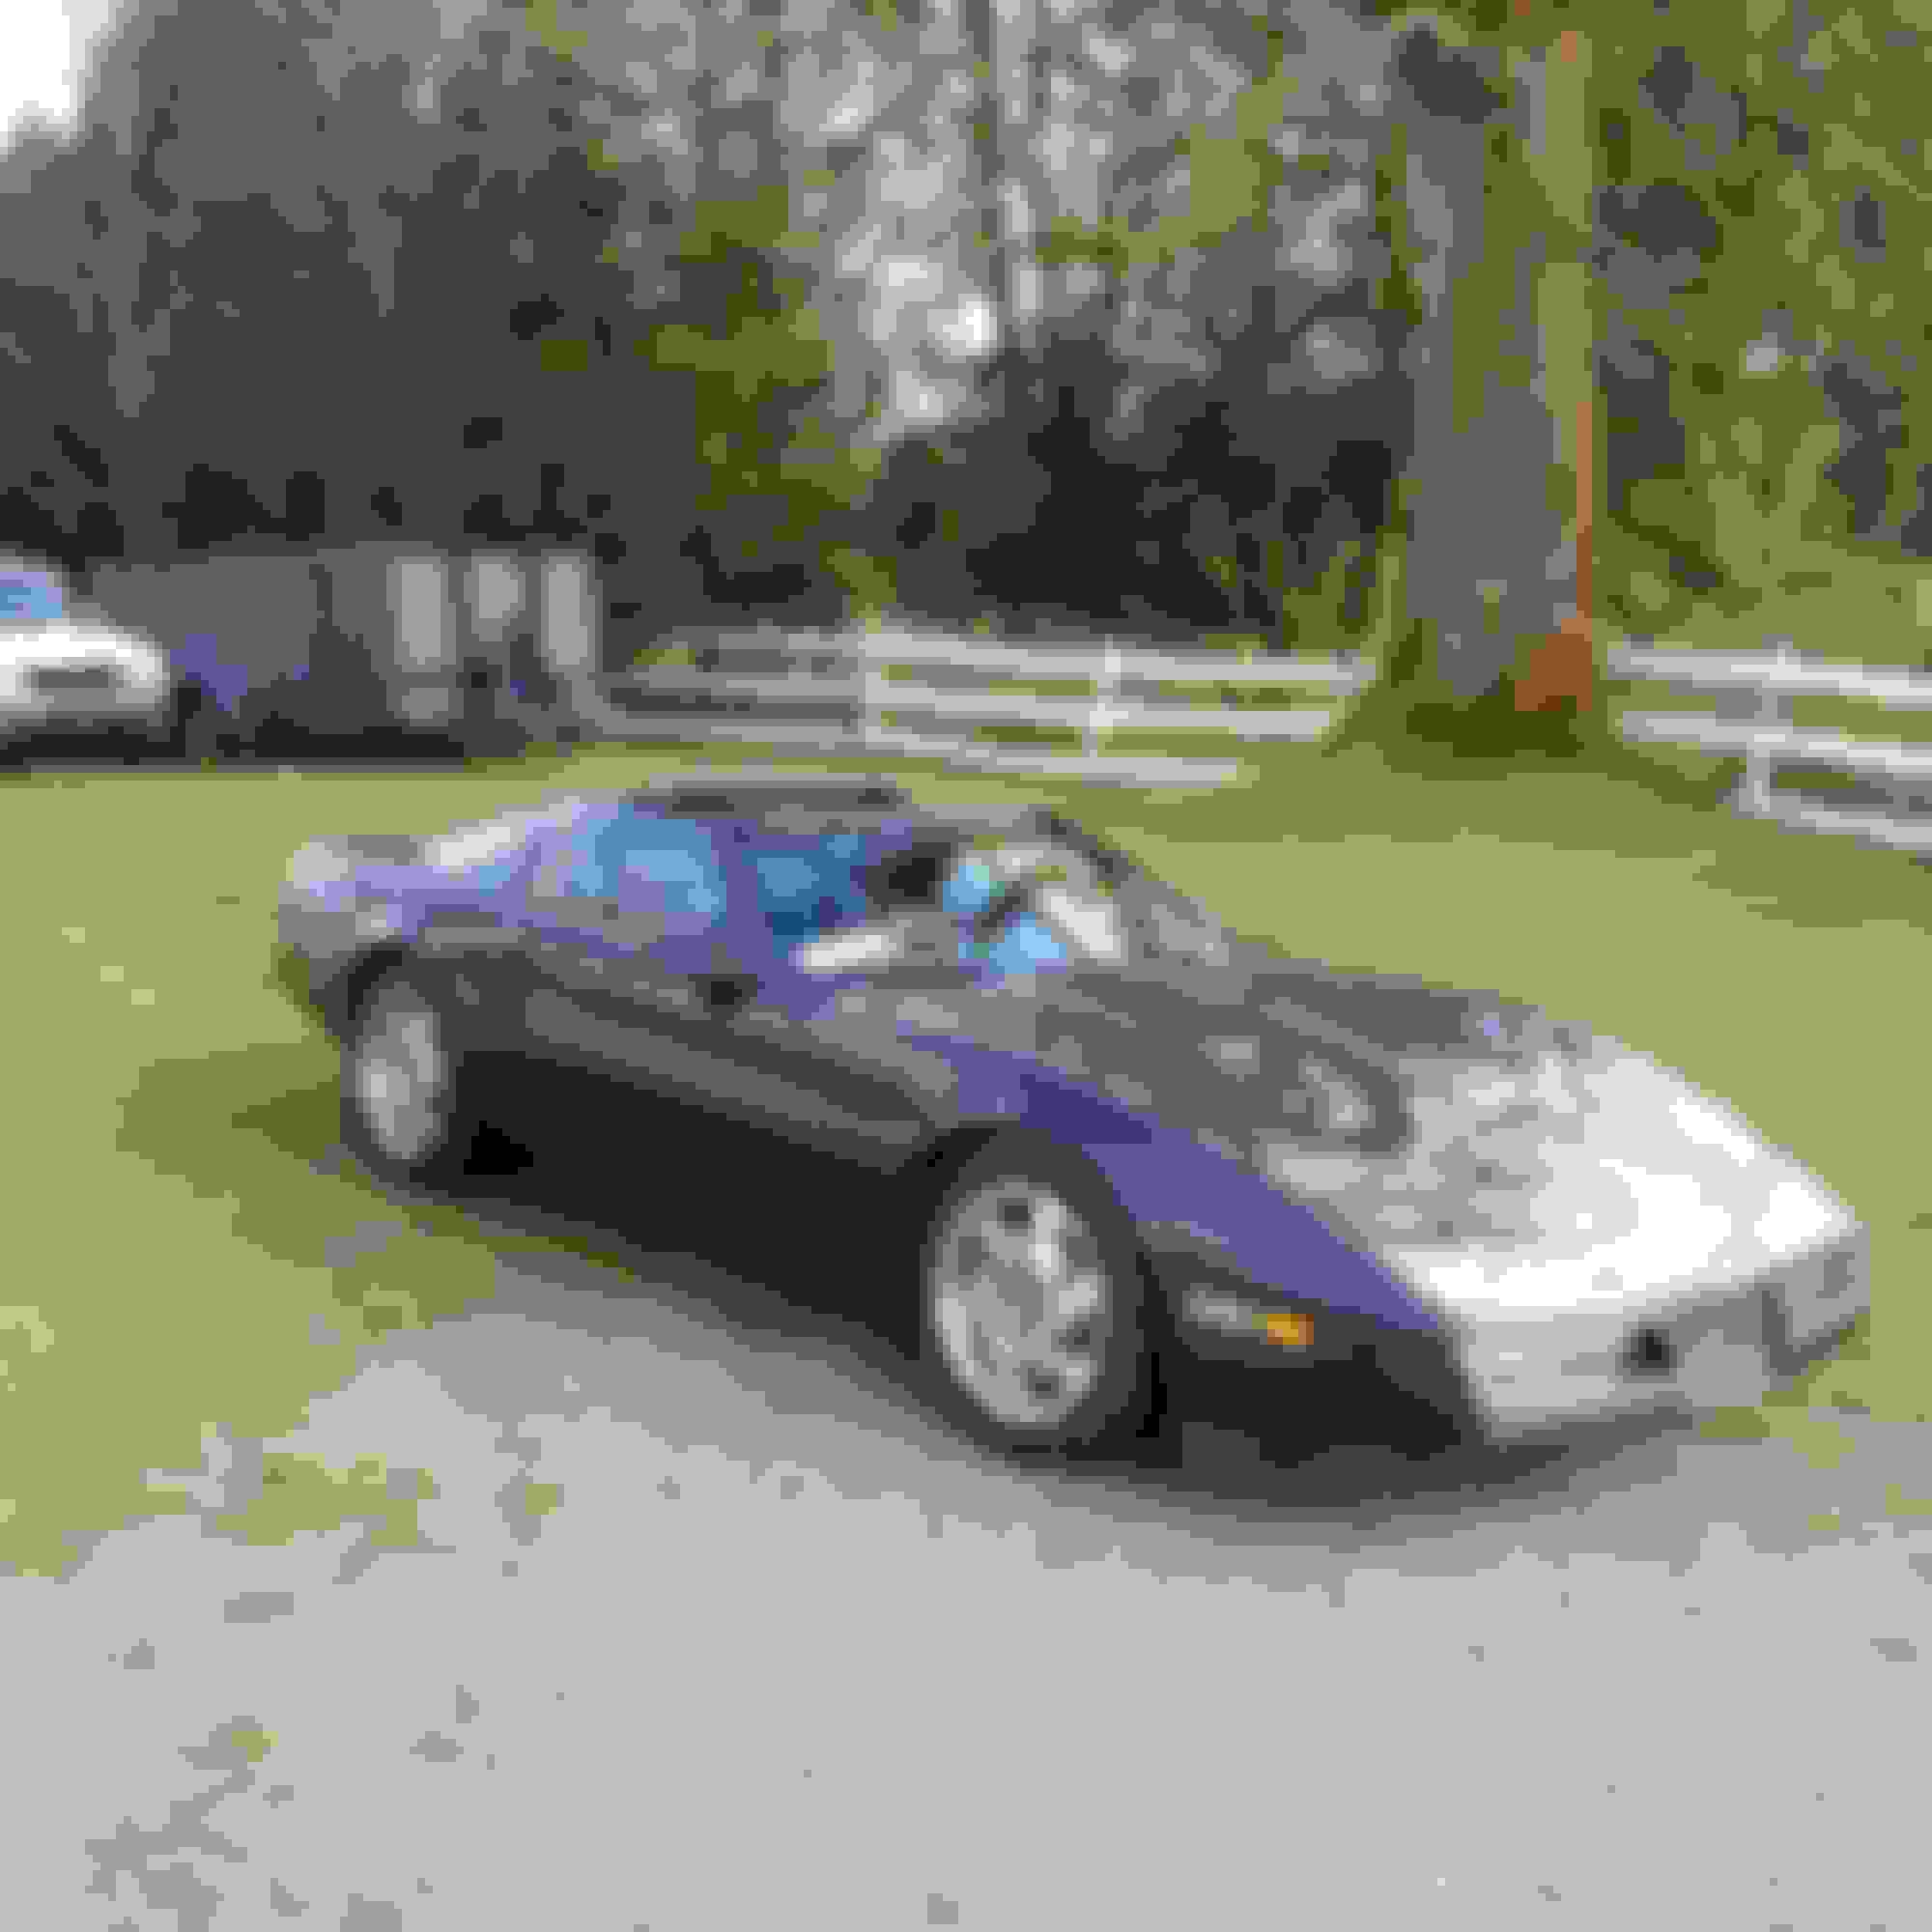
At this point is was the end of March 2016 and it had been over a month since my initial road test. I believed I had taken care of most of the issues I noticed during the first short drive and I figured since we had a good stretch of weather it was time to take the Corvette out for a longer road test and see how it drove and see if any more issues came up. So I got a permit and took it for a drive
Corvette outside my workshop ready to drive...
At the gas station...
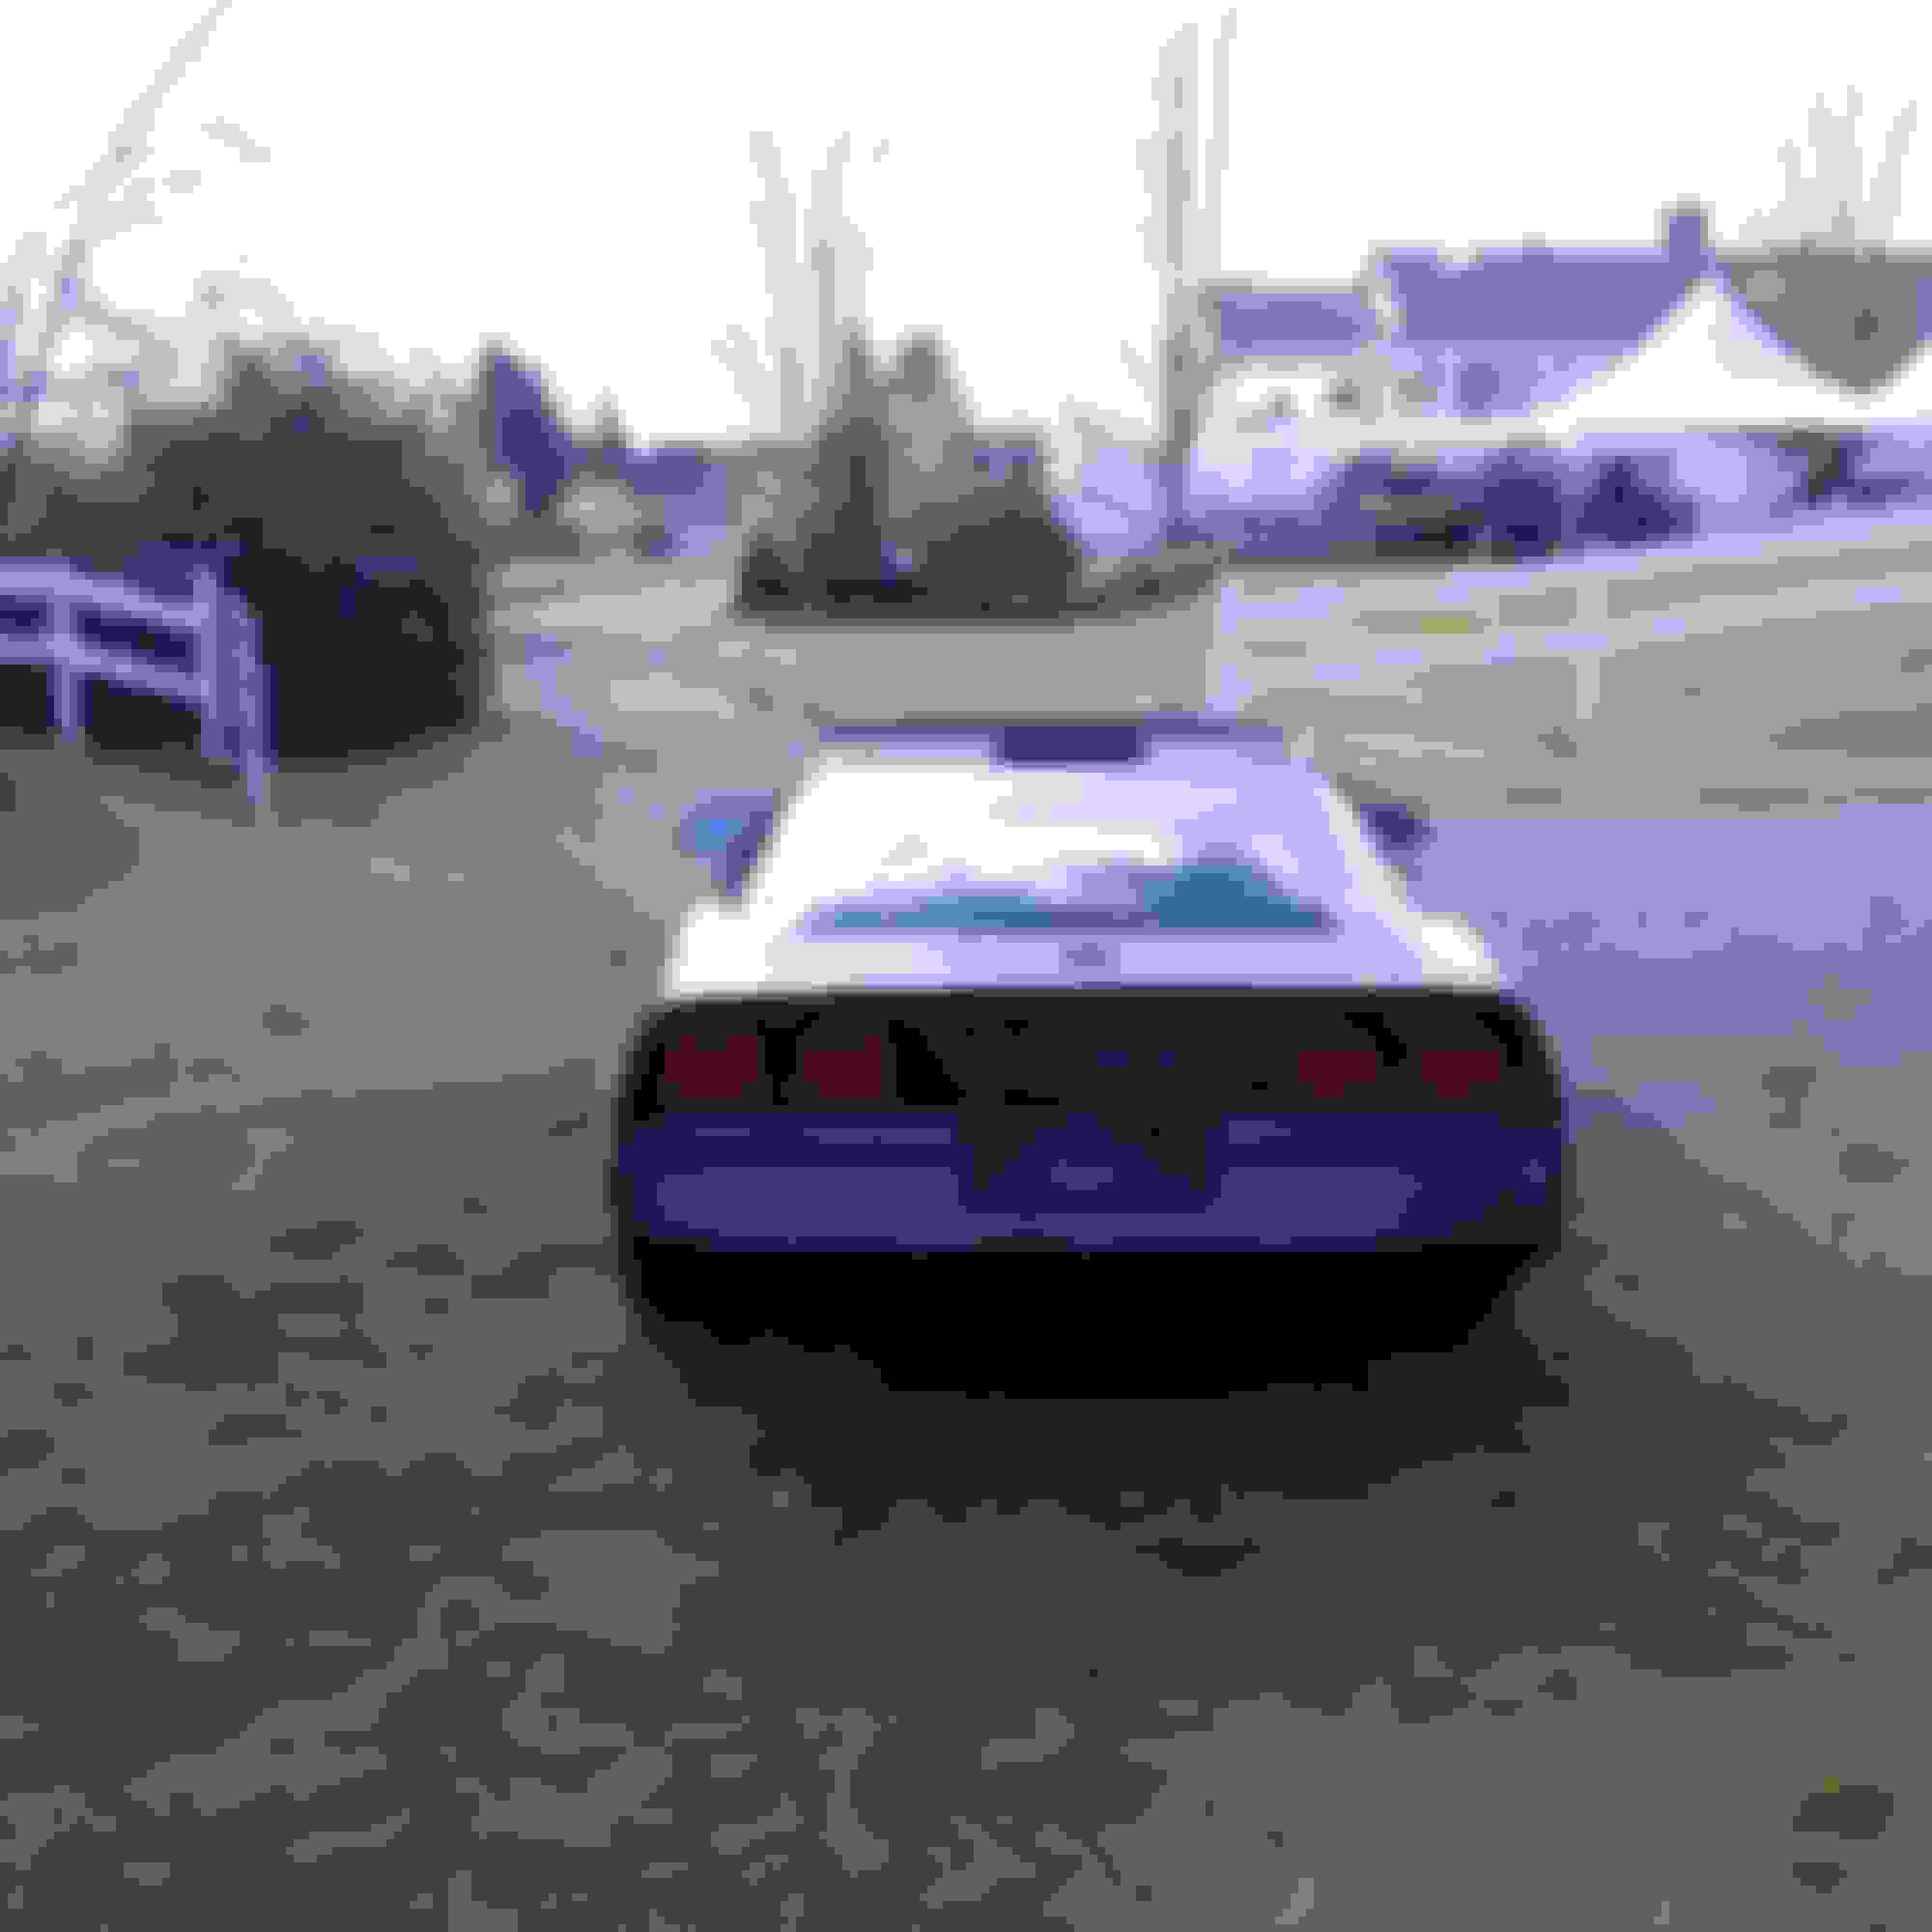
Driving around the back roads...
After 2 hours of driving my dad called and asked if he could join me so I picked him up and we cruised for 2 more hours without any major issues.
In total, I drove the car for 4 hours, so it was a good road test. My impressions were:
Although I really need to get an alignment done the car actually handles and drives well even without the alignment.
I loved the lowered Stance but it needs to come up a bit as I was scraping a few times during the drive.
In didn't push the engine, due to wanting to let it break in but it feels plenty strong at part throttle and has really good throttle response.
I need to get a tune done as the engine stumbles a little between 1,200-2,000RPM with the stock tune...
O.D might need a little more fluid added as it was a tad slow to engage, but wasn't to bad.
Some of the lights in the climate control cluster are burned out, so I will need to replace them and the Horn is not working.
I have a bit of a tick only at warm Idle so, I need to readjust the valve lash (again)
Oil pressure is good 26-28psi at warm idle and increases with rpm as it should.
no leaks
coolant temp stayed between 180-210F once warned up.
I need to get new wheels and tires as these ones are ugly and well worn.
Still stuff to do but a decent first long drive!
more updates to come...
Last edited by DMITTZ; 05-05-2016 at 06:15 PM.
Reason: spelling
Back when I was in high school, I had put some stickers that came with some performance parts I bought on the underside of the hood (thinking it was cool). 13 years later and the stickers do not seem so cool anymore
Of course when I removed them the stickers pulled some paint off with them.
So I scratched up the section with the missing paint, masked it off and painted it flat black with some high heat paint. Surprisingly it seems to be a good match.
Here's what it looked like after I finished:
One day I need to repaint the whole underside of the hood but, for now I want to focus on getting the other little issues fixed so I can drive and enjoy the car this summer.
So I bought some new lights for the climate control unit as mine were burnt out.
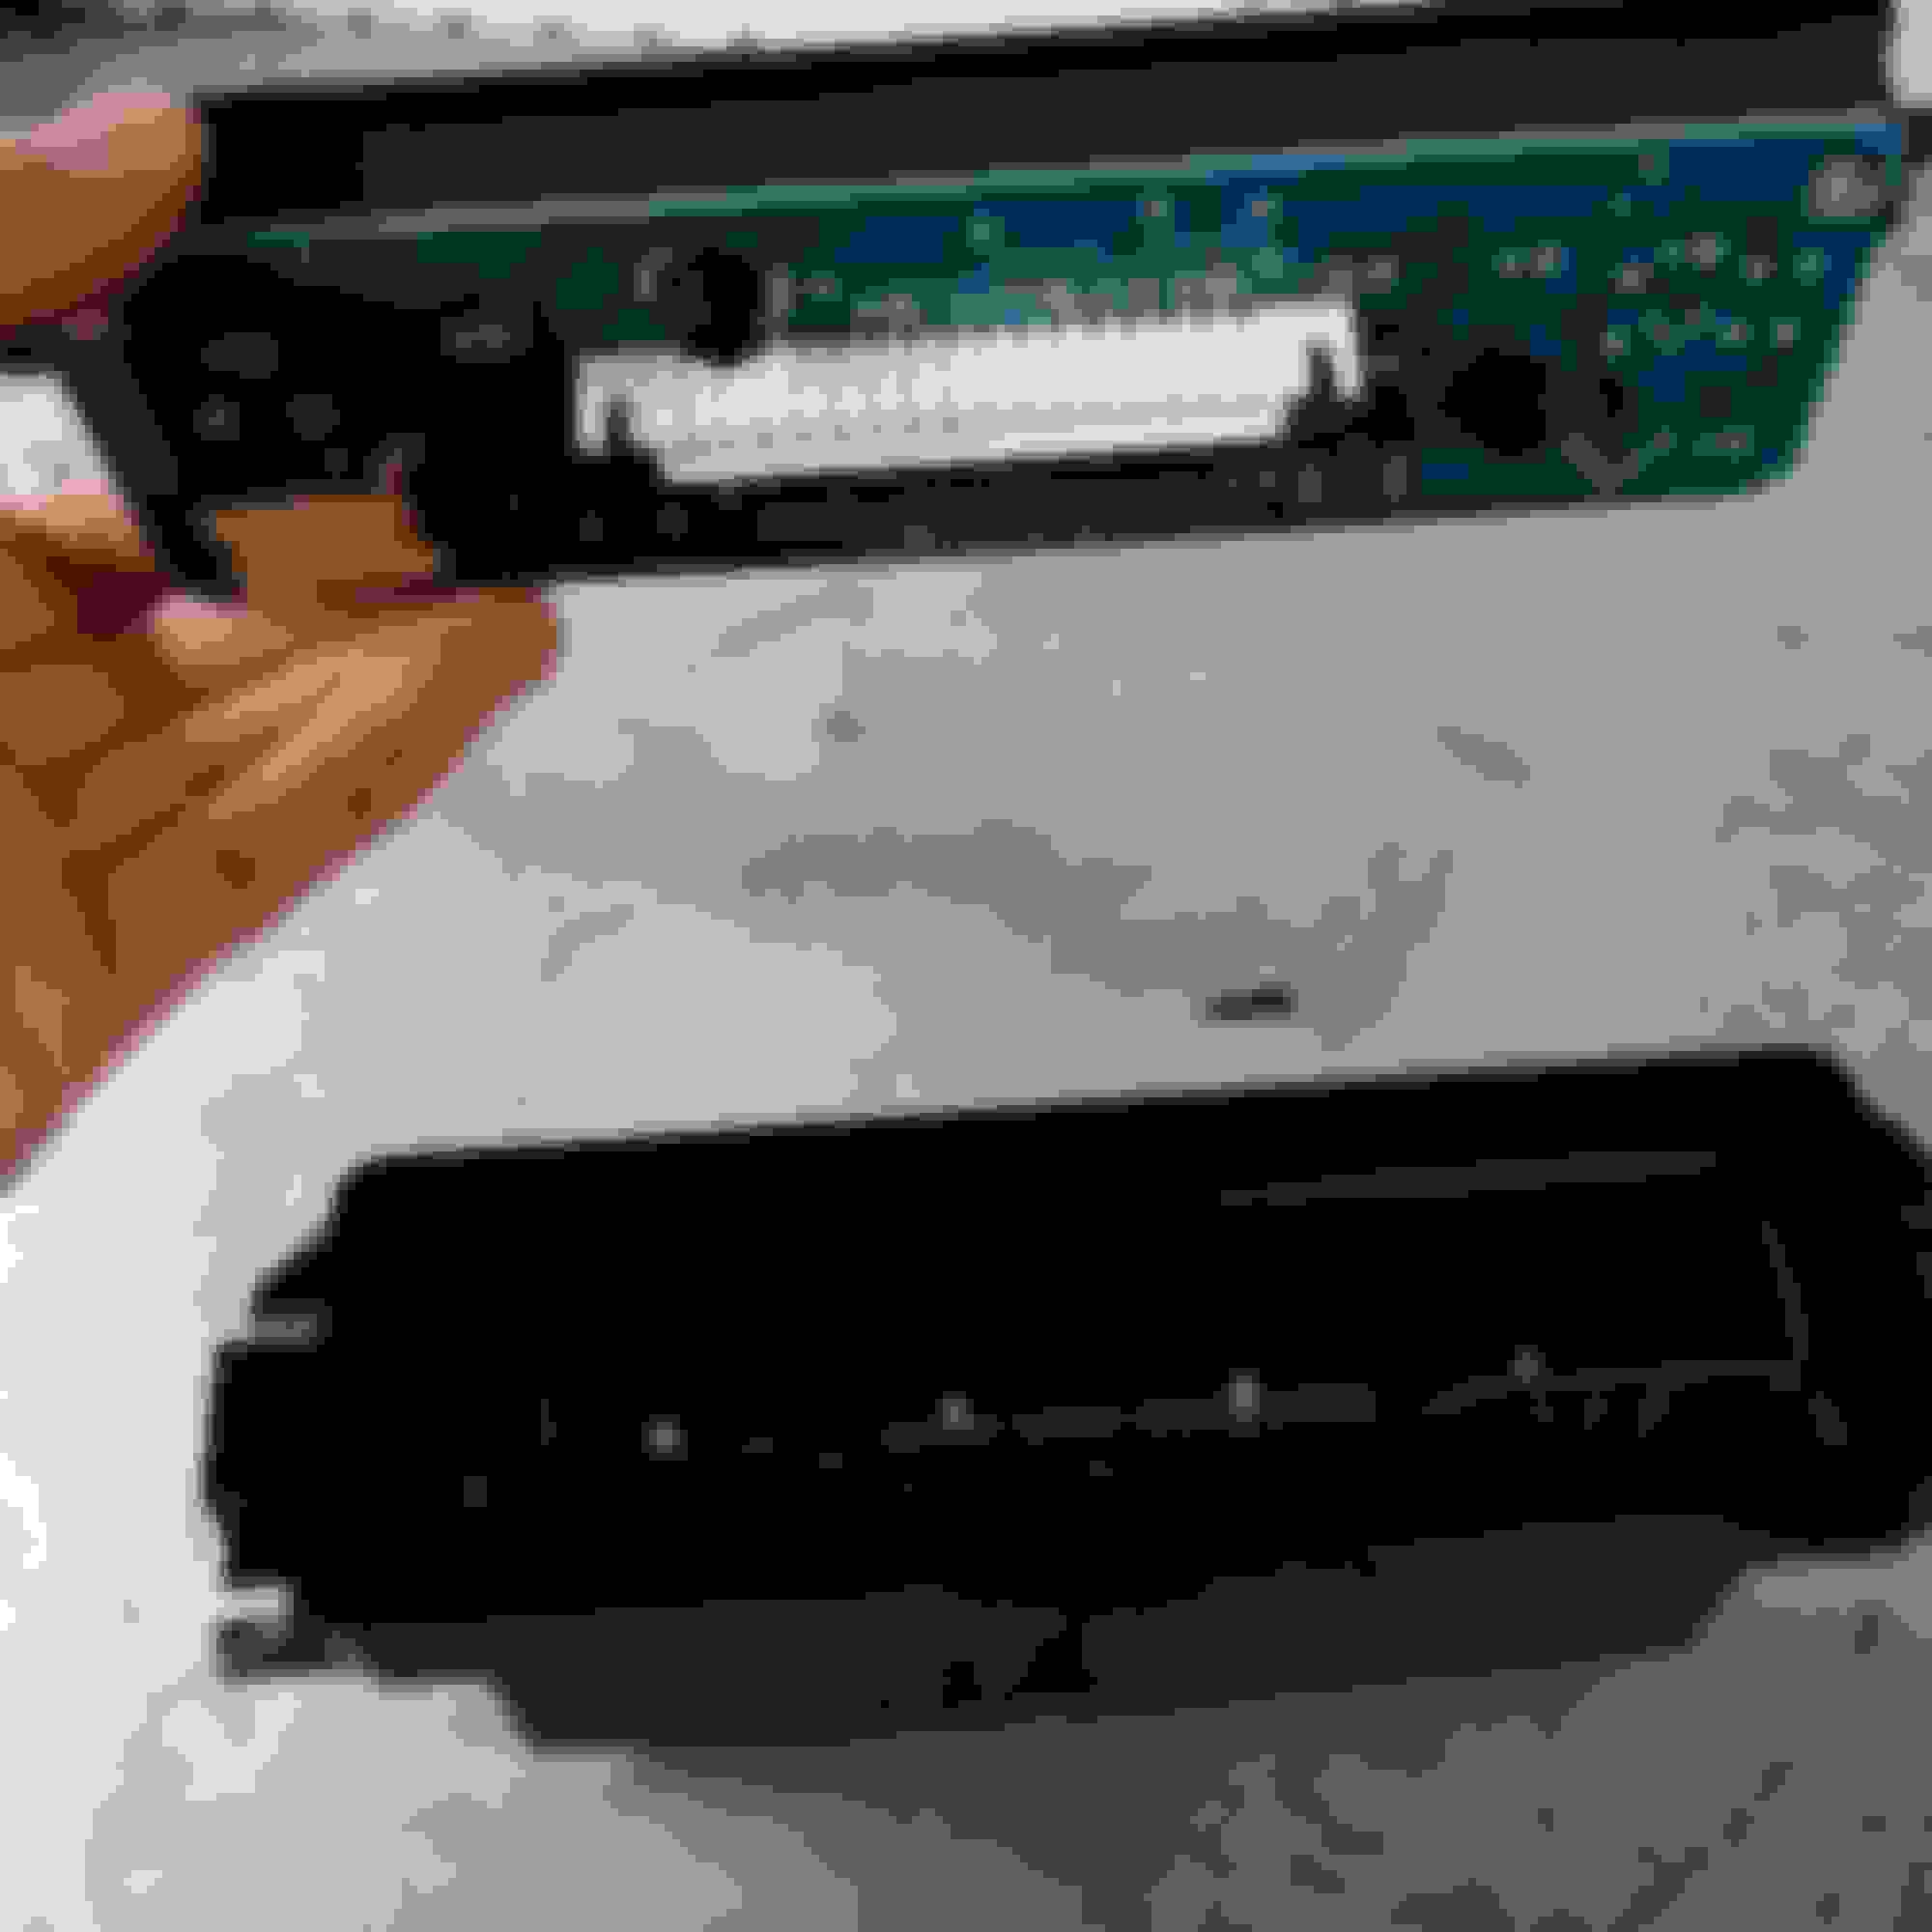
I removed the climate control unit:
To remove the climate control unit you just remove the bezel/ cover piece that is in the center as well as the cover plate on the console. Next you just remove the 4x 10mm bolts that hold the climate control unit in place, after that you just disconnect the unit from the harness and it comes right out.
Once that's done the front of the climate control unit is removed...
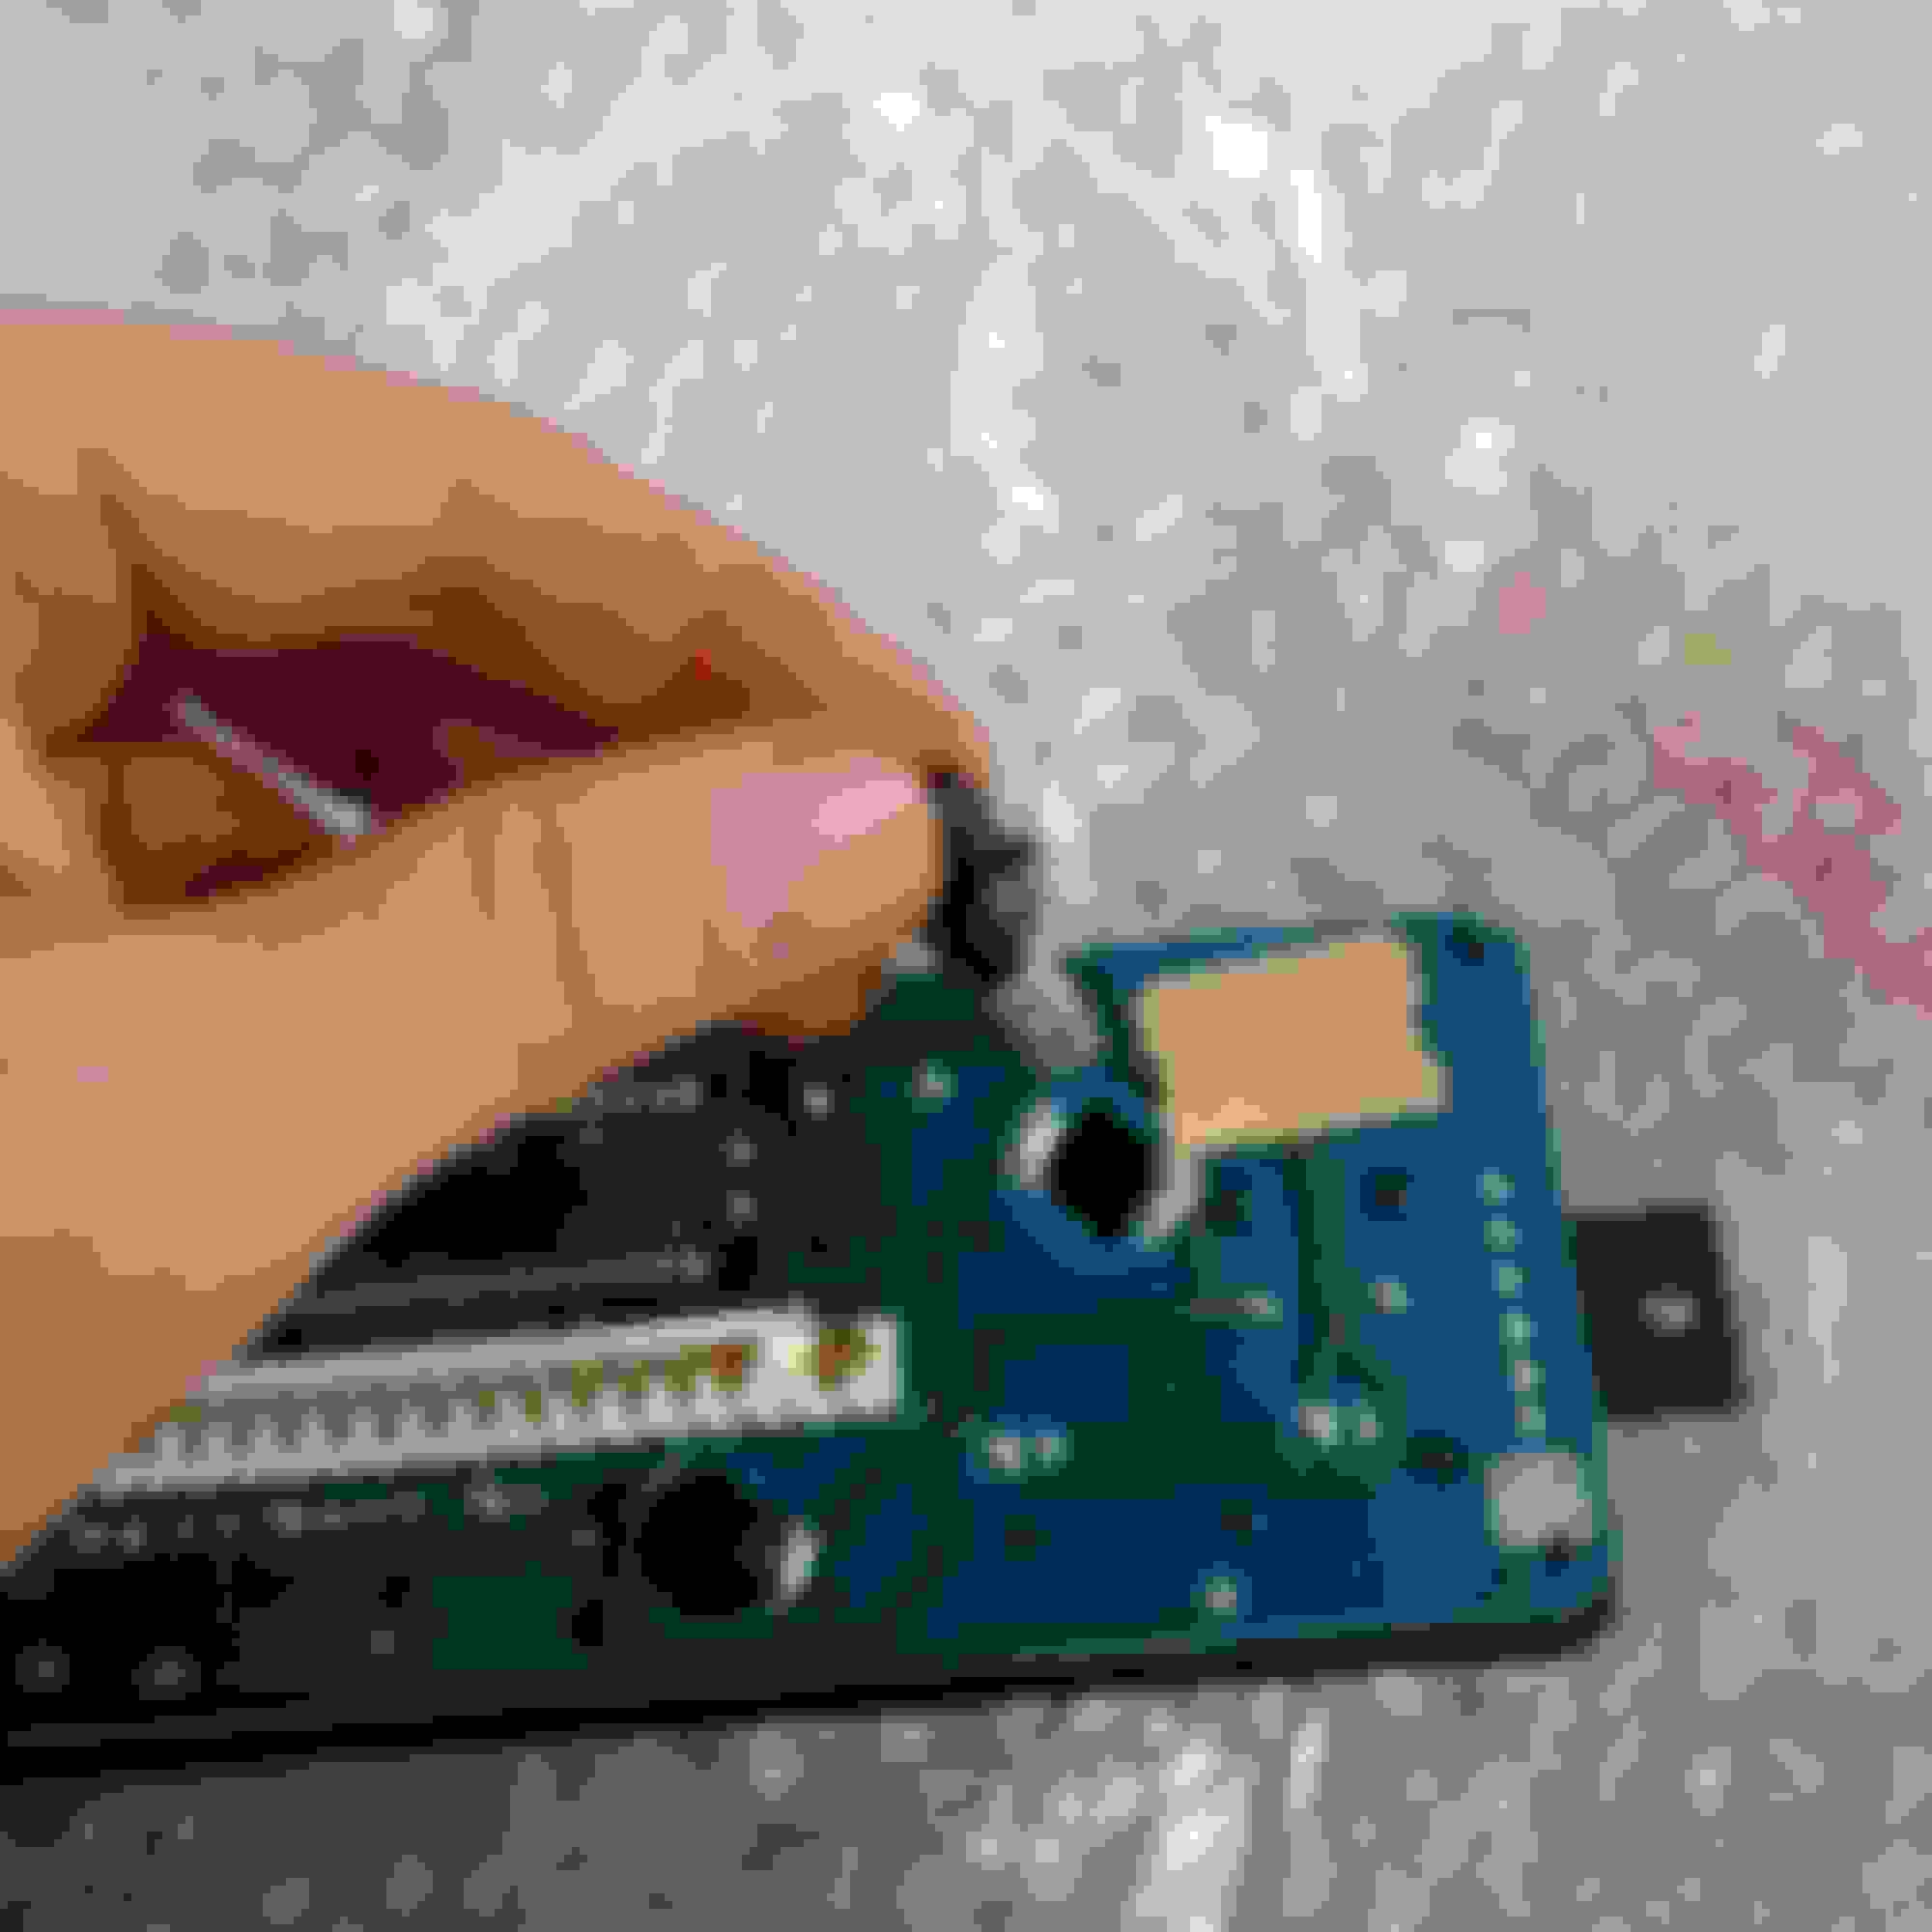
There are 3 bulbs in the front cover of the climate control unit that are removed by turning them...
while everything was apart I thoroughly cleaned all the trim pieces and vacumed out all the nooks and crannies in the console.
After the bulbs were replaced I put everything back together and now the back lighting in the climate control unit works


 05-01-2016, 04:51 PM