When you click on links to various merchants on this site and make a purchase, this can result in this site earning a commission. Affiliate programs and affiliations include, but are not limited to, the eBay Partner Network.
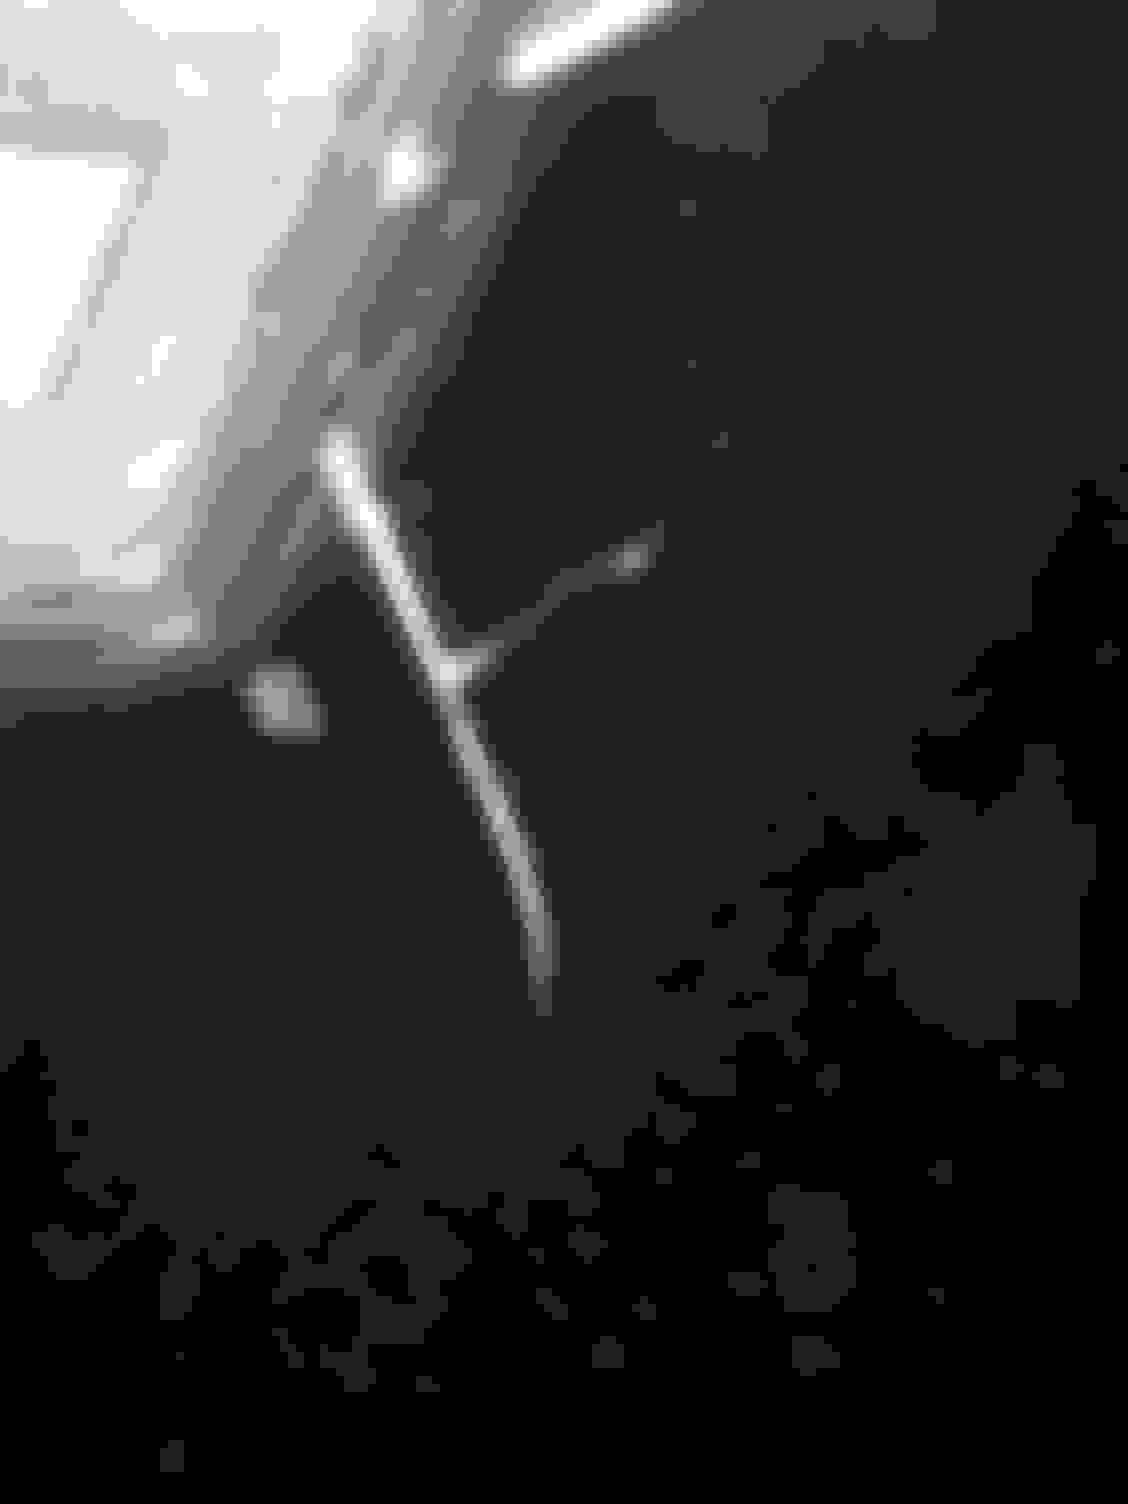
Hey guys, I was wondering what your thoughts were on this cracking that has appeared on my back bumper just below the license plate. The car seems to be all original paint but I have never seen factory paint behave like this before. If the bumper has been painted it was done a long time ago and they did a good job. I guess this is age related as it is a 1992.
I guess what I'm really asking is there anyone out there who has owned (or known) their car from new and had something like this happen? I've seen a lot of vettes with this type of paint cracking on the bumpers but have never know if it is original paint or not.
Hey guys, I was wondering what your thoughts were on this cracking that has appeared on my back bumper just below the license plate. The car seems to be all original paint but I have never seen factory paint behave like this before. If the bumper has been painted it was done a long time ago and they did a good job. I guess this is age related as it is a 1992.
This damage is from a previous impact. The plastic cover gets pushed in and the paint cannot go as far without cracking. Over time the cracks in the paint start to pull apart (shrink ) and now you have this damage. Area of paint that is damaged will need to be sanded out and primed and then repainted to correct.
Last edited by 95tealconvert; 09-30-2016 at 11:59 AM.
This damage is from a previous impact. The plastic cover gets pushed in and the paint cannot go as far without cracking. Over time the cracks in the paint start to pull apart (shrink ) and now you have this damage. Area of paint that is damaged will need to be sanded out and primed and then repainted to correct.
is its possible that that sort of damage can be fixed where it does not stick out like a sore thumb?
i have a similar flaw on the front hood of my black 87 right beside the front emblem. i would like to pull the emblem off which is faded and replace it and get this peeling paint off at the same time. but the hood is black, the position is in the centre and im thinking it will look like garbage no matter what.
is it possible to make these sorts of blemishes blend in?
Each situation or damage is unique in that you have to evaluate your options based on what damage you have and where it is at. When you are dealing with hood damage this is a very large panel with no break point so it makes it very hard to spot in a area and not have potential failures with your clear coat.
Post some photos of your hood damage both close up and back so I can see the whole area and then I can give you some options based on your damage.
if the op is allright with me posting my similar paint chips from my car i will. dont want to hijack.
ill wait to hear from hom.
Originally Posted by 95tealconvert
Each situation or damage is unique in that you have to evaluate your options based on what damage you have and where it is at. When you are dealing with hood damage this is a very large panel with no break point so it makes it very hard to spot in a area and not have potential failures with your clear coat.
Post some photos of your hood damage both close up and back so I can see the whole area and then I can give you some options based on your damage.
[uQUOTE=CA1992C4;1593164002]You'll get bonus points for having the paint chips being pointed out by a hot young gal wearing bikini.
i dont follow that.
here is my hood issue.
[/QUOTE]
Based on what I am seeing in your photos I would pull the hood emblem to replace. Before I put the new emblem on I would fill in the spots under and around the emblem with touch up paint. It will take a few applications of touch up paint to fill in the cracks. You will want to stay within the cracks so it does not look like you put too much paint inside the cracks. I would then put some catalyzed clear over the paint to give it a shiny finish and protect the touch up paint.
The good news is you have nothing to lose because until you are ready and able to repaint the entire hood at least you will be filling in the imperfections that your eye is seeing. Looks like your vette is black so that is a good color to touch up and hide it as lighter color metallics like silver or light blue etc. usually look dark to the eye.
The OP can also touch up his red bumper but it will be more noticeable because red metallic will look dark and the other issue when touching up that big of an area on a flexible bumper cover is usually as the paint shrinks back it leaves a pretty good edge which is hard to hide.
Here is the thing about touch up - it is a band aid. Sometimes it is a great band aid and sometimes not so much but as long as you keep this in perspective it can allow you to hide little problems and imperfections without having to spend a big amount of money. Like I said you have nothing to lose. If you are happy with the results great and if not you just save up and have the panel in question repainted.
Good luck with your projects.
Last edited by 95tealconvert; 10-01-2016 at 07:10 PM.
The black hood damage looks like it might have come from stress around the hood ornament mounting pin, maybe. Will need to remove it and fill with paint as noted above, then when completely dry (wait a week) wet sand the repair with 2000 grit sandpaper to knock down the high spots, then get a four way nail polishing stick and use the second finest section to smooth and even and apply polish and wipe (will be smooth put not shiny) and then use the finest grit to bring out the polish to a shine and finally apply polish to protect. Keep the work area clean to avoid dark areas or discoloration.
The black hood damage looks like it might have come from stress around the hood ornament mounting pin, maybe. Will need to remove it and fill with paint as noted above, then when completely dry (wait a week) wet sand the repair with 2000 grit sandpaper to knock down the high spots, then get a four way nail polishing stick and use the second finest section to smooth and even and apply polish and wipe (will be smooth put not shiny) and then use the finest grit to bring out the polish to a shine and finally apply polish to protect. Keep the work area clean to avoid dark areas or discoloration.
Actually the area of the cracking is very small...barely over a half inch. I see no evidence of an impact that could cause it to flex enough to crack the paint. That little yellowish chip appears to be a spot where the cracking and shrinking simply "popped" off a very small piece of paint. There is no gouge in the plastic bumper. The paint appears to be lifting so it will make touch up difficult. I still plan to make an attempt at touch up as the area is so small I needed a magnifying glass to inspect the cracks. I am still wondering if anyone with an original paint car has had any of this type of shrinkage or lifting so that if this continues to grow or shows up on other areas of the bumper I will need to determine what to do at that time...weather to replace the bumper or just have it refinished. Through the years I have seen some urethane bumpers that simply won't hold paint for some reason...
Actually the area of the cracking is very small...barely over a half inch. I see no evidence of an impact that could cause it to flex enough to crack the paint. That little yellowish chip appears to be a spot where the cracking and shrinking simply "popped" off a very small piece of paint. There is no gouge in the plastic bumper. The paint appears to be lifting so it will make touch up difficult. I still plan to make an attempt at touch up as the area is so small I needed a magnifying glass to inspect the cracks. I am still wondering if anyone with an original paint car has had any of this type of shrinkage or lifting so that if this continues to grow or shows up on other areas of the bumper I will need to determine what to do at that time...weather to replace the bumper or just have it refinished. Through the years I have seen some urethane bumpers that simply won't hold paint for some reason...
Looks like previous low speed bump/impact caused this paint issue. I think I am going to have the same problem with my front bumper.
Actually the area of the cracking is very small...barely over a half inch. I see no evidence of an impact that could cause it to flex enough to crack the paint. That little yellowish chip appears to be a spot where the cracking and shrinking simply "popped" off a very small piece of paint. There is no gouge in the plastic bumper. The paint appears to be lifting so it will make touch up difficult. I still plan to make an attempt at touch up as the area is so small I needed a magnifying glass to inspect the cracks. I am still wondering if anyone with an original paint car has had any of this type of shrinkage or lifting so that if this continues to grow or shows up on other areas of the bumper I will need to determine what to do at that time...weather to replace the bumper or just have it refinished. Through the years I have seen some urethane bumpers that simply won't hold paint for some reason...
That yellow is your "bare" bumper. To me it appears that the paint is not adhering to it and flaking off. Post a photo and ask in the paint section. DUB will give you good advice.
Actually the area of the cracking is very small...barely over a half inch. I see no evidence of an impact that could cause it to flex enough to crack the paint. That little yellowish chip appears to be a spot where the cracking and shrinking simply "popped" off a very small piece of paint. There is no gouge in the plastic bumper. The paint appears to be lifting so it will make touch up difficult. I still plan to make an attempt at touch up as the area is so small I needed a magnifying glass to inspect the cracks. I am still wondering if anyone with an original paint car has had any of this type of shrinkage or lifting so that if this continues to grow or shows up on other areas of the bumper I will need to determine what to do at that time...weather to replace the bumper or just have it refinished. Through the years I have seen some urethane bumpers that simply won't hold paint for some reason...
Without looking at your bumper issue in person I cannot say absolutely but I am confident that at some point in the past this area of your bumper was impacted and stretched. Most likely the circular area that has come off is the point of impact.
Not unusual at all not to see a impact mark in the plastic material under the paint as for example a grocery cart may have bumped into the cover on the lower tube frame area of the cart which would have pushed the bumper cover in ever so slightly stretching the paint in the area you are seeing but over time the hairline cracks in the paint shrunk back exposing what you are seeing. The rounded tubular area of the cart is not sharp enough to leave a mark in the bumper plastic.
The area is very small in your case so if it were me I would put some super glue under the edges of the paint that are starting to come loose to get them down as tight as possible and then touch up the exposed area. I would then top off the touch up paint with a light coat of clear to help seal off the touch up paint and give it durability.
Body shops can mix up a small amount of touch up paint and they are mixing clear every day for repair jobs so they can give you a very small amount of clear left over from a job that would allow you to seal off the touch up paint you have laid down.
As mentioned you can wet sand the touch up area after it is set up but in my experience when you are dealing with a paint issue like this on a flexible cover it is best not to push on the damaged area any more then needed so as not to continue to loosen up the paint that has been stretched.
The hood damage that was shown on the black C4 is most likely from the emblem mount pin area. At some point the left side of the hood emblem was impacted which pushed in the mount pin into the hood causing the damage you are seeing. Just easier to touch up this damage since it is on a rigid panel and it does not appear that the paint is coming loose around this area. Keep in mind it is likely in this case that the SMC hood material has been compromised on the back side of the hood from the previous impact which has most likely left small cracks in the SMC.
 09-30-2016, 10:12 AM


 [/QUOTE]