When you click on links to various merchants on this site and make a purchase, this can result in this site earning a commission. Affiliate programs and affiliations include, but are not limited to, the eBay Partner Network.
1992 700R4/4L60 Transmission Rebuild with questions
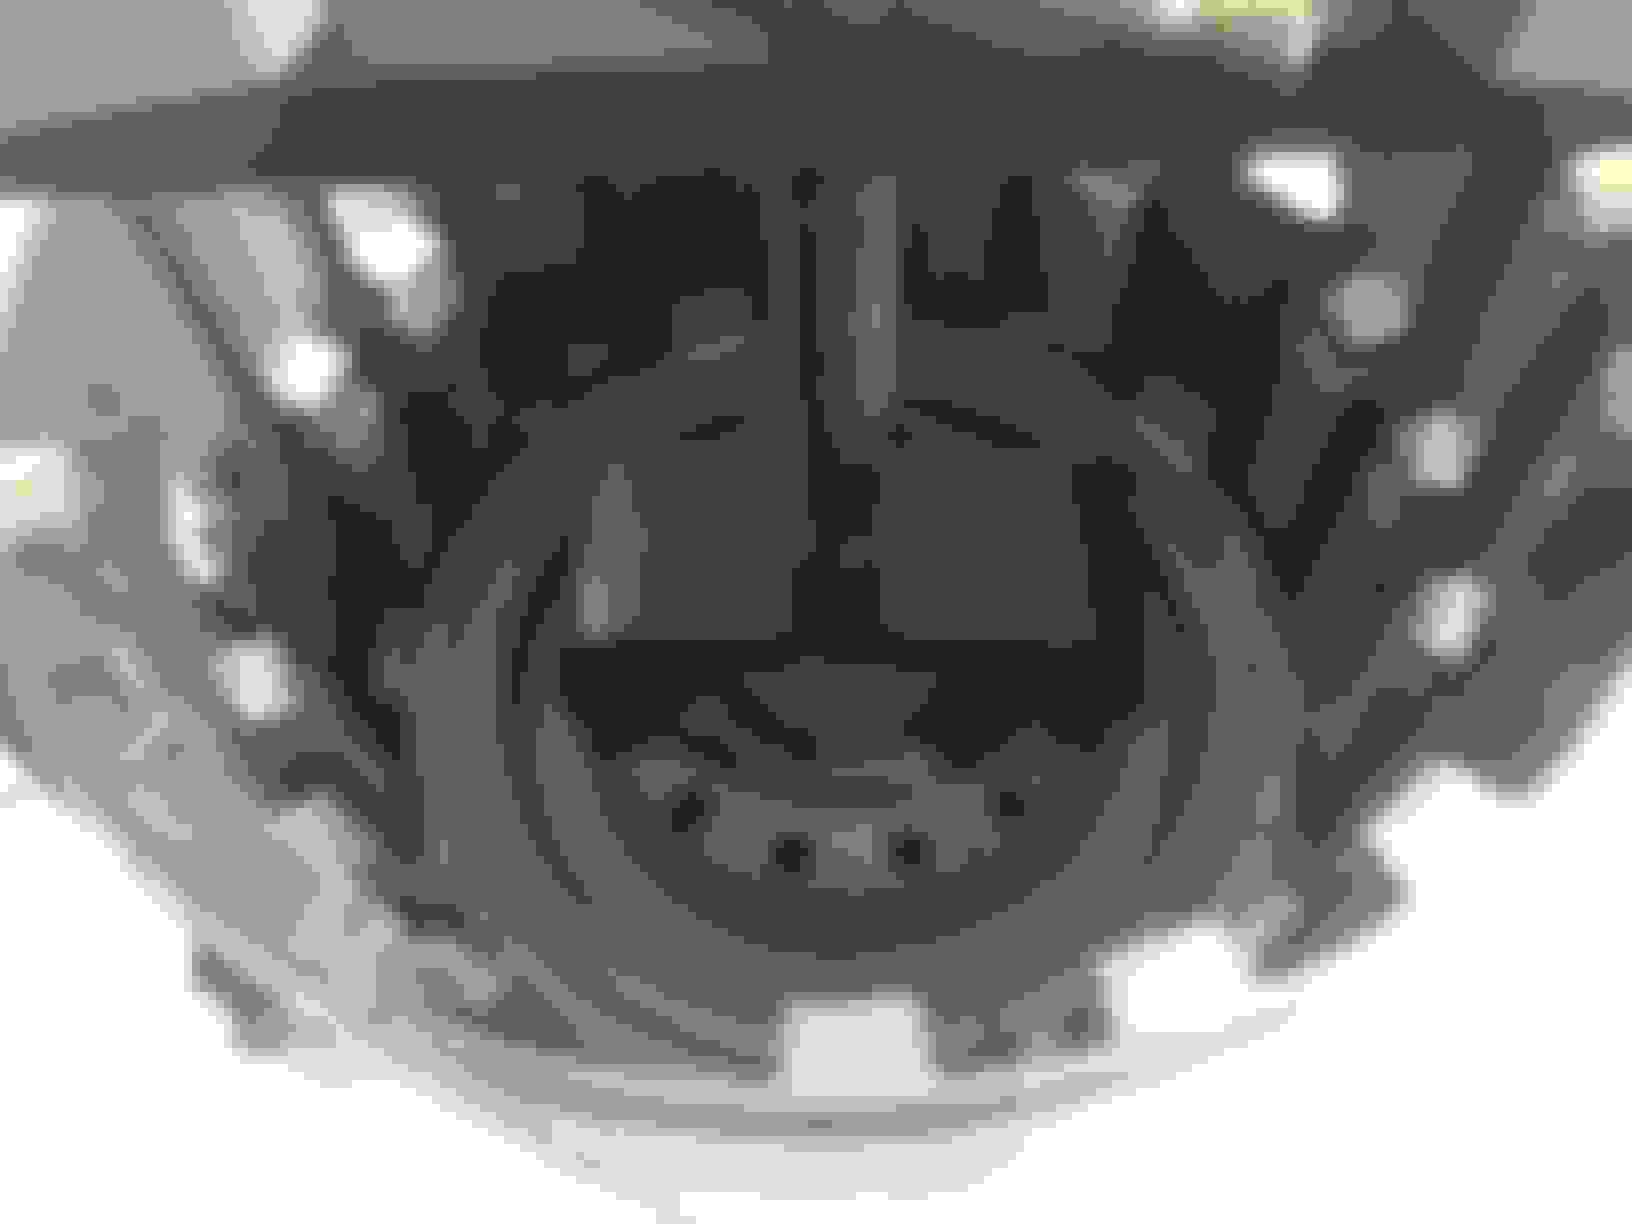
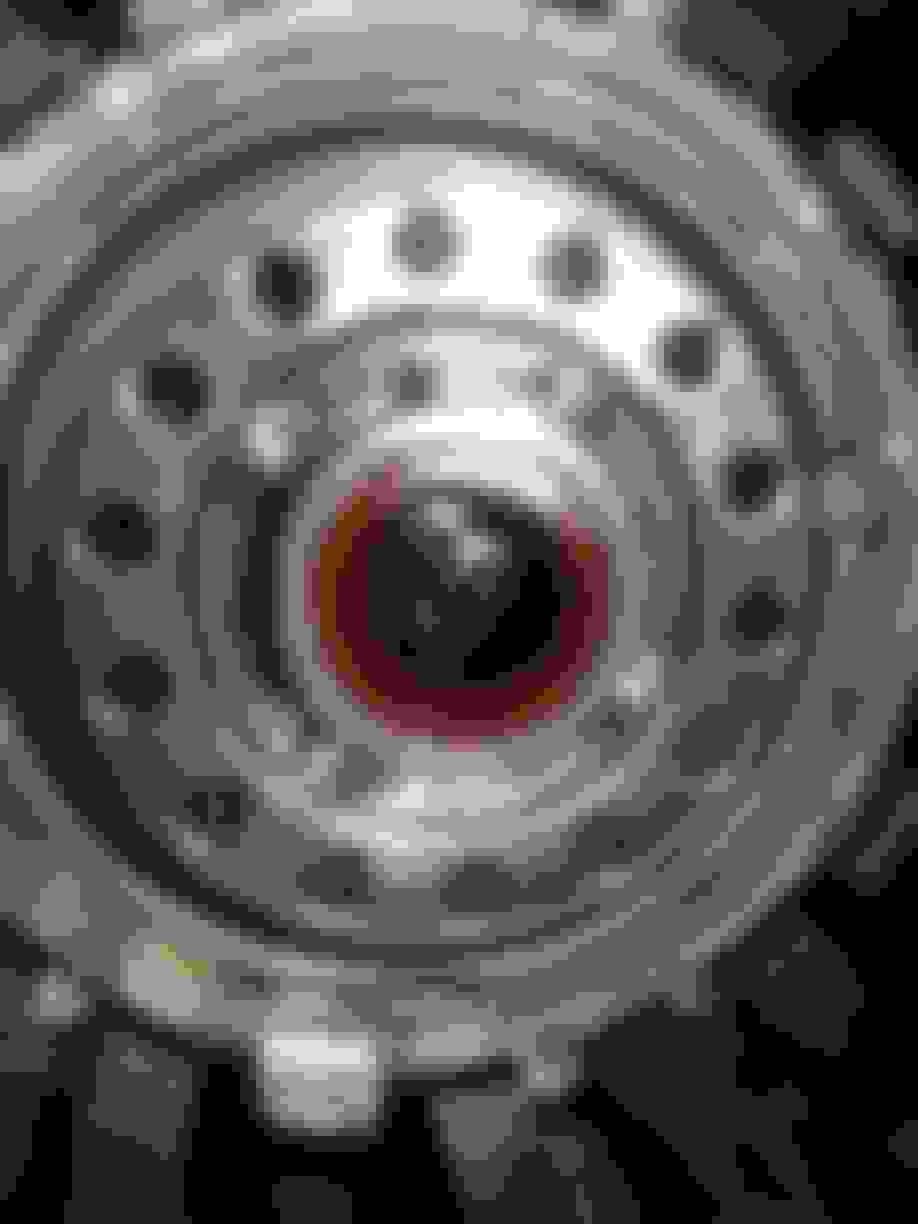
There is a lot of back story behind this, but I won't bore you with the details. I have never rebuilt a transmission. I have the atsg manual for the transmission and my FSM. Anyhow, I have decided to rebuild the transmission in my 1992 Corvette. It is a 700R4/4L60 transmission. I have started taking the transmission apart. I have found some cracks on the inside of the bell housing, but none on the outside. Can anyone give me some input on if this case is shot, or if these hairline cracks are acceptable? Also, it looks like the overrun clutch hub was chewed up pretty bad (I found a piece of it in the tranny pan and the rest in the tranny. Should I replace just the gear, or the spring, or the whole assembly? Here are some photos, and some damage that I have found, thus far.
Hairline Cracks In Bellhousing
Hairline Cracks In Bellhousing
Overrun Clutch Hub Damage
Some Metal I Found In The Transmission, I found 3 other pieces like this.
Overrun Clutch Spring, it looks damaged, should I replace?
I don't think the spring would be damaged, but if you are unsure, get a new one from the place I told you in Cali. They are cheap. Sometimes these parts can be had almost for the taking at a local transmission shop. 700R4's are a dime a dozen. As far as the cracks, it's hard to say. My personal choice would be to use it if the cracks don't extend into any of the plate splines.
Thanks Arbee! They have that retainer with springs that I need for 6 bucks. Cheapest on ebay for a used was 30 Im gonna go ahead and buy it if its that cheap. Thanks for all your help.
Ok the transmission has been tore down and all parts cleaned. I am in the process of reassembly and I have ran into a snag. I am having trouble getting the rear output shaft in. The small plastic gear that drives the governor is in the way by about 2 mm. The governor cover and governor are the only two things that I did not remove. This is because when I tapped on the cover to remove it, it was stuck on really good, and I was afraid that I would damage it. So is there any way to remove the plastic gear without pulling the governor? If not should I just risk it and whale away on the cover to get it off?
Second question. In the ATSG 700r4/4L60 manual it shows how each thrust bearing/washer should be installed. I must be reading it incorrectly because I found the thrust bearings to only have a good flush fit when I put them on the opposite of how I read in the book. Every thrust washer was this way. Does anyone have some insight on this? Thank you for any help.
The cover will come off. Go from side to side and go slowly. The flange might bend a bit a little but so long as the sleeve that enters the casing is OK, you can straigten the flange. The Torrington bearings must go back in the way the manual describes. Are you sure you have the right bearing in the right place? The video would have been helpful here. Make sure to measure your endplay when all is assembled.
Ok governor cover is off, output shaft is installed, snap ring is on output shaft (that was a song of a gun), I had my 7 year old daughter old the shaft in place as I put the snap ring on, cussing and getting angry after the 100th try, but I got it on without over expanding it. Now I am on to assembling the input housing (i think thats what it is called) scratching my head trying to figure out how I am going to compress the overrun clutch spring....
Here is how I compressed the 2-4 accumulator spring, it was actually my wifes idea.
Here are some more misc photos.
Use wood clamps to compress 2-4 accumulator spring.
My wifes idea, shes pretty crafty like that.
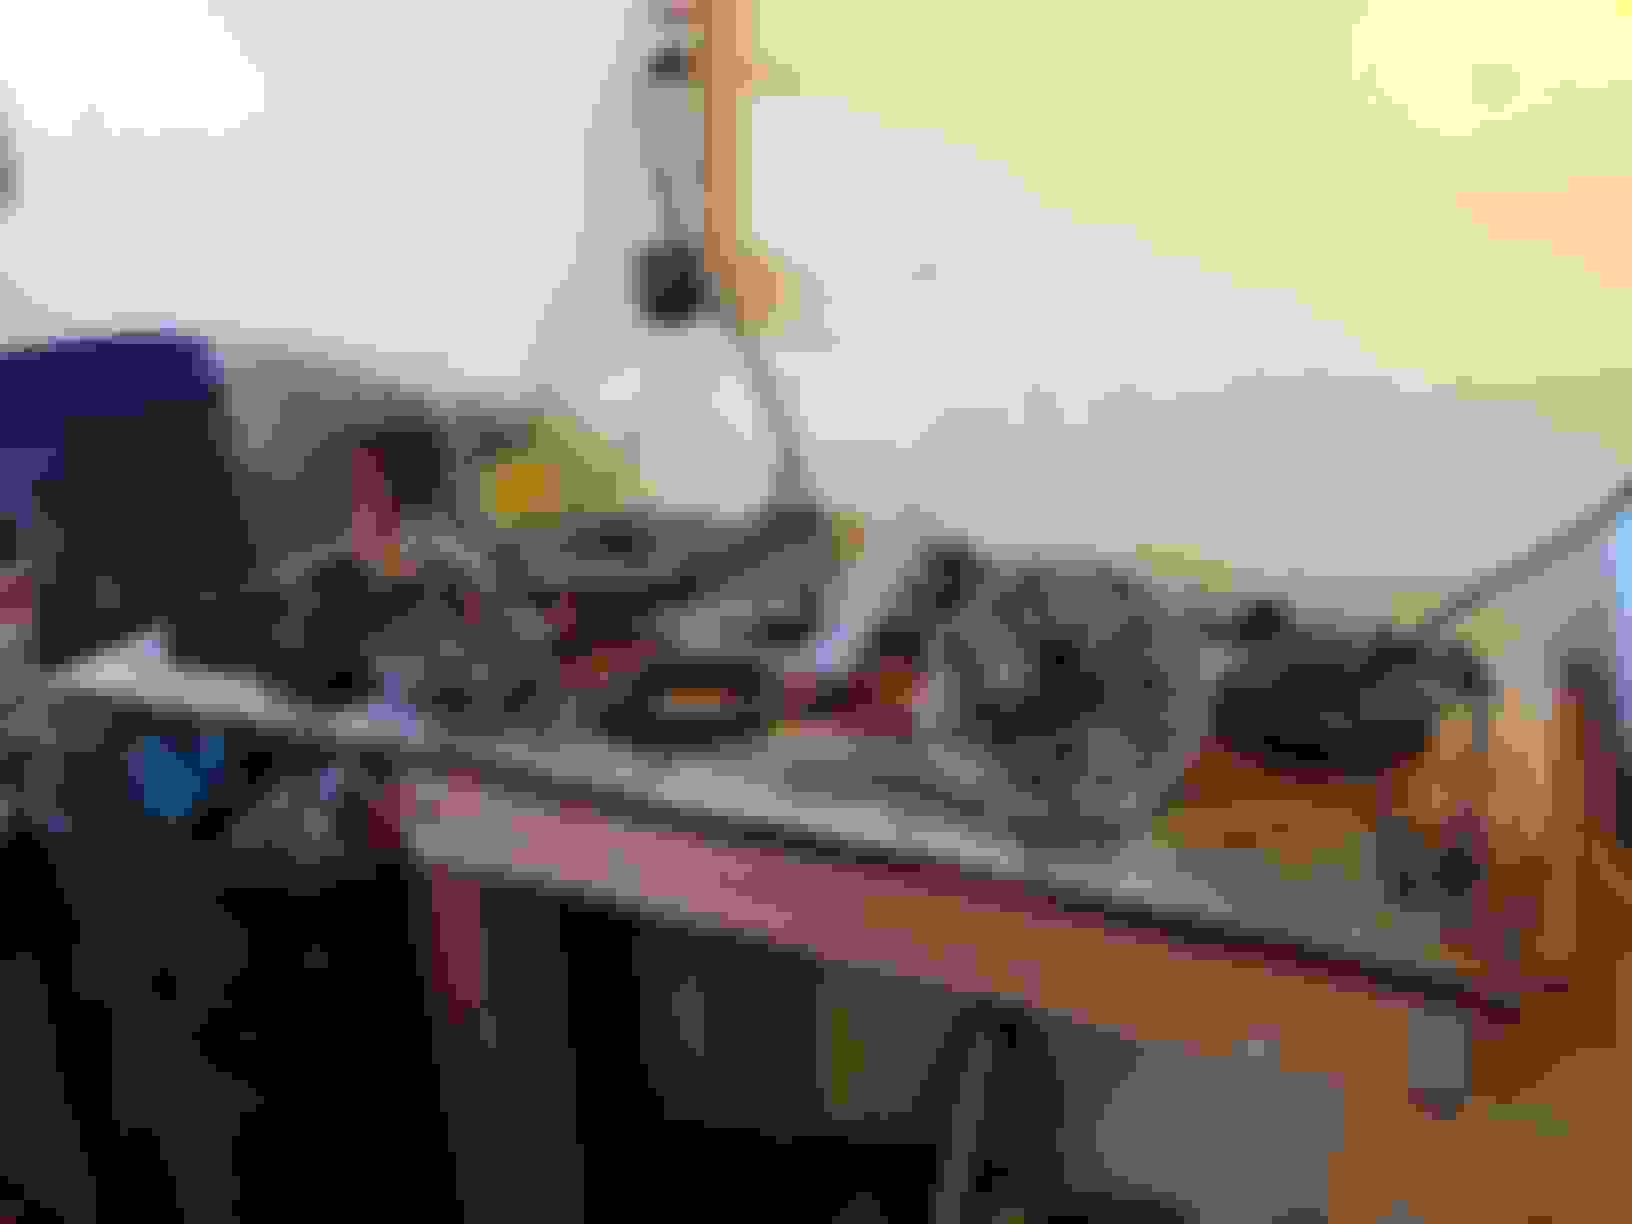
I have 4 work benches, this one was set up as dissassembly. I had another one set for cleaning, and then the next two photos are my clean tables where I layed the parts out after I cleaned them.
Ok I successfully compressed the overrun clutch spring, and installed the snap ring. Here are some photos of how I did it. The tool that the wood clamps is compressing is a tool that I got off ebay, it is designed to compress the reverse/low spring, way down at the back of the tranny. It worked good for that, and this. You can see the kentmore tool in some of the photos. The ATSG manual says to use it to compress the overrun clutch spring, with another kentmore tool, however I found that the tool is actually too big and will go all the way around the overrun clutch spring.
Oh yeah why do I have two of the same tool (the kent more and the ebay version)...because I am an idiot. lol. I bought the ebay tool first (30 bucks), and I though that it was to short to work correctly, so I got on ebay and bought the kentmore tool, thinking I would return the one that didn't work. Then the next day I realized I was using the ebay tool incorrectly and figured out how it worked. Since I used it, I decided it wouldn't be right to return it, so now I have double tools. (will probably sell the kentmore and get my 50 bucks back).
So here are the images of how I did it.
Do yoiurself a favor and drill a hole in your work bench, it makes it much easier to assemble the drum.
Here are some photos and info on the separator plate modification and spring removal, in order to improve the 2-3 shift. FYI .093 inches is 3/32 drill bit. Fairly standard.
Here is the recommendation. At first I wasn't going to do it, because I don't like drilling holes in parts, lol, but I decided it wouldn't be too difficult, and went for it.
I envy you. I have 1 workbench, and I can't find it because of all the stuff on it.
Lol my garage is pretty cramped right now, but when I first moved into the house, I built two long work benches that went from the front of the 2 car garage to the back, in the middle they drop down to accommodate a router table on one and a chop saw on the other (I built them so they sit perfectly flush), I also do some wood working, but right now they are not wood working benches they are tranny rebuild benches. lol.
Ok guys it's time to make some torque converter suggestions. For some reason I am not finding any matches on summit racing or jegs. Let's have your torque converter recommendations for my 1992 corvette.
One of the most important things to watch for is to make sure the boost valve is all the way into the pump when you put in the O-ring that holds it.
Another important thing that you wouldn't think is a big deal but is: Use a high quality seal in the front of the pump. If you use the $19 rebuild gasket set seal it WILL leak. The only way to fix it is to take the trans out, so that's not something you want to happen.
It's very easy to nick the edges of the lip seals if you use a feeler gauge to put them in. Many places recommend a feeler gauge if you don't have the correct tool. I used overhead projector mylar.
Ok guys it's time to make some torque converter suggestions. For some reason I am not finding any matches on summit racing or jegs. Let's have your torque converter recommendations for my 1992 corvette.
One of the best converters out there is the Vigilante made by Precision Industries. I have a pair of 5 disk units and have been racing with these for decades. They are made to survive full throttle shifts repeatedly.
found some cracks on the inside of the bell housing, but none on the outside. Can anyone give me some input on if this case is shot, or if these hairline cracks are acceptable? Also, it looks like the overrun clutch hub was chewed up pretty bad ]
Those cracks are usually casting flash. I've yet to see a crack start there but almost every case has casting flash there. Hard to say what you have in that picture. I've never seen a crack in a bellhousing that was not visible on both sides.
That over run clutch hub to me looks like the forward sprag, might want to figure out why it failed.
Did you find two snap rings on the forward clutch spring retainer? Never saw that before.
About the governor...you have a trans contaminated with metal, the governor is a valve and needs to be cleaned. Usually the gear breaks when the output shaft is removed/installed with the governor in place. Glad you took it out.
Don't forget to flush the cooler lines and preferably not use the cooler, either get an aftermarket cooler or flush the living xxxx out of the existing one... or do both.
Yes it is the forward sprag, the atsg manual refers to it as the overrun clutch hub but everyone else refers to it as the forward sprag. Thanks for the help. The guy I bought the car from, dropped it in second coming down a hill and heard the overrun clutch fail, the tranny fluid was burnt, and so were the clutches and steals. I'm pretty sure it failed just because years of abuse. Thank you for the help.
Those cracks are usually casting flash. I've yet to see a crack start there but almost every case has casting flash there. Hard to say what you have in that picture. I've never seen a crack in a bellhousing that was not visible on both sides.
That over run clutch hub to me looks like the forward sprag, might want to figure out why it failed.
Did you find two snap rings on the forward clutch spring retainer? Never saw that before.
About the governor...you have a trans contaminated with metal, the governor is a valve and needs to be cleaned. Usually the gear breaks when the output shaft is removed/installed with the governor in place. Glad you took it out.
Don't forget to flush the cooler lines and preferably not use the cooler, either get an aftermarket cooler or flush the living xxxx out of the existing one... or do both.
Oh yeah, I did not find two snap rings, just the one that contains the spring, and then the snap ring on the sprag stayed in place.
 12-12-2014, 07:48 PM


 Im gonna go ahead and buy it if its that cheap. Thanks for all your help.