When you click on links to various merchants on this site and make a purchase, this can result in this site earning a commission. Affiliate programs and affiliations include, but are not limited to, the eBay Partner Network.
Ok so i went to buy an 8mm wrench and in the end i got a stubby. Still wont work. Far to awkward getting in there.
So i jacked the rear wheels under the struts just enough to get the wheels off the wheels, then let it down on a jackstand on the frame rails.
When i raised each wheel it was about an inch, i jacked about 1/4inch then raised the tranny jack a 1/4 inch.
So i think im fine. didnt hear any crunching of the dizzy cap.
So now im where i should have been....just put car in neutral and rotated the wheels. chalk it up to me being a noob. one thing though i was thinking of getting a drive on scissor lift in my garage. Think ill stick to the two post with frame rails feet.
anyway, onwards and upwards. Got my perma coil kit for the m8x1.25 (coarse) tranny pan bolt repairjob.
yesterday when i dropped the exhaust i didnt wait long enough for the liquid wrench to penestrate and i busted a manifold stud.
I waited on the rest and no problem. such a noob rush error. there is a nice chunk of stud showing so i plan on heating and liquid wrenching it for days, hammering on a 9mm socket and then turning it out.
I'll buy the 5/16-24 after checking but for sure it's not a metric hex. I believe that the rest of the industry uses a 1/4-28 for anywhere a 1310 u-joint is retained by straps. I did "EDIT" the post.
- I pulled a NOS 14046904 half-shaft, u-joint strap bolt - opened the bag, and checked the head - 5/16" wrench is a perfect fit, AND an 8mm wrench is also a perfect fit. 8mm = .3150, and 5/16 = .3125 -- that's why my 8mm wrench and socket worked just fine on my u-joint replacement. I guess I was just under the assumption that the hardware was metric. guess ya learn something new everyday! didn't physically check the threads, but it does eyeball out as 1/4-28. off the top of my head, I'm thinking the difference between the driveshaft bolts and the halfshaft bolts is the bolt length, but I really don't know for sure - just guessing.
Update: got my perma coils (same as heli coil) inserts done today on the tranny pan. it was rediculously easy other than aluminum shards falling on my face. onwards and upwards.
being a complete noob at this stuff when i stripped those bolt holes in the aluminum i thought all was lost. nice to see such a simple solution.
i will stick with 5-10 ftlbs instead of the 15 that is perscribed by my 87 fsm.
now i can back to removing the drive shaft from the front of the diff then r&r the pinion seal, then remove the tailshaft housing and r&r bushing and seal.
meanwhile, ill be heating the stud thats showing on the exhaust manifoldto break the seize. hopefully that will be as simple as hammering on a sacrificial 9mm socket and backing it out after the heat cycles.
ill report back with update and questions if they arise.
Those manifold nuts can be a real PITA. Best of luck with it. I snapped a lug on my passenger side. I then decided it was a good time to upgrade to the later style manifold and egr pipe. So much better.
allright. brother came over tonight and we pulled the drive shaft, yoinked out the rear diff pinion seal and replaced it, amazingly, the markings i put on the nut, u joint, and shaft all lingned up for the reinstall.
we also yoinked off the tailshaft housing. i discovered the seal i purchased was for the rear of the housing rather than the front mating surface with the tranny case. the leak was coming from the seam between the tailshaft housing and the case. ffound the infamous copper busing that some people dont bother replacing...i have ordered mine. also i will be getting the large "oring" for the front where the leak was.
i have no idea at all how the leak could be coming through that oring as it looks in perfect condition. but whatever ill replace it anyway.
should have this buttoned up before the weekend.
if i had a lift, and power air tools, this would go a million times faster.
soooon! when the price of oil goes up again.
Last edited by VikingTrad3r; 01-14-2015 at 04:21 AM.
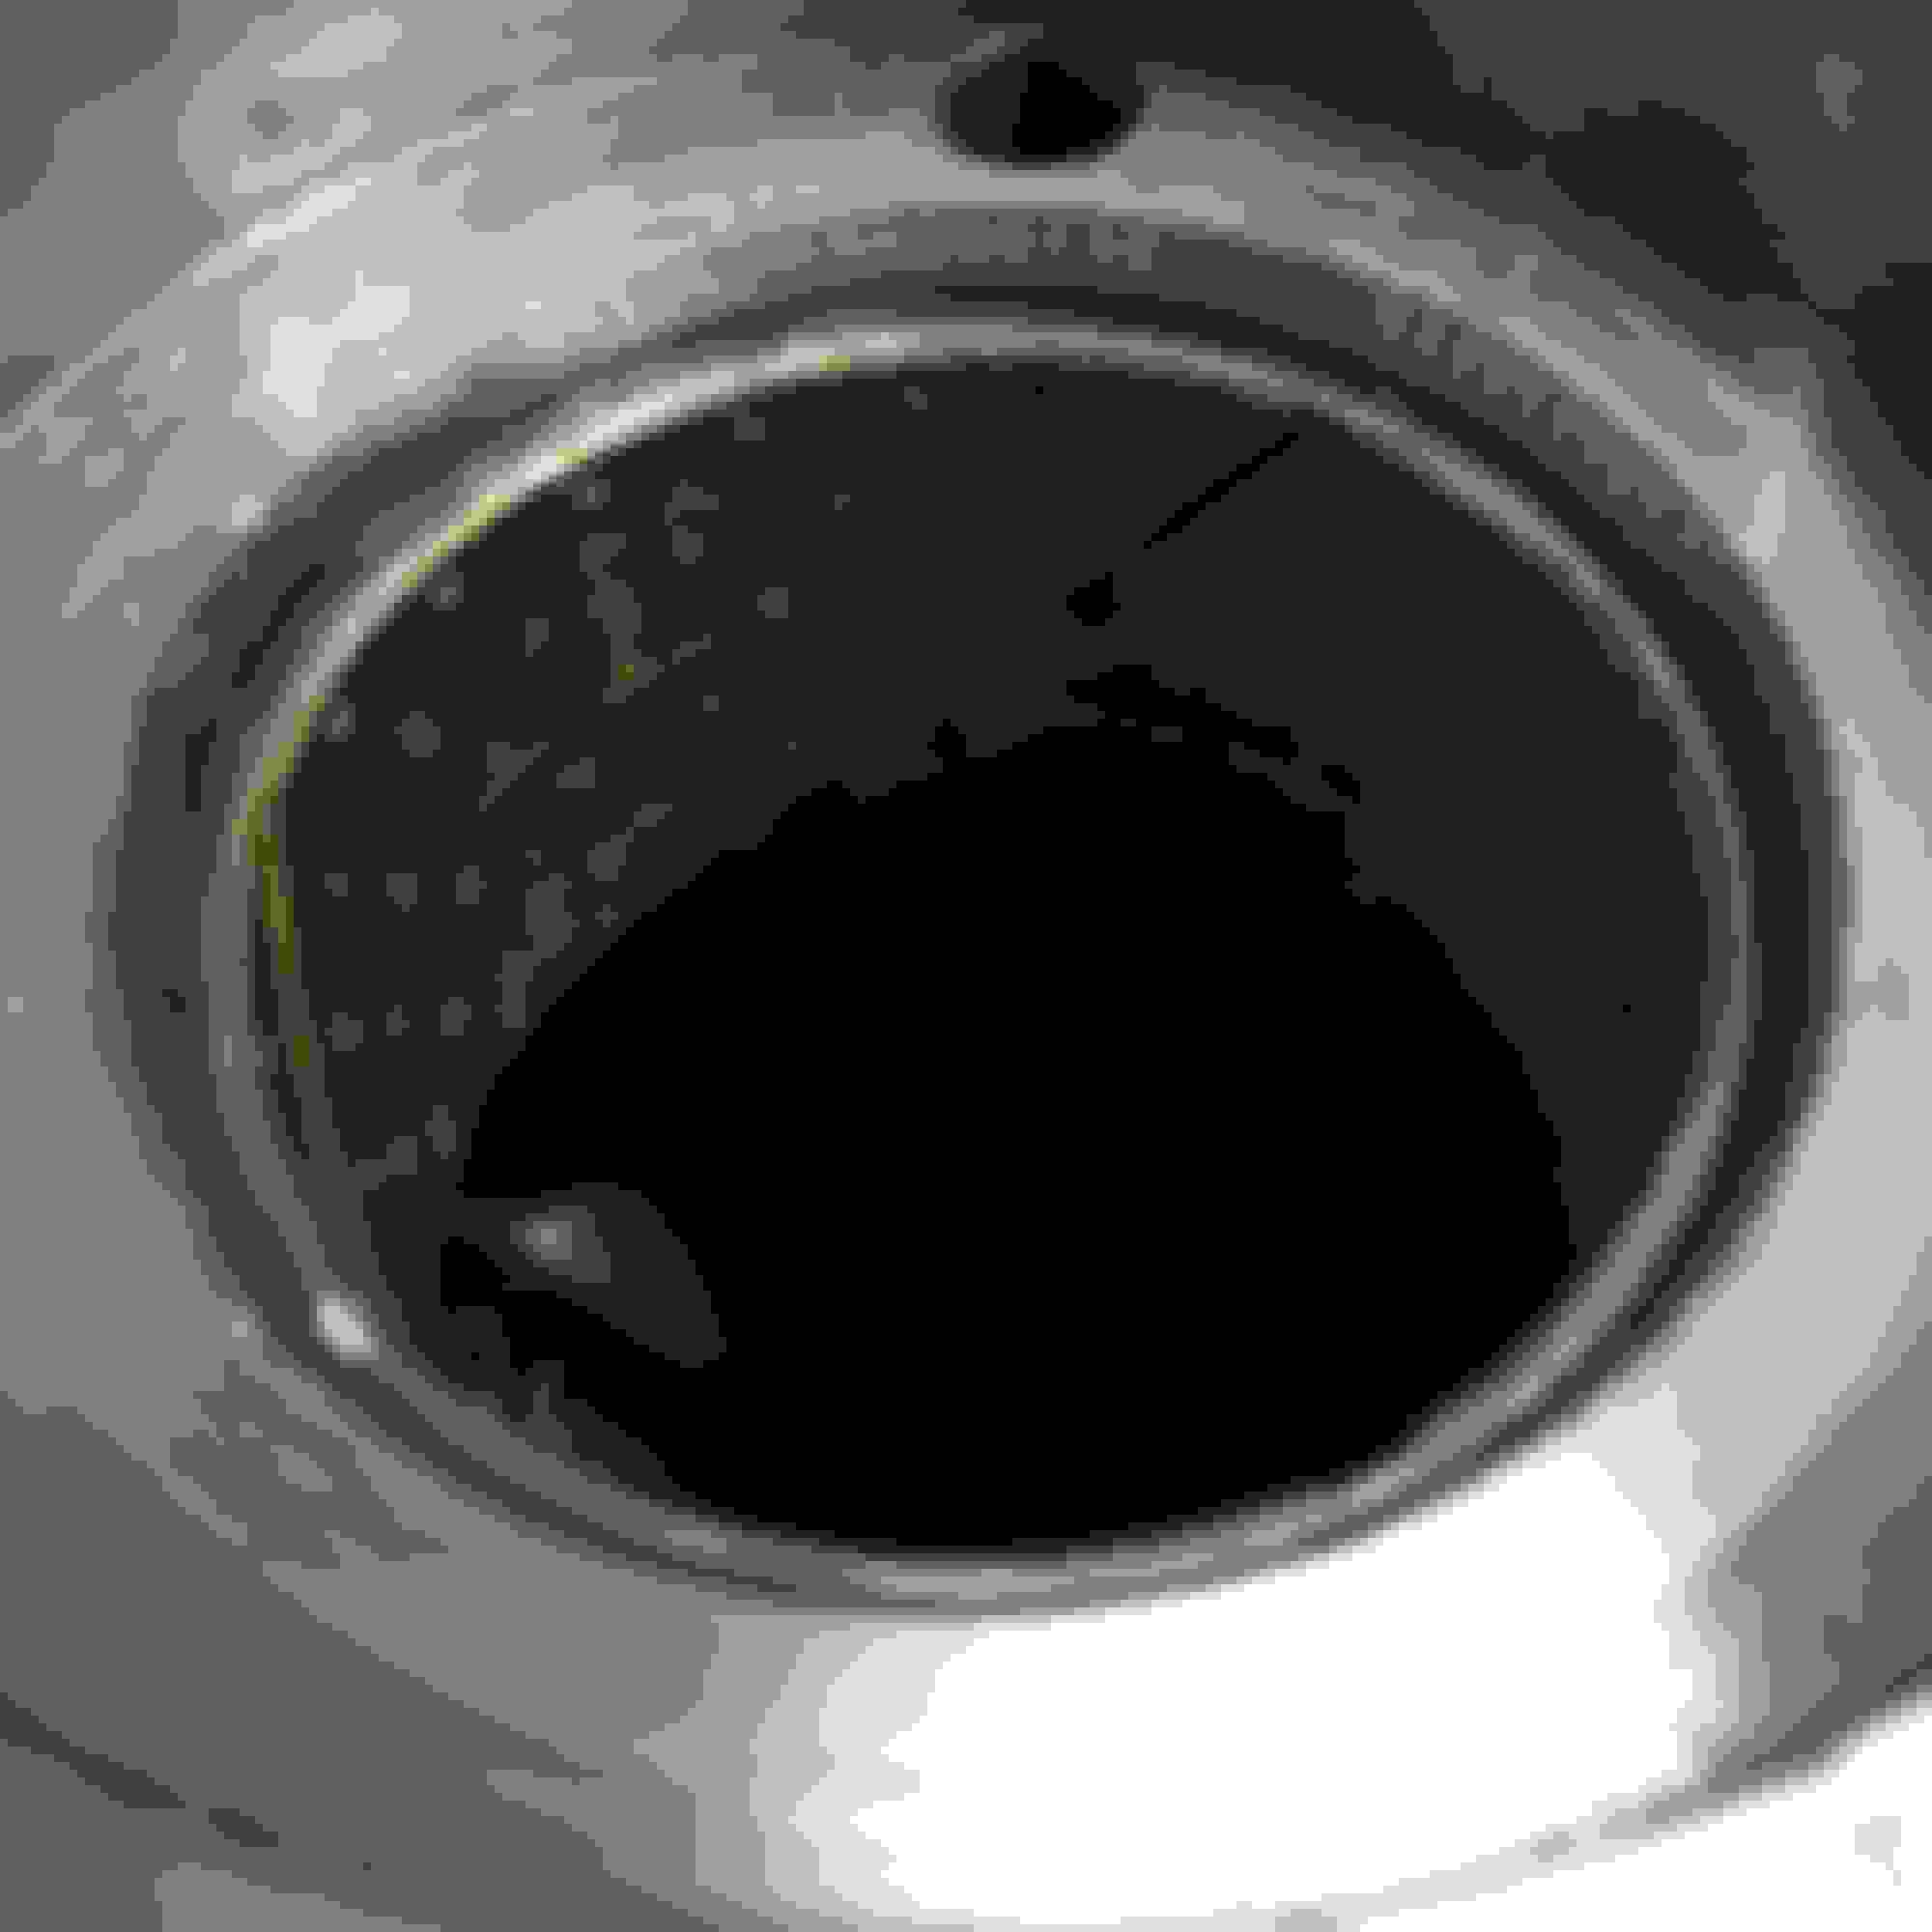
how far in is this bushing supposed to be installed?
i started pusing mine out with a socket and after the first 3/16's movement into the tail housing case i can see that the first 1/8th appears to be flared or flanged. additionally there appears to be a groove in the bushing sleeve about 3/16's in.
Wondering if this is supposed to be seated in this far.
I cant find any references for it my fsm.
thnx, VikingTrad3r
this bushing was flush when i started and it appears there is a bevel or fluted start to the bushing sleeve. how deep is this supposed to be installed?
barely visible here is what appears to be a groove in the aluminum sleeve. is that a marker for how far to push the bushing in for install?
edit, ok looks like i am using a helicoil? ...working on the size needed...
i set my torque wrench to 15ft lbs (it says lbs ft in the manual) and i stripped 2 holes putting the tranny pan on today.
discouraged!!!
how do i fix stripped holes in aluminum?
wtf! how did they strip at only 15 ft lbs!!
15 ft pounds is actually quite a bit for that small of a fastener in a (soft) aluminum case;
you can use a heli coil, but simpler would be to use a stud, which might reach far in enough to catch some unstripped threads, set it in with epoxy (JB Weld), let the epoxy set up and then use a nut.
got my broken exhaust stud off by sacrificing a new 3$ socket and pounding it on. hit the top of the manifold with heat. let it cool. did this cycle 3 times.
it came off. here is a pic.
fyi, i was sloppy and the ONE bolt i did NOT HIT WITH LIQUID WRENCH WAS THE ONE THAT SNAPPED.
on that note anybody know where to get manifold exhaust bolts?
Nearly every auto parts store should be able to help you with the exhaust studs. OE was M10 X 1.5 X 57mm long but those are long since discontinued. By some M10 flanged hex nut that are meant to be used for exhaust and you'll have no more issues as long as you own the car.
Nearly every auto parts store should be able to help you with the exhaust studs. OE was M10 X 1.5 X 57mm long but those are long since discontinued. By some M10 flanged hex nut that are meant to be used for exhaust and you'll have no more issues as long as you own the car.
Thank You. I will do just that. There is a discount muffler place nearby I'll take them in and first see if I can just replace the 1. If not, I will replace them all.
OK, the weather is like 15 celsius in the dead of winter today in calgary and i took the opportunity to get a bunch of things done.
stud removal as above.
then removed o2 sensor....i think shes running rich. pretty sure i have injectors dumping fuel in.
i was getting a really caustic smell from the fuel so decided to have a look at the cat while it was off the car. black and caked up in the entry and fairly clean looking at the exit.
i thought about cleaning it and even tried running some brake cleaner through it but there is a LOT of honey comb in there and it wasn't doing it....
so instead...i reemed it out! problem solved.
my seals for the tranny extension housing are in transit from the ebay purchase and when they arrive I will button this all up and get it out.
rear diff pinion oil seal was replaced.
definately getting progress on this car.
i will very likely have to do injectors on this car but i will be doing a fuel more fuel psi tests to rule out pump, regulator before doing injectors. i do get leakdown to 0psi within 20 min of turning off the car.
some pics. thnx for help all.
this was going in
going out
going in
tough to see but o2 sensor is covered in soot just like the exhaust manifold, the y pipe, and the entry to the cat.
i think i have rich condition
started smashing.
hulk smash
these look plugged. I COULD NOT SEE THROUGH THIS WHEN I HELD IT UP TO THE SUN.
honeycomb.
now i can see through it. i may get a new cat, but for now, this is a solution. i live where there are no smog test but i would like to have the cleanest exhaust possible.
edit: AHA! wait! i had to use a buttoad of liquid wrench as i was tapping the new threads....and before that to get the old studs out....SO THATS PROBABLY IT. ill let it idle for a bit and see if it burns off and report back.
*****
hi all. so, the time finally came for me to button up allllll the gaskets and that were leaking on this old girl, and get her back running.
Turned the key and she whoosed to life.
let her warm idling for a couple minutes and then gave her some gas and my wife reported some dusty material coming out of the exhaust. bits of the cat im sure and it stopped quick.
anyway, i now have a new leak.
an exhaust leak.
from where the exhaust bolts onto the bottom of the manifold. any experience with this after dropping the exhaust? anybody else gut the cat then have this?
Last edited by VikingTrad3r; 03-01-2015 at 08:07 PM.
Good job on all that work!
Now for that exhaust leak. The three nuts on the exhaust studs have to be tightened equally. Just back off on all of them, and watch the flange to keep it level and equal as the nuts are being torqued back up.
Good job on all that work!
Now for that exhaust leak. The three nuts on the exhaust studs have to be tightened equally. Just back off on all of them, and watch the flange to keep it level and equal as the nuts are being torqued back up.
Joel
Thanks for that suggestion. I will go do that. I think I just did them all up individually. So makes sense that your thought would be the cause.
I agree if that flange isnt seated right you will hear it. You might just need to tighten them up a little more.
OK, undid all flange bolts and did them up at the same time without torquing any one too much before doing the others with it. Problem solved.
Took this red rocket out for a rip with my brother and WOW it hauls. removing the guts of the cat definately removed a restriction! I have newer tires on this car now and it will peel them and leave a patch! wow! waaaaaaaay more power than my 87. they both have the same rear diff according to the sticker but perhaps its been changed.
Anyway, I have another couple issues that I wanted to track on here and I will post a new thread for them.
I wanted to come back here and thank everybody because we now have a 45K original mile red 85 with NO LEAKs anywhere and clean underneath!
We have done a huuuuuuge amount to this car. It was just dried up. Its awesome now though.
 01-10-2015, 07:05 PM