When you click on links to various merchants on this site and make a purchase, this can result in this site earning a commission. Affiliate programs and affiliations include, but are not limited to, the eBay Partner Network.
Recently replaced the power steering pump and all hoses, jacked up car to bleed the power steering system per the FSM ( lift wheels off the ground, turn wheels lock to lock 20 times ) and using a mighty vac with adapter part # MVA 660 on the reservoir and it would not hold a vacuum, saw a lot of bubbles coming out of the power steering fluid reservoir.
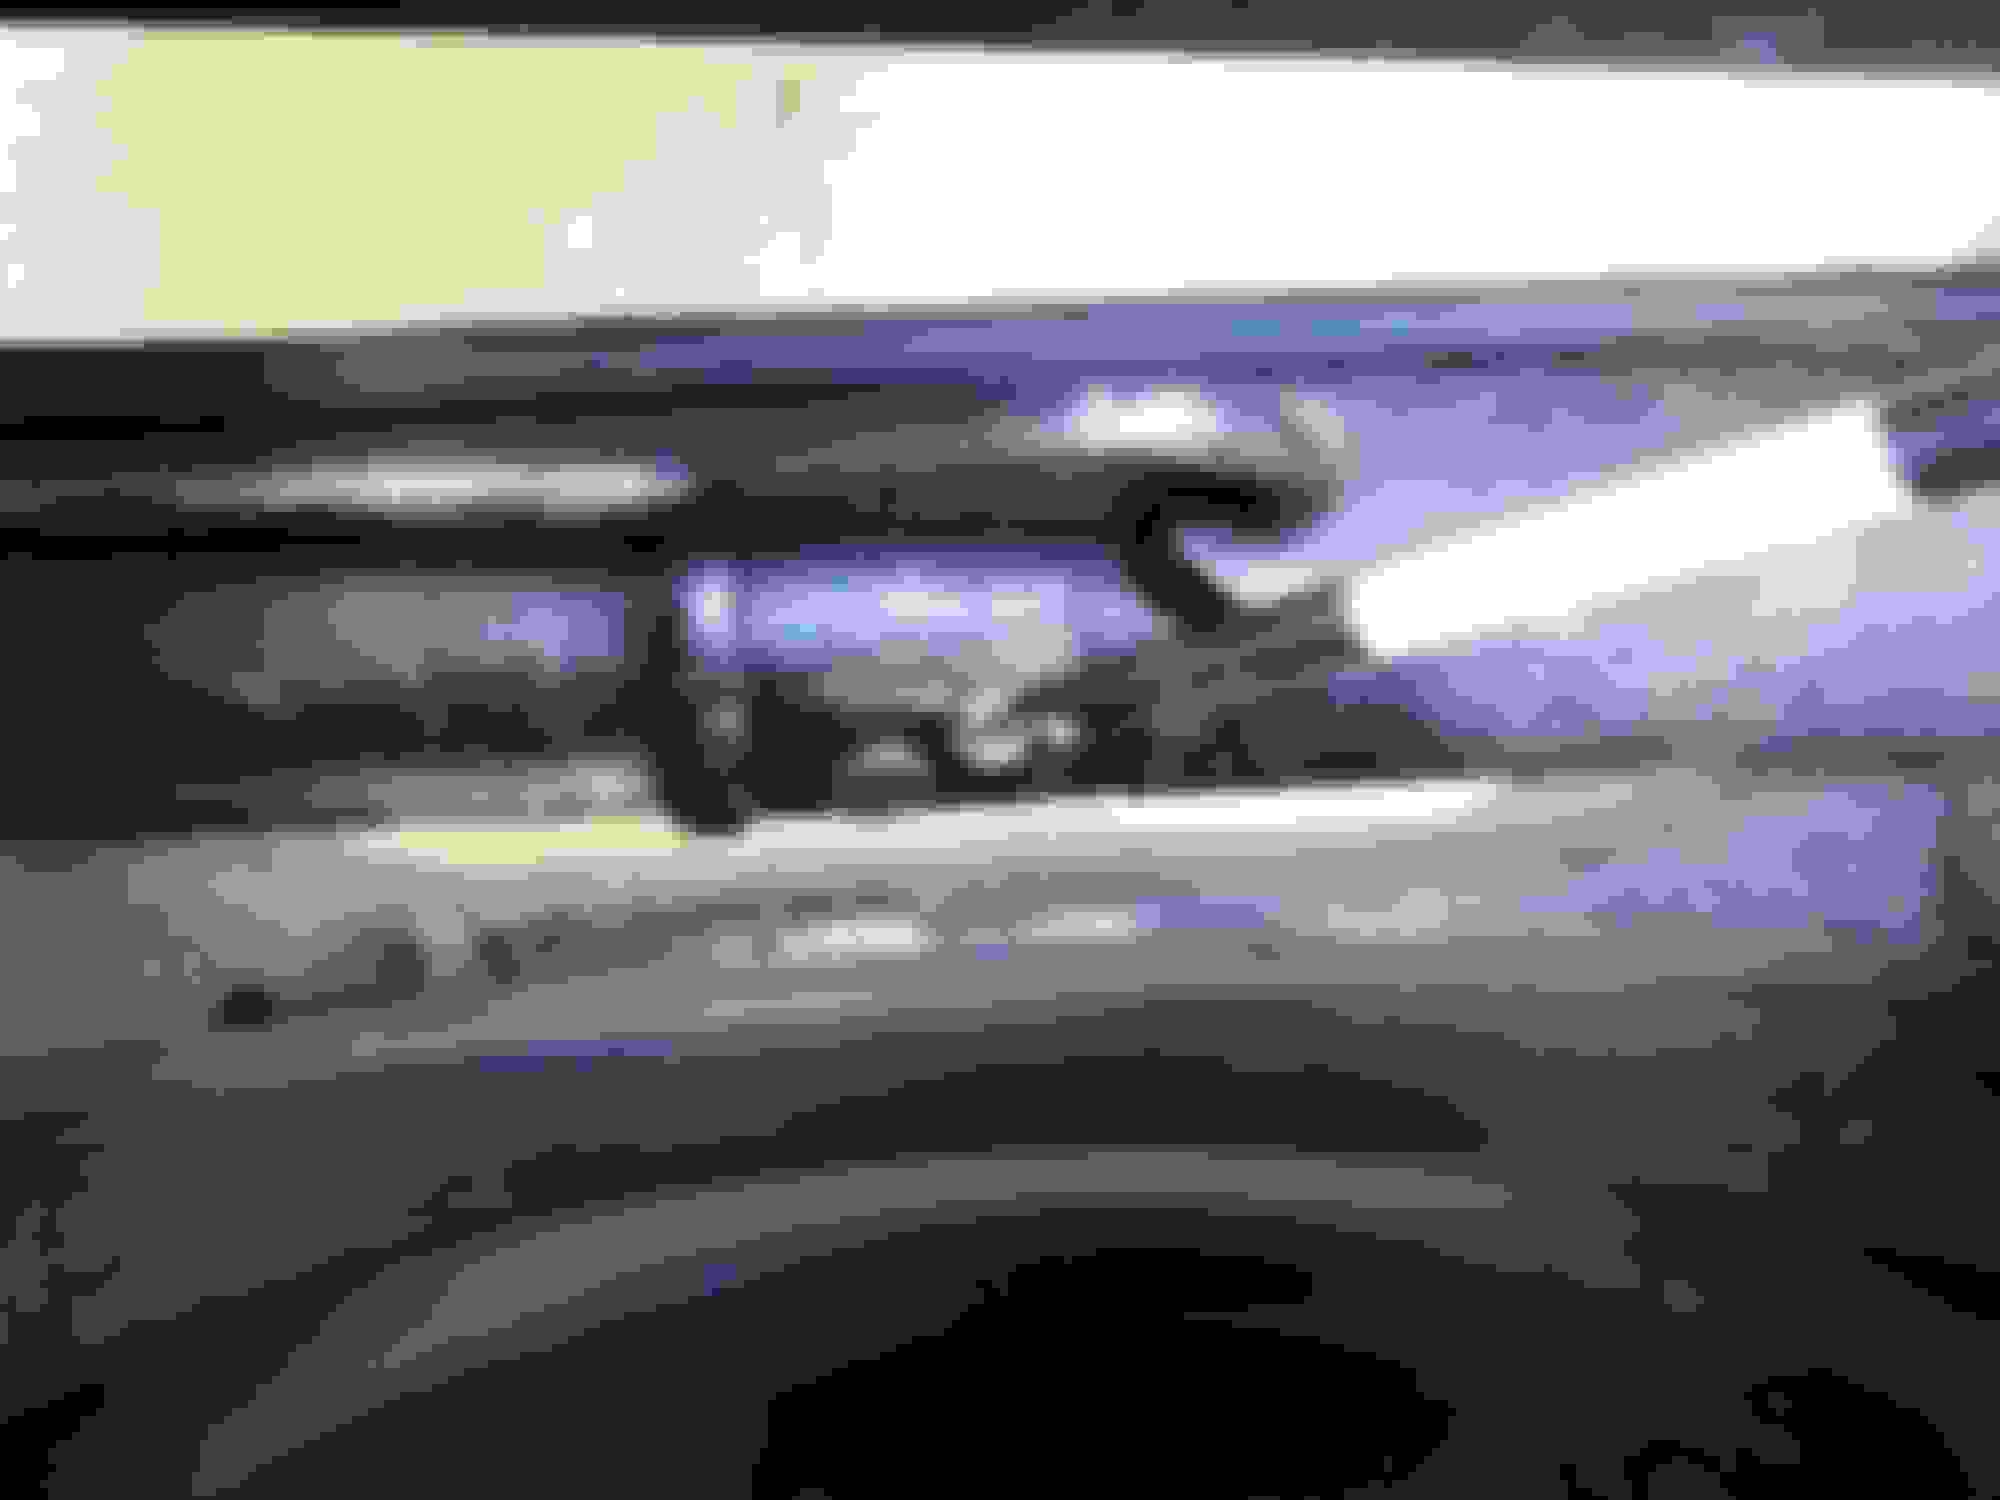
Noticed power steering fluid leaking from what looks like a dime sized metal rivet on the power steering rack next to the metal hose and fitting right under the harmonic balancer pulley. ( screwdriver points it out )
Mine leaked from that same spot. I replaced the rack.
I don't think there's any pressure there. You might be able to fix it by putting a big blob of JB Weld on it.
Thanks Cliff i appreciate the advice !
Looks like i'll be replacing it, it wasn't leaking before i put a vaccum on it to bleed it, now i see a big puddle on the ground, it may be leaking from multiple points on the rack.
Looks like i'll be replacing it, it wasn't leaking before i put a vaccum on it to bleed it, now i see a big puddle on the ground, it may be leaking from multiple points on the rack.
How much vacuum did you apply to the system? I don't know that I'd be so quick to condemn the rack just yet. I'd clean everything best I could + just a little and observe. The reservoirs on the '84 were known to be having leaking issues and cracking.
If this were a "driver" I'd be tempted to use a quality silicone hose with RTV over the plug and using a quality worm style clamp wider than the diameter of the plug secure it. Just a patch cut from a silicon hose, I'm not talking about a large diameter hose as a wrap, but hose of the appropriate diameter to cut the section out of. Best I recall this might be quite accessible.
The argument for this patch is, if you've got effortless steering presently with no issues and the patch does what it's thought to do why risk the "adventure of a rebuilt" rack. Rebuilding/resealing yours is a different conversation.
I also might call a TurnOne /AGR or custom builder to see if they maybe don't offer up a service plug for your needs OR to at least identify it's purpose.
** I believe there are two of what you referenced as a plug 180* from one another. TWO patches?
***Substituting JBW for the RTV type sealant? Maybe.
I was only able to get about 5 hg of vacuum, i should have been able to get at least 15 to 20, that's when i heard the wooosh of air being sucked in, then as i turned the wheels i saw the leak at the rivet.
Great advice thank you, i seriously considered it but sadly with the amount of fluid on the ground i have no choice but to install a rebuilt unit.
15 day turn around at rock auto, 2 week turnaround from Napa, finally located one in stock at ecklers !!
I'm already knee deep into taking it out, with that amount of fluid loss i didn't want to risk seizing the pump breaking the belt and have total carnage.
I have the stabilizer bar out ( very tricky ) pulled it out from underneath through the passenger side with the bushings still attached, maybe i should have tried to take them off the stabilizer to make it easier? first time doing this.
Got the electric cooling fan out also.
BUT which way does the pinch bolt loosen on the lower steering column ? clock wise ? or counter clock wise to loosen ?
BUT which way does the pinch bolt loosen on the lower steering column ? clock wise ? or counter clock wise to loosen ?
There's nothing really special with the pinch bolt regarding threads. CCW unbolt, CW tighten. Most any I recall doing anyway.
Compare length tip to tip, outer threads of inner tie rod to what you removed. I believe an early rack tip to tip is 48" + maybe depending on the inner rods used. The later '88+ rack is something 50" +. Post what you measure as just a matter of interest.
THANK YOU !
Just got the pinch bolt out, lefty loosy righty tighty ! with an 11 mm 6 inch long wrench, man there's no space in there to turn it and no way to get any leverage so had to put a little more ooomph into it !
I know i'll have to torque it to spec when i re-install it.
I didn't know the pinch bolt coupler on the coloumn was able to slide back to unhook it from the steering shaft, i couldn't figure out how on earth i was going to get the old rack out and off the steering shaft, this is my very first steering rack replacement so i needed clarity so i didn't break the pinch bolt ! or mess something up !
Now i have to run to get the correct tie rod remover at autozone, tried the hammer and wood thing and they won't budge.
I have the Z51 suspension which i'm guessing is what heavy duty suspension FE7 is, there are 2 listed one is standard, one is heavy duty suspension on the rack. I ordered the heavy duty one.
I'll measure the rack and post pics once i have it out !
I just took another look at your pictures. I noticed that the pipes are painted. That is NOT stock. You have a rebuilt rack in there.
You may be right, i noticed when i took off the low pressure hoses to replace them, that one of them had another hose over it to protect it from chaffing rather than the nylon braided hose cover that a stock one should have. ( Corvette Central is the only one that had the molded curved one, every one else has the straight low pressure one)
So no doubt this unit being rebuilt has seen it's share of service.
Ran out of daylight before i could get the old one out, but managed to get the tie rods loose ( after marking them for correct alignment ). And everything off/disconnected. Pretty much took all day with a lot of 15 min breaks in between and a run to get the tie remover.
As a side note the tie rod remover that you get at O'reilly's does not work well, i think the part number was 60078, i did get the tie rods off, but the bolt is too short on the puller to fit over the rod bolt. I had to remove the steel cap invert it, put that piece on the tie rod bolt, then put the remover over the bolt and screw it down. You will need a jaw type one that is longer for it to work properly or fork if you are not reusing your tie rods.
Picking up the new one today. Then going to remove the old one and compare them for length end to end.
Meanwhile back on the ranch......... murphy's law has a great way of interrupting your projects.
Since i was not able to get the rack the same day, i ordered one from Zip products, they were the only one to have it in stock on the shelf ready to ship.
So ordered it and it was due to arrive monday ( which it did ) BUT i was hospitalized saturday, and had to have emergency surgery on Sunday morning, needless to say i was and still am out for the count.
Luckily for me my nephew offered to help me remove the old rack and install the rebuilt one today ( this kid is gold ), he did a great job on both counts, very patient smart kid.
BUT, this is where murhpy's law comes in !
He was not able to move the steering coupler back far enough to be able to slip it over the steering shaft on the rack.
I was able to slide it back very easily to remove the pinch bolt and detach it from the rack shaft, so i cannot understand what is wrong.
The rebuilt is exactly the same as the old one, measured the rack shaft diameter and it matches the old one, measured the width and both racks are 48 inches, measured the length of the shafts and they are both the same.
The issue is the coupler won't slide back again to be able to slide forward to meet the shaft, and the other issue is the coupler does not slide over the steering shaft.
I feel like the coupler would have to be wedged open more along the slit, how can i do this?
What is the best way to be able to attach the steering coupler to the rack shaft ?
The only orientation required for a "double D" Saginaw shaft is to be sure the pinch bolt clamp is located correctly. It's not unlikely that it would require considerable effort to establish the length required again to get the lower flange back over the stub-shaft. The '84 shaft is "friction fit" where it collapses.
With the rack in the car I'm sure it would be an effort and it seems you've got the rack in the car already.
I doubt that you could have an issue with the pinch bolt gap requiring any modification. I don't recall the space limitations but perhaps you could get an open-end wrench over the shaft and tap it back to the length required.
Make sure that you've got the steering wheel centered and the rack centered also and that should orientate the pinch bolt correctly.
First thank you for your help.
Yes the rack is in the car i left the bolt out so i could move the rack to adjust it fore and aft in order to try to get the coupler onto the stub.
What i had done was in order to get access to the pinch bolt to remove it, i turned the wheels with the steering wheel unlocked until i could reach the pinch bolt.
Then i locked the steering wheel in place, and marked with a straight edge where the wheels were pointing,
Then i removed the pinch bolt, and slid the coupler back. It slid back very easy.
Now I had my nephew ( while i watched ) do the reverse, install the rebuilt rack, then with a wrench turn the steering stub until i could see it could line up with the coupler.
But the coupler length seemed longer and could not be slid back far enough to clear the steering stub.
So i had him remove the rack mounting bolt, and pull back the rack far enough to get the coupler to meet the shaft, however the coupler did not want to easily slide over the steering stub.
I'll have him try to tap the coupler shaft back somehow with a wrench as you suggested, weird how it was able to slide back easily by hand now it seems like it doesn't want to slide back further.
The coupler and shaft are keyed. They must be oriented correctly for the coupler to slide onto the shaft.
Ok i was doing something wrong.
On the new rack shaft i did not notice that it had a groove in it for the pinch bolt to rest in on the rack shaft stub.
I turned the rack shaft one full turn until the groove lined up with the coupler ( in line with the marks i made to ensure the rotors pointed in the correct direction ) and WA LA the coupler was able to fit perfectly onto the rack shaft. ( pics to follow ).
I did not notice this groove on the old rack, and on the new shaft.
But the steering shaft still did not want to budge, sprayed pb blaster on the middle of the shaft where the rubber cover is and used a drift and hammer, a few light taps and the shaft SLID easily down to move the coupler into position onto the end of the rack shaft !!!!!!
This was a head scratcher as i just did not see the groove for the pinch bolt on the rack shaft and it didn't sink in that it would only fit a certain way so thanks Cliff for pointing out that it was keyed.
That and the stuck steering shaft was the only bear in the whole process. In my case i did not have to lower the k frame to facilitate removal or installation.
Knowing what i know now, and had i had the part the same day i can say it's a one day job with patience. Extra hands helped but really one person could do it.
BUT it's at least in position, and with my nephews help I'm hoping to finish this up soon.
Thanks everyone for your advice and help, greatly appreciated.
Ok got everything bolted in and torqued all the bolts to spec with my nephews help.
Pinch bolts are installed on the steering shaft couplers/rack shaft, blue lock tight used and torqued to spec.
Tie rods are done, and they came in right in alignment with the marks i made. Had to take into account the new nuts on the rebuilt shaft are shorter than the ones that were on the old one. ( once the rack stub and coupler were oriented correctly ).
Stabilizer bar is in and bolts torqued to spec.
Just have to connect the hoses fill and bleed the system, clean the rotors and mount the tires.
I have heard that a groaning noise can be caused by air in the oil. I have never had this problem so I have no experience with it. I think the air will work itself out over time.
I have heard that a groaning noise can be caused by air in the oil. I have never had this problem so I have no experience with it. I think the air will work itself out over time.
 06-14-2015, 02:37 PM