When you click on links to various merchants on this site and make a purchase, this can result in this site earning a commission. Affiliate programs and affiliations include, but are not limited to, the eBay Partner Network.
I would try a set of Channellock 410 nut buster pliers, google them. They will work better than vise grips and are much easier to set then a pipe wrench. When they are set on the right way, the more pressure you apply the deeper the teeth bite.
I'm not sure if you are bottomed out, cross threaded or wrong thread but I would try these. I like the welding also, but I would try these first.
Good luck
I would try to spray the bolt with FREEZ OFF - get it good and cold. and put a pipe wrench on the bolt - hit the pipe wrench with a small mallet - the shock may brake the bolt loose.
I second the welded nut idea, but first I would call a professional as mentioned by gungatim. No offense but it does not sound like your cup of tea. I would not do anything else to it if I where you like drilling down the middle. You have to be perfectly centered. Bolt extractors wont work. Vice grips wont work. If you break off whats left then the welded not has less chance to work. It can still be welded on but with less penetration. I do like that Titan 16023. I will look at buying one of these myself. I would keep hitting it with penetration oil in the mean time.
Sorry for the absence, I waited a while for this thread to die down and then it looks like there's been another surge of activity. Sad news - I got the bolt out and then broke another grade-8 bolt off in its place.
Originally Posted by THE 383 admiral
I just tried the Titian 16023 jaw chuck extractor. On manifold bolts. It locked on flawlessly!
I bought one of these from the Amazon link back when it was first posted in here. I went out one night to try it, and I don't remember the details (it might have not worked at first) but sure enough it bit on and started to turn the broken-off stud with enough torque. Laughably I did not think to just hook my ratchet up to it like in the picture, instead I had to use a giant wrench around the black section.
This is the old broken bolt, and the new one I bought for another attempt:
For this second attempt I honed out my balancer hub's keyed hole a little wider with some 30-grit sandpaper wrapped around a drill. Went to town on it for a long time until I saw the ring of damaged metal from the first install disappear. Sanded the crank snout too to knock down any marks from when I hammered on my timing gear and missed, then realized that was stupid and had to clean grit and metal shavings out of the crank seal that was right there.
I lubed both surfaces all over with moly suspension grease, and once it was partially on I left a heat gun on full blast pointed against it while I wrenched at it from below. With enough heat it eventually started to turn a little easier, but that's when the bolt snapped again.
This time as I turned I could see why the last wrong broke, as I could tell the whole hub assembly was getting twisted downward off-axis a little bit under the load and each time I rotated another click. Does this mean the crankshaft was moving as I tried to install this? I tried to limit my force a little bit to keep it from shearing off again, but I failed.
Now there's even less of this one sticking out - just one or two threads. Not enough for the Amazon tool to grab onto, I've already tried. Dammit. I don't know what I should have done differently, other than maybe spend twice as long honing the hole out.
Last edited by LouisvilleLT4; 04-25-2016 at 05:55 PM.
Sorry for the absence, I waited a while for this thread to die down and then it looks like there's been another surge of activity. Sad news - I got the bolt out and then broke another grade-8 bolt off in its place.
I bought one of these from the Amazon link back when it was first posted in here. I went out one night to try it, and I don't remember the details (it might have not worked at first) but sure enough it bit on and started to turn the broken-off stud with enough torque. Laughably I did not think to just hook my ratchet up to it like in the picture, instead I had to use a giant wrench around the black section.
This is the old broken bolt, and the new one I bought for another attempt:
For this second attempt I honed out my balancer hub's keyed hole a little wider with some 30-grit sandpaper wrapped around a drill. Went to town on it for a long time until I saw the ring of damaged metal from the first install disappear. Sanded the crank snout too to knock down any marks from when I hammered on my timing gear and missed, then realized that was stupid and had to clean grit and metal shavings out of the crank seal that was right there.
I lubed both surfaces all over with moly suspension grease, and once it was partially on I left a heat gun on full blast pointed against it while I wrenched at it from below. With enough heat it eventually started to turn a little easier, but that's when the bolt snapped again.
This time as I turned I could see why the last wrong broke, as I could tell the whole hub assembly was getting twisted downward off-axis a little bit under the load and each time I rotated another click. Does this mean the crankshaft was moving as I tried to install this? I tried to limit my force a little bit to keep it from shearing off again, but I failed.
Now there's even less of this one sticking out - just one or two threads. Not enough for the Amazon tool to grab onto, I've already tried. Dammit. I don't know what I should have done differently, other than maybe spend twice as long honing the hole out.
well if it wasn't for bad luck, you'd have no luck at all. There has to be some damage to the threads inside the crank snout, and once you get the new busted bolt out, run a bottoming tap of the proper size and thread pitch into and out of the crank snout, then lube up the second new bolt and make sure it threads into the crank without difficulty; from all your troubles, I would almost guess that the original bolt cross threaded when it was initially installed into the crank and this is the source of your miseries.
the damper hub should go onto the crank snout with a minimum of effort; obviously yours doesn't , but it should. Maybe it's time to compare hub i.d. with the crank o.d. using a micrometer (good to 0.0001"), or at least an accurate caliper (good to 0.001").
I can't tell how much of the stud sticks out, but if there is enough, run a die on it and cut threads, get two shallow shouldered nuts, and put them on. back the inner nut up against the outer and then hit it with an impact wrench.
I was going to say if he hadn't of messed the threads up, that he could have put two or three thin nuts on there so they wedged together then try to unscrew the bolt.
I was going to say if he hadn't of messed the threads up, that he could have put two or three thin nuts on there so they wedged together then try to unscrew the bolt.
welding would probably have done it from the beggining. and lots of 50/50 acetone/atf mix. homebrew penetrating solution that has been by far the best i've ever used and i've used all the store bought stuff.
welding is the answer. it heats up the bolt and helps break whatever is seizing it. if it is cross threaded, then you need to work it back and forth and back and forth and back and forth with the pentrating oil. but i'd have welded a nut on there from the get go. i have a mobile welder i call for this type of job. he charged me 60$ cash each time. i've used him twice.
The balancer is supposed to be a press fit - the keyway is only for alignment. I would not use it if it's been honed out.
Once you get the broken bolt out, buy a new balancer and the right tool to install it, and try again.
Originally Posted by gungatim
are you not using a balancer install tool? that is part of the problem.
Originally Posted by BLUE1972
A balancer install tool is a god idea.
Allow me to address all these posts at once. I appreciate them but they are confusing. Here is a picture of the install tool from Autozone, which I have had all along:
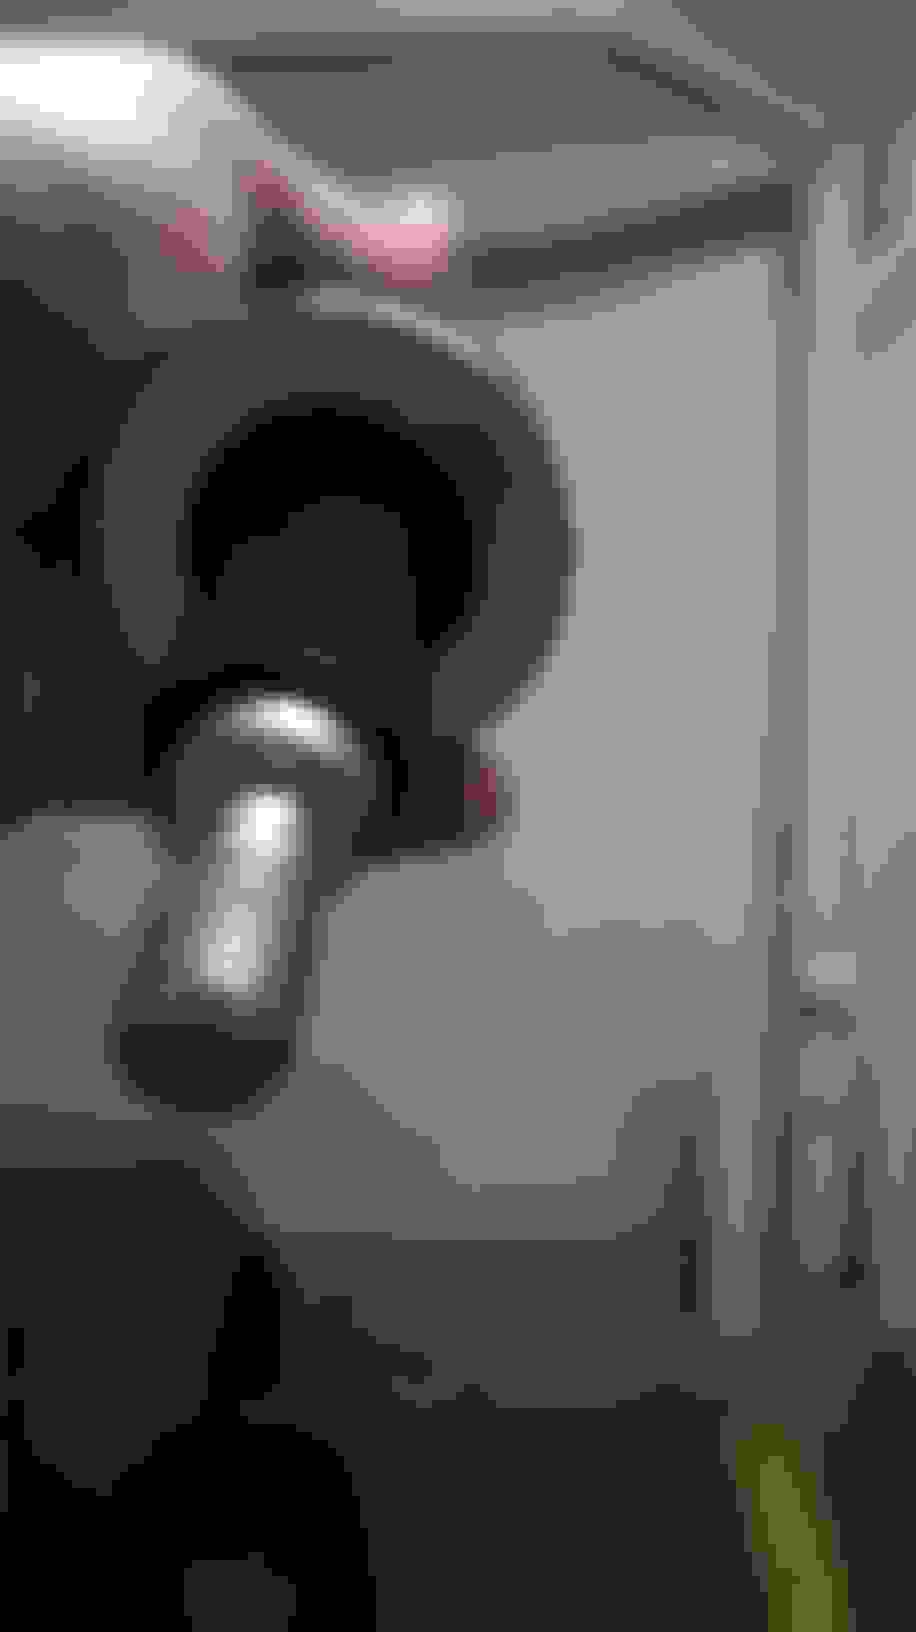
You can see that there's a silver 7/16 adapter that fits on for our crank thread size, and then the tool gets much thicker past the adapter; thicker than the through-hole in our hubs. Here is a picture of that tool inserted through a stock LT4 hub as far as it will go:
You can see that none of the threaded portion can reach all the way through, much less far enough to engage the crank's threads when the hub still has several inches of being pressed on to go.
I assume the situation is worse for an LT1, with its slightly longer hub.
The Autozone tool does not fit our cars unless any of the ones telling me to use it have been successful with it before. Correct me if there's some way to make this fit; I'd have to be missing something major.
Now I realize that the suggested Autozone one isn't the only option, there's the perfect Kent-Moore tool, proven for our application, but impossible to acquire and at ~$500 a ridiculous solution.
That is what I am dealing with now. Is there even room to weld anything to it? A rod 90 degrees against the end like was suggested a while back? What's the simplest way to extract this with how little is sticking out?
The correct balancer remover/installer tool should work fine unless it's been abused or something. Also I seem to recall using anti-sieze on the bolt going into the crank.
Don't know why you are putting bolts into it that aren't the correct remover/installer tool?
Allow me to address all these posts at once. I appreciate them but they are confusing. Here is a picture of the install tool from Autozone, which I have had all along:
You can see that there's a silver 7/16 adapter that fits on for our crank thread size, and then the tool gets much thicker past the adapter; thicker than the through-hole in our hubs. Here is a picture of that tool inserted through a stock LT4 hub as far as it will go:
You can see that none of the threaded portion can reach all the way through, much less far enough to engage the crank's threads when the hub still has several inches of being pressed on to go.
I assume the situation is worse for an LT1, with its slightly longer hub.
The Autozone tool does not fit our cars unless any of the ones telling me to use it have been successful with it before. Correct me if there's some way to make this fit; I'd have to be missing something major.
Now I realize that the suggested Autozone one isn't the only option, there's the perfect Kent-Moore tool, proven for our application, but impossible to acquire and at ~$500 a ridiculous solution.
That is what I am dealing with now. Is there even room to weld anything to it? A rod 90 degrees against the end like was suggested a while back? What's the simplest way to extract this with how little is sticking out?
after looking at your photo's I am almost certain that the bolt you extracted and attempted to replace is a 7/16th by 14 thread pitch (coarse thread) when what you need is a 7/16th by 20 thread pitch (fine thread); this mix up of threads would explain every single one of the problems you have encountered.
you'll have to drill into that broken bolt and use an easy out to extract the remnants; then clean the threads with a 7/16th by 20 tap; at that point you should be back on track.
good luck
Nope, I've been buying 7/16-20 bolts. Here is a picture of the bolt I extracted with the original (stock) bolt:
The difference in 14 vs 20 threads per inch would be pretty severe up close like that.
Originally Posted by colter
The correct balancer remover/installer tool should work fine unless it's been abused or something. Also I seem to recall using anti-sieze on the bolt going into the crank.
Don't know why you are putting bolts into it that aren't the correct remover/installer tool?
Please read to the post immediately before yours. Consider your reply as yet another in my list of posts I was addressing all at once. A balancer hub installer tool does not fit.
Please read to the post immediately before yours. Consider your reply as yet another in my list of posts I was addressing all at once. A balancer hub installer tool does not fit.
I've just done it on an L98 and other similar engines.
But I found a video of someone pulling the balancer from an LT1:

 04-09-2016, 08:21 PM