When you click on links to various merchants on this site and make a purchase, this can result in this site earning a commission. Affiliate programs and affiliations include, but are not limited to, the eBay Partner Network.
I don't know what type of bearing they are, but the thrust bearing at least looks like it has a layer of copper in it. Shouldn't the others be the same?
Would I? I really don't know much about the subject. I looked at the thrust faces and they look fine, although the rear face seems to have a tiny ridge or groove I can feel with my fingernail.
I'd be kinda nervous to have to reinstall the pistons, but then again I also don't want to have to do this again. I do recall that before I installed the valvetrain the crank rotated very easily.
Also, I found a problem outside the engine that may have been the source of the knock.
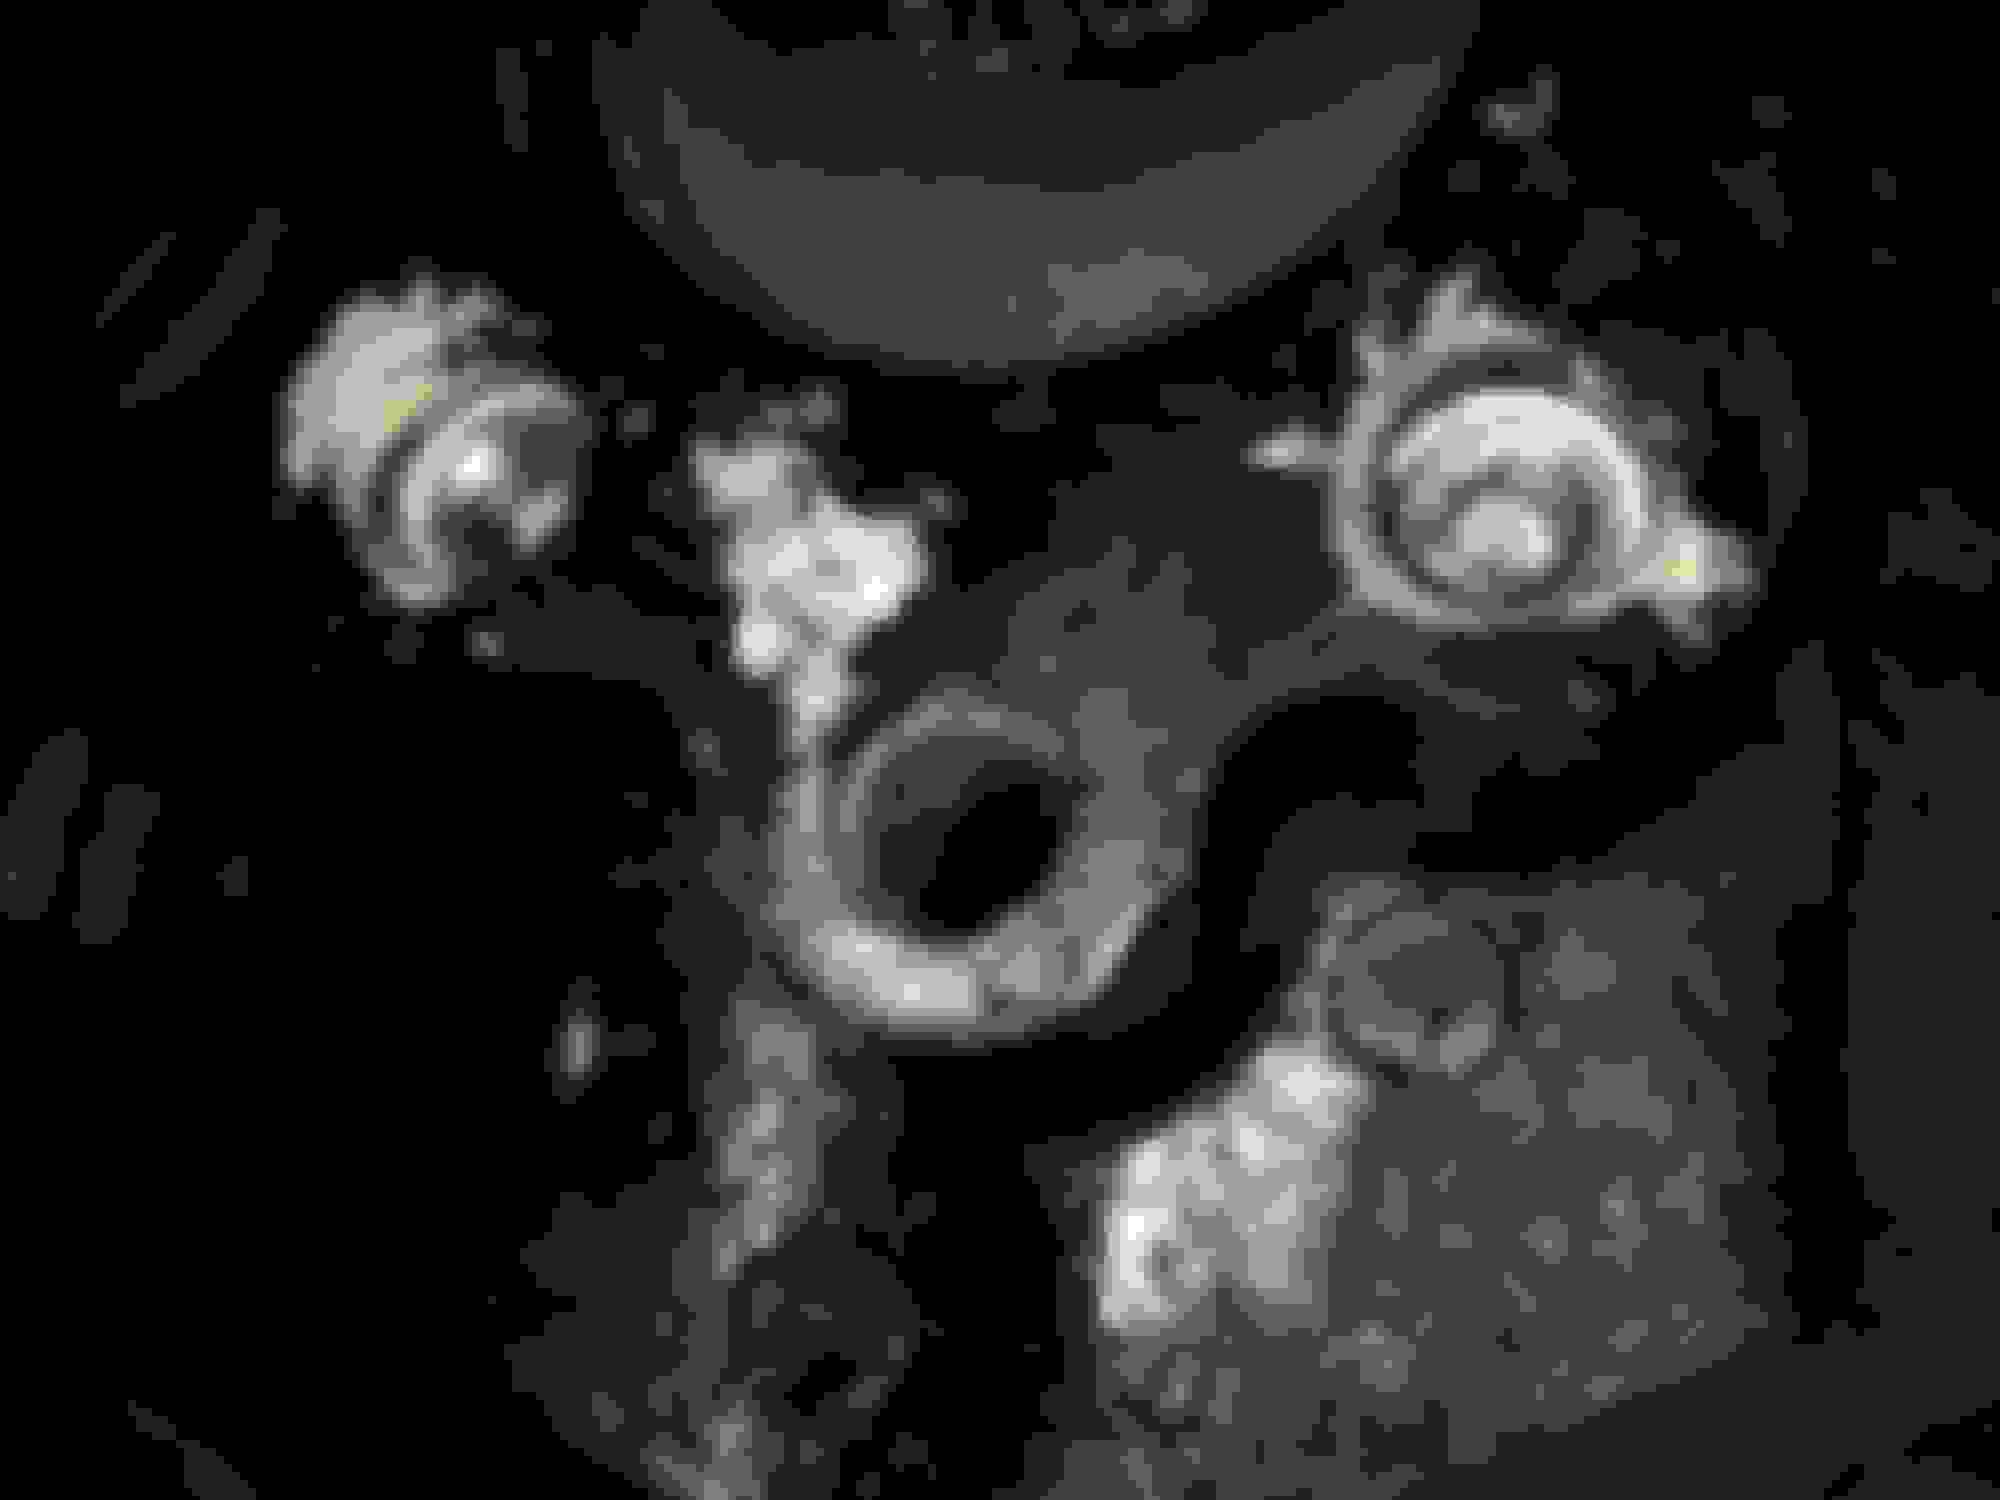
Is this what a bad cat looks like?
I've decided those pieces must be from my precat. After I cleaned everything out of the main cat just a perfectly flat surface of the catalyst was left, not a jagged, broken face. That makes sense, too, given how suddenly my performance decreased. Makes sense that the precat was cracked, then suddenly broke apart and clogged the main cat, causing decreased performance and glowing manifolds.
I think you've found your knock. I'd recheck the bearing clearances; replace the thrust bearing and drive that sucka'; I see no need to pull pistons or further disassembly.
Any thoughts as to the cause of the worn-out thrust bearing? Seems to me something has to be wrong for a bearing to wear out after only a few hundred miles.
Around Christmas I was talking to Bill at ZR51 performance about a noise my transmission was making, and he suggested misalignment between the crank and the transmission input shaft from align boring shifting the crank upward could cause accelerated wear. I've also heard mentioned that thrust bearing wear could be caused by the same thing, improper alignment of the engine and transmission. Does this seem likely to you guys?
Last edited by C4ProjectCar; 06-11-2016 at 11:26 PM.
Some of the thrust bearing wear can be attributed to applying clutch. As pedal is depressed throwout bearing forces pressure plate and crank forward against thrust bearing. If in doubt check run out. Misalignment will normally cause irregular wear pattern on flywheel and pressure plate surfaces also.
Some of the thrust bearing wear can be attributed to applying clutch. As pedal is depressed throwout bearing forces pressure plate and crank forward against thrust bearing. If in doubt check run out. Misalignment will normally cause irregular wear pattern on flywheel and pressure plate surfaces also.
Both sides of the thrust bearing are worn though. And to have both sides worn through to the copper sounds to me like way too much wear after 400 miles, although I really have no frame of reference.
I borrowed a dial indicator with magnetic base from someone yesterday, so as soon as I finish poking around in the oil pan I'll put the engine on the hoist and check runout.
I think I looked at the pressure plate when I took it off but I'll go back and look again.
Alright, I'm replacing the main bearings, but I'm having trouble getting the new thrust bearing in. I was able to easily roll the old bearing out with a tool I made, but rolling the new one in requires turning the crank the opposite direction. When I try to do so, the bolt on the crank snout just unscrews. I considered screwing in a flywheel bolt and rotating it with that but I'm not quite comfortable with doing that. Any tips?
Alright, I'm replacing the main bearings, but I'm having trouble getting the new thrust bearing in. I was able to easily roll the old bearing out with a tool I made, but rolling the new one in requires turning the crank the opposite direction. When I try to do so, the bolt on the crank snout just unscrews. I considered screwing in a flywheel bolt and rotating it with that but I'm not quite comfortable with doing that. Any tips?
the original thrust bearing was ruined in 400 miles and now you're having problems installing a replacement bearing; I would suspect inadequate end play clearance and once the new bearing is in I would carefully check the end play on the crank. Too little clearance would explain a lot.
Sometimes a strap wrench can do it. Easier if u care to remove the spark plugs. U dont have to turn far. Even a HB strap wrench will do.
Sadly, don't have one of those. But I worked something out; just put something on the flywheel bolts to hold the crank in place so I could tighten the bolt to spec.
Originally Posted by mtwoolford
the original thrust bearing was ruined in 400 miles and now you're having problems installing a replacement bearing; I would suspect inadequate end play clearance and once the new bearing is in I would carefully check the end play on the crank. Too little clearance would explain a lot.
I think I tracked the worn thrust bearing down to too much runout. The crank was about .008" off, which some .007" offset pins should correct to well within the ZF6's spec. My only issue installing the bearing was that the snout bolt was pretty loose. Once I tightened it I got the thrust bearing in with no problems. But I'll definitely check crank endplay before I put the engine back in.
Now, however, I'm having difficulties rolling in the front main bearing. With the others, I was able to just push the bearing into place while I rotated the engine, but this one stuck about a third of the way in. I tried using the tool I made by grinding up a nail to roll it in when that didn't work, but I stopped when I felt resistance, as the old bearings had rolled out with that tool quite easily.
Right now I'm thinking I'll snug up the other caps and flip the motor over to loosen things up. You guys got any ideas?
Edit:
Got it. Just took a little more persistence. I got it as far as I could by pushing the bearing in by hand while my dad rotated the crank in the same direction, then tapped it in the rest of the way with a piece of wood and a hammer while my dad lifted on the front pulley to give it a little more clearance.
Last edited by C4ProjectCar; 07-07-2016 at 11:53 PM.
I think I tracked the worn thrust bearing down to too much runout. The crank was about .008" off, which some .007" offset pins should correct to well within the ZF6's spec. My only issue installing the bearing was that the snout bolt was pretty loose. Once I tightened it I got the thrust bearing in with no problems. But I'll definitely check crank endplay before I put the engine back in.
I applaud you for tracking down a run out issue; but typically this would create pilot bearing, transmission input shaft issues which would probably be first manifested as clutch issues; the run out would have little or no effect on the (parallel) surfaces of the thrust bearing.
Did you have oil pressure issues with this engine? Not all "oil problems" = low oil pressure.
I think there are what three small pipe plugs in the rear of the block? if they, or one, is screwed in too far it will restrict oil to the gallery that it's supposed to feed; in this case maybe the gallery that supplies oil to the rear main / thrust bearing.
could the original rear main been put in upside down? It'll go in that way as easily as the correct way, but the oil hole in the bearing would not line up with the oil feed hole in the block.
As a matter of fact, my ZF6 whining was what made Bill at ZFDoc suggest I look into a runout issue. While doing research, I read that runout could cause thrust bearing wear, although it seemed a bit odd to me.
No oil pressure issues; it had 80PSI cold and, while I don't recall the number, it also looked good hot And yes, there are three plugs right above the center freeze plug. How would I tell if they are in too far? Or maybe you can. Here's a picture.
Nope, I recall that it was installed as it should be, with the shell with the hole on the block side.
One thing that struck me as odd was that the thrust bearing was completely worn out on its thrust faces, but its main surface looked fine. To me this suggests either improper endplay (which I just roughly measured at 3.5 thousandths) or excessive loads on the crank, although this is just a guess. I'm not sure if this will tell you anything, but here is a picture of the new thrust bearing installed.
Last edited by C4ProjectCar; 07-08-2016 at 04:00 AM.
No oil pressure issues; it had 80PSI cold and, while I don't recall the number, it also looked good hot And yes, there are three plugs right above the center freeze plug. How would I tell if they are in too far? Or maybe you can. Here's a picture.
Nope, I recall that it was installed as it should be, with the shell with the hole on the block side.
One thing that struck me as odd was that the thrust bearing was completely worn out on its thrust faces, but its main surface looked fine. To me this suggests either improper endplay (which I just roughly measured at 3.5 thousandths) or excessive loads on the crank, although this is just a guess. I'm not sure if this will tell you anything, but here is a picture of the new thrust bearing installed.
just looking at those pipe plugs I can almost guarantee that they are in way too far; normally the end of the plug would be more or less flush with the block; of course every block / installation can be different; so...
remove the plugs; they appear to be set in with Teflon paste so removal should be easy; measure the length of the plug and see if that length PLUS the depth they're below the surface of the boss would intrude into the oil passage.
I can't imagine why the plugs would be in so deep except that someone decided to clean the threads with a tap and got carried away. And then way over tightened the plugs.
just to make sure my memory wasn't playing tricks on me I looked up some pictures in various books of chevy small blocks.
If the block came stock with screw in pipe plugs the last thread or two is actually above the plug boss.
If the block wasn't factory tapped for threaded plugs, the bosses are smooth and were designed for a driven in plug (similar, but smaller than a soft / freeze plug) which is driven in flush with the boss.
looking at your photo's it's obvious your block was designed for driven in plugs (note the smooth i.d.) and someone modified it in an attempt to use threaded in plugs.
all the more reason to investigate what may or may not be the source of your troubles, but is certainly suspicious.
The original engine builder may have had to lap off some material off the thrust bearing to get the proper clearance from a poorly ground crank. If mine I would strip it down to bare block remove all plugs for oiling systems and wash and brush out everything. Soap hot water followed with clear hot water compressed air and WD40. Verify crank is straight and not out of round or have thrust flanges either out of round or not parallel to each other. Engines are built in factories at a blinding pace and leads one to believe they are just slammed together when in fact a very precision piece of machinery built with very accurate tools. You might be better served to pay someone to check all the clearances run out, out of round etc. and assemble than do it yourself unless willing to buy all the correct measuring tools and know / learn how to use them.
Engines are built in factories at a blinding pace and leads one to believe they are just slammed together
In my case my 96 LT4 was "***"embled minus the number three cam bearing, which went a long way to explaining the lack of oil pressure in that particular engine.
just looking at those pipe plugs I can almost guarantee that they are in way too far; normally the end of the plug would be more or less flush with the block; of course every block / installation can be different; so...
remove the plugs; they appear to be set in with Teflon paste so removal should be easy; measure the length of the plug and see if that length PLUS the depth they're below the surface of the boss would intrude into the oil passage.
I can't imagine why the plugs would be in so deep except that someone decided to clean the threads with a tap and got carried away. And then way over tightened the plugs.
Originally Posted by mtwoolford
just to make sure my memory wasn't playing tricks on me I looked up some pictures in various books of chevy small blocks.
If the block came stock with screw in pipe plugs the last thread or two is actually above the plug boss.
If the block wasn't factory tapped for threaded plugs, the bosses are smooth and were designed for a driven in plug (similar, but smaller than a soft / freeze plug) which is driven in flush with the boss.
looking at your photo's it's obvious your block was designed for driven in plugs (note the smooth i.d.) and someone modified it in an attempt to use threaded in plugs.
all the more reason to investigate what may or may not be the source of your troubles, but is certainly suspicious.
Yay, more problems.
Yeah, I thought it was weird that plugs with an internal hex fitting for turning them would be in a hole that didn't appear threaded. Any idea why someone would use threaded plugs in a block meant for smooth plugs, and at this stage can you advise whether I should replace them with smooth plugs?
Originally Posted by ddahlgren
The original engine builder may have had to lap off some material off the thrust bearing to get the proper clearance from a poorly ground crank. If mine I would strip it down to bare block remove all plugs for oiling systems and wash and brush out everything. Soap hot water followed with clear hot water compressed air and WD40. Verify crank is straight and not out of round or have thrust flanges either out of round or not parallel to each other. Engines are built in factories at a blinding pace and leads one to believe they are just slammed together when in fact a very precision piece of machinery built with very accurate tools. You might be better served to pay someone to check all the clearances run out, out of round etc. and assemble than do it yourself unless willing to buy all the correct measuring tools and know / learn how to use them.
I wondered about that, although it seemed extreme to lap off the entire first layer of metal. Shouldn't my endplay measurement confirm or reject a clearance issue?
Man, I'm not sure I have the time, expertise, or money to do all that. At this stage total disassembly is out of the question, as I only have a month and a half before I have to leave for school. Wouldn't a blockage in the oiling system be manifested as low oil pressure?
I already checked clearances and runout. Bearing clearances (at least with the original bearings) were fine, and there was .008" runout which I will be correcting with .007" offset dowel pins. And I'd imagine I could check all the rest with a dial gauge, right?
Originally Posted by mtwoolford
In my case my 96 LT4 was "***"embled minus the number three cam bearing, which went a long way to explaining the lack of oil pressure in that particular engine.
 06-11-2016, 06:12 AM


 Well that's a problem.