When you click on links to various merchants on this site and make a purchase, this can result in this site earning a commission. Affiliate programs and affiliations include, but are not limited to, the eBay Partner Network.
It is the best I can figure since the area that looked bad was immediately under the struts, obviously the entire carpet was sun faded on my car, you can see the difference around the speaker holes. I had the same issue in the exact same spot on both sides and the struts were pretty dead on the hatch. It had sat for about 4 or 5 years before I started working on it.
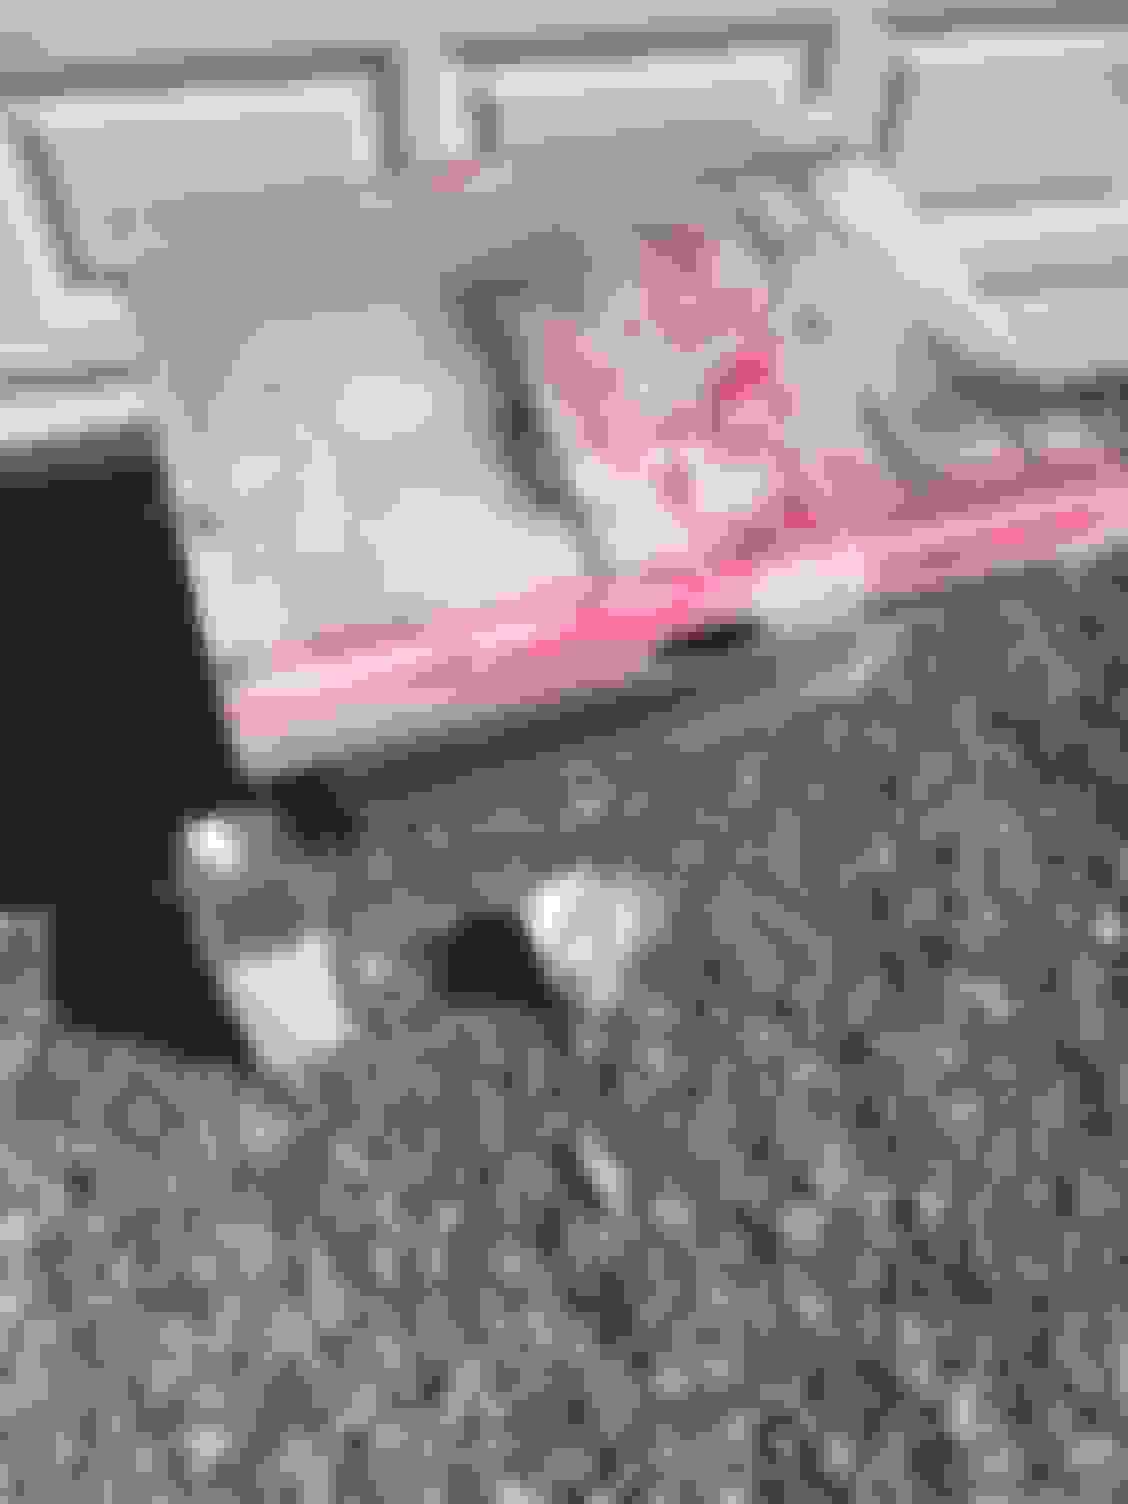
CAUGHT RED HANDED IN THE ACT
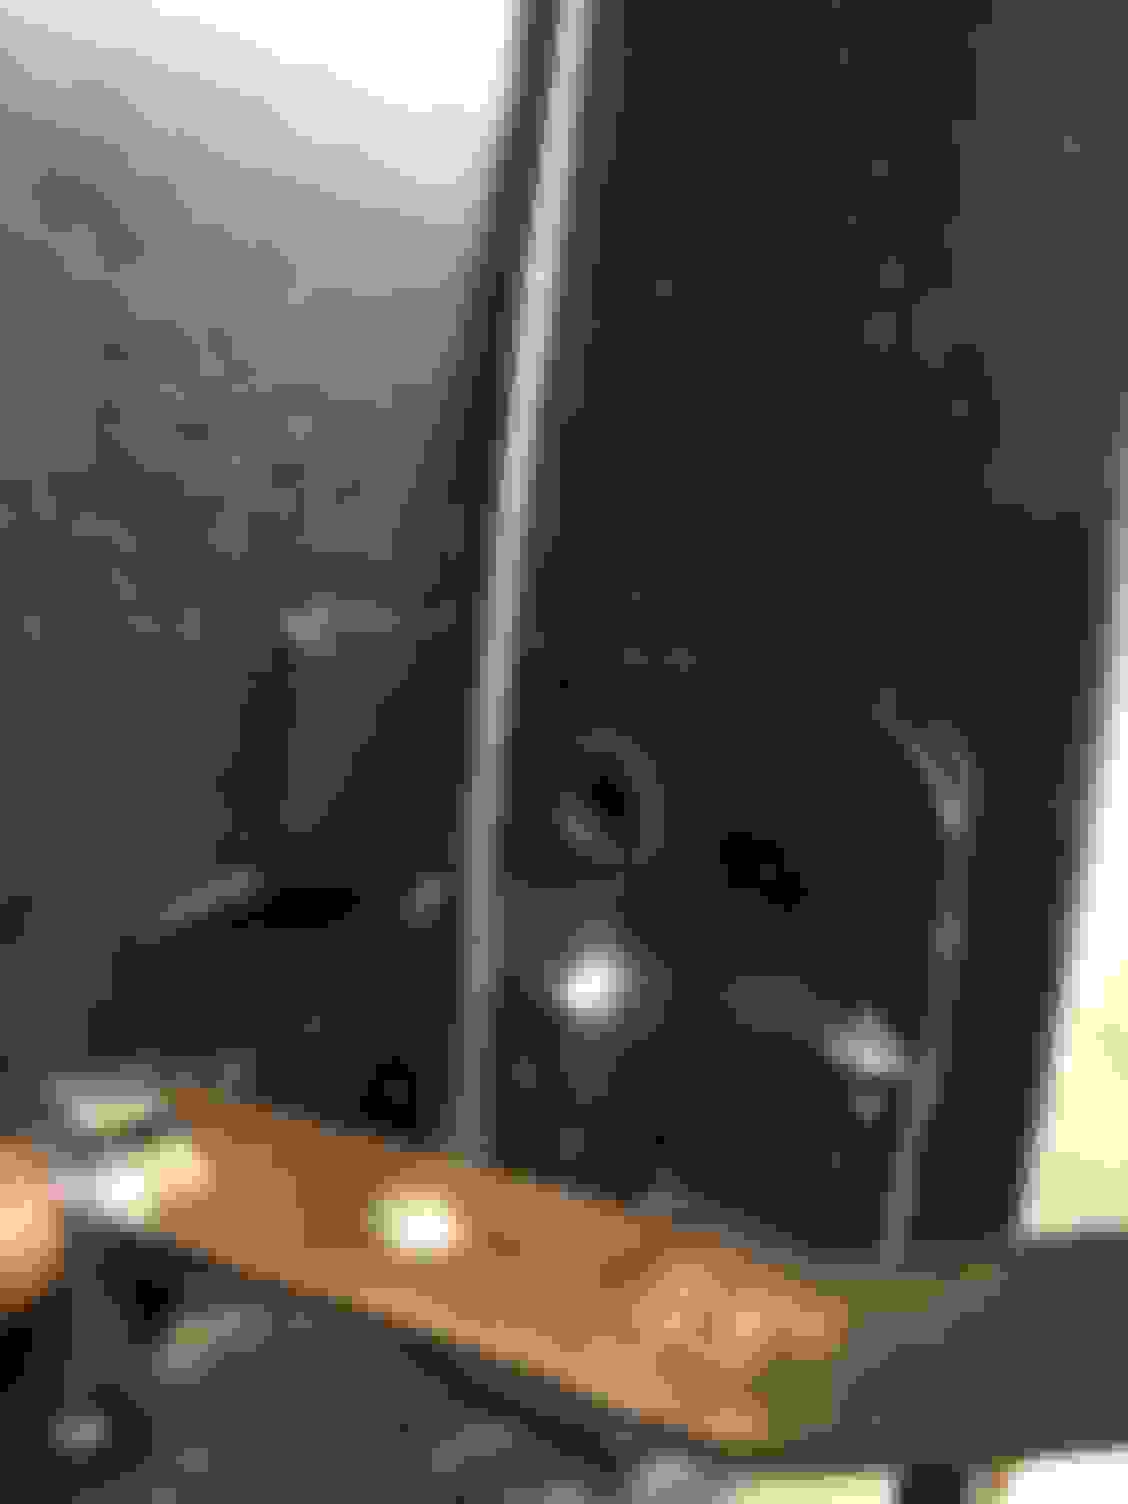
this is in my 87 which I daily Drive. It has those "burn quote marks in them in the same place as yours. Turns out your theory of leaking struts is 100% accurate. I left my privacy Cover open today. Look what I saw
Hah, first photographic evidence I've seen of it! I had noticed it as a common issue on a lot of old C4's and failed/failing struts was the only common thread I could find. It sounds nutty but when you see how they actually leak after the seals fail it's pretty obvious. I'd just hate to see someone replace/rehab some carpet which is fairly expensive just to have some cheap old struts ruin it again.
Took my first crack at cleaning these carpets today. Wasn't hoping for much as it looked like somebody had been murdered in the car. But the results are good so far. And I have not use the pressure washer yet I would rather not use a pressure washer because I don't want to destroy the glue backing on the carpet fibers.
so instead I used a pail of super hot water a bunch of carpet soap and a stiff bristle brush and my shop vac. Here's a pro tip from learning the hard way, take out your paper air filter and empty your shop vac before you start sucking water up.! I had a soupy mess when I was done.
I own a gas powered pressure washer and I'll give it a light rinsing with the pressure washer to remove all the small particulates as much as possible before I hit a restoration gray dye job. Colour changes seem hit or mess and I am aiming to just restore the even medium gray tone across the carpet. I will be using a garbage pail filled with the hottest water I can get from my hot water tank. It will soak for an hour and I'll be done with it.
I have seen carpets for sale down in the states for as low as $300. The problem for us up in Canada is that becomes $650 by the time we pay the conversion and all of the shipping. As of right now the cleaning supplies cost me $15 and the die cost me seven. So I will report here to see if it works. I want to avoid having a crunchy carpet so I am not using the standard duplicolor spray can style. I have seen people brush the carpet while using the spray can style and the results are better, meaning that the carpet does not become a crunchy madded mess if that is done.I am going for a more factory approach at redoing everything all at once in the same garbage bin after they have been cleaned to remove all soiling.
I saw a video of a guy putting his carpets in a garbage pail of steaming hot water with die and his reports were that it came out perfectly. The requirement of super hot water is necessary so the RIT dye penetrates and does not rub off on clothes in the future. Keep in mind I am only going with a grey guy. I am not doing a colour change. so even if the gray fades a tiny bit in certain areas the factory gray is the base so it should not look bad if a little bit of wearing occurs. I am aiming to mix the RIT dye to match a portion of the carpet that has zero sun fading so I know it is the original OEM color.
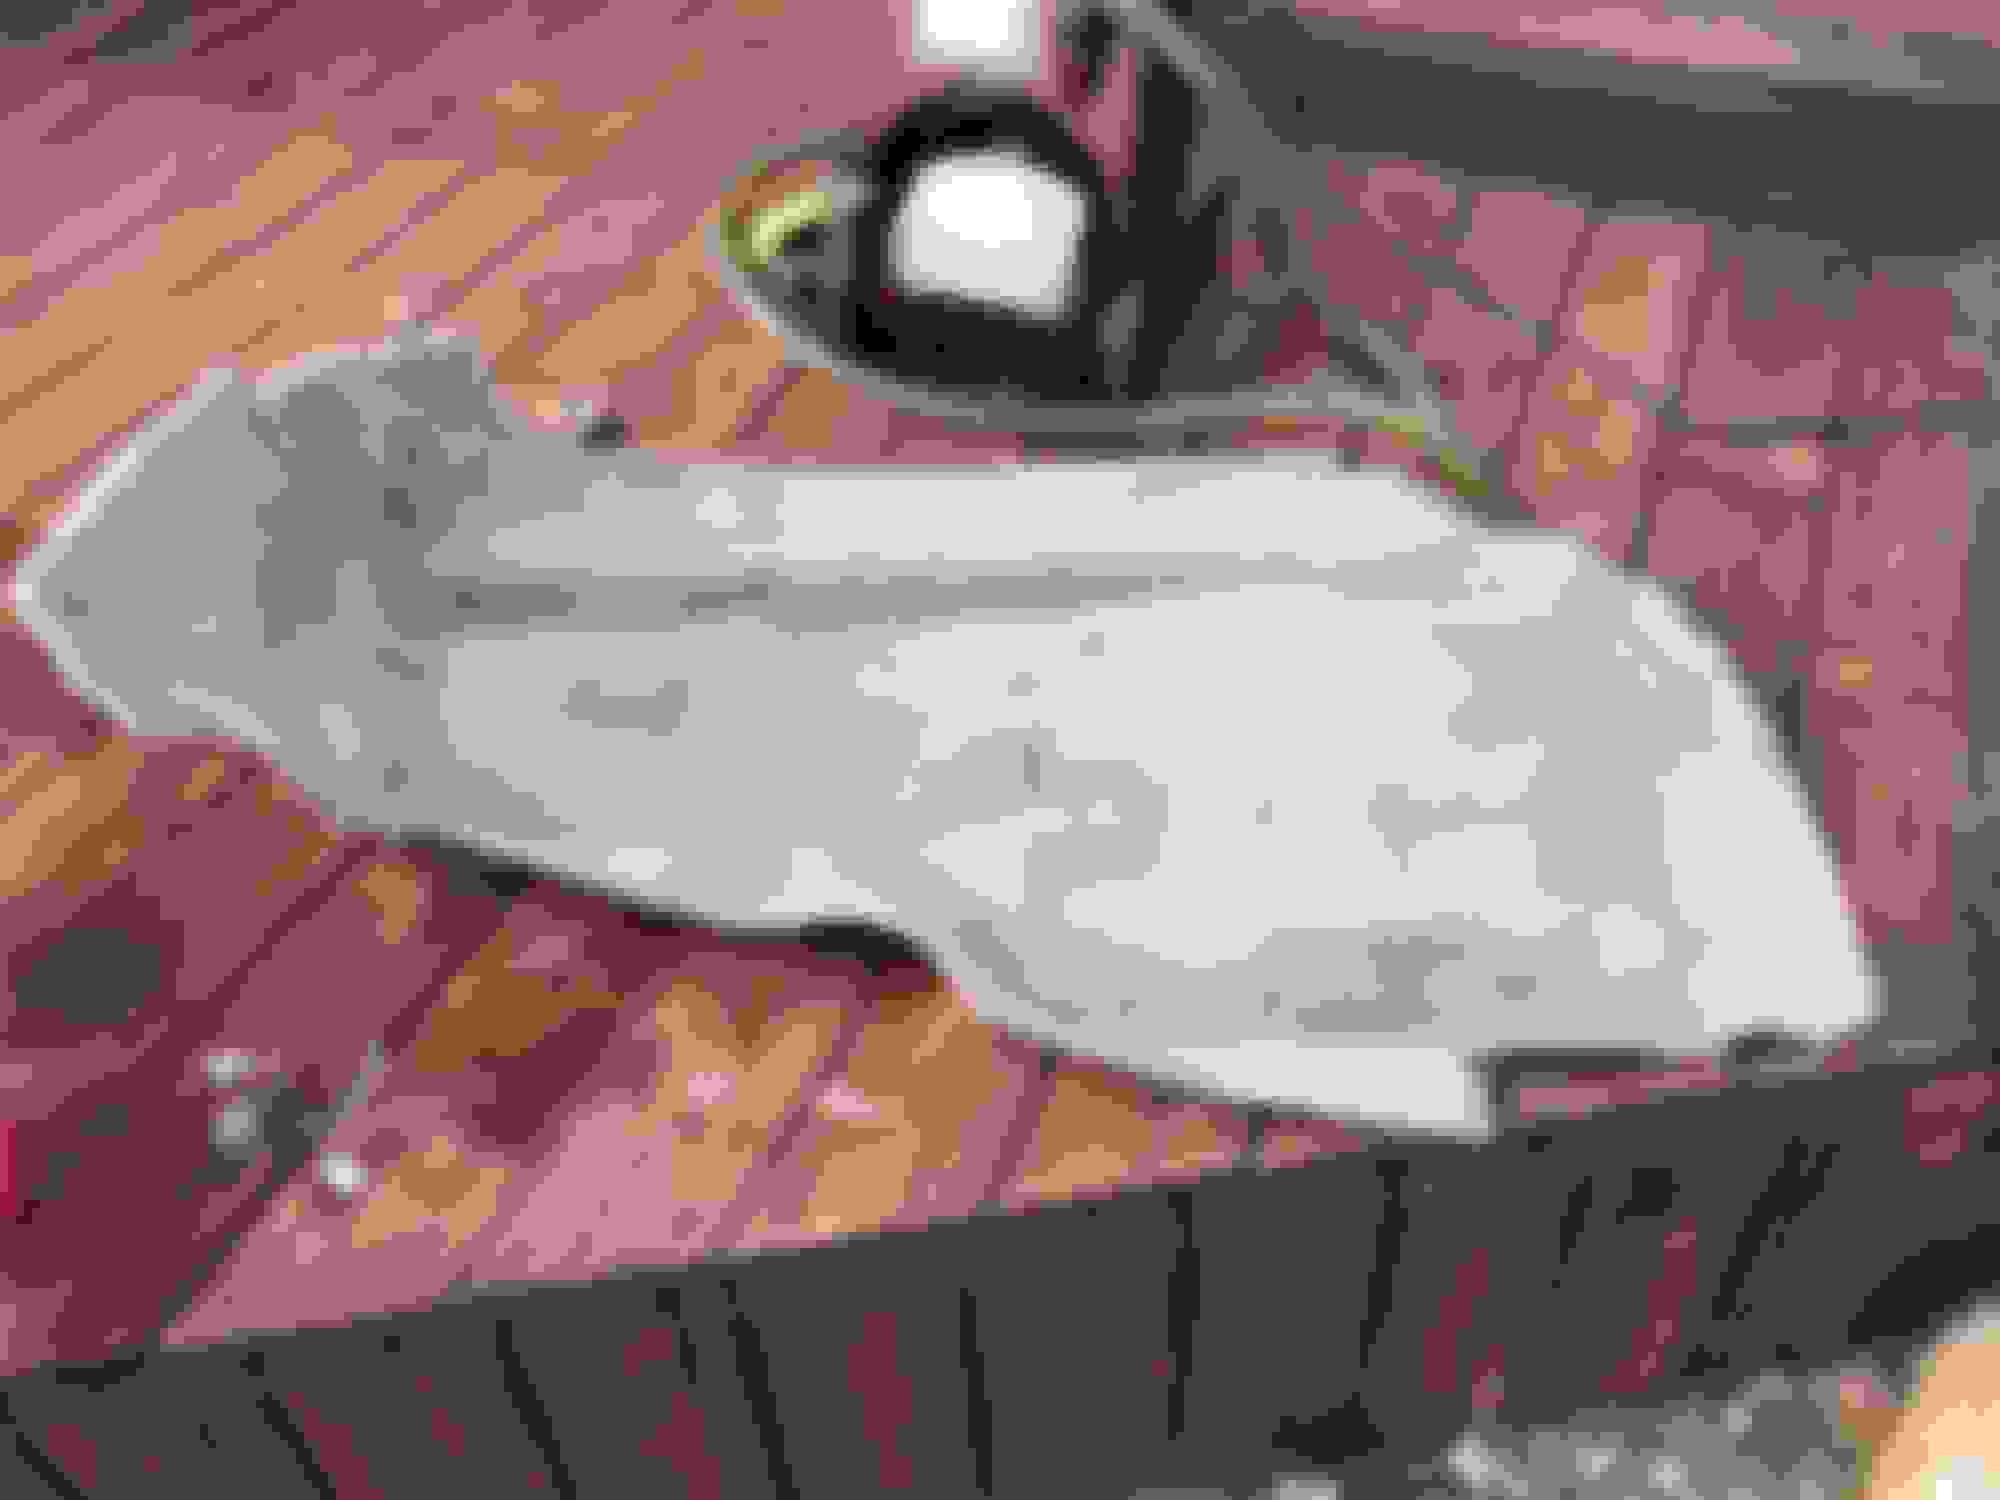
here are the pics after I clean the first set of carpets
something I think was murdered in this car much better, I think it could be even better if a pressure washer was used but I did not want to damage the carpet.
i've become quite adept at using the soldering pen to repair ABS plastic, and using Lego when required. I have pilfered a handful of small pieces for my children's collection so far!
The main � ABS up along the top rim above the stereo and vents had the typical cracks and was missing the ABS all together where the dash pad bolts in.
I used the same three dollar bargain bin 10 vent material and reinforced across the top of the replacement ABS that I put in and I can guarantee this is not going to break again. I will drill out a hole once I have the dash reinstalled, sucking under the bit with a shop vac to aboid getting metal shards onto equipment below.
I got the idea from the reinforcement that I did on the door panel arm pads on the bottom of them where they were just shattered.
these are made to fit and it's from a random piece of ABS plastic that was part of a kids toy that I was tossing in the garbage. Not Lego! soldered and melted into place. are used the same Wildwood Dap contact cement here. Works amazingly.
^^this is on the driver side corner of the dash and I did not bother with a piece of metal here it was so small. I just use a piece of Lego.
went to see the seats last night. had to inspect the switches for the sport seats. one wire is off at the base copper plate of the switch. lots of copper blue corrosion.
ill clean them up and see if there is a way to solder the wire on. the bladders were toast as we would expect.
im ordering my single tube bladders and following this repair procedure:
https://www.corvetteforum.com/forums/c4-tech-performance/3598058-sport-seat-lumbar-bladder-replacement.html
right now I need two pieces:
1. these cream coloured union pieces between the black three-pronged manifold things?
2. The bolts that hold the clamshell to the humans and paddle assembly. I am missing four of them as per this photo. I should have removed one bolt so that I could size match it but I didn't.
center, top empty hole. im looking for these bolts i'm looking for this coupler, the cream coloured thing.
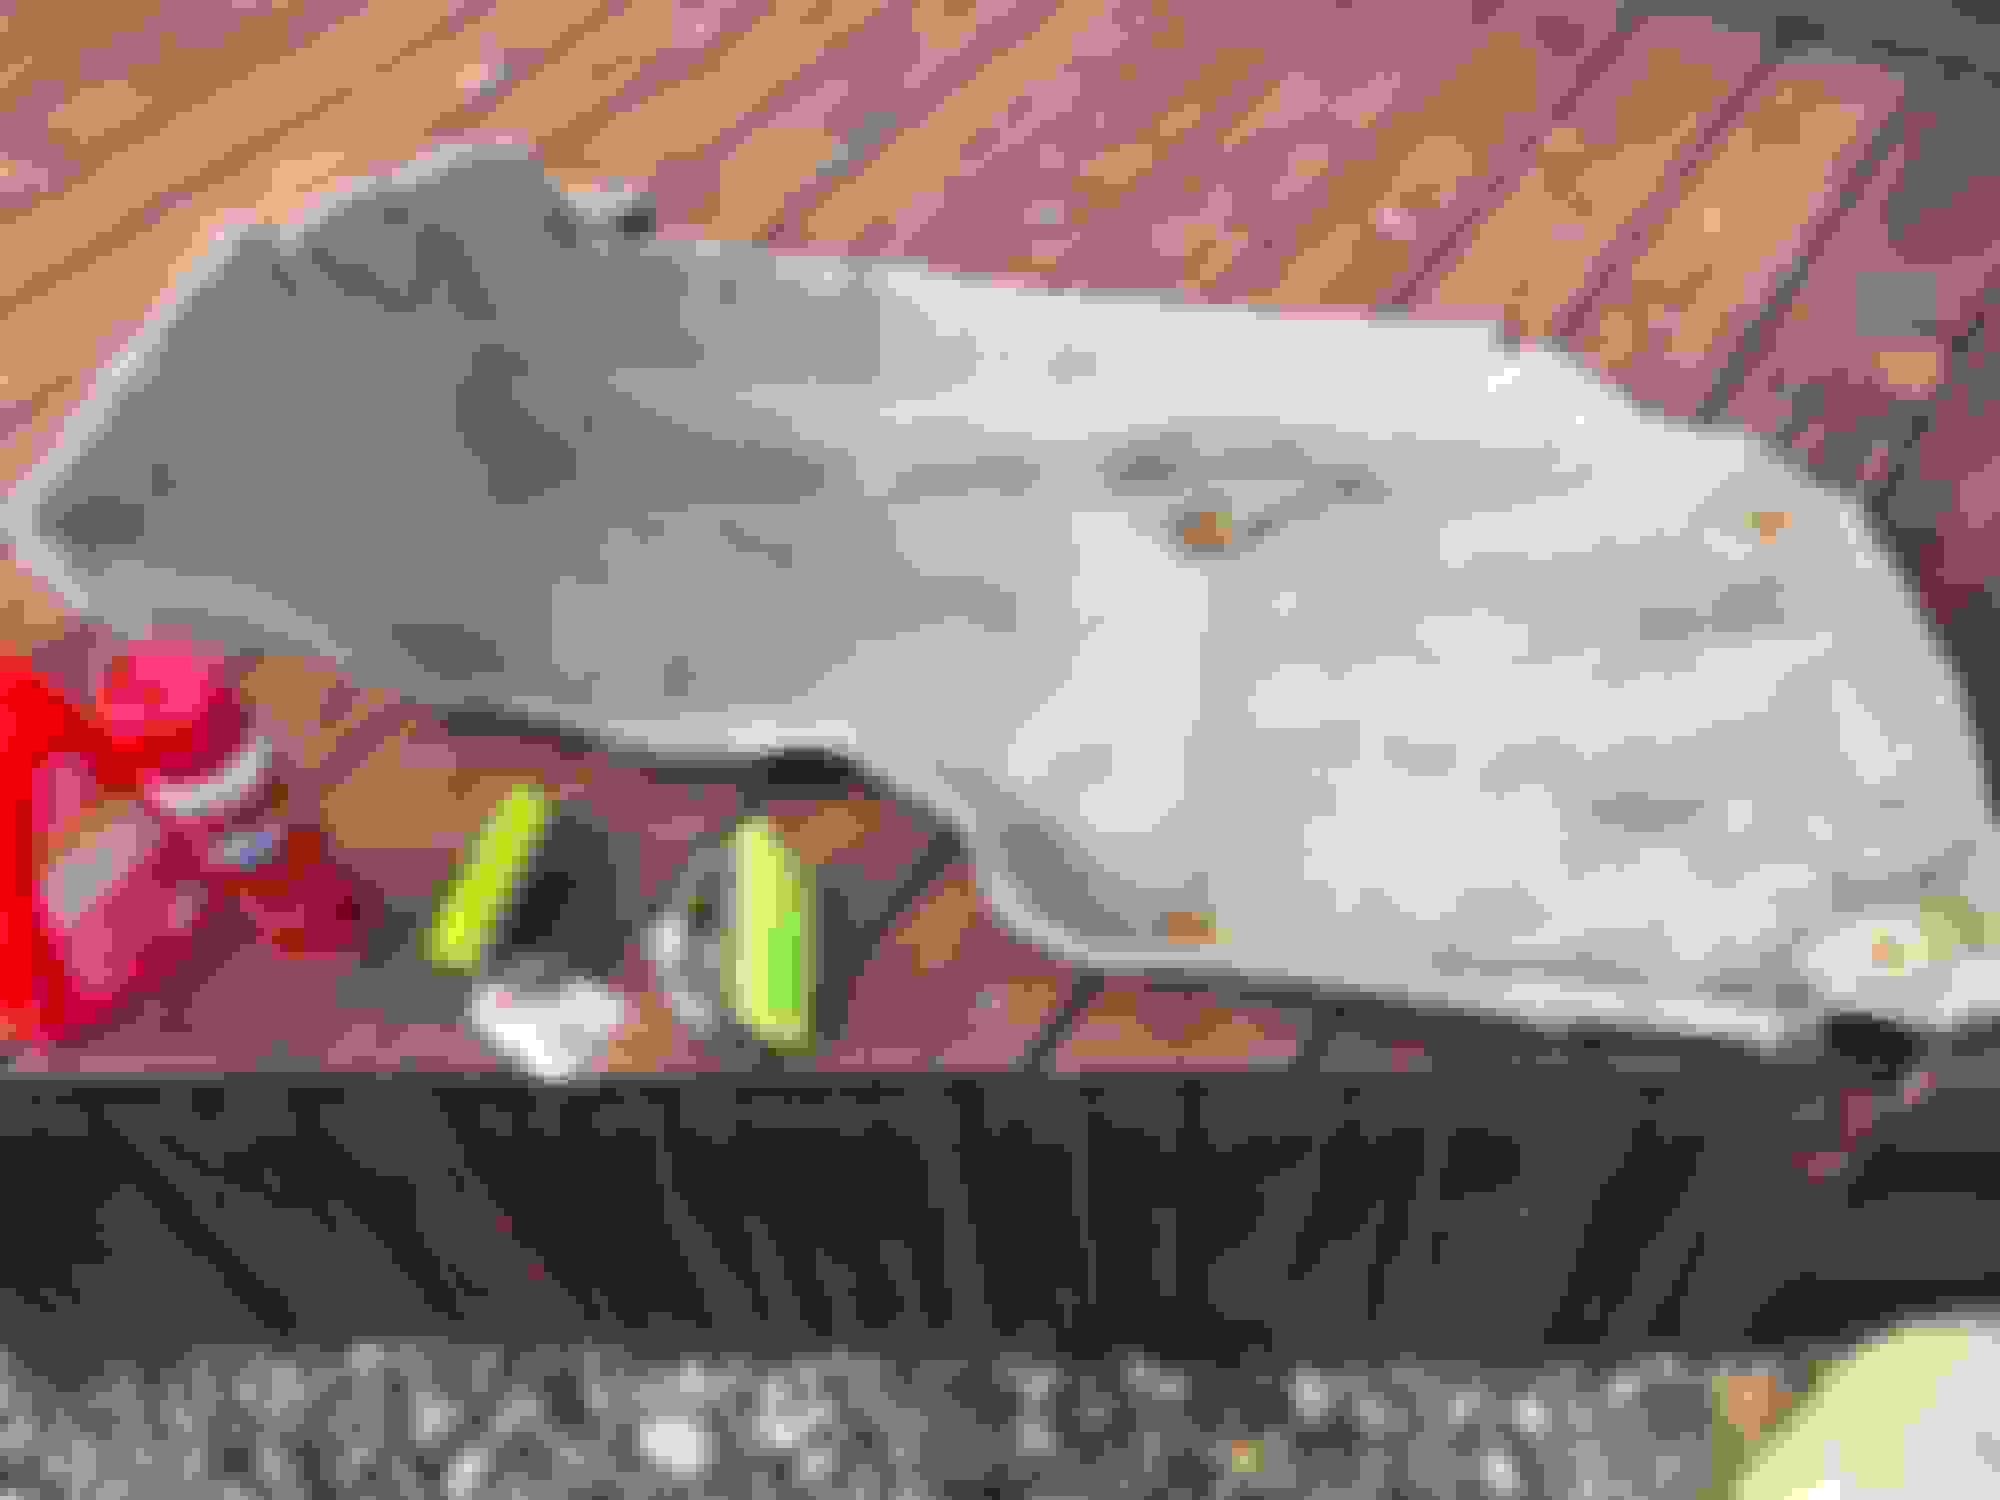
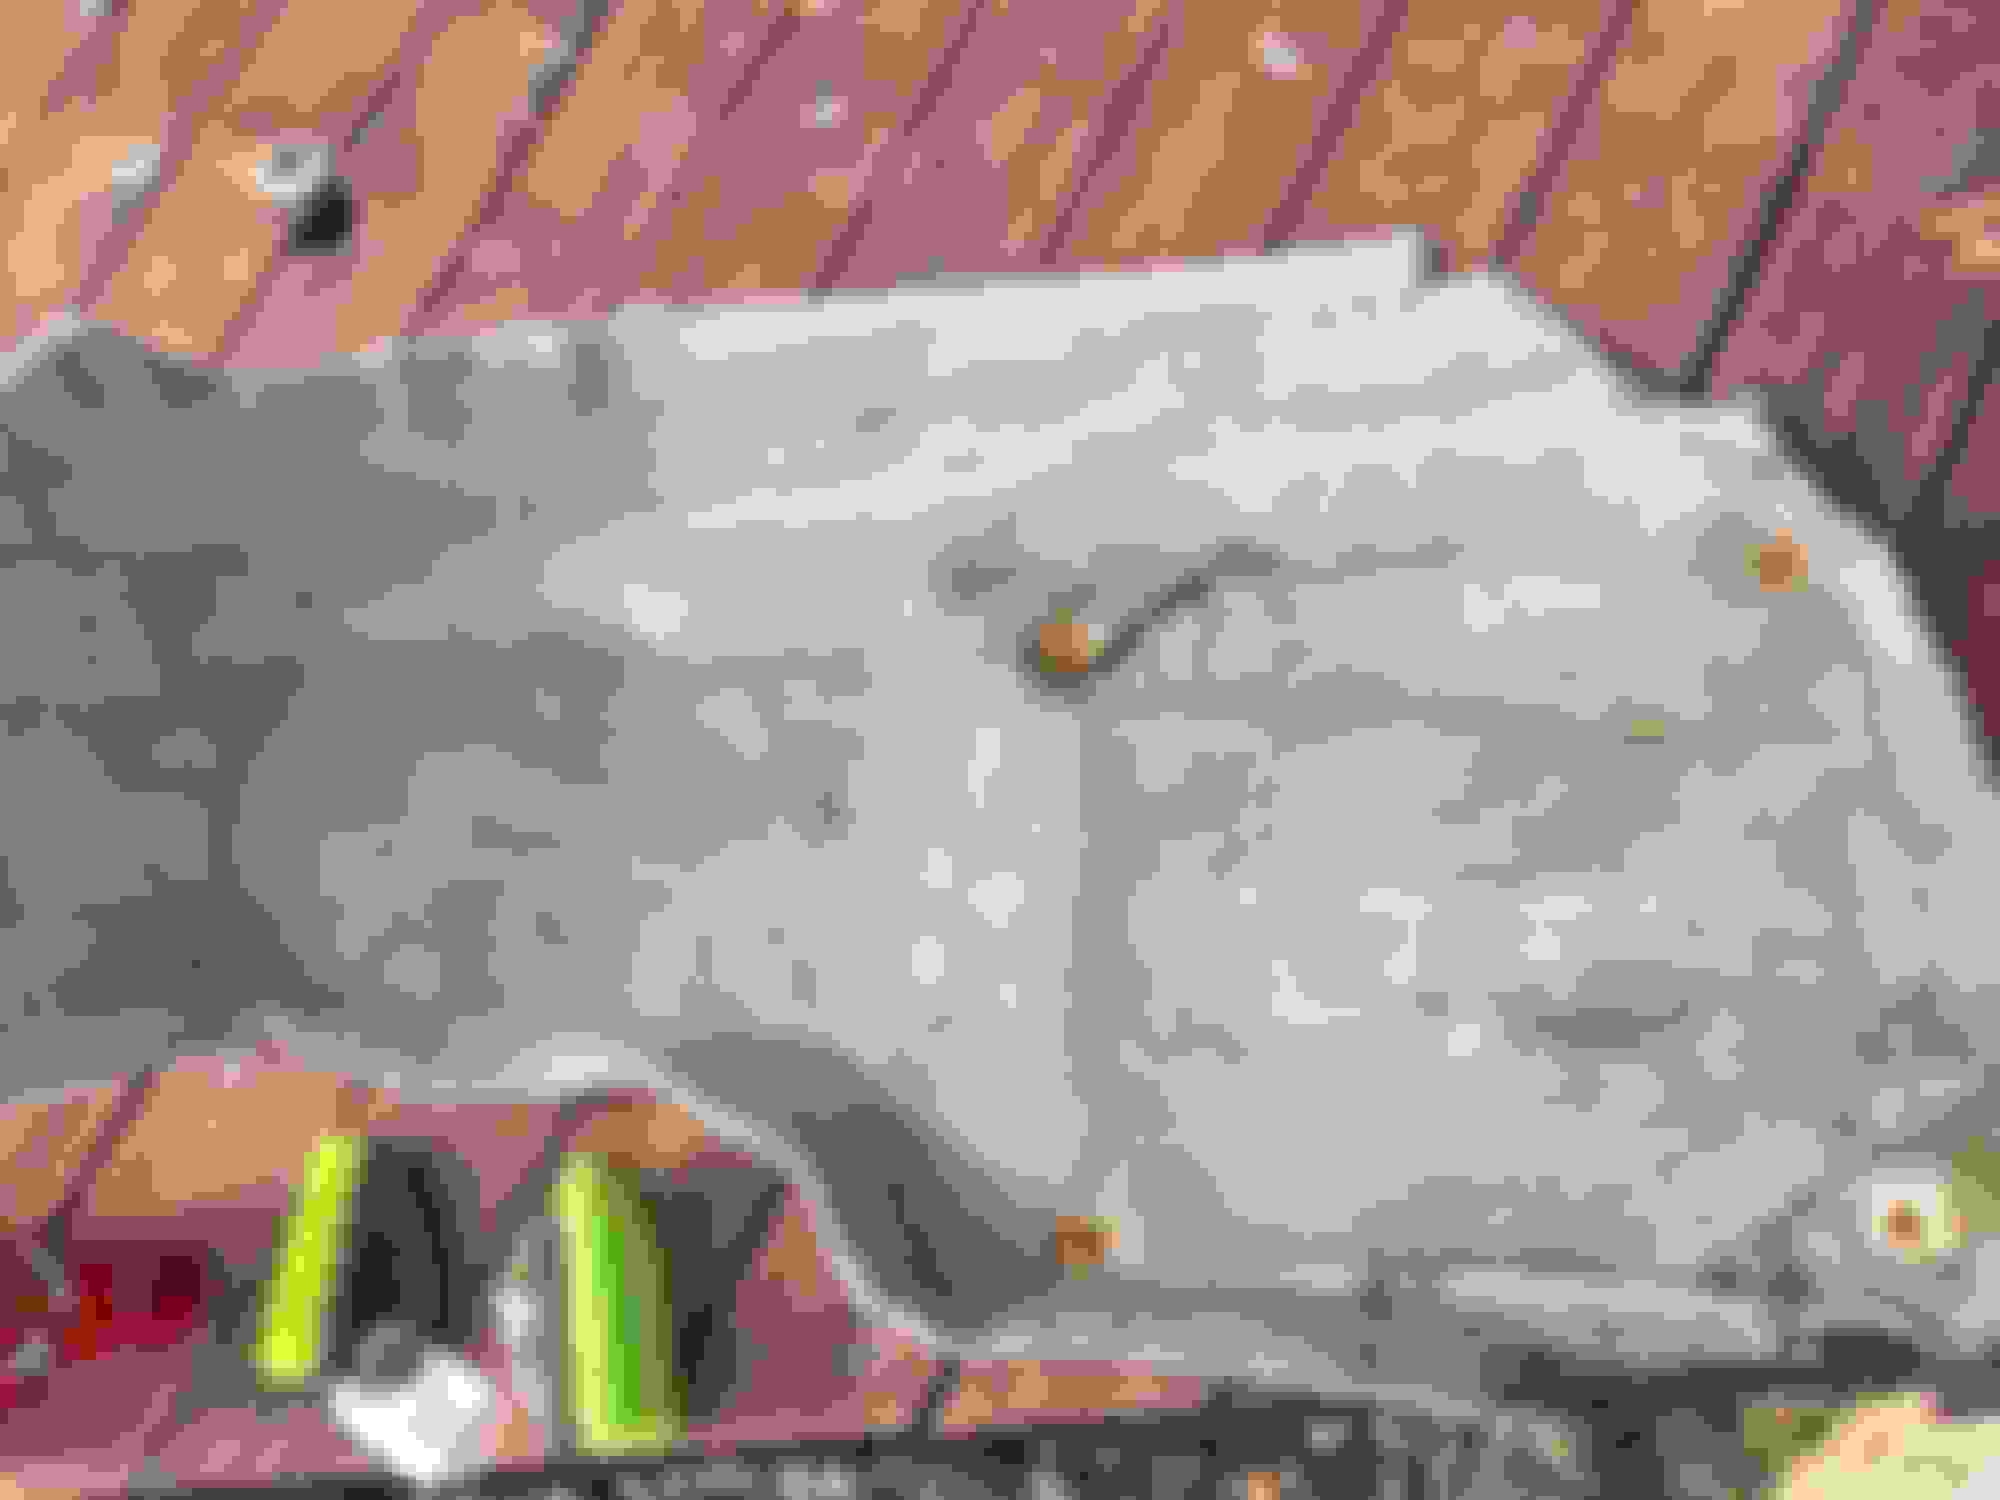
glad my cars not the only one that has had mice making a temporary home in it. I admit I have vacuumed a lot of mice done. Anyway here are some photographs of the carpets before they go in for the grey dye cauldron.
u can see the original darker grey oem color where the sun hasnt touched
and here is a photograph of the damaged cargo assembly. The places where the bolts hold the plastic frame to the chassis are broken. Looks like one last plastic welding session and reinforcement with tin.
One more pilfering section from my kids Lego and that should be all fixed
I've got the foam just like yours. And like yours, mine were chewed on by some mice that nested back there for a while.
I'm pretty sure they are there to help control any rattles from the wiring harness and the associated relays that live back there.
-Wes
now that you mention it, my 87 has all kinds of rattles from back there at low rpm. maybe not so bubba after all.
Originally Posted by Silver85
I have small thin foam pieces back there that are cut to lay flat across that ledge. They don't look like your big chunks of foam.
my guess is bubba lost the oem pieces and made do with an old foam matress. i think that is far given its under the rear trim panel.
i will leave the foam chunks in there and focus on my last plastic repairs.
those door carpet panels should areive soon, i'll put them in the dye cauldron with the rest of the carpet sections and we will all see what happens! if it works i am doing my 87 graphite carpet as well.
update, i strengthened the retract force of my cargo shade, received the door panel carpet, thanx to a very generous forum member who donated them as he is doinv his own interior refresh, and i received my new single din touch screen in the mail today.
oem medium grey carpet panels with oem silver /grey trim. look how perfectly the vinyl dye i foundand used on the door sill vinyl pad matches the oem colour! my seats are coming along. im waiting for the new bladders to arrive before the upholsterer buttons them all up. these are the pieces that were replaced. peeled back the driver carpet to pound the metal flat again. the z31 was a victem of bubba jacking syndrome. fxed.
the trans tunnel frameing was needing the driver side power seat control mounting area rebuilt. previous owner just globbed in glue.
they were also missing the attachment strap which I was able to capture on video from one of the Corvette central videos. It gave me the idea to use the metal flashing that I have been using as a brace for some of the plastic repairs.
The rear hatch trim on my 86 was warped terribly. Standing at the back of the car with the hatch up it was warped up on either side of the latch striker so that you could see down into the foam and wiring.
I thought I would try using a heat gun to slowly heat up the ABS plastic and see if I could restore it to its previous shape. Amazingly it worked! It now looks perfect. maybe it will rewarp, I don't know. but I doubt it.
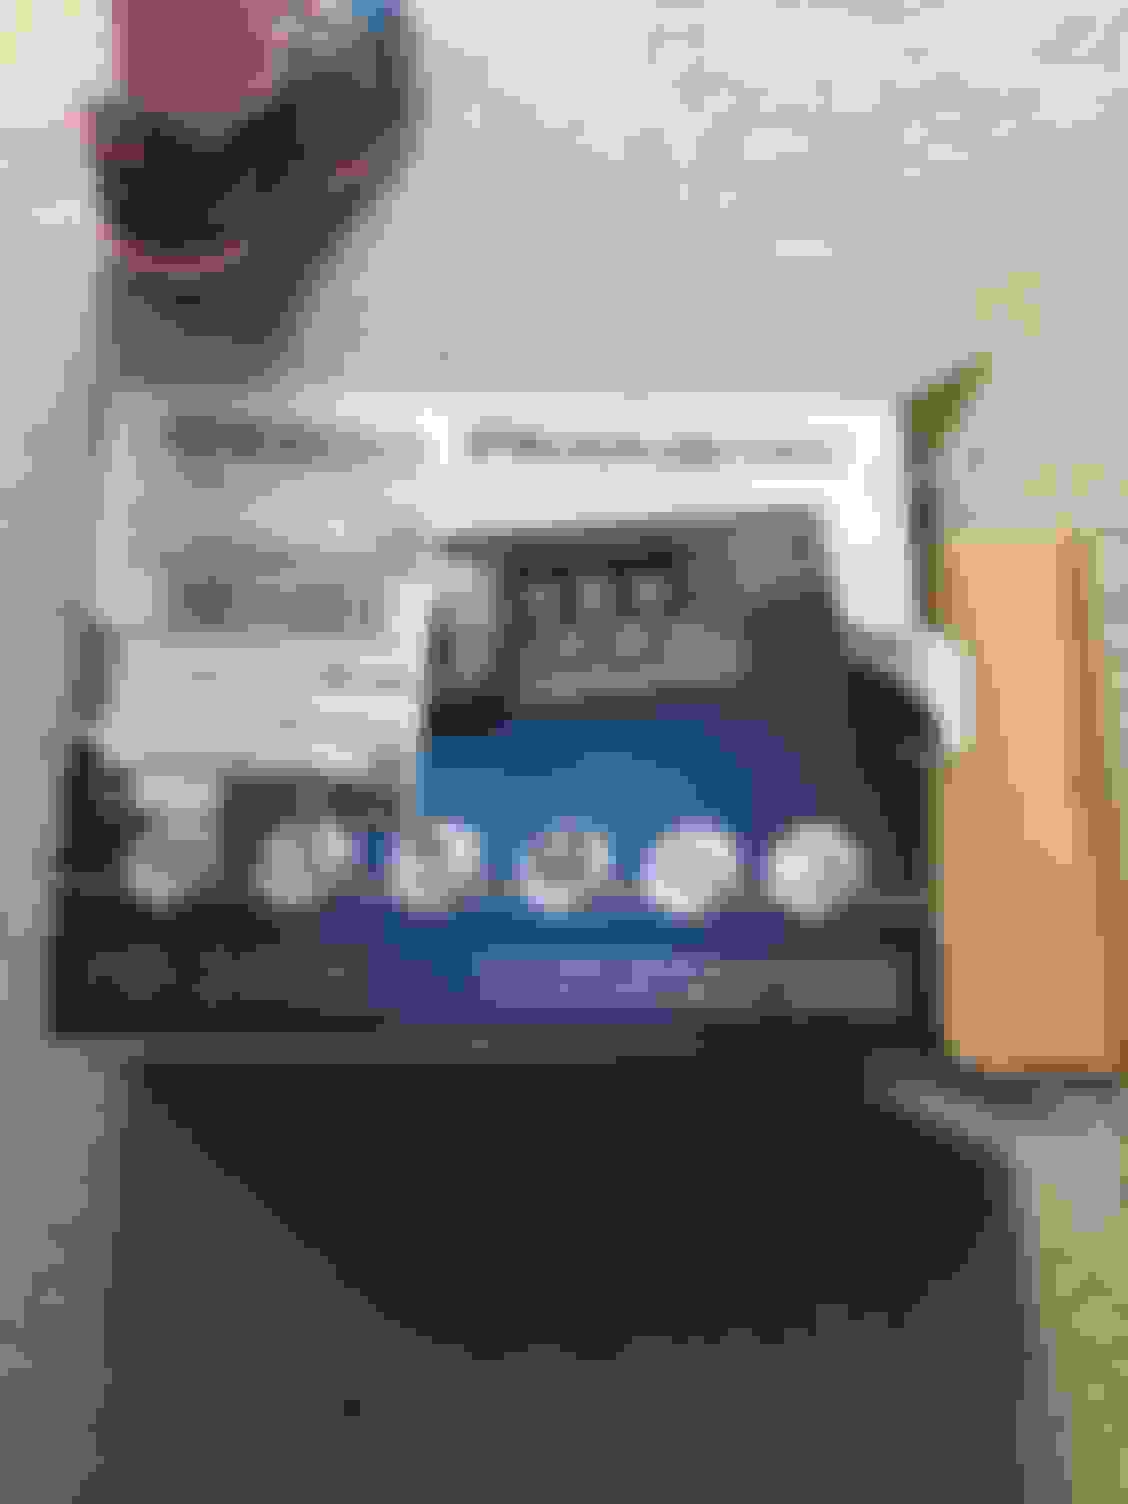
while waiting for a few parts to arrive, namely, the bladders for the seats and the new trapeze supports for the base of the seats, I thought I would prep the new valve covers I purchased used.
this set cost me $80 Canadian and they are the late 86 Centre bolt style. My 86 is actually an iron head, but I have found a set of replacement heads to be mated with a super RAM and a new cam and I was going to need a new set of valve covers to go with them.
Besides, I have an 87 that idea we drive which needs a referral on it's valve covers so worst-case scenario I will swap them out and put them on the 87.
here was the link to my first valve cover refurb. which initially turned out horribly wrong, then I figured out that I did in fact have to bake the covers to get the oil and other volatile's out of the pores within the magnesium. Yes yes I know, many people do not think that there is oil in the cracks and pores of the magnesium. Well, there is. Or should I say, there was in my 1985's.
The second time around I am taking what I did before and here's the process I'm following:
1. liberally apply the highest strength paint stripper you can find and afford. Inside of a large Tupperware bin.
2. brush, re-brush, re-brush,, reapply, reapply, reapply. The paint should be nice and crinkled and if it dries up you just apply more. The idea is to just keep applying it until you know for sure it's all lifted from the metal. I did not do this on my first set. Instead I sanded which was in massive pain in the butt. I'm not going to do that again. If the paint stripper doesn't do the job for me, I'll toss these in the garbage and buy a new aftermarket set. initial results appear good. Paint is already starting to crinkle.
3. pressure wash them.
4. soak them in gasoline. This will get rid of any oil in the PCV passageways.soak them in gasoline. This will get rid of any oil in the PCV passageways.
5. pressure wash them again and bake them on the lowest setting in my barbecue. I covered the barbeque grill with tinfoil. You should see small pores bubbling out with oil now. That's what I saw on my 85 and that's what caused the bubbling of the paint on my first application. I slap the paint done without baking them to get rid of the volatile's first. There's a lot of people in my first thread on this that thought Metal had no prosity. have a look through an sem.
6.I then wipe down the covers vigourously with isopropyl alcohol.
7. I then went straight to painting. Using a high temp silver/grey paint.
8. I let this cure after a couple of coats. And then, yes, I put it back in the barbecue. The first time I did this I thought I was curing paint doing this. Maybe I was. But it's not required because the heat of the engine will certainly cure the paint. I realized afterwards the real value of doing this was to find out if the paint was going to bubble. No sense in going through all this effort and then having the paint job bubble up like my first experience as documented in that thread. Note that I had the barbeque very low on the Heath side of things.
9. I hit them with a 2K clear in a rattle can. in the states you can order "spraymax". up in Canada spray Max is ridiculously expensive because of shipping. I found a local supplier in my city of Calgary that puts 2K clear in again the same way that spray Max does and it cost me $20 per bottle.
so, follow along if you want to see if this works this time with no bubbling!
here is a picture of my 85 valve covers when I was done with them. The whole thing cost about $50 to complete.
I was very very very very proud of these. They looked mint. And I can honestly say that when I went to sell the car this was the first thing the guy noticed when I open the hood. note that the colour is not an exact match to the original. I believe the originals were not a glossy finish nor were they as silver as I used. For me it doesn't matter, they matched the C6 rims that I had on the car perfectly. I am going to aim to match this quality of a finish on the first go around this time. I will be doing multiple applications here. I don't want to sand it all.
here is everything I put in with hot water straight off the hot water tank. I use the hot water connection on the main floor of my house for the washing machine. Garden hose plug right in.
The white tarp is called a silver cool tarp and it keeps things cool or warm. I decided because the ambient temperature is quite cool here this time of year I would wrap the garbage bag in this tarp and I would get another hour of heat. I had to start laying around from back in the days of being a tree planter and University. I wouldn't spend the extra money to buy one that's for sure I just had it lying around. that's with in the caldron and you can see that the dye job on the mop worked pretty much instantly. The die always looks very dark when it first comes out wet.
every piece of carpet except for the knee bolsters are in the blue bin
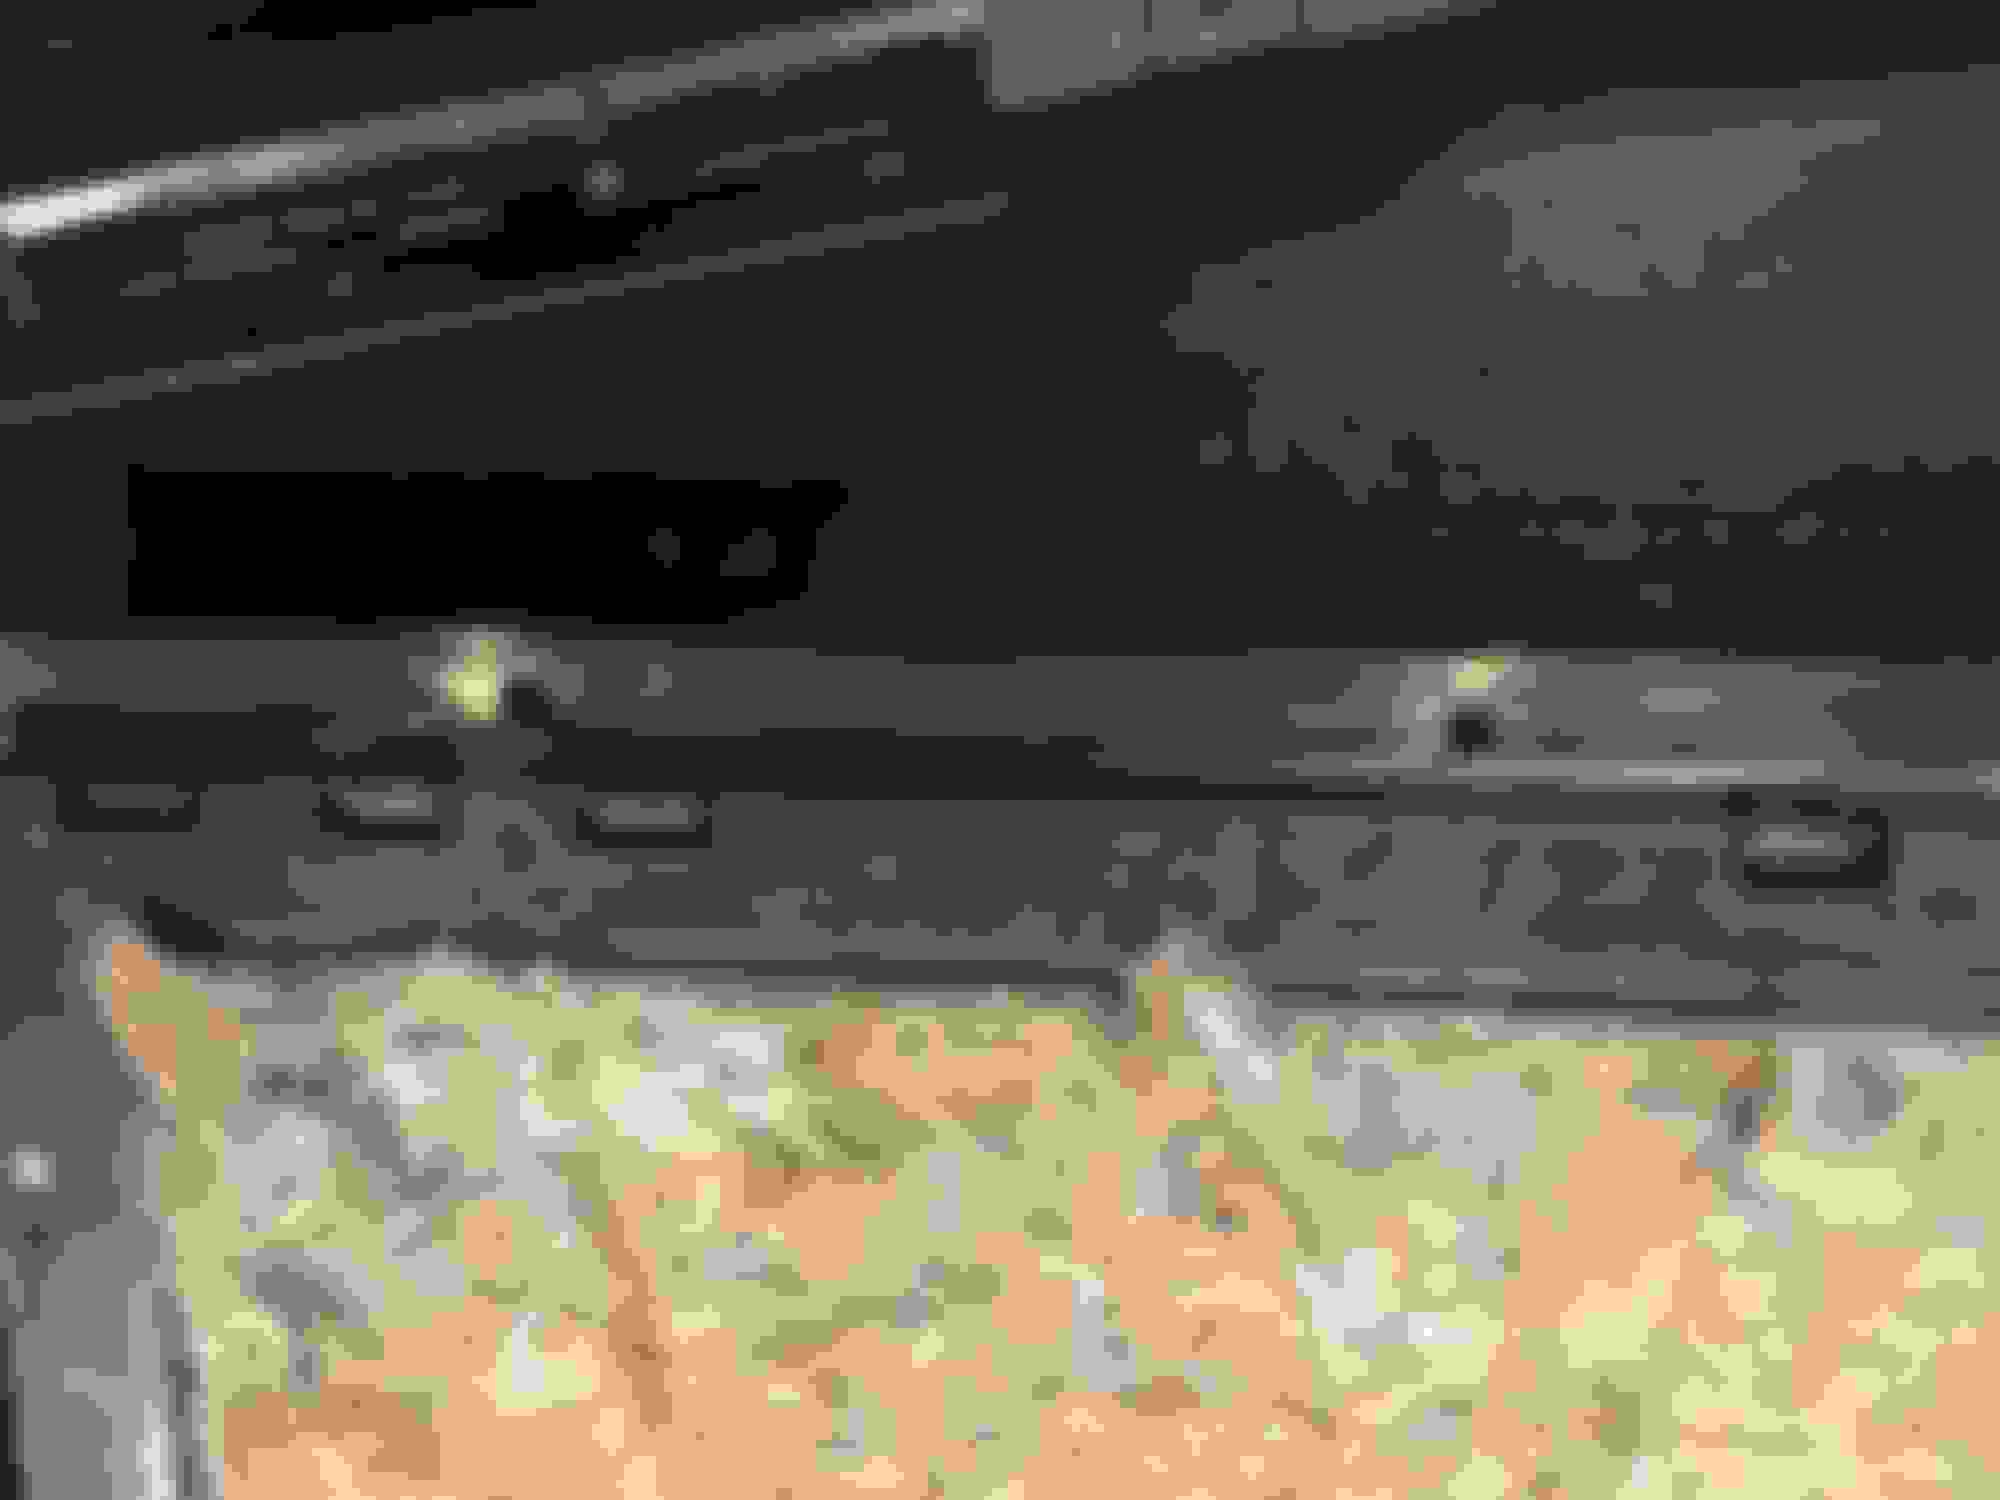
I pride myself on doing good work to these cars. As you can see from the thread I typically repair things as opposed to replace them, if possible, but it cant look bubba and it its got be something i can proud to show off when done. this doesnt qualify lol. I'm not sure what went wrong with the dye job. but let's just say I have ordered a full carpets at from Mid-America.
it looks like, first of all, well it's purple. It said it was going to be grey. secondarily, it looks like it's a tie dyed purple.In the three C-4 Corvette's that I have refurbished, I have never had a complete and utter feel like this.
so from this point forward when it comes to carpets, this guy is just going to budget for buying a new set!There are threads on the Internet of guys that this has worked for. Typically they start with a light colour and they go black. I don't want black, I want gray, not purple and not tie-dyed.
so for anybody else wanting to try this with the dunk and die method it sure did not work for me.
tie dye style color changes within the grey blue color
 03-27-2017, 08:24 PM