
Yes, No, Maybe.... gauge mounts
 03-03-2012, 07:12 PM
#1
Pro

Thread Starter
Member Since: Mar 2010
Location: LA/OC border, probably sittin' under the patio, by the pool...smokin' a cigar! SoCal
Posts: 595
Likes: 0
Received 2 Likes
on
2 Posts
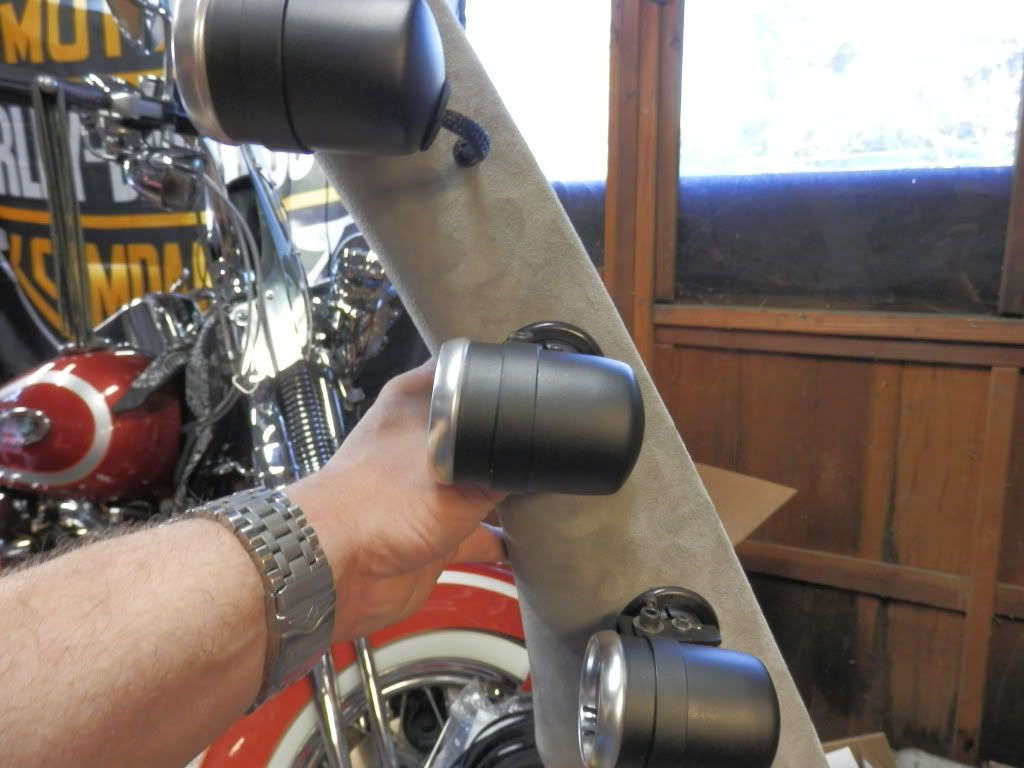
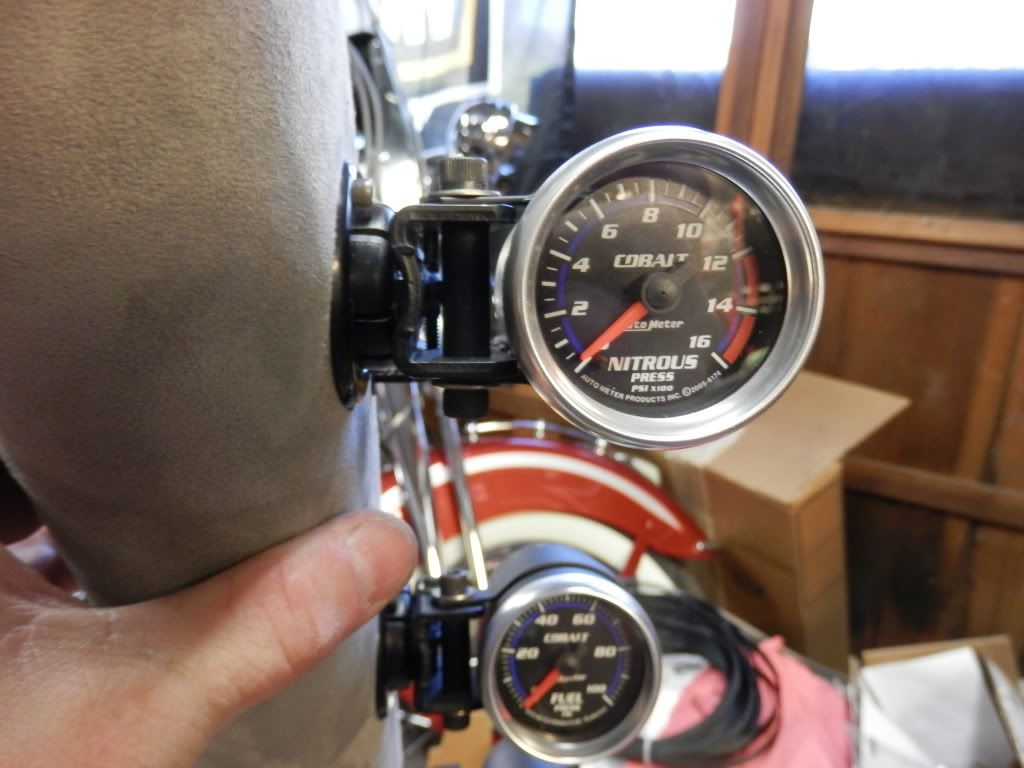
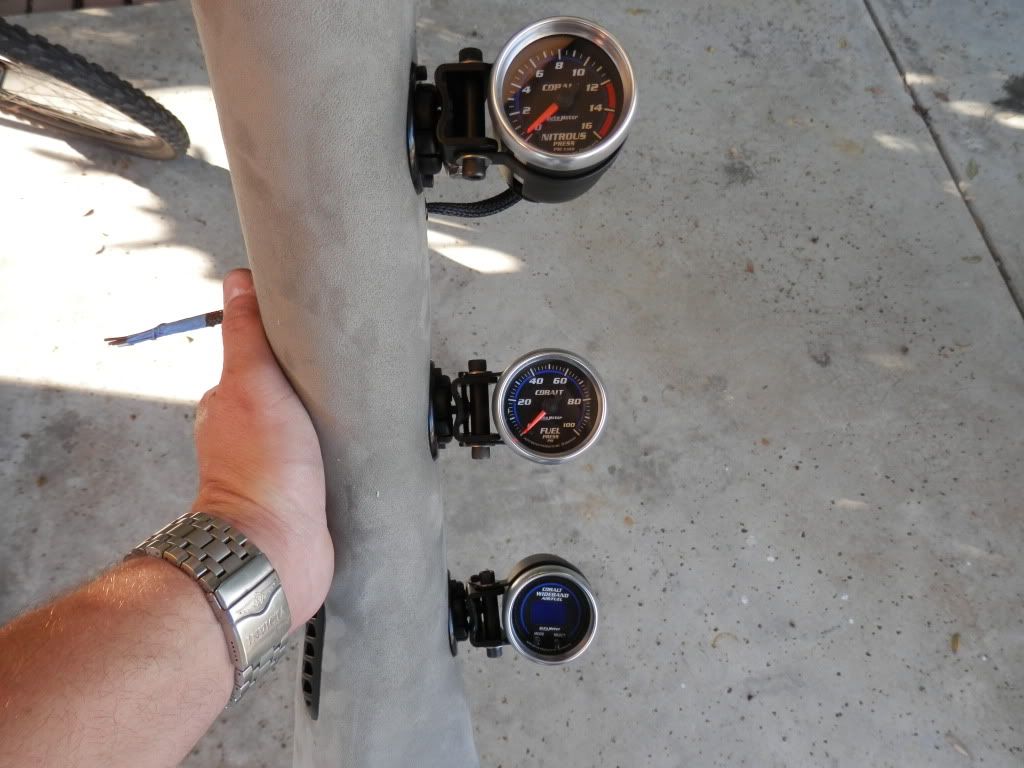
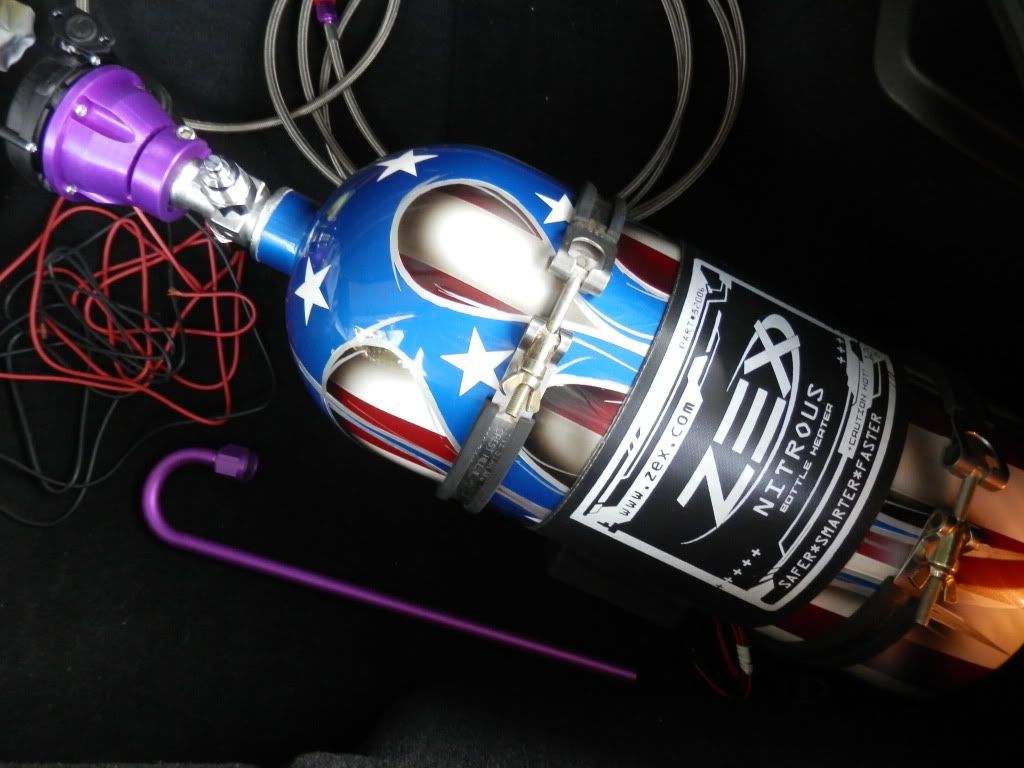
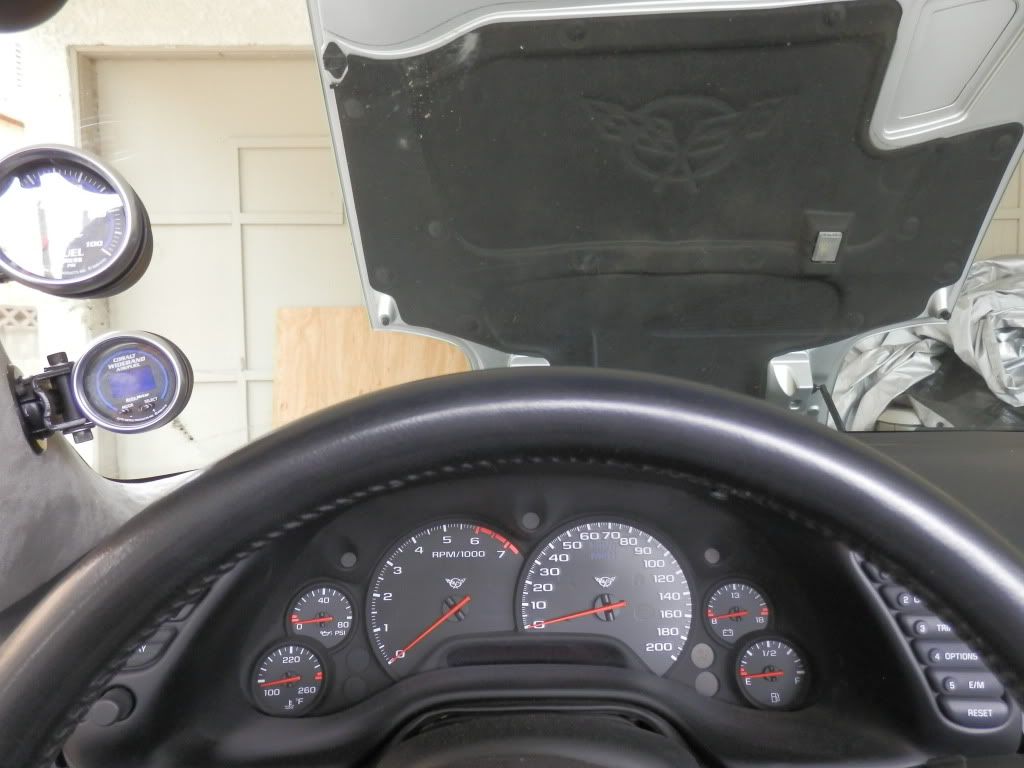
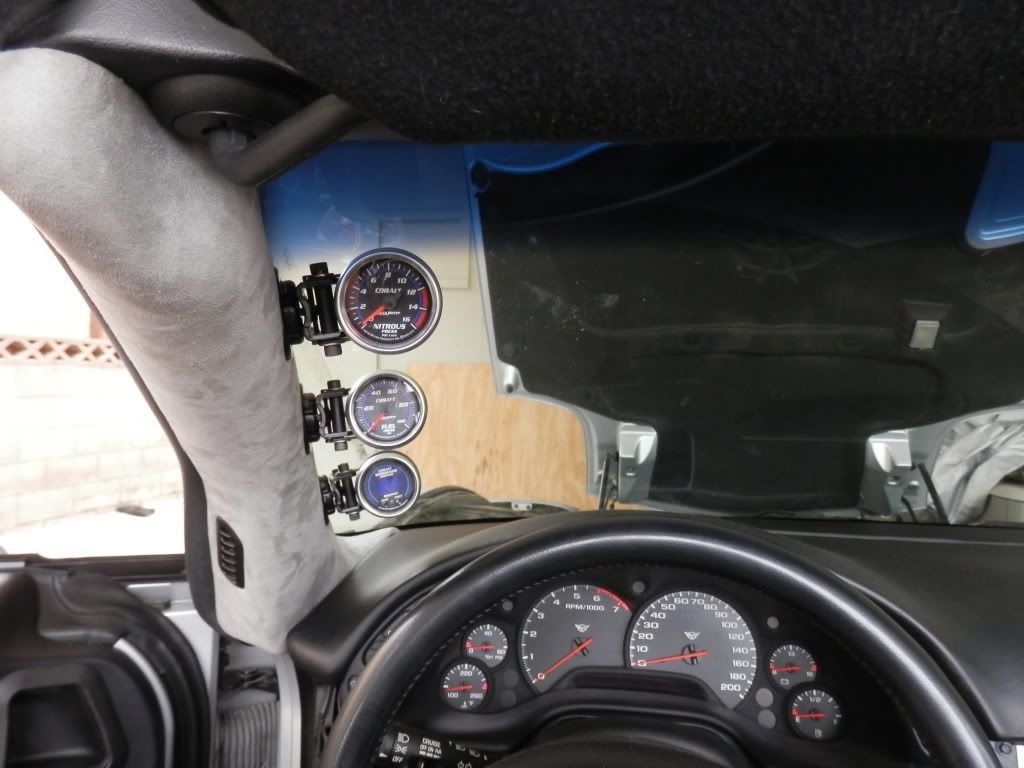
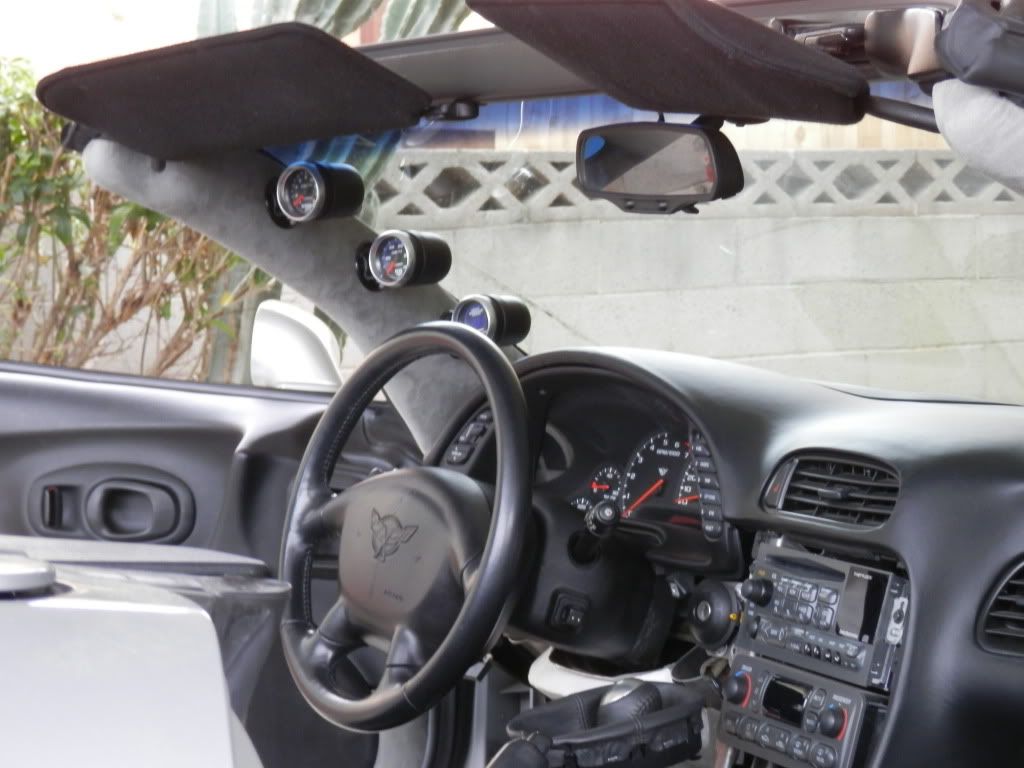
Since it is next to impossible to find a 3 guage mounting pod these days, I'm trying to come up with some ideas. Dennis can modify the radio bezel to have three gauges across the top, but then I lose the ashtray...where I want to put my N20 switches, plus I like the idea of having gauges more eye level. Have a lead on a 3 pod, which I'll probably get. Are the brackets below on what I'm working on maybe too "ricey" for a Vett? Maybe kinda trick looking, not sure how I feel.
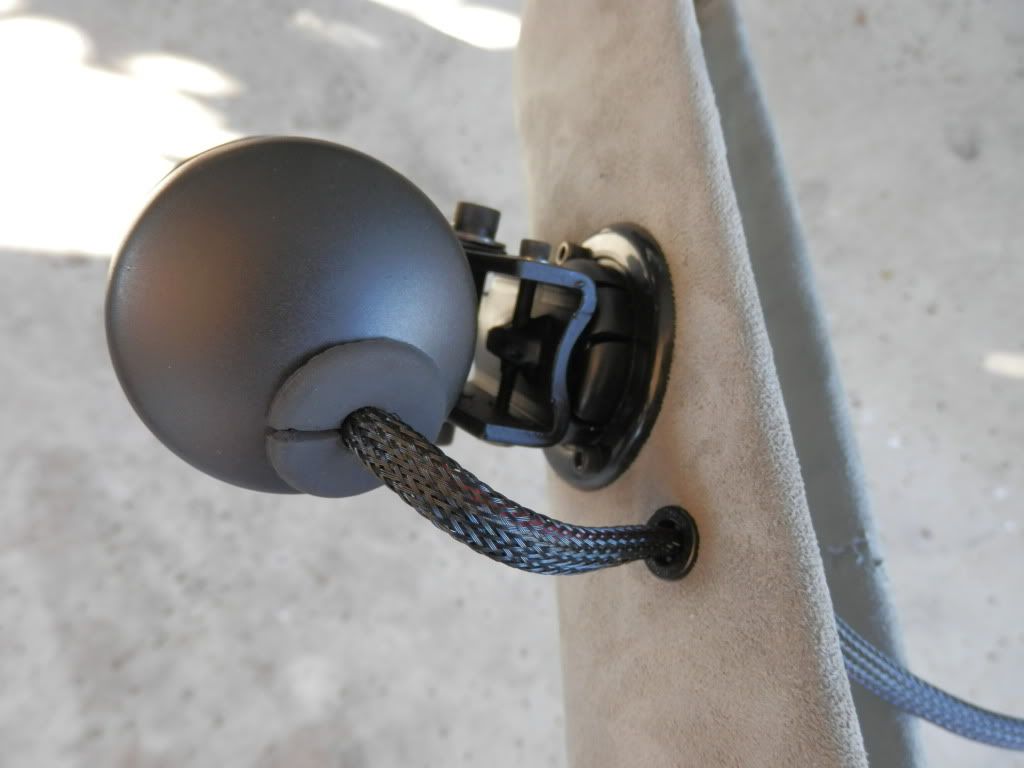
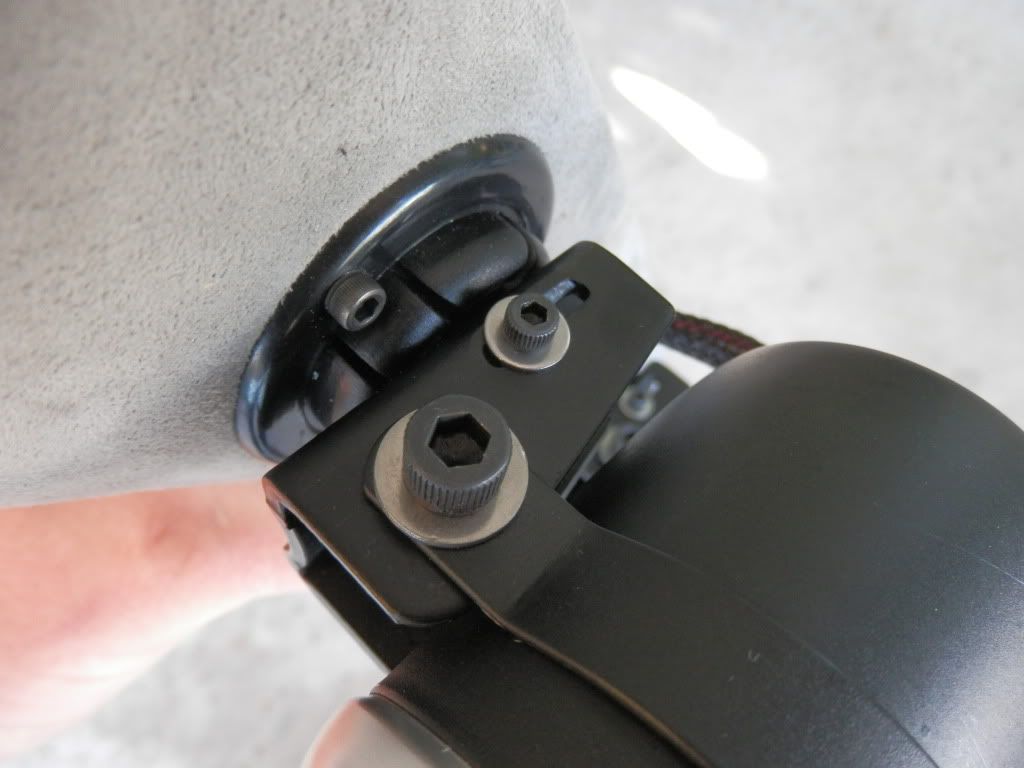
Mounting cups are from AutoMeter, but don't swivel. So I took the swivel bases from GloShift and mounted onto the AM cup. This gives great control on setting up the gauges to face the driver just perfect. Can go L/R/U/D.
Covering the wires with black mesh loom, ends have shrink-tubing to hold ends together.
Pics...
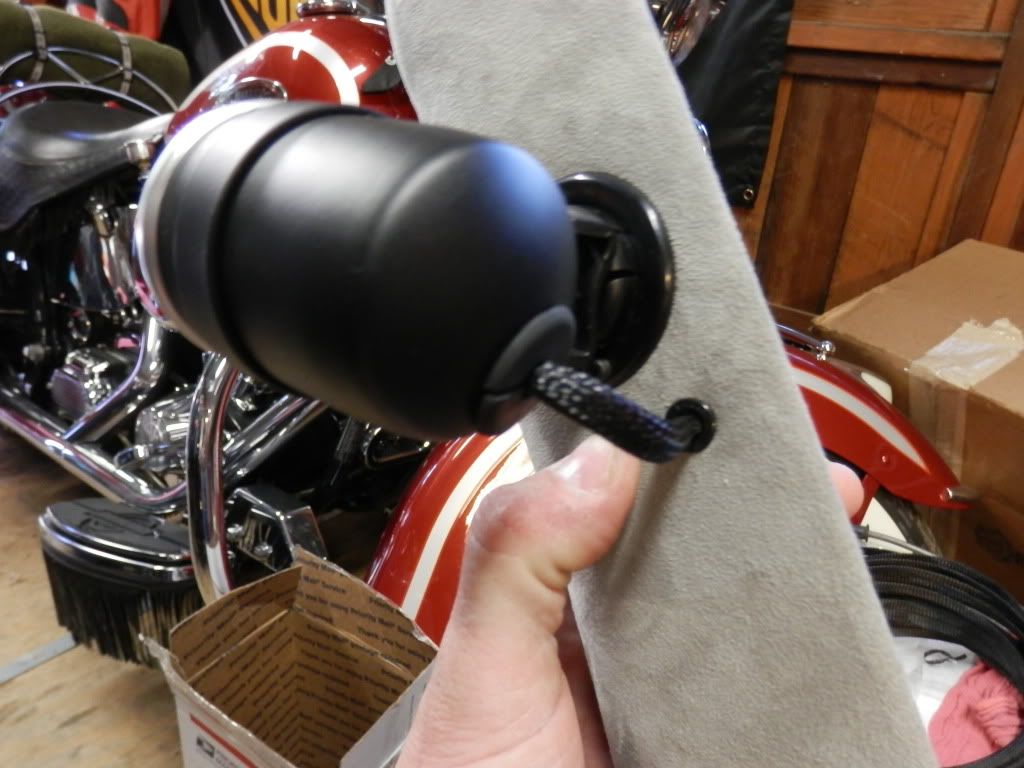
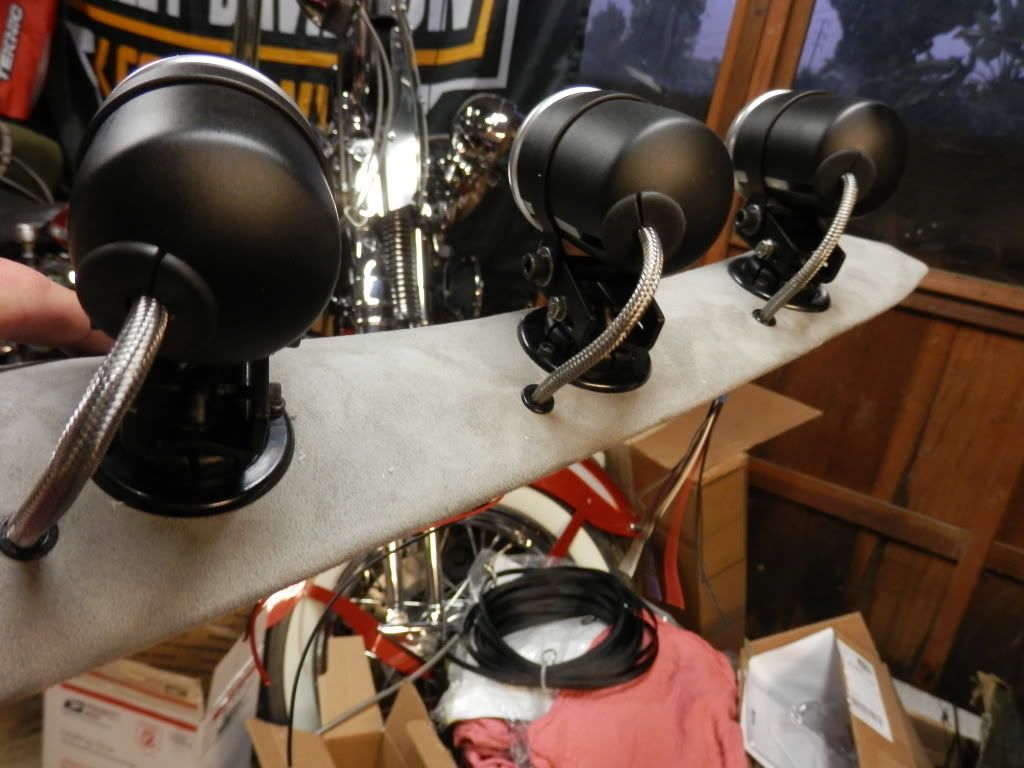
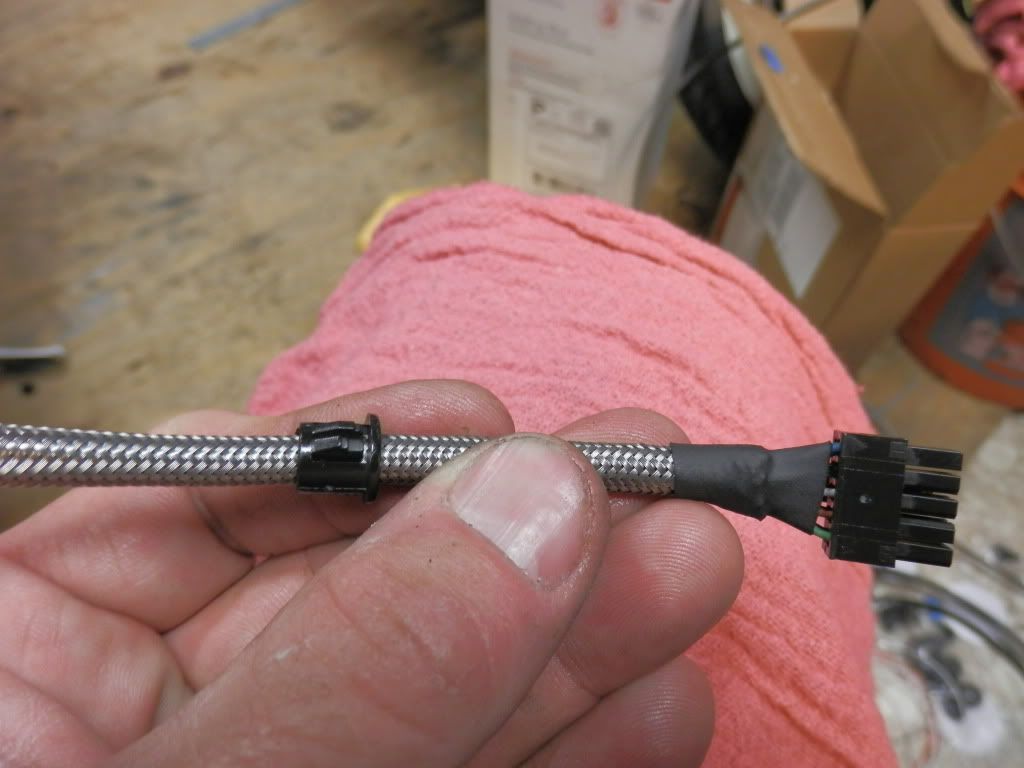
Replaced the black wire loom with some SS loom. (sourced the SS loom from some old HD cables). Thought the SS matched the SS bezel of the AM gauges.

Mounting cups are from AutoMeter, but don't swivel. So I took the swivel bases from GloShift and mounted onto the AM cup. This gives great control on setting up the gauges to face the driver just perfect. Can go L/R/U/D.
Covering the wires with black mesh loom, ends have shrink-tubing to hold ends together.
Pics...
Replaced the black wire loom with some SS loom. (sourced the SS loom from some old HD cables). Thought the SS matched the SS bezel of the AM gauges.
Last edited by GBsC5Vert; 03-03-2012 at 10:47 PM.
 03-03-2012, 10:33 PM
#2
Administrator


Member Since: Mar 2001
Location: In a parallel universe. Currently own 2014 Stingray Coupe.
Posts: 342,684
Received 19,220 Likes
on
13,930 Posts
C7 of the Year - Modified Finalist 2021
MO Events Coordinator
St. Jude Co-Organizer
St. Jude Donor '03-'04-'05-'06-'07-'08-'09-'10-'11-'12-'13-'14-'15-'16-'17-'18-'19-
'20-'21-'22-'23-'24
NCM Sinkhole Donor
CI 5, 8 & 11 Veteran


Unique solution but I just think that look doesn't go with a Vette. You might see if Dennis can modify your A-pillar to come up with a 3 gauge pod.
03-03-2012, 10:43 PM
#3
Pro
Thread Starter
Member Since: Mar 2010
Location: LA/OC border, probably sittin' under the patio, by the pool...smokin' a cigar! SoCal
Posts: 595
Likes: 0
Received 2 Likes
on
2 Posts
 03-04-2012, 12:12 AM
#4
Team Owner

Member Since: Mar 2004
Location: Oklahoma City OK
Posts: 58,255
Received 1,673 Likes
on
1,296 Posts
C6 of Year Finalist (appearance mods) 2019
They look like they'd stick out too far.

 03-04-2012, 05:41 AM
#6
Drifting

Different but you did a heck of a clean install. 
I have the modded 3 gauge from Dennis with the AC vent but I hung my boost and nitrous up by the rear view mirror with gauge holders like you have there and added a shift light to the top.
One thing about it. You will have a excellent clear view of the gauge. Did a good job at picking the gauges out to and they will be really easy to see at WOT...
03-05-2012, 07:30 PM
#7
Pro
Thread Starter
Member Since: Mar 2010
Location: LA/OC border, probably sittin' under the patio, by the pool...smokin' a cigar! SoCal
Posts: 595
Likes: 0
Received 2 Likes
on
2 Posts
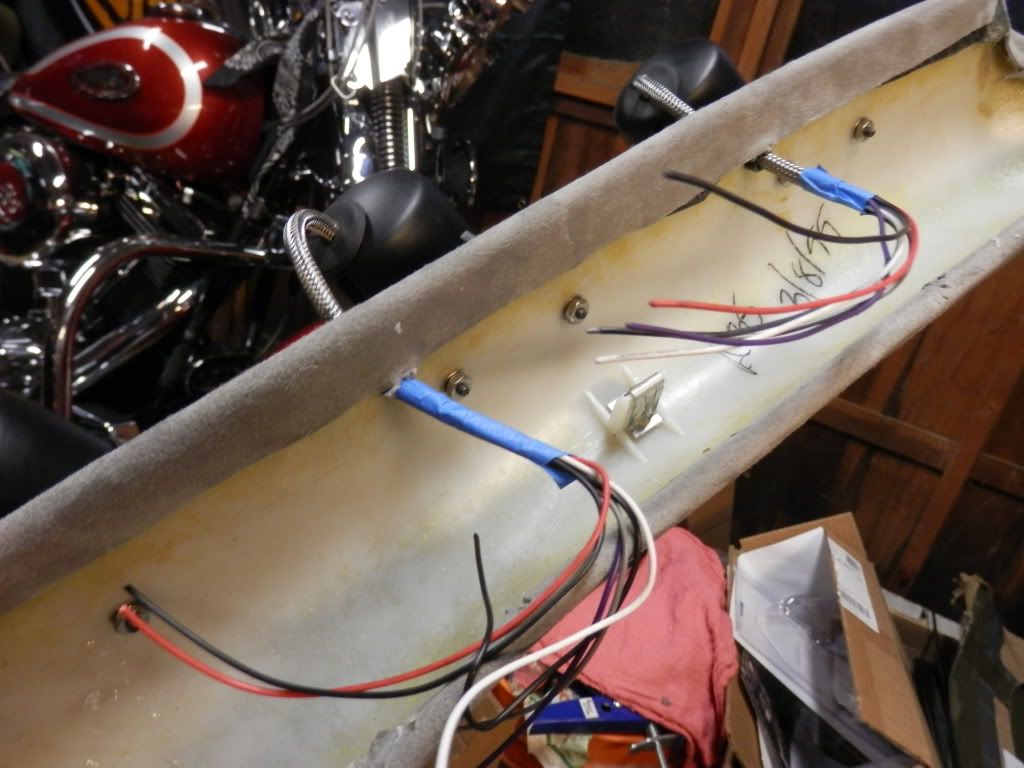
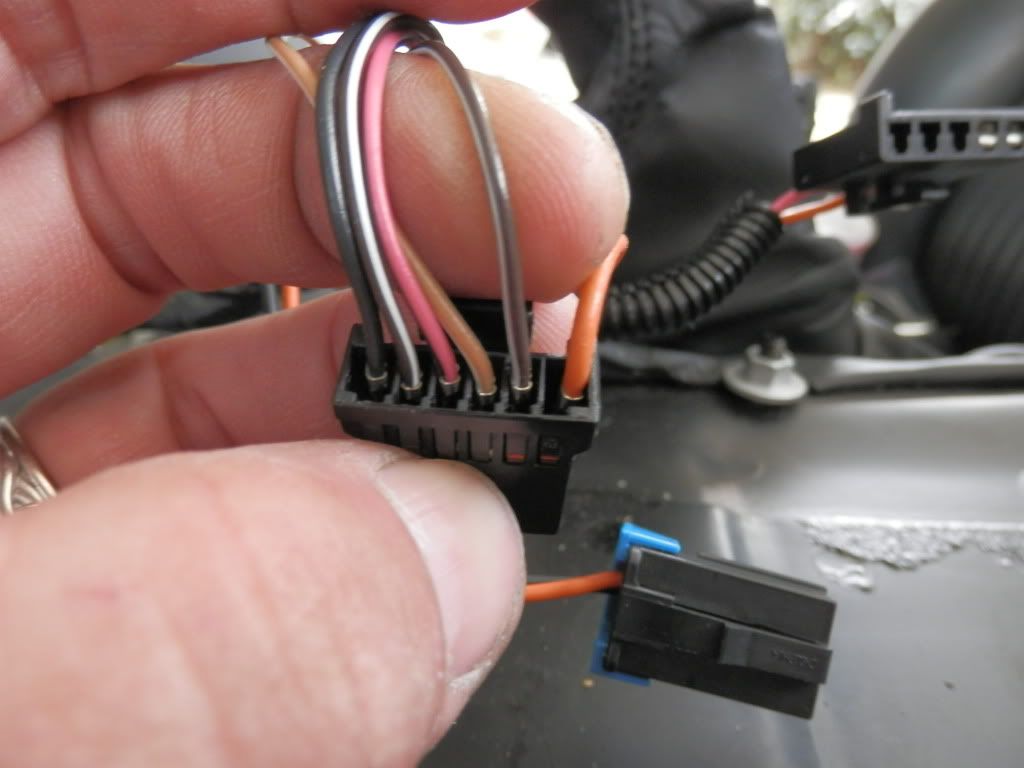
Added some 'Molex connectors", so if I ever have to move the A-pillar to swap to to a different mounting system....don't have to cut any wires.
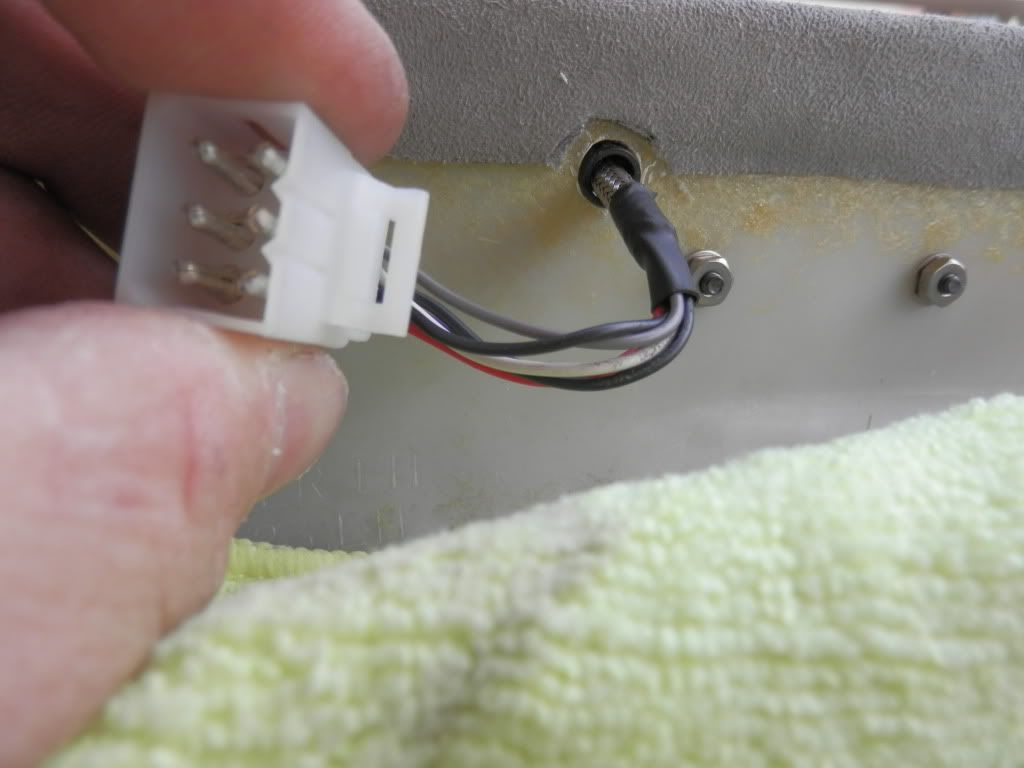
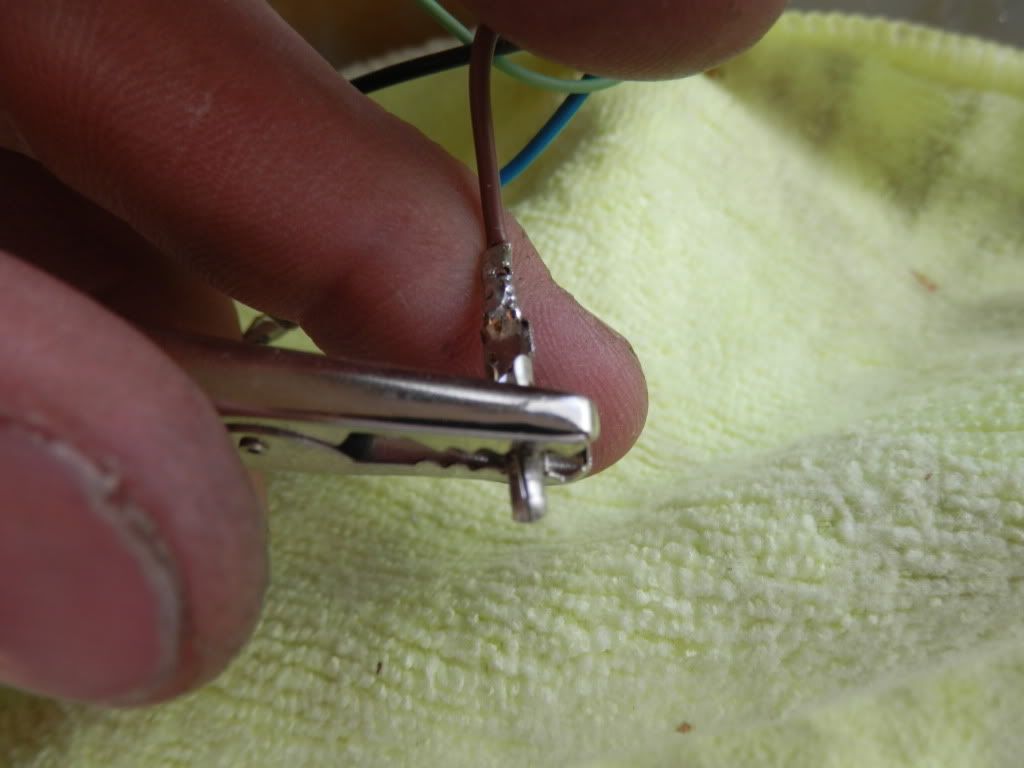
Soldered on each wire to each individual pin...
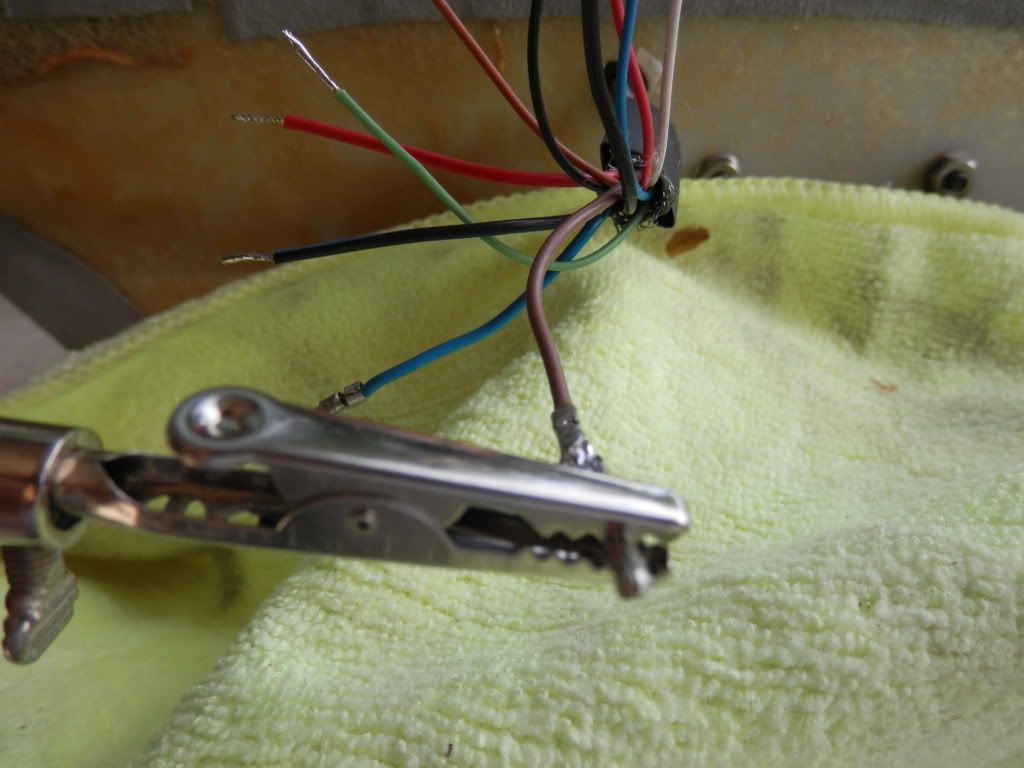
Wires every where...
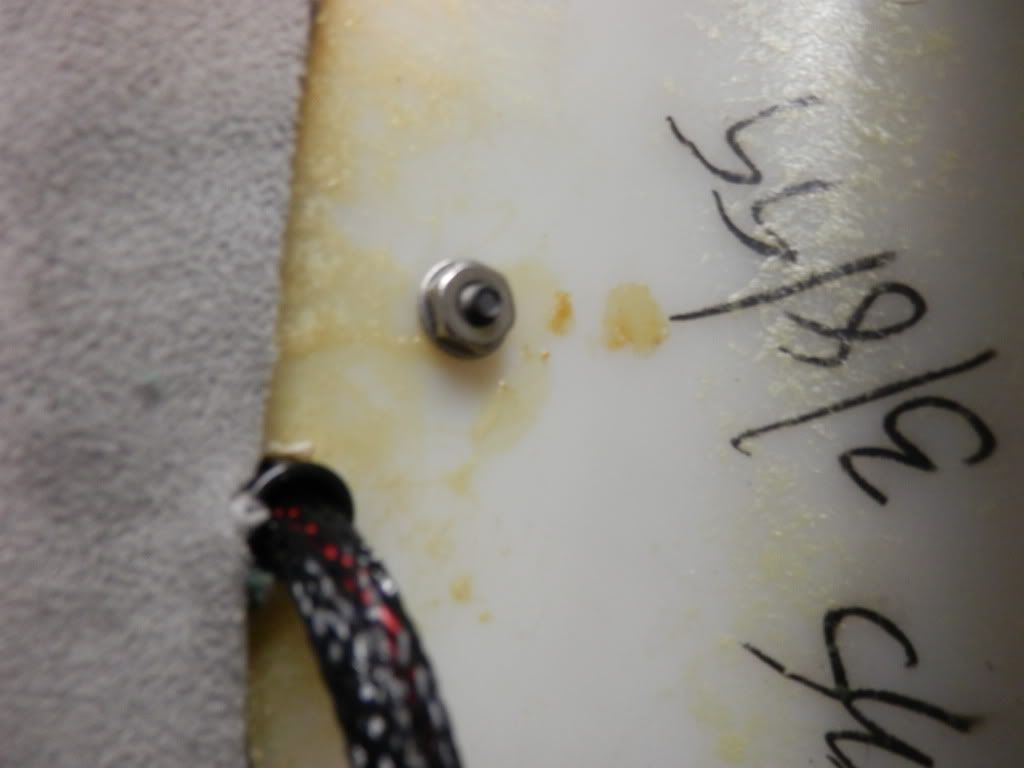
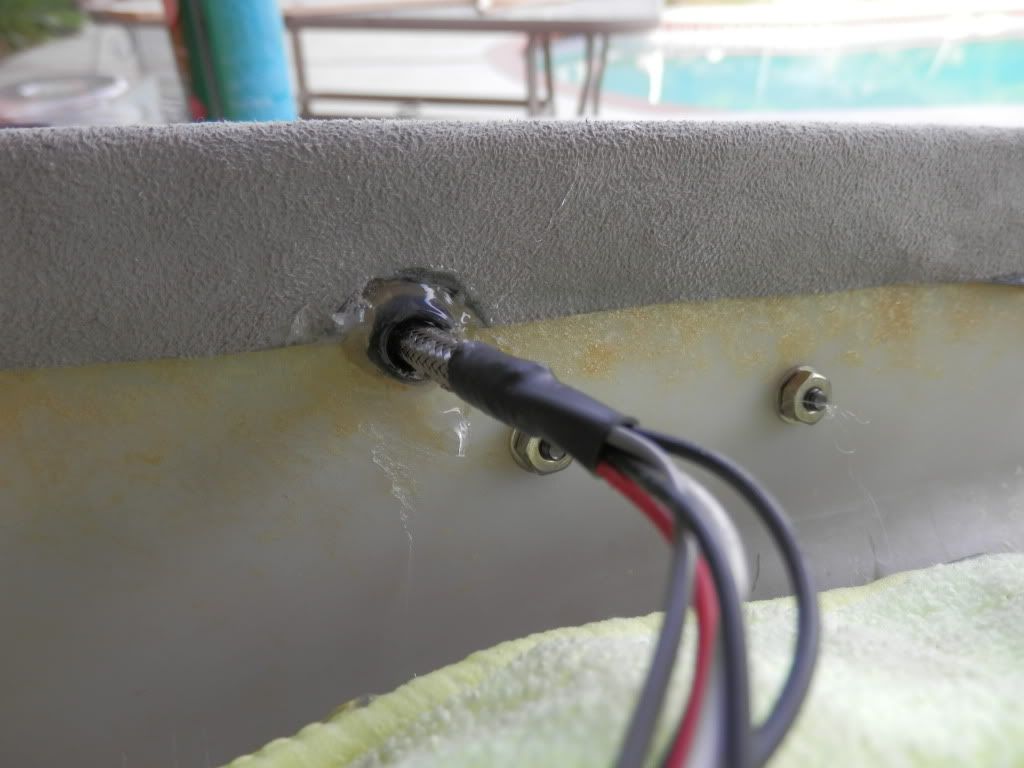
Hot glued the pass through gromments so they don't move...
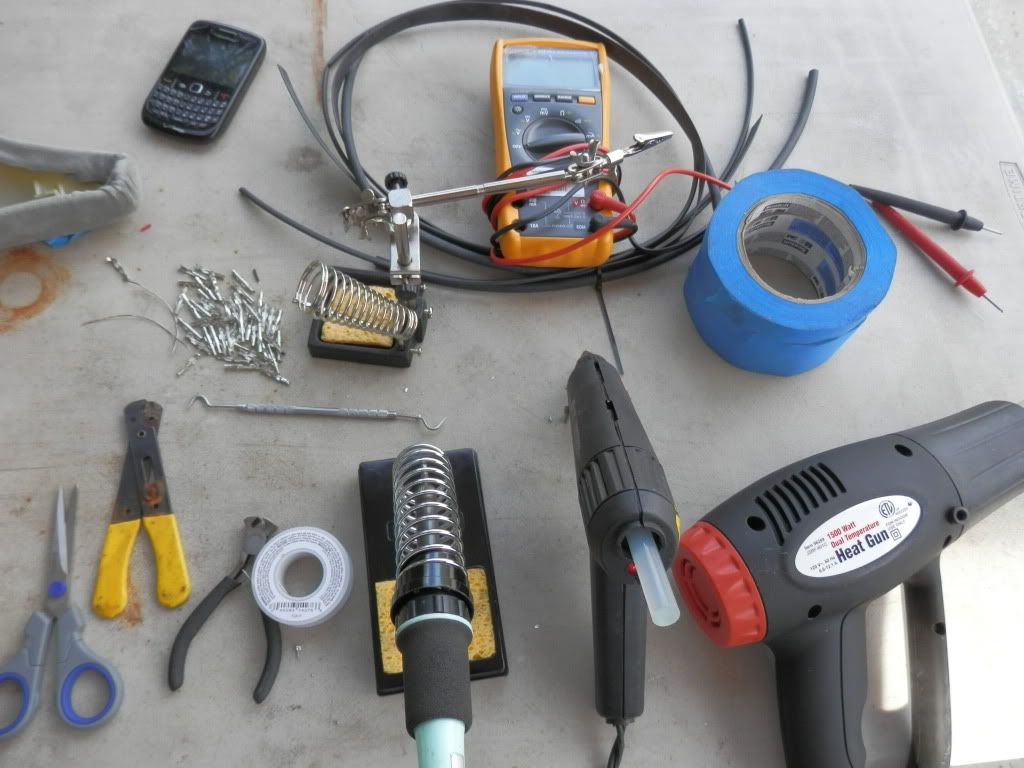
Tools to help do the job properly...
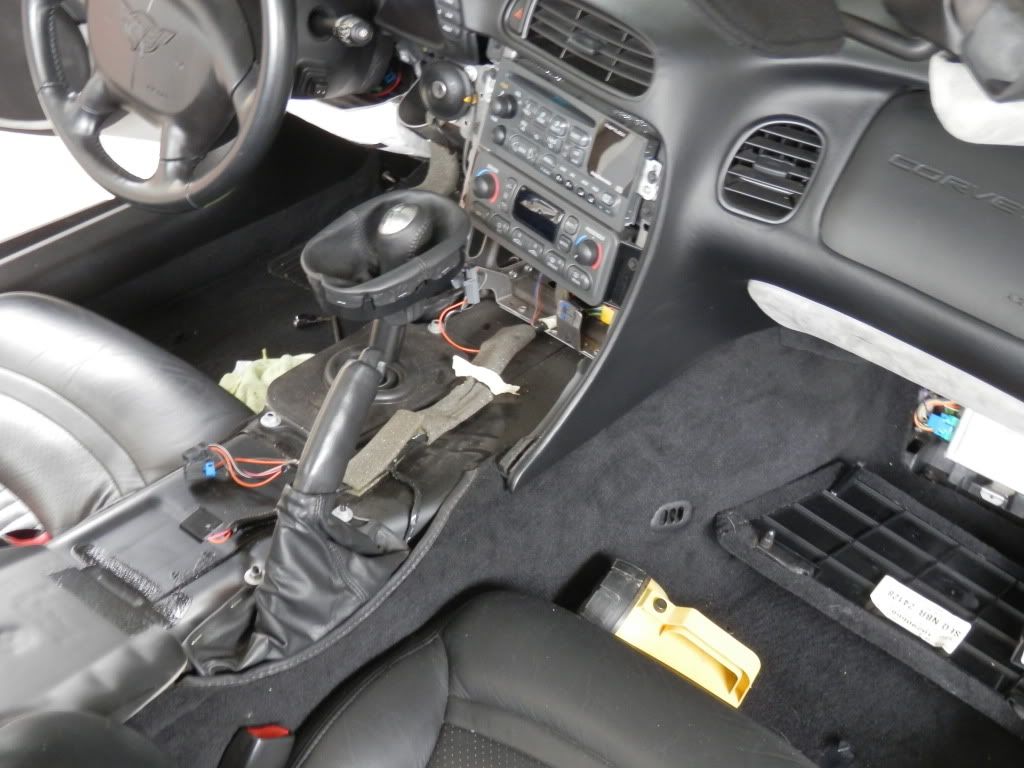
Still have to mount this, and run all lines/wires to rear of car...
Soldered on each wire to each individual pin...
Wires every where...
Hot glued the pass through gromments so they don't move...
Tools to help do the job properly...
Still have to mount this, and run all lines/wires to rear of car...


 03-06-2012, 02:41 PM
#13


I originally said no but these are growing on me, I really think its cool
you really went all out and its good work
however it would look 10x better in a black car wrapped in black leather
you really went all out and its good work
however it would look 10x better in a black car wrapped in black leather
03-06-2012, 02:42 PM
#14
Pro
Thread Starter
Member Since: Mar 2010
Location: LA/OC border, probably sittin' under the patio, by the pool...smokin' a cigar! SoCal
Posts: 595
Likes: 0
Received 2 Likes
on
2 Posts
Seems like it's a hit or miss with some members. Gotta do something!
Heading out to the Vett now to start wiring the power to the gauges, and senders.
Spoke with AutoMeter this AM, the new Cobalt gauges have LEDs for lighting, which are easier to control when it comes to wiring up the dimming feature. From what I found in my research here on CF, harder, if not next to impossible to control the dimming feature if the gauges have bulbs, rather than LED's. Hmmmm.
03-06-2012, 02:45 PM
#15
Pro
Thread Starter
Member Since: Mar 2010
Location: LA/OC border, probably sittin' under the patio, by the pool...smokin' a cigar! SoCal
Posts: 595
Likes: 0
Received 2 Likes
on
2 Posts
The car is/was mostly all black inside. I covered the lower door panels, glove box, knee bolster, center arm console, and A-pillars with gray suede...to try and break up the all black cabin. Sebring Silver exterior.
03-06-2012, 04:09 PM
#16
Melting Slicks

They do look like they stick out quite a ways. Maybe in your field of view of the road???
Can't really tell what I think until they are in the car.
Just a thought,,, is it really a deal-killer NOT to have constant NO2 pressure right in your face? Perhaps a 2 guage pod and the NO2 pressure incorporated into an electronic one or somewhere else in the car?
just thinking out loud.........
excellent work though...
03-06-2012, 04:42 PM
#17
Pro
Thread Starter
Member Since: Mar 2010
Location: LA/OC border, probably sittin' under the patio, by the pool...smokin' a cigar! SoCal
Posts: 595
Likes: 0
Received 2 Likes
on
2 Posts
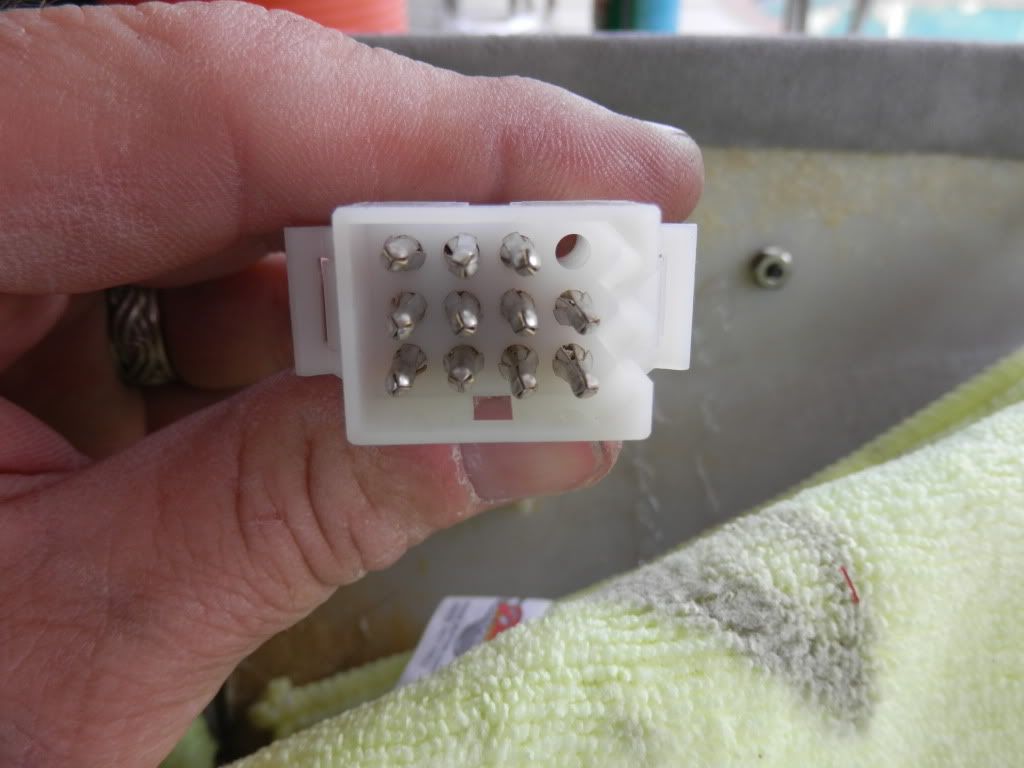
Had to remove the Molex connectors...too big and A-pillar would not snap in place. Oh well. This is a shot looking straight ahead, just about where my eyes would be if looking straight ahead...
Looking to the left...
View from outside right...
All torn up...
Getting my switched 12vdc from here, unused #11...
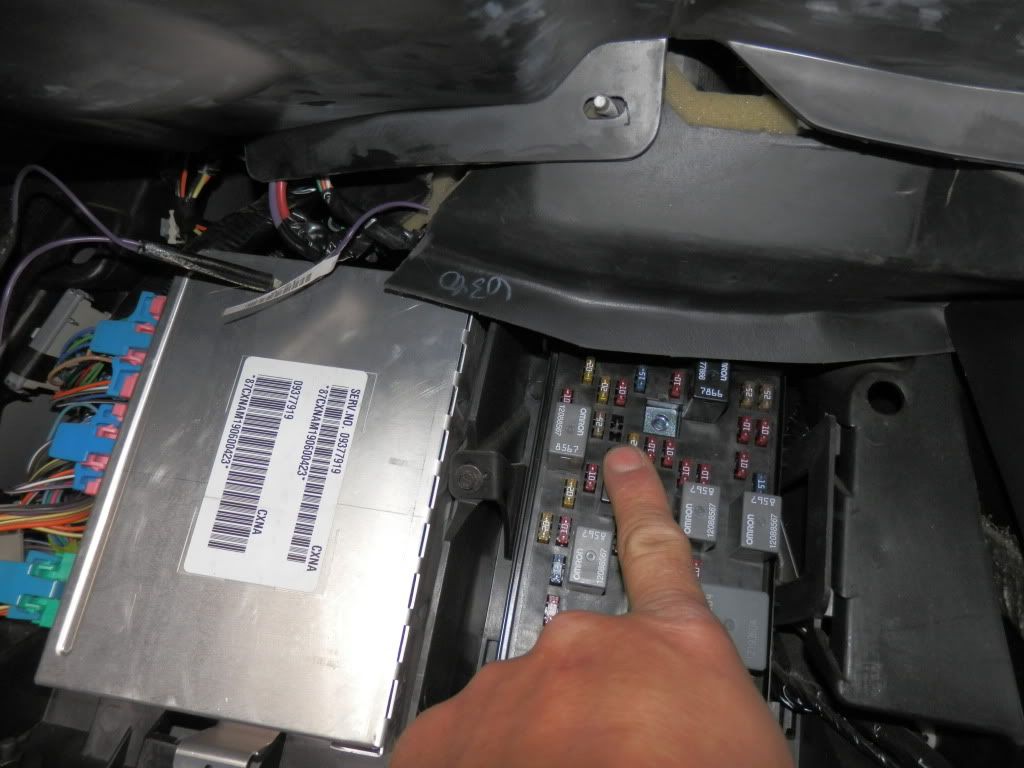
This brown wire is from the AH plug at the AH switch. Hooked a volt meter on this pin, 0 volts with headlights off, headlights on, voltage varies with dimmer switch. (found that info here on CF)...
Looking to the left...
View from outside right...
All torn up...
Getting my switched 12vdc from here, unused #11...
This brown wire is from the AH plug at the AH switch. Hooked a volt meter on this pin, 0 volts with headlights off, headlights on, voltage varies with dimmer switch. (found that info here on CF)...
Last edited by GBsC5Vert; 03-06-2012 at 04:56 PM.
03-06-2012, 04:59 PM
#18
Melting Slicks
This is obviously a matter of taste and choice.
I'm going to say,,, not for me.
Two reasons,
1st- they do stick out a lot more than a pod would and there is a good chance a LEO could/would site you for obstruction of view.
2nd- and most important to me I think the adjustment bolts are a little less tidy than I would be looking for. (trying to be polite )
)
It's yours. If you like it tell me and everyone else to pack sand.
I'm going to say,,, not for me.
Two reasons,
1st- they do stick out a lot more than a pod would and there is a good chance a LEO could/would site you for obstruction of view.
2nd- and most important to me I think the adjustment bolts are a little less tidy than I would be looking for. (trying to be polite
)It's yours. If you like it tell me and everyone else to pack sand.
03-06-2012, 05:02 PM
#19
Pro
Thread Starter
Member Since: Mar 2010
Location: LA/OC border, probably sittin' under the patio, by the pool...smokin' a cigar! SoCal
Posts: 595
Likes: 0
Received 2 Likes
on
2 Posts
This is obviously a matter of taste and choice.
I'm going to say,,, not for me.
Two reasons,
1st- they do stick out a lot more than a pod would and there is a good chance a LEO could/would site you for obstruction of view.
2nd- and most important to me I think the adjustment bolts are a little less tidy than I would be looking for. (trying to be polite)
It's yours. If you like it tell me and everyone else to pack sand.
I'm going to say,,, not for me.
Two reasons,
1st- they do stick out a lot more than a pod would and there is a good chance a LEO could/would site you for obstruction of view.
2nd- and most important to me I think the adjustment bolts are a little less tidy than I would be looking for. (trying to be polite
)It's yours. If you like it tell me and everyone else to pack sand.

