When you click on links to various merchants on this site and make a purchase, this can result in this site earning a commission. Affiliate programs and affiliations include, but are not limited to, the eBay Partner Network.
Seat Cover replacement how – to….. At least the way I did it!
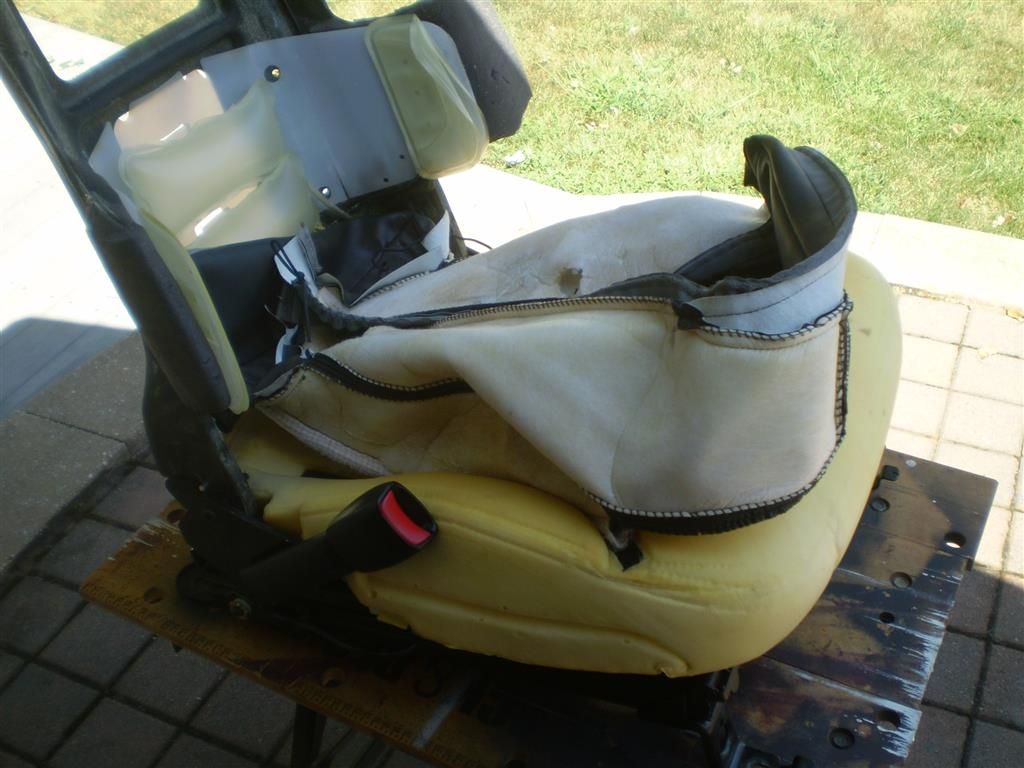
Ok, so I have thrown enough of my 2 cents around here on the Forum and decided that being I’m in the process of replacing the seat covers I might as well document it and hopefully it will help others.
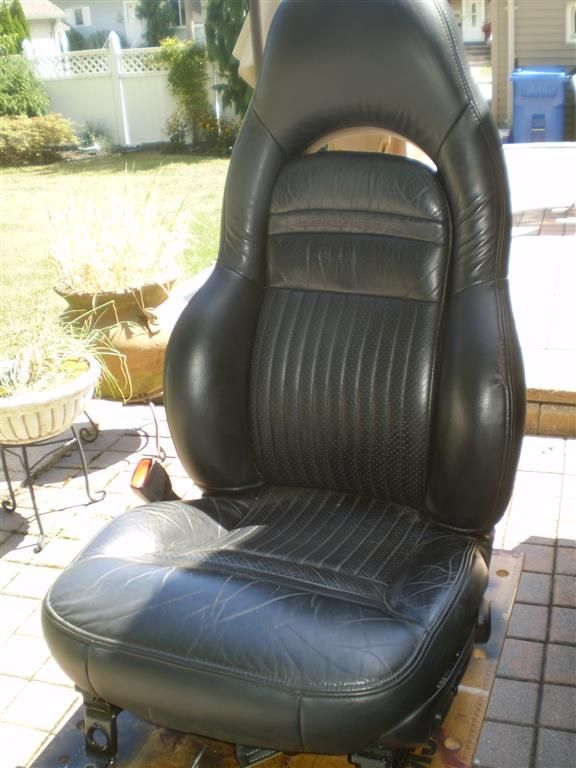
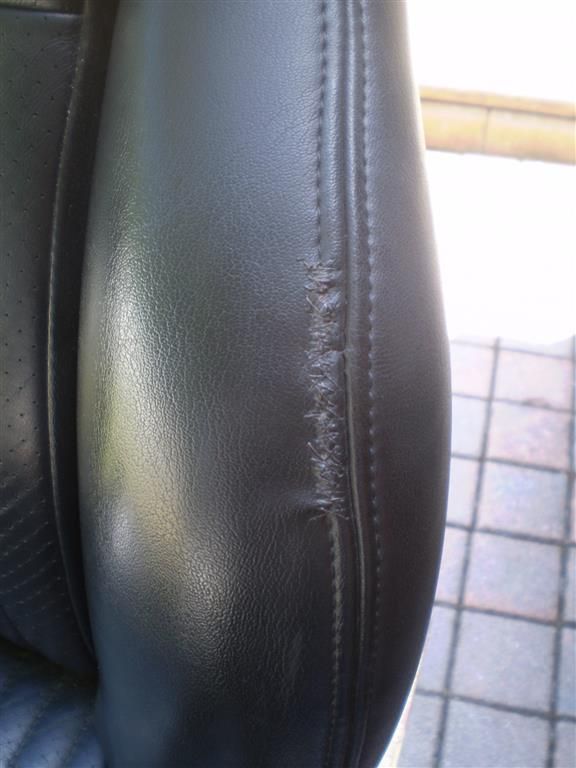
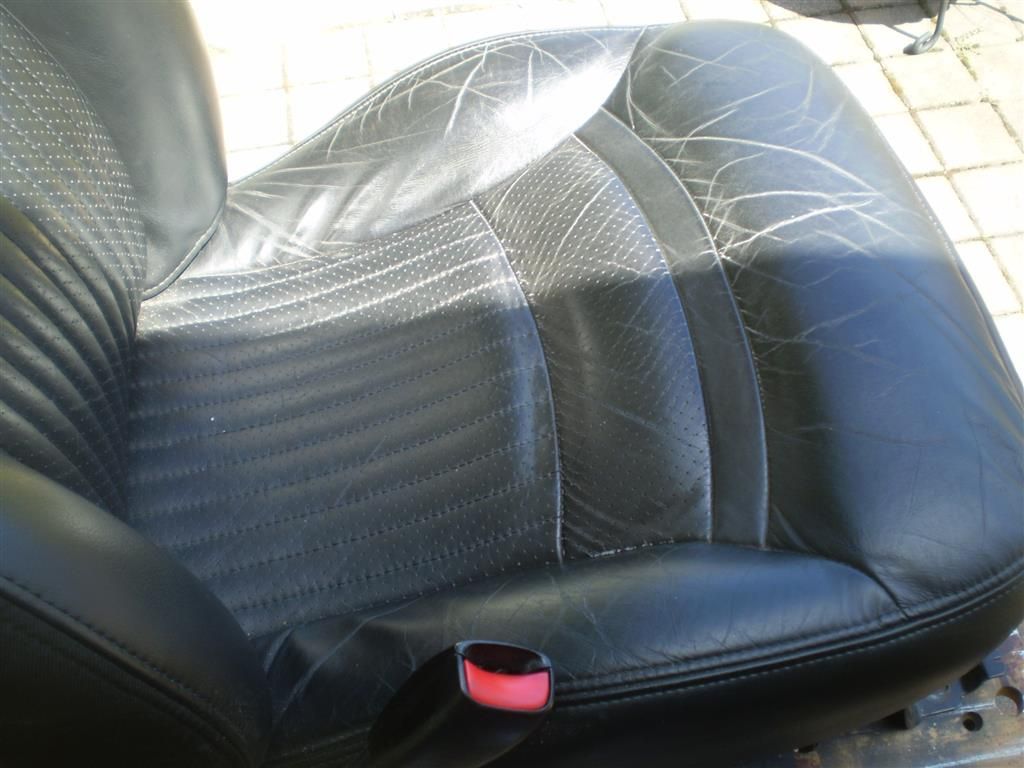
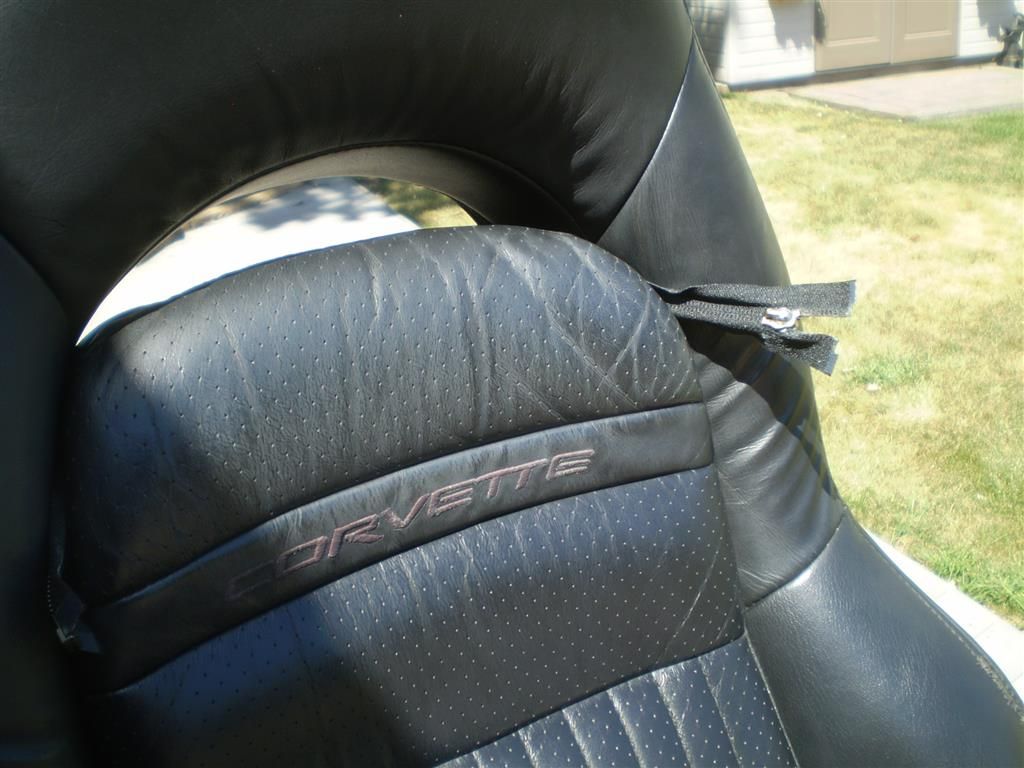
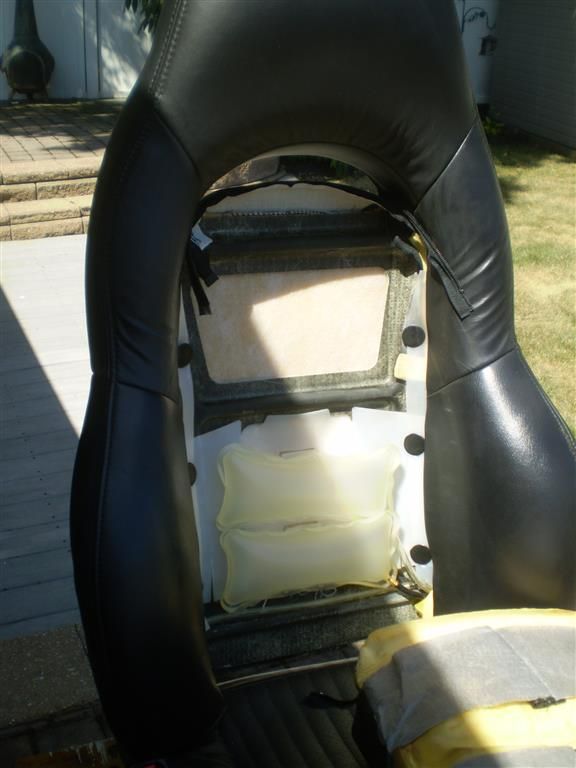
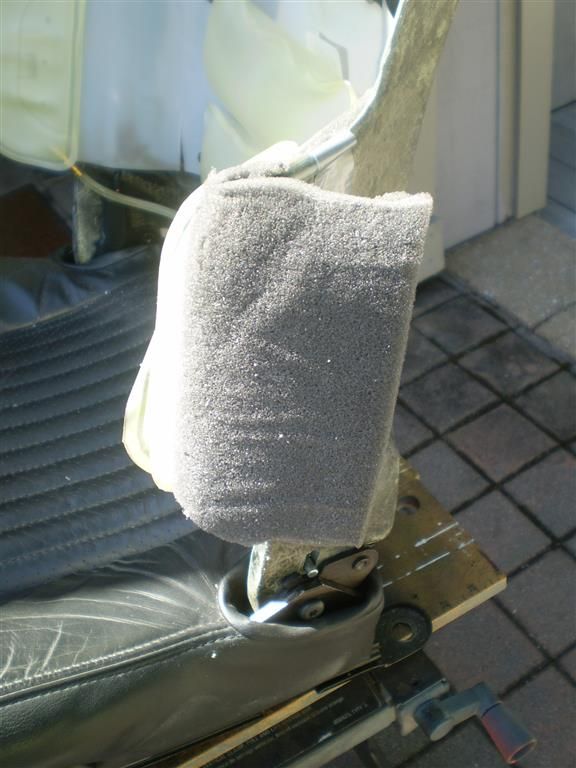
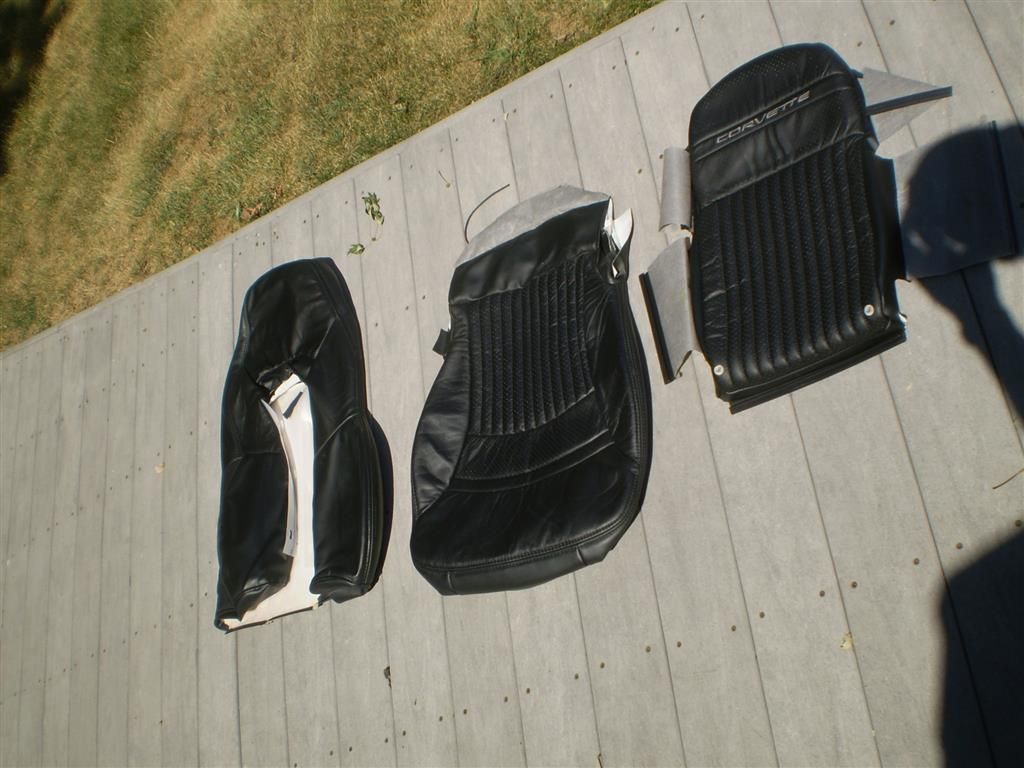
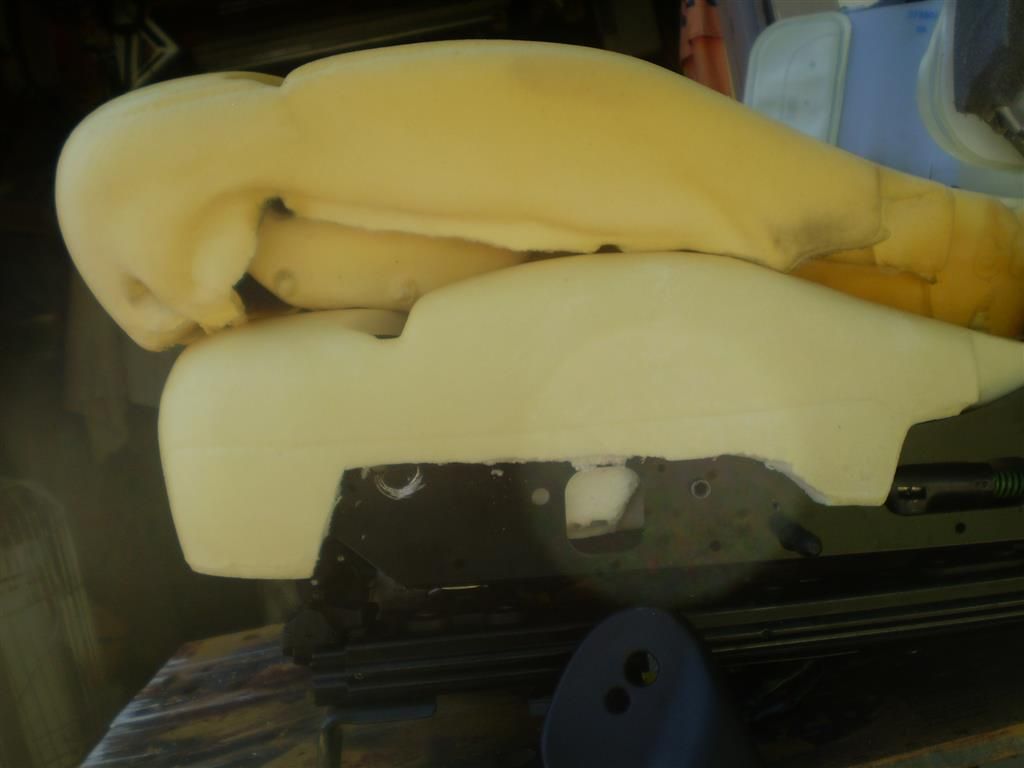
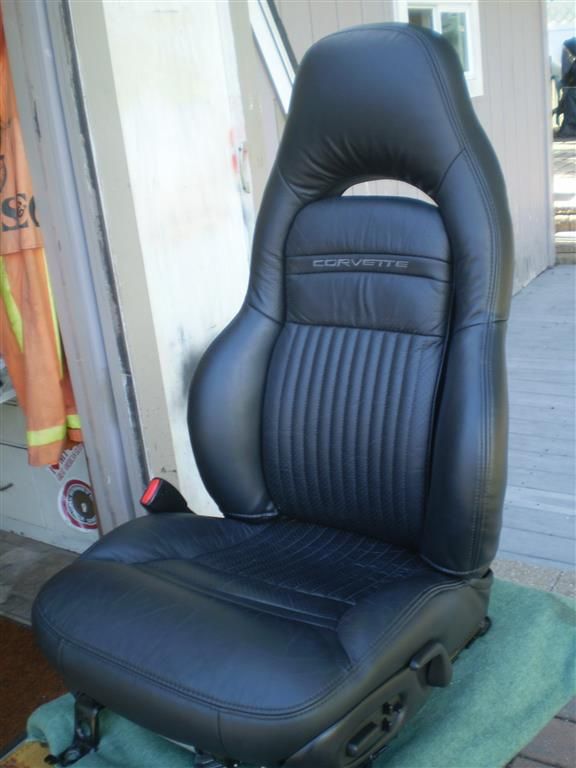
As you can see my driver’s seat was tired:
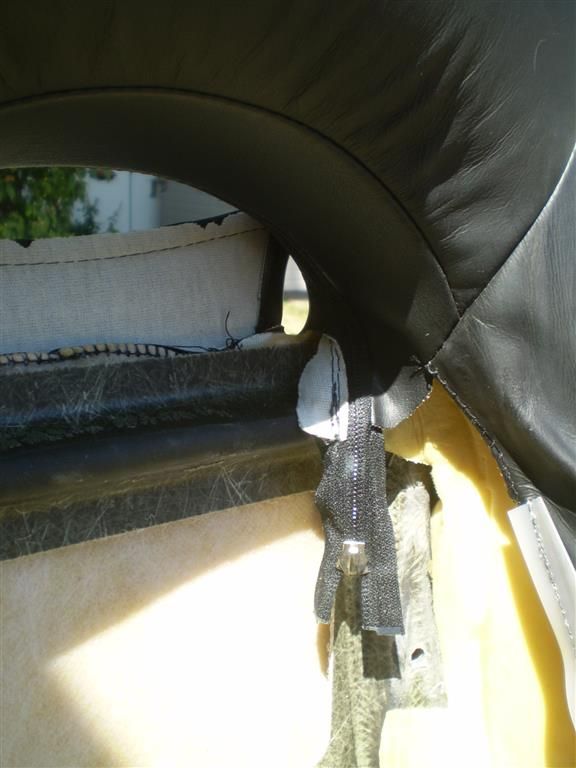
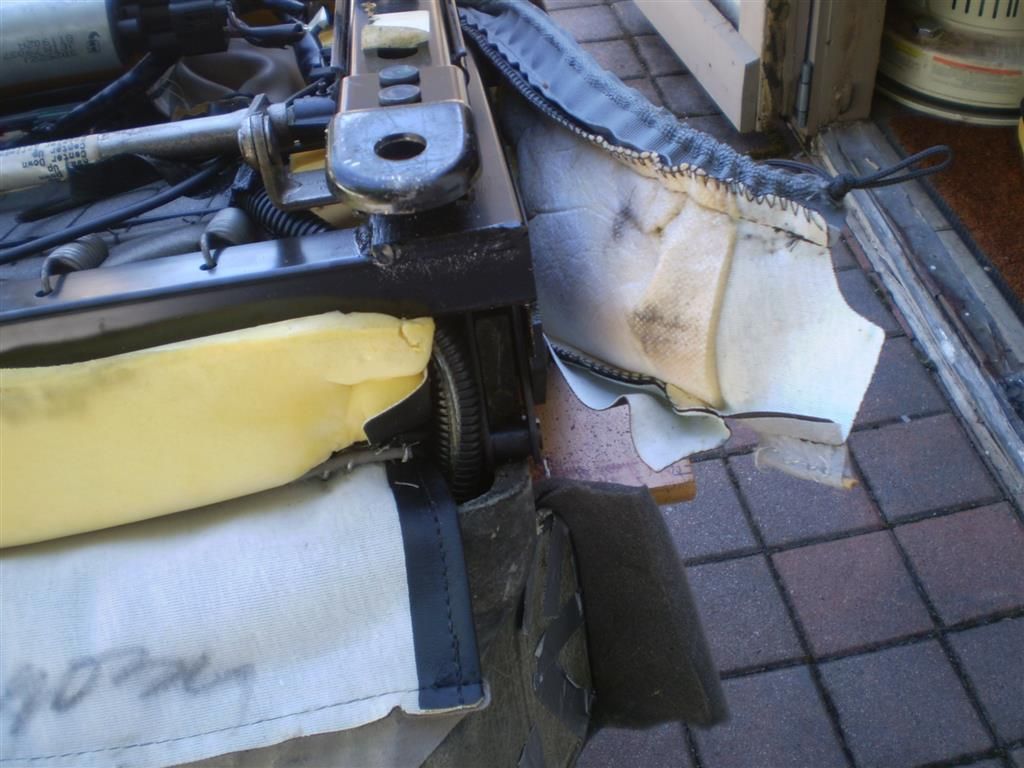
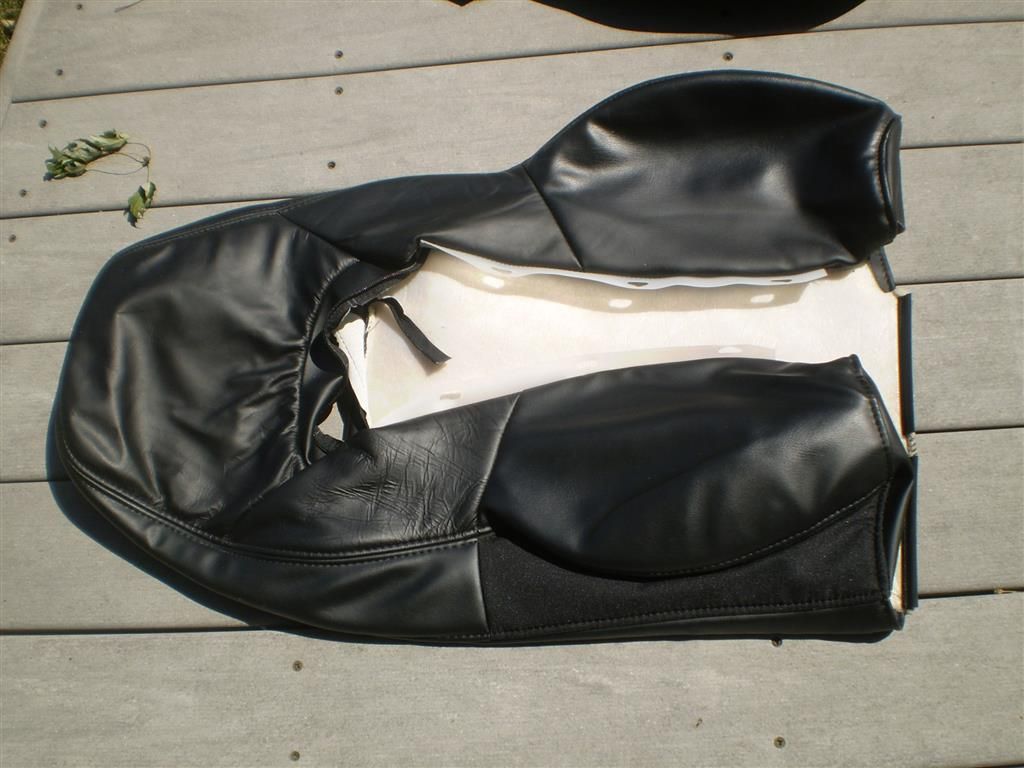
So, on to the dismantling. Locate the zipper that’s tucked inside the folds. This zipper secures the top of the center cushion to the seat back. I used a small pair of needle nose pliers to grab the zipper mechanism as there is no little handle thingy as found on most zippers. Undo the zipper moving right to left.
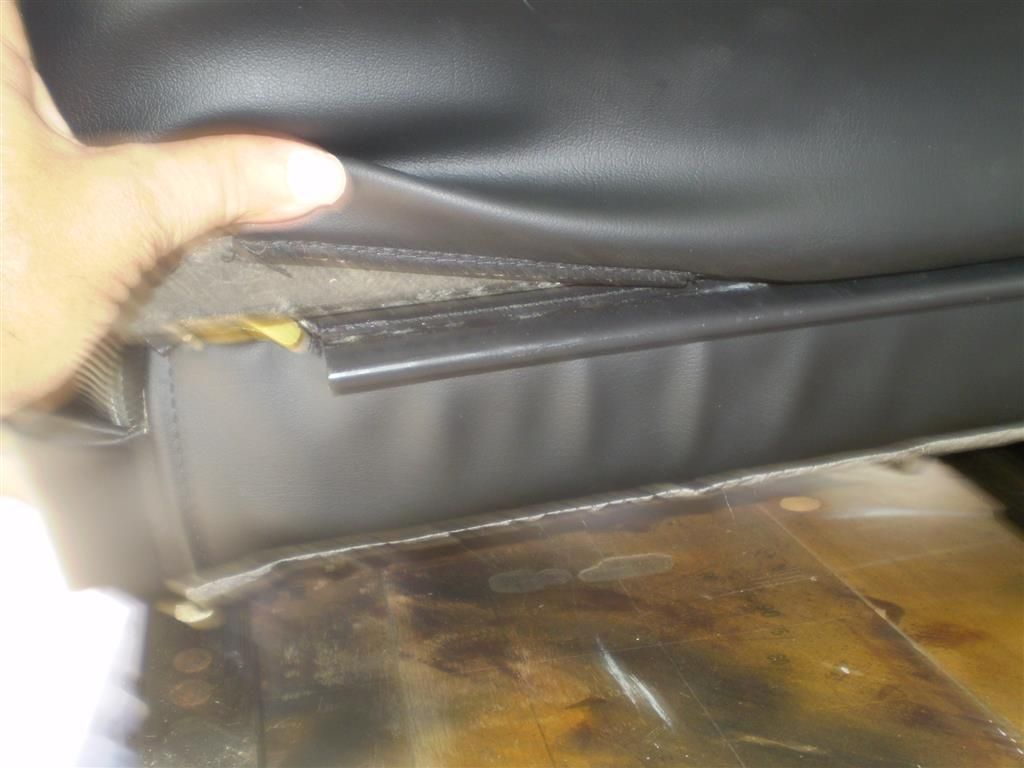
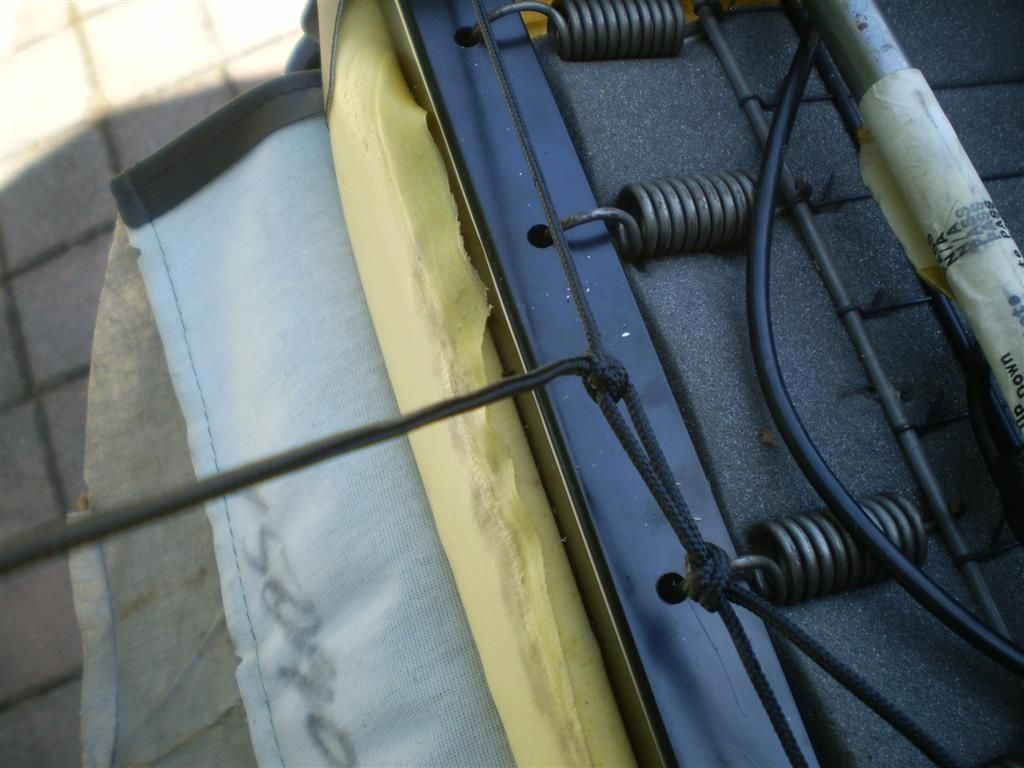
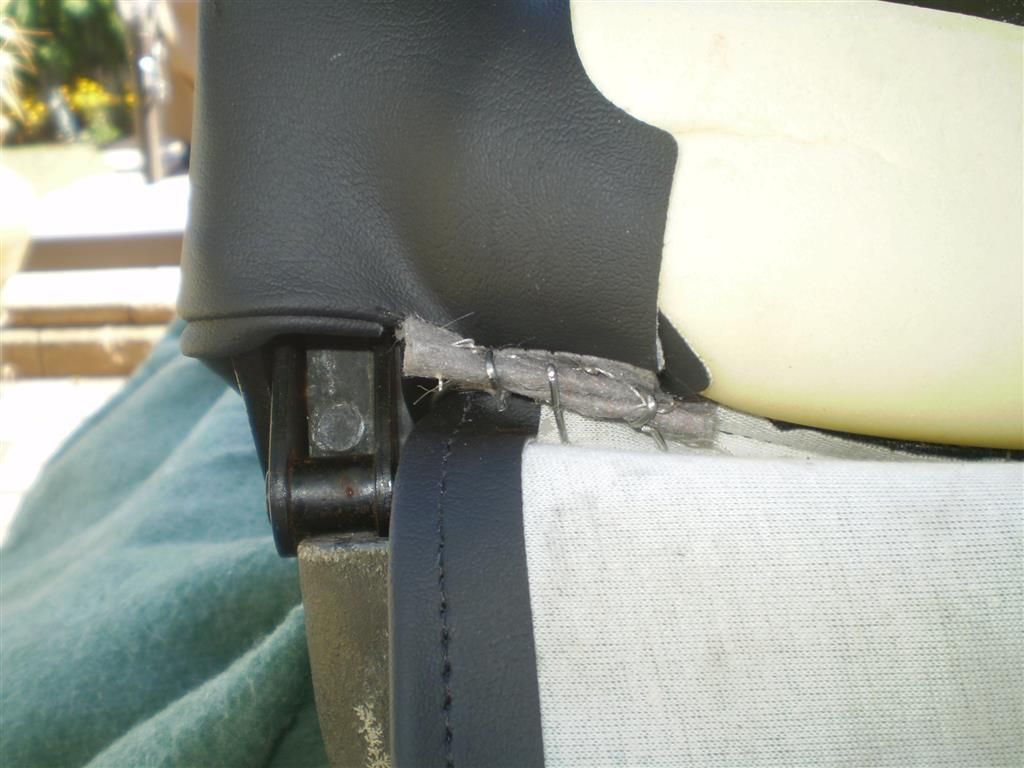
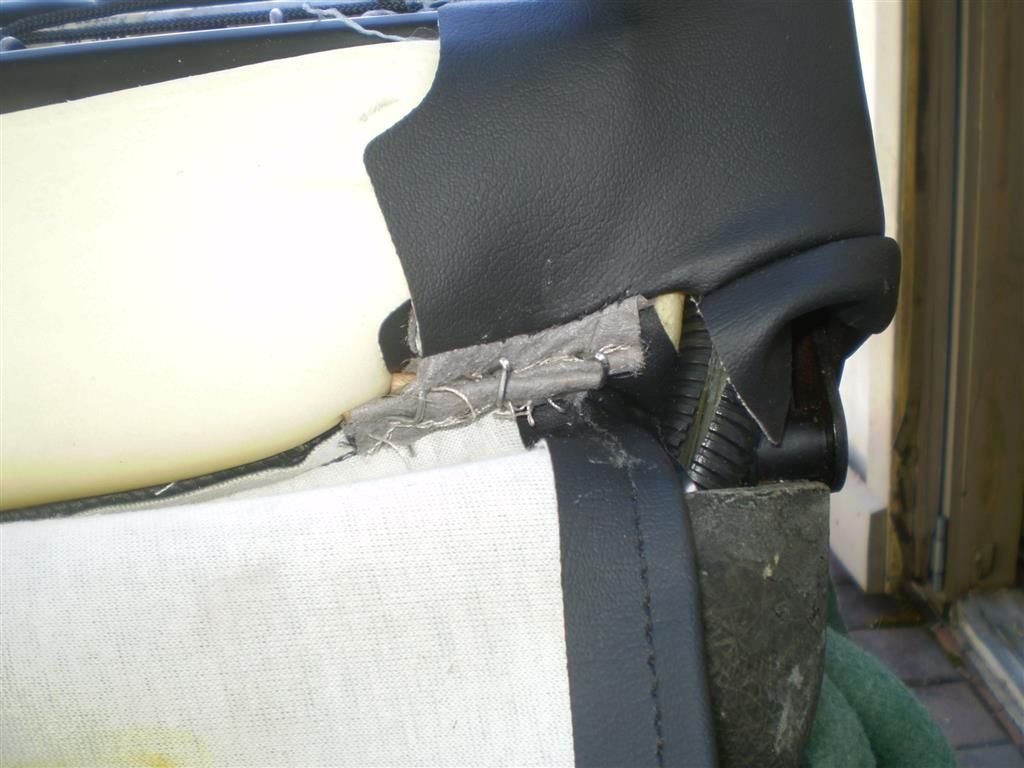
The center cushion is also attached with 2 push pin type fasteners inside of the back bucket portion, we’ll get to those in a moment. Reach down on the bottom of the back of the seat where and you’ll find a long plastic type clip that’s sewn to the bottom of the back of the seat. This clip interlocks with the bottom flap of the center cushion and keeps in in place. Undo the clip by prying it apart with your fingers. They interlock with each other.
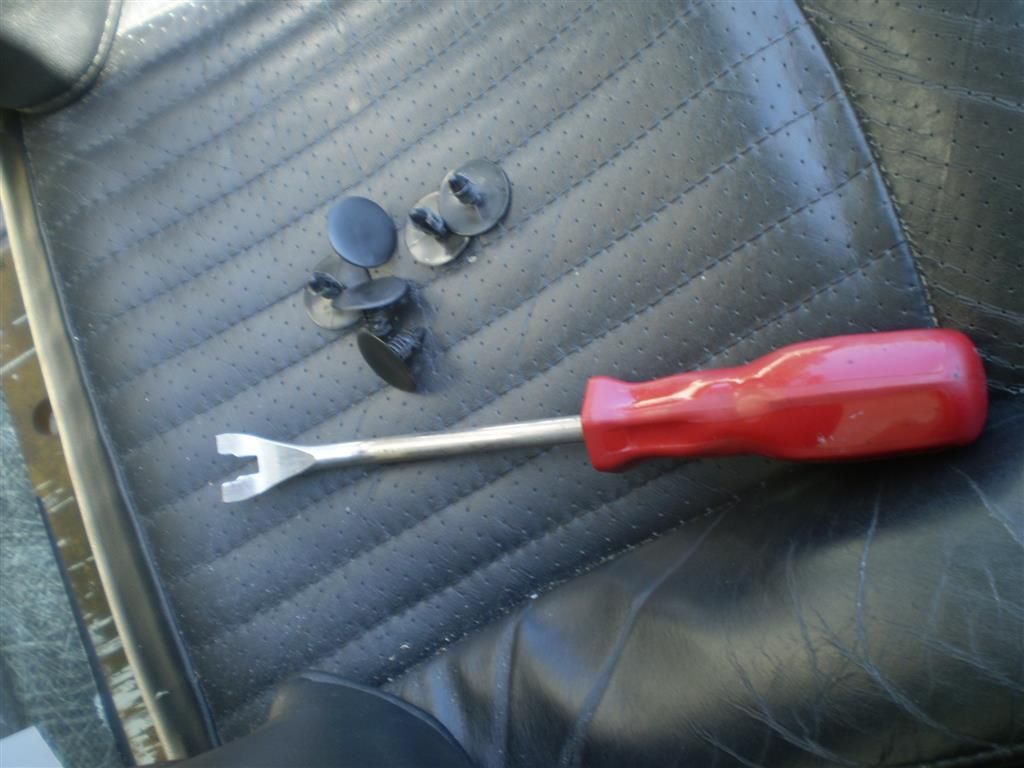
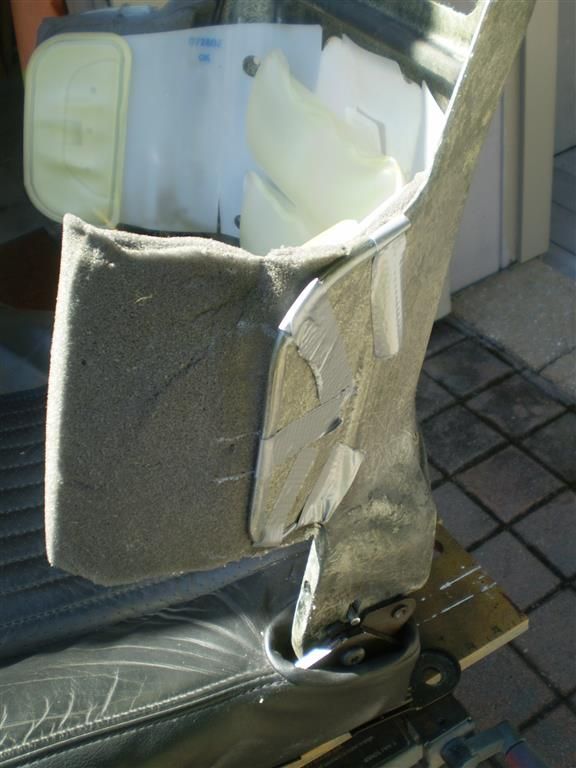
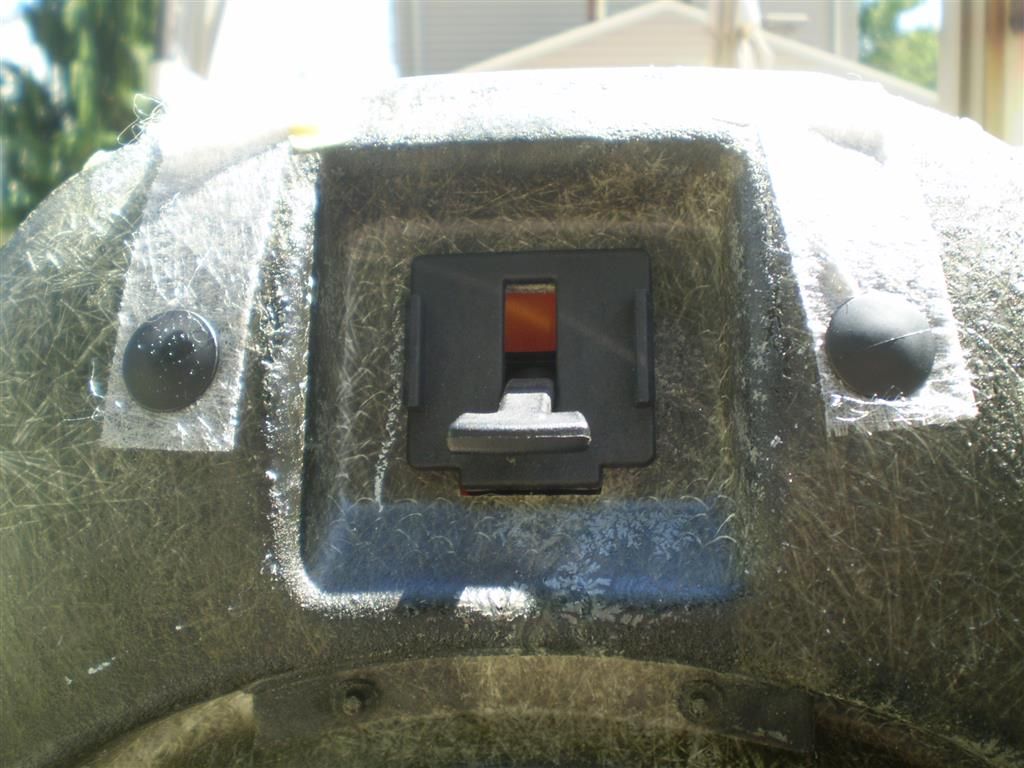
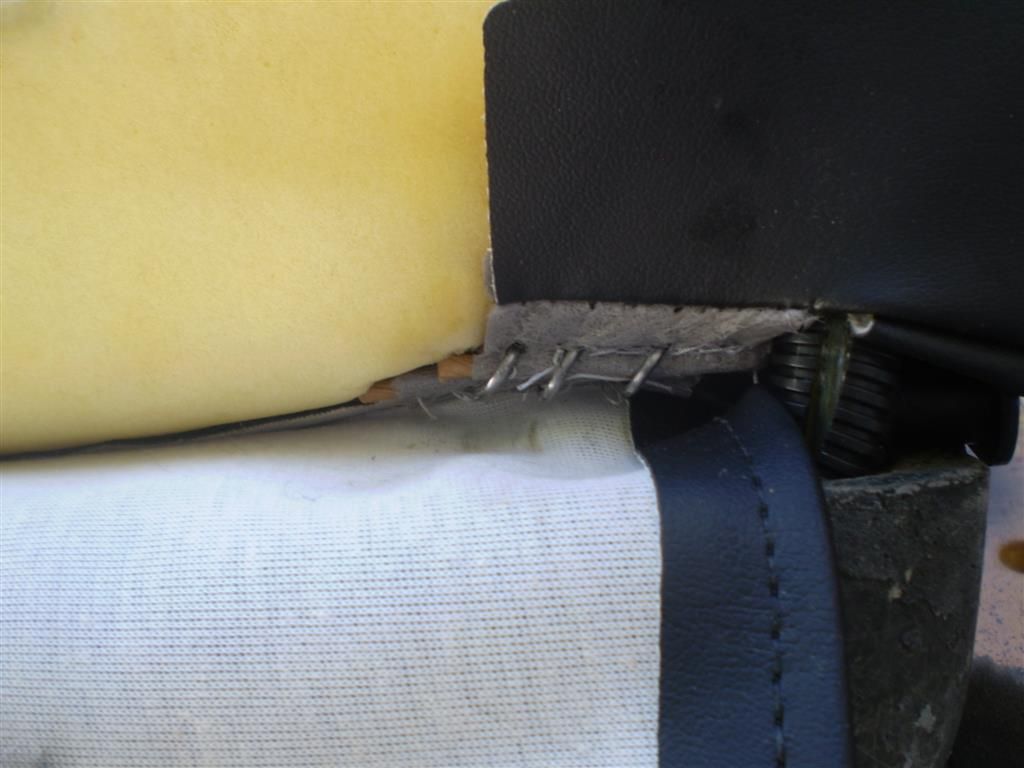
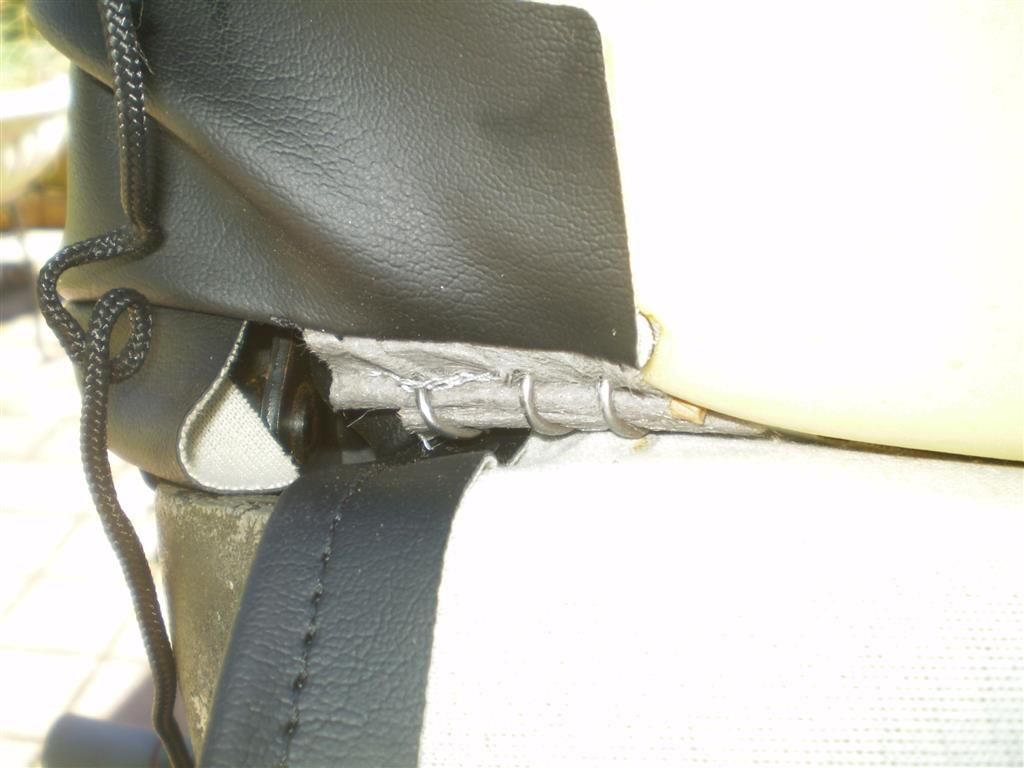
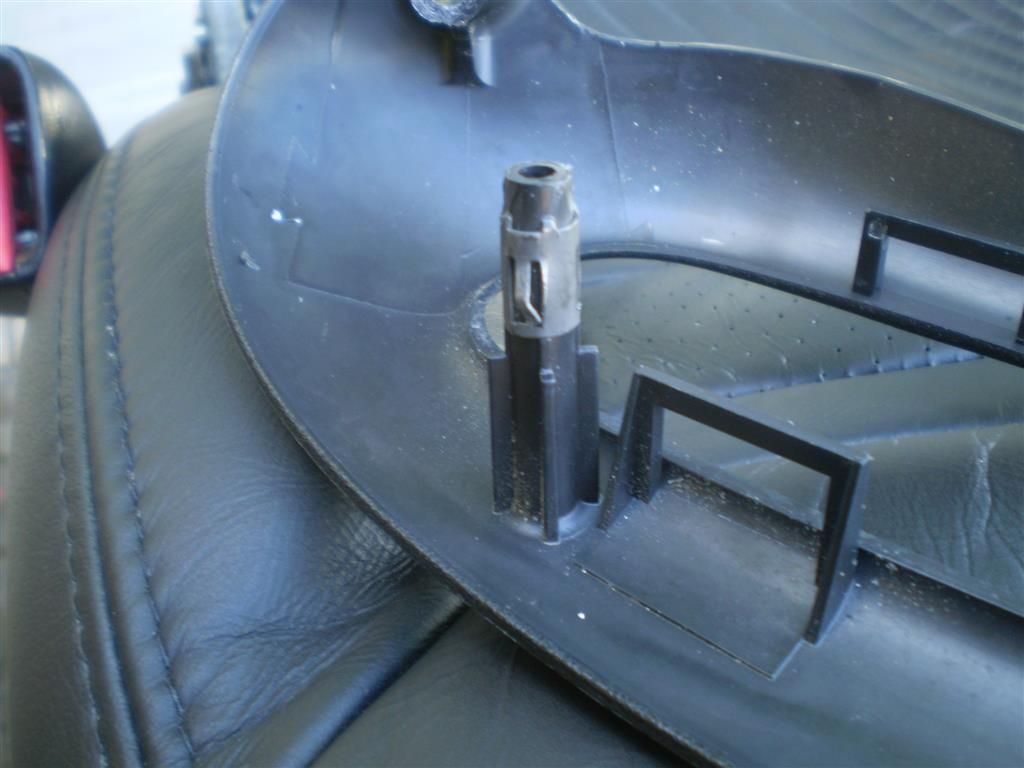
Now those push pins that I mentioned. The top of the center cushion is held in place on either side with these push pins that go through plastic tabs that are sewn into the seams of the center cushion. My tabs were broken off so the center cushion came right out. If yours are still intake then you’ll need one of these. A prying tool to remove clips, door panels clips, etc, etc. Use this to pry out and remove the push pins.
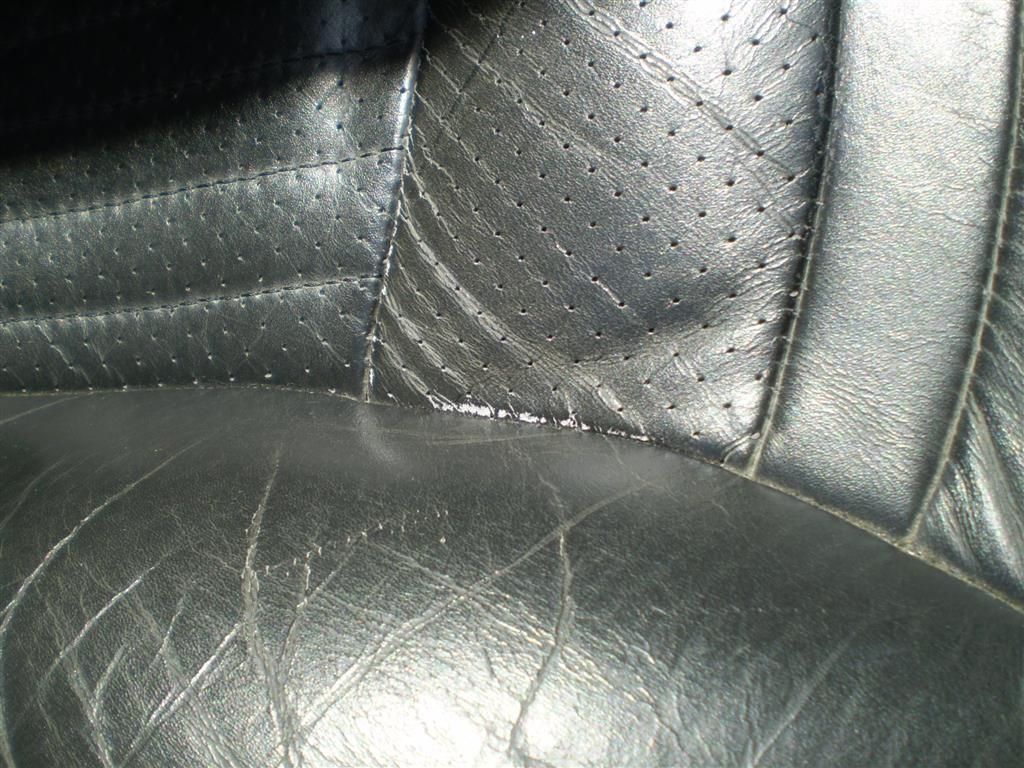
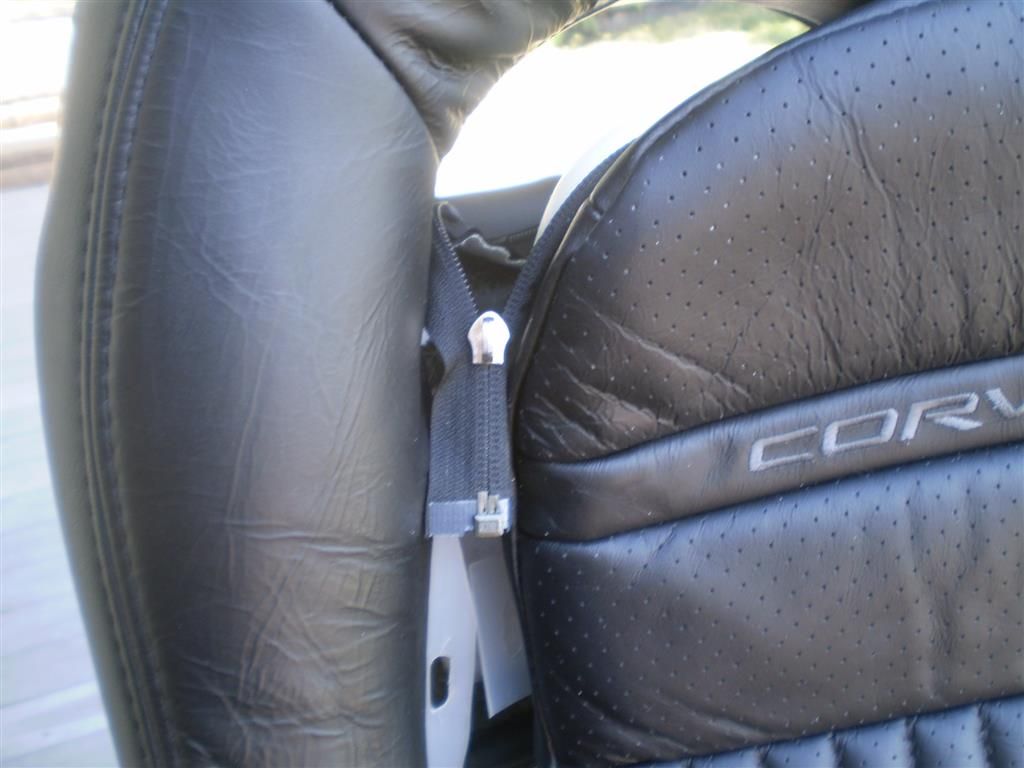
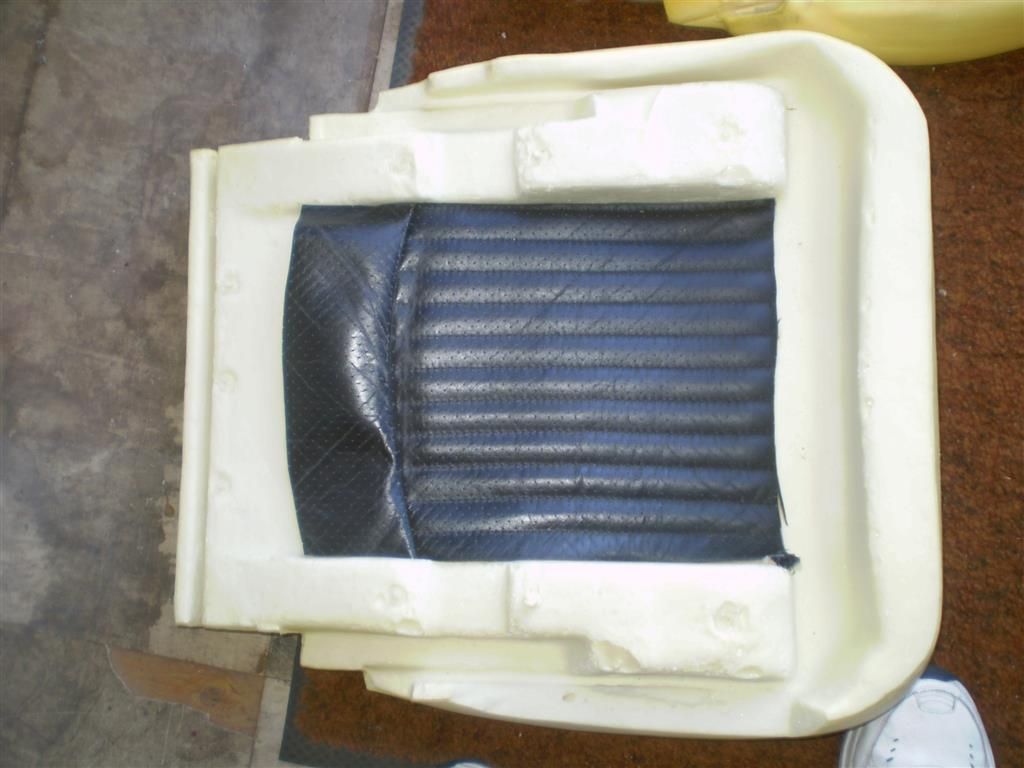
You can see the tabs I’m referring to in this photo:
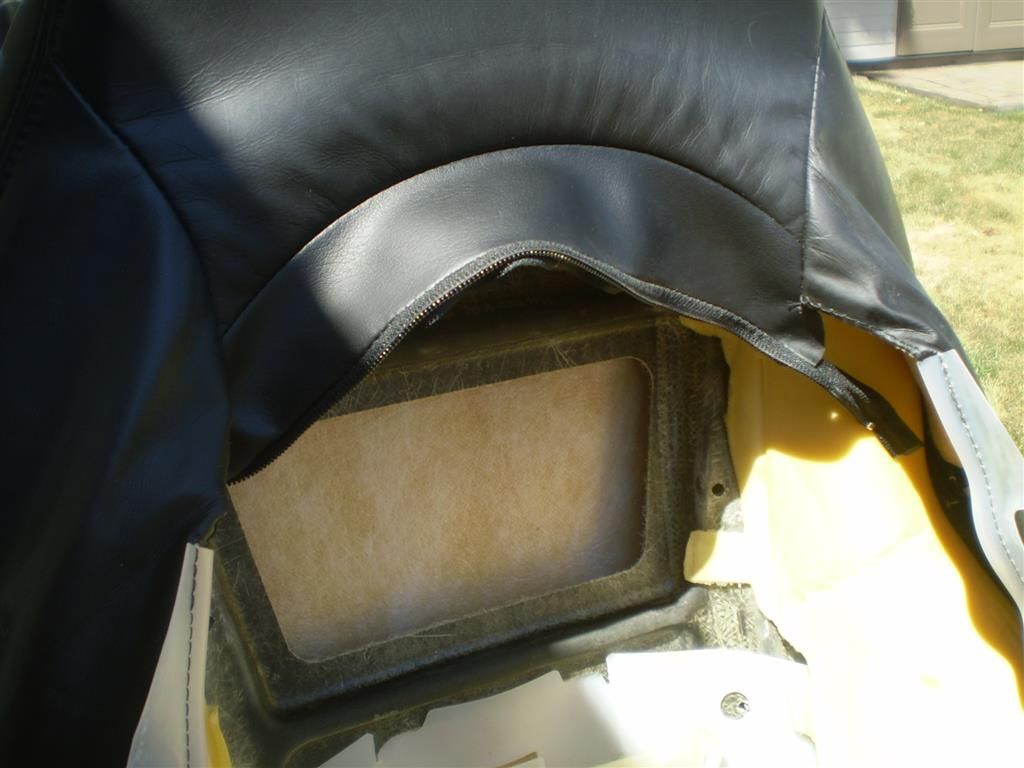
Once the center cushion is removed, you can turn your attention to the rest of the bucket cover.
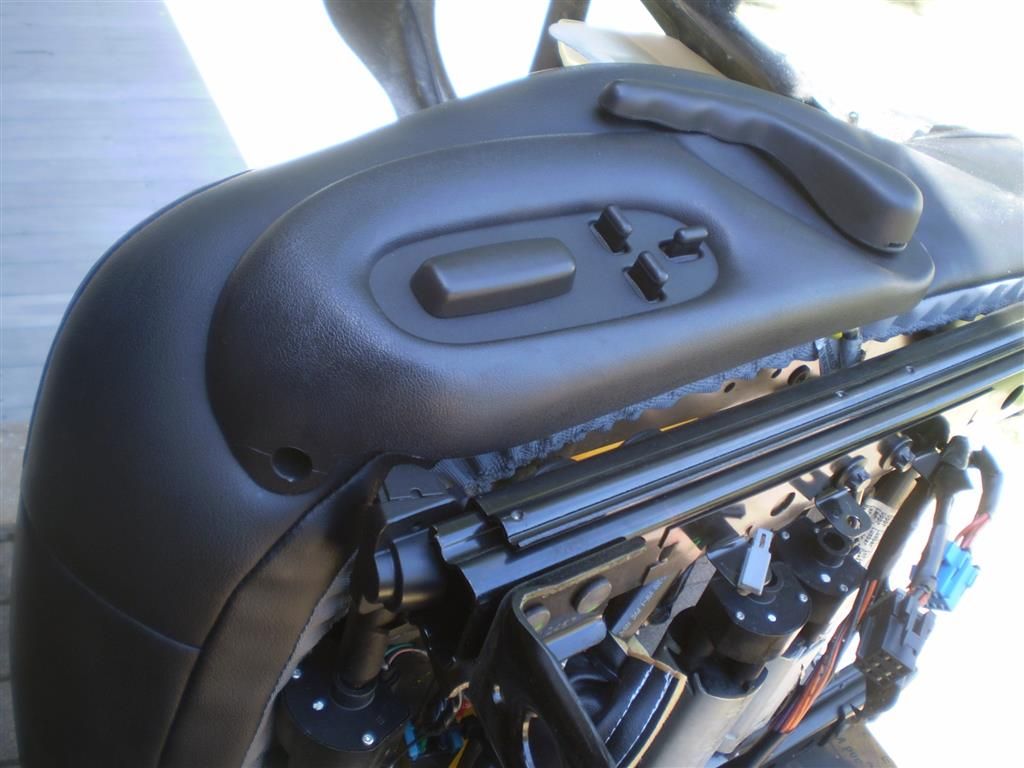
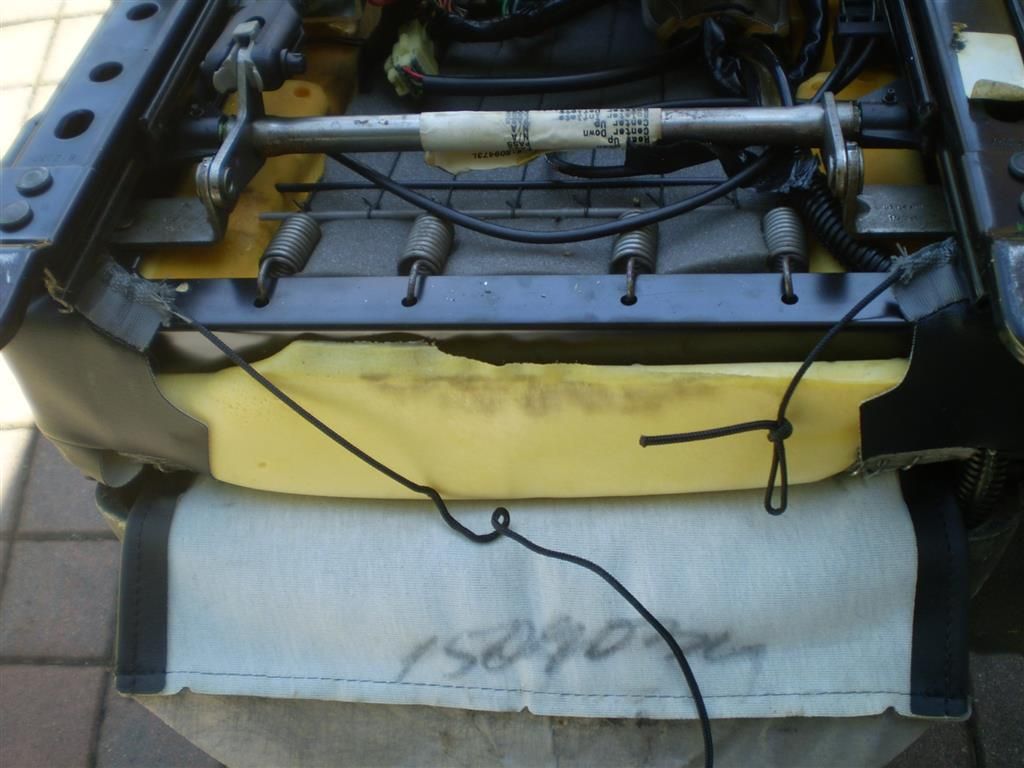
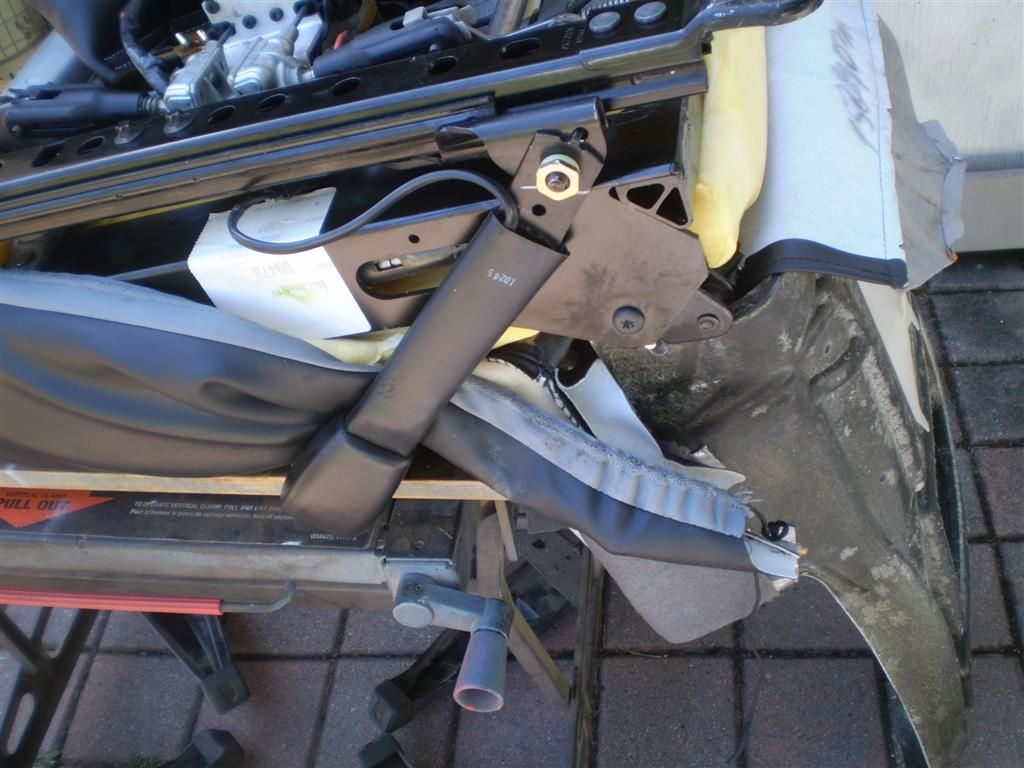
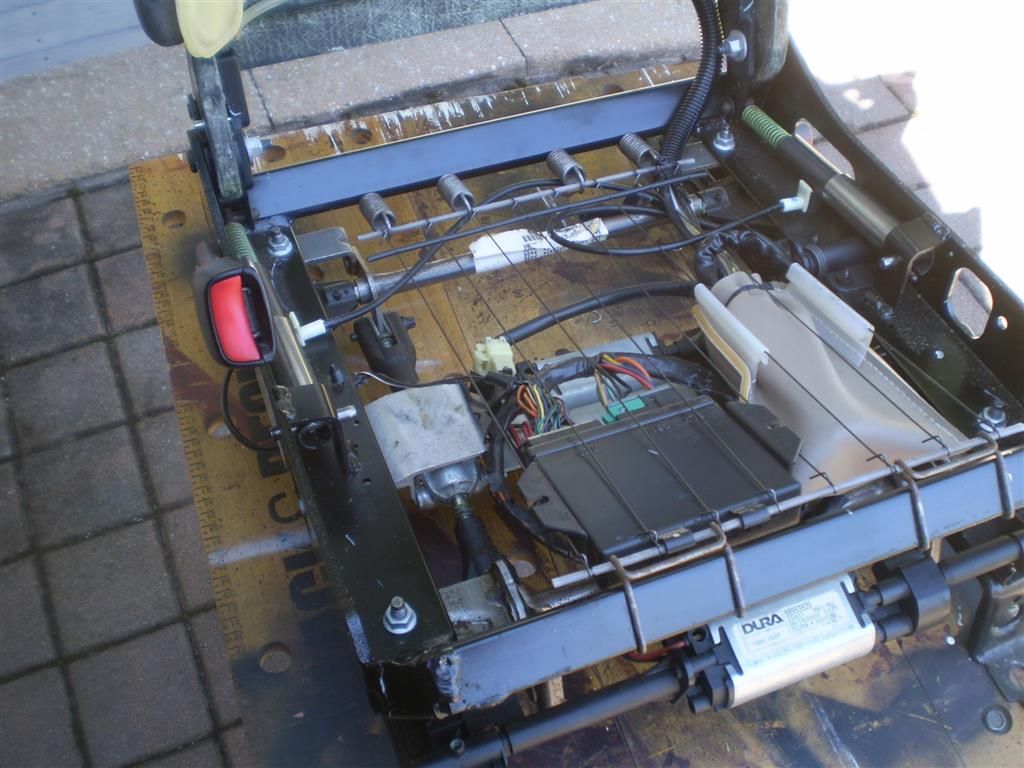
Again, using the panel removal tool, remove the 4 push pins, 2 on each side, to release the cover from the frame. You’ll notice in the picture there is 6 pins. The upper 2 are the ones that you will remove to release the center cushion. As I said, my center cushion tabs were broken off so the pins stayed in place.
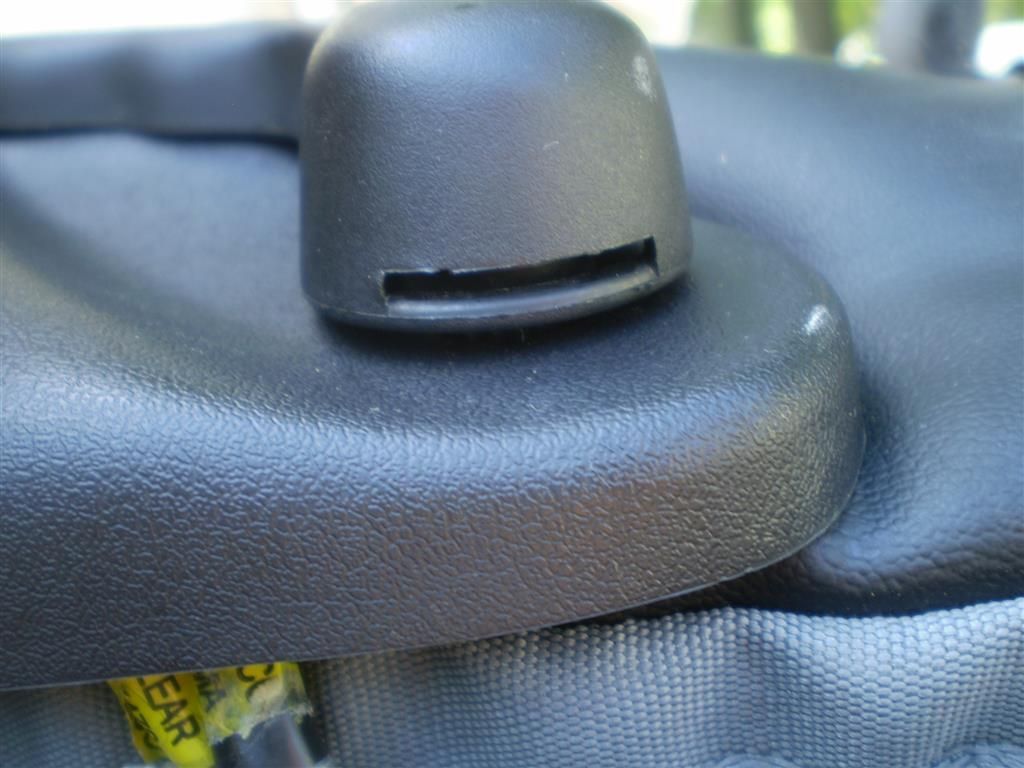
Again, using the same prying tool you will undo the bezel around the Seat Back release handle. The bezel just snaps into place. I pried from both sides until it popped free.
Once that’s done, you’ll locate another zipper in the upper portion of the opening on the seat back.
Again, using the needle nose pliers, undo the zipper, right to left
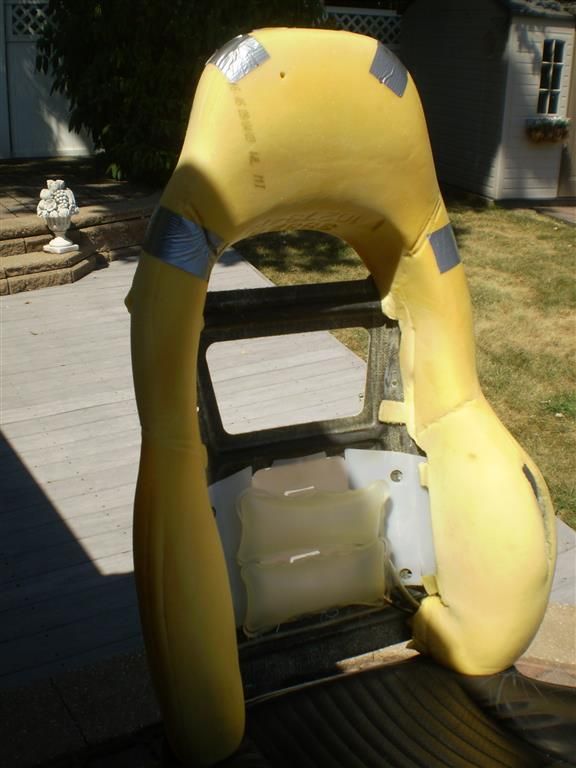
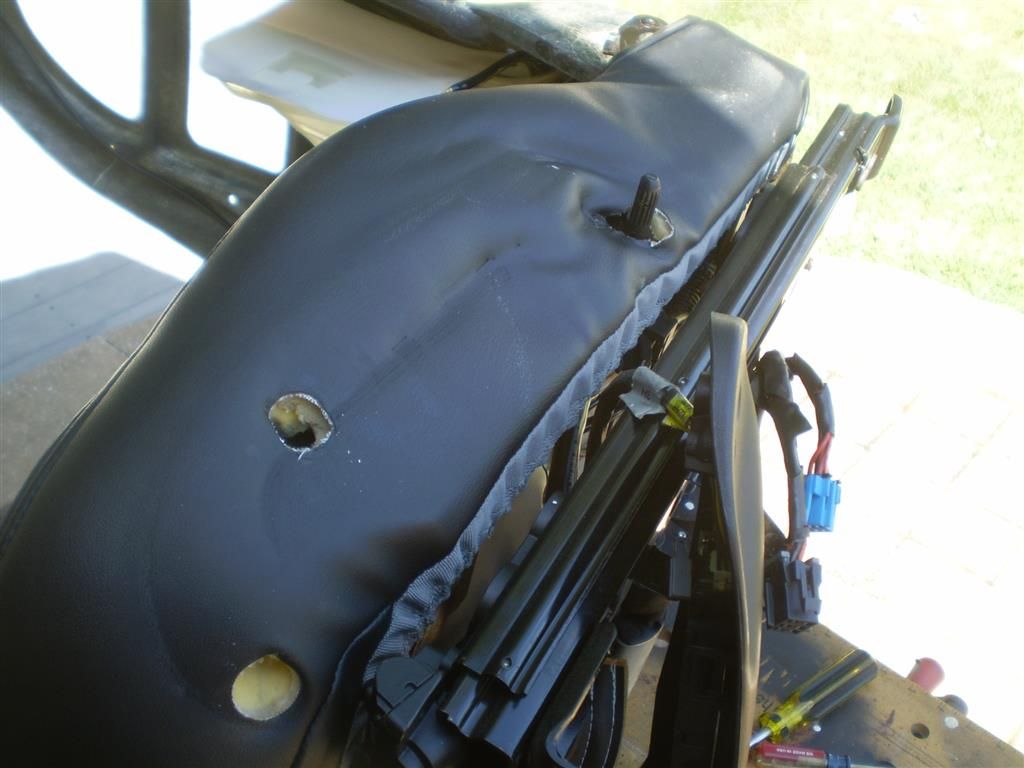
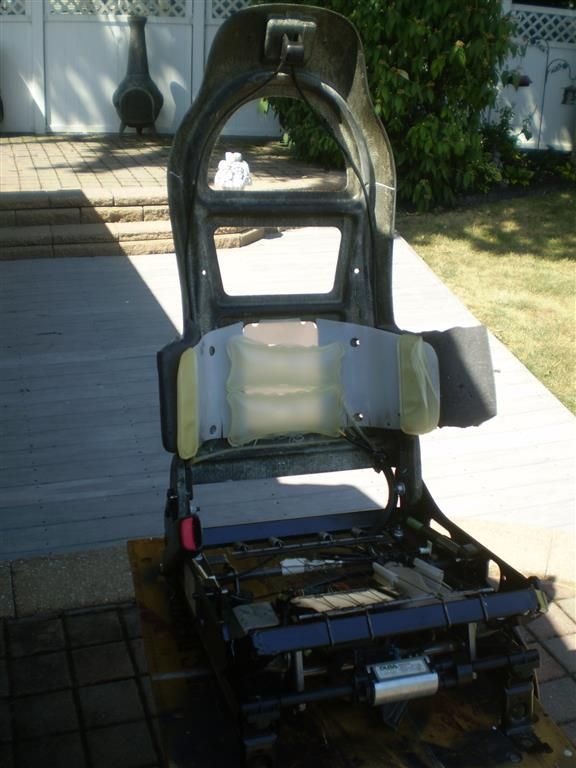
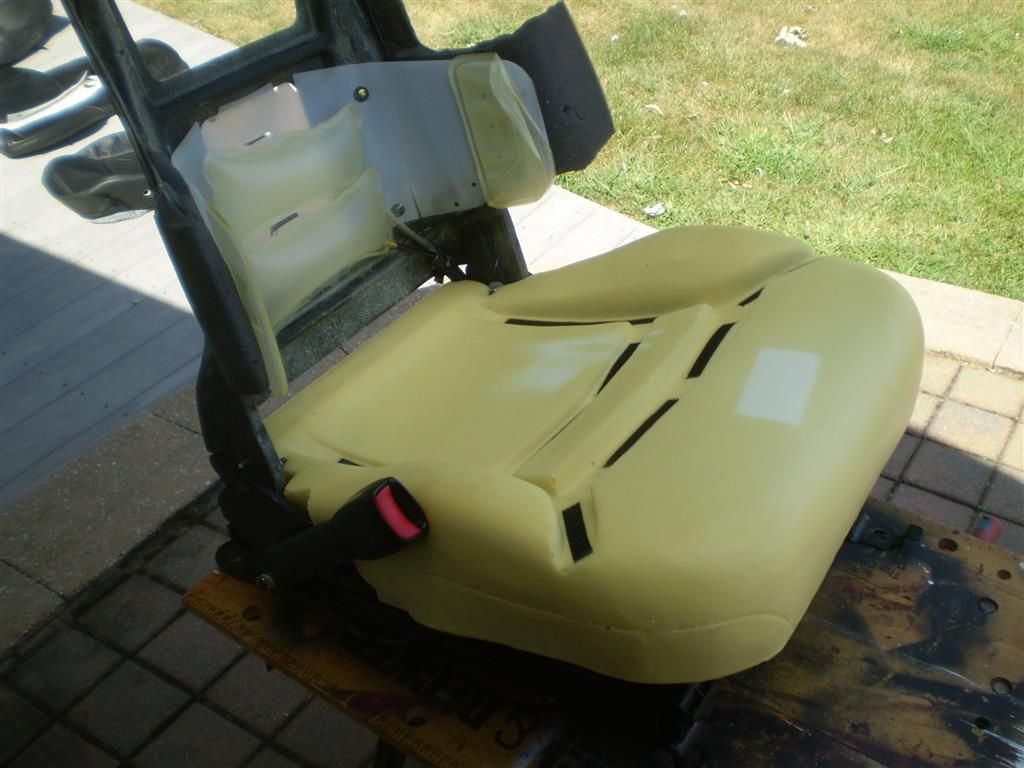
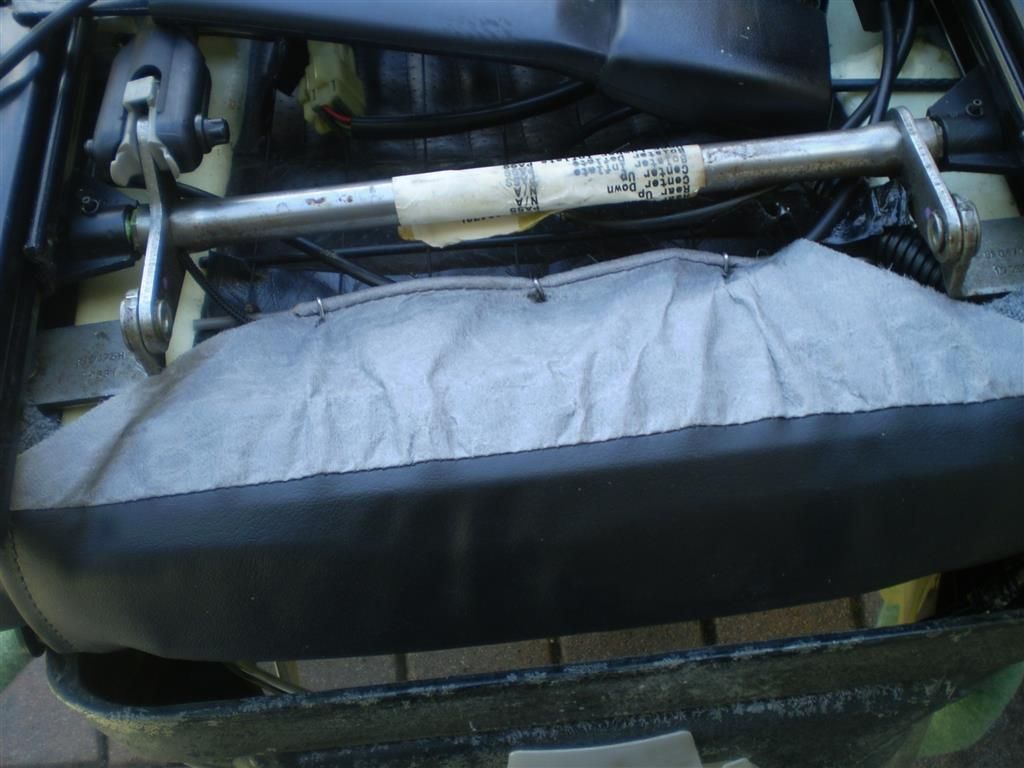
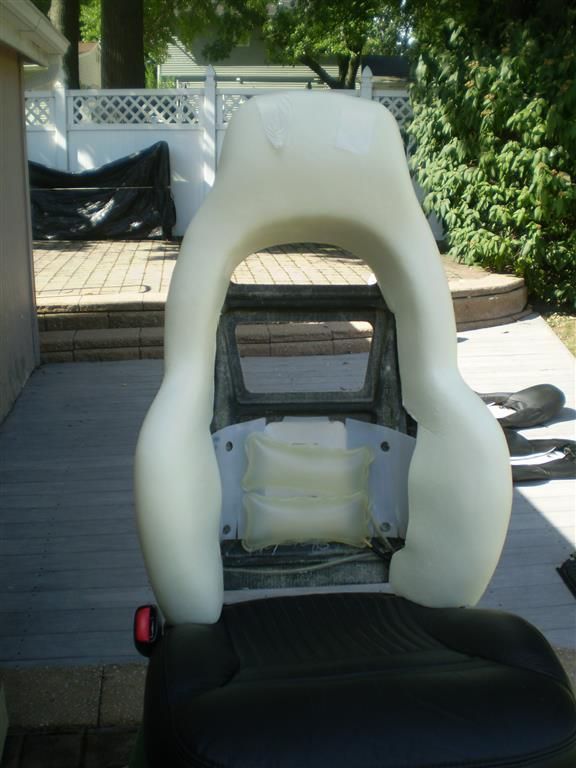
Remove the seat back cover. As you can see I already did some repairs a while ago to the foam and used Duct tape to firmly secure the foam to the seat back.
Past repairs included adding the clear plastic tubing to the side bolsters edges to prevent the sharp edge from cutting into the foam. I also added a thin layer of foam to each side to further cushion the side bolsters. I left those item on the seat back.
Last but not least. The seat back foam is held in placed with 2 push pins, remove those pins, and you can toss the seat back foam. It served its purpose.
On to the bottom cushion.
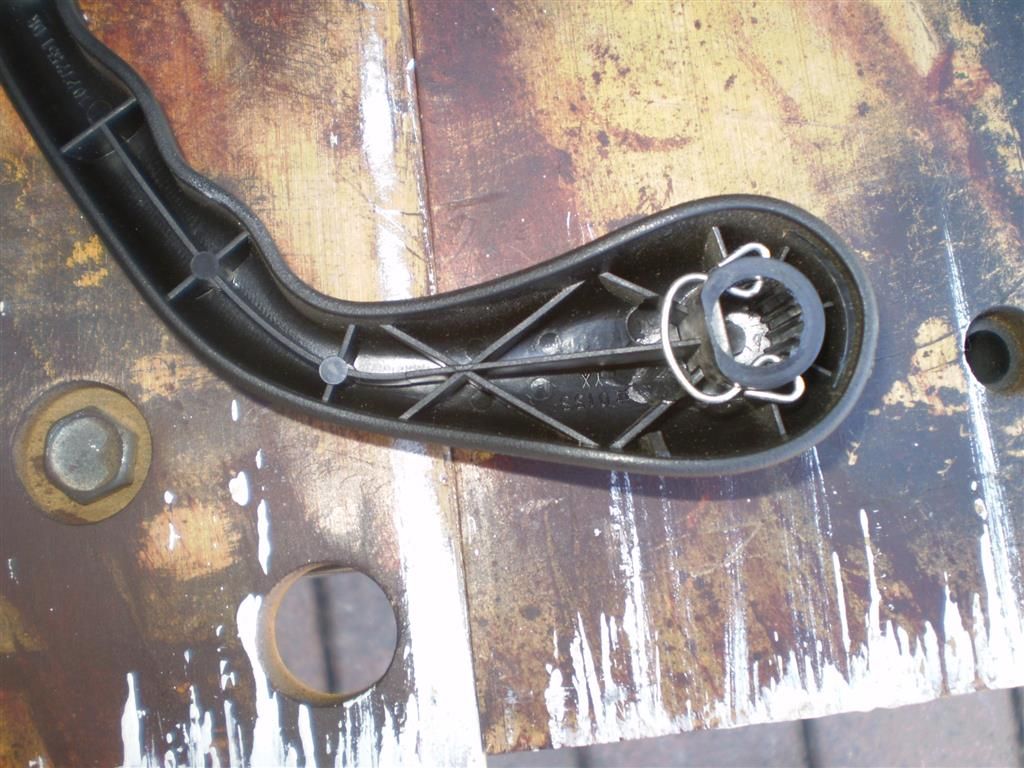
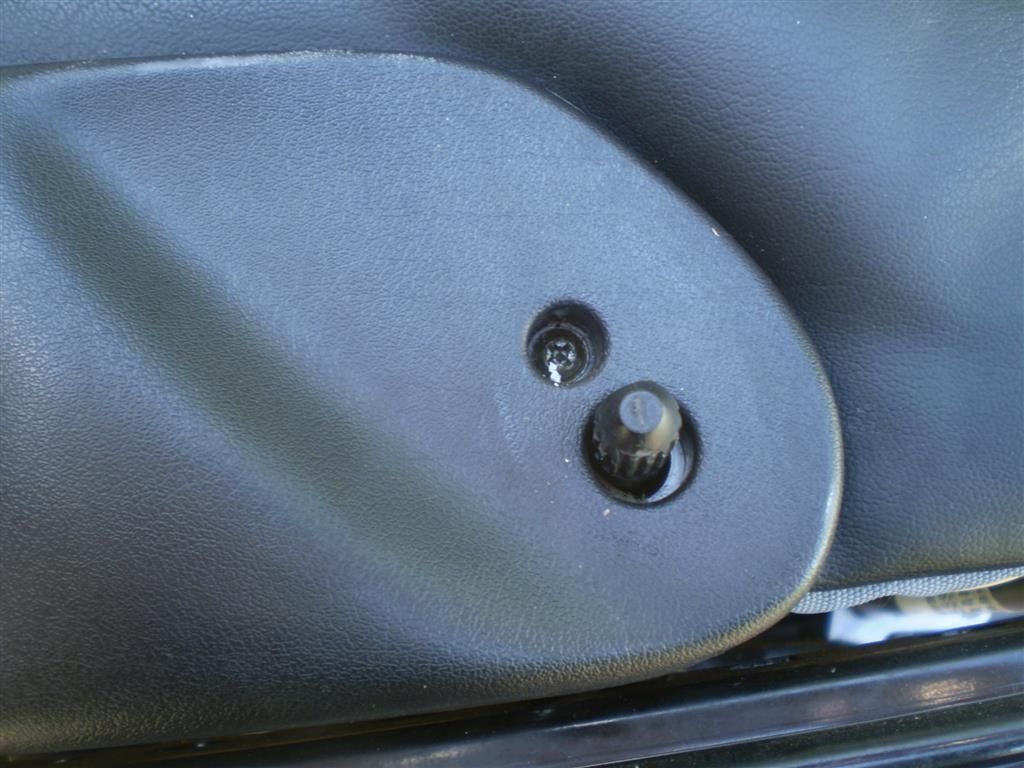
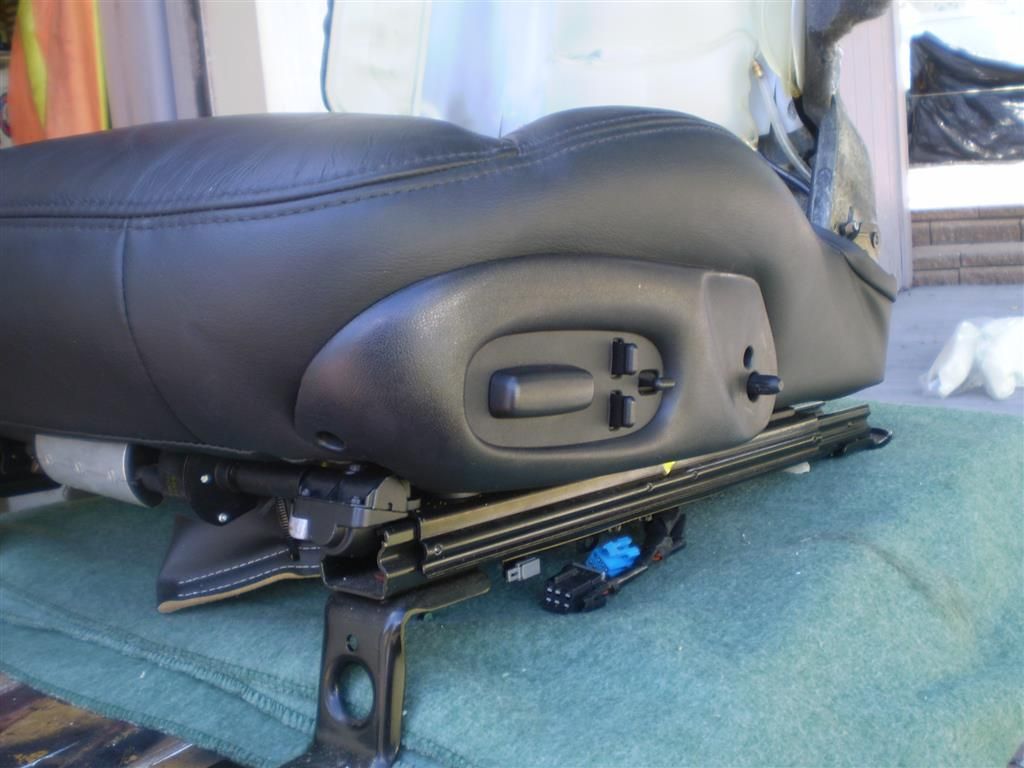
The Seat Control bezel is held into place with 2 Phillips head screws and a metal push type clip. You’ll also need to remove the Seat Back Adjuster handle which is held on with a U shaped clip.
The U shaped clip holding the handle into place has to be removed by prying each side of the clip outwards so it can release the handle. Hard to explain , you have to see it to understand what I’m talking about but if you’re old school like me just think Manual Window crank removal from the 60’s cars.
Once the handle is removed you can remove the 2 Philips head screws. Longer screw is in the front of the bezel, shorter screw is in the side of the bezel. You have to remove the seat back adjuster handle first so you can access the side screw.
Bezel removed.
Flip the seat assemble over and cut your first hog ring.
Untie the draw string and loosen up the cover.
Looking at the lower back portion of the cushion, you see where the sides of the cover are hog ringed together with the top of the seat cover. Cut those 6 hog rings, 3 on each side.
Pull the sides of the cover up over the lower cushion. You have to tug a little to get the cover past the seat belt. I wound up unbolting the seat belt thing to make it easier to replace the new cover. Once you’re free of the seat belt receiver you can remove the lower cover and cushion.
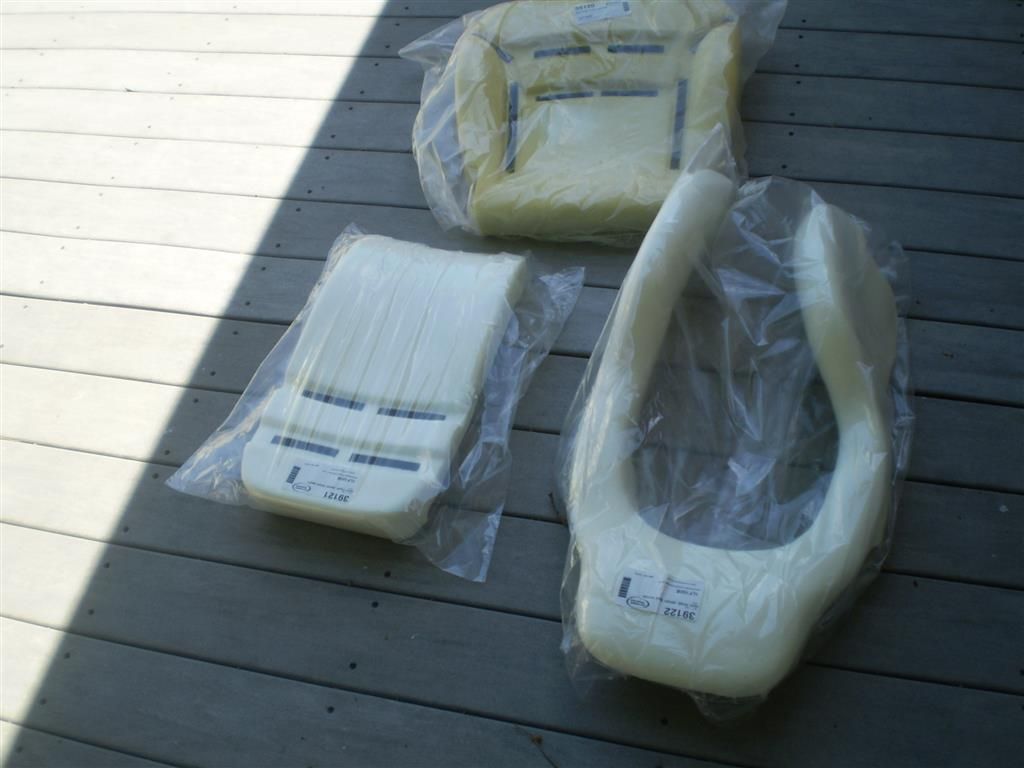
Let’s install some new foam and covers shall we:
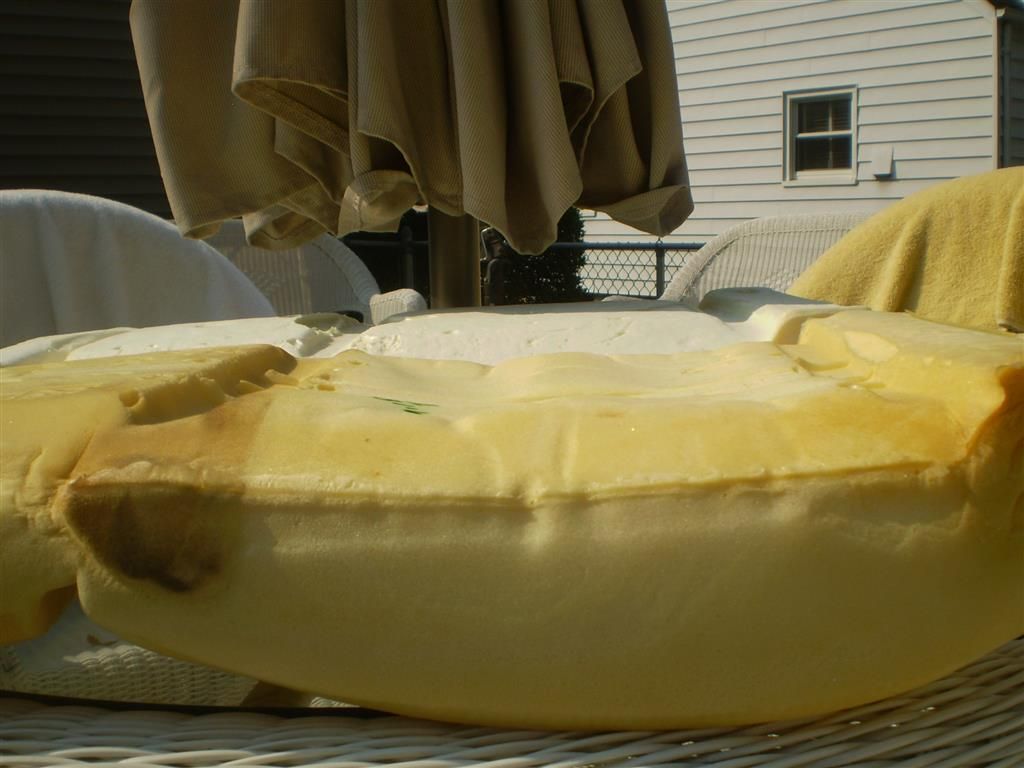
Seat Foam from Corvette America. New NOS Seat Covers laid out in the sun to soften them up.
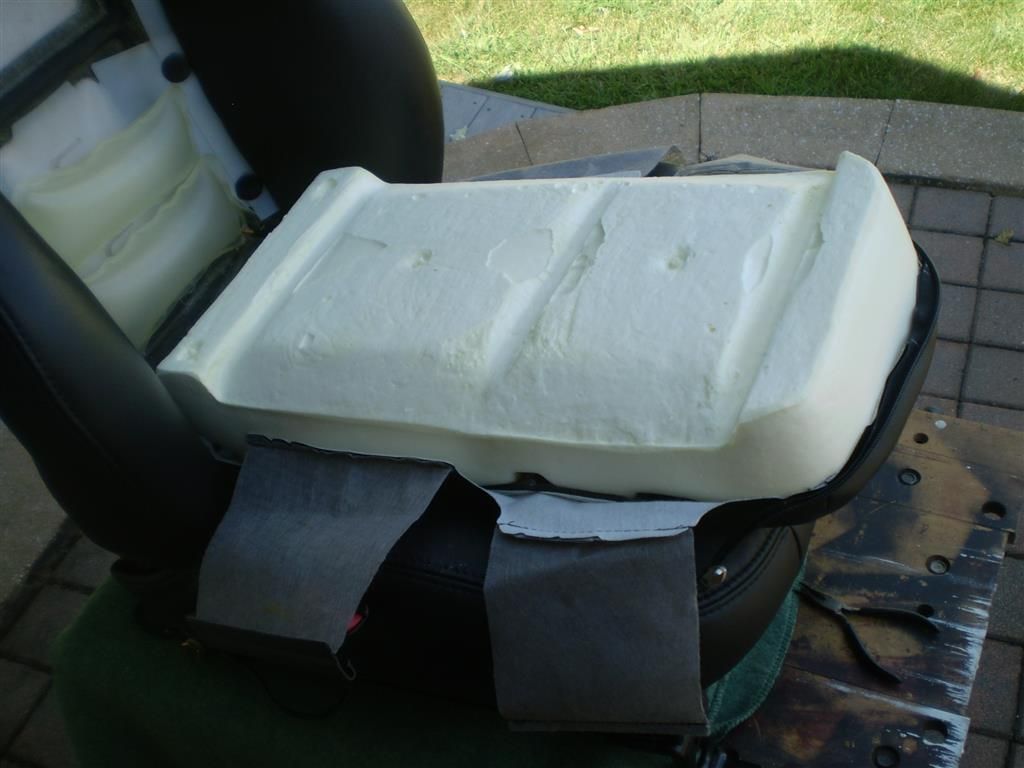
Some trimming will have to be done with the new Foam. First off, trim side of foam to match factory foam. You need to remove this much for the seat Controls and Bezel. Use the OEM Foam as a guide.
I added some extra foam blocks into the frame to prevent the side bolsters from sagging/ sinking into the frame over time.
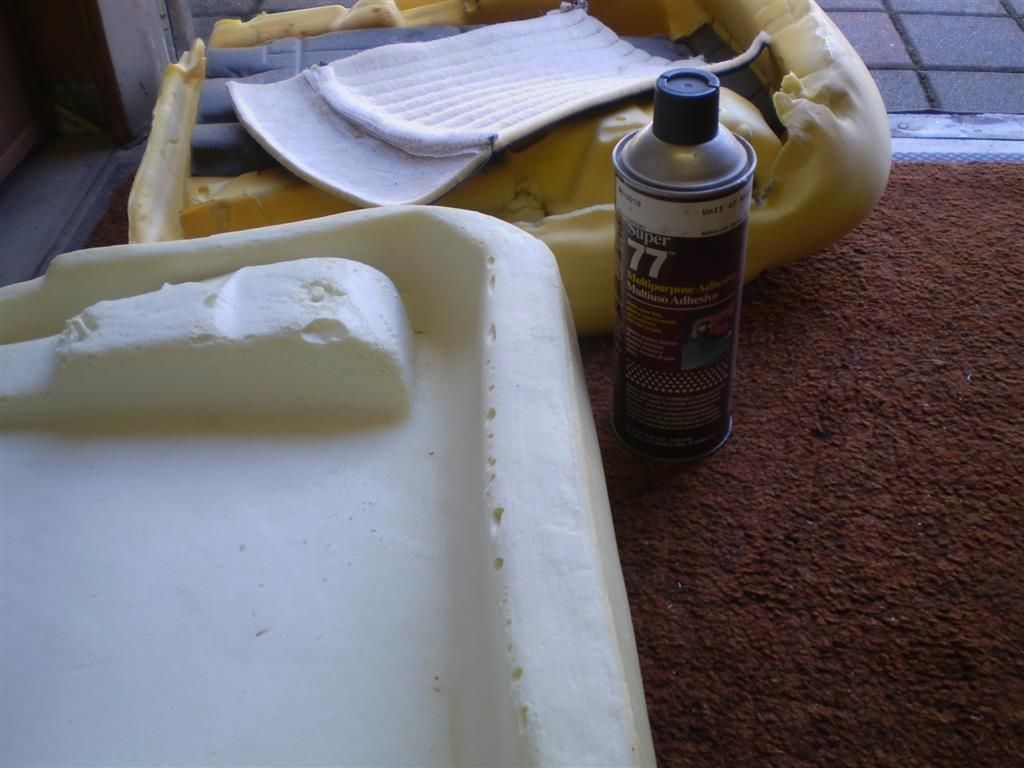
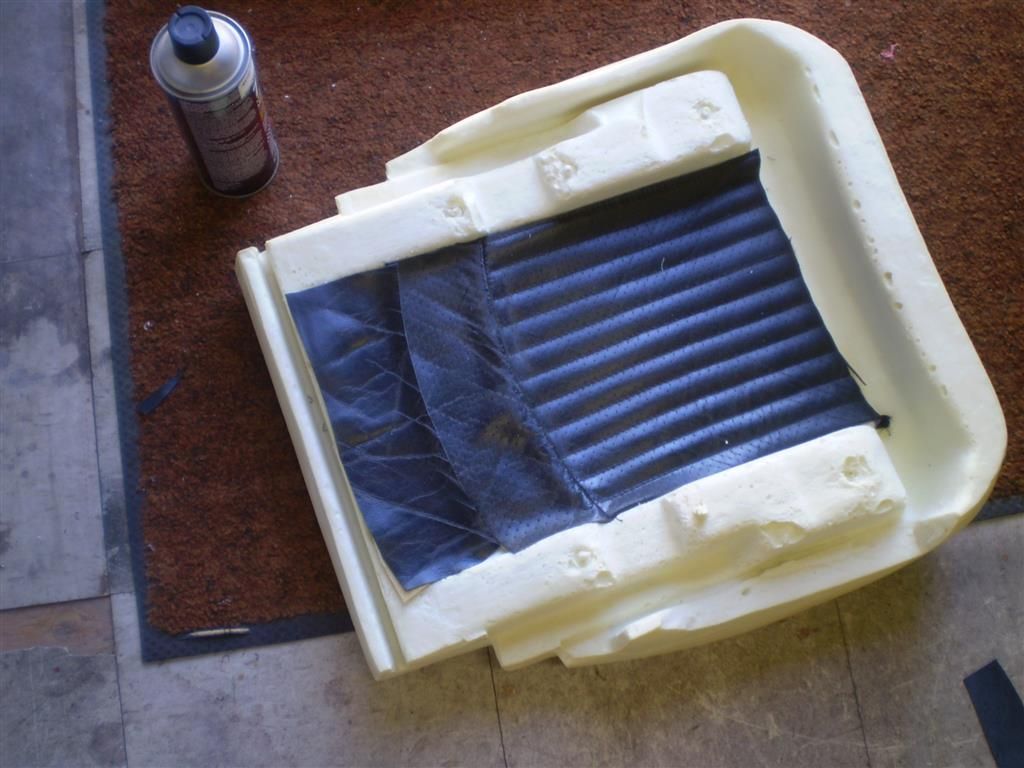
Seeing how I’m not going to need the old covers I cut the center of the lower cover to glue to the bottom of the seat foam. This will prevent the seat frame wires from cutting into the lower cushion.
I used 3M Spray glue to hold it into place.
Fitting the lower cushion:
Install the lower cover by first, aligning the Velcro strips and pressing the cover down into place. Then pull, tug, align, etc, etc until you have the cover properly placed. Pull the side and bottom pieces together and hog ring them back into place.
Attach the front lower flap with a couple of hog rings
Make sure the lower panels of the bottom cushion are pulled up around the frame and pull up on the draw string until the cover is nice and snug, tie off the draw string.
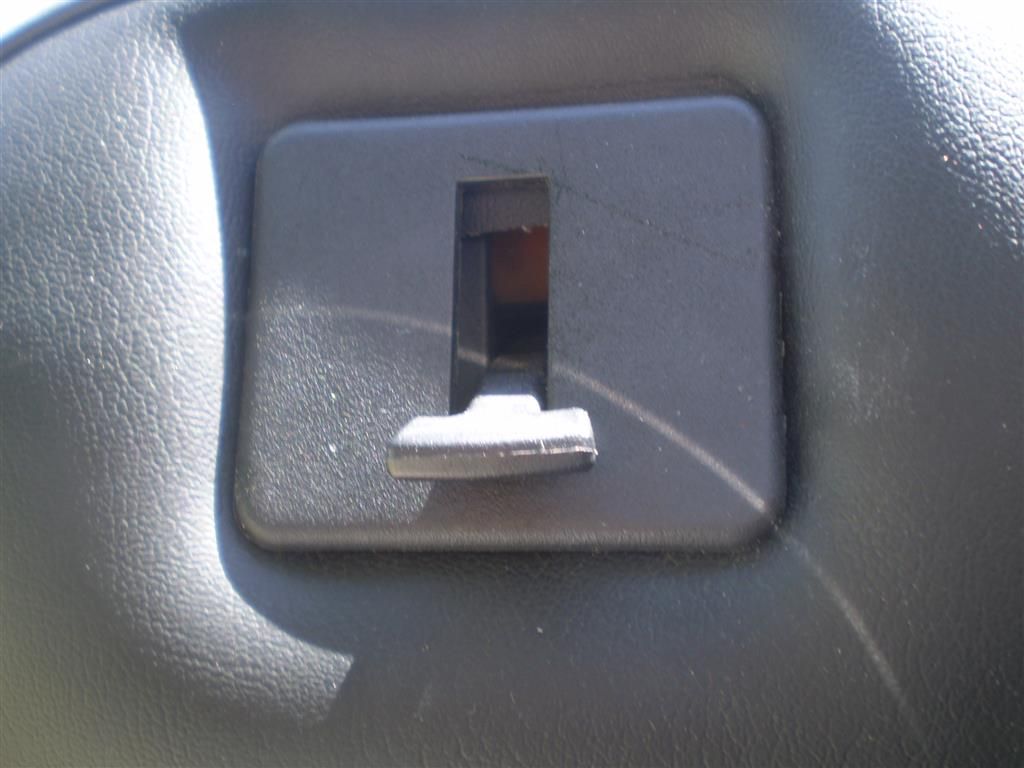
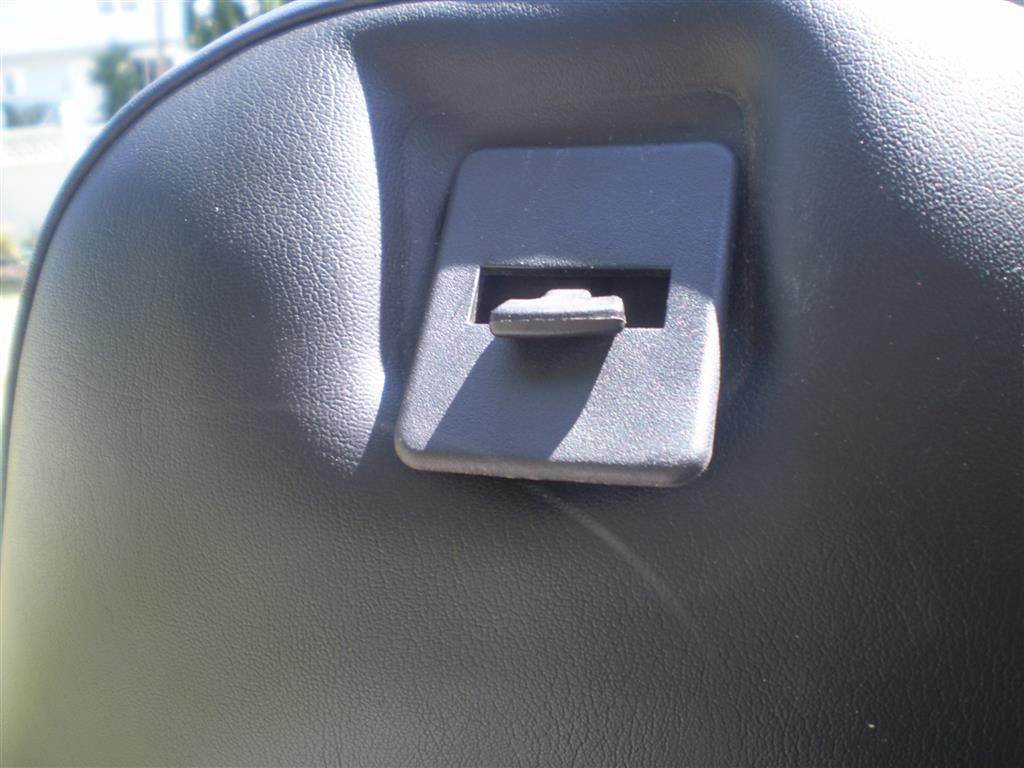
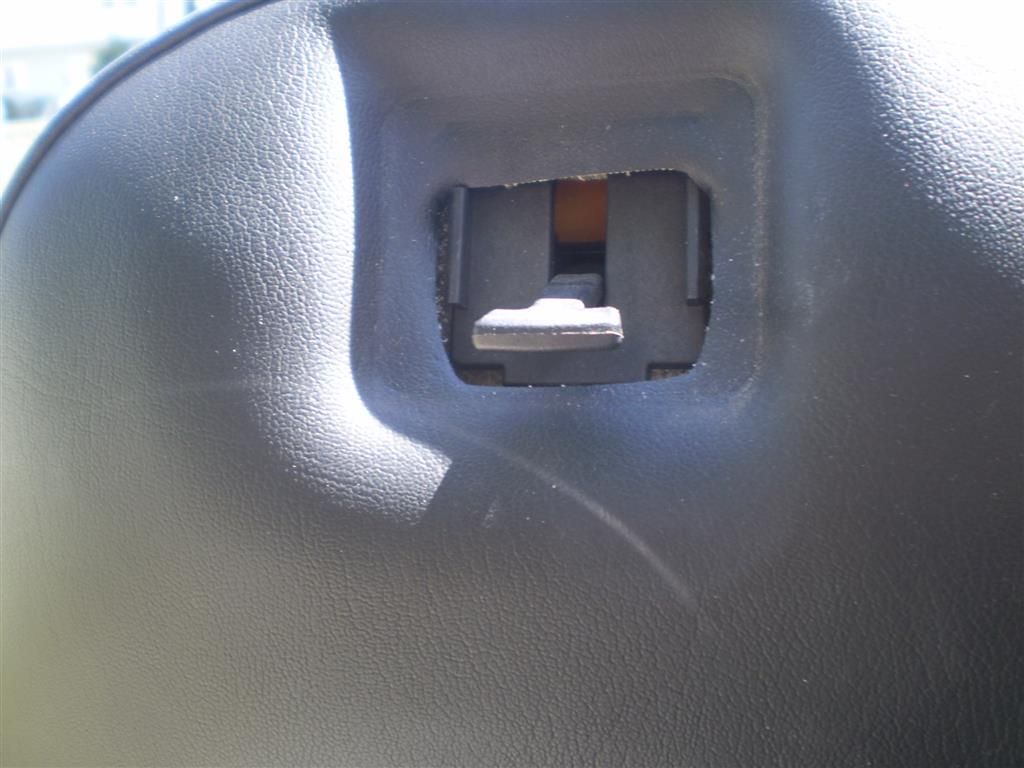
You remember further up in my post I mentioned about the Seat Control Bezel and the metal push type clip ? This is what I was talking about. If those side prongs are flattened out you can slightly bend them back out so it can grab hold to the frame when you reinstall the seat control bezel.
Reinstall the bezel, drive the 2 Philips screws home and snap the seat back release handle back.
The lower cushion is done.
On to the Seat Back Foam and Cover.
Install the cushion, fit into place. The lower sides are a bit longer then the OEM foam so there too you’ll have to cut away, a little at a time until the cushion fits properly.
The new foam doesn’t have the tabs molded into the top of it so some packing tape was used to hold it into place.
Pull the cover over the seat back, again, adjust, pull, tug, until it’s in it’s proper place and using the push pins you removed earlier, put the pins through the hole in the tabs and secure to sides to the frame.
Align the zippers 2 half’s and zip up the inner top portion of the cut out.
The seat back cover is done. On to the center cushion.
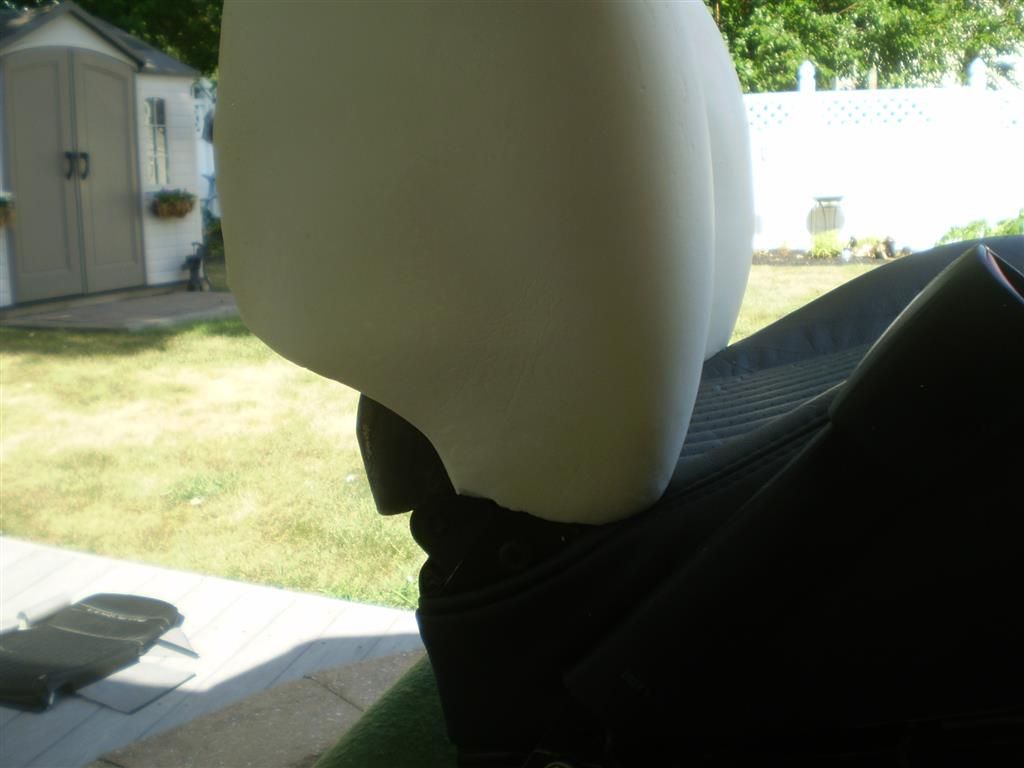
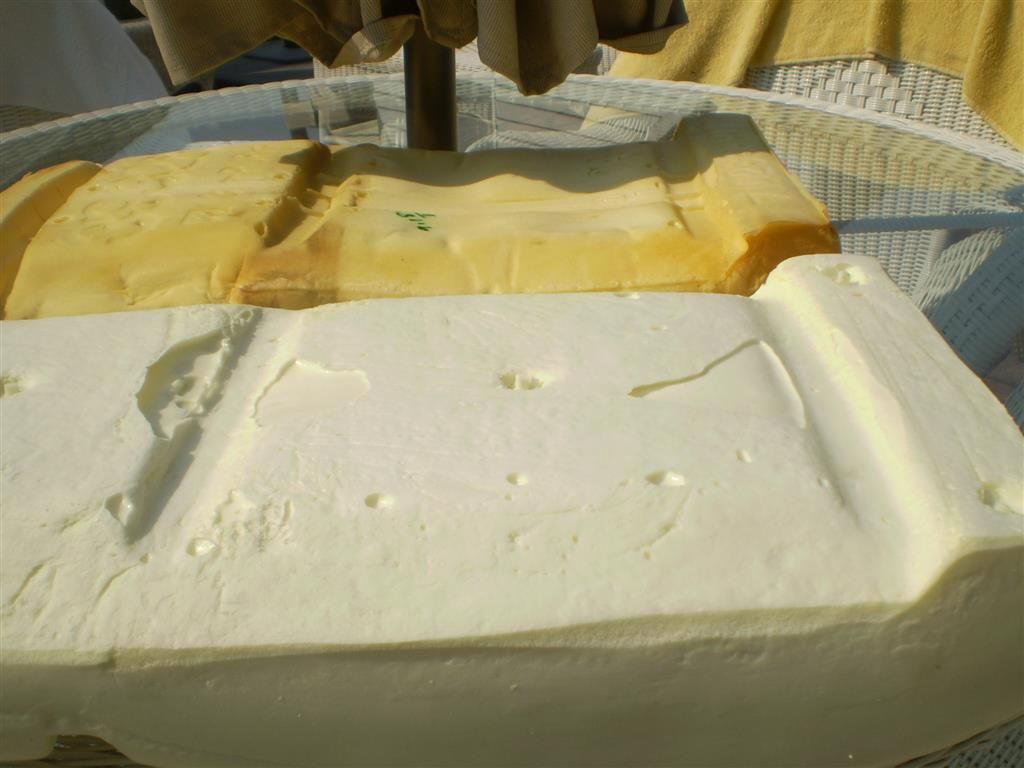
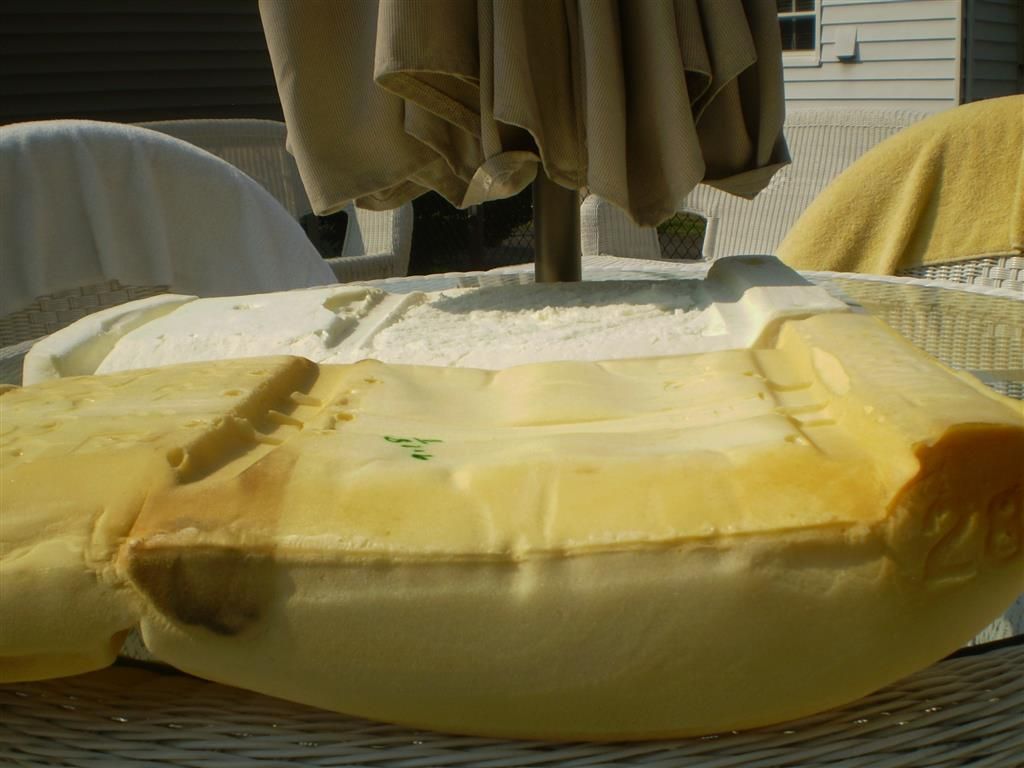
Take note in the difference between the the OEM and Aftermarket cushion. Do you see how much extra foam is left in the lower section?
You’ll have to trim down the excess foam in that section or you will not be able to clip together the seat back cover with the center cushion lower panel. Ask me how I know this ? LOL
After I got it all together and installed the seat I had to remove the seat. Take the center section out, trim the foam and reinstall everything !
Here you can see the trimmed foam, alongside the OEM piece.
Take your Center Section cover and place it over the foam and clip together the 2 bands. Again, the clips interlock with each other.
Fit the center piece into its opening and zipper it up into place;
Once it’s zipped up, tuck the zippers ends in between the cushions and out of sight.
Take the 2 push pins, and line up the center section cushion tab, along with the side bolster’s tab and push the pin into the holes on either side of the frame to secure everything into place.
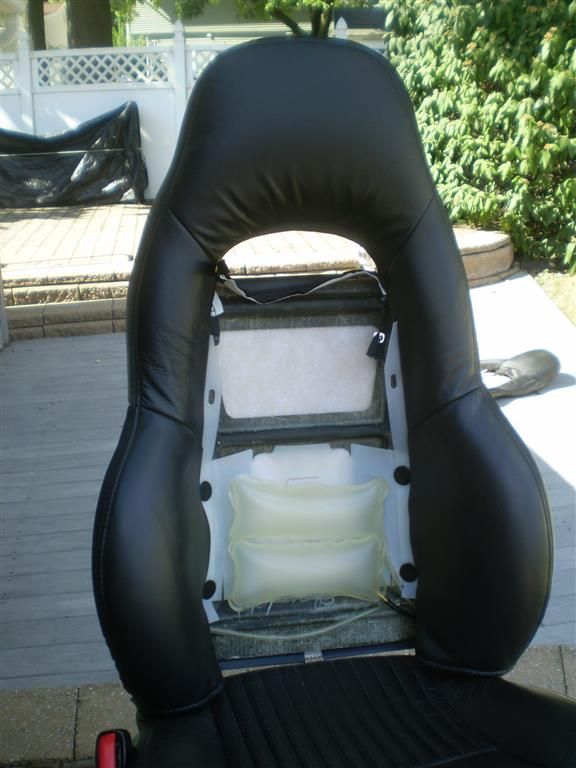
There ya have it. Your seat is recovered and looking as new as the day it rolled off the factory assemble line. I used a blow drier to soften up some of the wrinkles and pulled and tugged everything into place until the covers were smooth.
Repeat entire process for Passenger Seat !
I hope this helps with anyone attempting to recover your own seats !
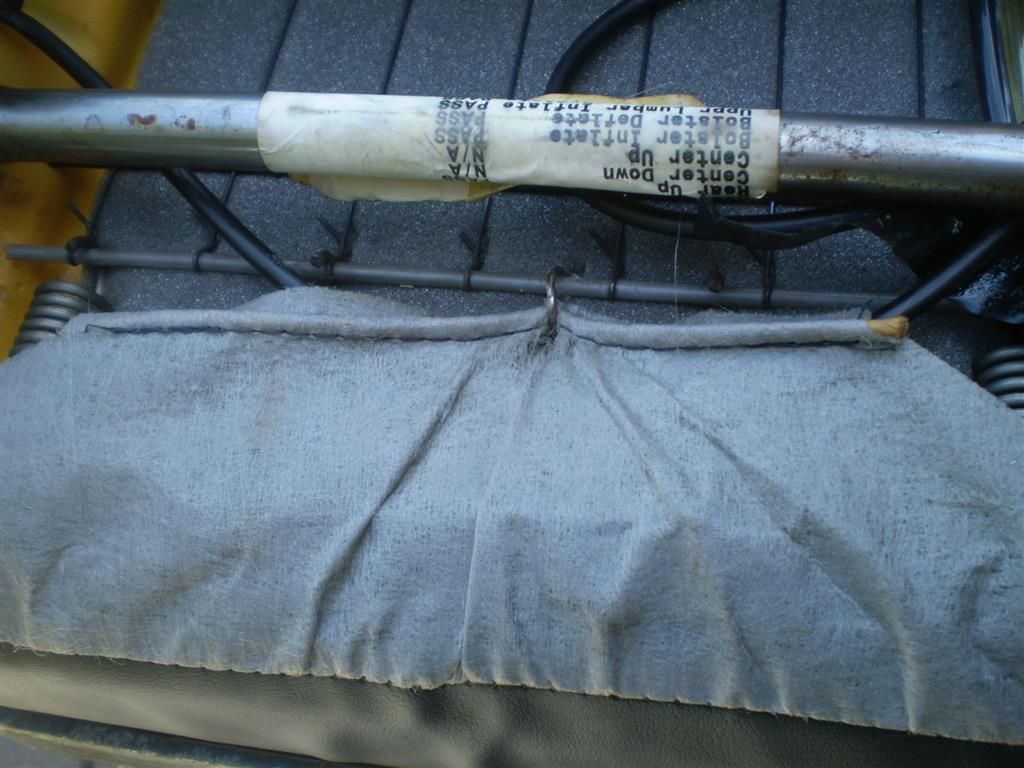
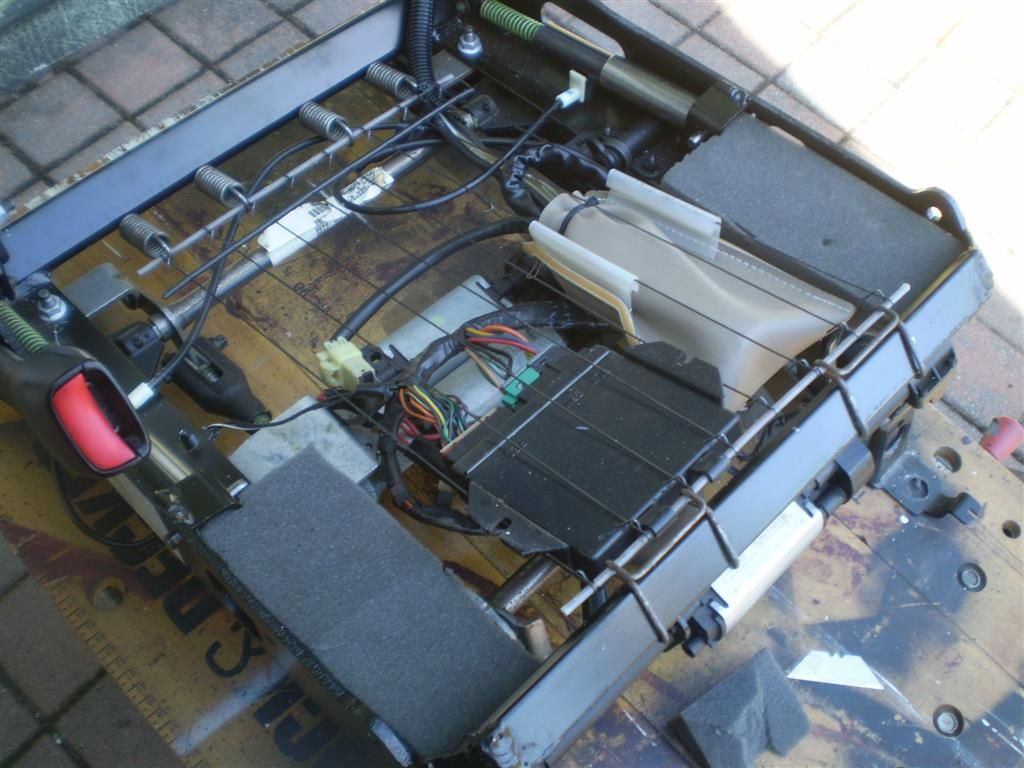
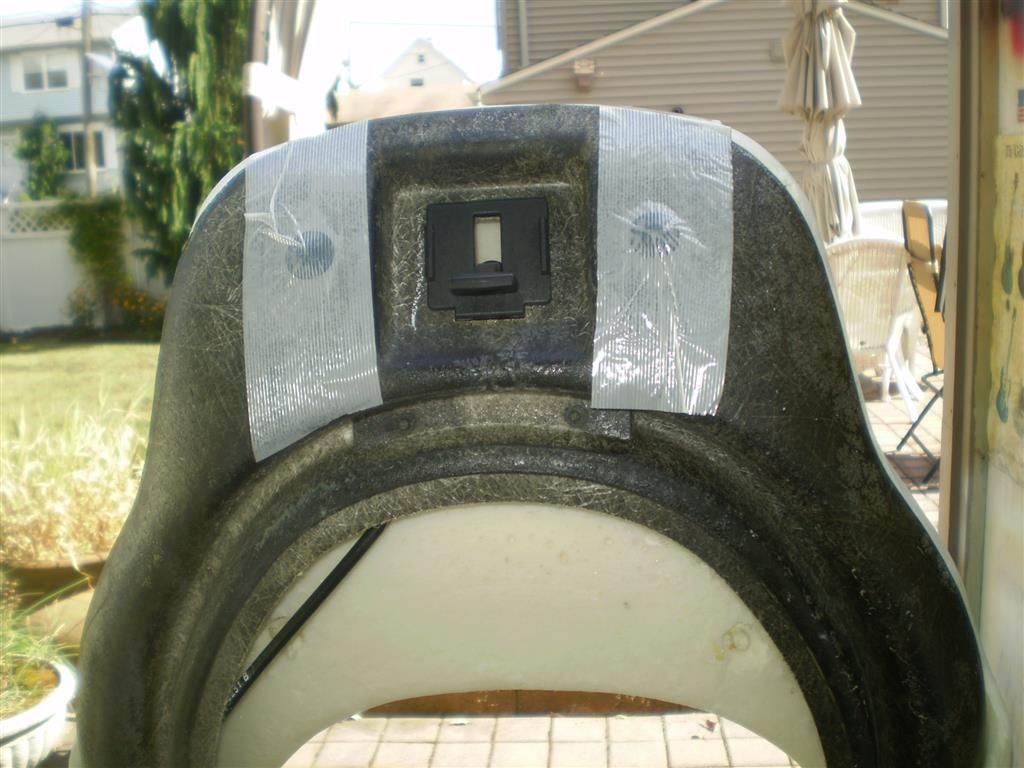
Thanks for taking the time to document this, if you don't mind I would like to use the pic of the seat bottom frame showing the two black cables (which encase solid wire) that go to the seat frame, and connect to the frame white white plastic clips/holders. The clips sometimes pops off the frame and causes the seat back to lean to one side under hard acceleration.
Thanks for taking the time to document this, if you don't mind I would like to use the pic of the seat bottom frame showing the two black cables (which encase solid wire) that go to the seat frame, and connect to the frame white white plastic clips/holders. The clips sometimes pops off the frame and causes the seat back to lean to one side under hard acceleration.
I have been quietly lurking for a while as I study and shop for my first C5. This includes learning what type of stuff might need to be done. I have already been thinking what might be involved in doing this project when I pick one up.
I have been quietly lurking for a while as I study and shop for my first C5. This includes learning what type of stuff might need to be done. I have already been thinking what might be involved in doing this project when I pick one up.
Thank you SG Lou I am doing my seats this winter, I bought a second pair of seats same year and color as mine but in beautiful soft and supple condition. I am going to fix my driver side bladders which are bad also will use the blood pressure cuffs I have read about. Your write up is invaluable to anyone with the C5 seats. Thanks again!
Awesome write up!! This is a down-the-road project for me and just bookmarked this thread for reference. Was this your first time recovering seats? Your work looks top notch
Yes members have used blood pressure cuffs in place of the original bladders they do the same job but will not break llike the stuff GM used. 2 adult and 2 childs sizes are needed Adult CM1203, child CM1202.
Originally Posted by chasboy
Great instructions! I'm expecting my new kits any day now. Btw, blood pressure cuffs?
Last edited by thunder1951; 12-05-2016 at 08:25 AM.

 09-01-2015, 01:45 PM