When you click on links to various merchants on this site and make a purchase, this can result in this site earning a commission. Affiliate programs and affiliations include, but are not limited to, the eBay Partner Network.
Z06/FRC water leak fixes. A long how-to with lots of pix
First, some background:
I bought my 2004 Z06 off a dealer back in December 2014. I knew the terms "Corvette" and "water-tight" didn't often go together, so I looked at the car multiple times- making sure one of those times was in the middle of a rainstorm. Carpet and headliner was bone dry, and after some haggling, a purchase was made. Fast forward 6 months, I got caught in one rainstorm in a ride home from the beach and parked the car in the garage for the next 5 days. Went to drive it again and smelled a faint musty smell inside. Carpets and headliner seemed dry except for above and behind the driver seat, which were faintly damp. I had plans to strip the entire interior anyway since the original owner smoked in the car, so it seemed an opportune time to conduct a thorough leak check.
Below is a pix of the interior stripped. I used diluted simple green to scrub down every piece taken out from the car. It worked wonders cutting through that greasy feeling the nicotine left behind, and it also eliminated the smell quite nicely.
Since my headliner was damp on the driver side after the rainstorm, I started my check there. Sure enough, a spray of the hose betrayed the source of the leak. It was coming in from where the weatherstripping mounts along the A and B pillars met, and also seemed to work its way in from behind the B pillar rain gutter- though I couldn't see the exact origin of that leak. From these areas, water dripped into the trunk and behind the driver seat.
Note the drop of water to the right of the speaker, right below the body seam weld.
Past signs of where the water ran once inside the car
Trying for the easy fix, I bought grey RTV sealant and went to town on the inside of the weatherstripping where it meets up against the metal channel mounts (sorry, don�t know the real name for these parts). I also put RTV sealant on the interior of the car- where the 2 metal channel mounts meet, and I put it between the �B� pillar & the vertical channel mount.
What a mess, and a waste of time...for my leak at least. This did not stop water from entering into the cabin.
After waiting 24hrs, I tested my �fix� with a hose only to see this initial fix did absolutely nothing. Now the fun really began. It was time to take out the stripping, metal stripping mounts and cheap plastic rain gutter so I could clean off all of that black goop and double sided tape GM used as the original water sealant. Taking this apart took all of 30 minutes. Cleaning that crap off the metal mounting bracket and car required a couple hours, a can off goof off and a roll of paper towels. I didn�t wear gloves during this clean up but wish I had; it took a few days to scrub my hands free of all the black goop from the old sealant that was on the car. I highly recommend wearing gloves for those about to do this.
When taking out the plastic fasteners that hold the weatherstripping to the body, I found it easiest to push it through its hole with a screwdriver. In other spots where I couldn't do this, extra caution was used to not tear the weatherstripping
Weatherstripping is out!
Using a plastic chisel and some goof off made semi-quick work of this
Cleaning the channel mounting screws, letting them soak in Goof Off before cleaning them with a paper towel. I believe there were 17 in all to clean
Taking off the vertical weatherstripping mount by slowly prying it up and rocking it back and forth using the heat of the sun to loosen the old sealant
The mess that lurked once the plastic rain gutters and weatherstripping mounts were removed
More mess, along the B pillar
More mess waiting to be cleaned, this time near the top of the windshield on the driverside
Cleaning the old sealant with a paper towel, Goof Off and elbow grease
All clean...finally!
While taking apart the driver side rain gutter, I thought it was missing large chunks of plastic, which could have been the source of my leak. Well, rookie mistake on my part. After ordering a new driver side rain channel I saw the new part looked identical to the one I removed. Sooo, I likely didn�t need to order the part to begin with�Live and let learn I guess. Although there were hairline cracks near some screw holes, I am guessing they could be repaired with a little sealant and/or super glue.
The old plastic rain gutter. In decent condition, with a few hairline cracks.
Though I initially thought silicone was the way to permanently fix any leak from the driver side rain gutter, I opted to use 3M rope caulk (aka Dum-Dum rope) in case I failed miserably in my attempt to fix the leak. I was thinking that rope caulk would clean up easier than dried silicon. Starting to put everything back together, I reassembled the plastic rain gutters in the order in which I took them off. I opted not to reapply any of the double sided foam tape since it didn�t seem to work from the factory. Instead, I applied 2 strands of rope caulk spanning the length of the plastic gutter. The first rope went along the edge that would protrude from the roof of the car and act as the �gutter.� The second strand was added security, and I placed this second string behind the first strand. Now, it was a matter of lining up the screw holes of the plastic gutter with the body of the car. When inserting the screws, I wrapped rope caulk around the screw shaft to create a waterproof seal.
The new rain channel piece with 2 strands of rope caulk spanning the length of the channel.
Another shot of the rope caulk on the rain channel
Rope caulk on the vertical rain channel (Got lazy and didn't take off the old double sided tape on this piece. It was getting late)
Since the corner between the horizontal and vertical rain channel pieces is a spot prone to leaking, I stuffed a wad of this dum-dum rope in the corner to hopefully eliminate this area as a source of future leaks
It is tough to see, but here is a pix of the rope caulk wrapped around the shaft of the screw when mounting the plastic rain gutter. You want to have a nice watertight seal for each hole where a screw is inserted
When the plastic rain gutters were reattached, it was time to reinstall the metal bracket. Like the plastic gutters, I added 2 strands of rope caulk to the bracket, and then screwed the metal bracket back against the plastic gutter guard being sure not to overtighten the mounting screws. Also, like the gutter installation, I again wrapped each screw shaft in rope caulk to ensure a water tight seal. Sorry I don�t have any pix of this phase, it was getting late and I got a bit lazy with the pix.
The only thing left to do was to reinstall the weatherstripping, which I did the next morning. Luckily mine looked to still be in good shape. Spending $200 for a new gutter was enough of a shock to my wallet (after all it�s only plastic, right?) I applied sealant to the weatherstripping where the A and B pillar moulding meet on the body, and I applied this to the weatherstripping where it originates on the body at the front, base of the driver side window. I also applied this weatherstripping sealant to the respective locations on the weatherstripping so that both surfaces had this sealant applied when the stripping was installed on the car. I didn�t apply it to where the weatherstipping meets the door jamb along the B pillar. That area was sealed with the 3m rope caulk, again thinking that if I royally messed this up, rope caulk would clean up with less damage to the door jamb paint than dried weatherstripping sealant.
Applying the weatherstripping sealant. Note it was applied to both mating surfaces
Now it was time to test my repairs. To test this, I ran a hose at the driver door from all angles with jets of water. I sprayed the water from the hood to the edge where the windshield and rain gutter meet, shot water along the roof directly onto the roof where it met this rain gutter, shot water directly down where the A and B pillar rain channels meet, and shot water directly into the B pillar rain channel. To my pleasant surprise my repair was holding up well with just a few small leaks to patch along the A pillar rain gutter. Took about 15 minutes to patch the 3 minor leaks created by my �repair.�
A view of the reinstalled window moulding
Another view of the plastic window moulding 100% reinstalled
So, we're done, right? Time to crack open the beer? No, this was a job that just got bigger the further I got into it. Since the entire interior was still stripped, I thought it wise to test the passenger side (though I�ve never had any experience to make me suspect a leak on the passenger side). I am glad I did this though because there were 2 leaks. One originating where the A and B pillar rain gutters met, and one at the top of the A-arm (in case my terminology is wrong, I mean the top corner of the windshield where it meets the roof line). Luckily, these 2 repairs were quick and easy- again using more 3m rope caulk (I swear this stuff works miracles). Within 15 minutes both leaks were stopped.
Pix of the passenger side repair along the B pillar (again, my apologies if my terminology here is wrong)
Up close shot of the rope caulk inserted in between the horizontal and vertical weather stripping mounts, and along the length of the B pillar
This other leak was at the top of the A-pillar. It isn't the best pix, but I couldn't focus my camera lens any closer. To the immediate right of the large clump of sealant is a tiny semi-circular pressed ball of rope caulk. That is the repair here. (In the middle of the two sealant clumps)
Like I did for the driver side, I ran a hose at the passenger side from all angles to confirm the repair was indeed sufficient (it was). With that, as much as I wanted to start reassembling the interior, it was getting late on a Sunday and I wanted to make sure my old leaks were truly fully fixed.
Fast forward 2 days and Mother Nature provided a great field test opportunity
This is the storm that provided the field test via sitting outside overnight and a long drive to work in the rain
Not that I am against driving the Vette in the rain, but after giving the exterior a 12hr detail back in June, I am a bit reluctant. Not to mention, I think the fact that this Vette is garaged kept (by me and the original owner), and not deliberately driven in the rain until now, is what kept the leaks from destroying the headliner, carpet and padding. When removing the interior, prior to looking for the leaks, I didn�t see any sign of past leaks by the way of mildew or mold. Anyway, with the rain we had overnight, and were still getting, it was time to drive the Vette to work to see how my repairs would hold up in real world conditions.
The verdict�good and bad.
Good because after driving at interstate speeds in a rain storm dumping rain at 1-2� per hour, I saw nary a drop of water along the A/B pillars of my car.
Bad because I discovered a new leak while inspecting my car on my lunch break. After further testing with a hose, after the work day, I then found a few additional leaks. Good thing my Vette wasn�t a boat- it�d be an artificial reef on its maiden voyage.
So, let�s start with the first leak I discovered on my lunch break. It turns out this was a simple fix. There is a small pin hole in the factory body weld where the floorboard meets the sloping wall behind the driver seat, and where the B pillar meets the floorboard. This pinhole gap would leak water when driving on wet surfaces with water collecting in the �channel� behind the driver seat where the floor board meets the sloping body panel. A little clear silicone did the trick. Why silicone here and not more rope caulk? Rope caulk is quite tacky and I was nervous that it will make a mess of the carpet padding once reinstalled.
The leak along the floor behind the driver seat where the B pillar meets the floor
Silicone was a quick fix
During my drive in the rain, this was the only spot where I could detect water coming in through the floorboard into the cockpit under normal driving conditions. However, armed with a hose and curiosity, I decided to test the length of the body seam weld on the driver side, and do the same on the passenger. Through this, I then found that the body seam weld, where it meets the floorboard, console wall, and �sloping� wall leading to the trunk, also leaked when having a hose spray directly at it (on both the driver and passenger sides). Water also leaked on the passenger side where the B pillar met the floor. Though water didn�t enter in these locations in normal driving conditions, since the interior was still out of the car, it was great time to fix these leaks.
Water entering under direct spray of a hose where the console meets the floor behind the seat (Passenger side). Same condition existed on driver side
Again, silicone proved to be a quick, good fix
The next leak I discovered reared its head when I sprayed a hose directly under the bolts that hold down the seats (little water droplets would protrude into the interior). To fix this, with the seats already out, I lined these bolts with silicone. Again, no water entered through this area in normal driving conditions, but I want all sources of potential, future leaks dealt with so that when the interior is reassembled there will be no water issue. I not only scrubbed and hosed down my carpets in an attempt to get the slight cigarette smell out of them, but after they dried I had them professionally cleaned with an extractor. They look and smell brand new and I don�t want to ruin that via future, preventable water leaks.
I also siliconed around the seat mounts. Yes, droplets of water entered here (for each seat mount in the car) when exposed to a hose.
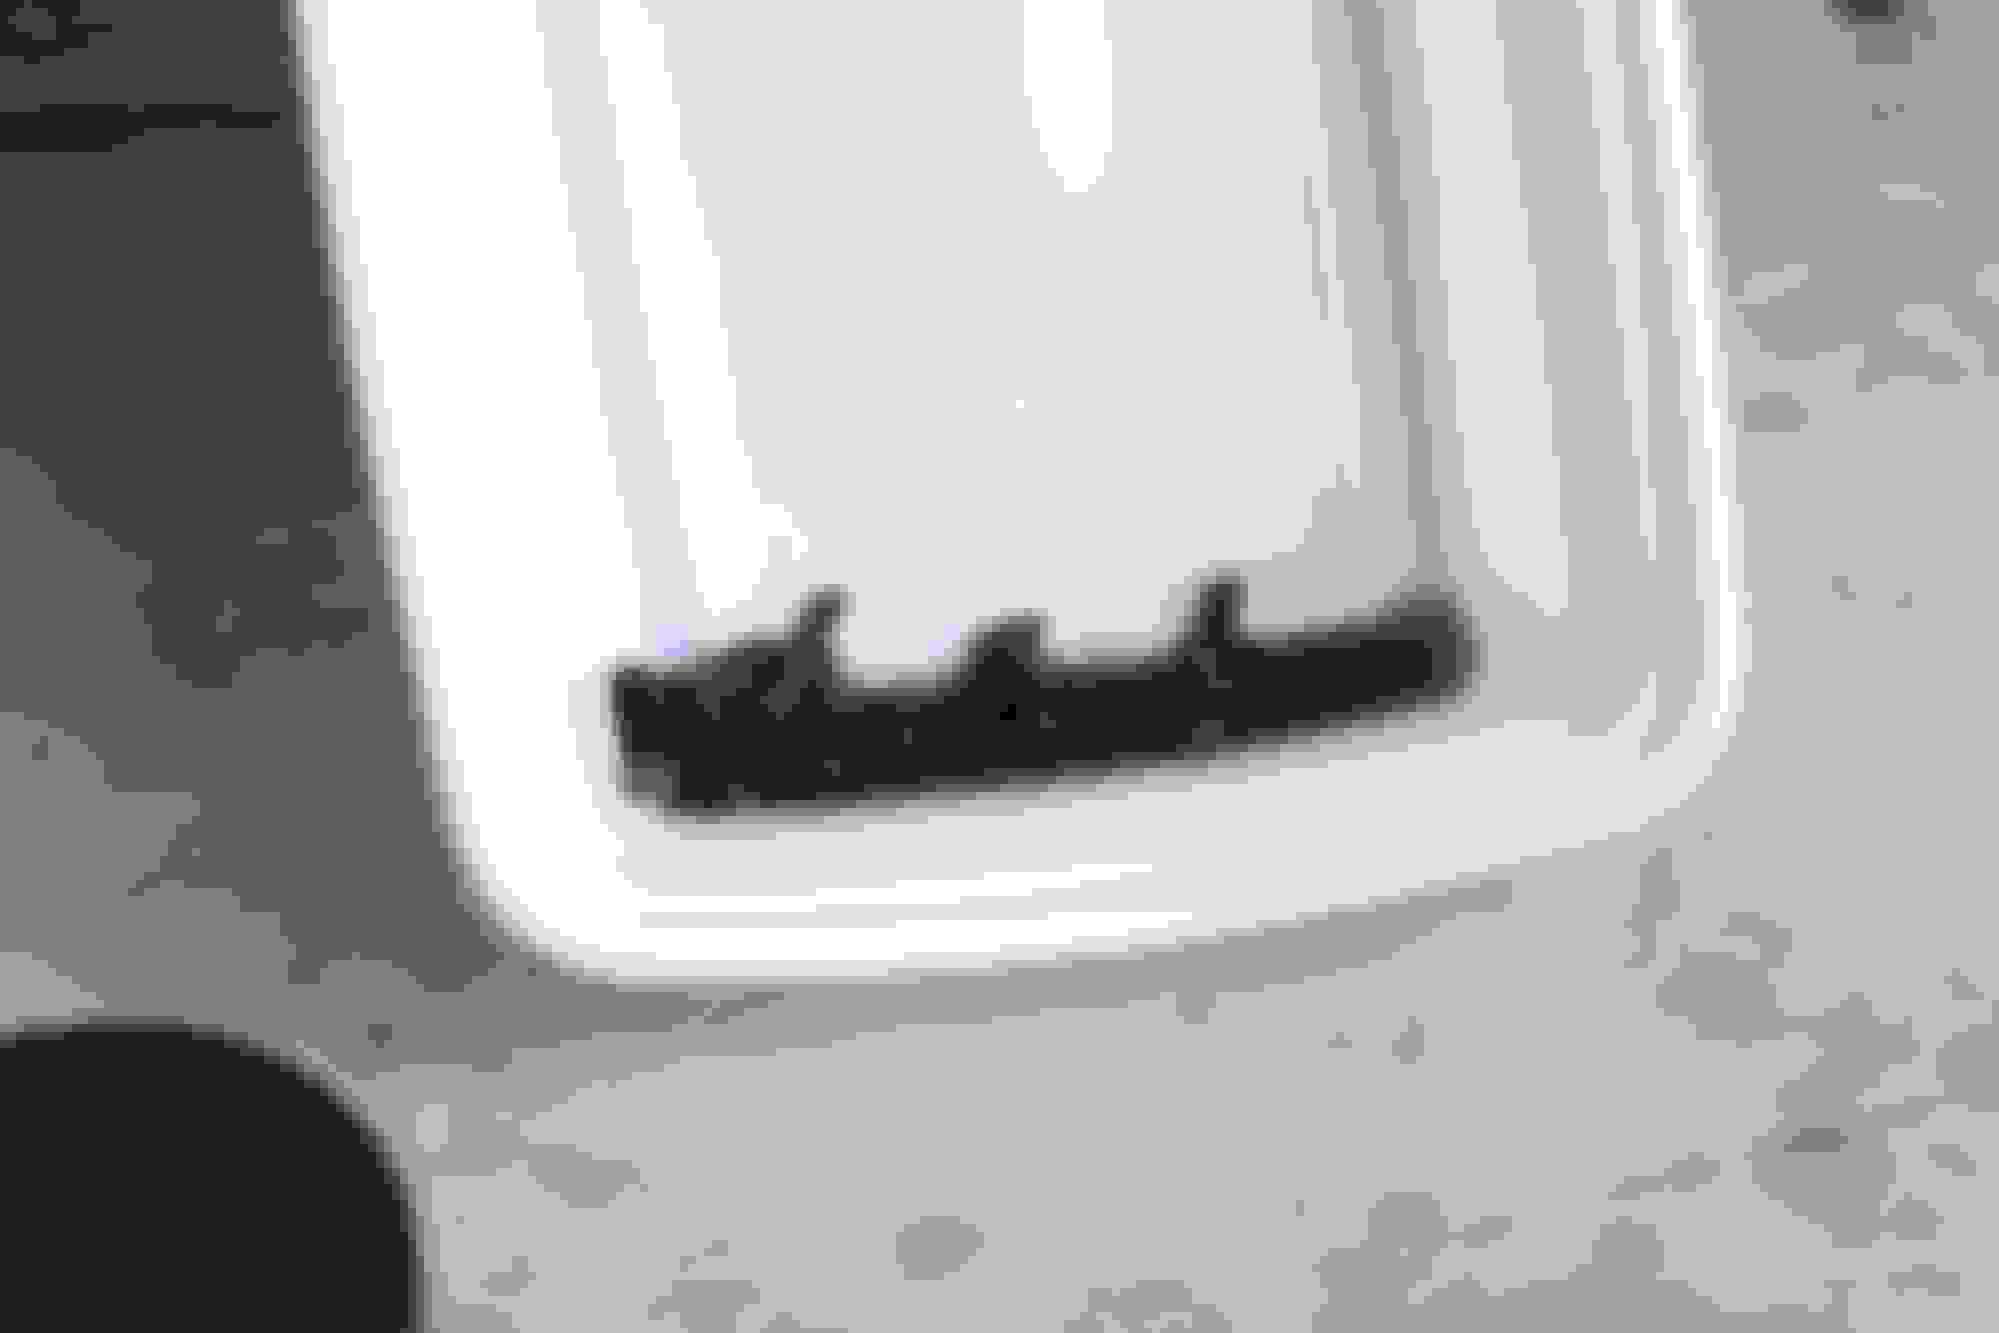
The final leak was TOUGH to isolate. Only when spraying a garden in some direction I still haven�t totally locked down, would water leak into the interior where the front passenger floorboard and center console meet- behind the plastic mount for the fusebox and ?BCM?. There was also a minor drip from that same area, only higher up on the body weld seam behind that plastic mount. This was a real b***h to seal with silicone since the caulk tube was too wide to get close to the leak source because this plastic mount seemed to be welded to the floorboard So, in the end, I smeared it around with my fingers to the best of my ability. This resulted in an ugly caulk job for this particular leak, but it was watertight after testing it the next day.
The final fix behind the plastic mount that holds the fusebox. Sorry for the bad picture, it was tough to find an appropriate angle.
So, I hope the length of this post isn't driving you mad by now. It was drafted over a period of time, usually late at night when I was ready to fall asleep, so I apologize for some shoddy grammar. It has now been a month since I drafted this post and my Vette has been 100% back together since the week before Carlisle. The interior is still bone dry and smells great. After having the carpets scrubbed by myself, and then professionally cleaned, they look brand new. With all the posts on the forum about leaks, I came across some really helpful posts for leaks I didn�t have. Using them, I pieced together the strategy laid out in my post to fix my leaks. I hope that since I had a series of leaks in my car, documenting their repair from start to finish will help out anyone else who may have the same sort of leaks in their car. Hit me up with any questions, I'll answer them to the best of my ability.
Last edited by OldManBeach; 09-09-2015 at 11:05 PM.
Reason: Adding to the post
i had the same issue as you..i own a glass shop so took some of my really good silicone and each screw i put a dab of sealant on top of to help seal them completely and the source of my leak went away 100%, but i had to remove the window door moulding to get to the screws great write up too !!!
Great write up! Yes the rope or the 5/16 windshield sealant rope works well, even on cracked and damage drip rails. the windshield stuff is what I used, I cut pieces of it and the rolled it down to about 1/4 inch. No more leaks. Now, I just have one crack that is visual from the outside of the car but, it's just a cosmetic thing.
Great write up. I pulled all my interior today to find a leak on the pass side floorboard.this isa pic of where I see the water coming out. It is wet behind the weatherstripping.
I originally had a leak coming in at the top rear portion of the side windows. From there it leaked down the B pillar and I think collected on the floor- judging from what little water evidence I found last summer. I did have the leak you describe after replacing the original double sided tape with rope caulk, but I only had it when a stream of water was directed from front-to-rear down the rain gutter. I took the gutter off and applied some more rope caulk and that solved the issue. I hope this helps some!
Don't feel bad my passenger side was leaking at the pillar. My glass place removed the black trim and the medal track behind it and siliconed everything and everything is good. Also great write up for everyone.
Started today on removing weatherstripping and molding. Not a tough job. My rain channel is cracked in a few spots so I made some plastic weld repairs and going to have to wait for that to cure. The hardest part by far is cleaning all the old adhesive. A question for the op. Did the holes in the rain channel seem large to you? It seems like the hole is just a tiny bit smaller than the screw head itself. Like it can easily pull through. I was thinking of plastic welding the holes and re drilling them smaller.
Well I had to work all day yesterday. Got the driver side done today tested it. And it still leaks just as bad if not worse. Anyone have any ideas what might have gone wrong?
I know I really appreciate the time that you spent doing the write up since I've been chasing leaks forever.
How does the "B" pillar plastic moulding come off? The one under the seat belt mounting bolt vertical, B pillar, behind seats. (Not the seat belt bolt cover)
Every time I try to pry this off I think I'm going to break it.
Awesome detailed write up. My car leaks too (red 02 Z), felt a drip of water driving thru heavy rains recently. When I had to let her sit outside in a rain storm, behind both back seats, soaked.
Going to tackle this repair this month.
Starting upper areas.
Thanks again for posting and helping fellow members out.
Great write up. I pulled all my interior today to find a leak on the pass side floorboard.this isa pic of where I see the water coming out. It is wet behind the weatherstripping.
I also have this leak and its driving me insane. can someone post pics of where to put the rope caulk???
Thanks for all the compliments on the thread so far; I am glad to see it is useful for everyone! On that note, sorry for the delayed response to any questions.. I am not sure what happened- I used to get emails when a new replay posted, but haven�t seen any come through in a while.
So, to answer the questions�
@Jax03z06- I do have a picture of where this goes, I�ll post it in the next couple of days. (I�m not currently home where I have the pix saved)
@Xfired- The B-pillar plastic comes off with some gentle prying once all the screws are taken out. At the time I was working on this part of the project, my Vette was sitting in the sun, so it came off pretty easy by rocking the pillar back and forth gently. Eventually it just peeled off entirely. The fun part was taking off the double sided tape once the pillar came off. Eventually, I got a bit lazy, left it on and put rope tape between the remaining double sided tape and car body. I was nervous I�d regret this short cut but it worked.
@Dave70- Good idea with the plastic weld! I wish I thought of that when I took my driver side rain gutter off instead of ordering a new one. And yes, the holes did seem just a tiny bit smaller than the screw. It hasn�t seemed to be an issue thus far as the gutter is still tight against the car body. As far as the continued leak goes, are you seeing new, smaller pinhole leaks over the length of the A pillar, or are you seeing a large leak in one spot? I put down two parallel strings of rope tape across length of the rain gutter, and wrapped a bit of rope caulk around the screw to try and minimize messing up the repair. However, after putting the gutter back on the car, I did have a few small leaks along its length (between the channel plastic piece and the car body. Where I found these, I plugged them with more rope caulk (usually on the inside body of the car). Before putting the interior roof material back in the car, I hosed it down numerous times and left it in some heavy rain as a double and triple check that the repair worked. So far, with 1 small exception, the car has stayed dry. I�ll detail the exception in a future post- just have to load the pix.
The only thing I�ve noticed since my repair is that I hear a sound as if my driver side window is cracked open when I am driving at highway speed. The window is indeed fully closed, and I�ve adjusted the angle of the driver side window to press harder against the weather stripping but haven�t completely eliminated the sound. I�m still tinkering but since there is no water coming in, and it isn�t too noticeable, it�s fallen lower on the priority list than driving and cleaning the car. I am open to suggestions if anyone has other solutions though!

 09-09-2015, 09:47 PM