
2000 Black FRC Progress Thread!
 02-07-2016, 01:16 AM
#21
Drifting

Thread Starter

Stop by Cars & Coffee sometime during the summer in Orchard Park, 3rd Sunday of the month starting in April.
https://www.facebook.com/carsandcoffeebuffalo
https://www.facebook.com/carsandcoffeebuffalo
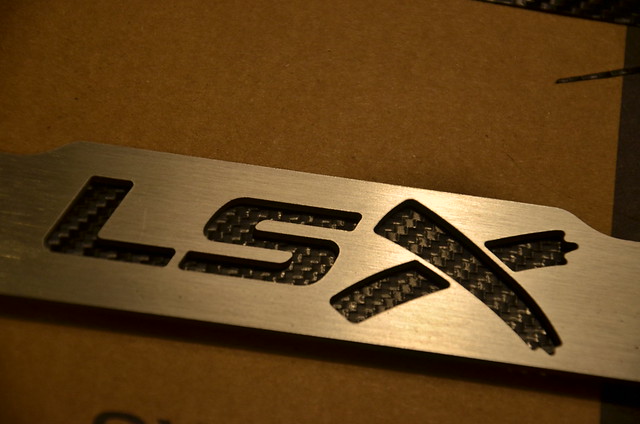
Time to resurrect my old LSX stainless license plate frame, which lived a life of glory and burnouts and commutes on my 6.0 LSX BMW.
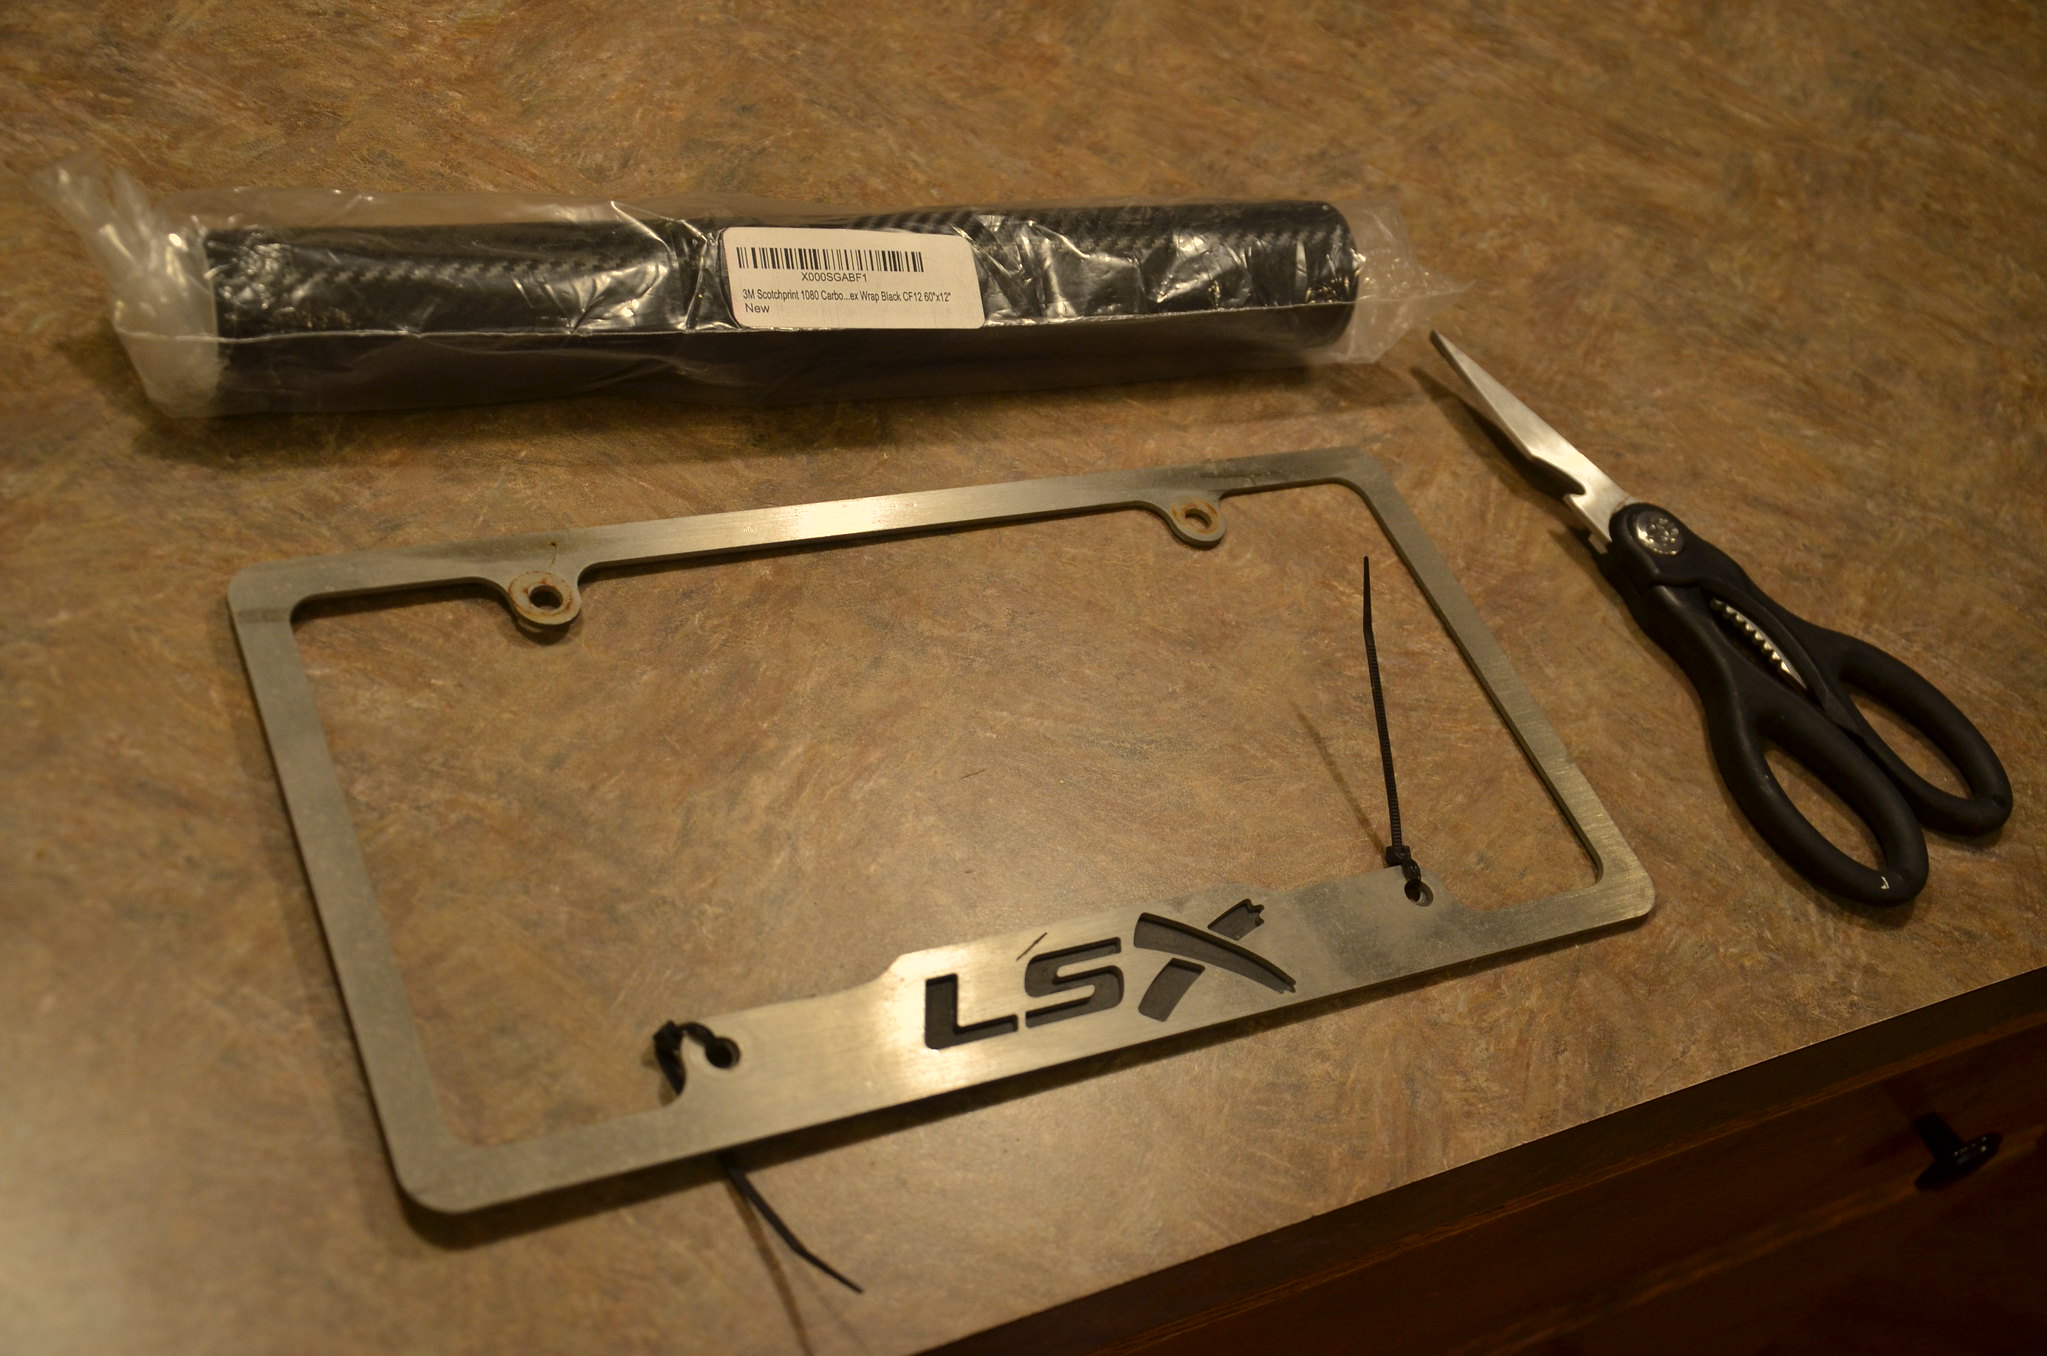 _DSC4656 by Norbert Ogiba, on Flickr
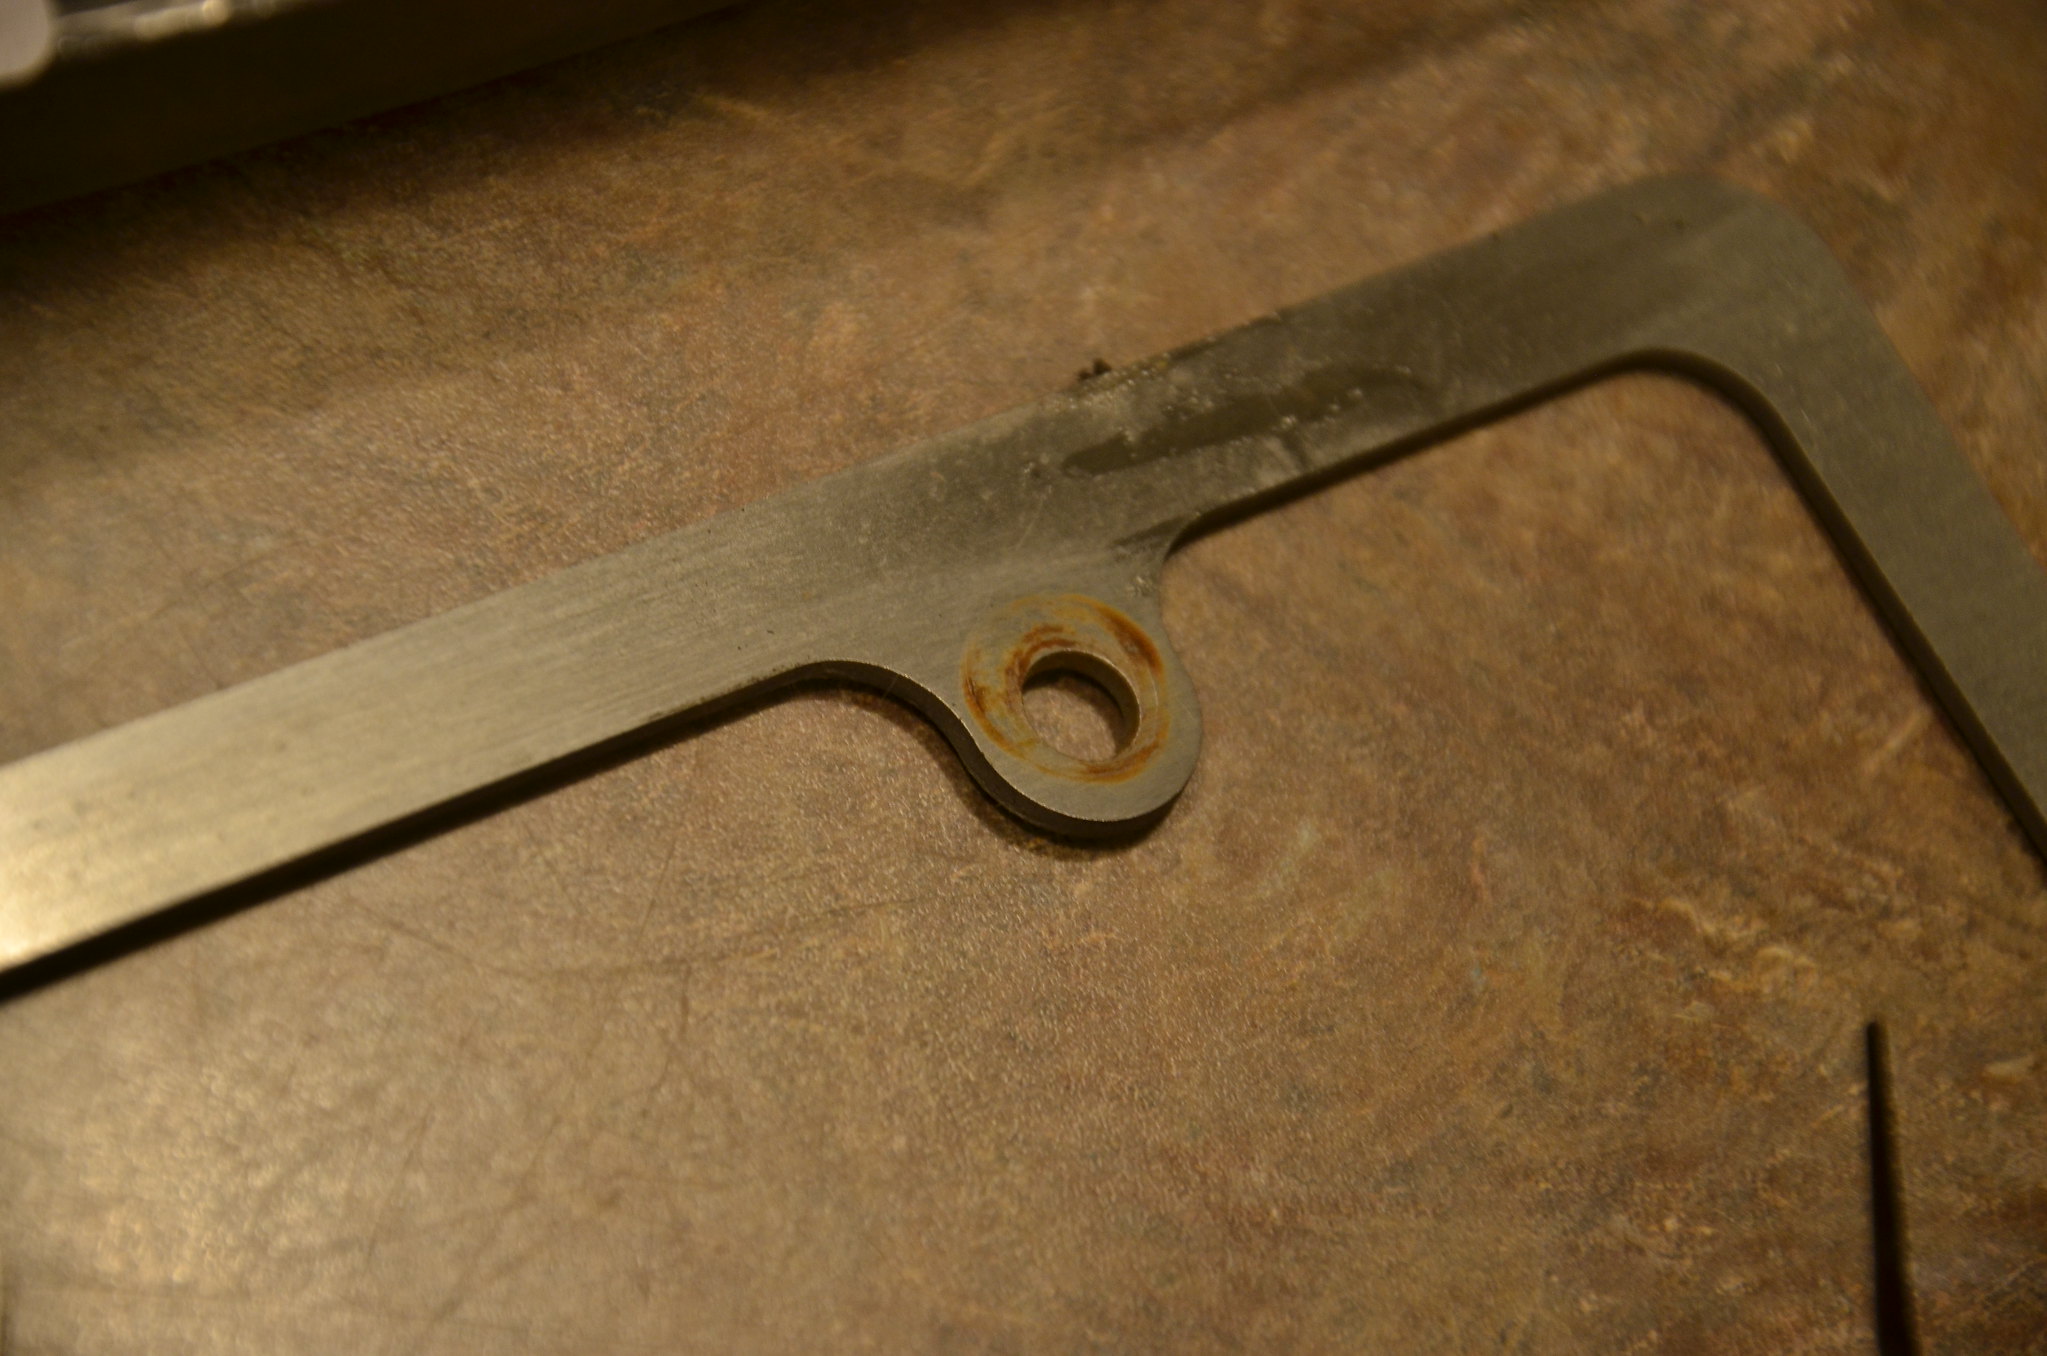
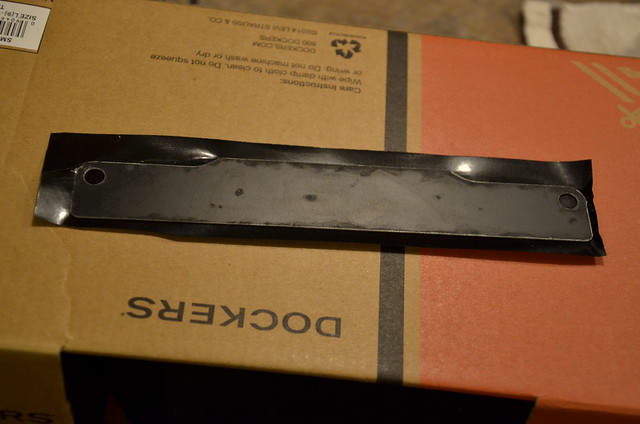
the mild hardware on the BMW plate had left its mark on the stainless plate frame. not good.
 _DSC4657 by Norbert Ogiba, on Flickr
the black background to the LSX nameplate had seen some mileage too.
 _DSC4658 by Norbert Ogiba, on Flickr
a brillo pad made quick work of the staining
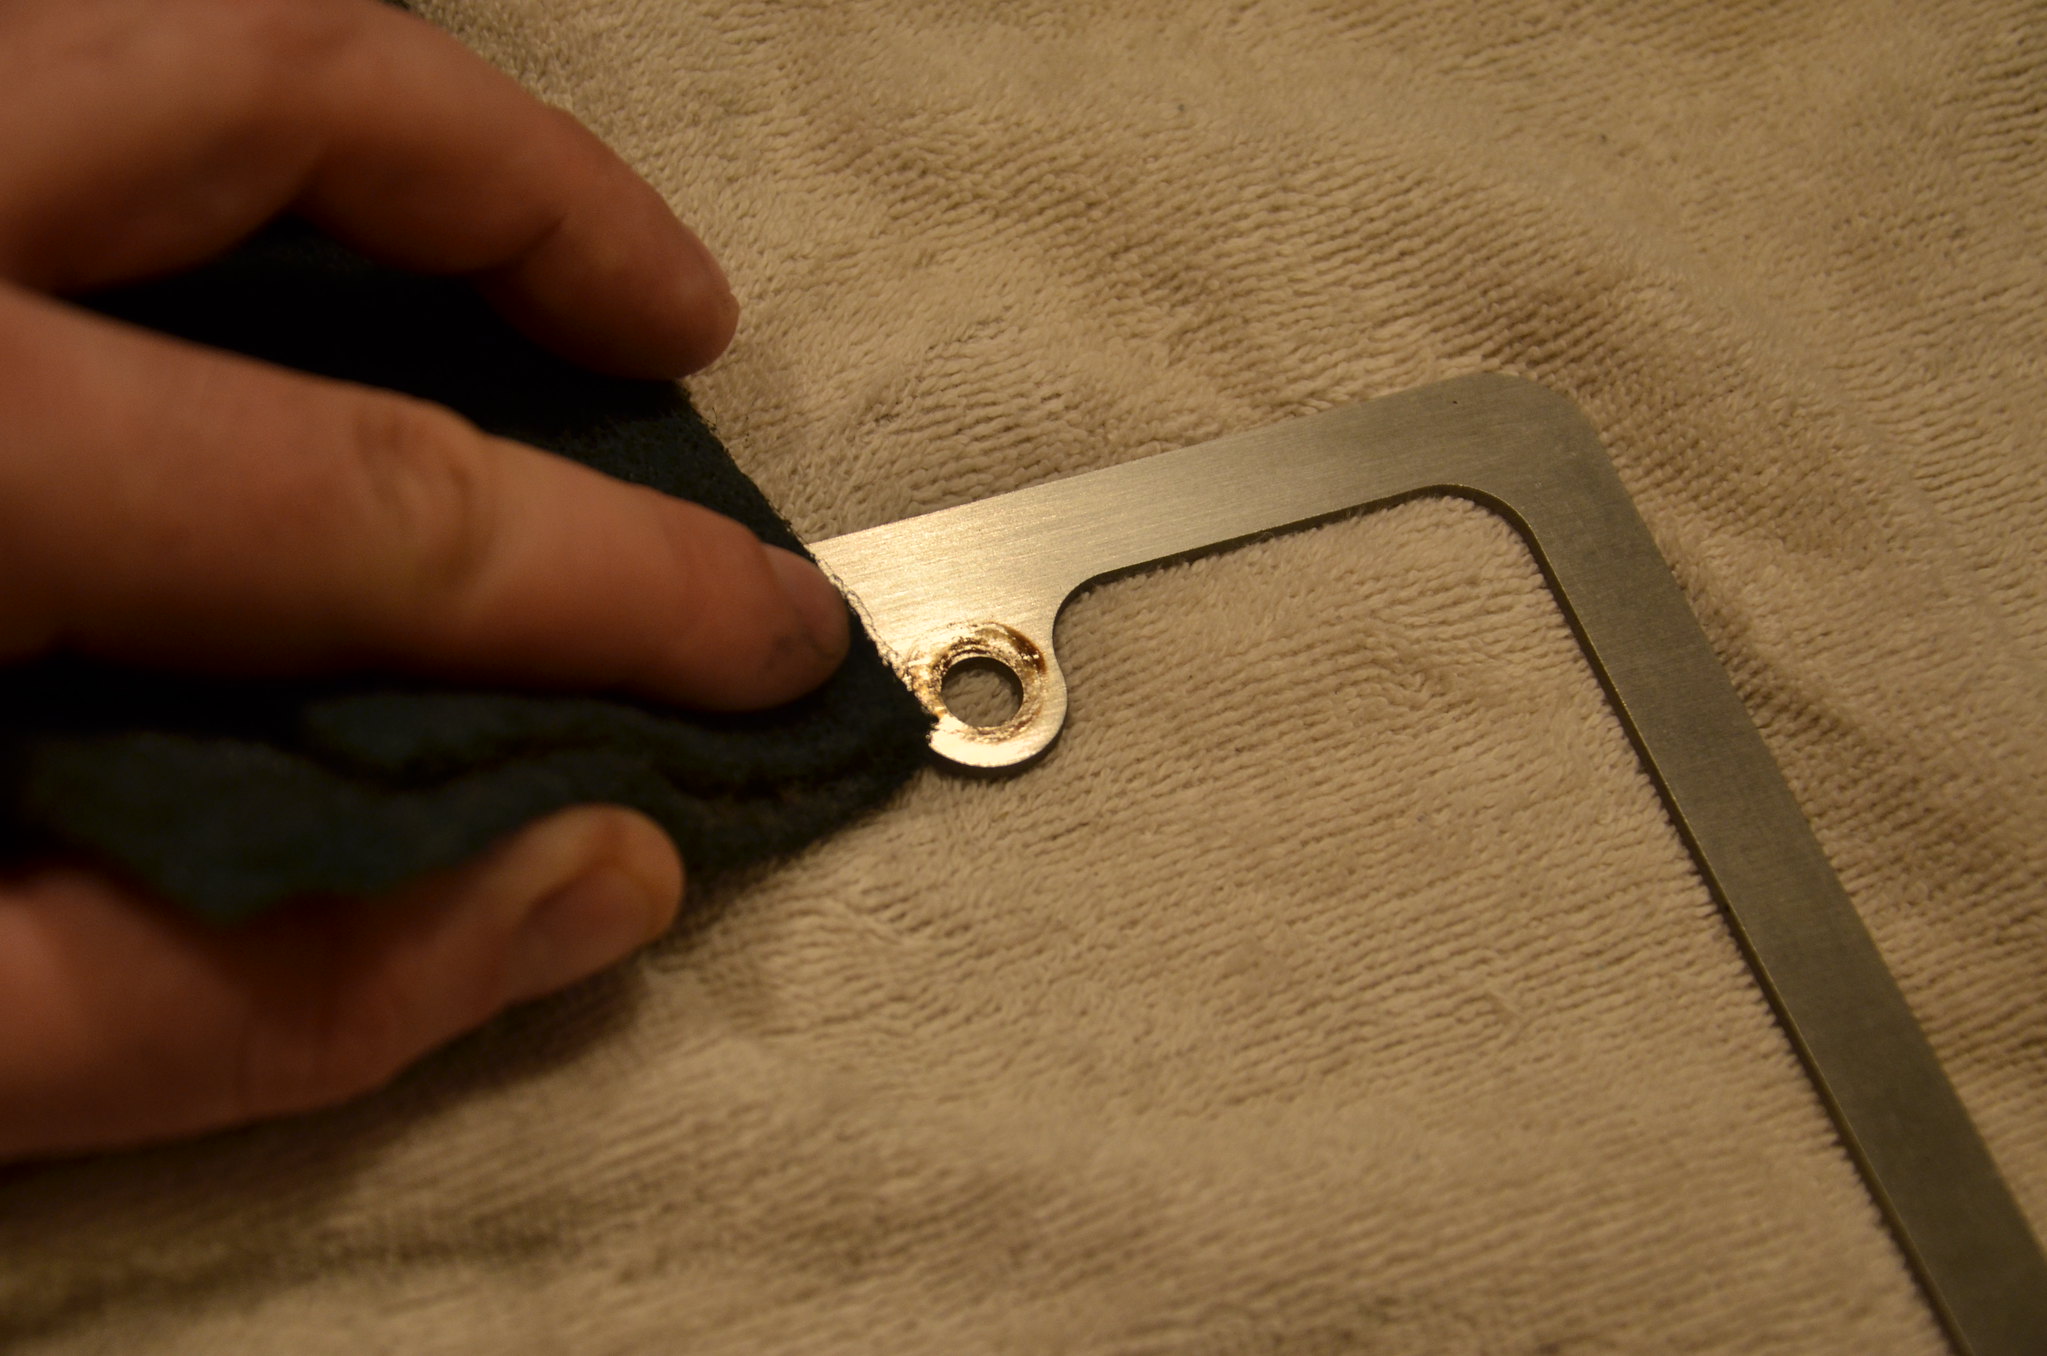 _DSC4659 by Norbert Ogiba, on Flickr
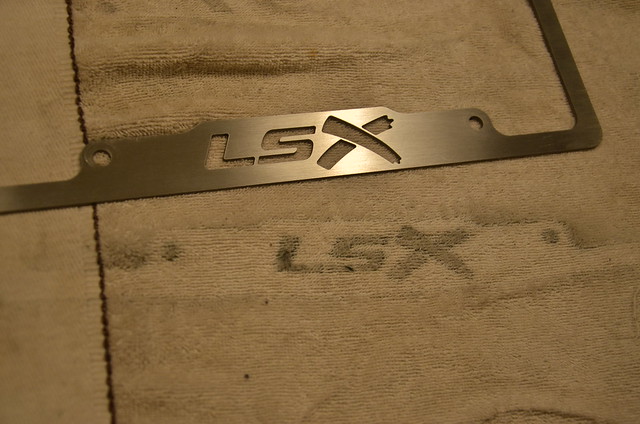
I ran the brillo pad over the whole surface of the stainless plate frame for good measure, the wife definitely won't be happy about the outline left on her kitchen towels from all the dirt and corrosion removed. I thought this was pretty funny
 _DSC4660 by Norbert Ogiba, on Flickr
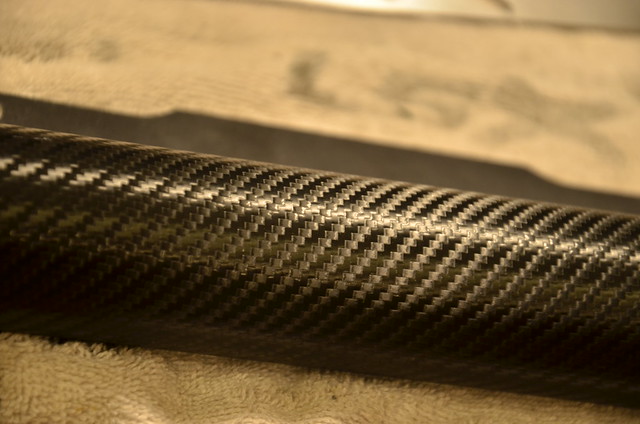
the solution for everything is carbon fiber (3M wrap)
 _DSC4664 by Norbert Ogiba, on Flickr
lay the background against the vinyl wrap
 _DSC4665 by Norbert Ogiba, on Flickr
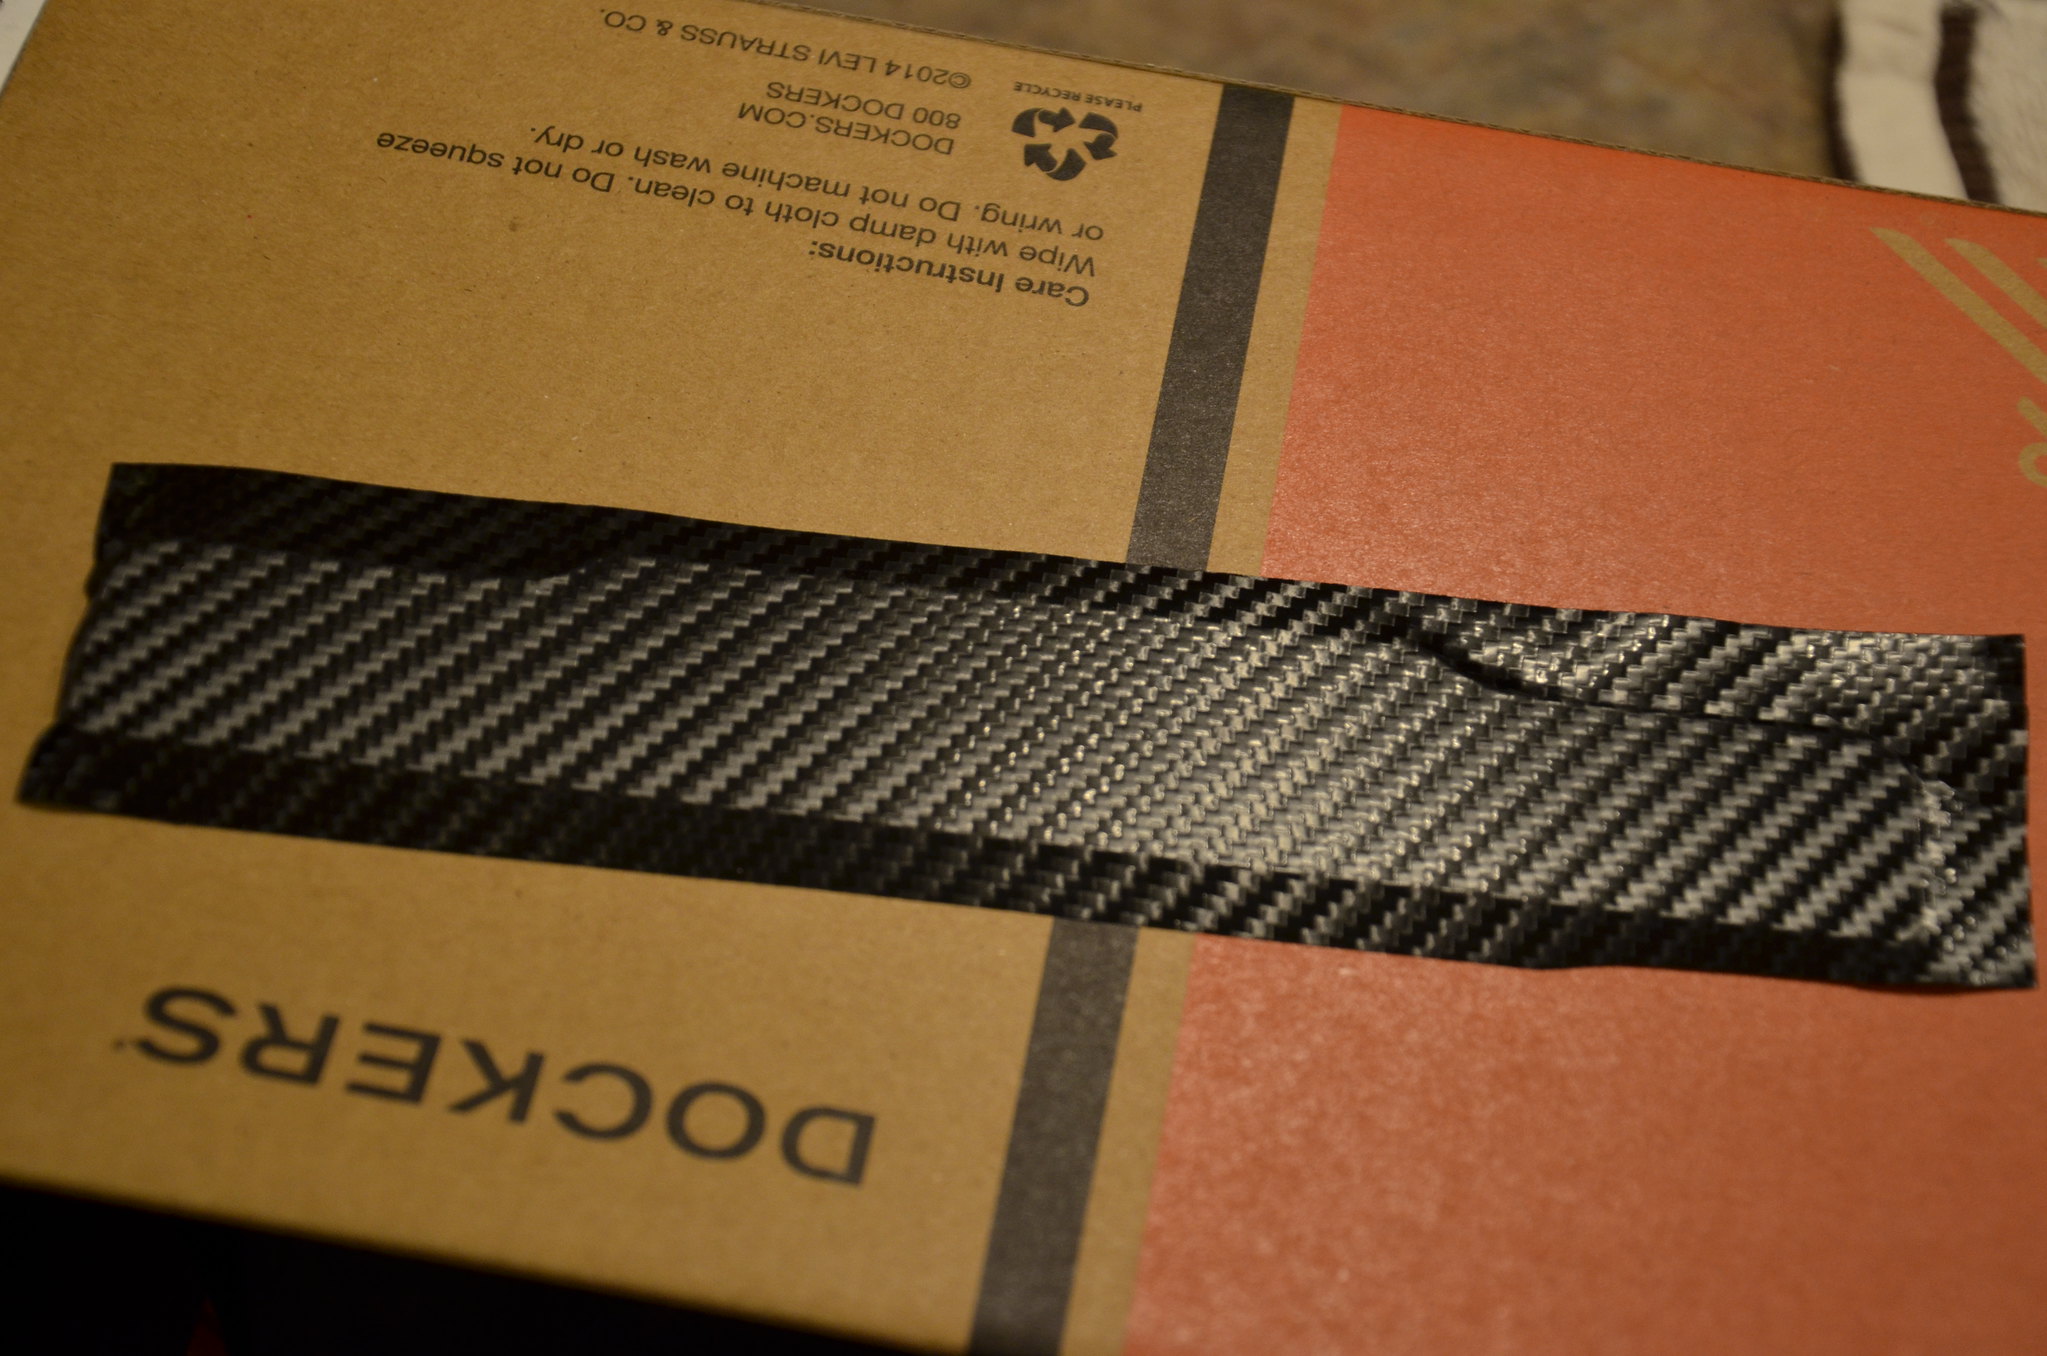
work the edges out with your fingers for a smooth finish
 _DSC4666 by Norbert Ogiba, on Flickr
to be continued - need to go grab another beer!


 02-07-2016, 01:21 AM
#22
Drifting
Thread Starter
ok, so work out the edges, trim it, and put it behind the plate frame - now we're talking
 _DSC4668 by Norbert Ogiba, on Flickr
ok - let's get serious - no more cosmetic BS - time to get dirty
 _DSC4670 by Norbert Ogiba, on Flickr
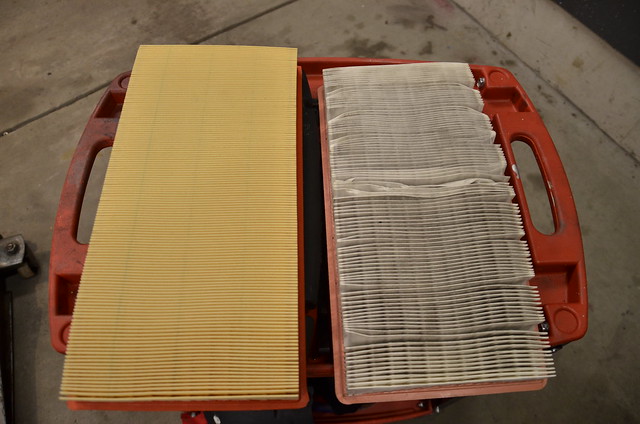
I am a big fan of cheap/free mods that return REAL gains, so the zip tie mod was in order. the existing air filter had seen better days.
 _DSC4671 by Norbert Ogiba, on Flickr
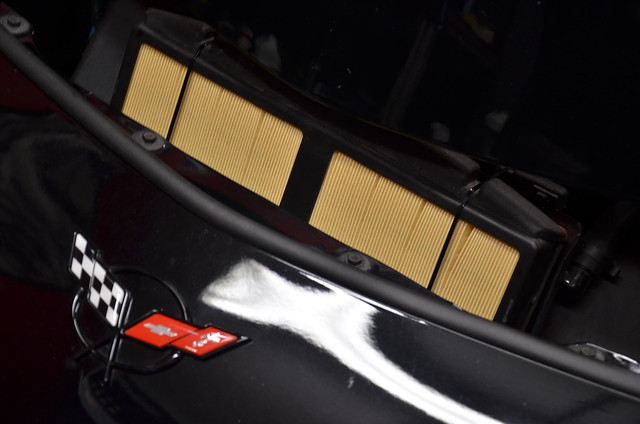
this should breathe just a bit better.
 _DSC4673 by Norbert Ogiba, on Flickr
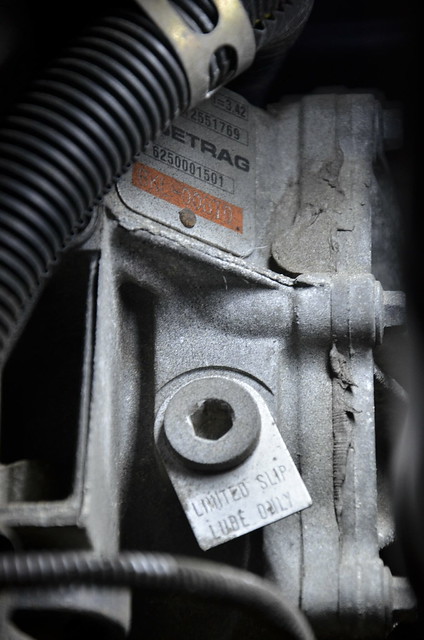
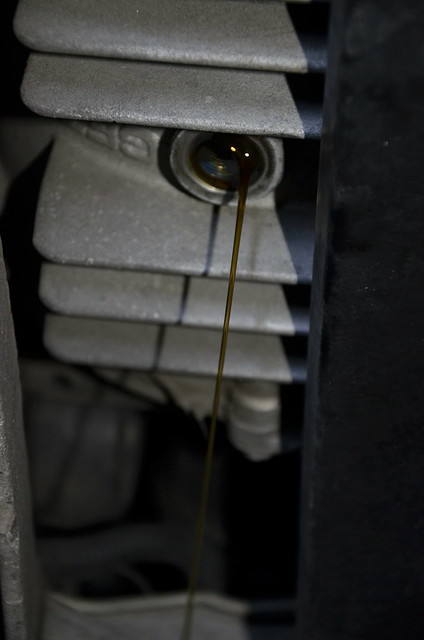
I am a big advocate of starting fresh on maintenance history so I decided to start fresh on all drivetrain fluids, starting with the differential.
 _DSC4674 by Norbert Ogiba, on Flickr
The diff oil MAY have been changed - not sure. At 105K I'd rather not take a chance
 _DSC4676 by Norbert Ogiba, on Flickr
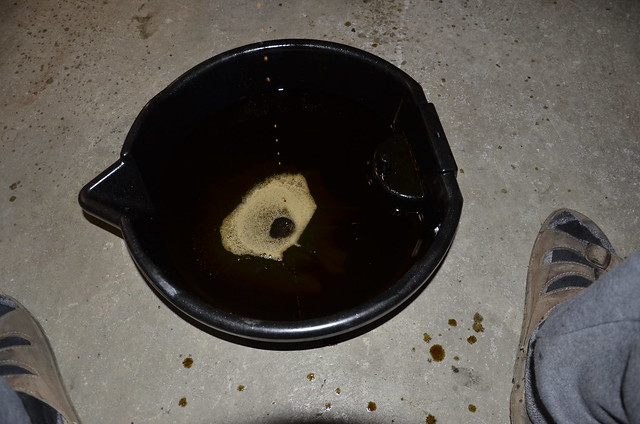
What came out wasn't too bad in all honesty. A bit dark but overall clean with no particulate
 _DSC4678 by Norbert Ogiba, on Flickr
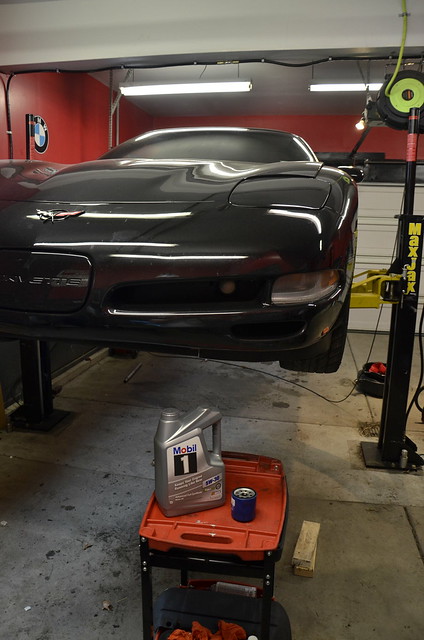
I also changed the trans fluid (T56) with new Dex III, no pics. What came out (again) wasn't bad, but wanted to start fresh. Finally, a fresh oil change with 5W30 Mobil 1 Full Syn. and AC Delco Filter rounded out the fluid changes.
_DSC4668 by Norbert Ogiba, on Flickrok - let's get serious - no more cosmetic BS - time to get dirty
_DSC4670 by Norbert Ogiba, on FlickrI am a big fan of cheap/free mods that return REAL gains, so the zip tie mod was in order. the existing air filter had seen better days.
_DSC4671 by Norbert Ogiba, on Flickrthis should breathe just a bit better.
_DSC4673 by Norbert Ogiba, on FlickrI am a big advocate of starting fresh on maintenance history so I decided to start fresh on all drivetrain fluids, starting with the differential.
_DSC4674 by Norbert Ogiba, on FlickrThe diff oil MAY have been changed - not sure. At 105K I'd rather not take a chance
_DSC4676 by Norbert Ogiba, on FlickrWhat came out wasn't too bad in all honesty. A bit dark but overall clean with no particulate
_DSC4678 by Norbert Ogiba, on FlickrI also changed the trans fluid (T56) with new Dex III, no pics. What came out (again) wasn't bad, but wanted to start fresh. Finally, a fresh oil change with 5W30 Mobil 1 Full Syn. and AC Delco Filter rounded out the fluid changes.
Last edited by nsogiba; 02-07-2016 at 01:27 AM.
02-07-2016, 01:36 AM
#23
Drifting
Thread Starter
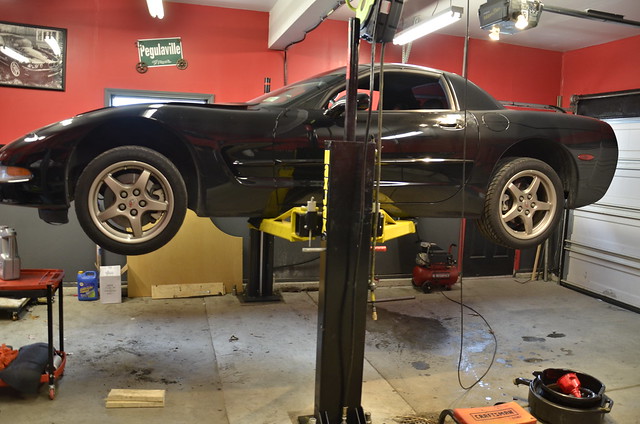
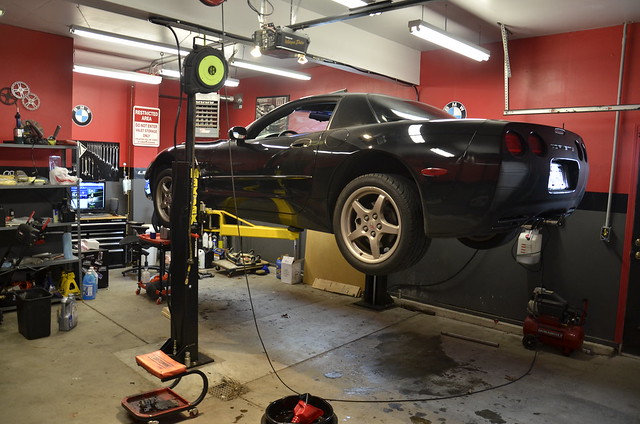
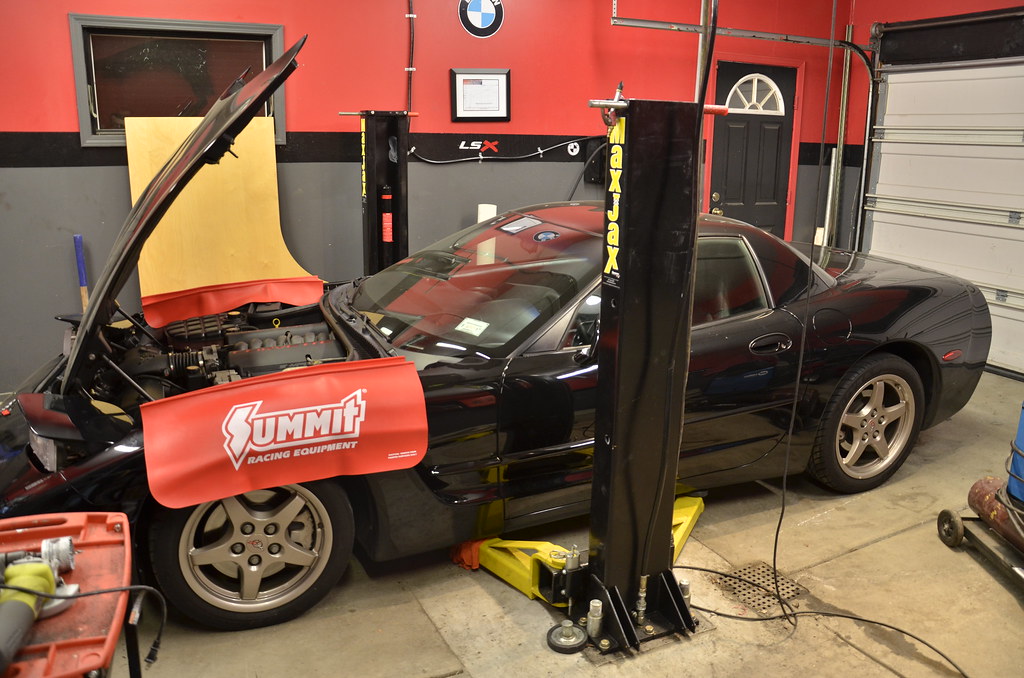
the MaxJax lift makes things a bit easier
 _DSC4679 by Norbert Ogiba, on Flickr
 _DSC4680 by Norbert Ogiba, on Flickr
Oil and Filter
 _DSC4681 by Norbert Ogiba, on Flickr
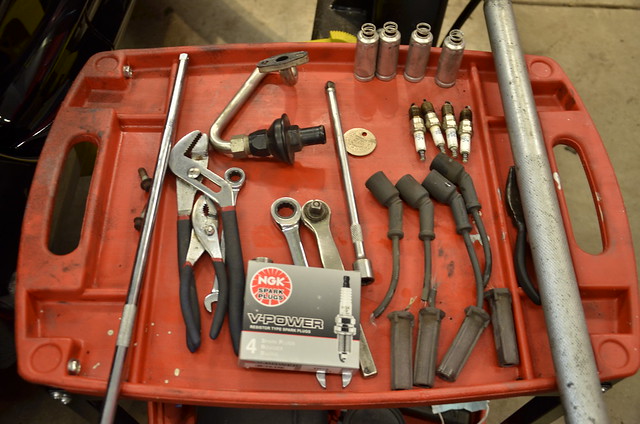
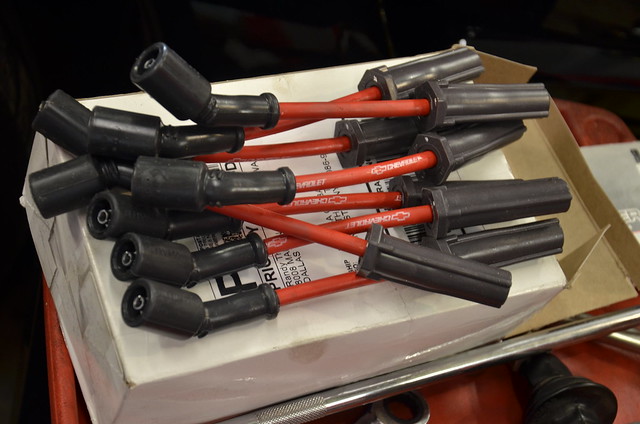
Rounded out the maintenance with new TR55 spark plugs and Red Chevrolet Performance Plug Wires
 _DSC4682 by Norbert Ogiba, on Flickr
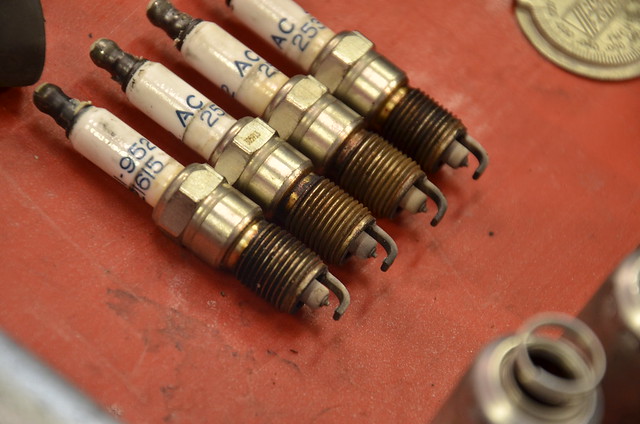
The old plugs looked so - so, but the gap on them was abysmal - up to .075" on the worst ones
 _DSC4683 by Norbert Ogiba, on Flickr
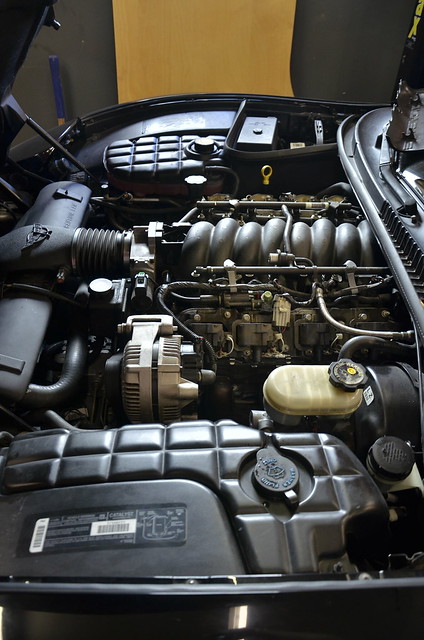
Driver's side 1 3 5 7
 _DSC4686 by Norbert Ogiba, on Flickr
Workspace
 _DSC4684 by Norbert Ogiba, on Flickr
105K worth of use
_DSC4686 by Norbert Ogiba, on Flickr
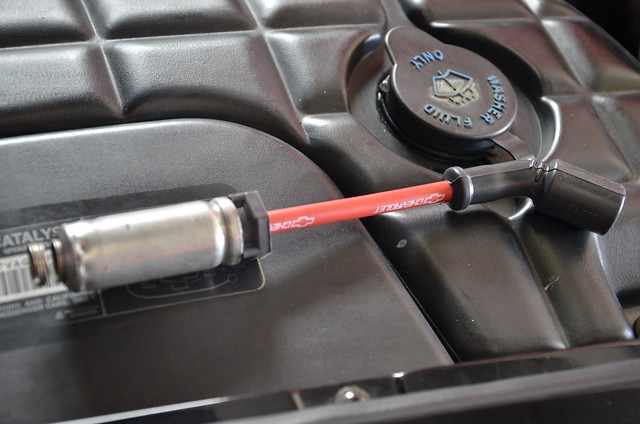
new red GM Performance Wires
 _DSC4687 by Norbert Ogiba, on Flickr
Luckily, I was able to reuse all the stamped metal heat shields for all the new wires.
Took the wife to the driving range and hit a couple buckets of *****. Car ran flawlessly. Tomorrow is Super Bowl Sunday - before I head to the father - in - laws, plan on washing the exterior, vacuuming inside, and cleaning the "udders" inside the engine compartment. Saw quite a bit of buildup while inspecting everything on the lift!
_DSC4679 by Norbert Ogiba, on Flickr_DSC4680 by Norbert Ogiba, on FlickrOil and Filter
_DSC4681 by Norbert Ogiba, on FlickrRounded out the maintenance with new TR55 spark plugs and Red Chevrolet Performance Plug Wires
_DSC4682 by Norbert Ogiba, on FlickrThe old plugs looked so - so, but the gap on them was abysmal - up to .075" on the worst ones
_DSC4683 by Norbert Ogiba, on FlickrDriver's side 1 3 5 7
_DSC4686 by Norbert Ogiba, on FlickrWorkspace
_DSC4684 by Norbert Ogiba, on Flickr105K worth of use
_DSC4686 by Norbert Ogiba, on Flickrnew red GM Performance Wires
_DSC4687 by Norbert Ogiba, on FlickrLuckily, I was able to reuse all the stamped metal heat shields for all the new wires.
Took the wife to the driving range and hit a couple buckets of *****. Car ran flawlessly. Tomorrow is Super Bowl Sunday - before I head to the father - in - laws, plan on washing the exterior, vacuuming inside, and cleaning the "udders" inside the engine compartment. Saw quite a bit of buildup while inspecting everything on the lift!
Last edited by nsogiba; 02-07-2016 at 01:38 AM.
02-09-2016, 08:28 PM
#24
Drifting
Thread Starter
forgot to add the pic of the stock heat shields on the new wires
 _DSC4689 by Norbert Ogiba, on Flickr
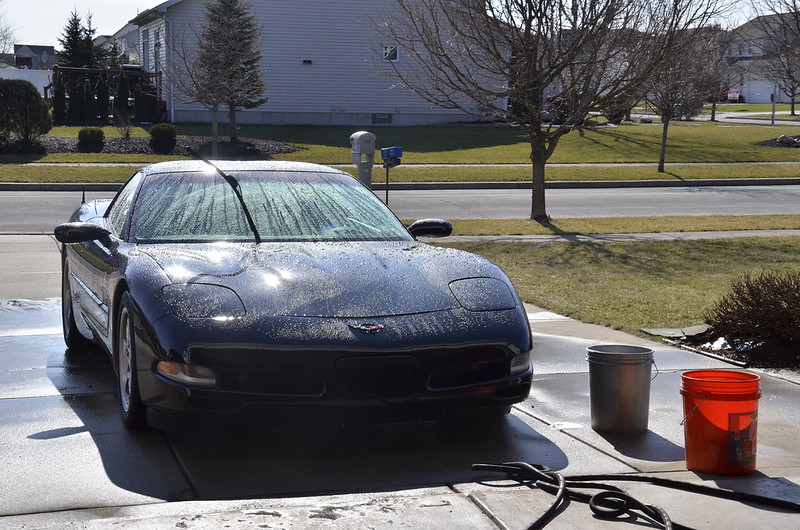
Super Bowl Sunday: spent a couple hours cleaning the musty smell out of the interior. vacuumed, cleaned glass, cleaned seats, cleaned dashboard/door panels, everything got a coat of armorall/leather conditioner and a quart of febreze spray. now it's inhabitable.
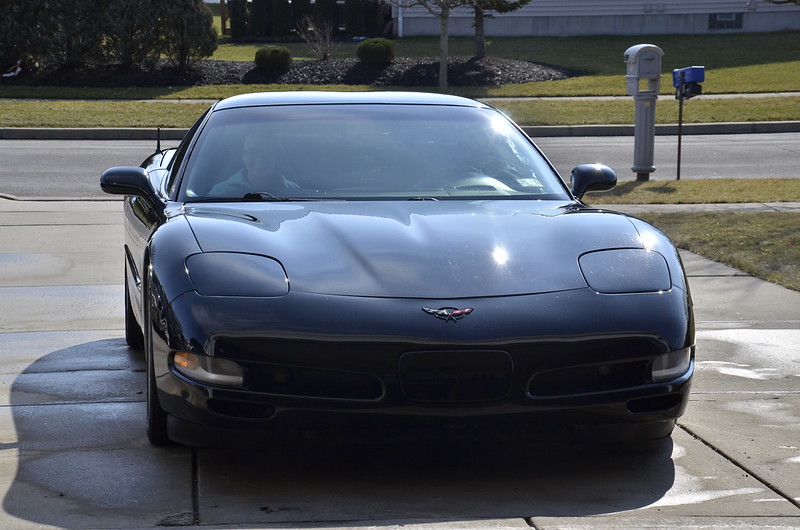
quick wash on the exterior. paint correction to come in a month or so
 _DSC4690 by Norbert Ogiba, on Flickr
 _DSC4691 by Norbert Ogiba, on Flickr
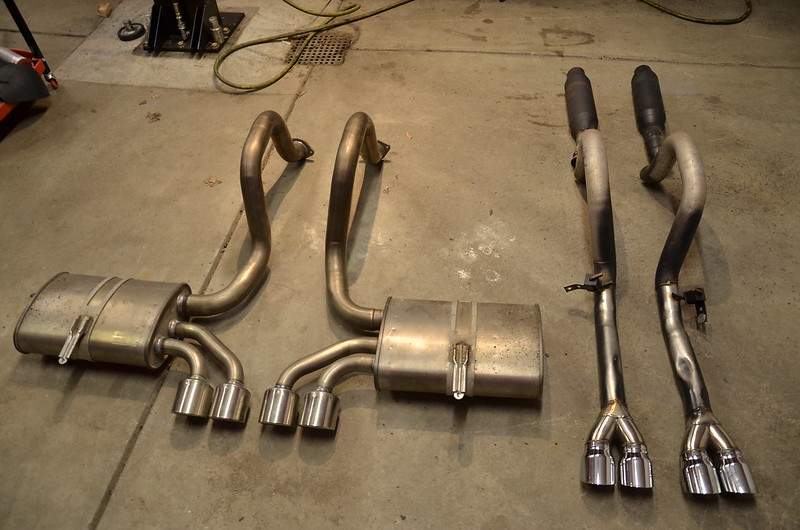
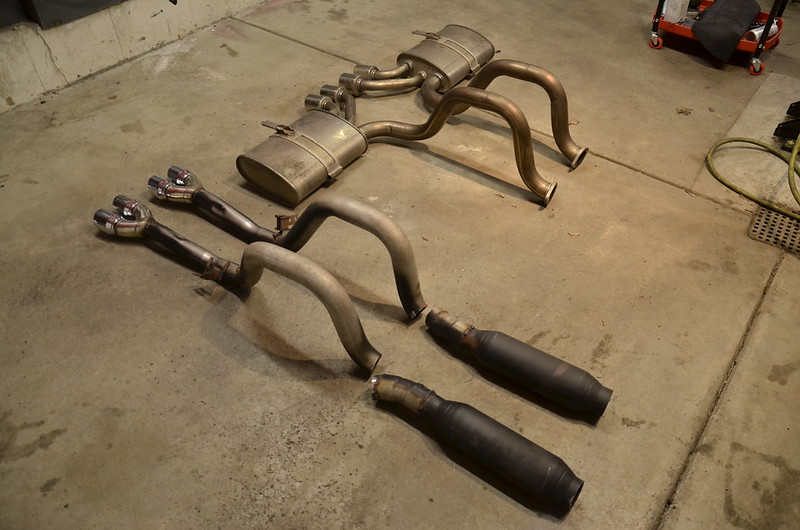
took a ride out to Rochester to grab Z06 Ti's
 _DSC4692 by Norbert Ogiba, on Flickr
 _DSC4695 by Norbert Ogiba, on Flickr
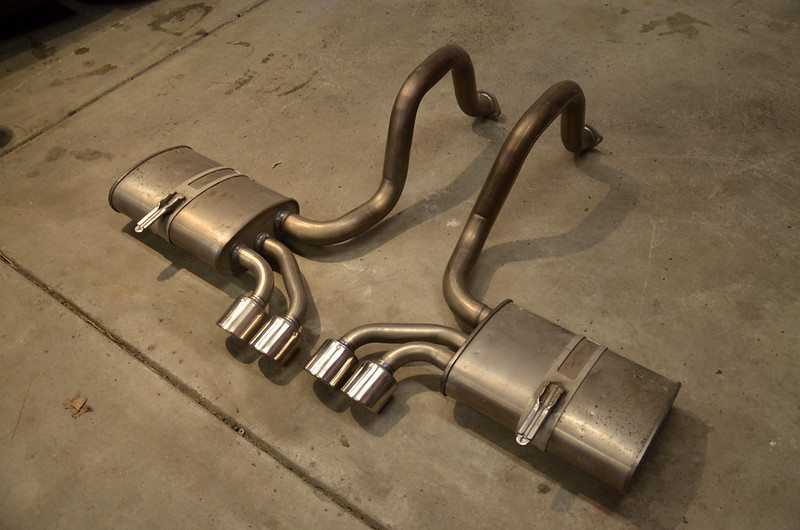
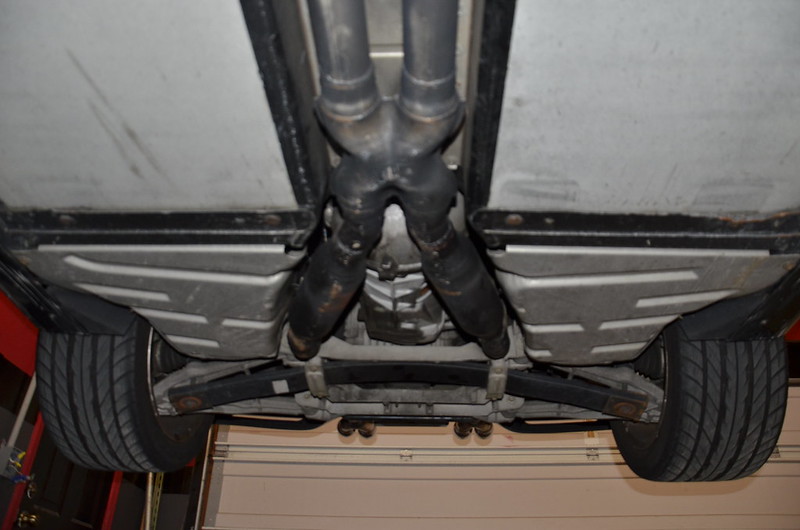
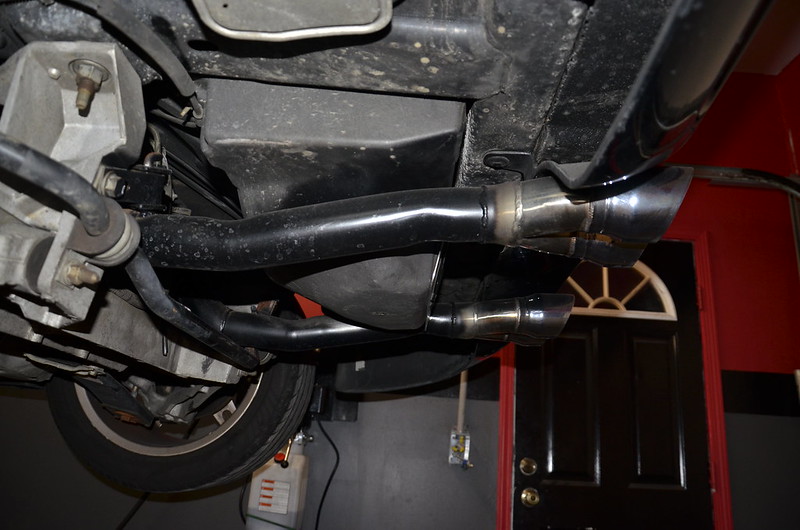
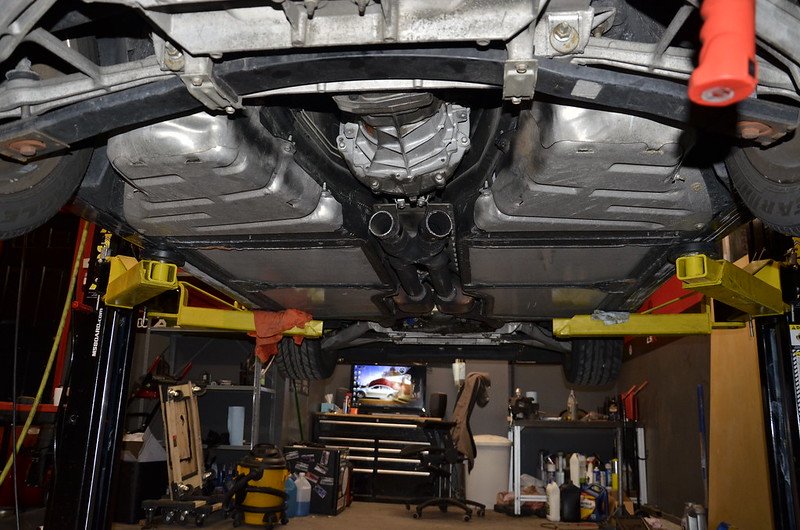
the "custom" exhaust needed to go. the shop that did the work was nice enough to weld in the bullets where the old flanges used to be, making the system one piece from the header flange to the tips. wouldn't be a problem if the exhaust didn't loop up over the axle. the bullets sounded okay when you romped on it but otherwise droned around town pretty badly.
The h-pipe was long gone, replaced by this x-pipe, which will stay
 _DSC4698 by Norbert Ogiba, on Flickr
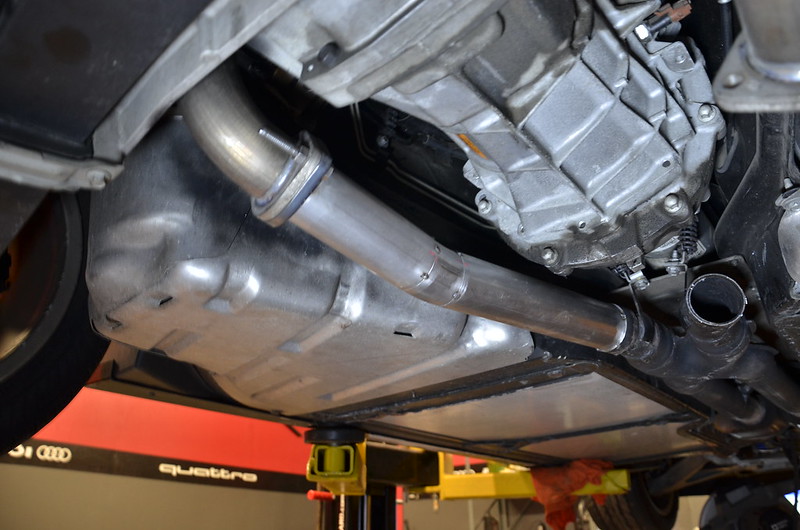
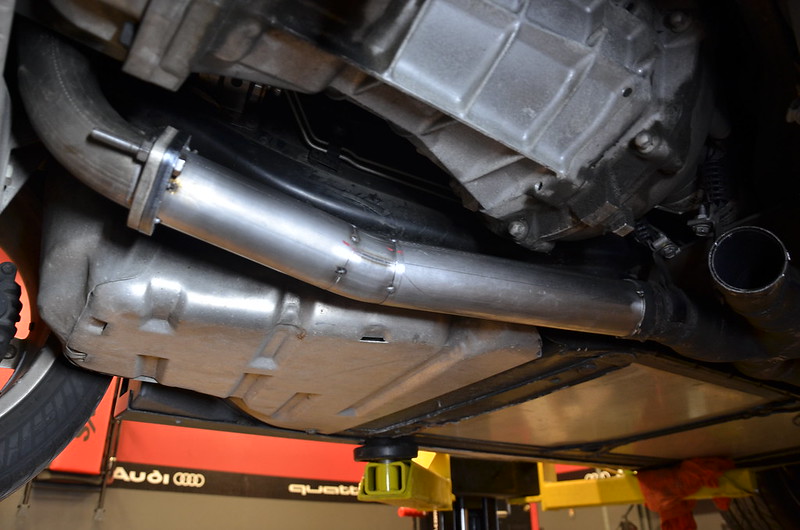
generic bullets in all their exhaust shop crap glory
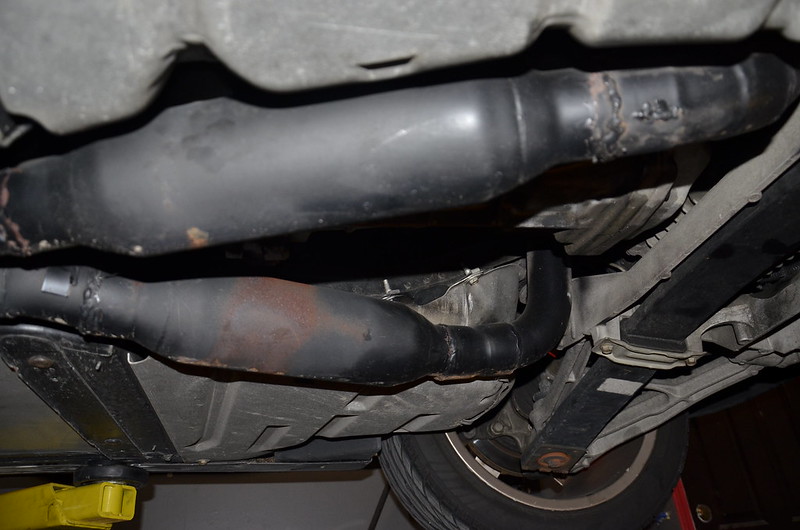 _DSC4699 by Norbert Ogiba, on Flickr
snaking over to the tips
 _DSC4700 by Norbert Ogiba, on Flickr
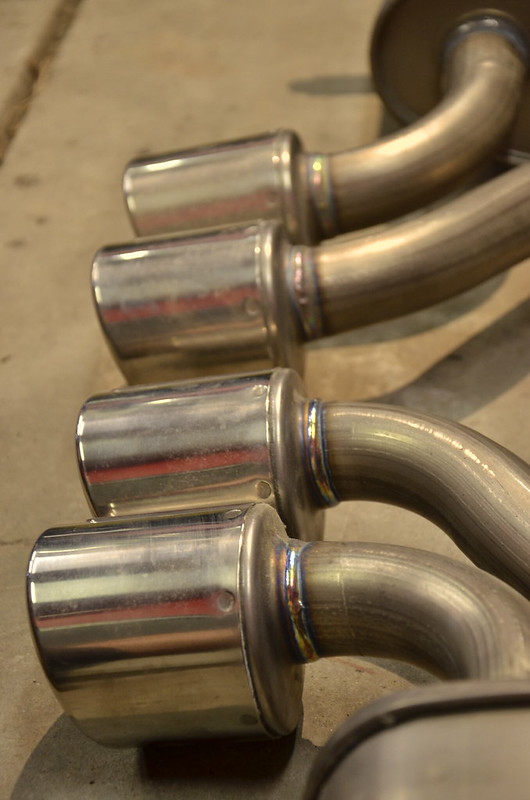
Tip alignment wasn't amazing, and the tip diameter seemed out of place and too far apart between sides
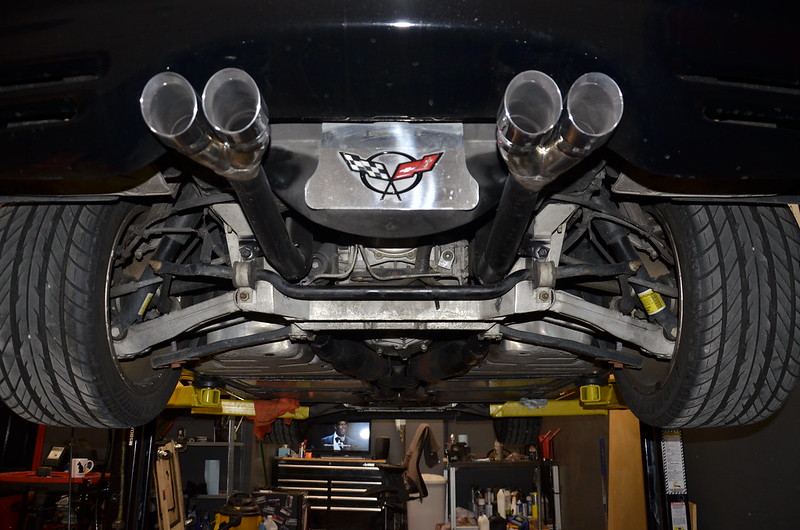 _DSC4703 by Norbert Ogiba, on Flickr
 _DSC4704 by Norbert Ogiba, on Flickr
chop chop. out they come
 _DSC4705 by Norbert Ogiba, on Flickr
 _DSC4706 by Norbert Ogiba, on Flickr
Blank slate
 _DSC4708 by Norbert Ogiba, on Flickr
pipes and flanges get in tomorrow, I need to mock up the mufflers and align the tips - then connect them to the existing x-pipe
_DSC4689 by Norbert Ogiba, on FlickrSuper Bowl Sunday: spent a couple hours cleaning the musty smell out of the interior. vacuumed, cleaned glass, cleaned seats, cleaned dashboard/door panels, everything got a coat of armorall/leather conditioner and a quart of febreze spray. now it's inhabitable.
quick wash on the exterior. paint correction to come in a month or so
_DSC4690 by Norbert Ogiba, on Flickr_DSC4691 by Norbert Ogiba, on Flickrtook a ride out to Rochester to grab Z06 Ti's
_DSC4692 by Norbert Ogiba, on Flickr_DSC4695 by Norbert Ogiba, on Flickrthe "custom" exhaust needed to go. the shop that did the work was nice enough to weld in the bullets where the old flanges used to be, making the system one piece from the header flange to the tips. wouldn't be a problem if the exhaust didn't loop up over the axle. the bullets sounded okay when you romped on it but otherwise droned around town pretty badly.
The h-pipe was long gone, replaced by this x-pipe, which will stay
_DSC4698 by Norbert Ogiba, on Flickrgeneric bullets in all their exhaust shop crap glory
_DSC4699 by Norbert Ogiba, on Flickrsnaking over to the tips
_DSC4700 by Norbert Ogiba, on FlickrTip alignment wasn't amazing, and the tip diameter seemed out of place and too far apart between sides
_DSC4703 by Norbert Ogiba, on Flickr_DSC4704 by Norbert Ogiba, on Flickrchop chop. out they come
_DSC4705 by Norbert Ogiba, on Flickr_DSC4706 by Norbert Ogiba, on FlickrBlank slate
_DSC4708 by Norbert Ogiba, on Flickrpipes and flanges get in tomorrow, I need to mock up the mufflers and align the tips - then connect them to the existing x-pipe
Last edited by nsogiba; 02-10-2016 at 09:10 AM.
02-09-2016, 08:51 PM
#25
Race Director

Member Since: Jul 2007
Location: Arlington Hts, IL
Posts: 15,905
Received 1,090 Likes
on
797 Posts
St. Jude Donor '13-'14-'15-'16-'17-'18-'19-'20-'21-'22-'23-'24


Man you've been busy!! Your drive reminded me of my ride home from Scranton to Chicago. Perfect weather and amazing mileage.
First thing I did was change all the fluids as well. I look forward to watching your progress!
First thing I did was change all the fluids as well. I look forward to watching your progress!
02-10-2016, 09:21 PM
#26
Drifting
Thread Starter
slow but steady progress. I dusted off the welder, chop saw, and unpackaged the mandrel bend and flanges that came in.
First I installed the Ti muffler on the driver's side, getting the tip level, and then held the front flange in place with a jack and a 2x4.
Now that point A and point B were fixtured I connected the dots. The blank flange bolted to the muffler flange gave me a lot of leeway and made it fairly easy.
All tacked up:
 _DSC4710 by Norbert Ogiba, on Flickr
 _DSC4712 by Norbert Ogiba, on Flickr
Now I need to repeat the process for the passenger side.
First I installed the Ti muffler on the driver's side, getting the tip level, and then held the front flange in place with a jack and a 2x4.
Now that point A and point B were fixtured I connected the dots. The blank flange bolted to the muffler flange gave me a lot of leeway and made it fairly easy.
All tacked up:
_DSC4710 by Norbert Ogiba, on Flickr_DSC4712 by Norbert Ogiba, on FlickrNow I need to repeat the process for the passenger side.
The following users liked this post:
blackmachdown (02-12-2016)
 02-12-2016, 03:10 PM
#29

Great to see you adventure. I bought my C5 a little over 5 years ago on Ebay flew one way to pick it up. What a great adventure something I will never forget. Enjoy your car a bunch the mods have probably just begun.
02-12-2016, 03:32 PM
#30
Drifting
Thread Starter
Thanks! I went back and read the threads on your Z06 and your red 97, both awesome cars. It's amazing how much more modern the 97 Targa looks with the Z06 wheels.
Good eye. Originally I had a floor that sloped towards a center drain. This was great for washing cars inside during the winter but was not good for trying to install my lift. On a level floor, most folks just pop in some concrete anchors and are generally up and running within one day. I unfortunately did not have this luxury so as an engineer I decided to make it work. I cut the slab out there, removed quite a bit of stone, dug down, and poured a new thicker slab with a reinforced steel skeleton that the lift bolts to. I'm confident it will be around long after I'm gone. If you're interested in seeing my step by step progress from installing it in 2015 see my build thread for my garage:
http://garagejournal.com/forum/showt...=221146&page=5
Owning and modifying the last car was very time consuming and it burned me out. I am striving to go slow with this one and have a lot of fun. It was very important to me to find a fun car that responded well to light modifications and returned a strong fun factor for the money invested - the C5 platform does both of those very well.
I am passively looking for a C6 shifter and LS6 intake, will probably bolt up XS headers and X pipe this summer
http://garagejournal.com/forum/showt...=221146&page=5
I am passively looking for a C6 shifter and LS6 intake, will probably bolt up XS headers and X pipe this summer
02-15-2016, 09:55 AM
#31
Drifting
Thread Starter
So I finished cutting the bends for the passenger side of the factory midpipes, and got it all tacked into place. For some reason it went much more slowly than the driver's side. The compound bend (lateral and vertical move) was being a real PITA, but I finally got it to fit while keeping the tailpipes level. That was strike 1, got me kinda pissed off. Now that the system was tacked, I was ready to drop it and finish weld everything. Removed the 6 header nuts - 2 came out clean, the rest snapped the studs - that was strike 2. Disconnected oxygen sensors, removed midpipe hangers, and dropped it down. Set it on my shop cart and got all set up to finish weld it, and had a bunch of issues with the wire birdnesting inside the gun tip - so I had to stop and clear the jam every couple of minutes. Now I'm pretty ticked. Finally get a rhythm going and the wire runs out. Strike 3. At this point I decided to quit for the night before I lit the whole thing on fire.
Go inside to wash up and have a beer, and I see that Huron Speed is having a sale for their longtubes and x-pipe, $50 off and free shipping. I thought about how much fun it would be to remove 4 broken studs in the existing manifolds and 30 seconds later placed my order. I still plan on welding up the existing system I fabbed, but will keep it in the basement in case the catless x-pipe is too loud.
.jpg)
Cliffnotes: Welded stuff. Broke studs. Got pissed off. Longtubes on sale. Cha-ching.
Go inside to wash up and have a beer, and I see that Huron Speed is having a sale for their longtubes and x-pipe, $50 off and free shipping. I thought about how much fun it would be to remove 4 broken studs in the existing manifolds and 30 seconds later placed my order. I still plan on welding up the existing system I fabbed, but will keep it in the basement in case the catless x-pipe is too loud.
Cliffnotes: Welded stuff. Broke studs. Got pissed off. Longtubes on sale. Cha-ching.
02-15-2016, 10:47 AM
#32
Safety Car

I don't think they will be too loud for you. I have the catless XS headers through borla straight pipes and have taken it on 1500+ mile trips without it annoying me or my fianc�.
02-15-2016, 11:04 AM
#33
Drifting
Thread Starter
Interesting you say that, another guy on a local forum said the exact same thing, it must be a popular combo. I thought it might get too rowdy with the lack of cats, I guess we will see. I do not want a loud system since I intend on driving the hell out of this once the snow melts. I will be welding in some cutouts, though!
02-15-2016, 11:35 AM
#34
02-15-2016, 11:56 AM
#36
Melting Slicks

on my 97 I have Texas Speed longtubes with catted x pipes and BB bullets, I think if i didnt have cats it would be borderline too loud for my wife...i personally can't hear anything as is.
02-15-2016, 04:47 PM
#37
Safety Car
Interesting you say that, another guy on a local forum said the exact same thing, it must be a popular combo. I thought it might get too rowdy with the lack of cats, I guess we will see. I do not want a loud system since I intend on driving the hell out of this once the snow melts. I will be welding in some cutouts, though!
I personally just saw a really good deal on the borla straights when waiting for the group buy on my headers (a 10 month wait I think, no fun.)
Wanted to make some noise in the meantime, figuring I would swap back to the Stock system when I put the headers on. Obviously I had to drive it at least once with the straight pipes and headers, and was honestly surprised at how much less it droned than with just the straight pipes. It's been my DD for over 2 years with this setup, and many long trips have been made.
02-19-2016, 08:45 AM
#38
Drifting
Thread Starter
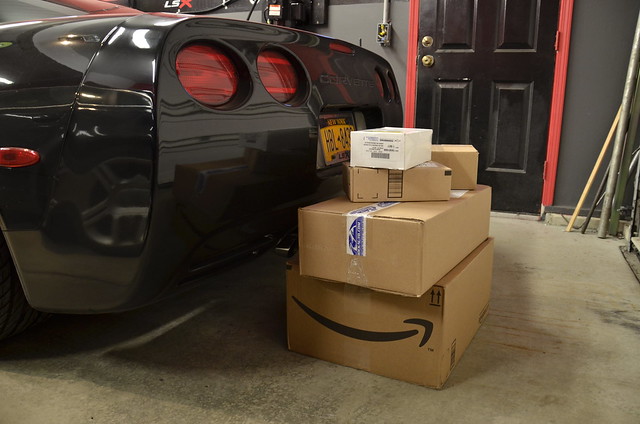
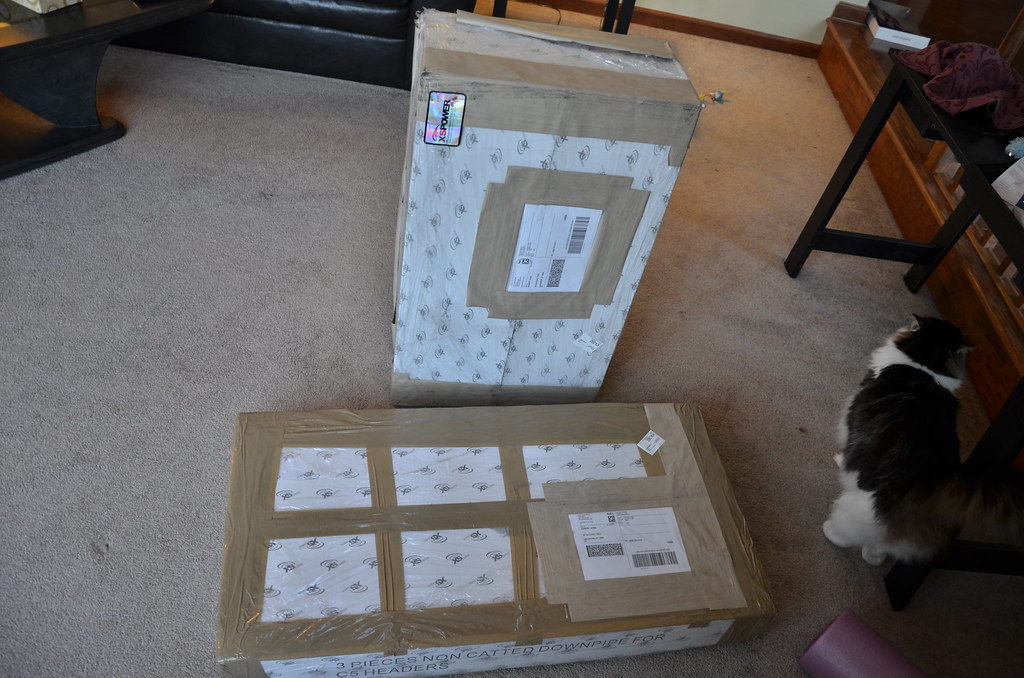
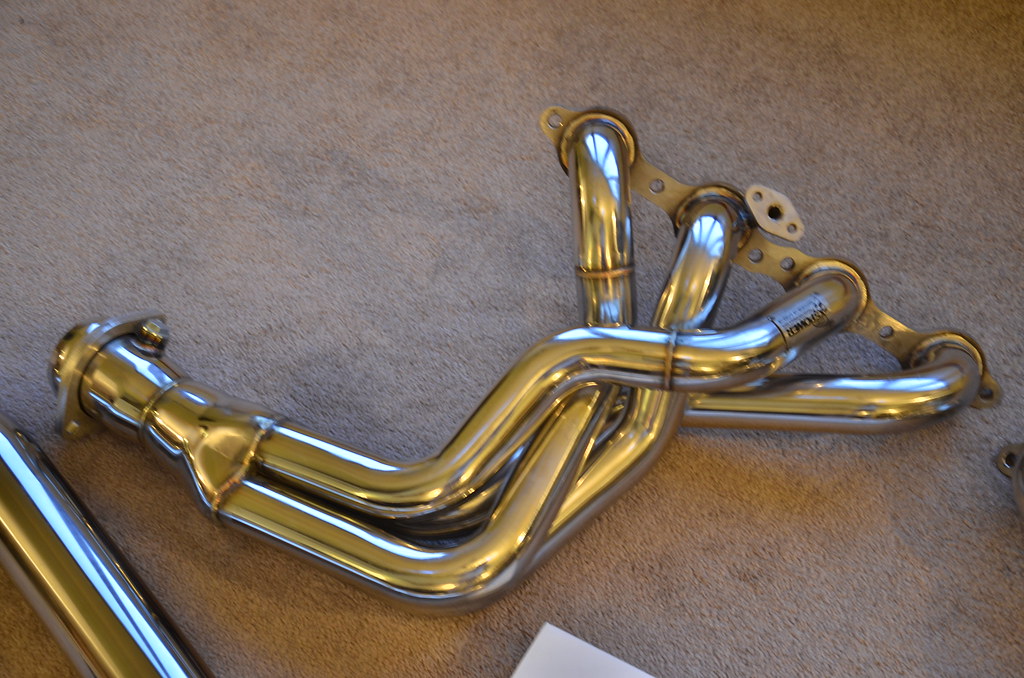
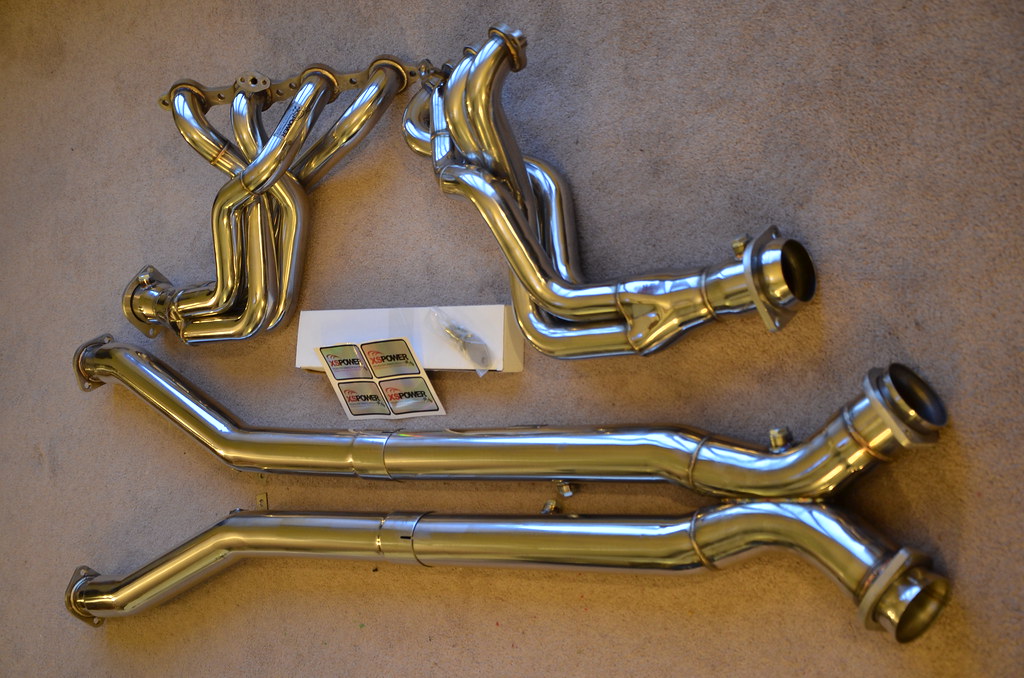
Longtubes came in much earlier than expected! I ordered them Sunday night and they were waiting for me Thursday afternoon. Not bad for a company that is closed this week and didn't expect to ship til next.
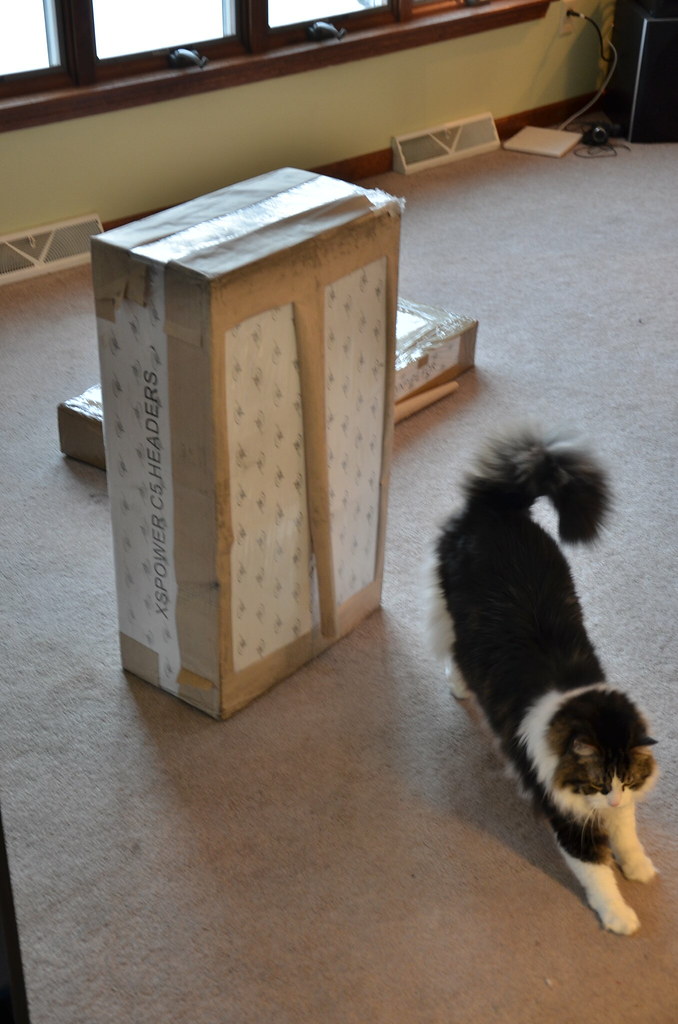
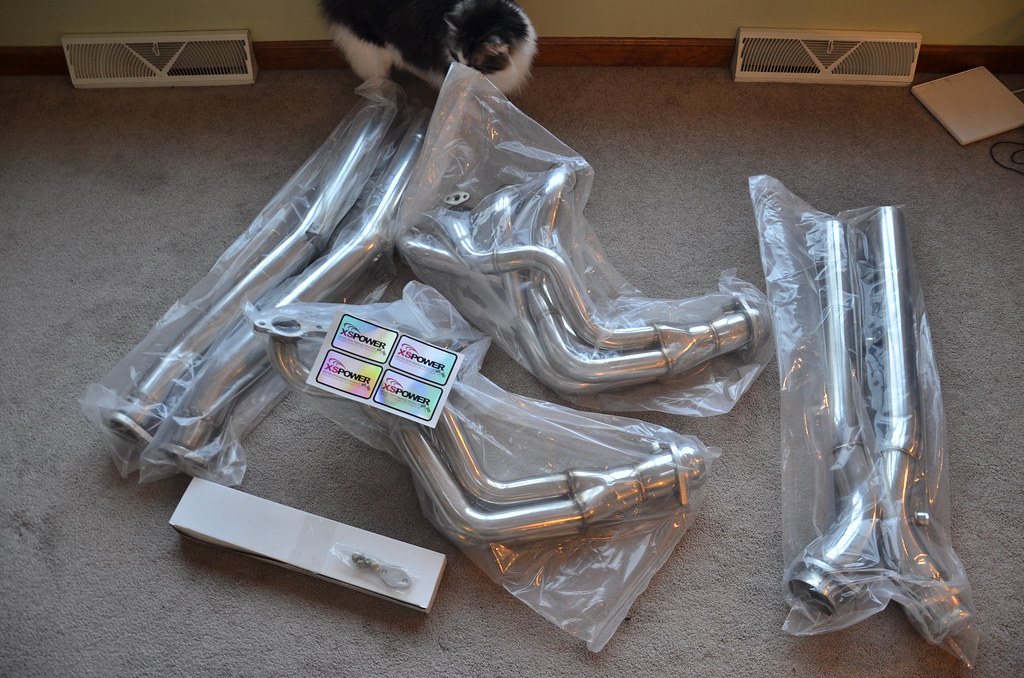
Boxes were wrapped up nicely. Cat was looking over the boxes, unfortunately I got the catless model, sorry lil guy
 _DSC4721 by Norbert Ogiba, on Flickr
 _DSC4723 by Norbert Ogiba, on Flickr
 _DSC4725 by Norbert Ogiba, on Flickr
 _DSC4726 by Norbert Ogiba, on Flickr
 _DSC4727 by Norbert Ogiba, on Flickr
 _DSC4728 by Norbert Ogiba, on Flickr
 _DSC4729 by Norbert Ogiba, on Flickr
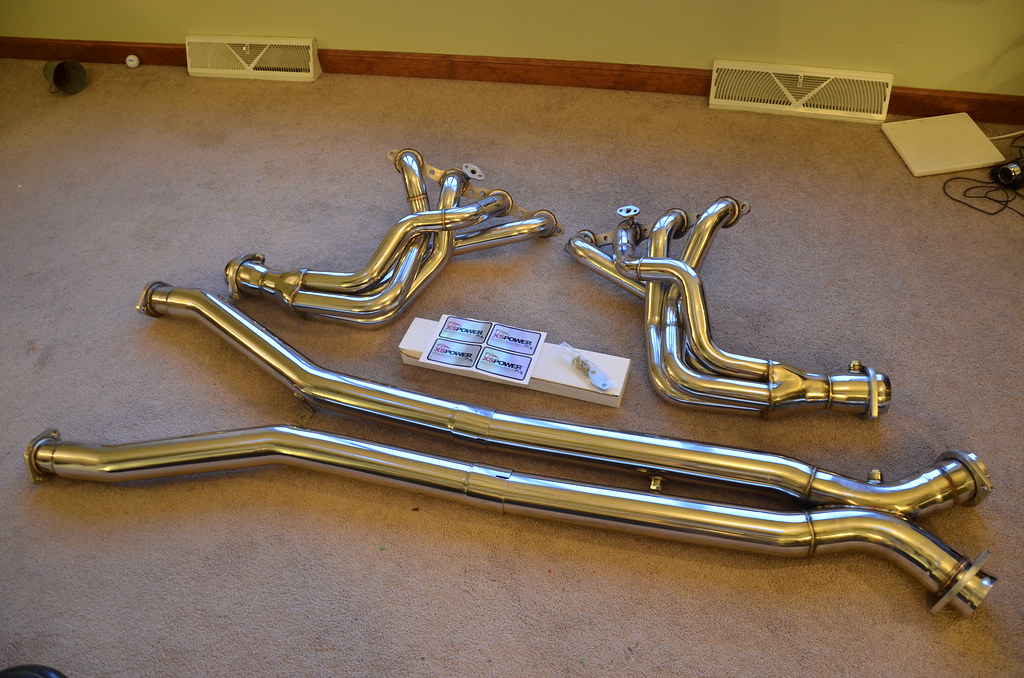
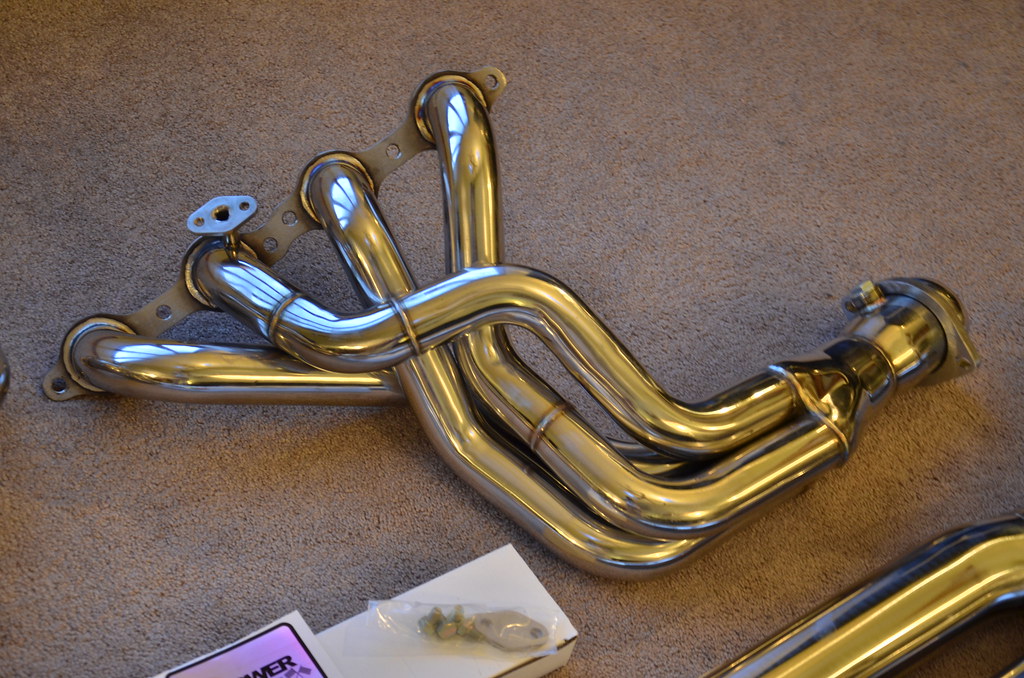
I didn't look too closely at the fabrication quality yet but initial impressions are good. We will see how the fitment is, I have heard good things.
Starting the install. The midpipes were already removed since I had been repairing the stock ones
 _DSC4730 by Norbert Ogiba, on Flickr
Fuel Rail Covers off. I need to scrub these things in some hot soapy water.
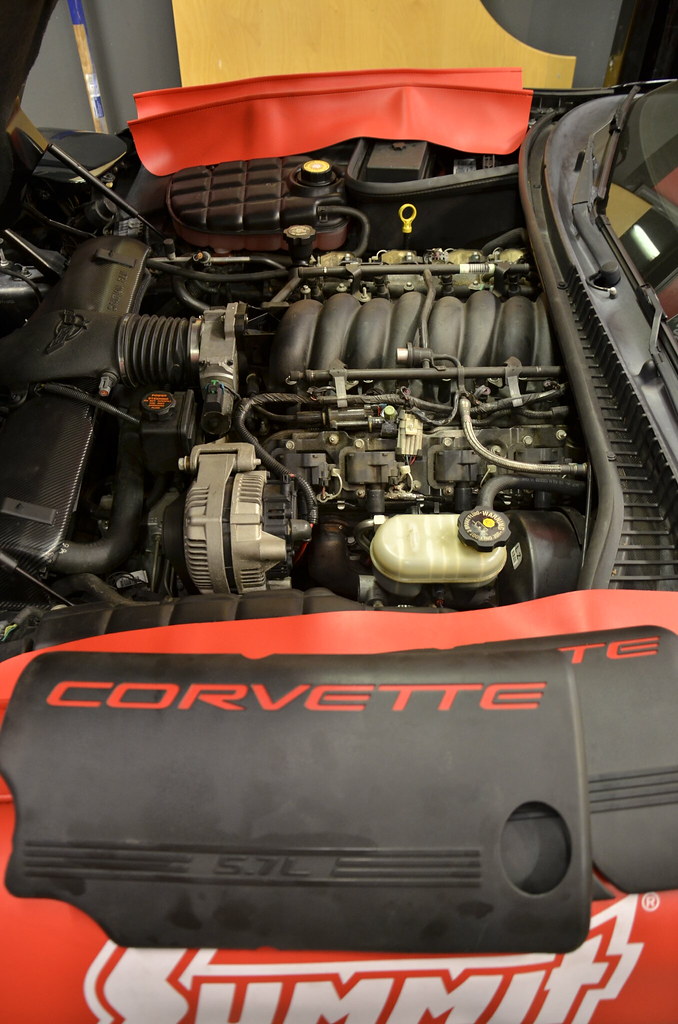 _DSC4731 by Norbert Ogiba, on Flickr
Battery disconnected and removed.
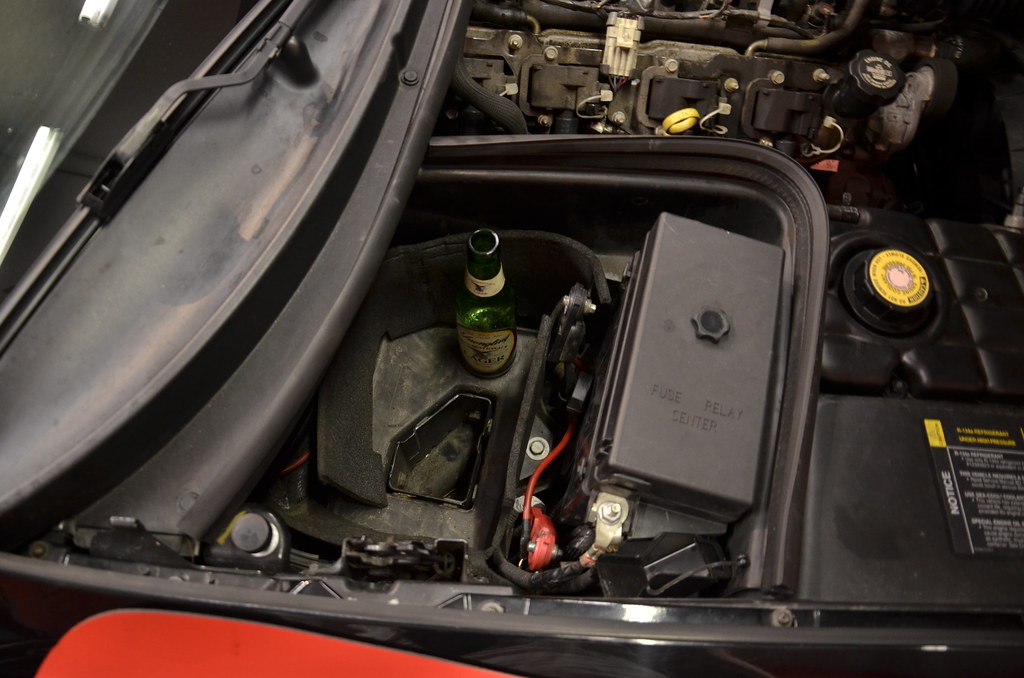 _DSC4734 by Norbert Ogiba, on Flickr
Belt de-tensioned. Also note that I wrapped the radiator cover in 3M CF vinyl. Started wrapping the headlight bezels as well.
 _DSC4735 by Norbert Ogiba, on Flickr
Alternator removed and placed aside (I didn't remove the big battery positive terminal)
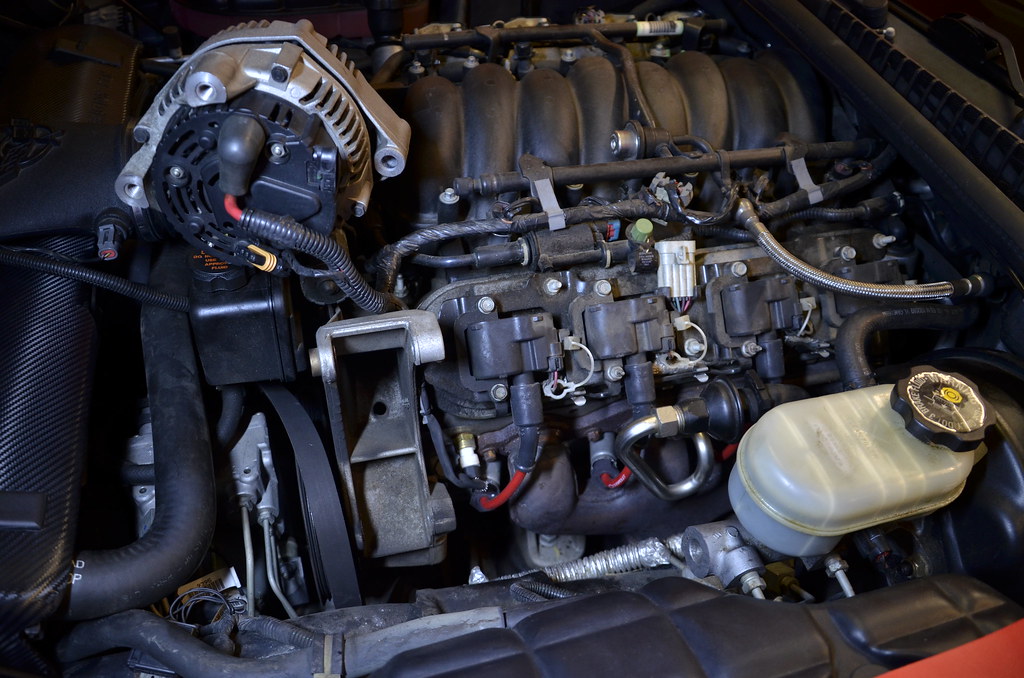 _DSC4737 by Norbert Ogiba, on Flickr
There's not a lot of room by the accessories so rather than remove the belt completely I just tucked it in the alt bracket so that it'll be easy to slip on later.
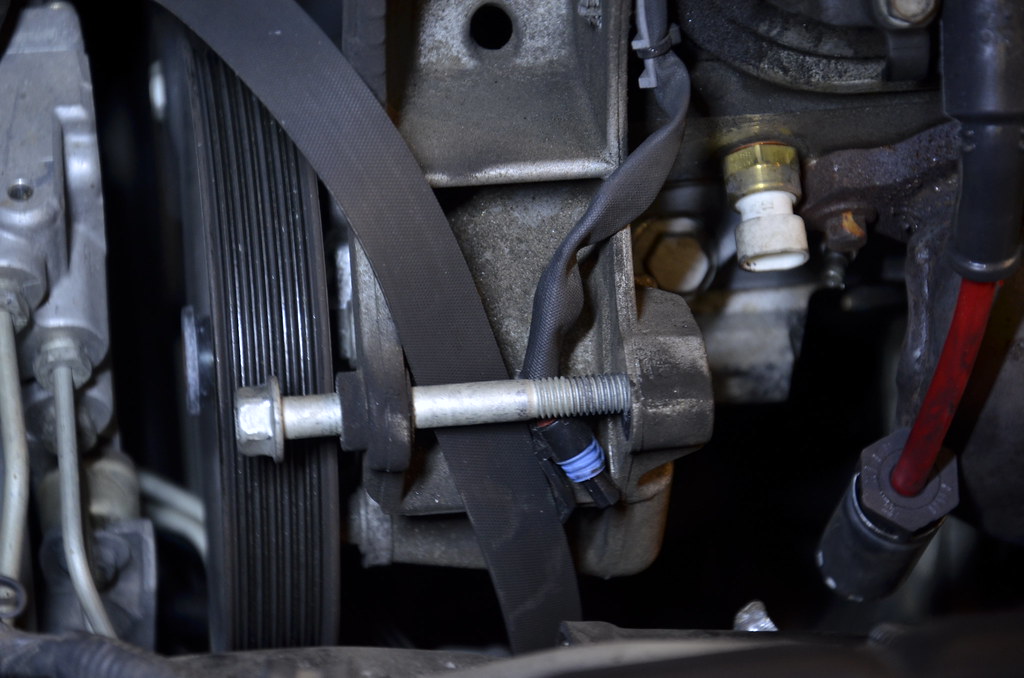 _DSC4738 by Norbert Ogiba, on Flickr
Driver's coils and AIR stuff removed. I'll probably end up pulling both valve covers and scrubbing them clean
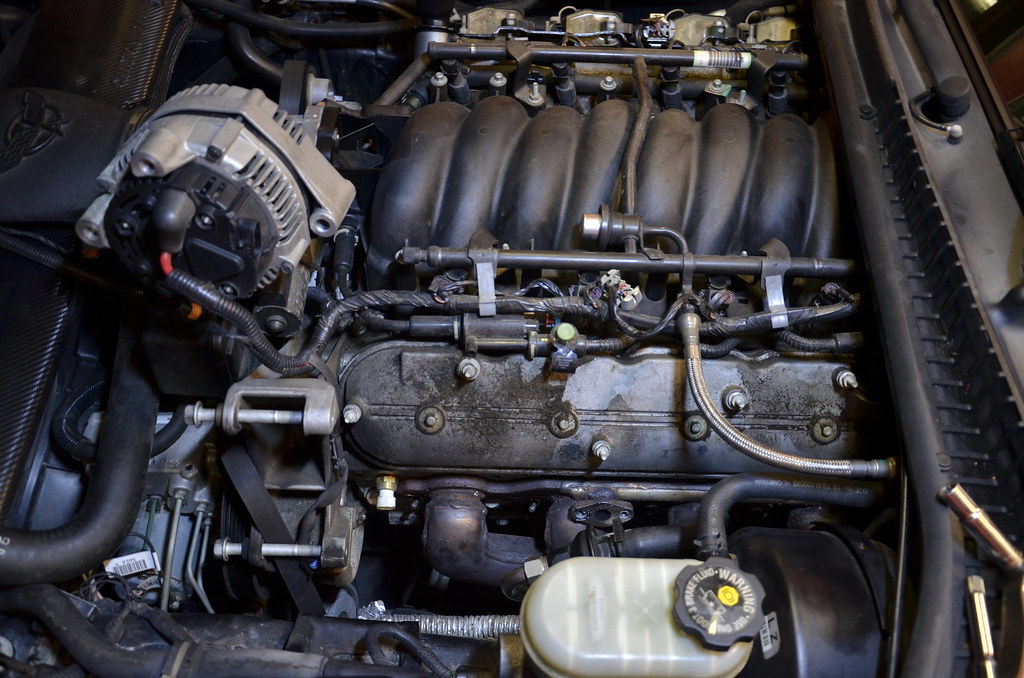 _DSC4740 by Norbert Ogiba, on Flickr
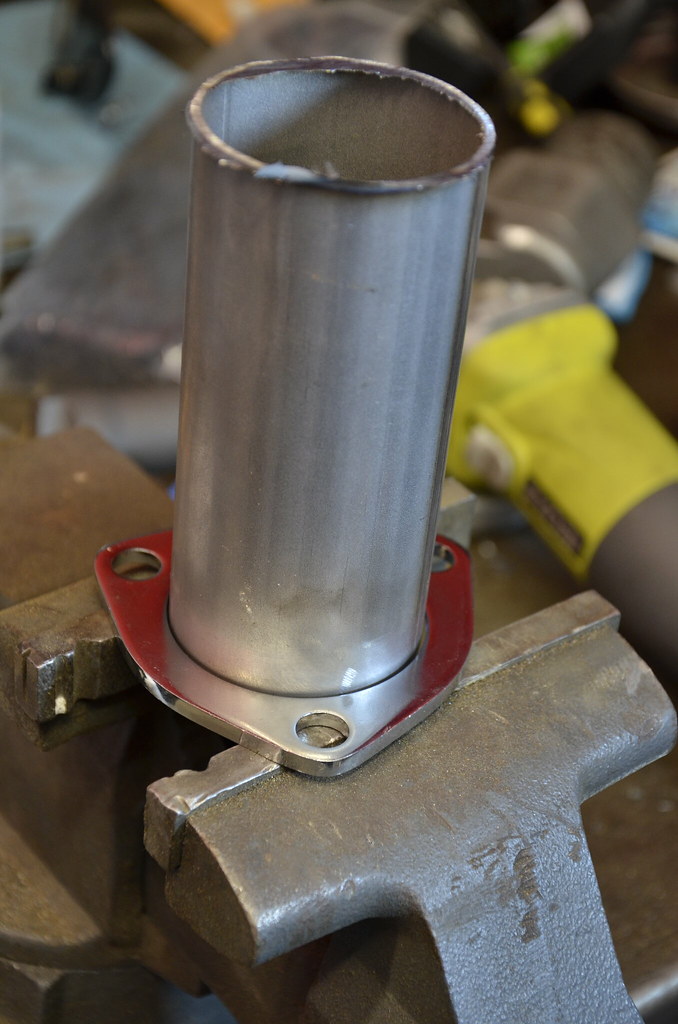
Also started fabbing the cutout pipes that will be welded to the x-pipe. Need to deburr and tack this flange (the cutout valve and turndown will bolt to the flange)
 _DSC4714 by Norbert Ogiba, on Flickr
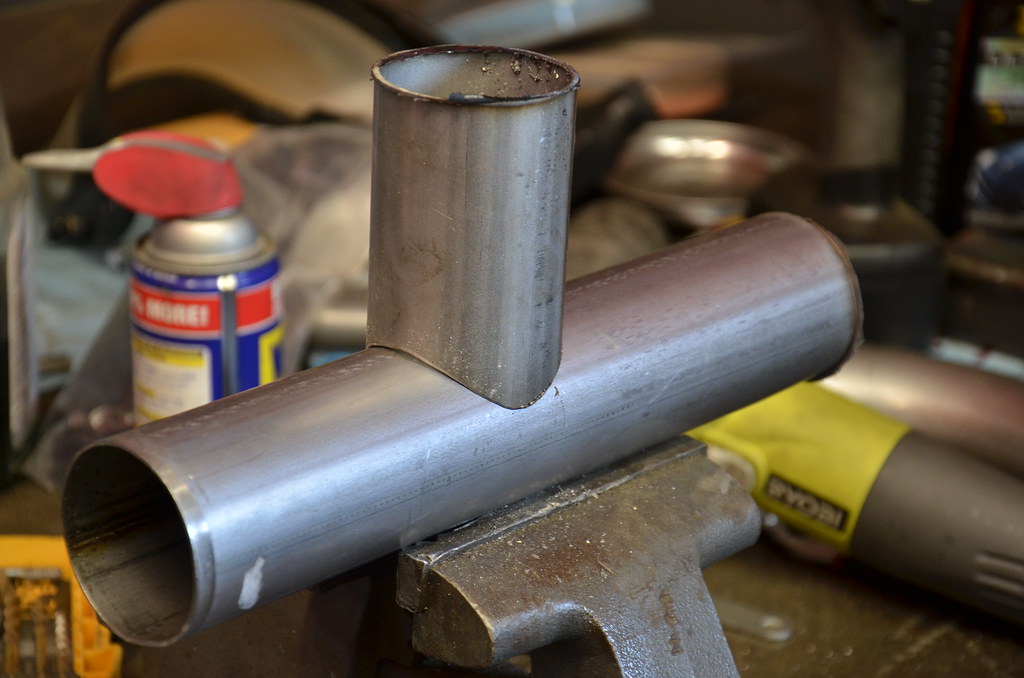
saddle cut with a hole saw. I may need to cut it with a 3" hole saw to saddle to the new x-pipe properly
 _DSC4720 by Norbert Ogiba, on Flickr
Boxes were wrapped up nicely. Cat was looking over the boxes, unfortunately I got the catless model, sorry lil guy
_DSC4721 by Norbert Ogiba, on Flickr_DSC4723 by Norbert Ogiba, on Flickr_DSC4725 by Norbert Ogiba, on Flickr_DSC4726 by Norbert Ogiba, on Flickr_DSC4727 by Norbert Ogiba, on Flickr_DSC4728 by Norbert Ogiba, on Flickr_DSC4729 by Norbert Ogiba, on FlickrI didn't look too closely at the fabrication quality yet but initial impressions are good. We will see how the fitment is, I have heard good things.
Starting the install. The midpipes were already removed since I had been repairing the stock ones
_DSC4730 by Norbert Ogiba, on FlickrFuel Rail Covers off. I need to scrub these things in some hot soapy water.
_DSC4731 by Norbert Ogiba, on FlickrBattery disconnected and removed.
_DSC4734 by Norbert Ogiba, on FlickrBelt de-tensioned. Also note that I wrapped the radiator cover in 3M CF vinyl. Started wrapping the headlight bezels as well.
_DSC4735 by Norbert Ogiba, on FlickrAlternator removed and placed aside (I didn't remove the big battery positive terminal)
_DSC4737 by Norbert Ogiba, on FlickrThere's not a lot of room by the accessories so rather than remove the belt completely I just tucked it in the alt bracket so that it'll be easy to slip on later.
_DSC4738 by Norbert Ogiba, on FlickrDriver's coils and AIR stuff removed. I'll probably end up pulling both valve covers and scrubbing them clean
_DSC4740 by Norbert Ogiba, on FlickrAlso started fabbing the cutout pipes that will be welded to the x-pipe. Need to deburr and tack this flange (the cutout valve and turndown will bolt to the flange)
_DSC4714 by Norbert Ogiba, on Flickrsaddle cut with a hole saw. I may need to cut it with a 3" hole saw to saddle to the new x-pipe properly
_DSC4720 by Norbert Ogiba, on Flickr
 02-23-2016, 08:00 PM
#40
Drifting
Thread Starter
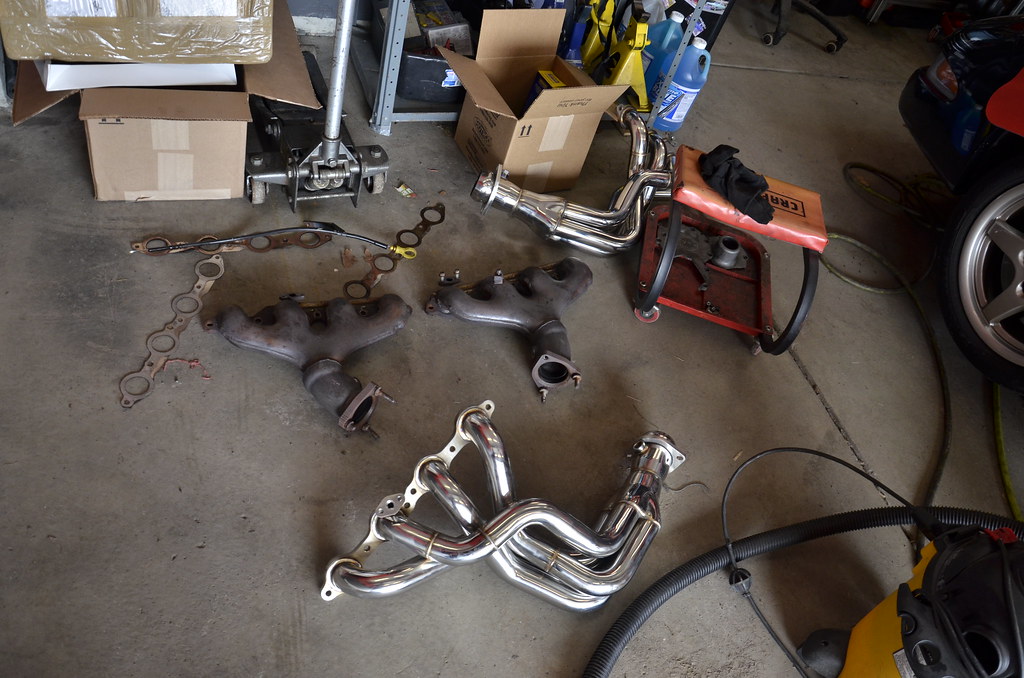
been busy. installed the headers over the weekend
got the old stuff out, came out pretty easy
 _DSC4741 by Norbert Ogiba, on Flickr
shop vac'd and cleaned the valve covers, 16 years of grime
 _DSC4742 by Norbert Ogiba, on Flickr
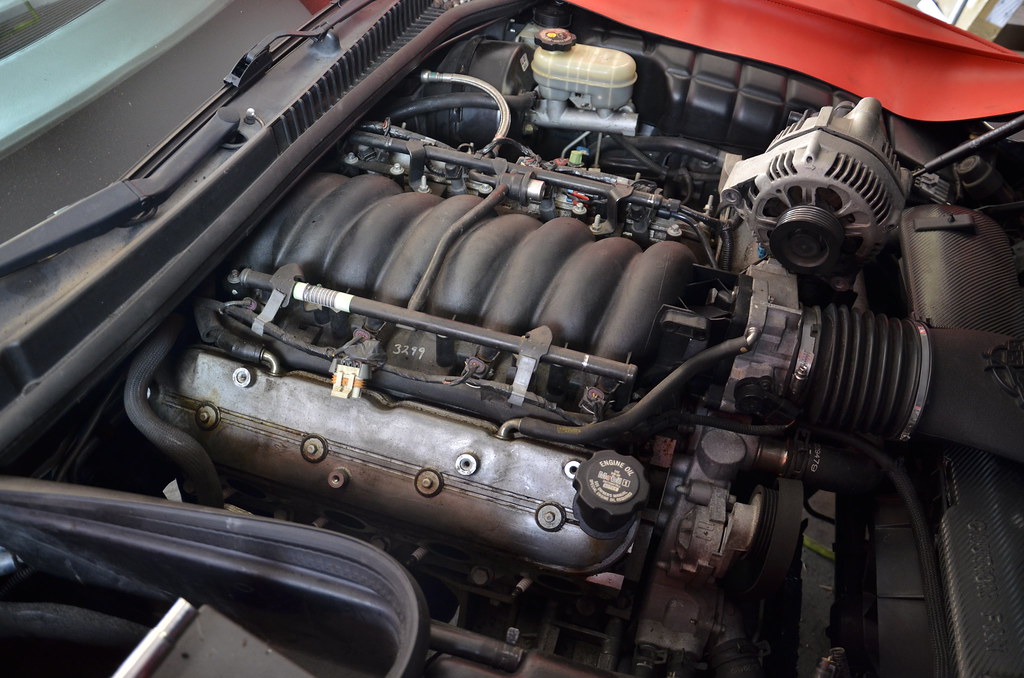 _DSC4743 by Norbert Ogiba, on Flickr
dropped by the dealer around the corner for some new MLS gaskets. I thought the ones that came with the headers would be the crappy imported perforated metal/paper type by they also seemed to be of the MLS construction. Never had a bad experience with the OEM GM gaskets though so they went in.
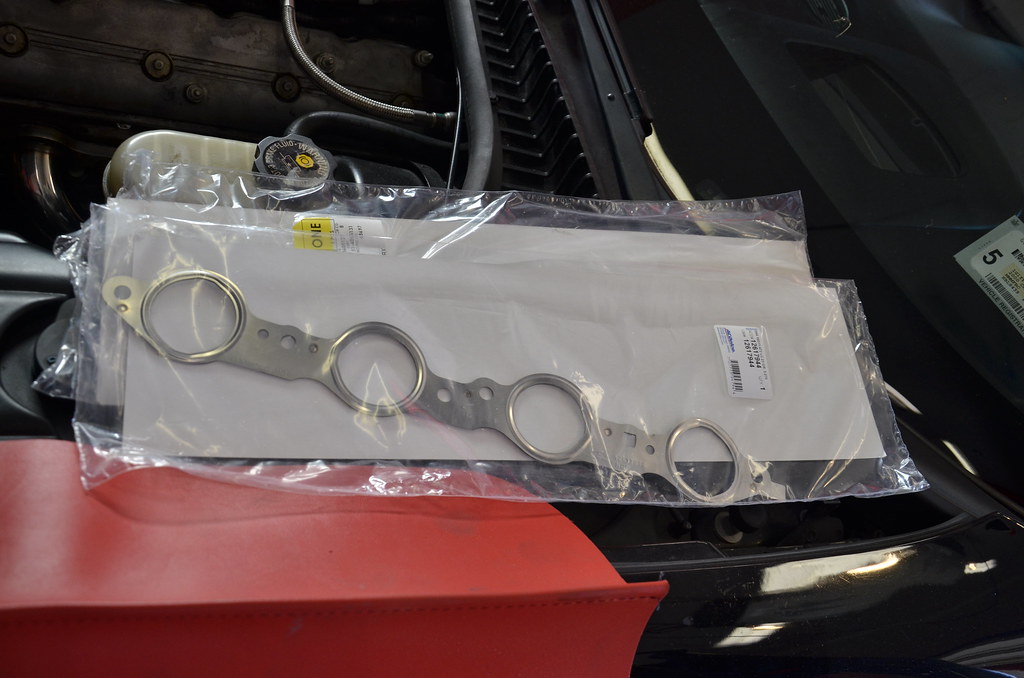 _DSC4744 by Norbert Ogiba, on Flickr
at this point I dropped the hammer and got the longtubes in. they fought me at first but I finally wrestled them in. It's a tight fit on both sides for sure. Had to grind a portion of bellhousing on the driver's side and slid those in from the bottom. On the passenger side they went in from the top after removing the starter and dipstick.
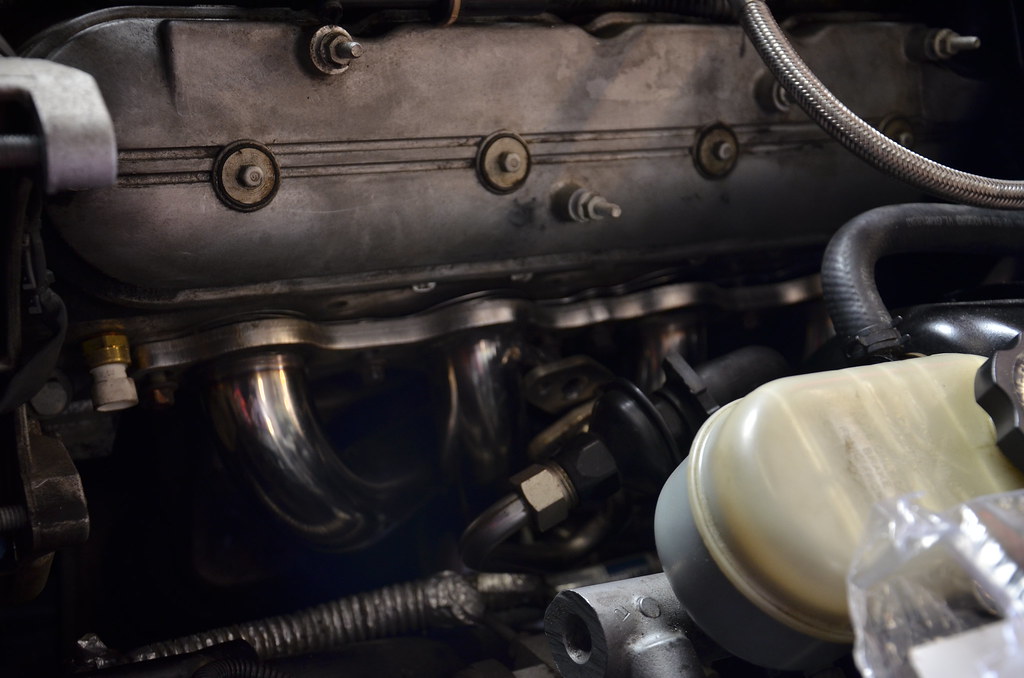 _DSC4745 by Norbert Ogiba, on Flickr
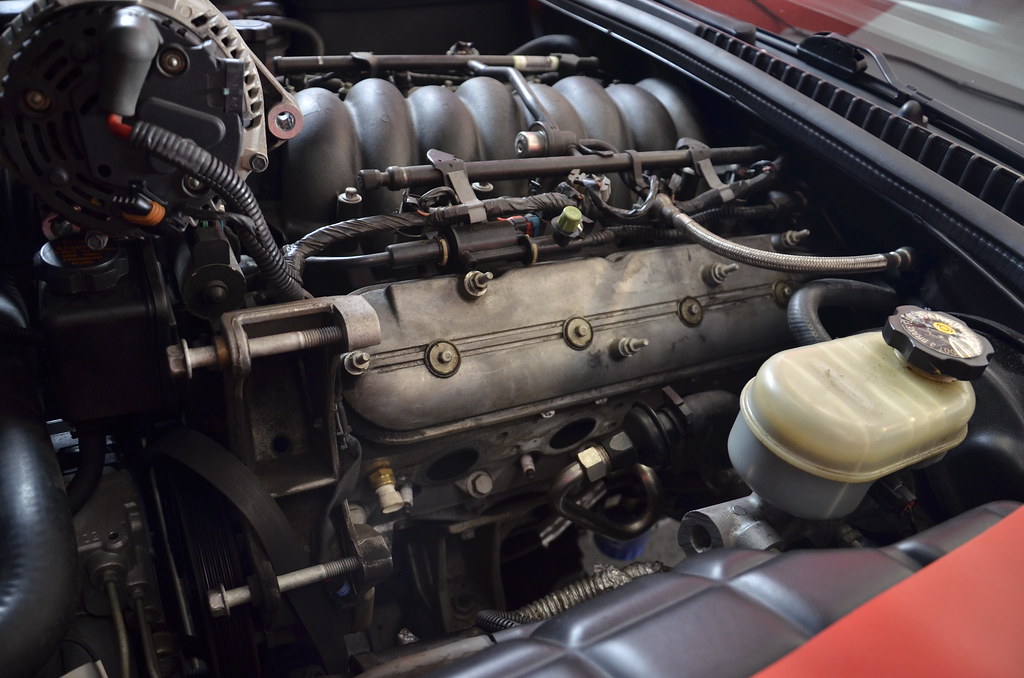
on the passenger side the valve cover had to come off to make some room. good time to inspect the valvetrain, very clean for 105K.
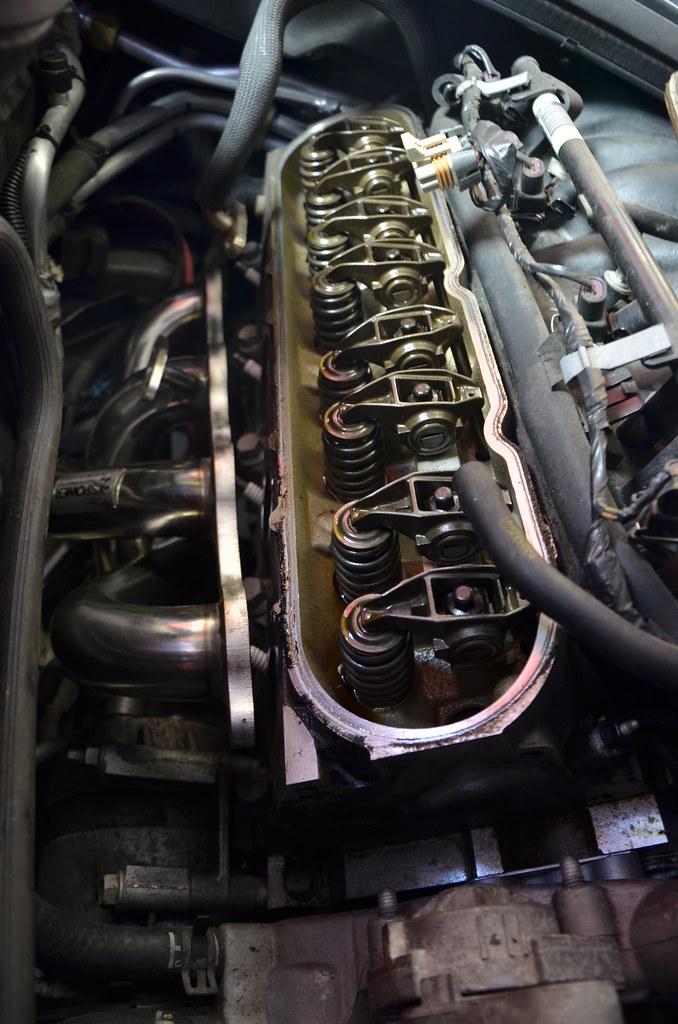 _DSC4746 by Norbert Ogiba, on Flickr
while removing the rear sway bar end links to make room for installing the Z06 Ti's the looked to be trashed, so I picked up metal construction, beefy Moog replacements with nice grease fittings for serviceability.
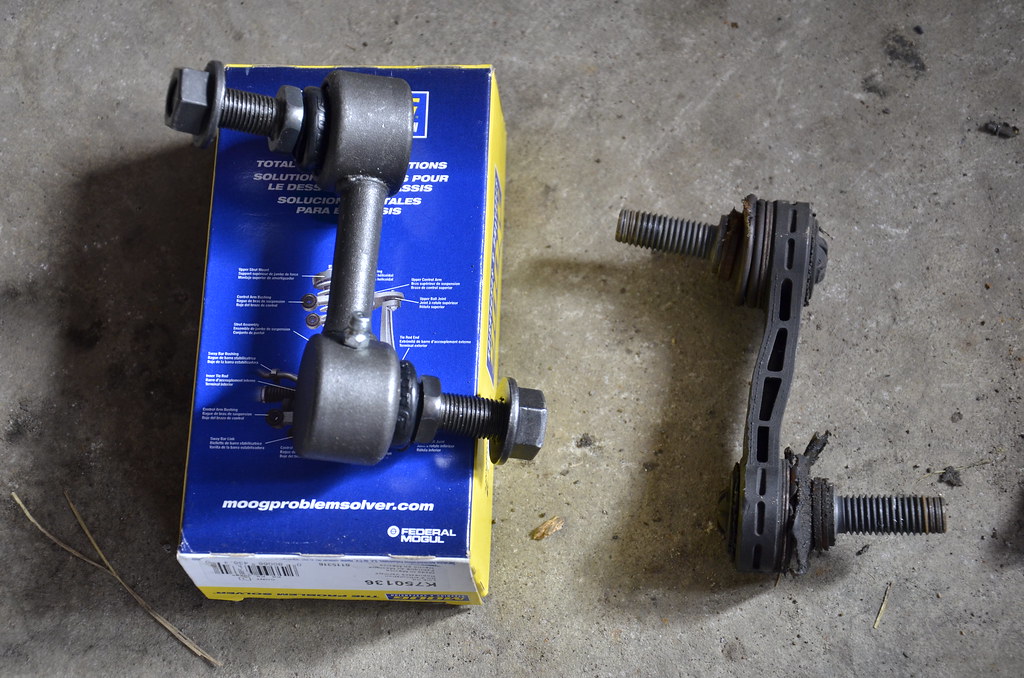 _DSC4747 by Norbert Ogiba, on Flickr
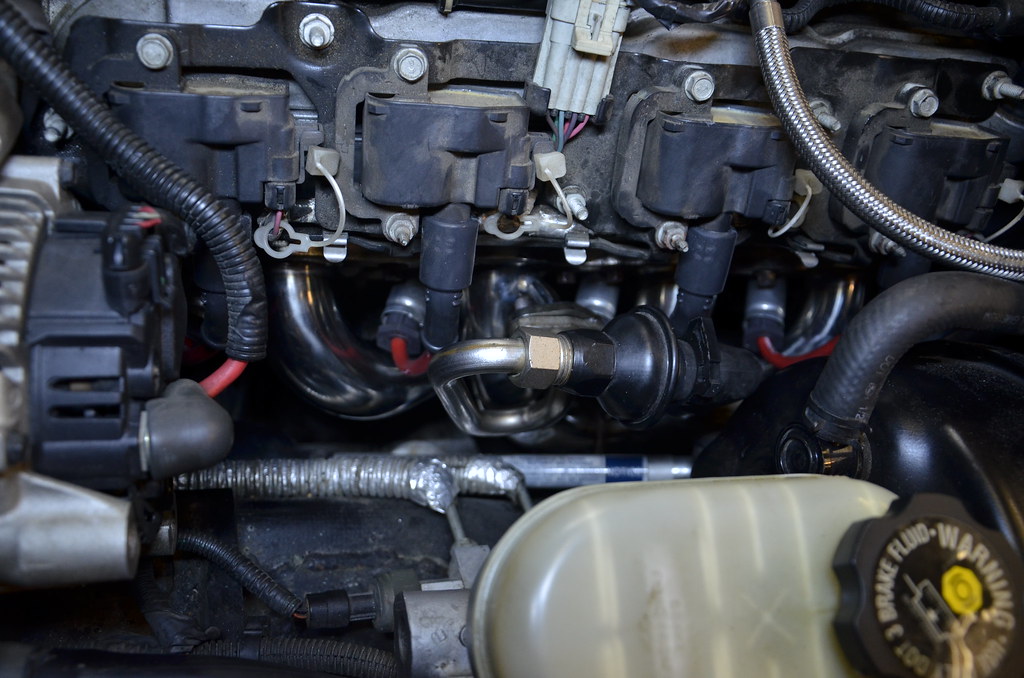
with the headers loosely bolted in I installed the x pipe and intermediate pipes underneath and connected everything. Everything tucked up nicely, no problems. Finally I tightened down the headers, x pipe, intermediates, and axleback. Before wrapping up the install I cleaned everything with IPA so that any fingerprints/grease wouldn't get burned onto the pipes and look bad.
 _DSC4748 by Norbert Ogiba, on Flickr
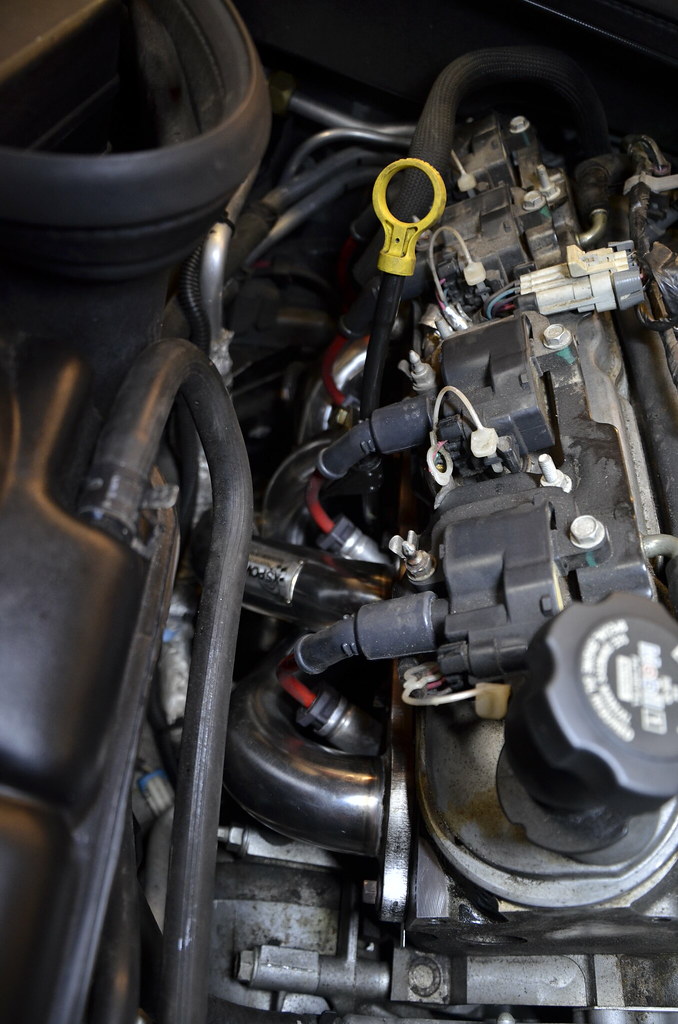
Coil packs, wires, AIR crap all back in.
 _DSC4749 by Norbert Ogiba, on Flickr
 _DSC4750 by Norbert Ogiba, on Flickr
Wire clearance on one of the passenger side primaries was closer than I'd like, but I've put a couple hundred miles on so far with no issue. I'm really glad I kept the factory metal heat shields
 _DSC4751 by Norbert Ogiba, on Flickr
got the old stuff out, came out pretty easy
_DSC4741 by Norbert Ogiba, on Flickrshop vac'd and cleaned the valve covers, 16 years of grime
_DSC4742 by Norbert Ogiba, on Flickr_DSC4743 by Norbert Ogiba, on Flickrdropped by the dealer around the corner for some new MLS gaskets. I thought the ones that came with the headers would be the crappy imported perforated metal/paper type by they also seemed to be of the MLS construction. Never had a bad experience with the OEM GM gaskets though so they went in.
_DSC4744 by Norbert Ogiba, on Flickrat this point I dropped the hammer and got the longtubes in. they fought me at first but I finally wrestled them in. It's a tight fit on both sides for sure. Had to grind a portion of bellhousing on the driver's side and slid those in from the bottom. On the passenger side they went in from the top after removing the starter and dipstick.
_DSC4745 by Norbert Ogiba, on Flickron the passenger side the valve cover had to come off to make some room. good time to inspect the valvetrain, very clean for 105K.
_DSC4746 by Norbert Ogiba, on Flickrwhile removing the rear sway bar end links to make room for installing the Z06 Ti's the looked to be trashed, so I picked up metal construction, beefy Moog replacements with nice grease fittings for serviceability.
_DSC4747 by Norbert Ogiba, on Flickrwith the headers loosely bolted in I installed the x pipe and intermediate pipes underneath and connected everything. Everything tucked up nicely, no problems. Finally I tightened down the headers, x pipe, intermediates, and axleback. Before wrapping up the install I cleaned everything with IPA so that any fingerprints/grease wouldn't get burned onto the pipes and look bad.
_DSC4748 by Norbert Ogiba, on FlickrCoil packs, wires, AIR crap all back in.
_DSC4749 by Norbert Ogiba, on Flickr_DSC4750 by Norbert Ogiba, on FlickrWire clearance on one of the passenger side primaries was closer than I'd like, but I've put a couple hundred miles on so far with no issue. I'm really glad I kept the factory metal heat shields
_DSC4751 by Norbert Ogiba, on Flickr
Last edited by nsogiba; 02-23-2016 at 08:14 PM.