
DIY: How to install Double-din Headunit in C5
 01-04-2017, 11:08 PM
#1
Instructor

Thread Starter
Hey guys, if you are thinking about modernizing up the C5's interior a bit and want to slap in a nice double-din headunit check out my little 2 part DIY video. I'll be making a part 3 soon because I wasn't completely happy with how it turned out but it's actually really easy to do yourself and you'll be saving over $500 for just a couple hours of work if you could find yourself a set of brackets or make your own.
Part 1:
Part 2:
Part 1:
Part 2:
Last edited by JDMricist_03; 01-06-2017 at 01:10 AM. Reason: Remove derogatory comment

The following 3 users liked this post by JDMricist_03:
01-05-2017, 09:09 AM
#2
Team Owner


Member Since: May 2000
Location: Plantation Florida USAF(Retired) 1966-1990
Posts: 47,886
Received 4,504 Likes
on
3,589 Posts
U.S. Air Force
St. Jude Donor '05-'06-'07-'08-'09-'10-'11-'12-'13-'14-'15-'16-'17-'18-'19-'20-'21-'22-'23-'24
NCM Sinkhole Donor


 Nicely done, except for the right side of the bracket you pointed out, which is simple repairs considering it's your first try.
Looks good, enjoy the new sounds.
01-05-2017, 09:32 AM
#3
Team Owner


Member Since: Mar 2001
Location: small town in S.E Pa. PA
Posts: 21,325
Received 3,812 Likes
on
1,925 Posts
St. Jude Donor '03-'04
Hey guys, if you are thinking about modernizing up the C5's interior a bit and want to slap in a nice double-din headunit check out my little 2 part DIY video. I'll be making a part 3 soon because I wasn't completely happy with how it turned out but it's actually really easy to do yourself and you'll be saving over $700 for just a couple hours of work if you could find a set of brackets
01-05-2017, 03:56 PM
#4
1/4 mile/AutoX

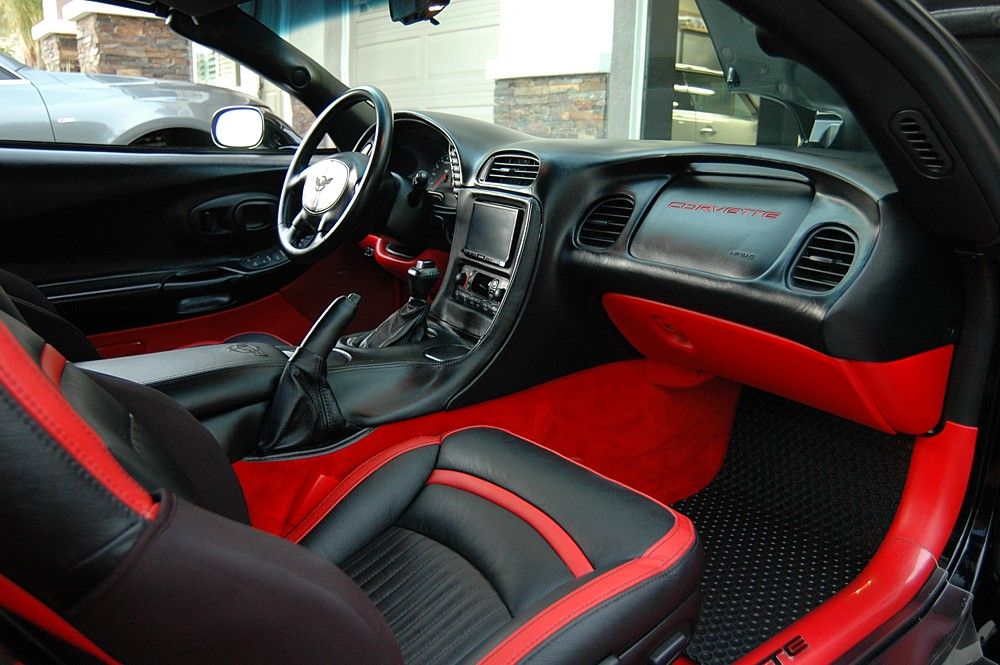
I wasn't going to reply to this BUT !! If your happy with your finished product that is great, but it looks back yard. I had my bezel and DD system from DD Mods and I can tell you it was way under 800 dollars. It was a special Dennis ran last Jan. the radio was a brand new model, in fact it was delayed more than a month, but that radio now is close to 500 dollars. I like the DD system because it looks like it was always there. Some people ask me what year it is because of the DD radio, it looks Factory !! I have all the extra's back-up camera, all my factory systems work like they should and best I have Andriod apps !!
01-05-2017, 04:09 PM
#5
Racing

If I were you, I would paint the entire console in order to make it appear uniform and clean. The edges of the plastidip are going to lift on you and they just look sorta crummy. The rest of the install was very intuitive. This was a clever way of making this work for a fraction of the cost. I definitely applaud you for that! Keep it up and that for showing your progress 
01-05-2017, 04:54 PM
#6
Pro


I've invested in a new bezel from DD also. Def less than $800 that you were quoted, but more than the $20 in materials that you used. On the whole, I think you are on your way once you nail down the additional work needed to clean up the imperfections. I'm with 383 Z06... Get rid of the Plasti-Dip and go with some paint for the whole bezel. All in all, an innovative way to tackle the problem yourself.
01-05-2017, 07:02 PM
#7
Team Owner
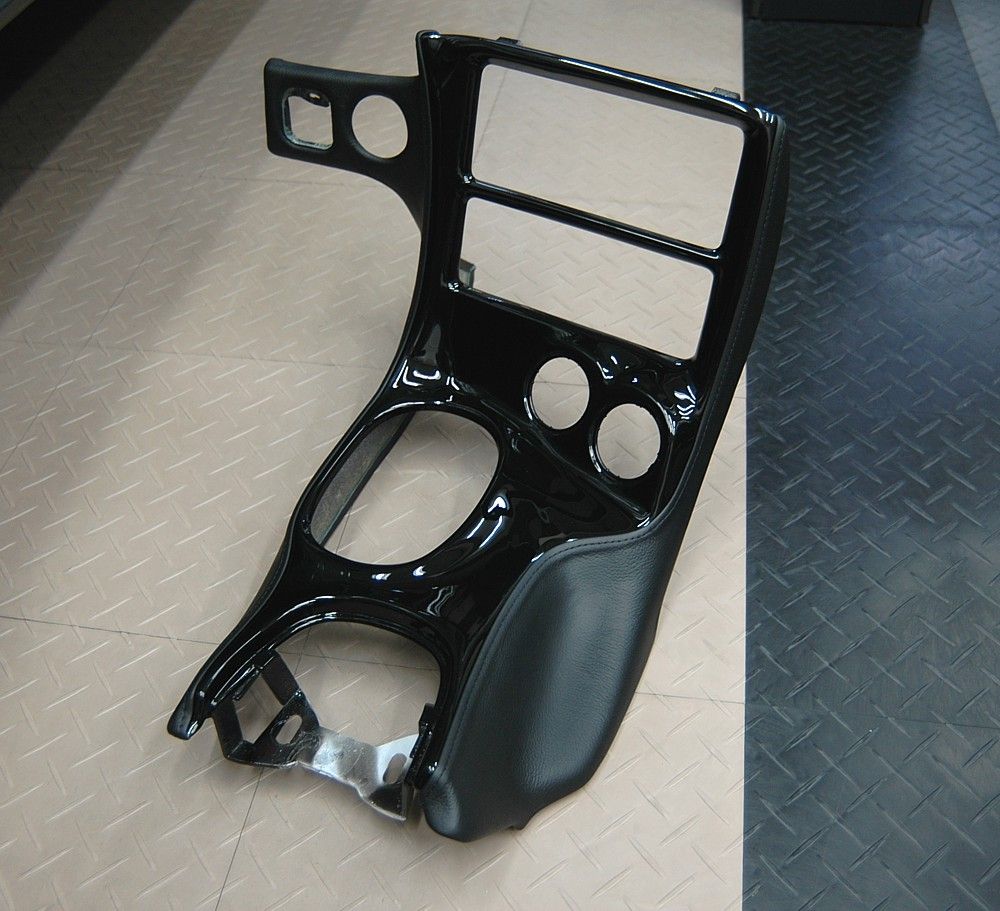
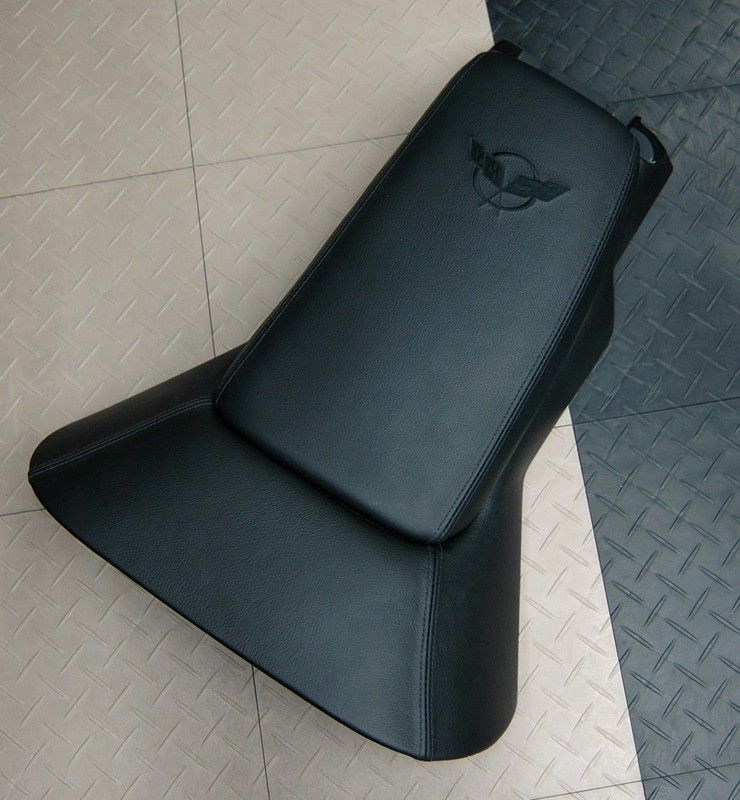
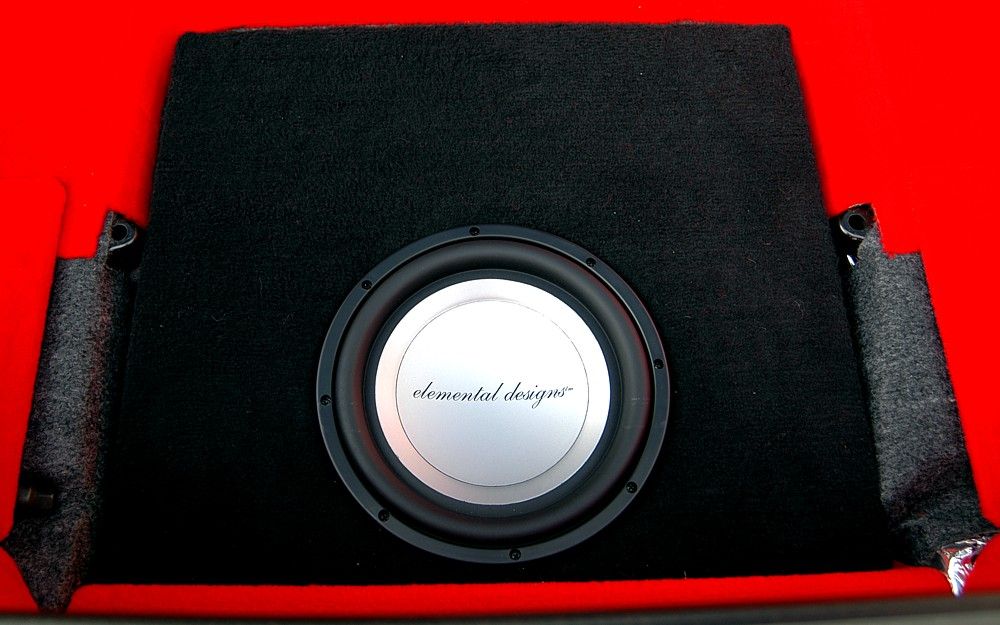
Here's my last bezel and console from Dennis at DD - nowhere near $800. I am capable of DIY'ing plenty of stuff but, as the man said, "A man's got to know his limitations." My standards are high so this was something I was willing to pay a pro to do for me. The bezel is the centerpiece of the interior so I asked Dennis to customize this one. He also did the console.
The following users liked this post:
Pounder (01-05-2017)

The following 4 users liked this post by 99mike:
01-06-2017, 01:10 AM
#9
Instructor
Thread Starter
Thanks for the kind words and corrections guys. I was wrong on the price, when I checked the DD mods radio bezel I saw $799 but that was for a carbon fiber or leather wrapped or something, I think the normal one is $599 so you would be saving $500, not $700 my bad. Thanks for the suggestions too on the paint too btw, the plastidip is DEFINITELY not optimal and I do NOT recommend it, I just used it because I knew I could just peel it right off if I wasn't happy with it since it was my first attempt and my clutch blew up at the same time so I just wanted to get it back together real quick so I could start focusing my time and energy on the clutch which I have an awesome DIY video in the works on that too btw.
 01-07-2017, 10:02 AM
#11
1/4 mile/AutoX
Double Din, size of the radio, ours are Din and 1/2, older cars were single din
http://shop.doubledmods.com/main.sc
http://shop.doubledmods.com/main.sc
Last edited by Pounder; 01-07-2017 at 10:04 AM.
01-07-2017, 12:02 PM
#12
Le Mans Master

Member Since: Jul 2011
Location: Morristown New Jersey
Posts: 7,263
Received 914 Likes
on
721 Posts
Oldtimer

As a obsessive DIY'er I must do it myself!

 01-07-2017, 01:27 PM
#14
1/4 mile/AutoX
The following users liked this post:
chasboy (01-08-2017)
01-07-2017, 01:40 PM
#15
Team Owner
Member Since: Mar 2001
Location: small town in S.E Pa. PA
Posts: 21,325
Received 3,812 Likes
on
1,925 Posts
St. Jude Donor '03-'04
Sneaky, Bill! I didn't know you customized your dash. I have to look at some pix of your interior to see what you did. The only thing I miss about a c5 is a nav system. I'm perfectly happy with the stock stereo, but I'd love nav and Bluetooth.
As a obsessive DIY'er I must do it myself!
As a obsessive DIY'er I must do it myself!


Bill aka ET Photo *****
01-07-2017, 01:52 PM
#16
Melting Slicks

Member Since: Jul 2004
Location: orlando florida
Posts: 3,092
Received 114 Likes
on
98 Posts
St. Jude Donor '15

I bought the "cheap" version from Dennis at Doubledmods. 499.00 had my bezel modified, Jensen vx7022 radio comes with Bluetooth and nav, supllied brackets, and backup camera.
Last edited by mrr23; 01-07-2017 at 02:28 PM.
01-07-2017, 01:58 PM
#17
Team Owner
I did a full double din on the wife's C5 several years ago. Definitely a nice upgrade for a C5. Dennis did the dd bezel and leather work for me as well as selling my the components for the sound system. Installation was courtesy of Yours Truly.

The following users liked this post:
Pounder (01-07-2017)
01-07-2017, 02:08 PM
#18
1/4 mile/AutoX
You guys with the leather wrapped Bezel, they look incredible, would love to do that with mine some day !!! Seat covers first !!!!
01-07-2017, 02:32 PM
#19
Safety Car

To the OP, ZeeOhhSeven.
Did you have to cut off the tabs at the very top of the bezel? There appears to be a gap at the top, between the bezel and dash. The bottom of the HVAC control unit appears to be exposed from what I can see in the video. Was this just a dry fit?
IMO I think it would look better if you blended the inside corners of the side filler pieces with some more plastic filler before you paint it for a better fit and finish. Maybe shim the head unit up a hair and add in part of the old horizontal filler piece between the HVAC and head unit.
Any way, thanks for the video. I saw part 1 a while back on YT and thought you gave up. I hope to see a part 3.
Nice garage!
01-07-2017, 02:40 PM
#20
Safety Car
One thing I noticed about the DD installs is that the head unit sticks out about 1/2" over the HVAC. Not so deep.
I am getting ready to do a similar DIY in real carbon fiber and leather as soon as I get the rest of the interior pieces.
I am getting ready to do a similar DIY in real carbon fiber and leather as soon as I get the rest of the interior pieces.