
For those who have done Dash LED mods ?
 01-15-2017, 09:13 PM
#1
Safety Car

Thread Starter
" MOST" LED's are set up with the longer wire being positive polarity,and the short wire is negative polarity. Yes or no ?
Next Question: Is there anyway of telling on the PCB which socket is positive and negative or is a crap shoot and if it doesn't light up,you have to unsolder, flip it 180 degrees,re-solder, plug the harness back in and check ?
Next Question: Is there anyway of telling on the PCB which socket is positive and negative or is a crap shoot and if it doesn't light up,you have to unsolder, flip it 180 degrees,re-solder, plug the harness back in and check ?
Last edited by SG Lou; 01-15-2017 at 09:14 PM.
 01-16-2017, 03:47 AM
#2
Drifting

I use one of those CR2025 batteries to A) Check the polarity, and B) make sure the LED is working before I solder it in.
However, there is an easier way to replace the dash lights with LEDs.
1. Use this thread to find out what LEDs you need: https://www.corvetteforum.com/forums...od-thread.html
2. Buy the LEDs on Ebay (preferably a US seller), in the colors you want. Now, here is where you need to do a bit of translation from the LED mod thread. The LED mod thread lists the bulbs as Neo Wedge A and B types. Neo Wedge Type A translates to Neo Wedge T3, and Type B translates to T4 or T4.2. Basically, just look for Neo Wedge T3 and T4 LEDs.
3. Insert LEDs into socket. Connect power for lights. If they don't light up, flip the socket around.
The LEDs are very cheap on Ebay ($7 for a set of 20 from a US seller), and no need to bother soldering anything. All different colors are available too.
01-16-2017, 06:40 AM
#3
Le Mans Master

Member Since: Jul 2011
Location: Morristown New Jersey
Posts: 7,263
Received 914 Likes
on
721 Posts
Oldtimer

Be very careful of the neo-wedges. I've never found aftermarket ones that fit properly. The disk shaped base is too thick, so they do not just turn and click into place. On my Z, I ended up switching the stick bulb out of the base for the Led. On this Pewter coupe, I directly soldered in the new LED's .
01-16-2017, 11:17 PM
#4
Team Owner

Member Since: Jul 2016
Location: The Steel City, Colorful Colorado
Posts: 25,306
Received 1,679 Likes
on
1,182 Posts
Winner 2020 C7 of the Year - Modified
I've replaced all of my interior lights with LEDs. I used the red neo wedge LEDs for the door switches, HUD, DIC, fog light/hatch, traction control, etc.. I even took the red and a couple blue neo wedges apart from the plastic housing and used them to replace all of the lights in my stereo and HVAC. The shifter, sun visors, glove box, footwell and cargo areas used LEDs that were an easier fit.
Feel free to send me a PM if you run into issues SG Lou.
Feel free to send me a PM if you run into issues SG Lou.
01-17-2017, 01:36 PM
#5
Drifting
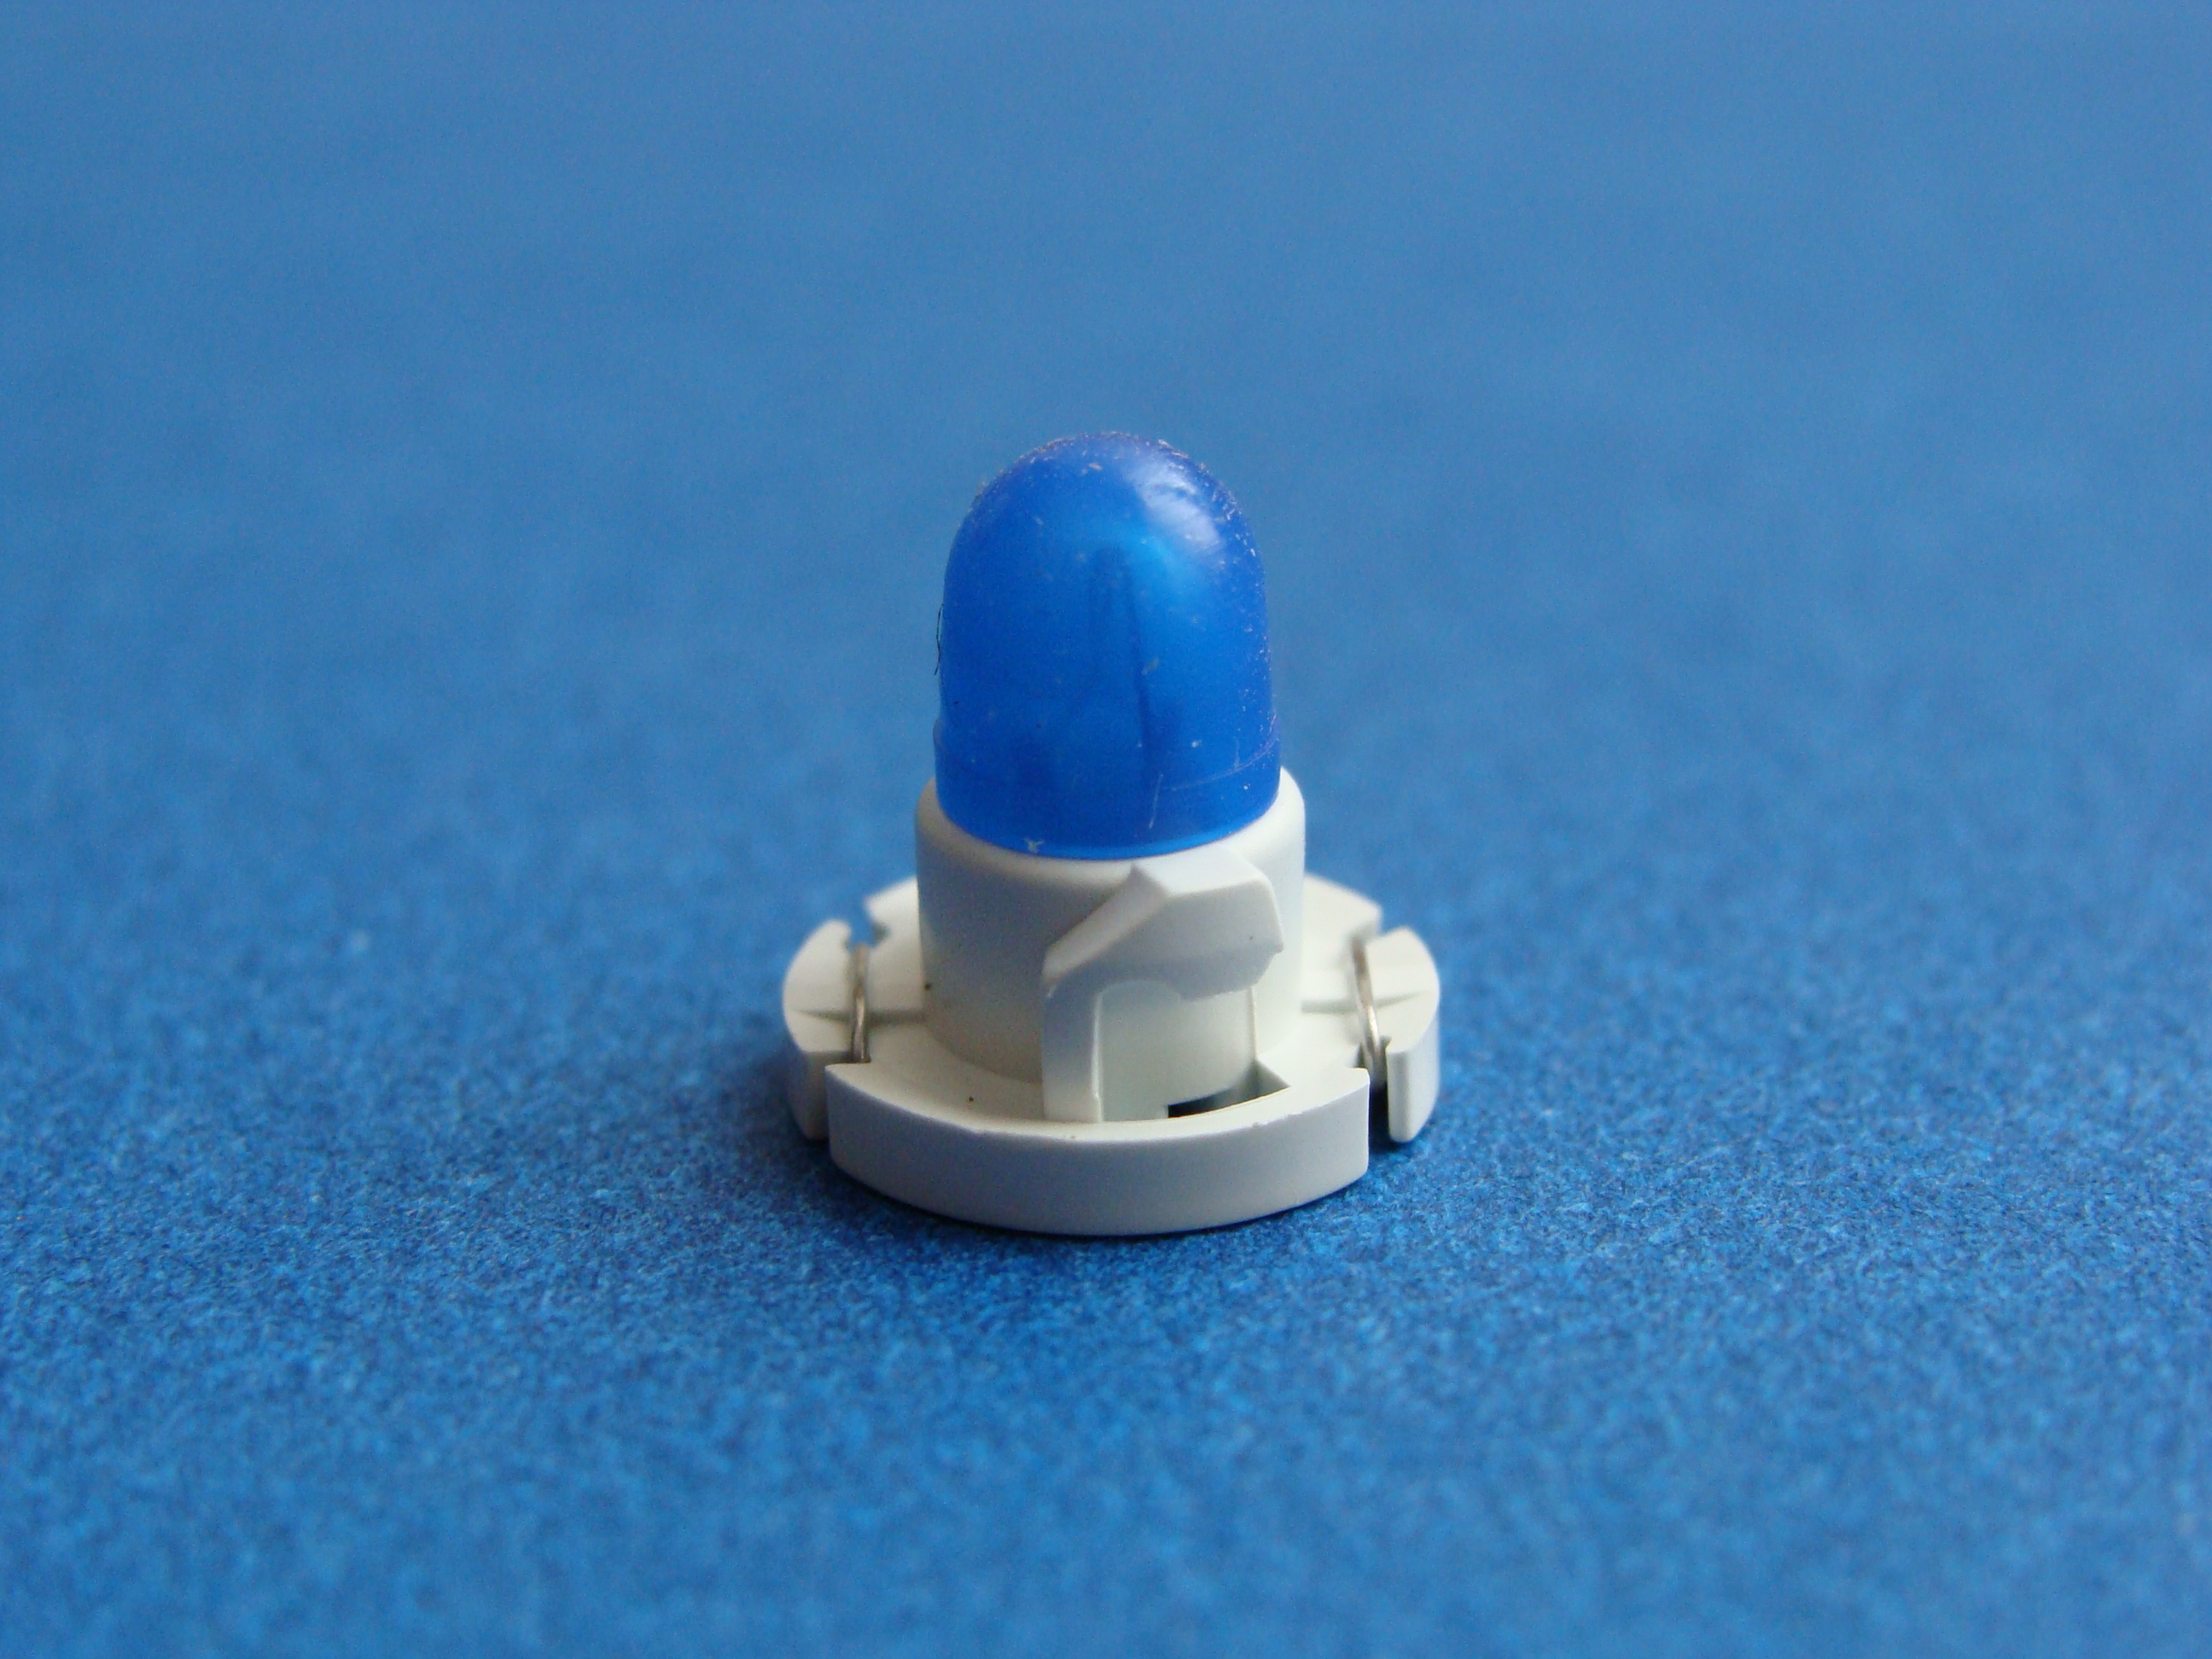
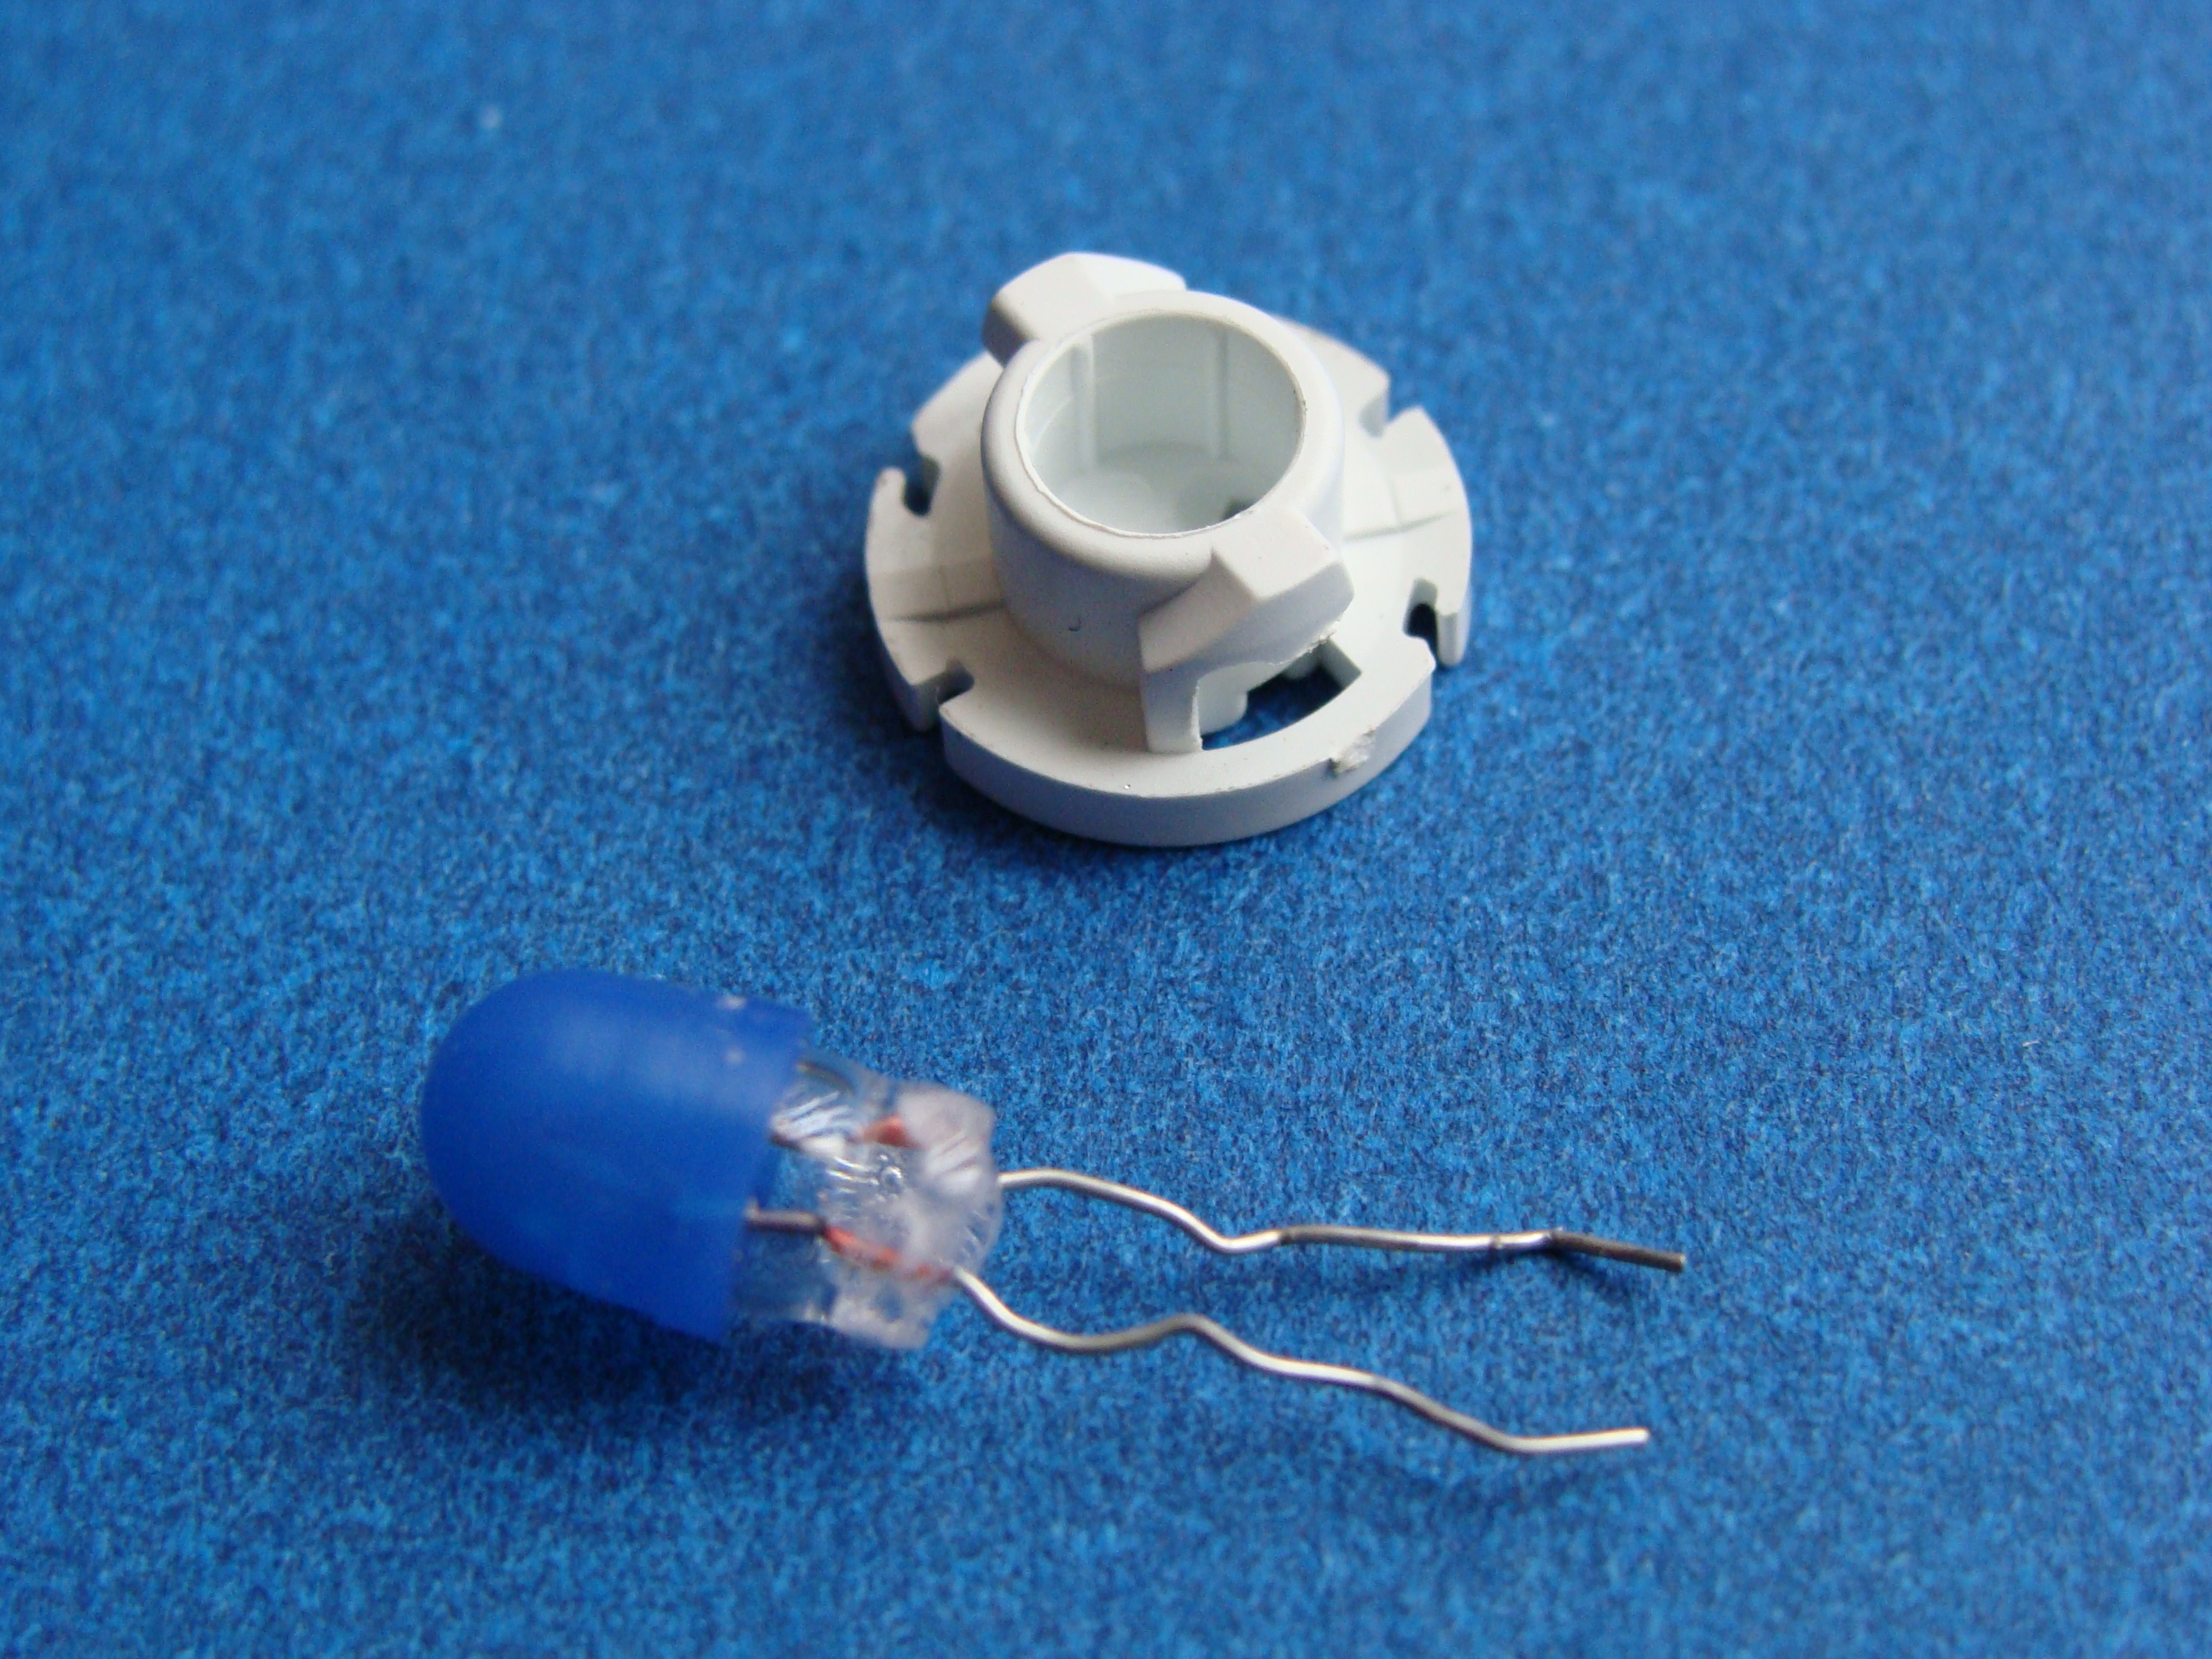
I had ordered some replacements from some vendors & wasn't impressed by the quality, so all were returned, and decided to do my own, I did no soldering & ordered leds that would fit the original factory bulb housings.
The 10mm were easy, just remove the original bulb & replace with the led, the 8mm were more complex, the led's were glued into the housings, so I had to cut them out & then drill 2 holes into the factory housings for the resistors. The pictures posted are what I did for just my door switches, DIC, traction control & fog & hatch switch.
10MM HOUSINGS
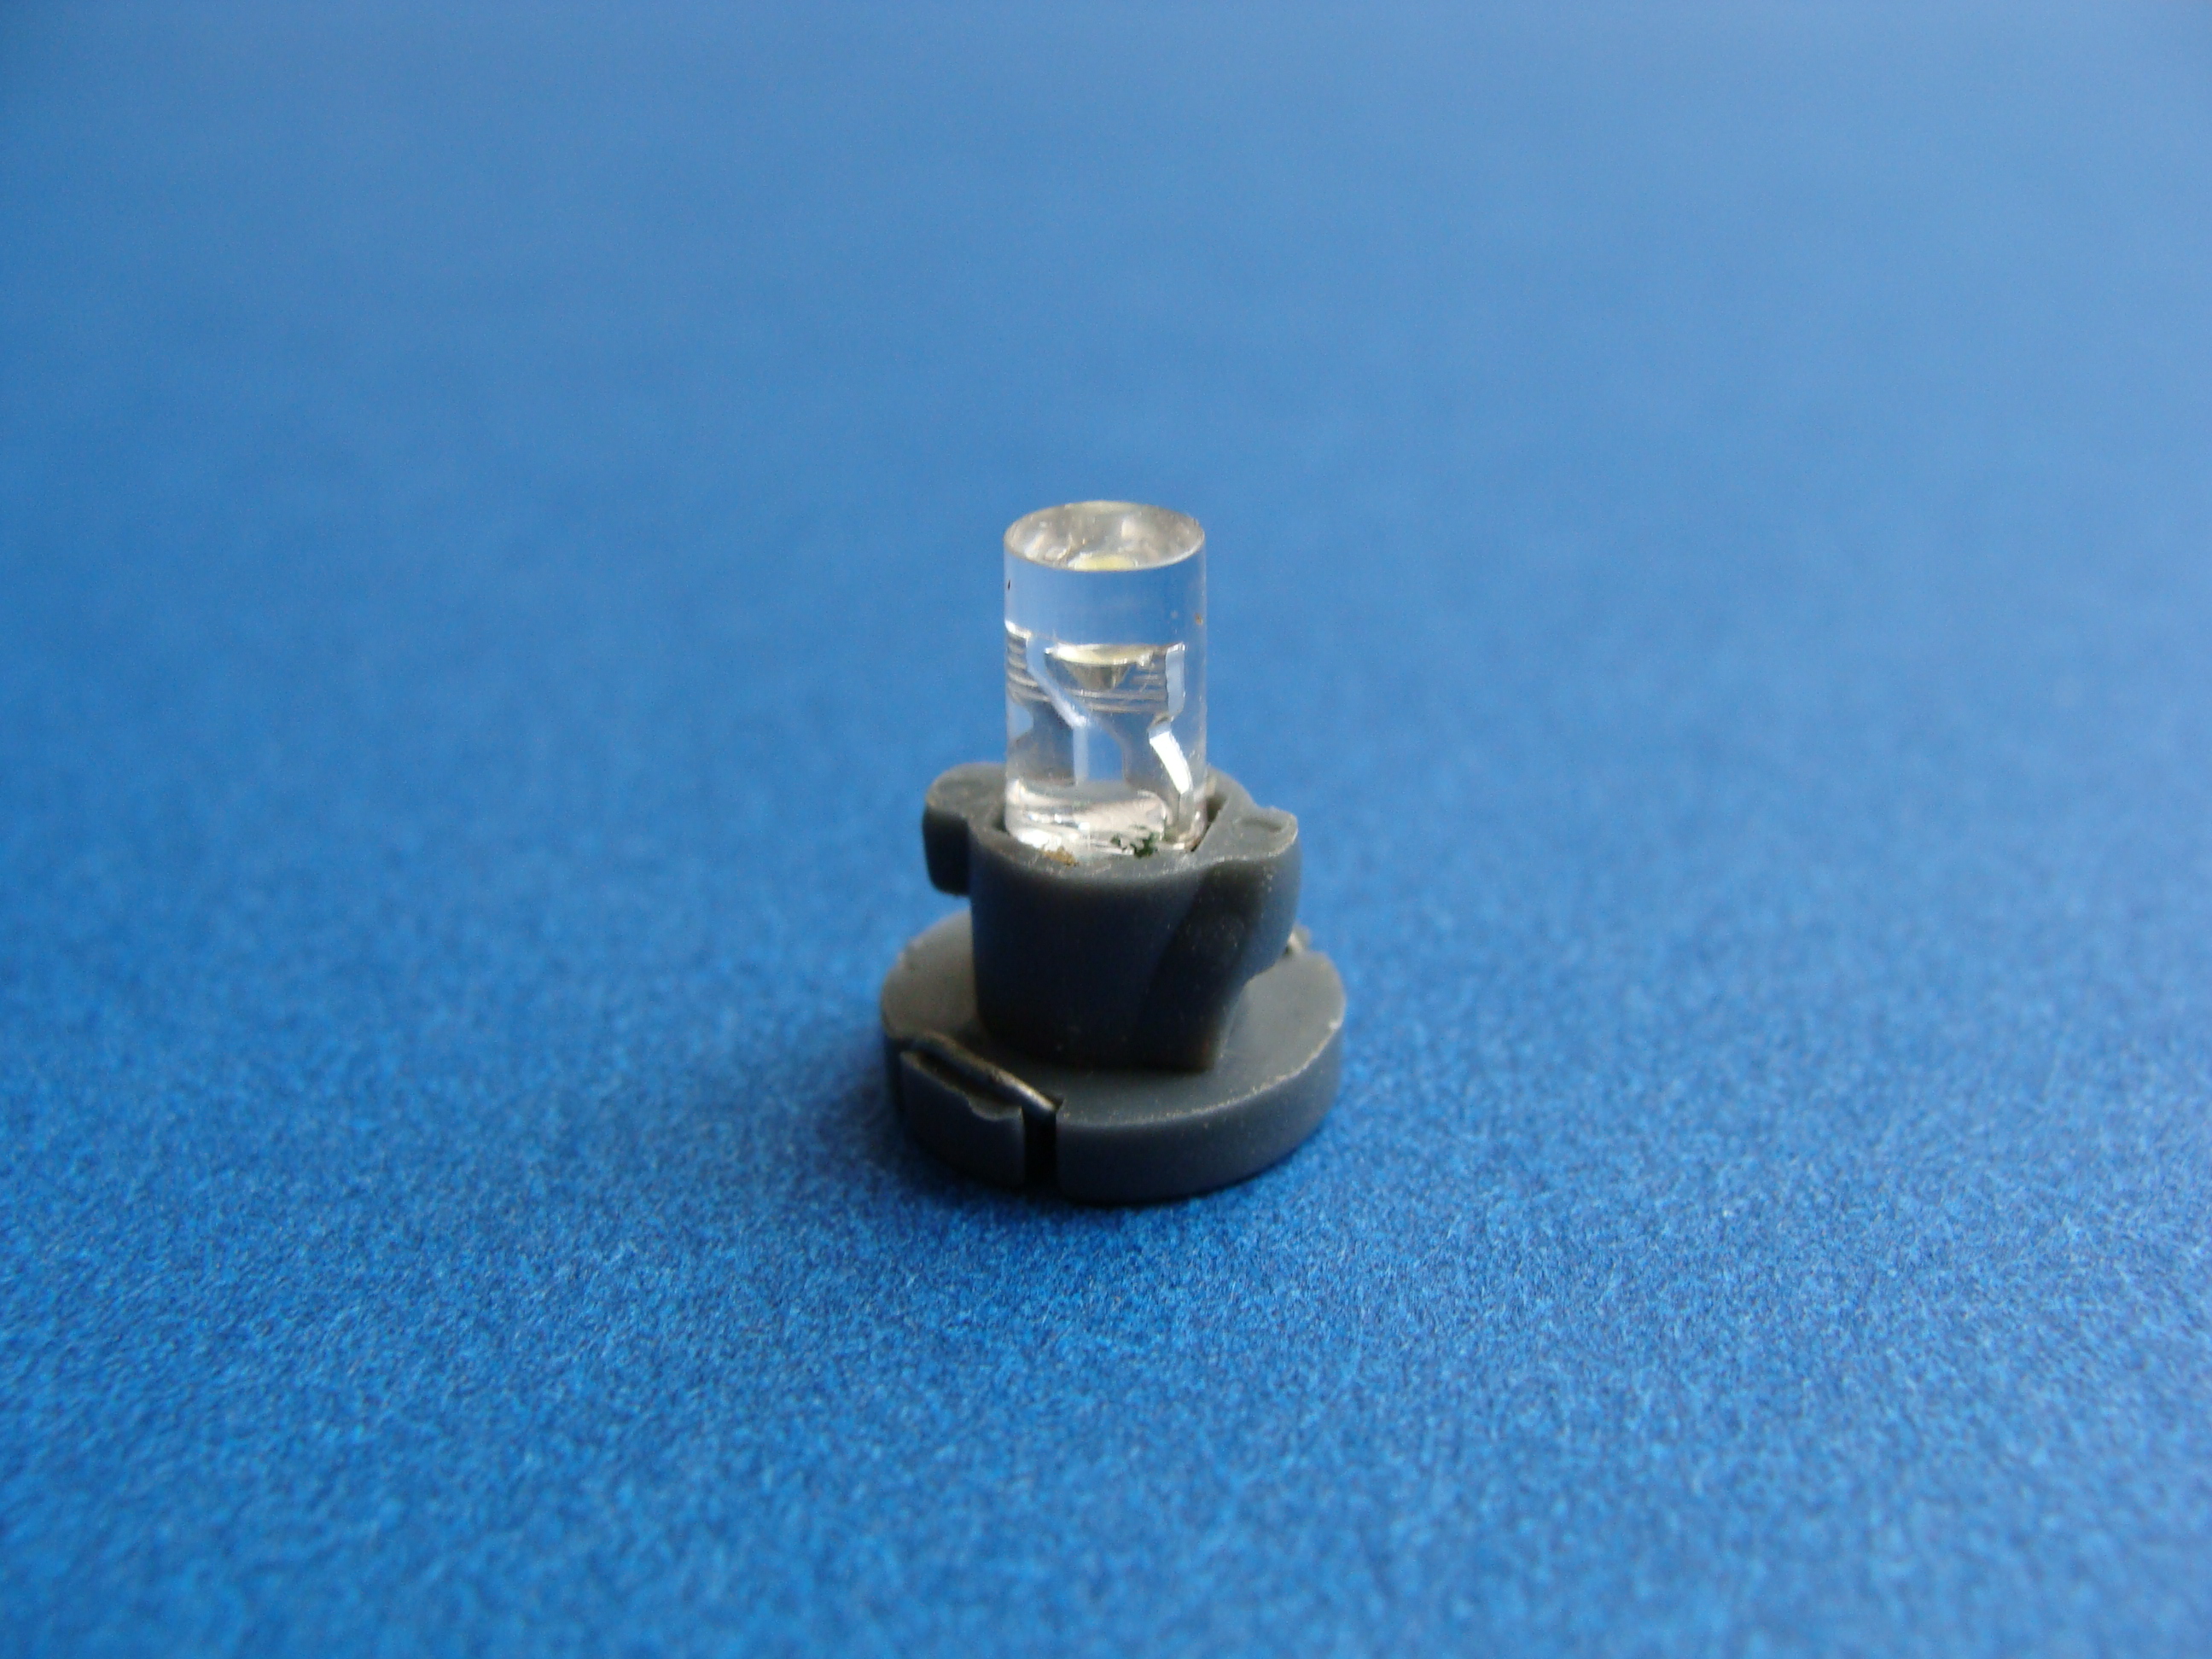
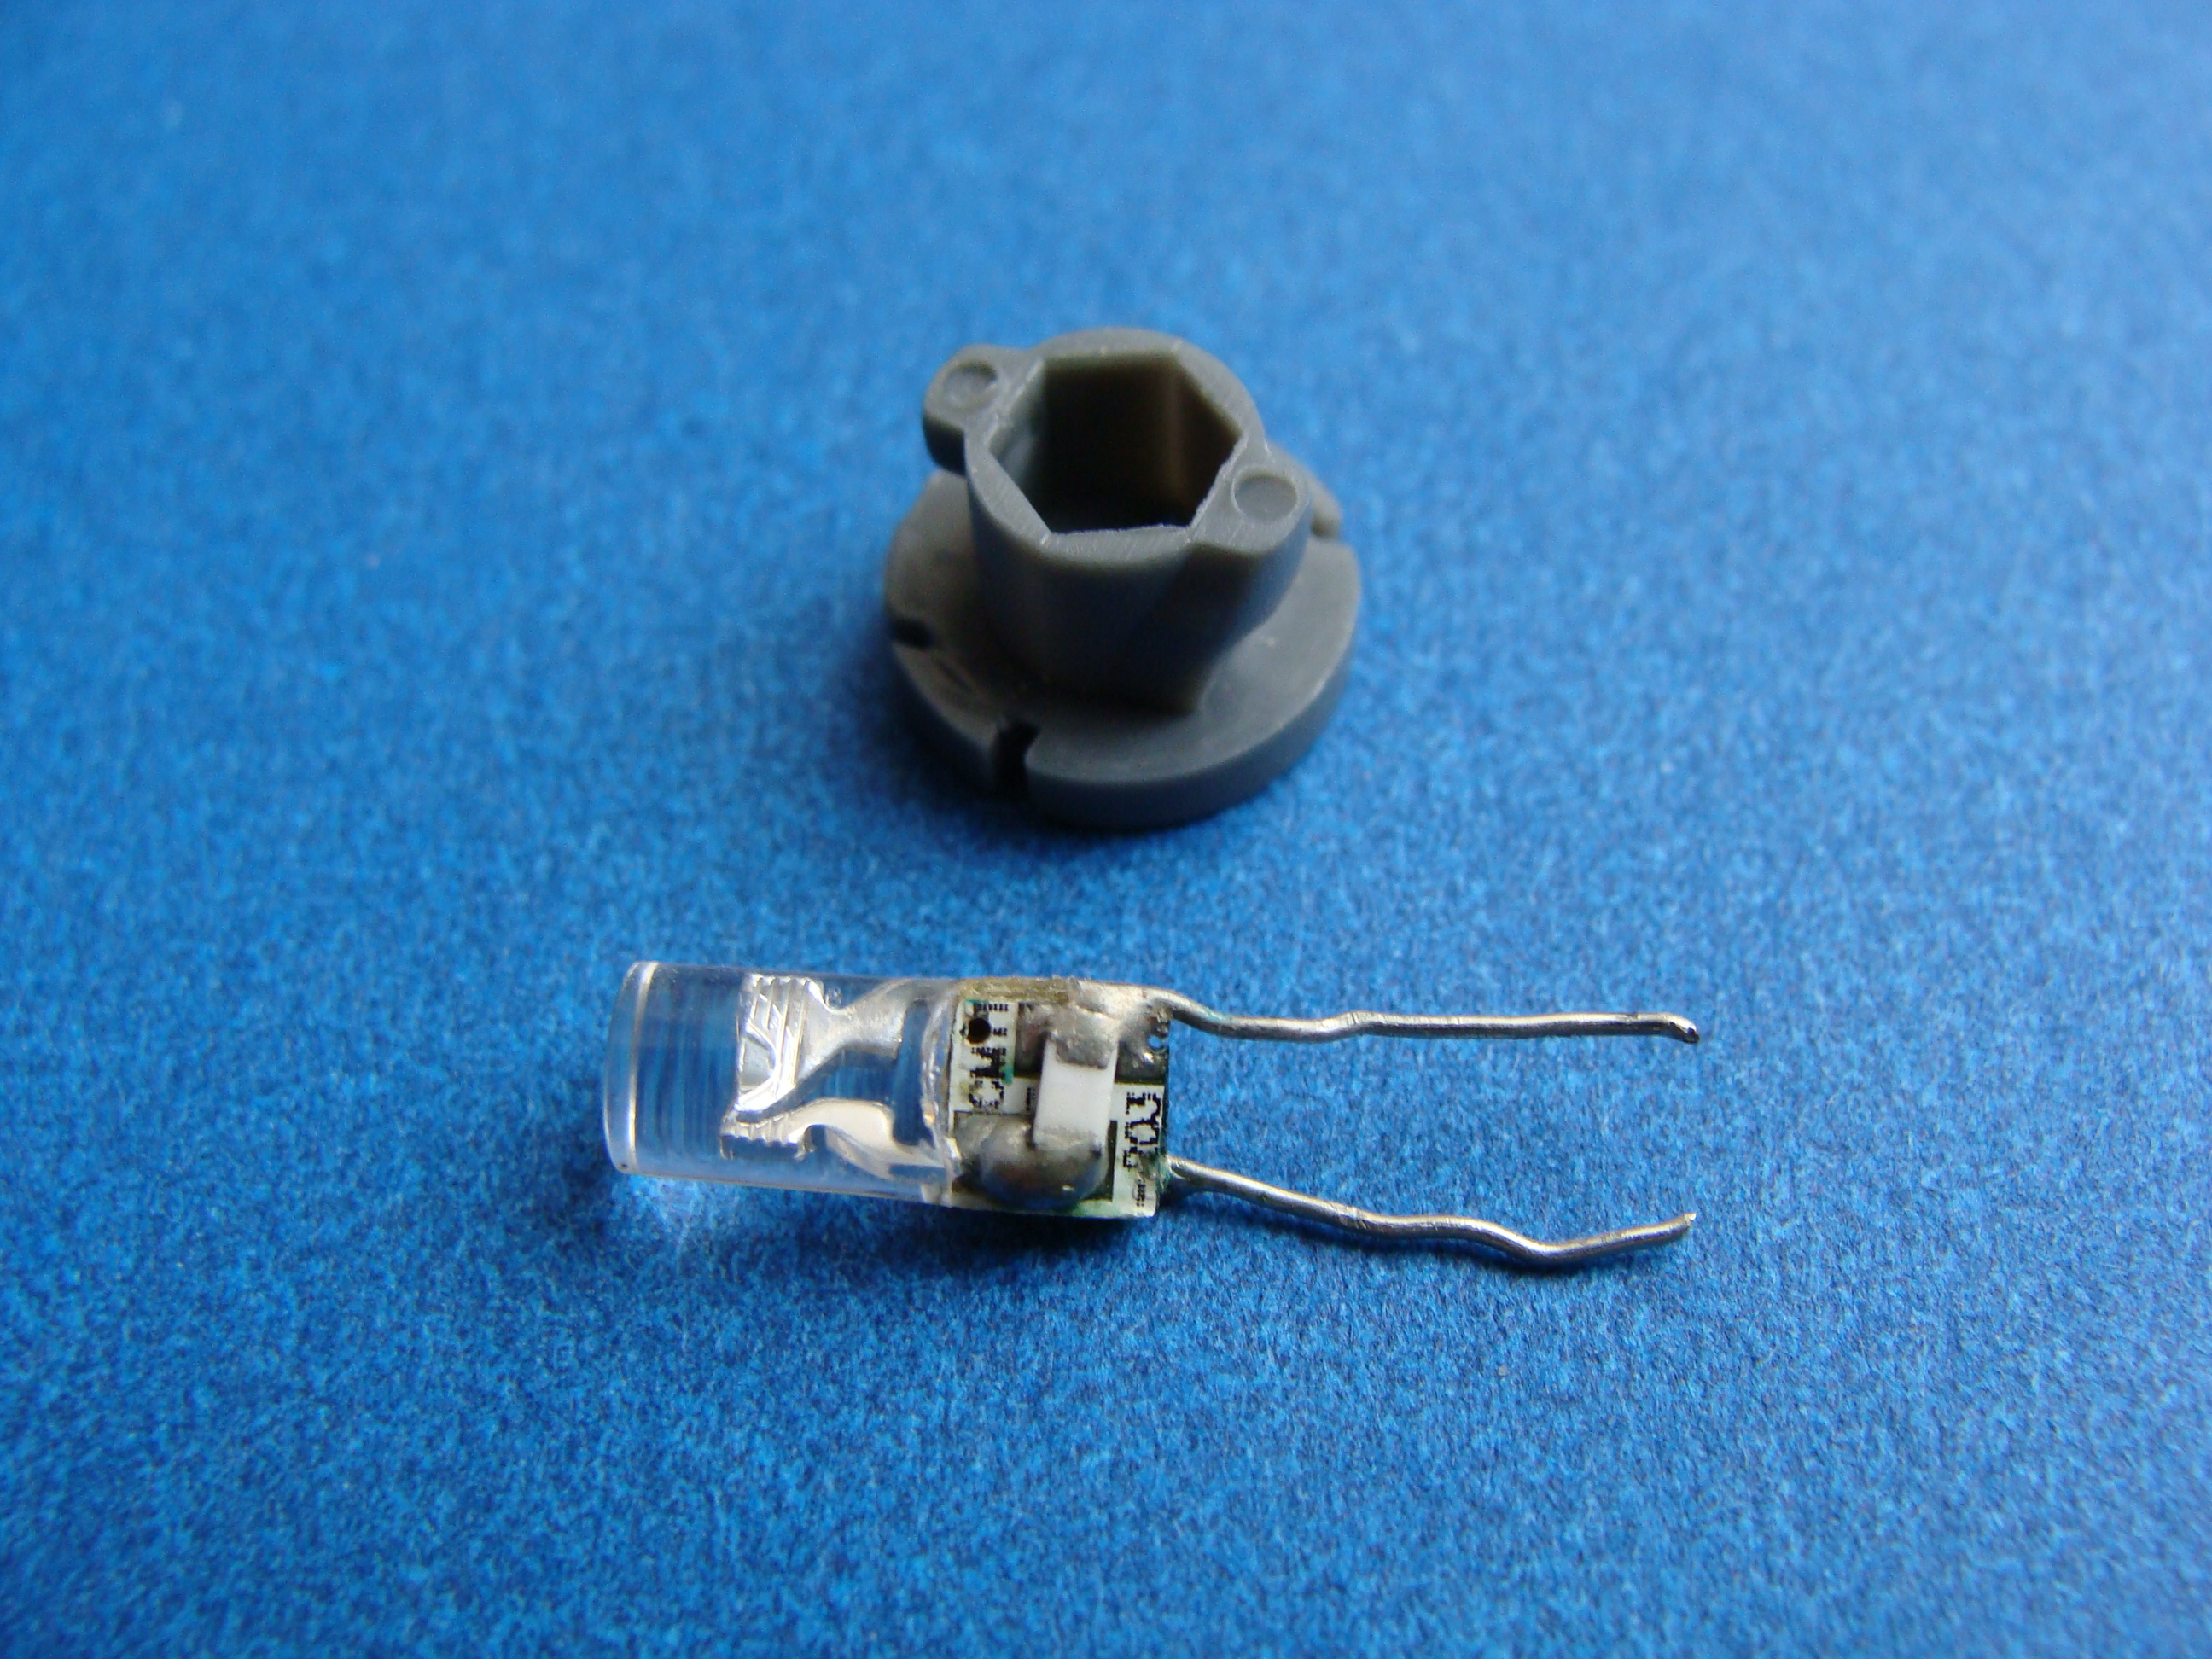
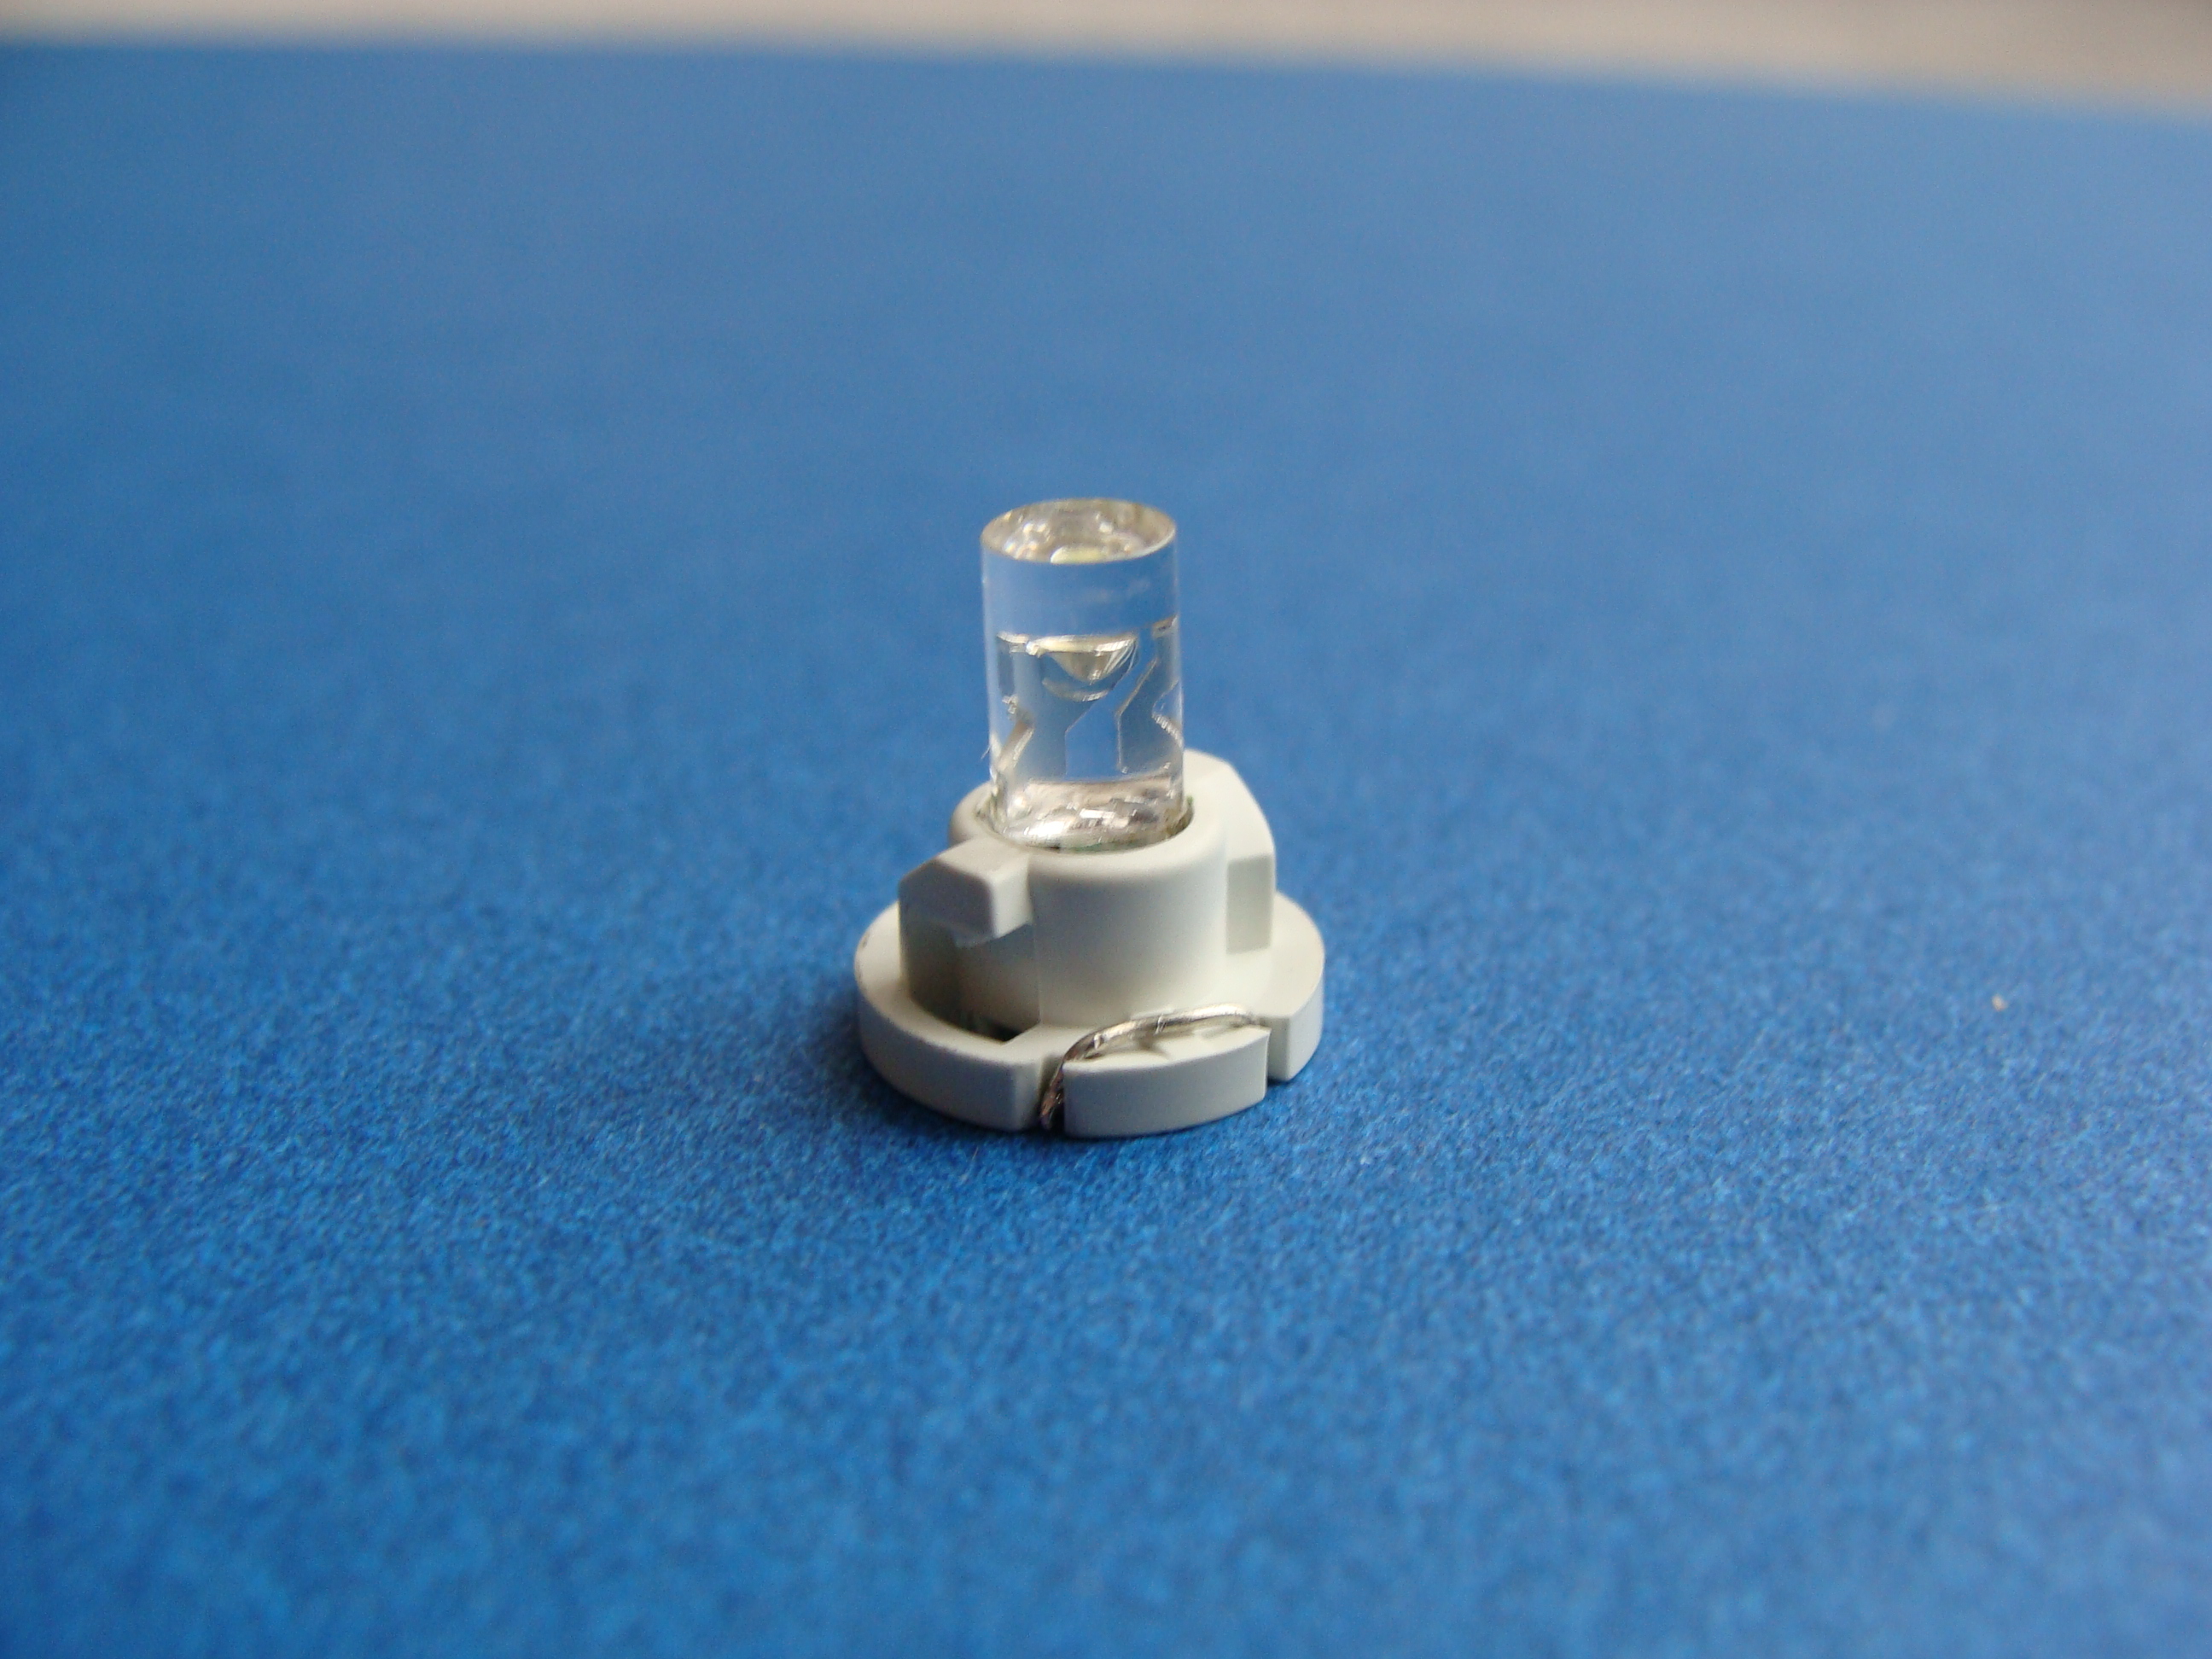
8MM HOUSINGS

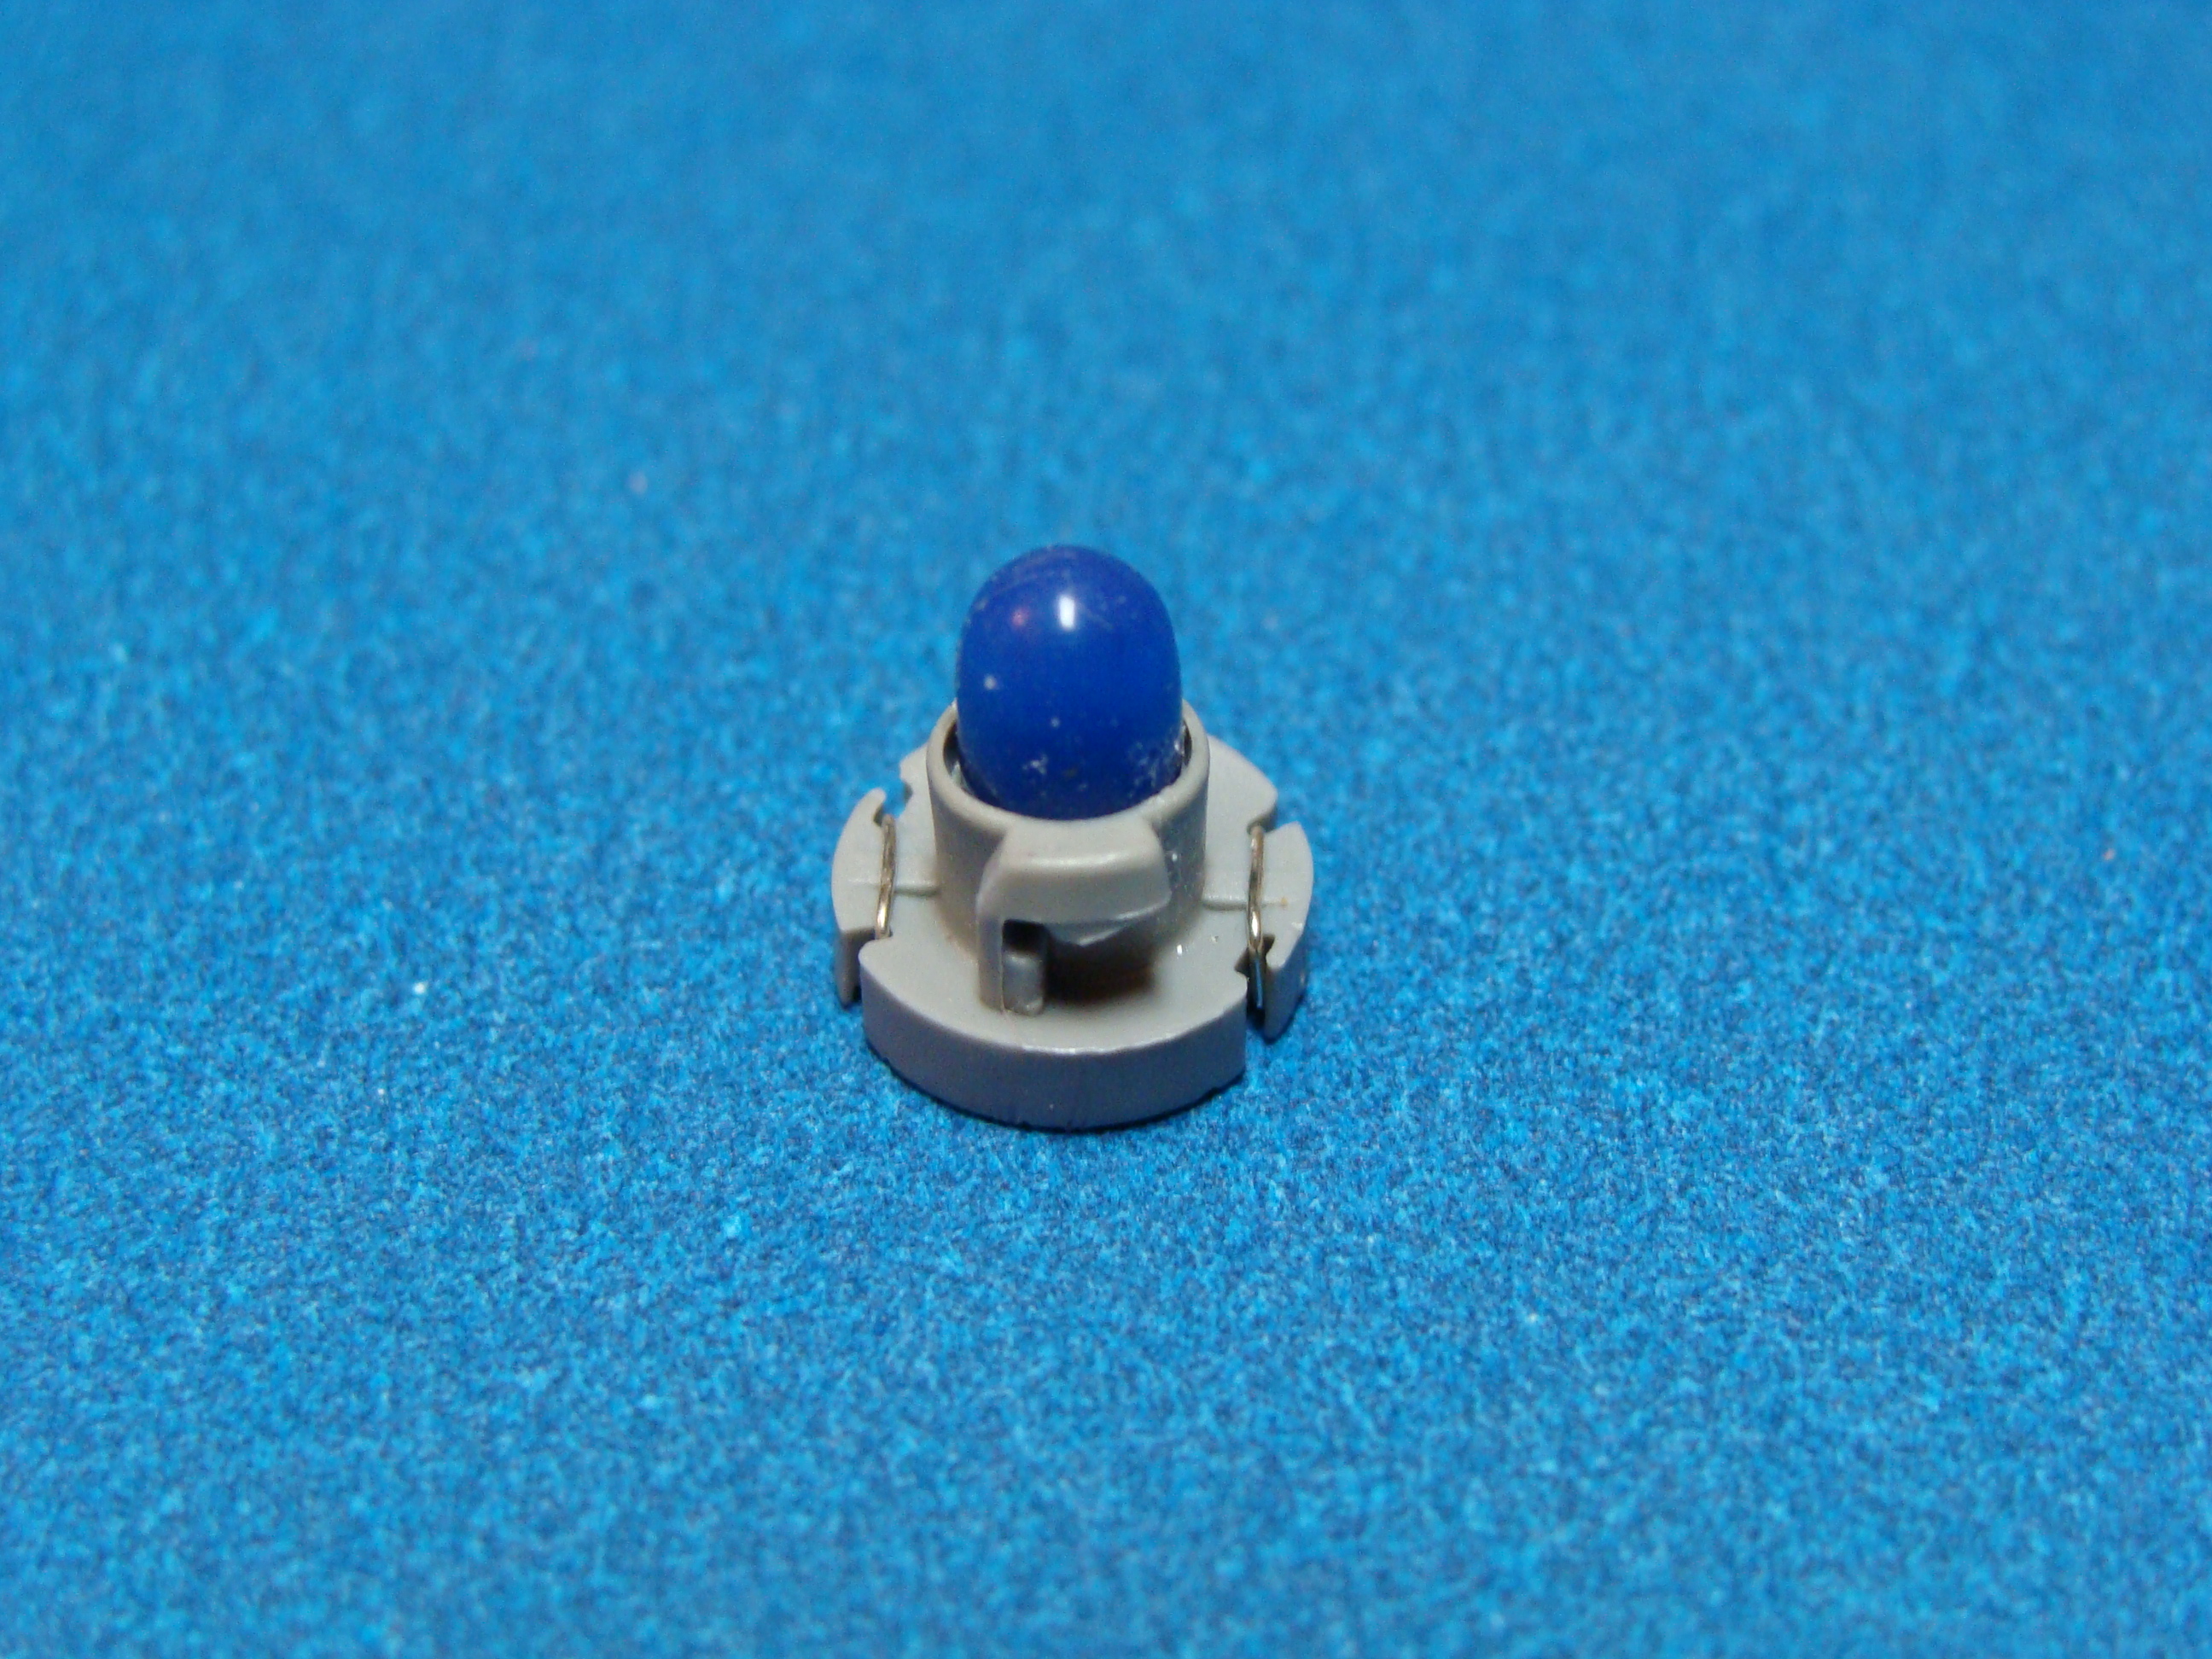
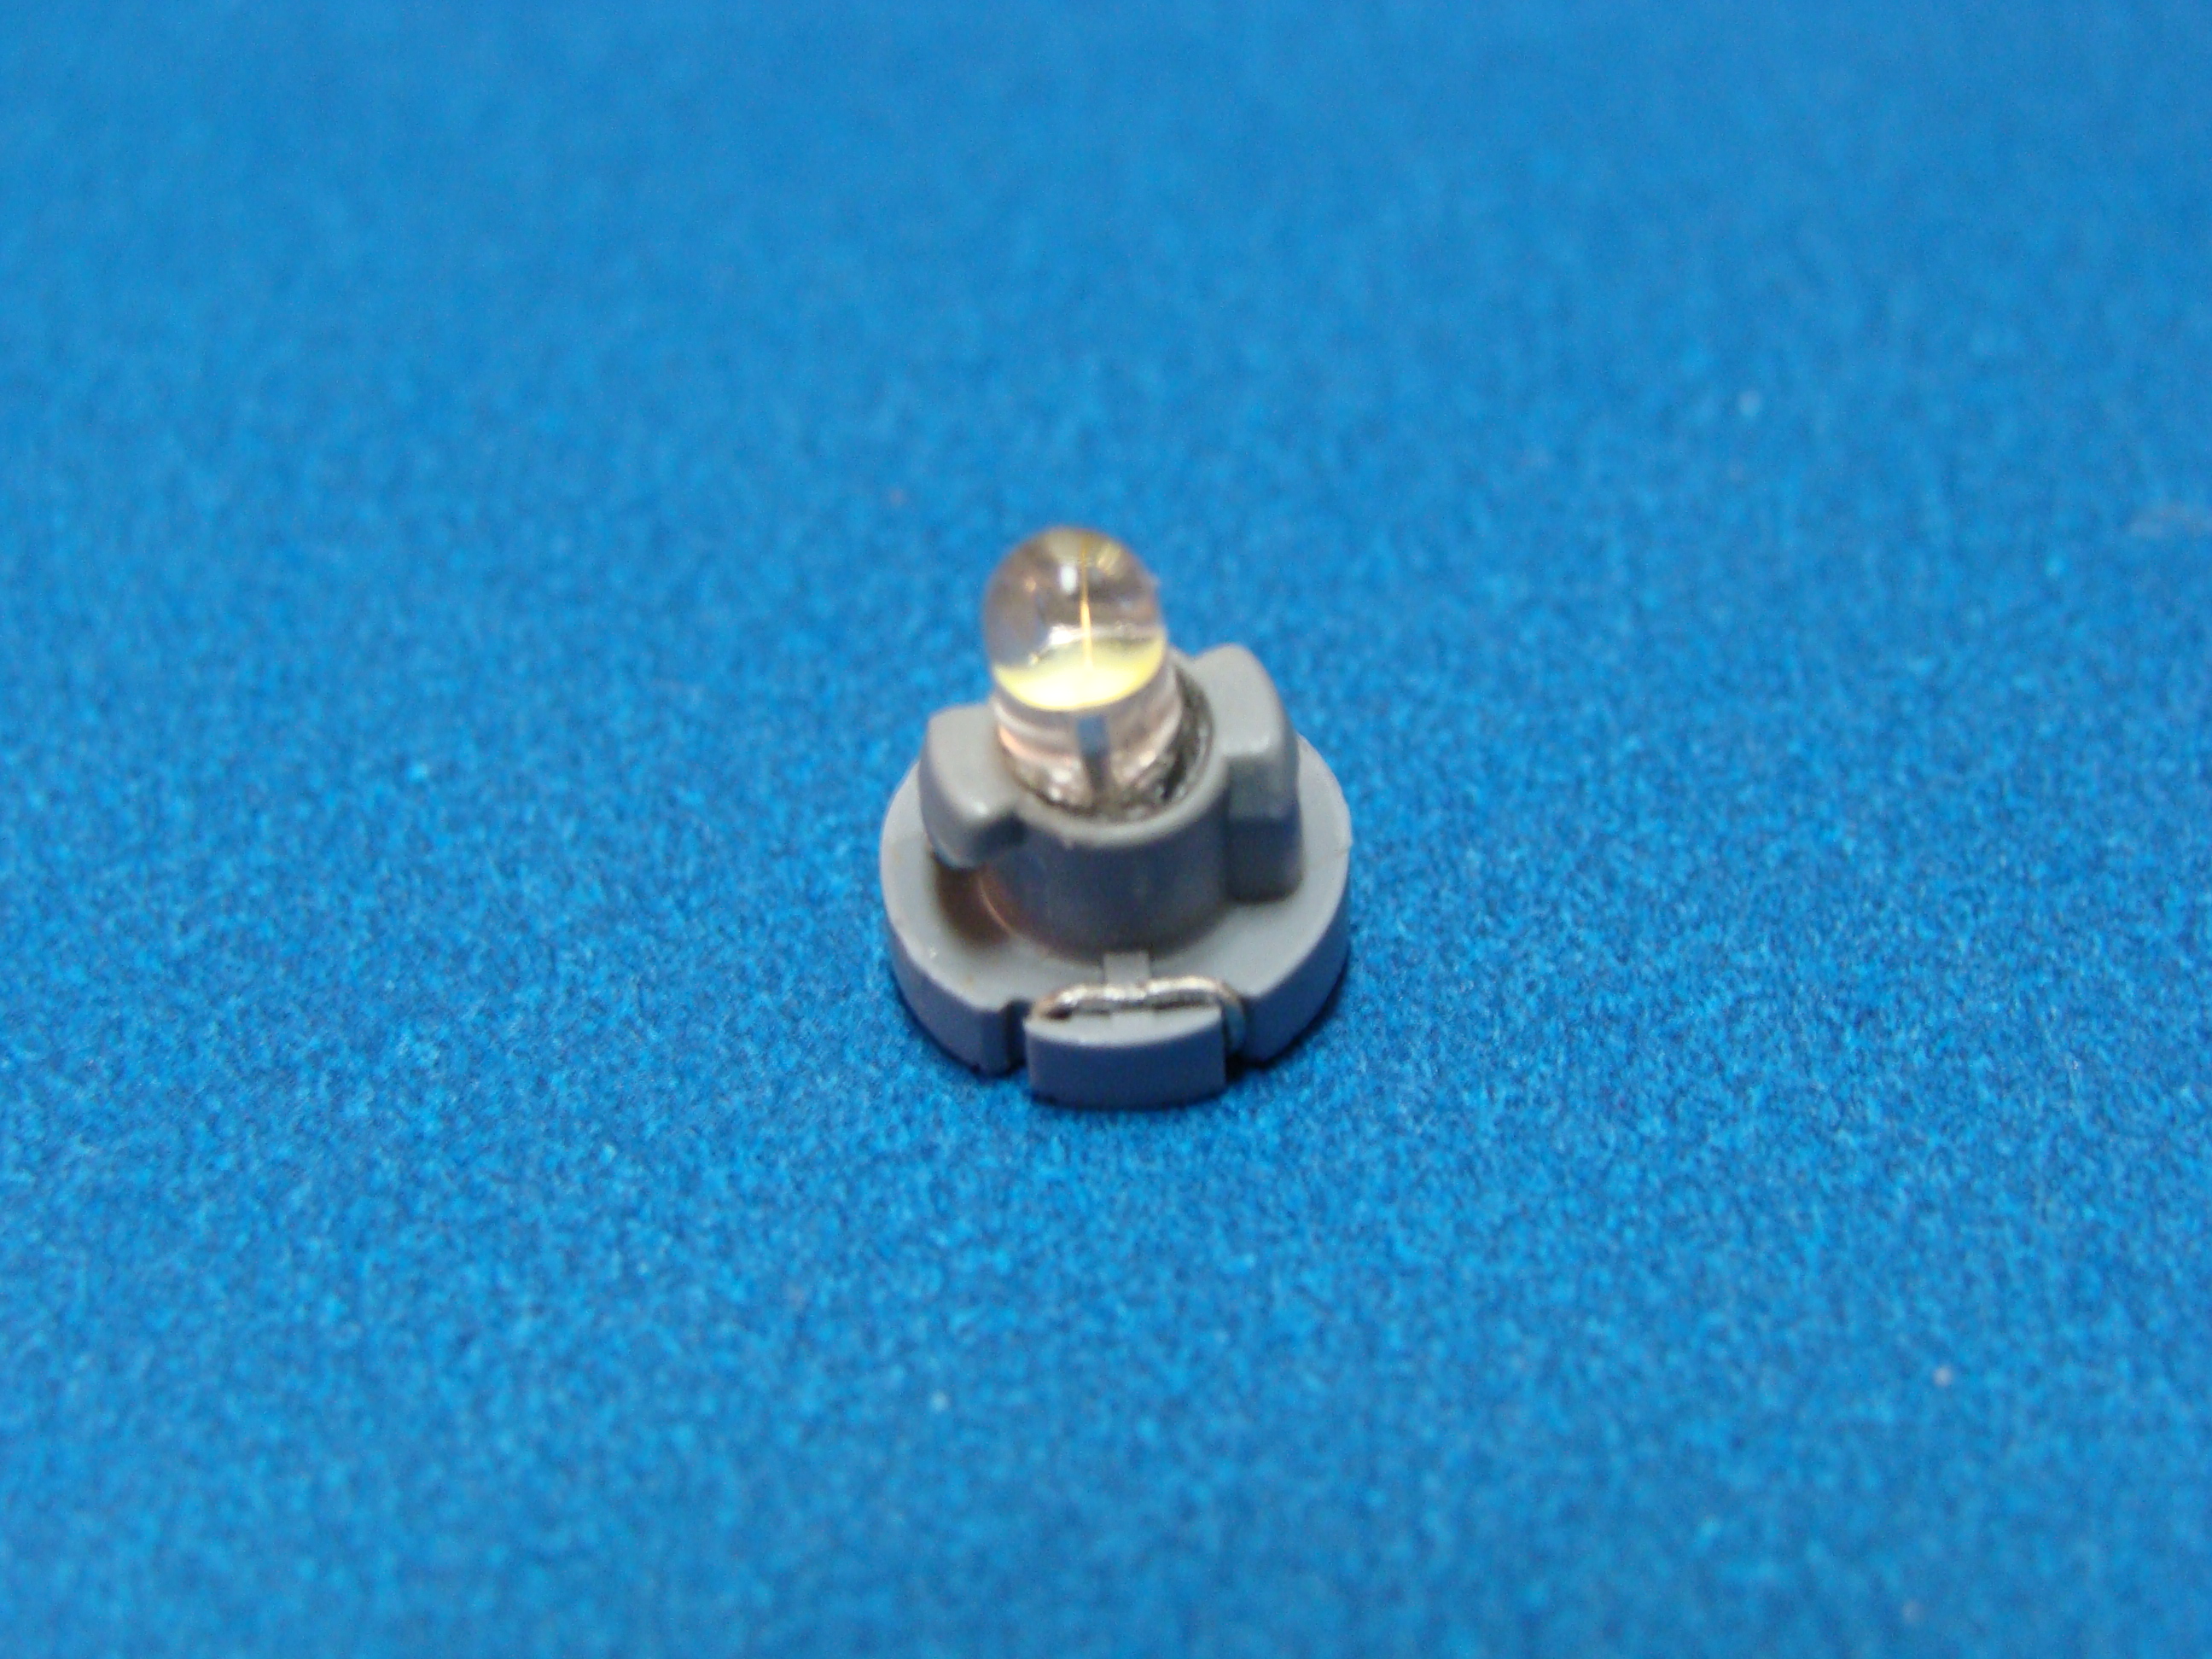
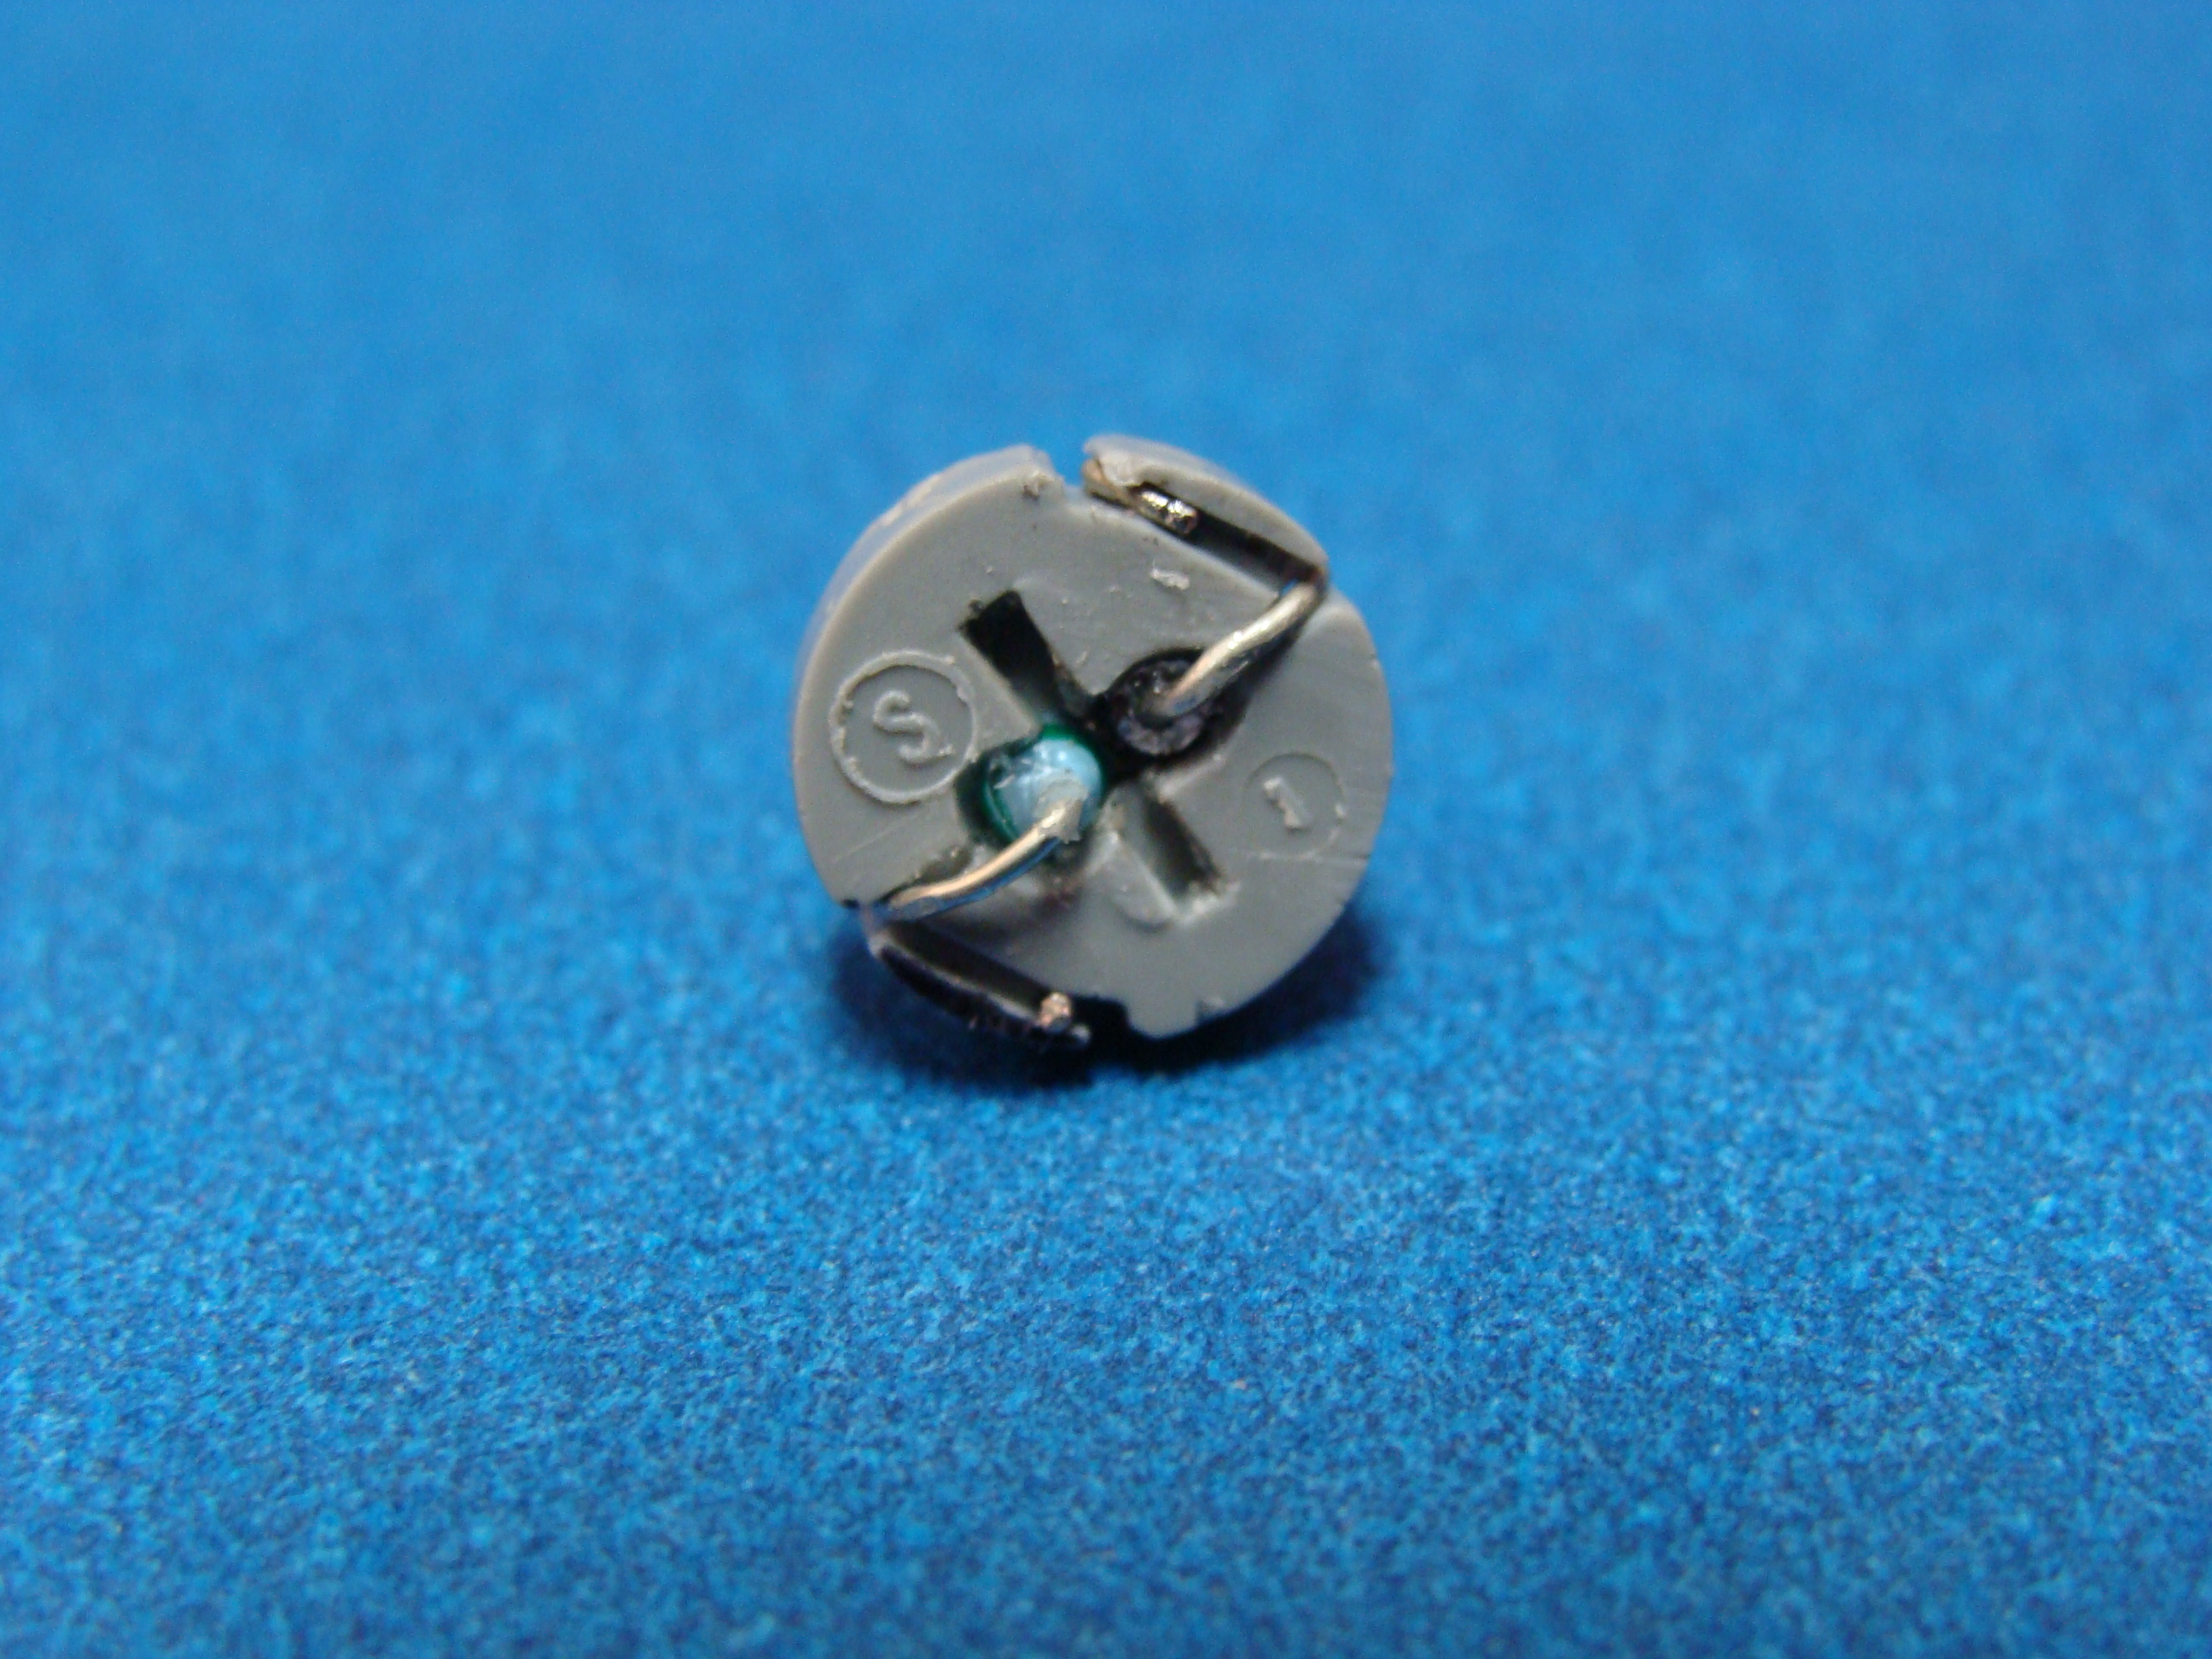
The 10mm were easy, just remove the original bulb & replace with the led, the 8mm were more complex, the led's were glued into the housings, so I had to cut them out & then drill 2 holes into the factory housings for the resistors. The pictures posted are what I did for just my door switches, DIC, traction control & fog & hatch switch.
10MM HOUSINGS
8MM HOUSINGS
01-17-2017, 02:47 PM
#6
Team Owner
Member Since: Jul 2016
Location: The Steel City, Colorful Colorado
Posts: 25,306
Received 1,679 Likes
on
1,182 Posts
Winner 2020 C7 of the Year - Modified
Nice skills Steve! 
The following users liked this post:
6speedsteve (01-17-2017)
01-17-2017, 03:50 PM
#7
Le Mans Master
Member Since: Jul 2011
Location: Morristown New Jersey
Posts: 7,263
Received 914 Likes
on
721 Posts
Oldtimer
 I did the same thing with one situation, but didn't use a resistor. Steve, did you find that with any replacement neo-wedge the base is too thick?
Also, I don't remember where the instructions were to remove the HUD and DIC buttons so I can put new lights in them. Anyone know where this is?
Last edited by chasboy; 01-17-2017 at 03:51 PM.
01-17-2017, 05:39 PM
#8
Team Owner
Member Since: Jul 2016
Location: The Steel City, Colorful Colorado
Posts: 25,306
Received 1,679 Likes
on
1,182 Posts
Winner 2020 C7 of the Year - Modified
http://www.vetteessentials.com/instr...zel_howto.html
01-17-2017, 08:28 PM
#9
Drifting
I did the same thing with one situation, but didn't use a resistor. Steve, did you find that with any replacement neo-wedge the base is too thick?Also, I don't remember where the instructions were to remove the HUD and DIC buttons so I can put new lights in them. Anyone know where this is?