

 02-19-2015, 07:05 PM
Last edit by: IB Advertising
See related guides and technical advice from our community experts:
Browse all: Exterior How-Tos
- How to Replace Side Mirrors
Step by step instructions for do-it-yourselfers.
Browse all: Exterior How-Tos

How do the C5 side mirrors come apart??


 09-19-2011, 03:49 PM
#22
Heel & Toe


Member Since: Jul 2011
Posts: 21
Likes: 0
Received 0 Likes
on
0 Posts
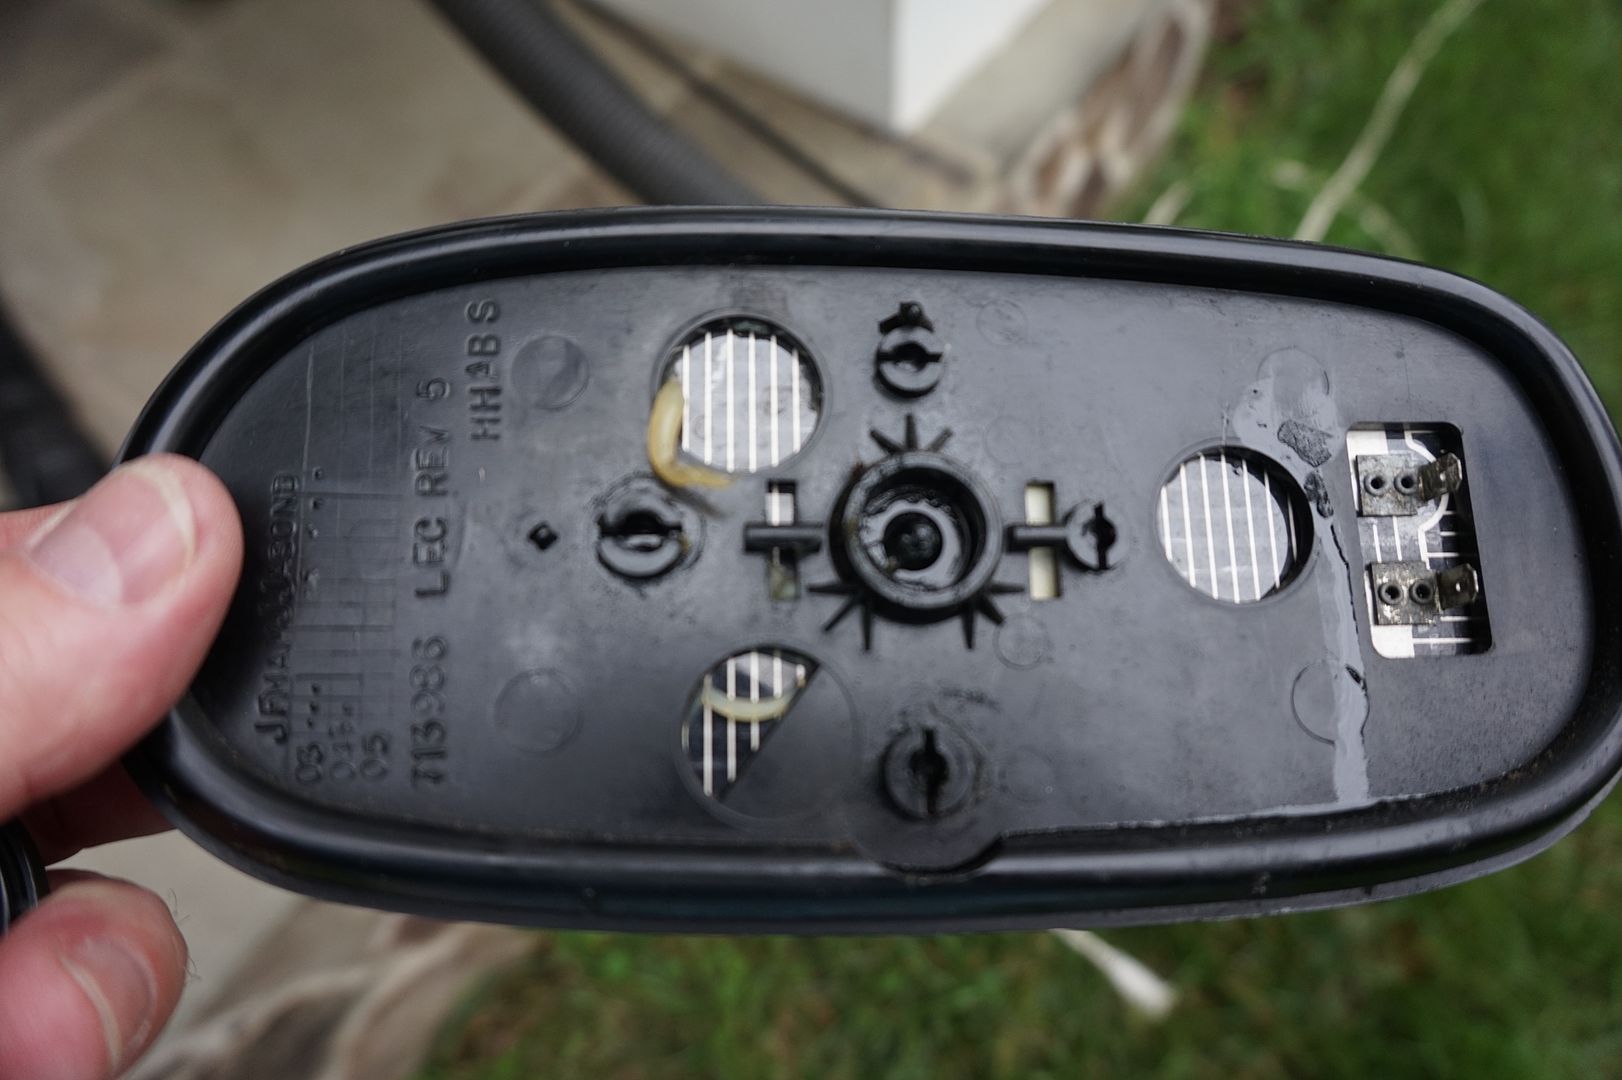
I am missing those pins that go into that yellow circle of that image. I was wondering were I could get replacement parts for it?? Or a part #?
Someone stole my mirrors the other day and I am missing one of those pins that holds the mirror.
Any help is greatly appreciated.
Thank you
Someone stole my mirrors the other day and I am missing one of those pins that holds the mirror.
Any help is greatly appreciated.
Thank you
09-19-2011, 06:08 PM
#23
Melting Slicks

My drivers side mirror changes it's position every time I start the car and never to the same position twice. I've tried to remove the mirror per the service manual but the I'm not comfortable with the amount of pressure required. I'm pretty sure I'd have to break it to get it off so I'm just living with it.
05-06-2012, 03:27 AM
#24
Safety Car


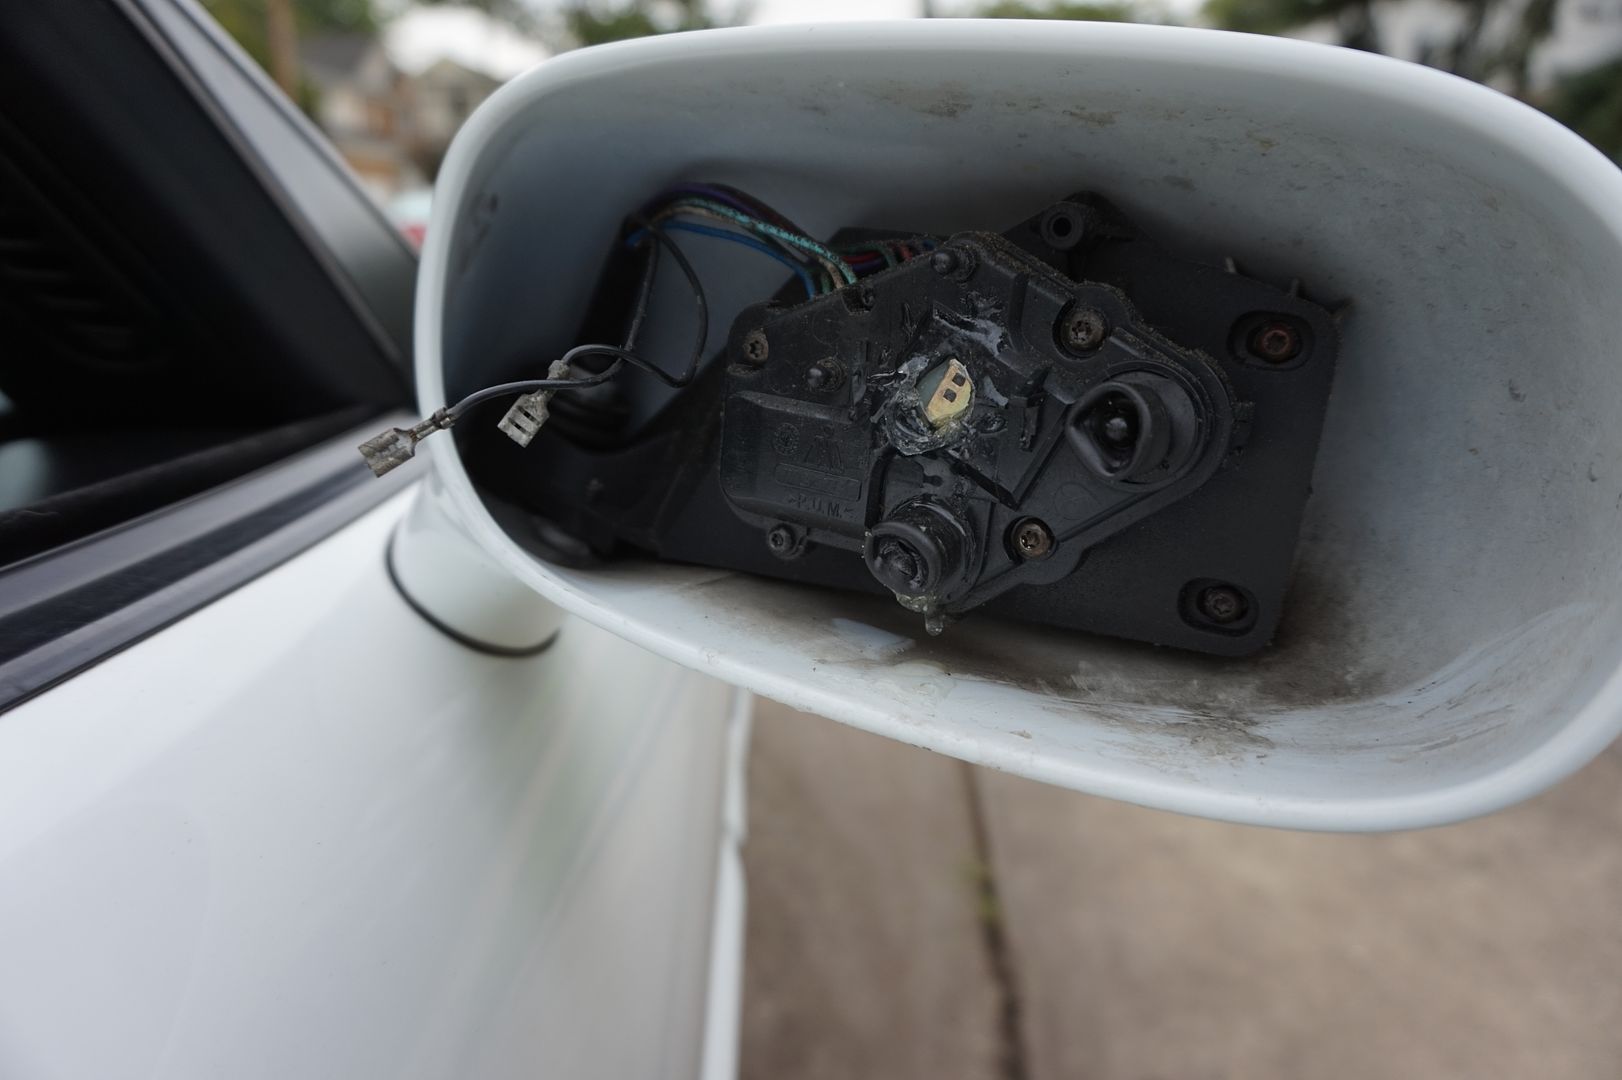
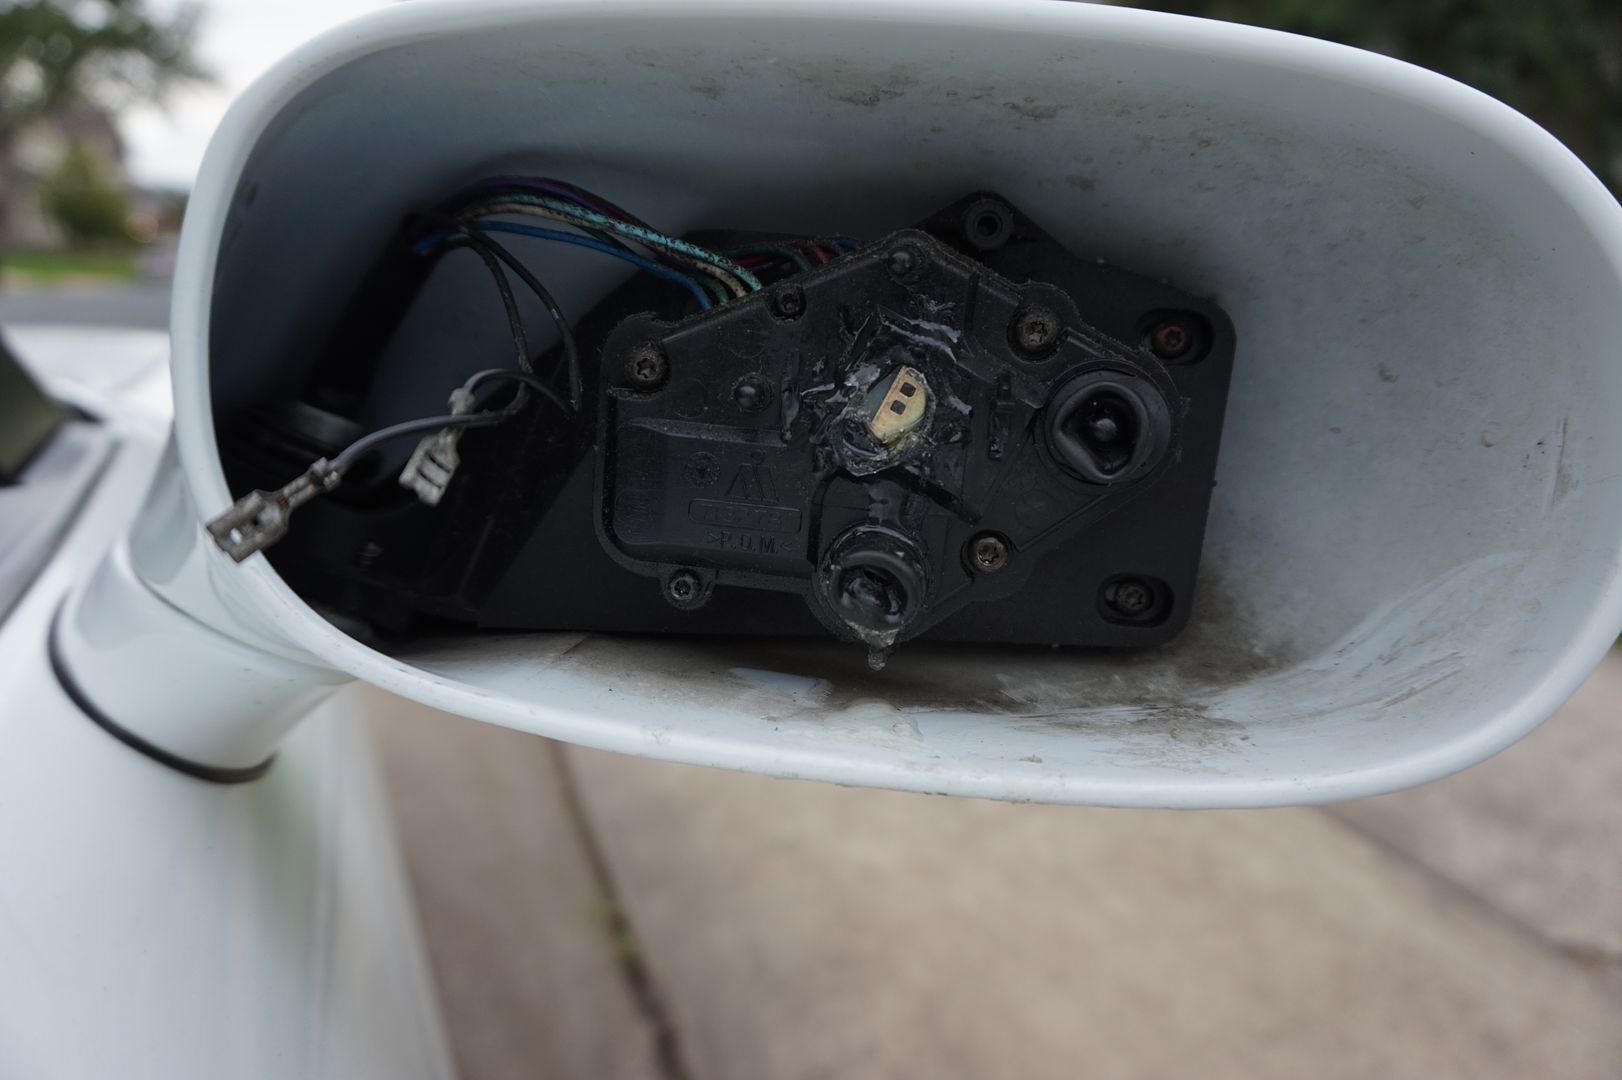
Here is what the inside looks like after the mirror is removed...

More info here...
http://forums.corvetteforum.com/c5-t...tor-packs.html
More info here...
http://forums.corvetteforum.com/c5-t...tor-packs.html
The green center is what holds the mirror and allows it to swivel.
If you have problems with up and down, the top yellow jack screw is loose,
If you have problems side to side, then the left yellow jack screw is loose.
Memory problems are the red circled items not being seated.
The orange circled item only serve to keep the mirror from leaning one way or the other.
When and if you remove the mirror backing, the jackscrews will stay attached to the backing plate and you MUST remove them using a v-shaped tool and install them into the motor by screwing them in (making sure the silver keyring looking thing is on the prong ends).
Then you reattach mirror base using flat palm.
First snap it onto the swivel (green), then move full left and snap onto left jackscrew (yellow), then full up and snap onto upper jack screw (yellow). Each snap takes quite a bit of force. Last, snap onto memory prongs (red)
For two years my memory and my left to right adjustment weren't working correctly. Now they do.
05-27-2012, 06:39 PM
#25
7th Gear

Member Since: May 2012
Location: York County Pennsylvania
Posts: 7
Likes: 0
Received 0 Likes
on
0 Posts
sorry to bump an older thread, but i have a similar issue...
i just purchased my first vette, a 2002 Magnetic Red hatchback and my driver's side mirror is loose. the motor still works to move the mirror, but i can push on it in either side and there is way more movement than there should be. it also likes to vibrate a bit on the highway.
should i just pop the mirror off, put the jack screws back into the turny-bits and then pop the mirror back on if everything looks correct? or is there some other way for problems similar to mine?
Thanks
12-25-2012, 02:43 PM
#26
Racer
I just finished replacing my driver's side view mirror with a new GM mirror. ($78 from Fichtner's).
Scary job. I was very worried about cracking the new mirror considering the large amount of pressure needed to snap it back into place in the housing. I ended up snapping the jackscrews onto the mirror instead of pushing them onto the motor first as indicated in the service manual instructions. It definitely made it easier that way. Bottom line-it's all back together and works perfectly.
Scary job. I was very worried about cracking the new mirror considering the large amount of pressure needed to snap it back into place in the housing. I ended up snapping the jackscrews onto the mirror instead of pushing them onto the motor first as indicated in the service manual instructions. It definitely made it easier that way. Bottom line-it's all back together and works perfectly.
12-27-2012, 03:12 PM
#27
Melting Slicks
Posted this before, but if you only need the glass mirror, here's the link for it... $19.99 shipped.
http://www.wheelskin.com/burcomirror...ETTE&year=1998
Also, here's a link to a superb tutorial on just about everything on the mirror and fixing it. http://forums.corvetteforum.com/c5-t...de-mirror.html My original post on this item is #29 in that thread.
A few tips for you mirror changers. Use a hair dryer to heat up the plastic behind the mirror before removal or install. It will make it much easier to push/pull the mirror off (as the plastic expands a little, there's less pressure). Also, ONLY press in the center of the mirror during install. Pressing down on the outside edges will break your mirror in half. Also, it won't hurt to use a very small amount of lube (WD40?) or similar to make the ball joint connection easier to push together. Where did I learn all this stuff? The school of experience. The school colors? Black & blue.
Last edited by CactusCat; 12-27-2012 at 03:17 PM. Reason: Additional info
08-11-2017, 01:06 PM
#28
Race Director

any thing new to add to this old post or any new suppliers, any replacement parts for when the internal housing ball and socket piece breaks?
thanks bob
another post
https://www.corvetteforum.com/forums...de-mirror.html
thanks bob
another post
https://www.corvetteforum.com/forums...de-mirror.html
Last edited by bobs77vet; 08-11-2017 at 01:10 PM.
 08-11-2017, 11:57 PM
#30
Melting Slicks
How did that happen? And no, not likely an easy fix. You'll probably need a new complete side mirror. Keep an eye peeled in the Parts For Sale section. They come up regularly.
Last edited by CactusCat; 08-11-2017 at 11:58 PM.
08-12-2017, 06:08 PM
#31
Race Director
PO story is .....a too small of a garage and slowly backing out it touched the garage door track. the body of the mirror shows no damage and is not loose at all. the impact cracked the mirror the rest he did trying to take the mirror off to replace it. its his story and sounds plausible to me it was parked tight to the side when i went to buy it.
08-31-2017, 11:49 PM
#32
Race Director
moment of truth is just days away.....ordered a replacement arctic white mirror.....just have to wait and see what arrives to decide the next course of action. this post and the links in it have been very helpful.
09-01-2017, 10:03 AM
#33

Interesting timing. For some reason my drivers side mirror start to buffet in the wind. I guess it is loose but it is annoying.
Thanks for the information.
Thanks for the information.
09-06-2017, 09:51 PM
#34
Race Director
the mirror came today and I buffed it up and it looks good....now to figure out how the door panels come off and i think i have a weekend chore. some more reading to do...
09-15-2017, 04:39 PM
#35
Race Director
so i am visiting my son who lives near a HF so thought i would pick up a door panel removal tool at the HF store
here is the best you tube I found on removing the door panel
next stop Harbor Freight for a generic door panel removal set
09-17-2017, 08:35 PM
#36
Race Director
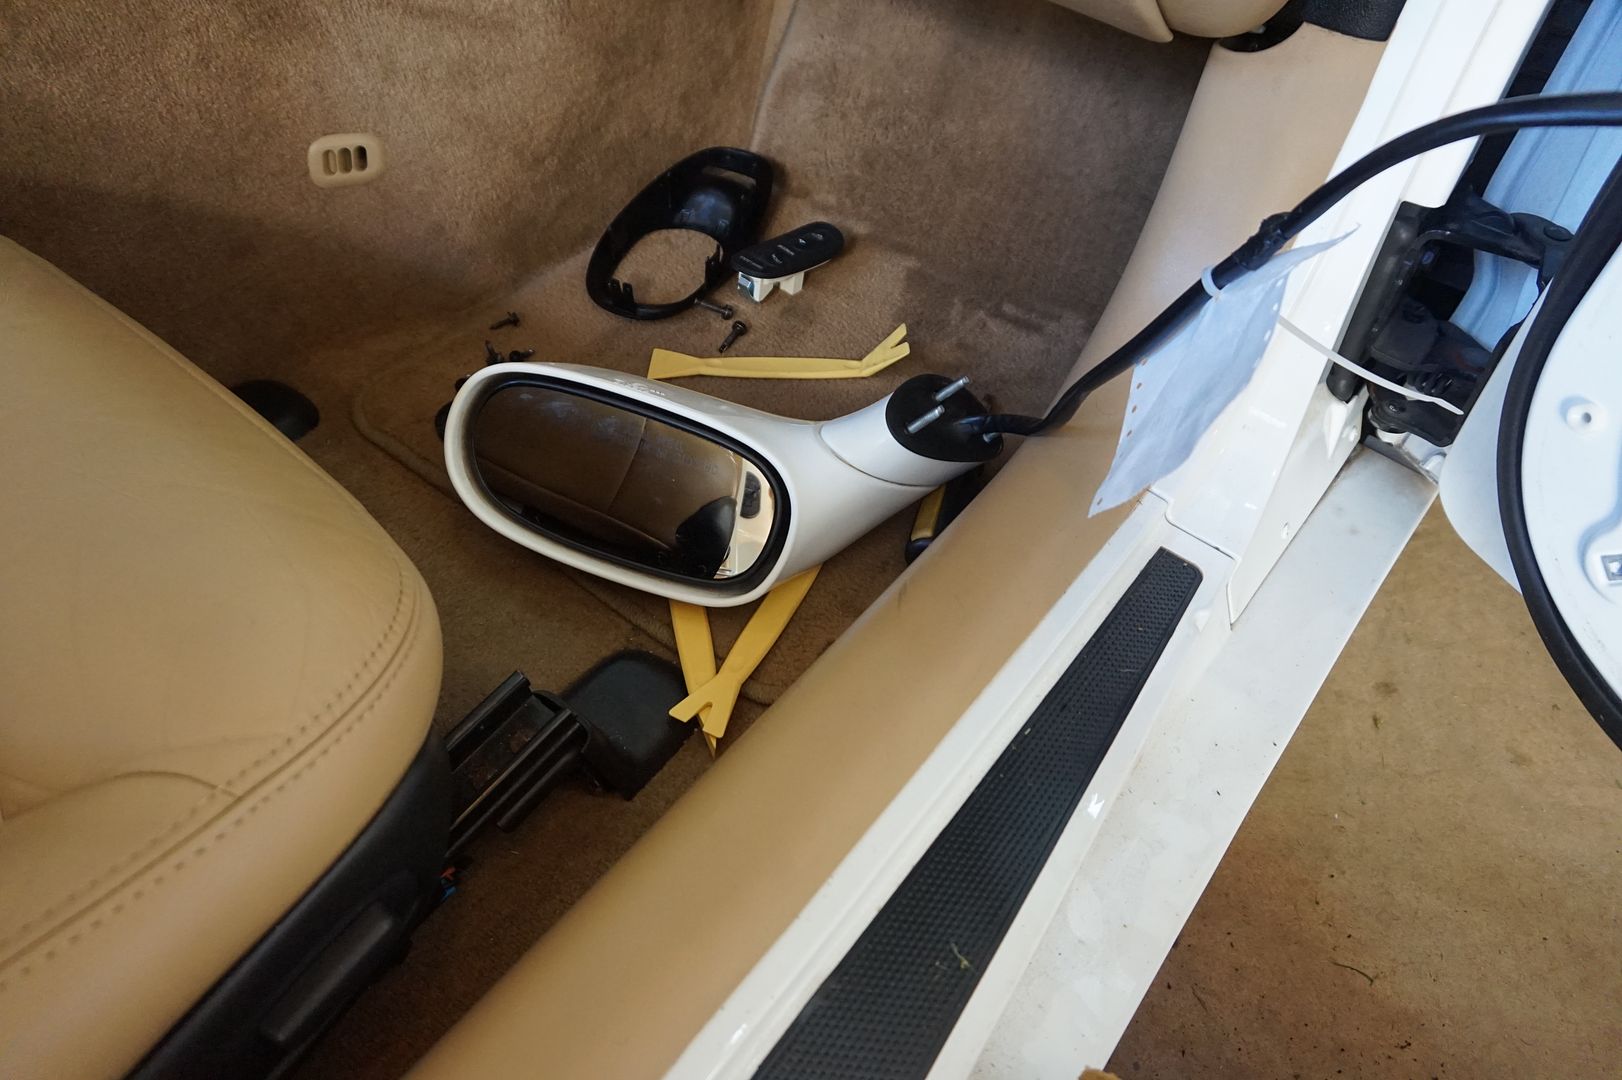
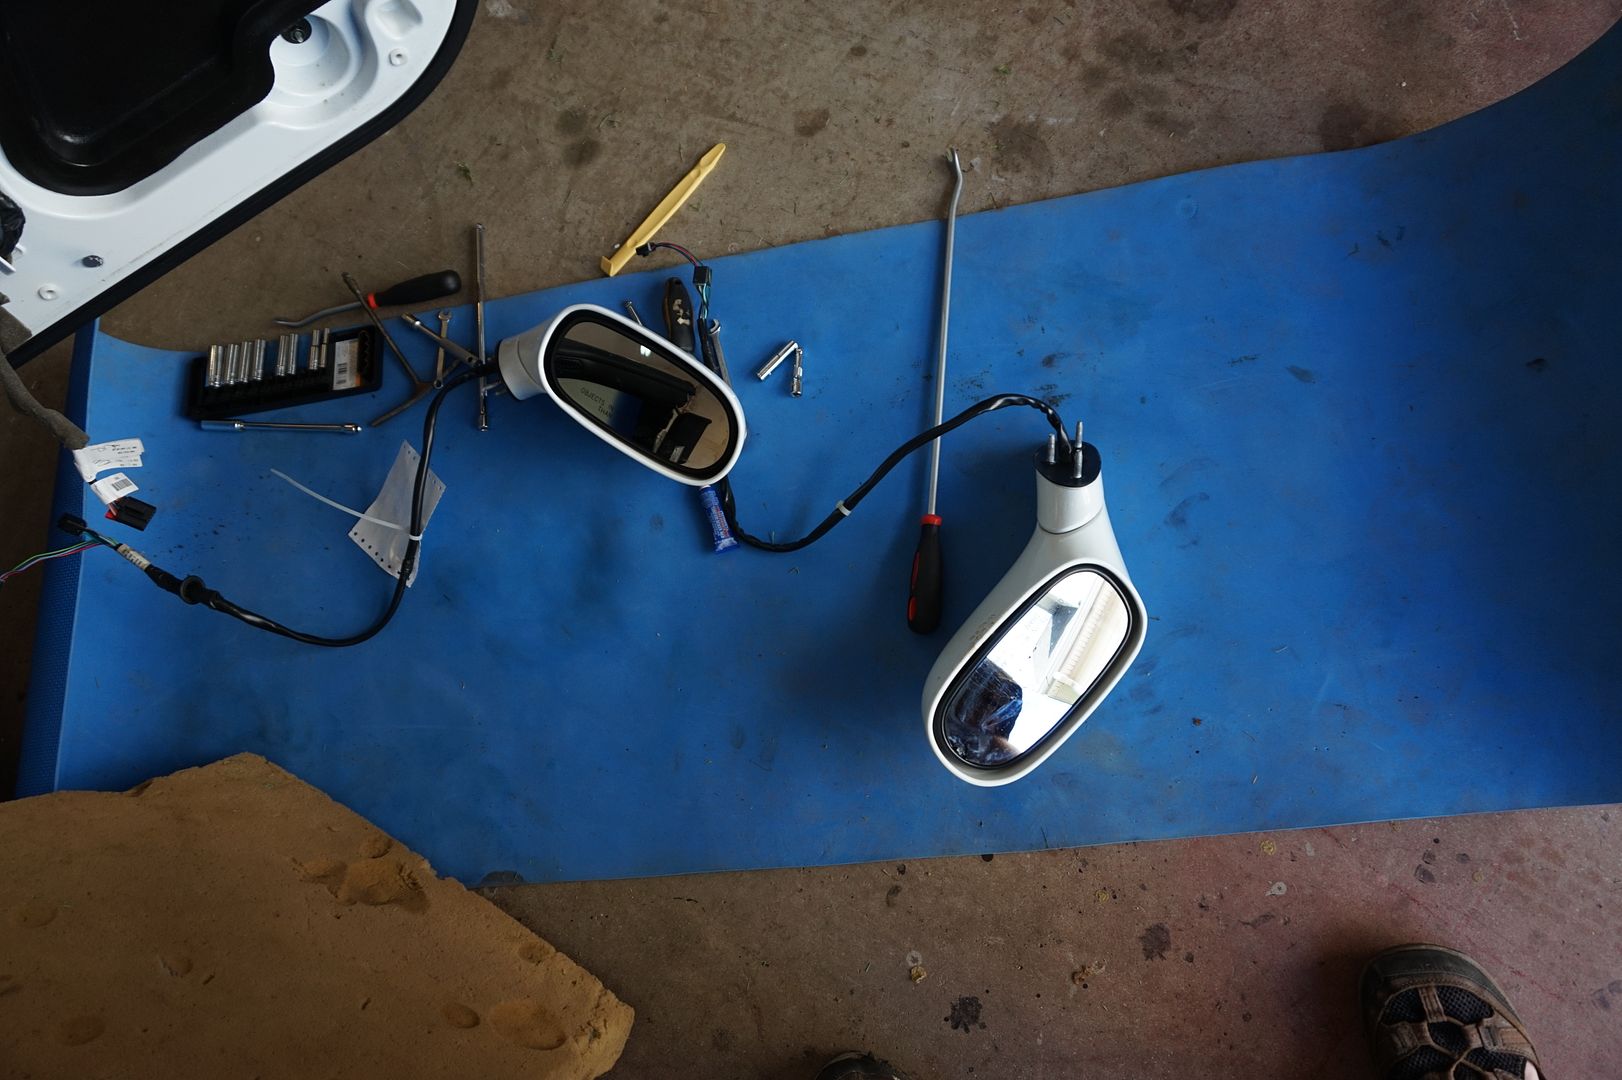
ok swapped the mirrors today took two hours
the problem is the inside part of the mirror motor that moves the mirror is broken
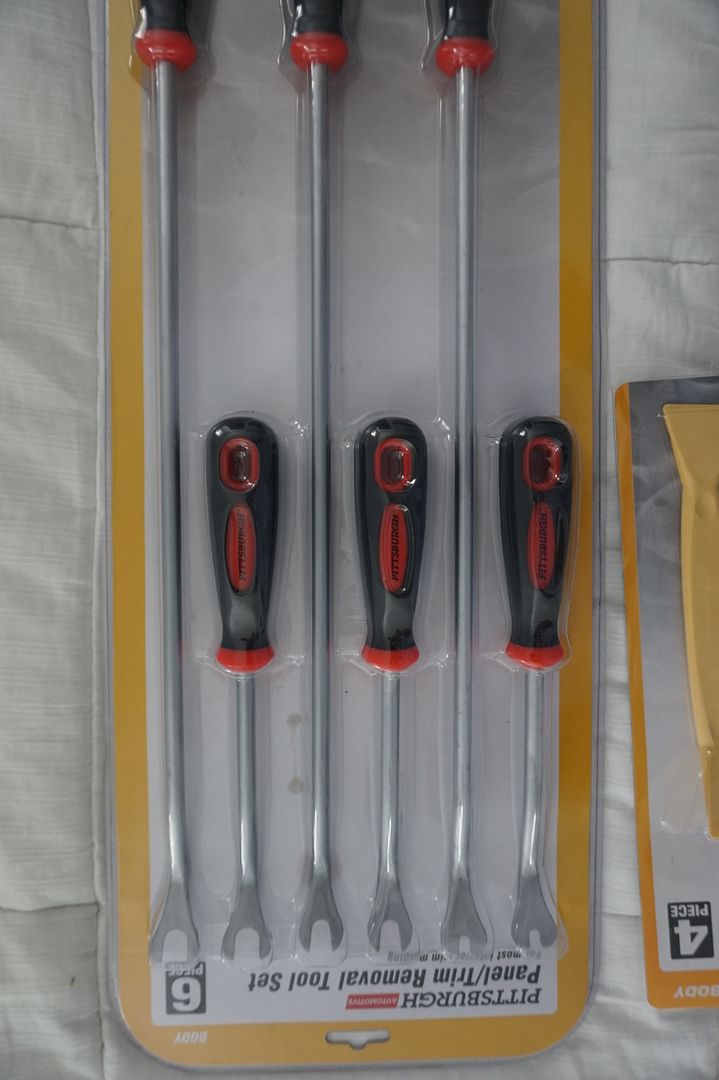
these are the HF tools i used
$8
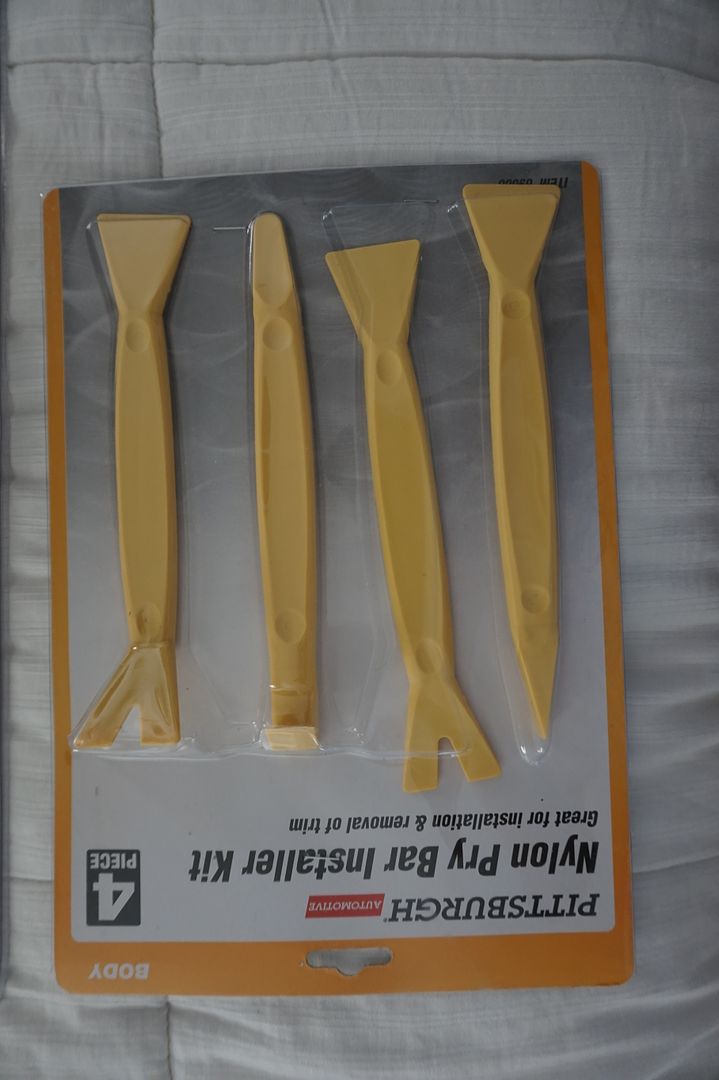
and $19
i followed the door removal you tube and it was pretty much spot on.

and then went and followed the write up in the beginning
tested the replacement mirror to make sure it worked
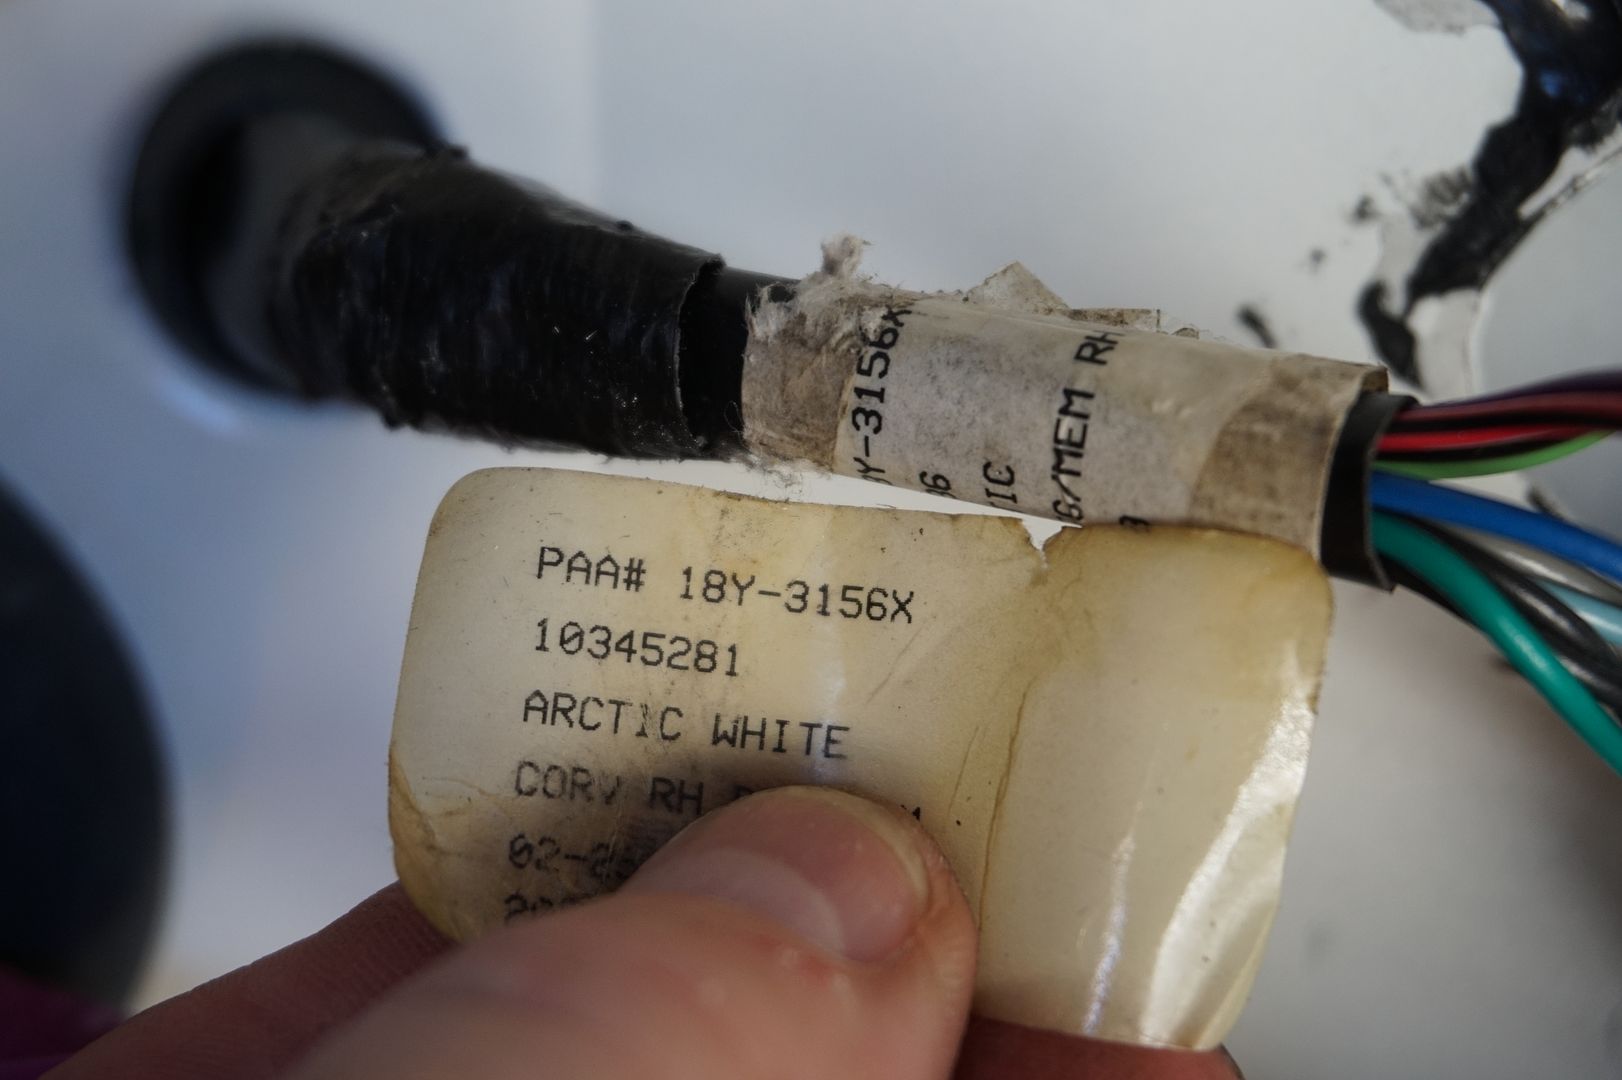
checked iD tags, they were the same also checked number of wires , colors and pin location
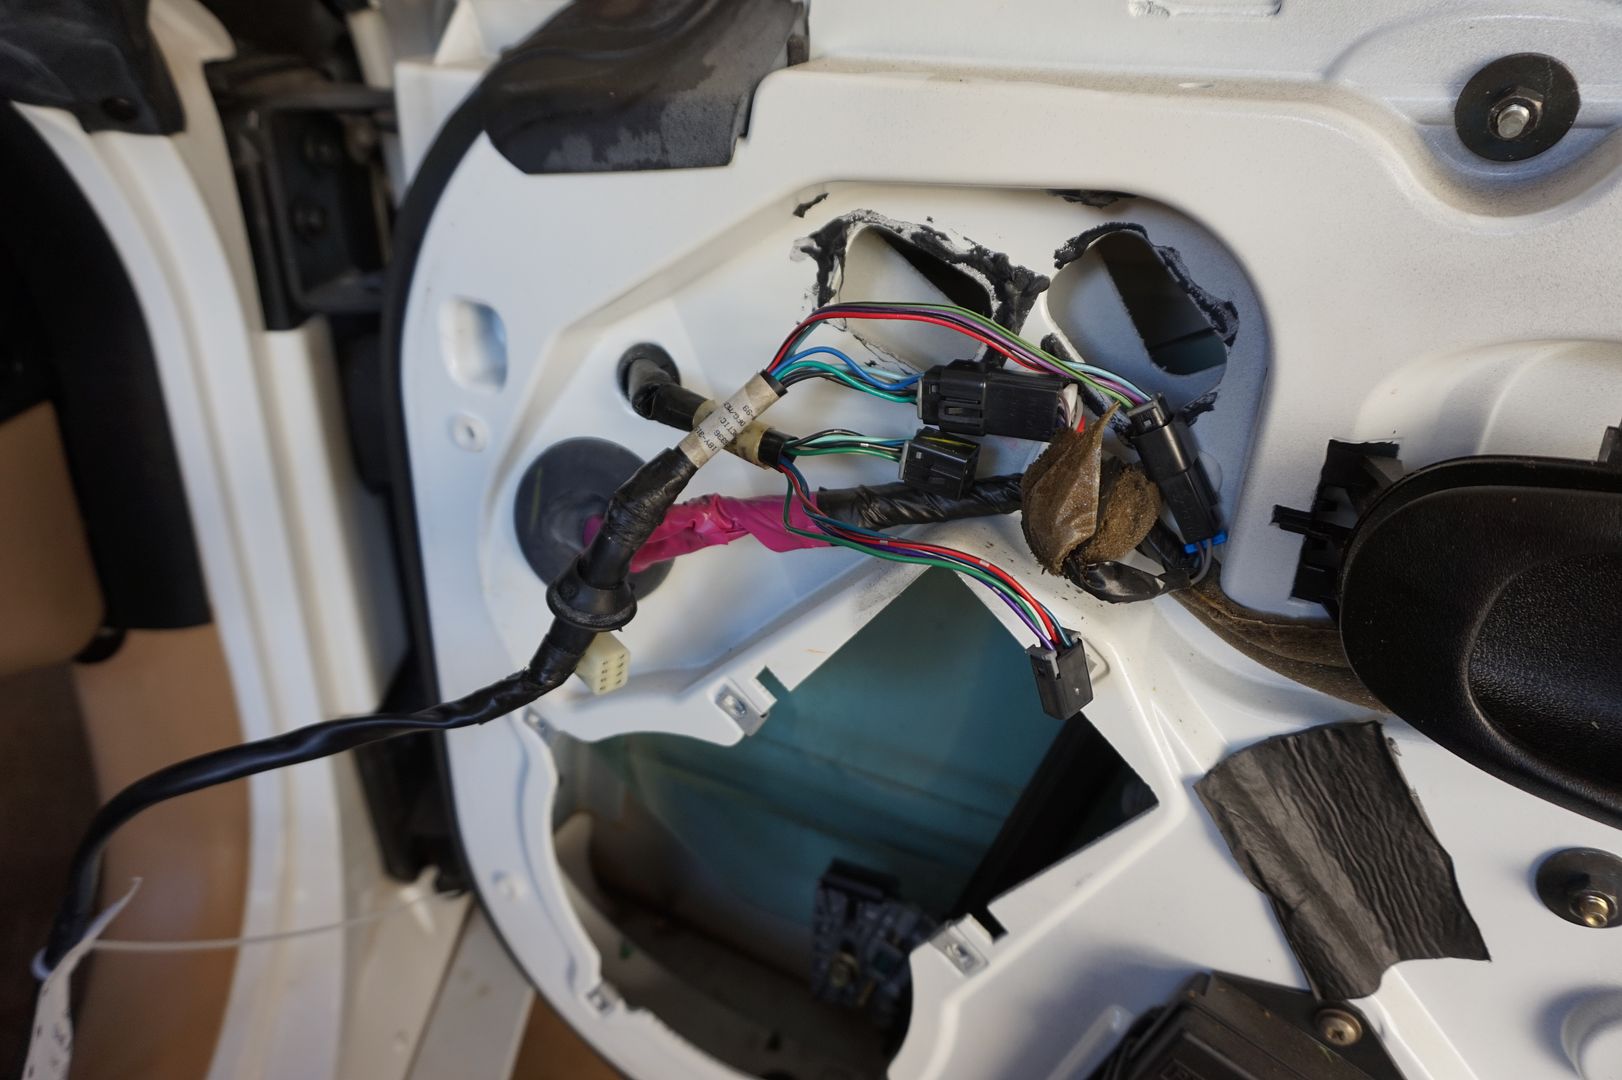
the only thing i can add to the thread is this
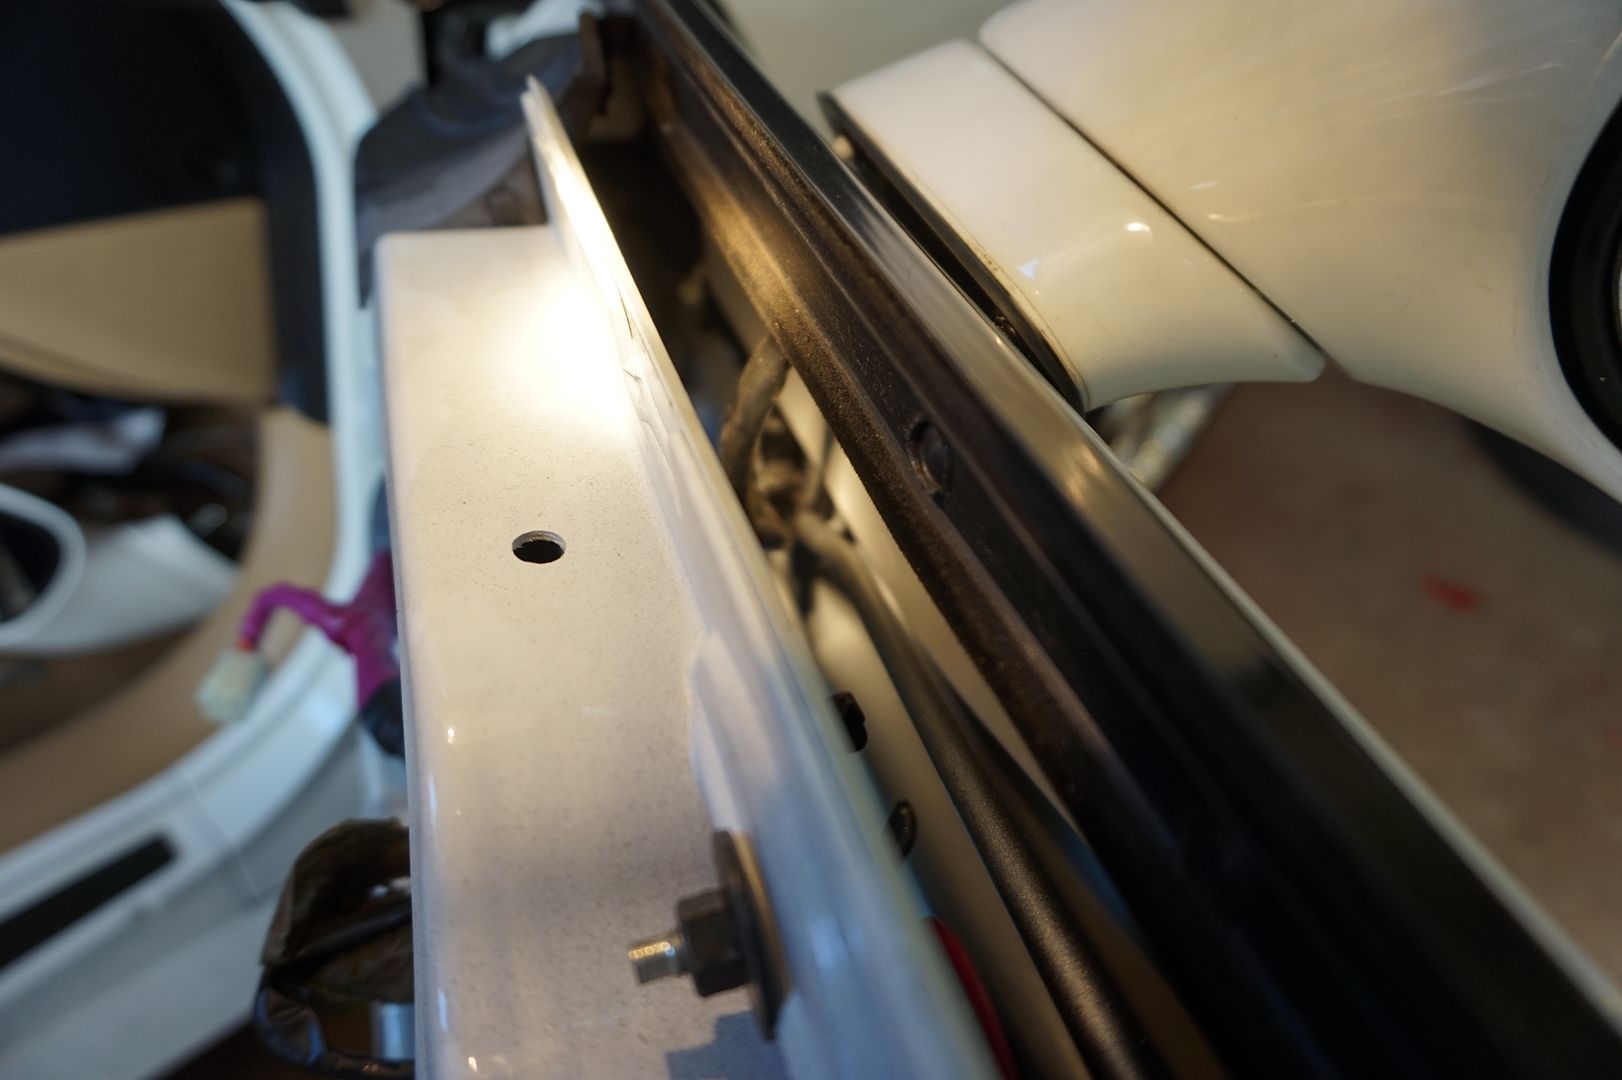
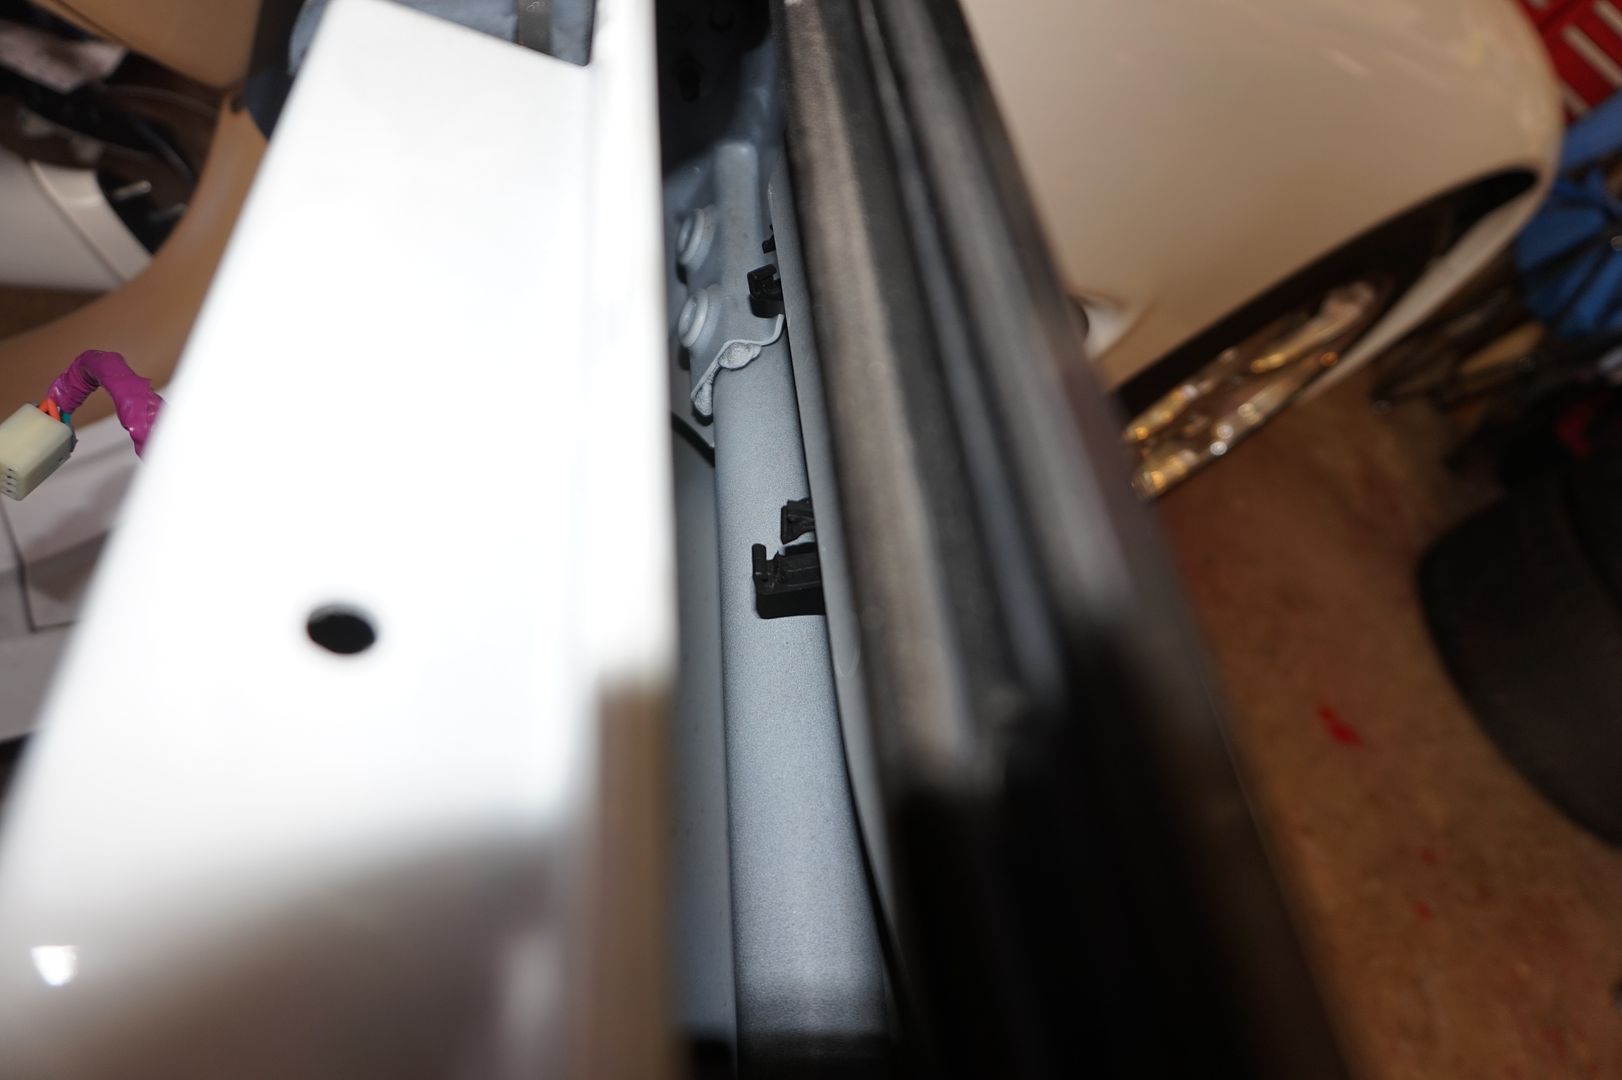
there are two tabs that hold the wiring harness out of the way on the outside of the door, they slide open if you can get them to. i pried it out with a long reaching tool from the second photo. the angle is coming in from the top of the door.
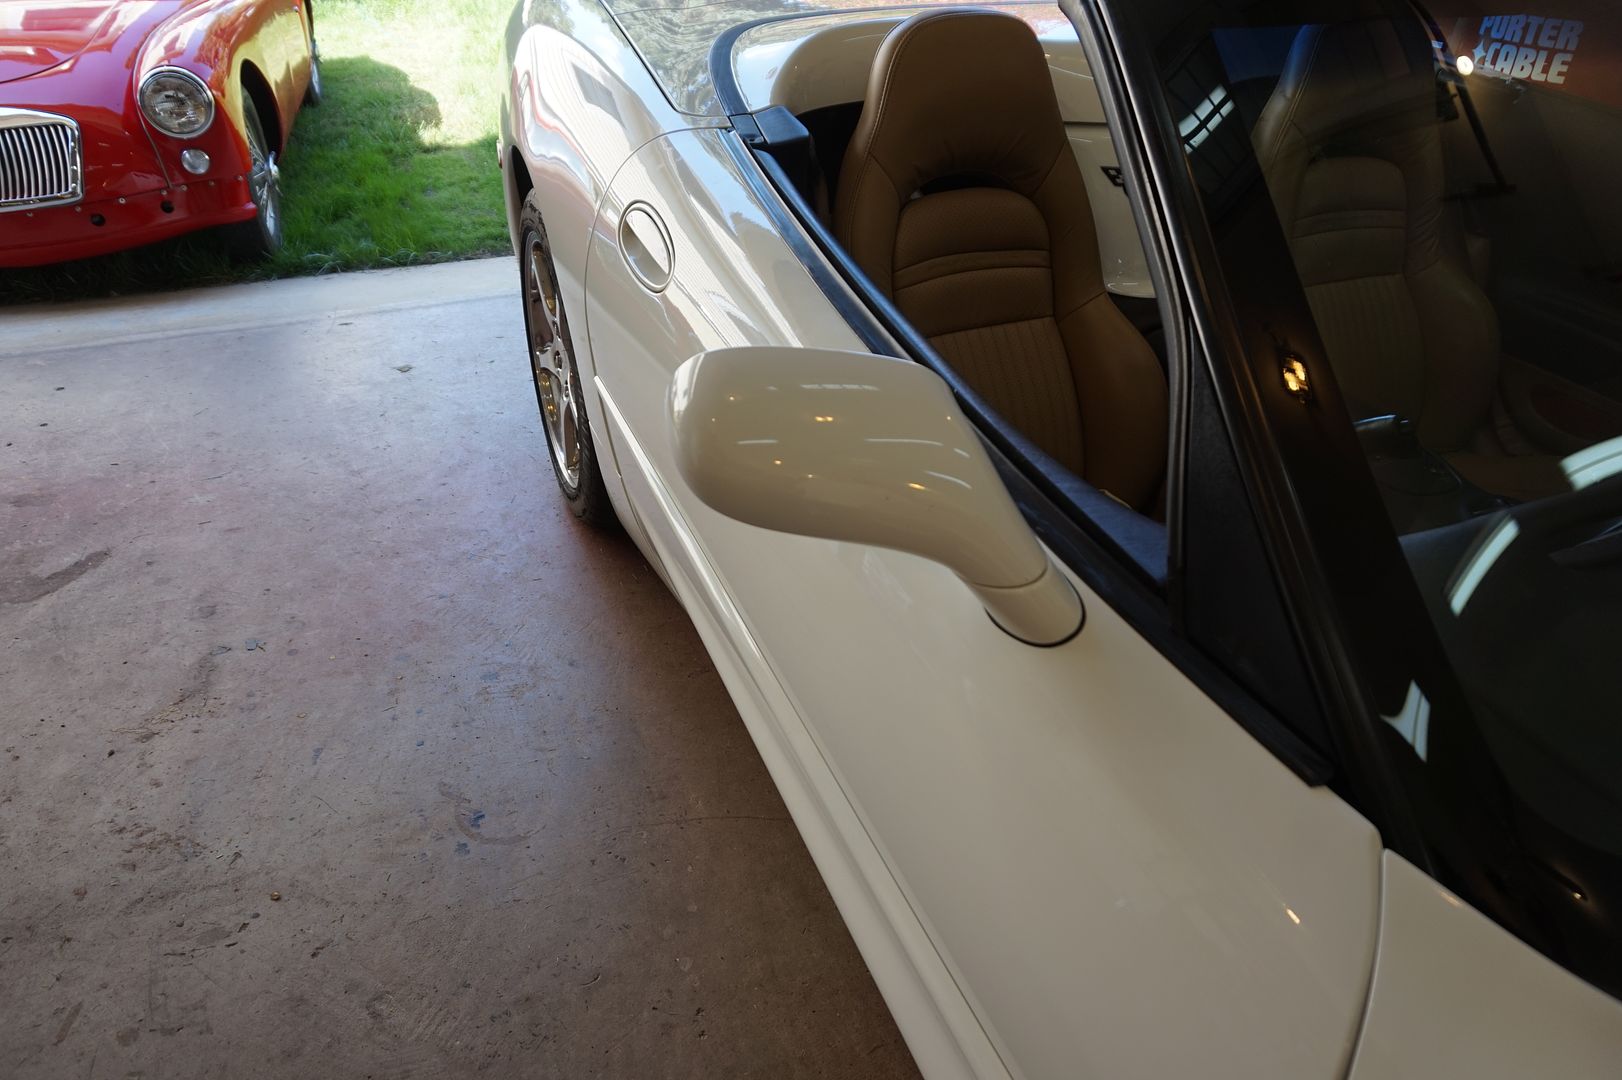
the long reaching tool is in between the two mirrors in the photo below.
this is actually a picture of the long tool removing the plastic tab. its the long silver shaft just below the black parrallel window weather stripping
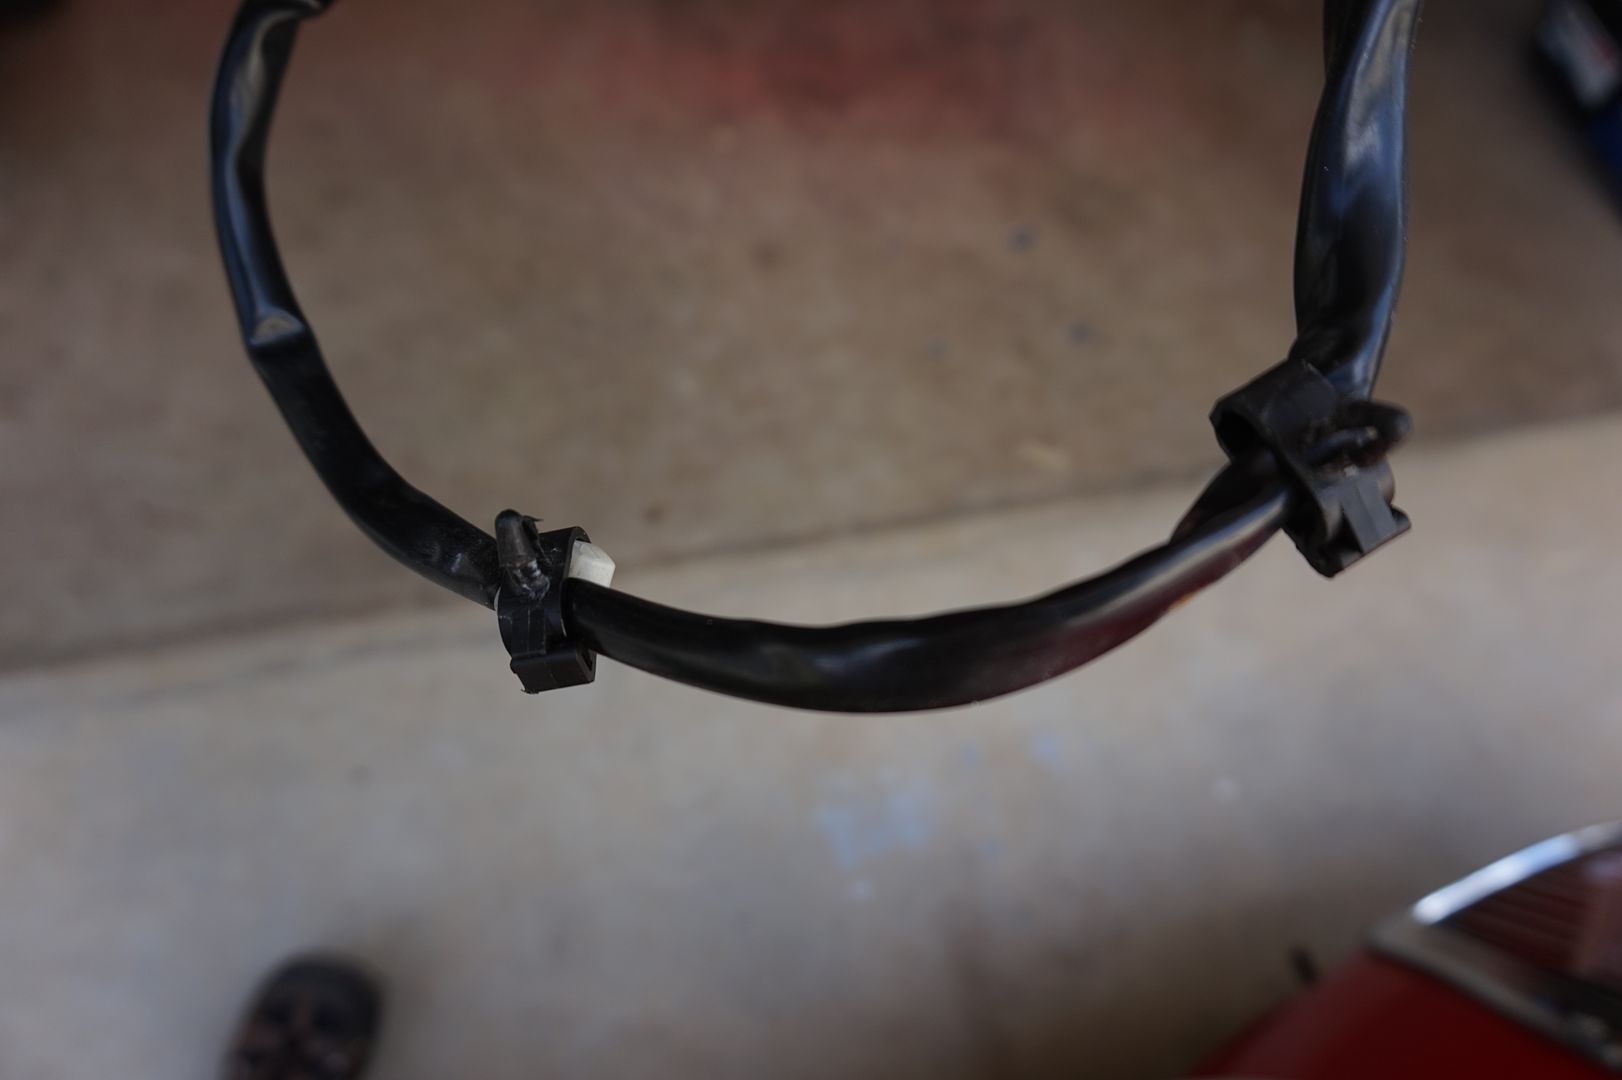
put them back in place
and done!
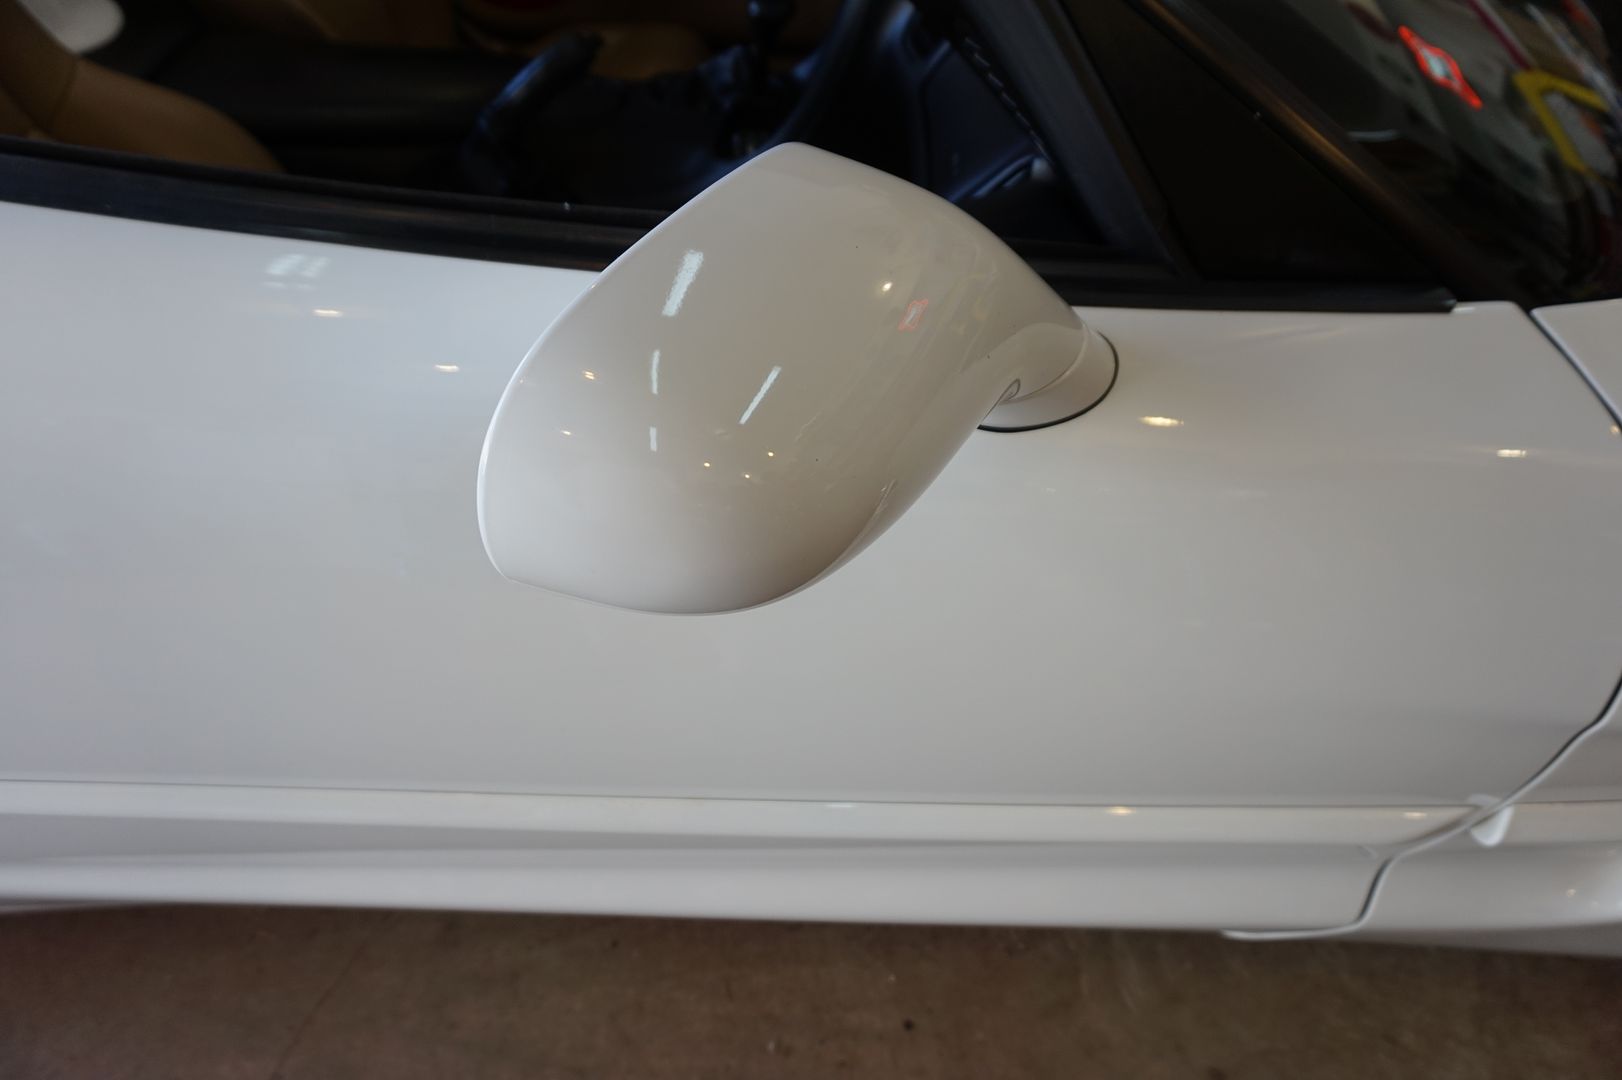
and did a final buffing of the mirror

the problem is the inside part of the mirror motor that moves the mirror is broken
these are the HF tools i used
$8
and $19
i followed the door removal you tube and it was pretty much spot on.
and then went and followed the write up in the beginning
tested the replacement mirror to make sure it worked
checked iD tags, they were the same also checked number of wires , colors and pin location
the only thing i can add to the thread is this
there are two tabs that hold the wiring harness out of the way on the outside of the door, they slide open if you can get them to. i pried it out with a long reaching tool from the second photo. the angle is coming in from the top of the door.
the long reaching tool is in between the two mirrors in the photo below.
this is actually a picture of the long tool removing the plastic tab. its the long silver shaft just below the black parrallel window weather stripping
put them back in place
and done!
and did a final buffing of the mirror
Last edited by bobs77vet; 09-18-2017 at 08:13 AM.
09-18-2017, 08:17 AM
#38
Race Director
09-02-2019, 10:19 AM
#39
2nd Gear

Member Since: Sep 2007
Posts: 2
Likes: 0
Received 0 Likes
on
0 Posts

Posted this before, but if you only need the glass mirror, here's the link for it... $19.99 shipped.
http://www.wheelskin.com/burcomirror...ETTE&year=1998
Also, here's a link to a superb tutorial on just about everything on the mirror and fixing it. http://forums.corvetteforum.com/c5-t...de-mirror.html My original post on this item is #29 in that thread.
A few tips for you mirror changers. Use a hair dryer to heat up the plastic behind the mirror before removal or install. It will make it much easier to push/pull the mirror off (as the plastic expands a little, there's less pressure). Also, ONLY press in the center of the mirror during install. Pressing down on the outside edges will break your mirror in half. Also, it won't hurt to use a very small amount of lube (WD40?) or similar to make the ball joint connection easier to push together. Where did I learn all this stuff? The school of experience. The school colors? Black & blue.
http://www.wheelskin.com/burcomirror...ETTE&year=1998
Also, here's a link to a superb tutorial on just about everything on the mirror and fixing it. http://forums.corvetteforum.com/c5-t...de-mirror.html My original post on this item is #29 in that thread.
A few tips for you mirror changers. Use a hair dryer to heat up the plastic behind the mirror before removal or install. It will make it much easier to push/pull the mirror off (as the plastic expands a little, there's less pressure). Also, ONLY press in the center of the mirror during install. Pressing down on the outside edges will break your mirror in half. Also, it won't hurt to use a very small amount of lube (WD40?) or similar to make the ball joint connection easier to push together. Where did I learn all this stuff? The school of experience. The school colors? Black & blue.
