
Power Seat Track Cracked
 06-16-2012, 08:01 PM
#1
Burning Brakes

Thread Starter

Member Since: Aug 2004
Location: Phoenix Arizona
Posts: 783
Likes: 0
Received 0 Likes
on
0 Posts

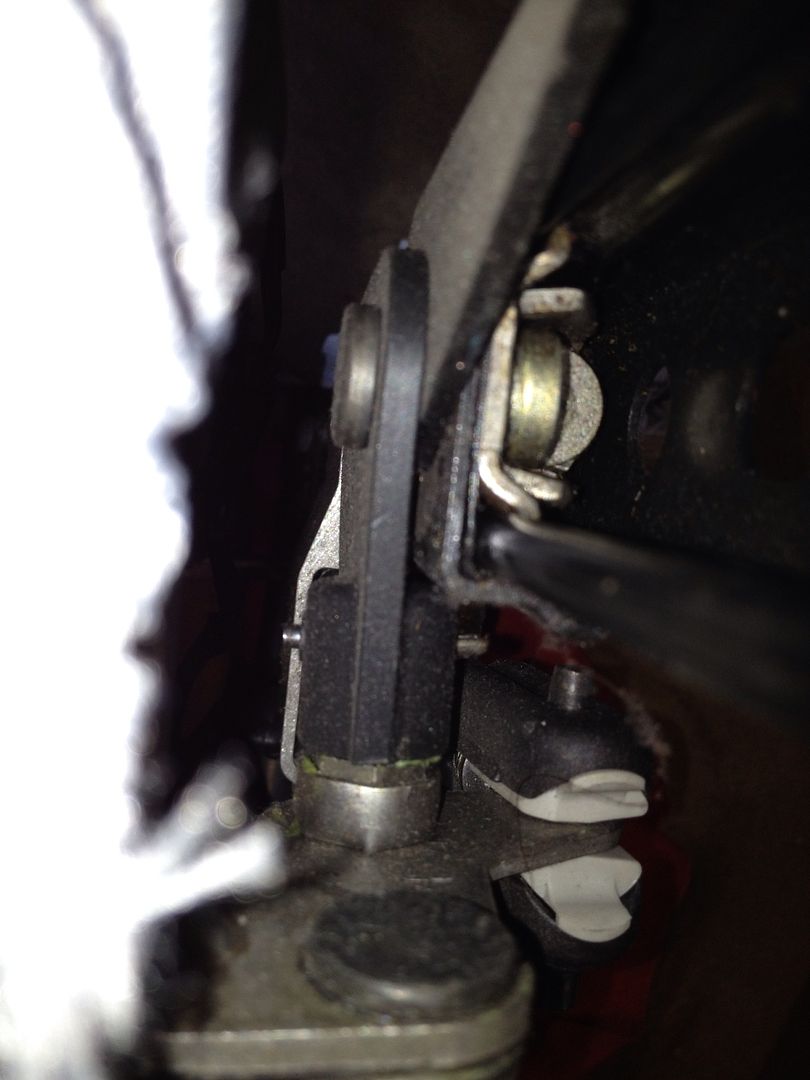
I removed my driver's seat, to fix the rocking seat problem. After I removed it I notice one corner where the 40torx screw goes in is cracked.... I think it is where the seat raises and lowers itself. The material seems like a plastic/metal part. I am not sure if I can change this or need to buy new track.

The seat has full memory too.
The seat has full memory too.
Last edited by Chuck01; 06-16-2012 at 08:04 PM.
 06-17-2012, 12:23 AM
#2
Instructor


I removed my driver's seat, to fix the rocking seat problem. After I removed it I notice one corner where the 40torx screw goes in is cracked.... I think it is where the seat raises and lowers itself. The material seems like a plastic/metal part. I am not sure if I can change this or need to buy new track.
The seat has full memory too.
The seat has full memory too.
I've made replacemnet brackets for my seat instead of paying $400 for tracks... Might be able to help...
Last edited by Jondamnit; 06-17-2012 at 12:31 AM.
06-17-2012, 12:45 AM
#3
Instructor

This is the rough layout for the new bracket. The round part I found at ACE hardware in the Steel Spacer bins. Perfect fit. The flat steel is 3/16"

I drilled 2 holes in the corners to help with the cross cut. Then welded up the back side so the grease wouldn't seep out...

A shot of black paint and installed. Up to you if you want to weld it to where the rivit was... I ground the rivet off to get it appart...
Last edited by Jondamnit; 06-17-2012 at 12:57 AM.
06-17-2012, 02:04 AM
#5
Burning Brakes
Thread Starter
Member Since: Aug 2004
Location: Phoenix Arizona
Posts: 783
Likes: 0
Received 0 Likes
on
0 Posts
This is the rough layout for the new bracket. The round part I found at ACE hardware in the Steel Spacer bins. Perfect fit. The flat steel is 3/16"
I drilled 2 holes in the corners to help with the cross cut. Then welded up the back side so the grease wouldn't seep out...
A shot of black paint and installed. Up to you if you want to weld it to where the rivit was... I ground the rivet off to get it appart...
06-17-2012, 03:26 AM
#7
Instructor

You need a T-40 Torx bit to remove the screw... I used a grinder to remove the top of the big rivet. Any weld shop can make these for you. Print out the pictures and take in your old part... Tell them you want them made out of steel. I would buy the spacers at ACE and then have them do the rest.
 06-17-2012, 07:44 AM
#8
Tech Contributor


Member Since: Dec 1999
Location: Anthony TX
Posts: 32,736
Received 2,180 Likes
on
1,583 Posts
CI 6,7,8,9,11 Vet
St. Jude Donor '08

EXCELLENT WORK and outstanding ingenuity! Saving the post to my IMPORTANT POST documents.

Bill
Bill
06-17-2012, 10:55 AM
#9
Instructor
 I'm just glad I could give something back to the Forum after all I have taken from it. I'm one AC Temp actuator away from having my 97 back to 100% Thanks to this site...
06-17-2012, 11:20 AM
I'm just glad I could give something back to the Forum after all I have taken from it. I'm one AC Temp actuator away from having my 97 back to 100% Thanks to this site...
06-17-2012, 11:20 AM
#10
Burning Brakes
Thread Starter
Member Since: Aug 2004
Location: Phoenix Arizona
Posts: 783
Likes: 0
Received 0 Likes
on
0 Posts
You need a T-40 Torx bit to remove the screw... I used a grinder to remove the top of the big rivet. Any weld shop can make these for you. Print out the pictures and take in your old part... Tell them you want them made out of steel. I would buy the spacers at ACE and then have them do the rest.
Bill is right this is a great idea.....
06-17-2012, 11:28 AM
#12
Instructor
Just make sure you have the spacer dircetly across from the other side. Mainly, check which side it needs to be off center from the flat steel. It's only about an 1/8" off of center but it could put your seat off kilter if it's not... Good luck and beer accepted...
07-29-2012, 10:04 PM
#13
Le Mans Master

Just did the same about two months ago!
Searched around the garage for some metal to make a new bracket after I found you can't even tig the cast aluminum junk bracket, as seen in pic.
Dealer said no parts available, only the entire seat track for ~ $950
What it's supposed to look like.
I tried to Tig the old one but it just crumbled.
[IMG]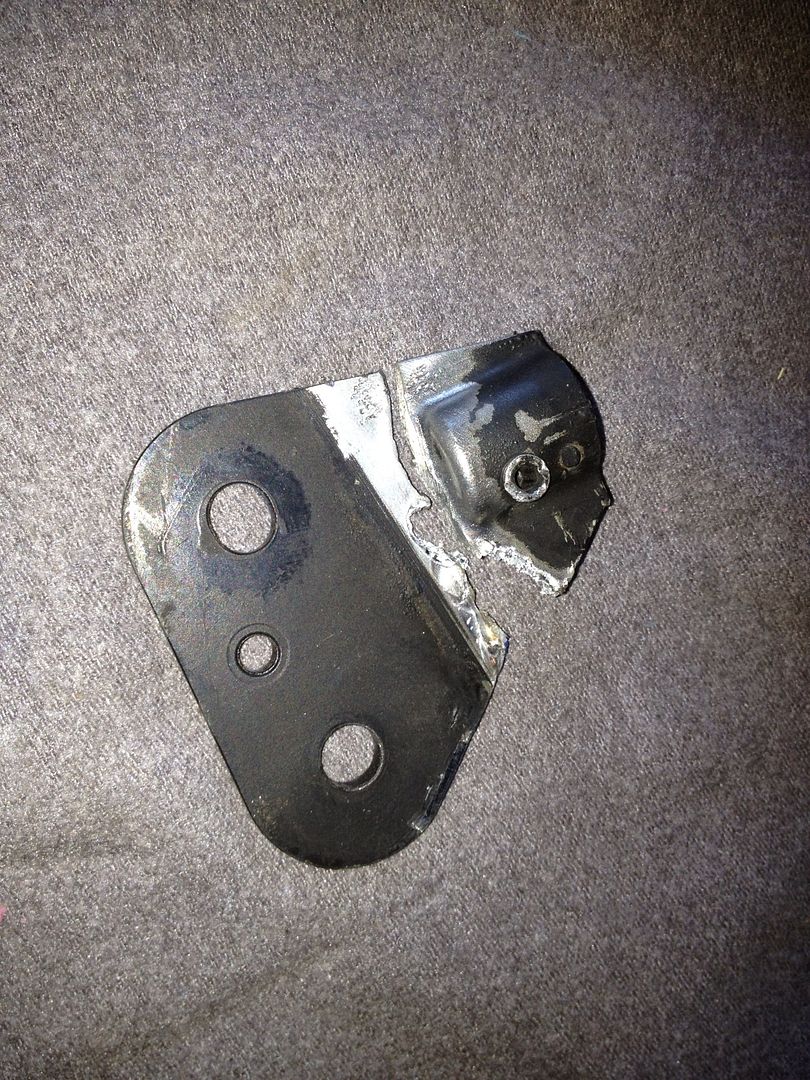 [/IMG]
The copy I made.
[IMG]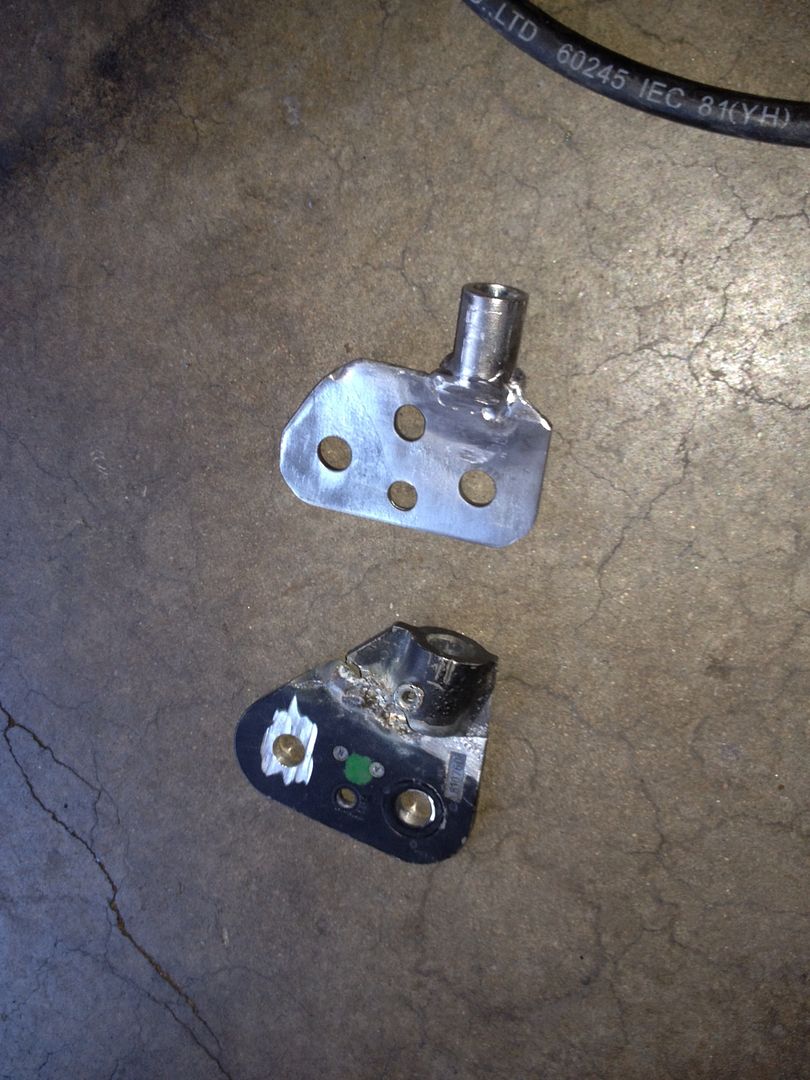 [/IMG]
And also welded to the leftover rivet body.
[IMG] [/IMG]
[IMG]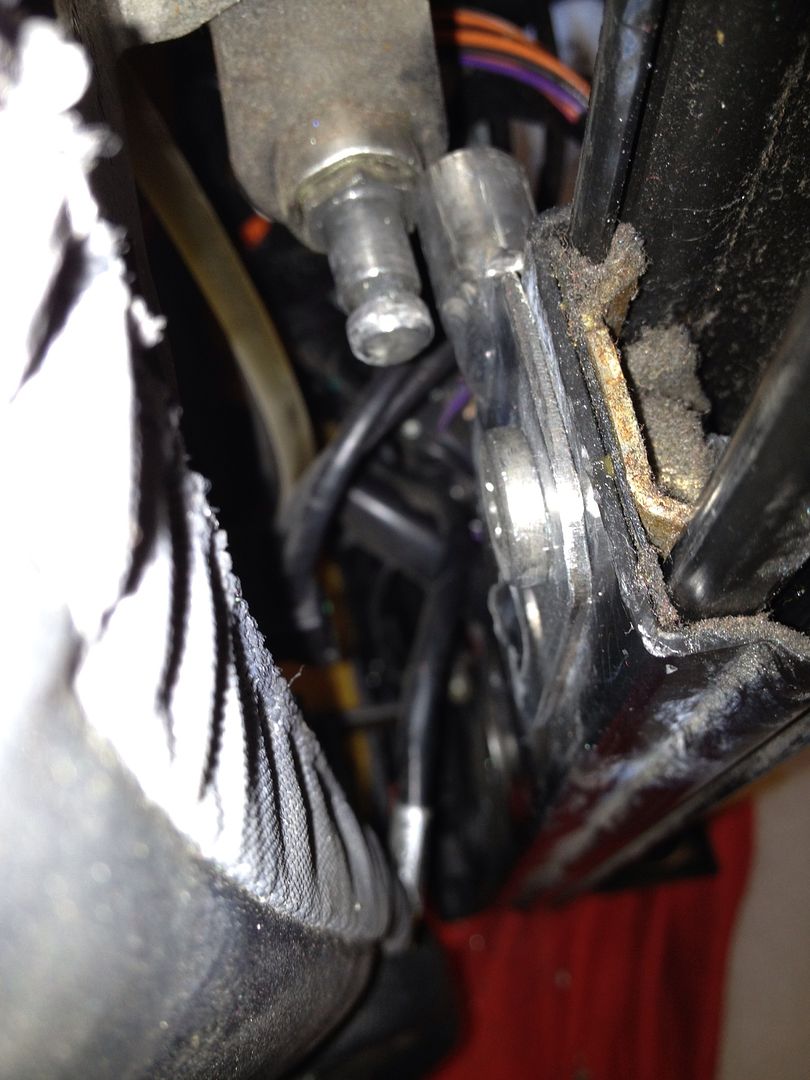 [/IMG]
Searched around the garage for some metal to make a new bracket after I found you can't even tig the cast aluminum junk bracket, as seen in pic.
Dealer said no parts available, only the entire seat track for ~ $950
What it's supposed to look like.
I tried to Tig the old one but it just crumbled.
[IMG]
[/IMG]The copy I made.
[IMG]
[/IMG]And also welded to the leftover rivet body.
[IMG]
[/IMG][IMG]
[/IMG]