
A&A D1SC install and lots of other stuff!! Pics soon
 08-12-2013, 02:29 PM
#1
Race Director

Thread Starter
Well I bought a kit and sent the cash out this am and already started working on taking the car apart last week. I'n no SFC RICK but I will do my best to mirror him..http://forums.corvetteforum.com/c5-g...tall-pics.html
car has I/H/E/TB/Tune 6spd made 341/352 corrected. uncorrected was like 277 or something. It's slow as **** here at 5.6k above sea leave and DA in the 8k range
Already have a twin disk on it
Here is the break down of what I will be doing/installing. Looking for low to mid 500's.
Procharger D1SC kit on A&A bracket
Fix the dreaded broken oil pressure sending unit under manifold
bap install
curse
meth install
power bond install
upgraded power steering bracket
curse
caspers fuel pump wire kit
c6 fmic
pin crank
drink beer and curse
fix abs unit and swap out abs pump..??
curse
clean engine bay
drink beer
aem 320 fuel pump(if the vendor gets back to me)
welding the radiator cradle 1" lower so not to "lower the cradle"
Front screen mod
drink
curse
front case gasket replacement
I'm sure I am missing more but that the beef of it. I will be posting links where I'm getting my info from. I'm taking on ALOT I know and this is my first time doing this but I'm confident with help from you guys and a few locals I will get it done. My buddy tcruse here has been giving me really good advice and will be helping with the install. I have pics at the house that I will post tonight. I'm looking for a late August/Early September eta. So there are gonna be days with no progress due to $$ and life. Thanks and wish me luck!! I want to thank my friend Gary(Muncie21) that use to live here in NM for letting me drive his maggie c5 which got me into my vette. Then Troy(tcruse) let me drive his built YSI Z and well that just did it for me I had to get boost this year. Pics tonight boys!!!
Last edited by Chicago1; 08-12-2013 at 02:39 PM.


 08-12-2013, 06:18 PM
#4
Melting Slicks

Sounds like you mapped out a pretty good plan of attack Shant.
Since you are going to have to move the rack to pin the crank and will have accessories off the front of the engine, you may want to consider dropping in another cam.
Since you're going FI, you don't need a crazy hi-lift cam, which would entail new springs and potentially retainers. I know, it's a slipper slope, one upgrade begetting the next, so just something to keep in the back of your head.
Between you and the boys, you shouldn't have any problems with this little upgrade. Keep us posted and best of luck
08-12-2013, 09:29 PM
#5
Burning Brakes

Member Since: May 2002
Location: Albuquerque NM
Posts: 831
Likes: 0
Received 0 Likes
on
0 Posts

That's a lot of cursing & drinking.... Sounds like a blast!  Your Vette did almost identical dyno #'s mine did after David got everything dialed in correctly.. 337/350
Your Vette did almost identical dyno #'s mine did after David got everything dialed in correctly.. 337/350
08-12-2013, 09:41 PM
#6
Race Director
Thread Starter
Thanks guys, Gary I want to cam it but the funds are already spent so unfortunately I will have to do double work later down the road but trust me it kill me that I am right there!!..
followed this link for this removal/install..http://forums.corvetteforum.com/c5-t...y-vectorz.html
new sensor in
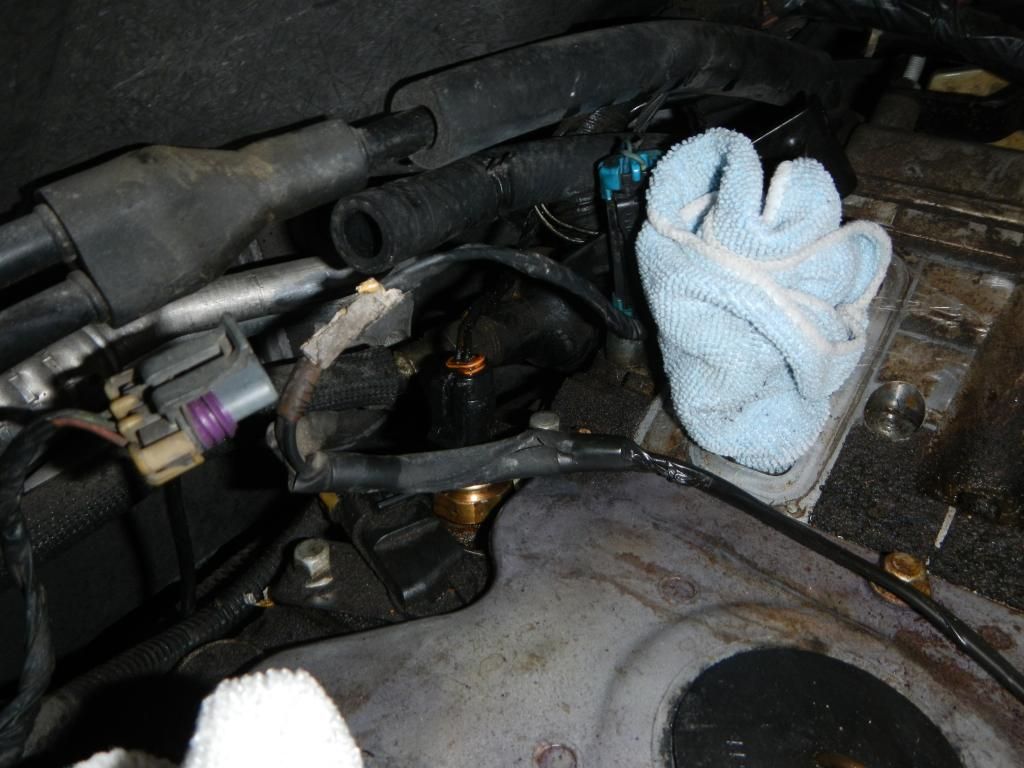
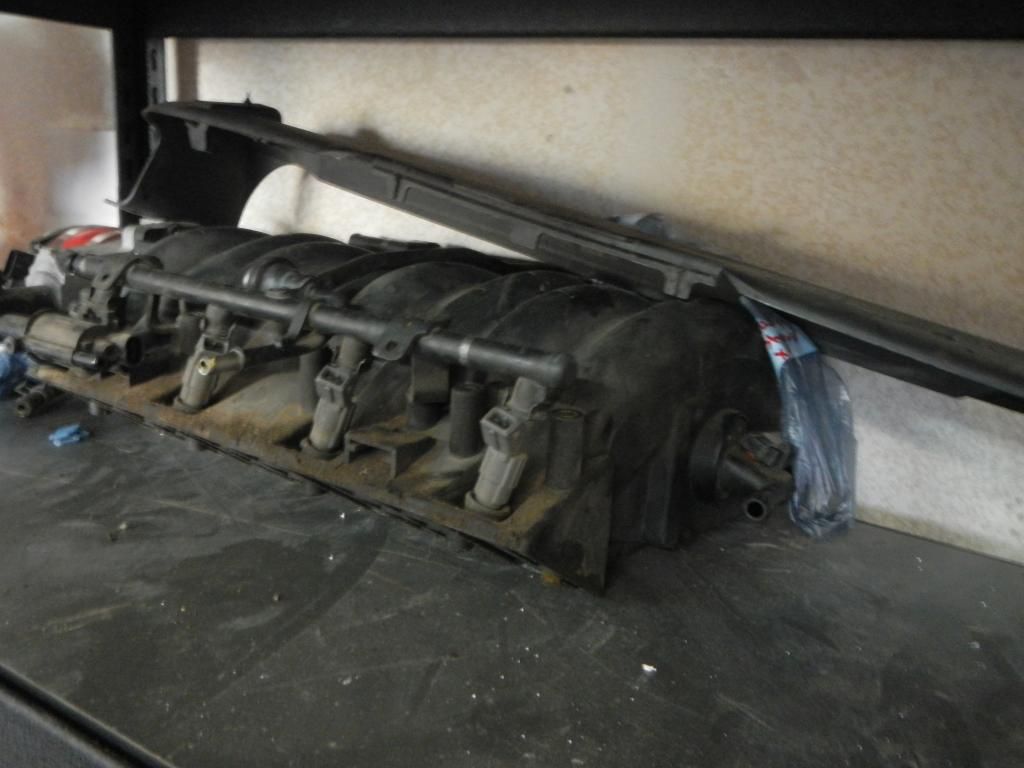
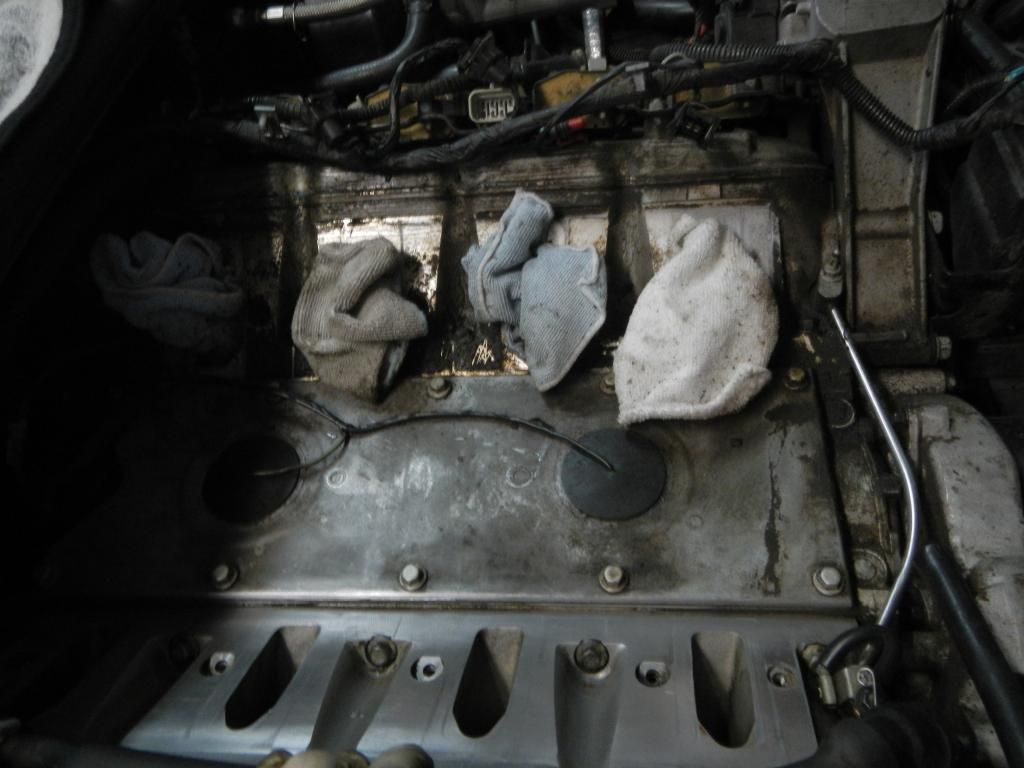
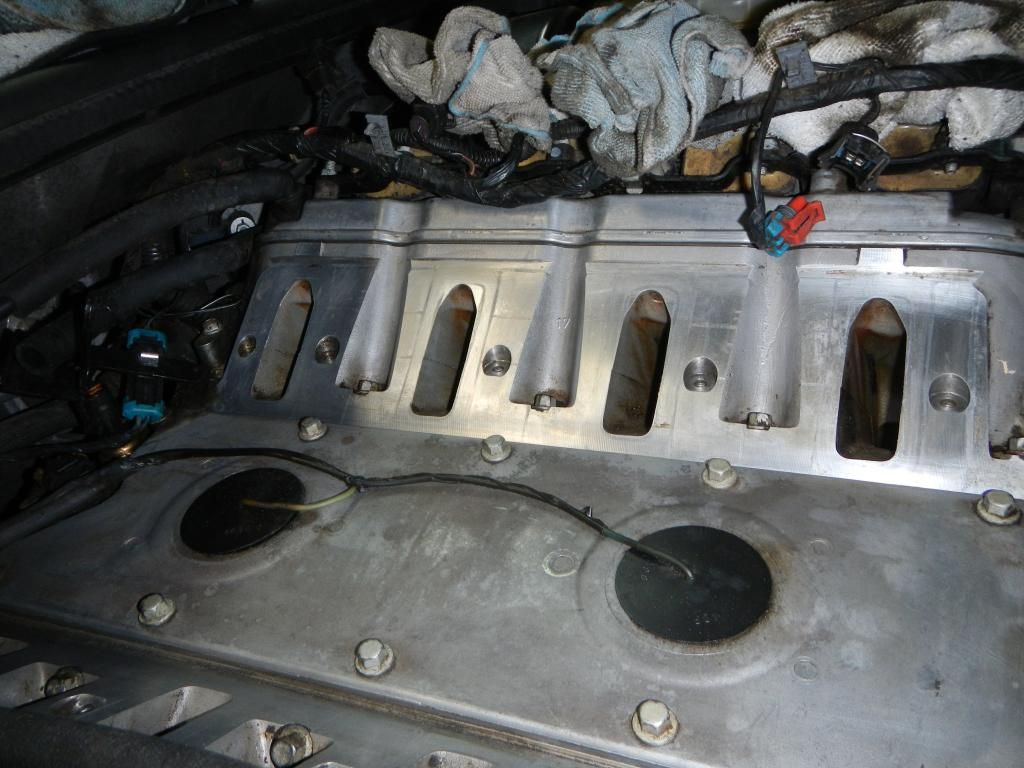
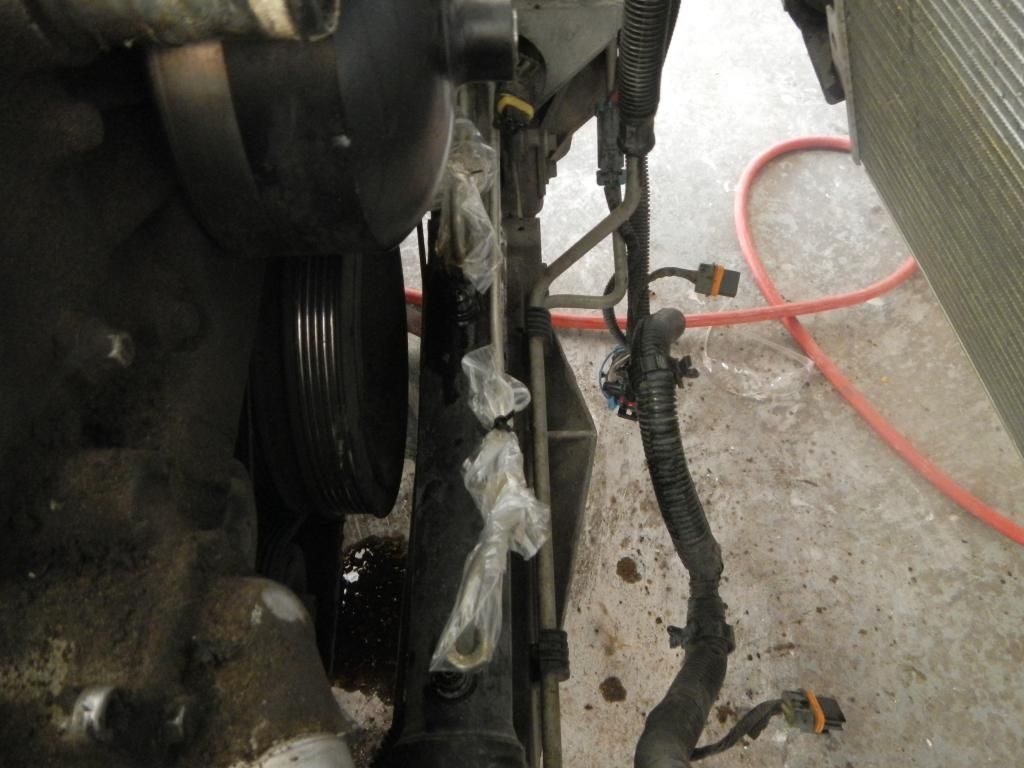
did some clean up..

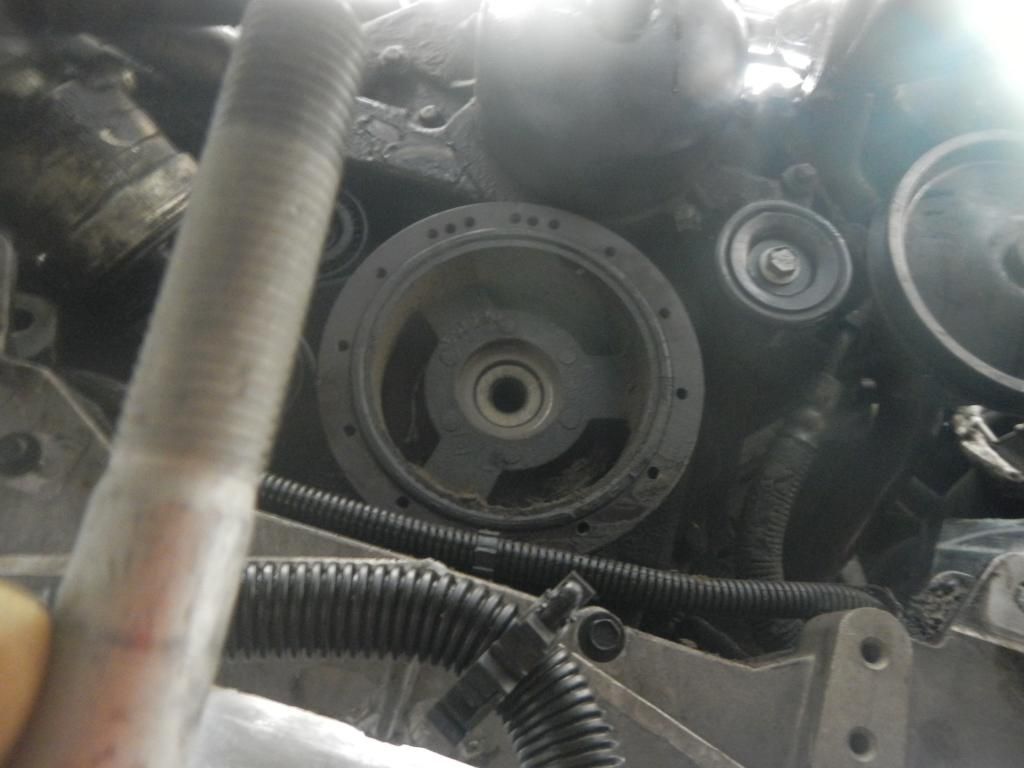
Time to drain the radiator and get to pinning the crank!!
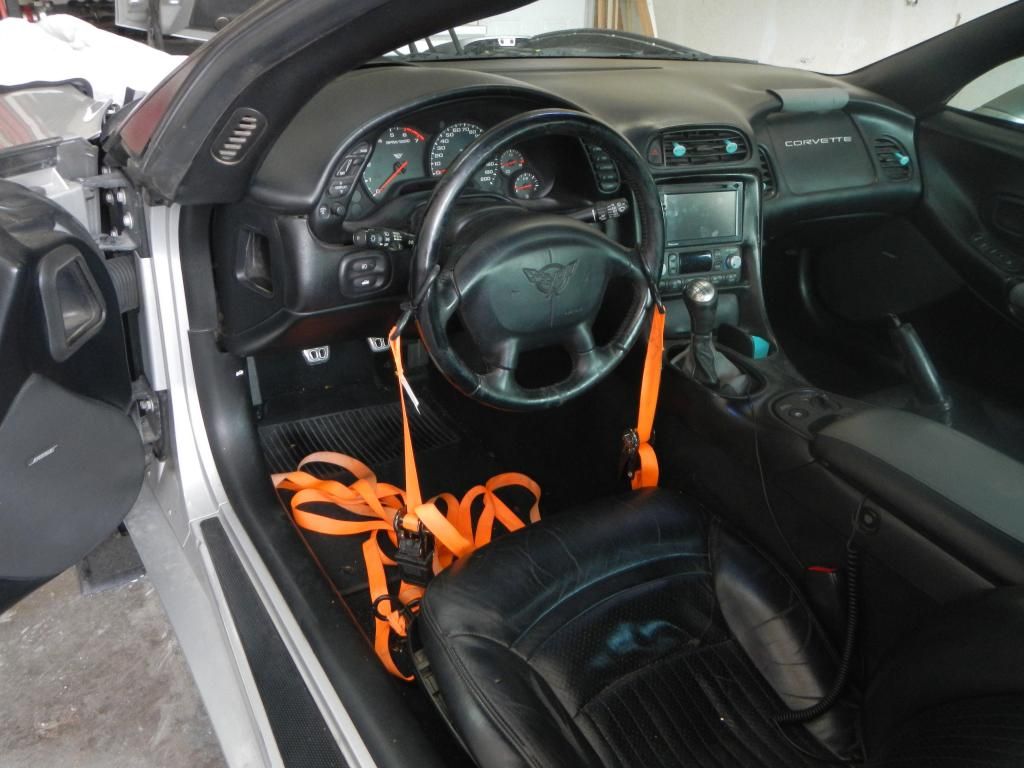
First thing that I read is do not let the steerin wheel move. A&A says lock it but most of us have the clb bypass and plate. So I made do with what I had I got this idea from a forum member..Thanks Andrew!!!

followed this link for this removal/install..http://forums.corvetteforum.com/c5-t...y-vectorz.html


new sensor in


did some clean up..


Time to drain the radiator and get to pinning the crank!!
First thing that I read is do not let the steerin wheel move. A&A says lock it but most of us have the clb bypass and plate. So I made do with what I had I got this idea from a forum member..Thanks Andrew!!!


Last edited by Chicago1; 08-13-2013 at 08:17 AM.
08-12-2013, 10:29 PM
#7
Race Director
Thread Starter
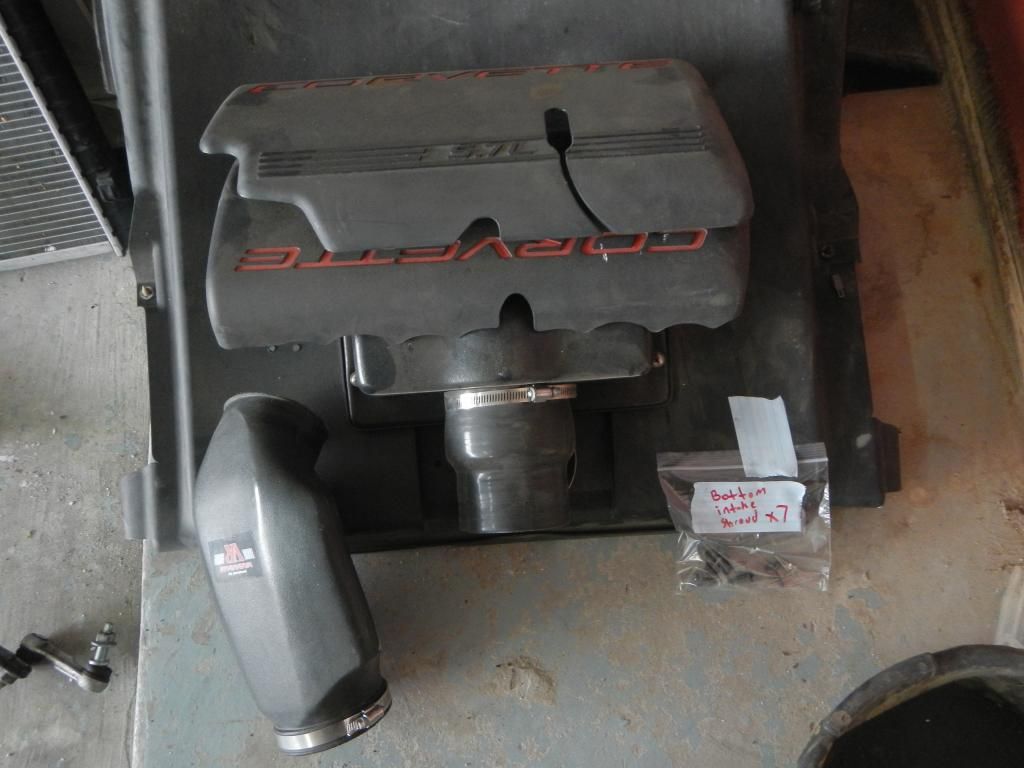
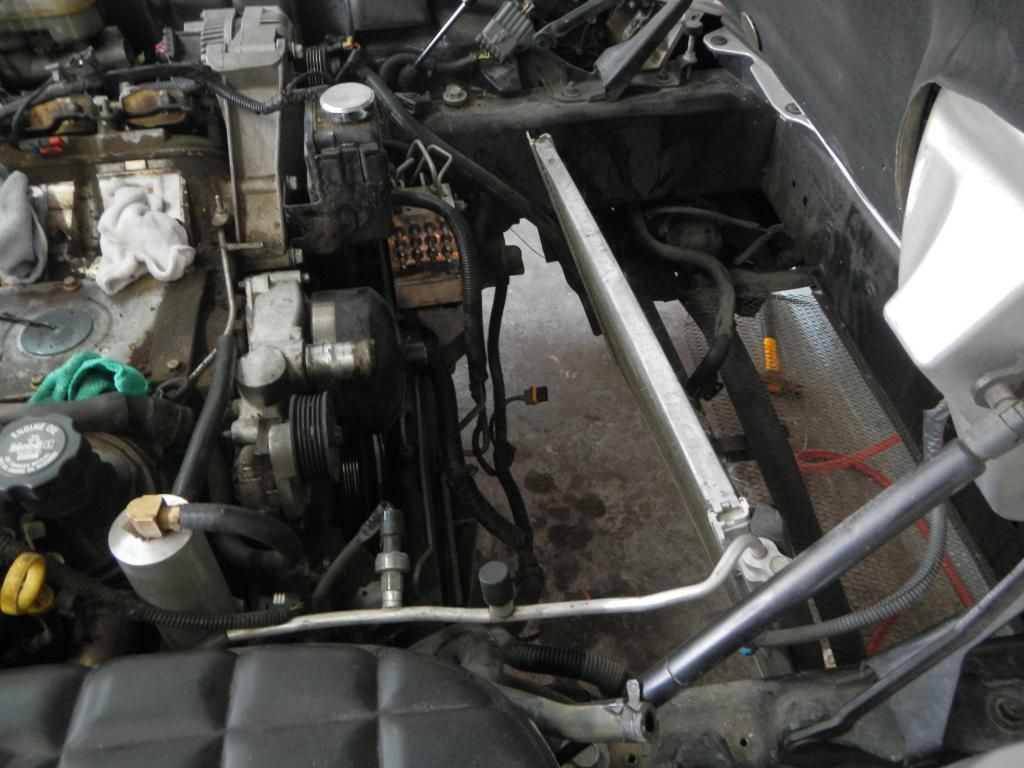
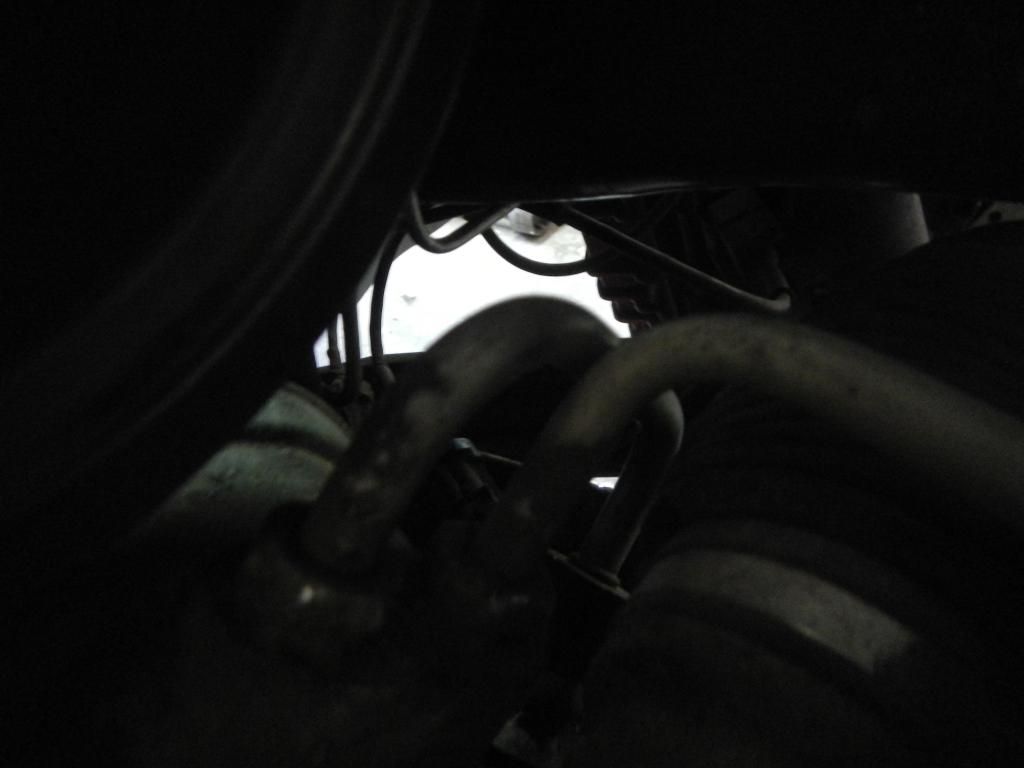
Started removing the radiator and all tha tgood stuff. I'm bagging all the nuts and bolts and labeling everything..

all out..
Time to drain the fluids from the rack...GF wasn't to happy I used her kids juice pitcher. Told her Ill buy her another..
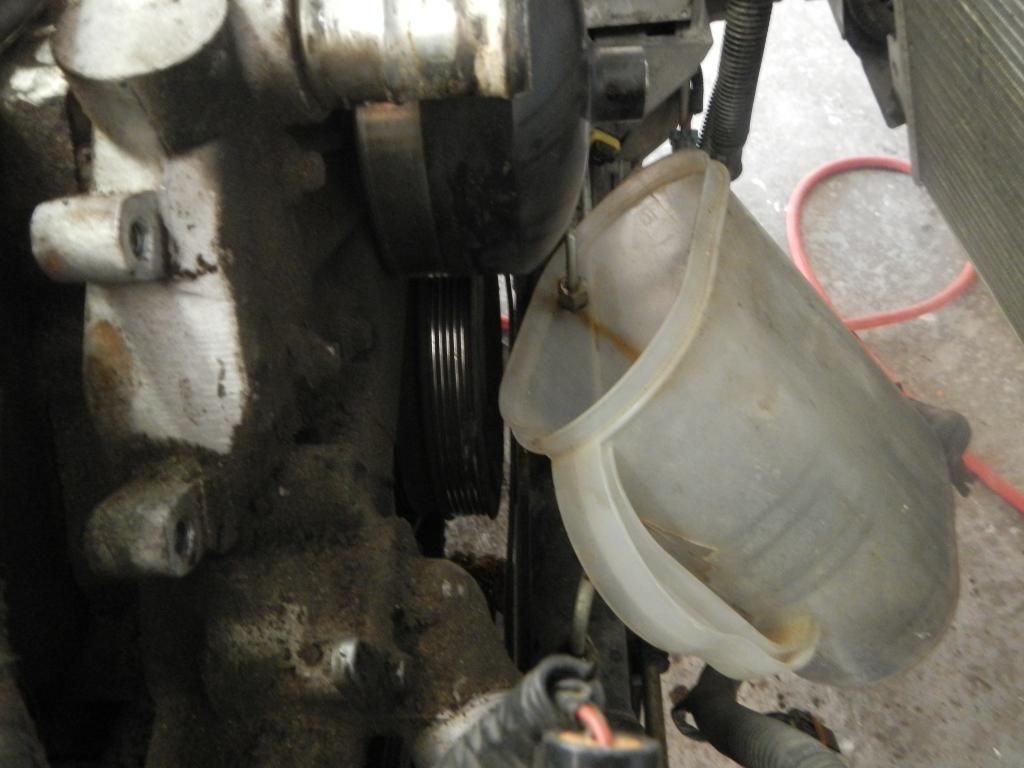
Tie rods coming out

All drained and tied up
Time to disconnect the rack thus the wheel being "locked"
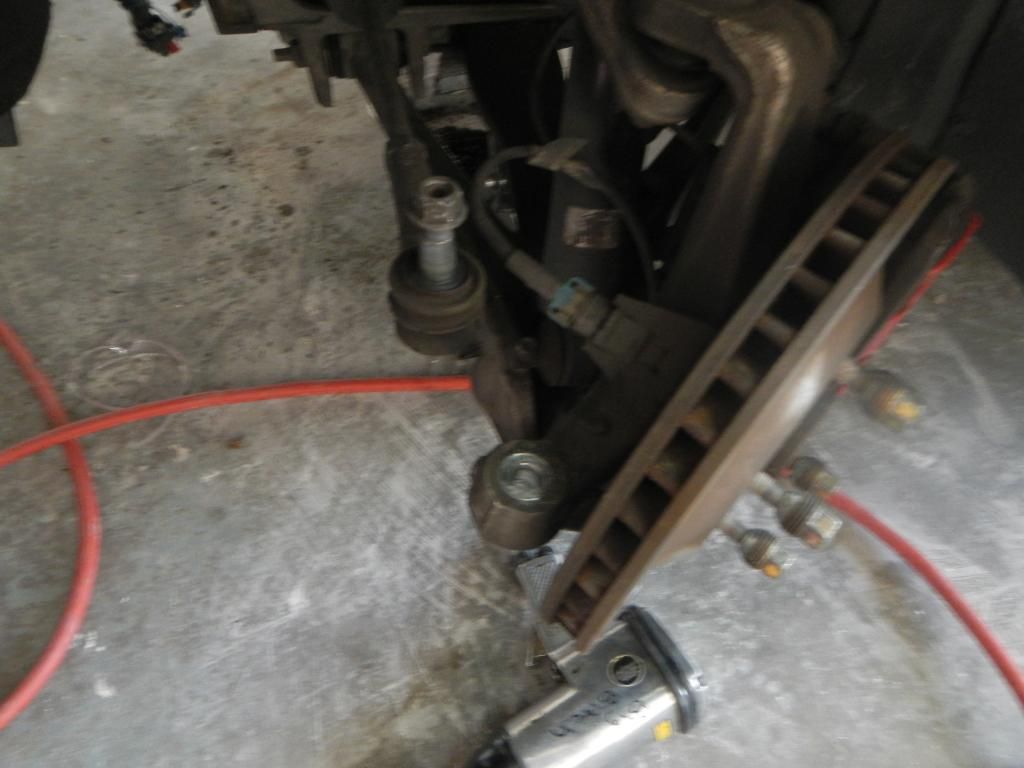
I found it easier to remove the altenator and take the bolt off(didnt have a long enough extension)
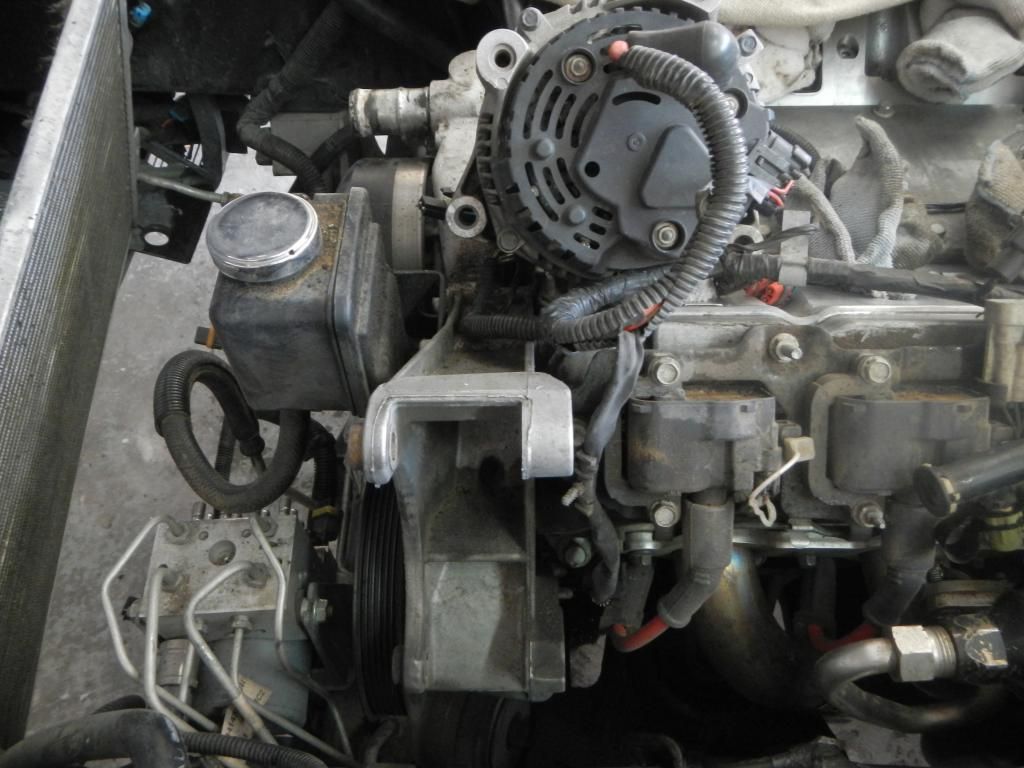
Time to remove the abs bracket..
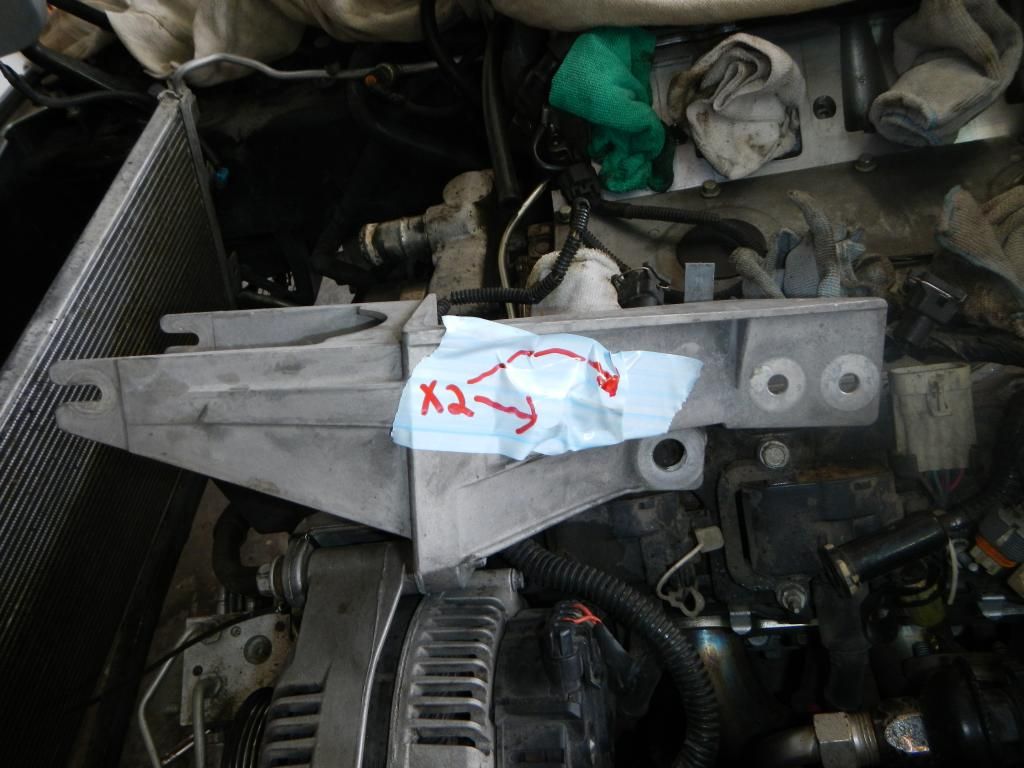
These are the last 2 I need to pull the rack but they are being a pain in the *** even with the flared wrench..
More to come on Wednesday..

all out..

Time to drain the fluids from the rack...GF wasn't to happy I used her kids juice pitcher. Told her Ill buy her another..

Tie rods coming out


All drained and tied up

Time to disconnect the rack thus the wheel being "locked"

I found it easier to remove the altenator and take the bolt off(didnt have a long enough extension)

Time to remove the abs bracket..


These are the last 2 I need to pull the rack but they are being a pain in the *** even with the flared wrench..

More to come on Wednesday..


 08-13-2013, 05:25 PM
#12
Night Owl for life

Member Since: Nov 2003
Location: Bugs Bunny should'a made a left turn here
Posts: 23,200
Received 3,247 Likes
on
1,668 Posts

Badass man I need to see it when you're done.

 08-15-2013, 01:15 AM
#16
Race Director
Thread Starter
Not a whole lot done today was working on the gf's car. Roc87 came over(Eric) and we were able to get one of the power steering nuts off the other no go it's stripping. Eric has a crows wrench he's gonna bring over maybe tommorow and I will tackle it. I cracked the power steering pulley(looks/feels like plastic).
SC kit shipped today
injectors came today
power steering bracket came today..
Calling Josh tommorow at A&A to order the IC pipes.
AEM Fuel pump shipped today.
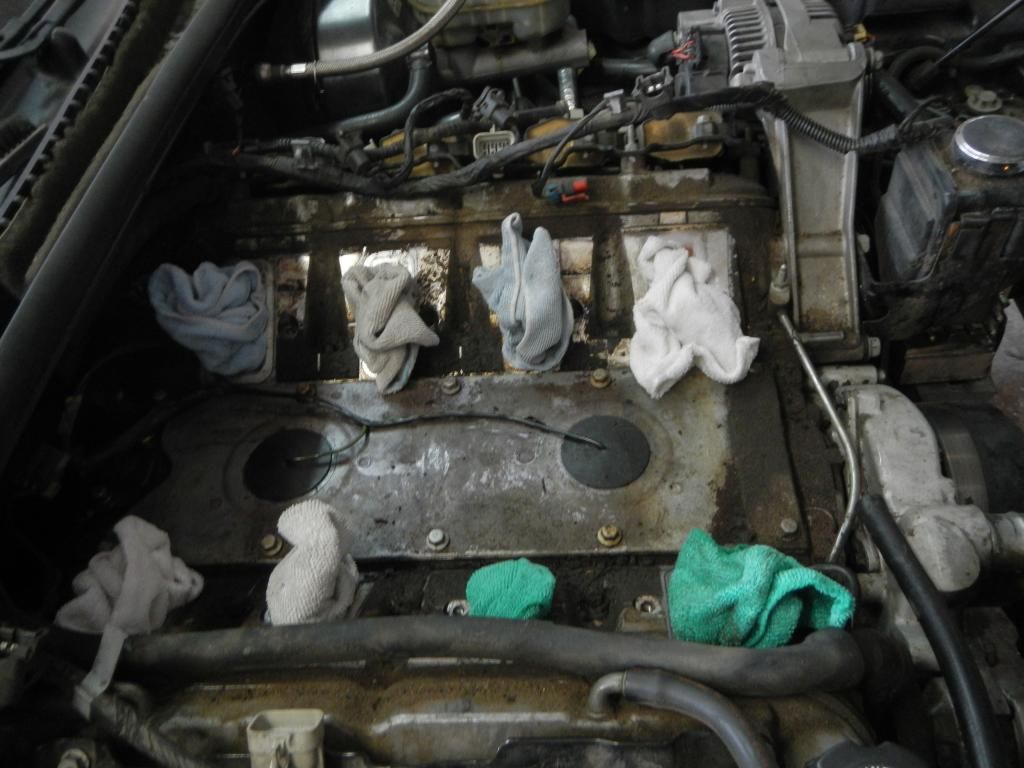
Sprayed engine bay with engine bright..
Got the Crank pin kit the other day pin on the way
I will post some pics tommorow. Have a good night gentleman.
SC kit shipped today
injectors came today
power steering bracket came today..
Calling Josh tommorow at A&A to order the IC pipes.
AEM Fuel pump shipped today.
Sprayed engine bay with engine bright..
Got the Crank pin kit the other day pin on the way
I will post some pics tommorow. Have a good night gentleman.
08-15-2013, 01:28 AM
#17


That is one dirty *** engine/bay. Glad your manifold gaskets were still forming a good seal.. Have fun with the install because I sure as hell didn't. Pinning the crank was easy for me. The steering lines and blower piping was horrible.
Last edited by danieloneil01; 08-15-2013 at 01:31 AM.
08-15-2013, 05:38 PM
#18
Race Director
Thread Starter
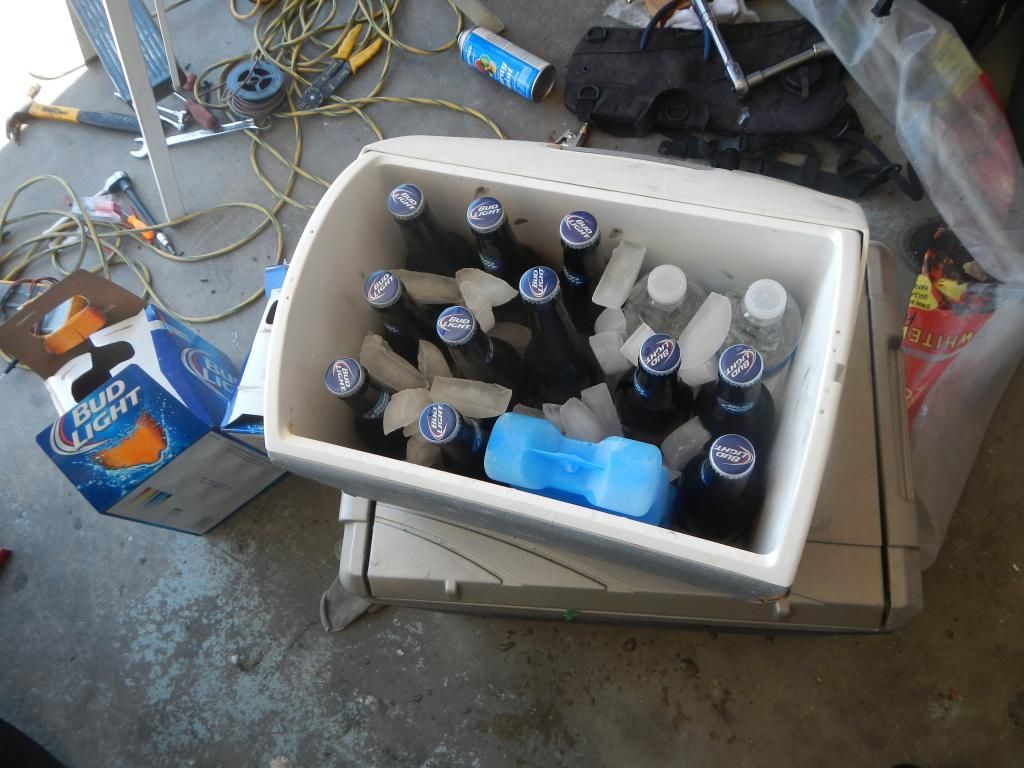
The caviar of beer here in NM..That's right bitches baller right here!!
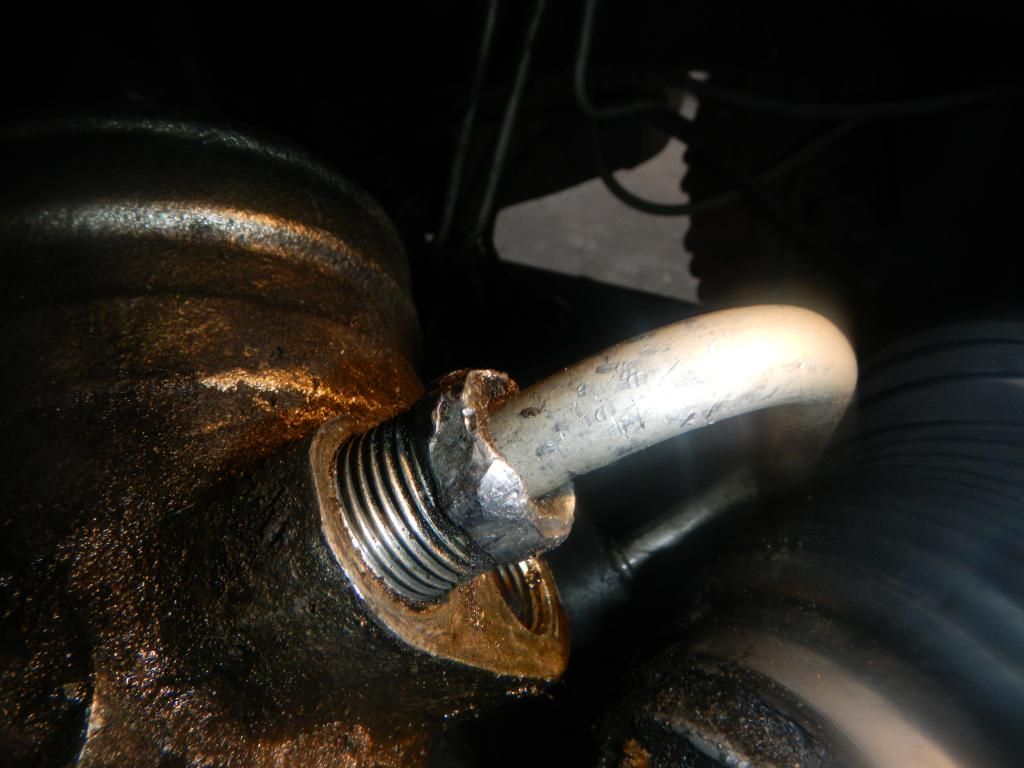
Well we got that line broke free. We went gangster on it Eric turned Italian and said "Hey yo, let's take the fuging pipe wrench to it's head" sure enough she squeled and turned over. SHe bleed everywhere but that's ok. I got some dirt to clean up the evidence..
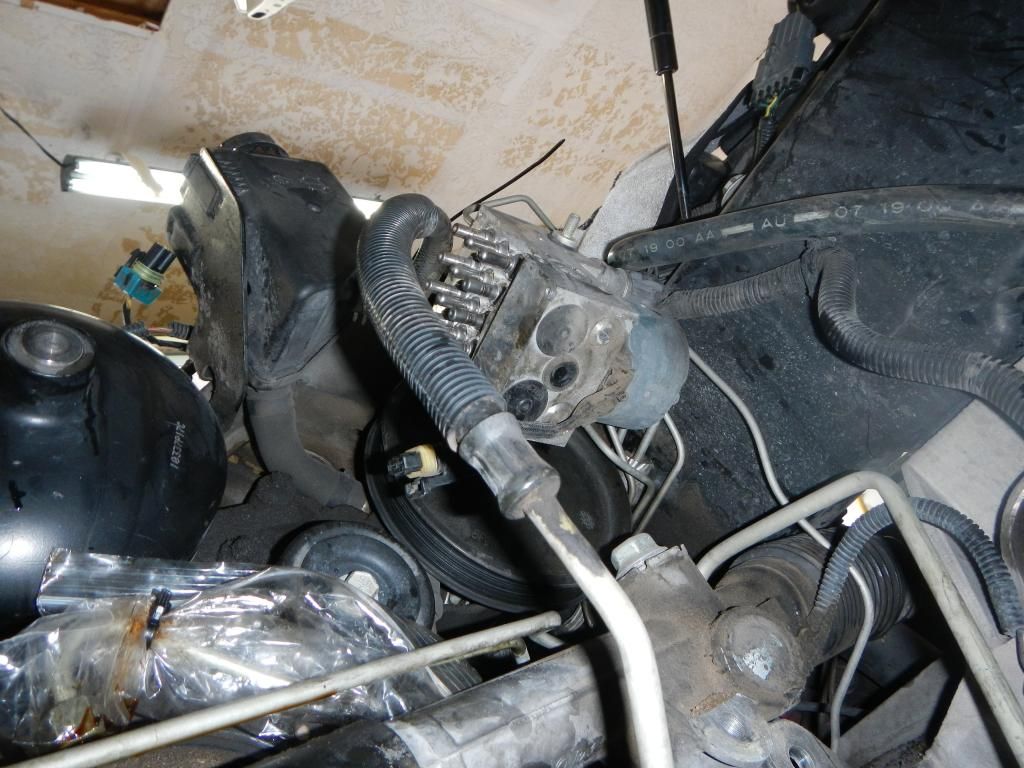
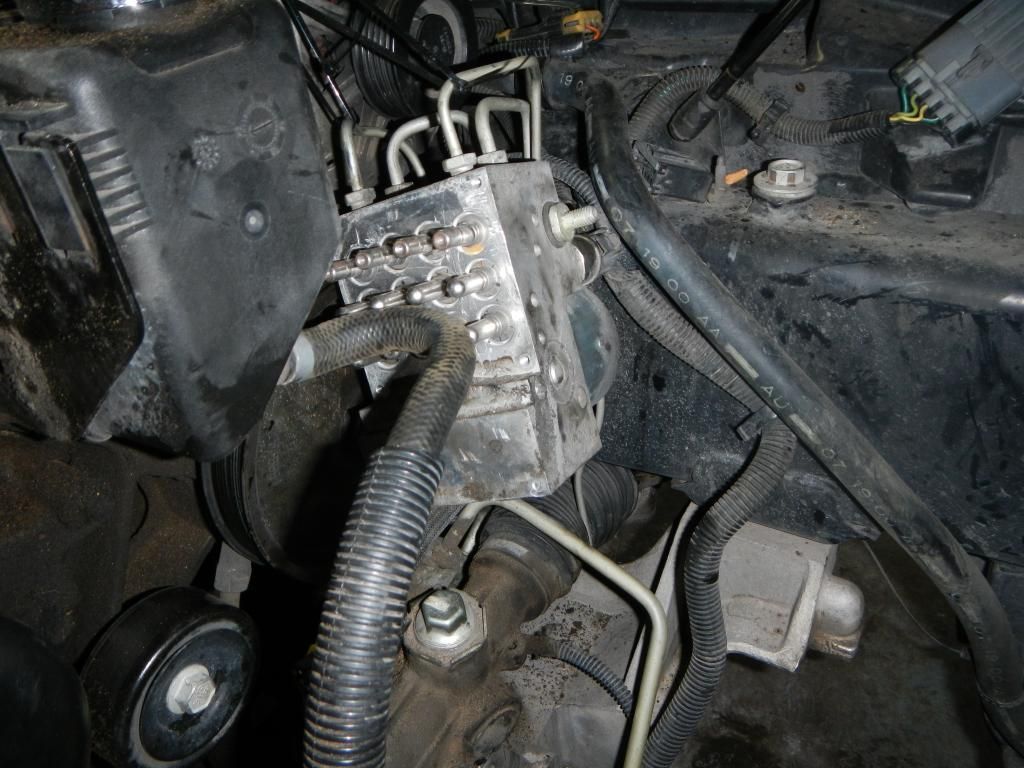
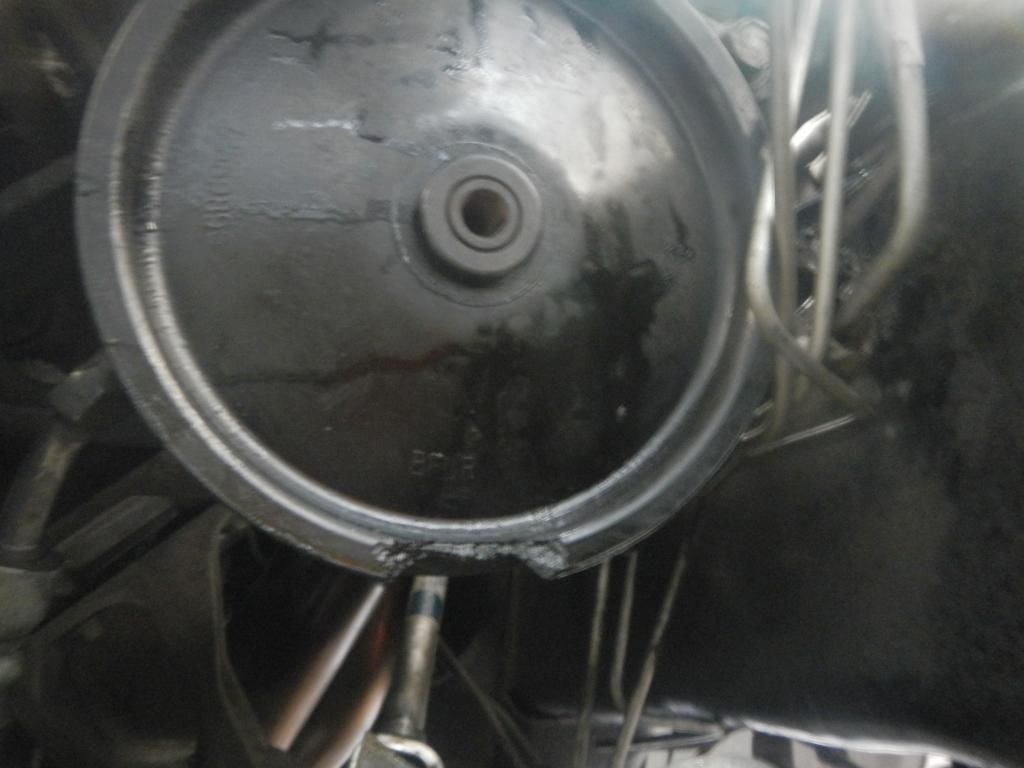
I don't see why my abs doesn't work...looks fine to me
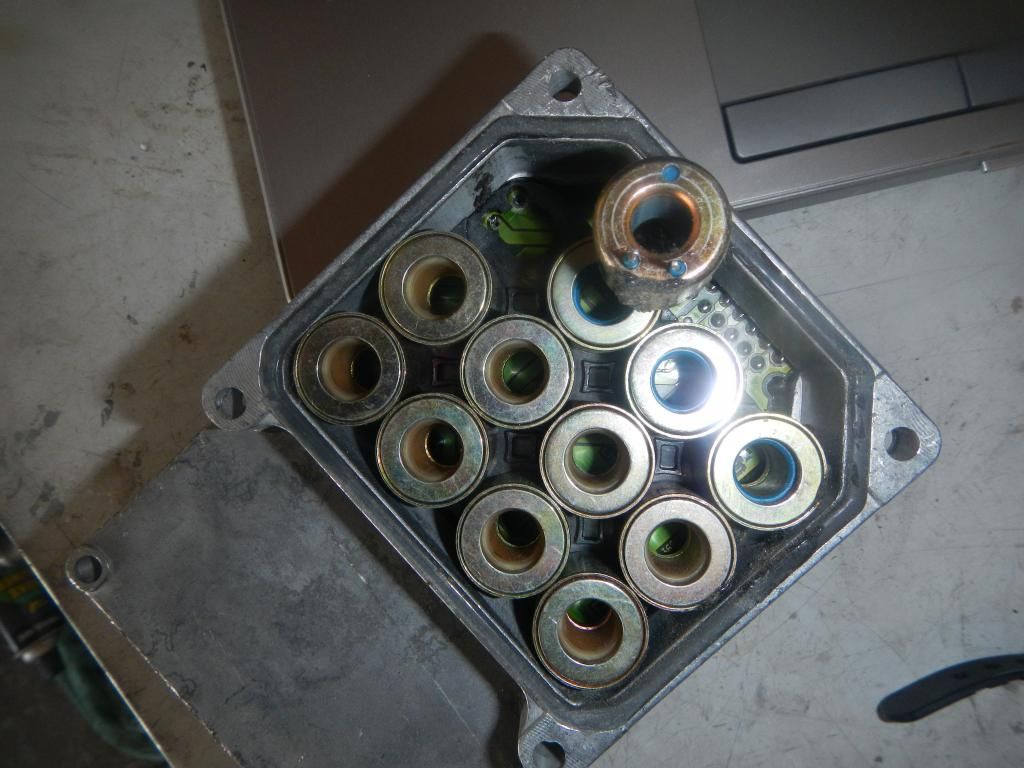
Lucky this is cheap to replace..
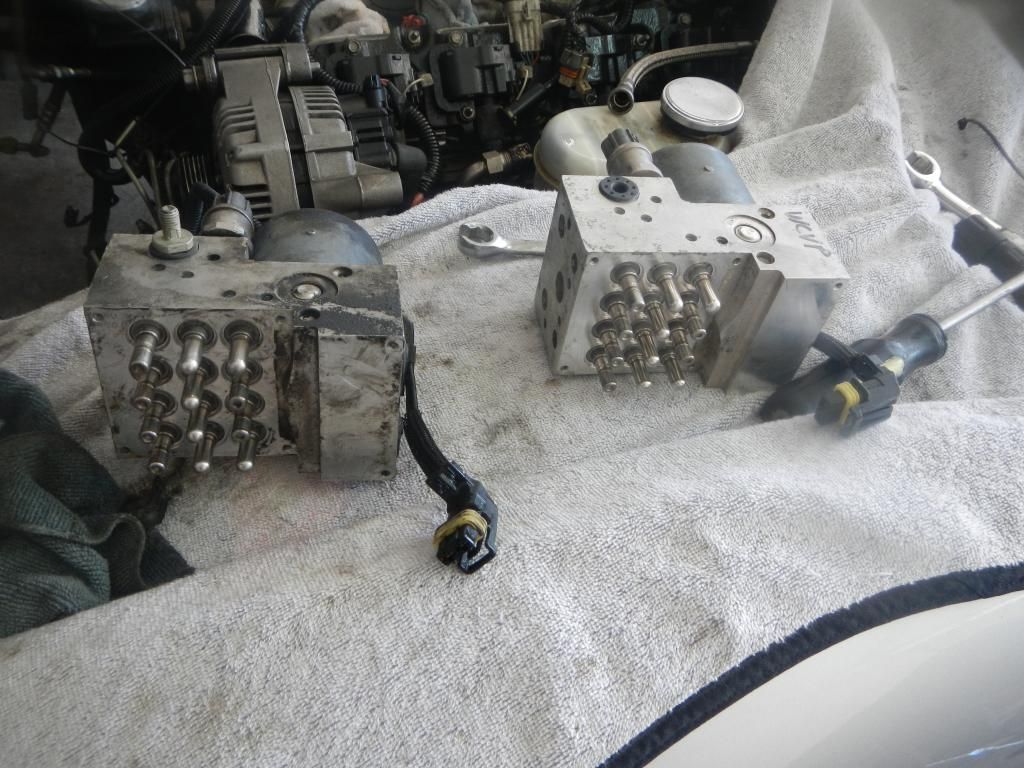
Old abs pump on left newer used on the right
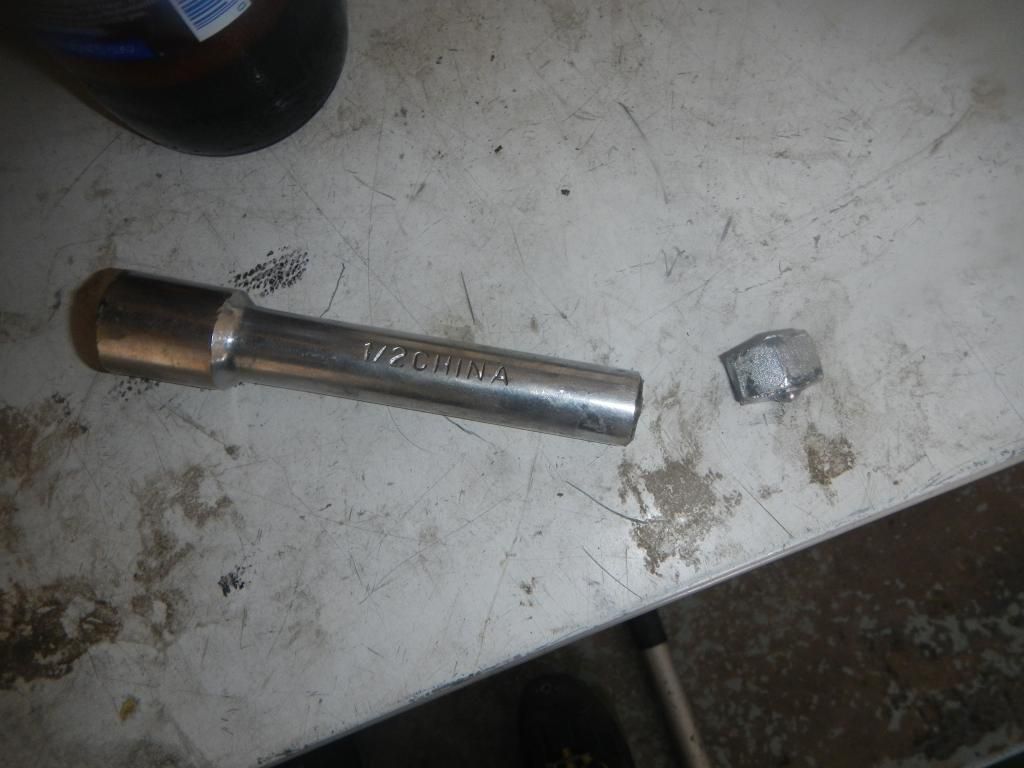
My 500ftlbs impact was being a bitch so I tried manhandling it...I lost..China no likey me
Eric brought over some tools and voila..
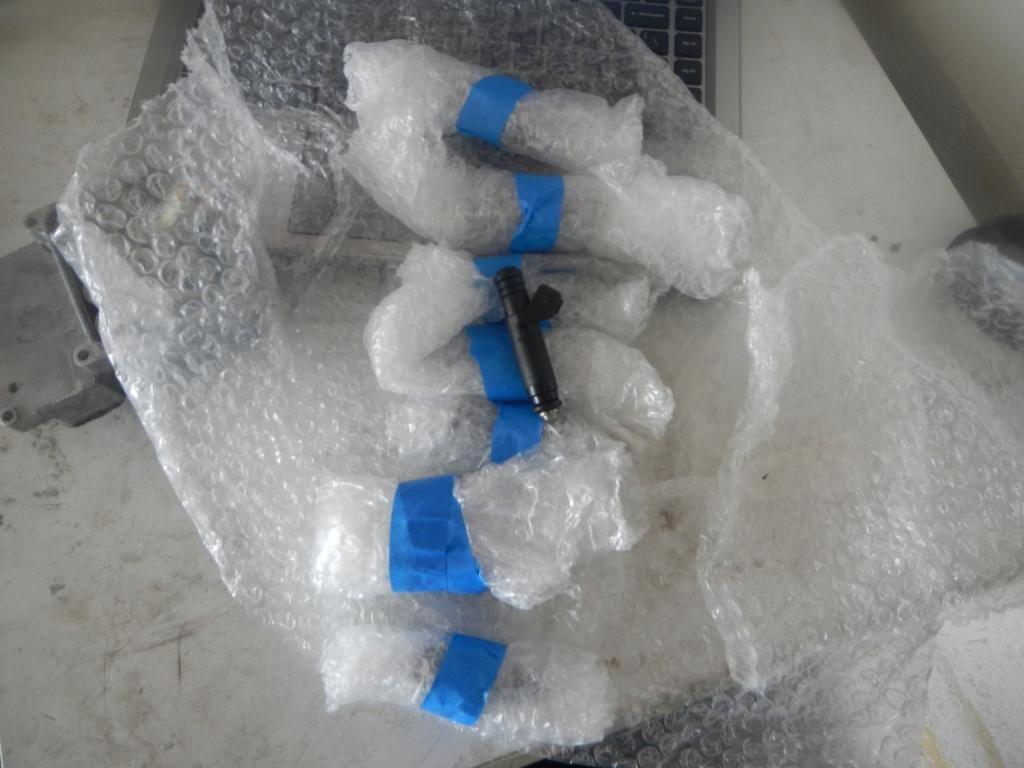
Got my Siemens Dekas in 60#'s from a forum member..Looks like he's rolled some fatty's in his day. Packing was awesome!!!
My buddy with a licence plate that says" 2.0 liter Corvette Eater" sent me this...We will be setting things up in Mexico when I'm done..He has a DSM..(I have had 4 so I love em)

I'm going to intsall the new abs pump, do some cleaning and see what's the word with Josh at A&A for my IC pipes. SC kit will be here tommorow. And that's a wrap for today gents.

Well we got that line broke free. We went gangster on it Eric turned Italian and said "Hey yo, let's take the fuging pipe wrench to it's head" sure enough she squeled and turned over. SHe bleed everywhere but that's ok. I got some dirt to clean up the evidence..

I don't see why my abs doesn't work...looks fine to me

Lucky this is cheap to replace..

Old abs pump on left newer used on the right

My 500ftlbs impact was being a bitch so I tried manhandling it...I lost..China no likey me

Eric brought over some tools and voila..

Got my Siemens Dekas in 60#'s from a forum member..Looks like he's rolled some fatty's in his day. Packing was awesome!!!

My buddy with a licence plate that says" 2.0 liter Corvette Eater" sent me this...We will be setting things up in Mexico when I'm done..He has a DSM..(I have had 4 so I love em)


I'm going to intsall the new abs pump, do some cleaning and see what's the word with Josh at A&A for my IC pipes. SC kit will be here tommorow. And that's a wrap for today gents.
Last edited by Chicago1; 08-15-2013 at 05:55 PM.
 08-15-2013, 06:03 PM
#20
Burning Brakes
Member Since: May 2002
Location: Albuquerque NM
Posts: 831
Likes: 0
Received 0 Likes
on
0 Posts
. For those in disbelief, we tried a 18mm flexhead flared crows foot from the MAC dealer, $27 piece that might get thrown on ebay