When you click on links to various merchants on this site and make a purchase, this can result in this site earning a commission. Affiliate programs and affiliations include, but are not limited to, the eBay Partner Network.
I'm going to try to make another set using plastic to replace the hardboard. See sneak peek post near end of this thread.
"Update: I have completed the thread with final pictures of the finished visors at the end. Thanks for looking."
I had previously posted that I had rebuilt my sun visors and that I wanted to post a new thread on how to do it yourself. Here's a link to my previous post and thread with some finished pictures. https://www.corvetteforum.com/forums...o-rebuild.html . Yes, there are economical replacements out there. This thread is for the DIY'r. This thread will detail the construction of the visors and show how they can be rebuilt with, in most areas, readily available materials and supplies from an upholstery supply or well supplied fabric store including the cardboard, fabric and spray adhesive. A big thanks goes to forum member miltievette for sending me these visors to rebuild. Please keep in mind that this is how I did mine and readers may have other ways of doing it. All constructive criticism is appreciated however please PM me your comments so I can add or change something to the thread. I documented the passenger side only, the driver's side was similar. "Update: I posted some "Update" notes after I completed the Driver's side. They have been added below." The passenger visor may be turned over in various pictures. Keep this in mind when viewing them and when working on yours. It's suggested to do one side at a time. If you have any questions, PM me.
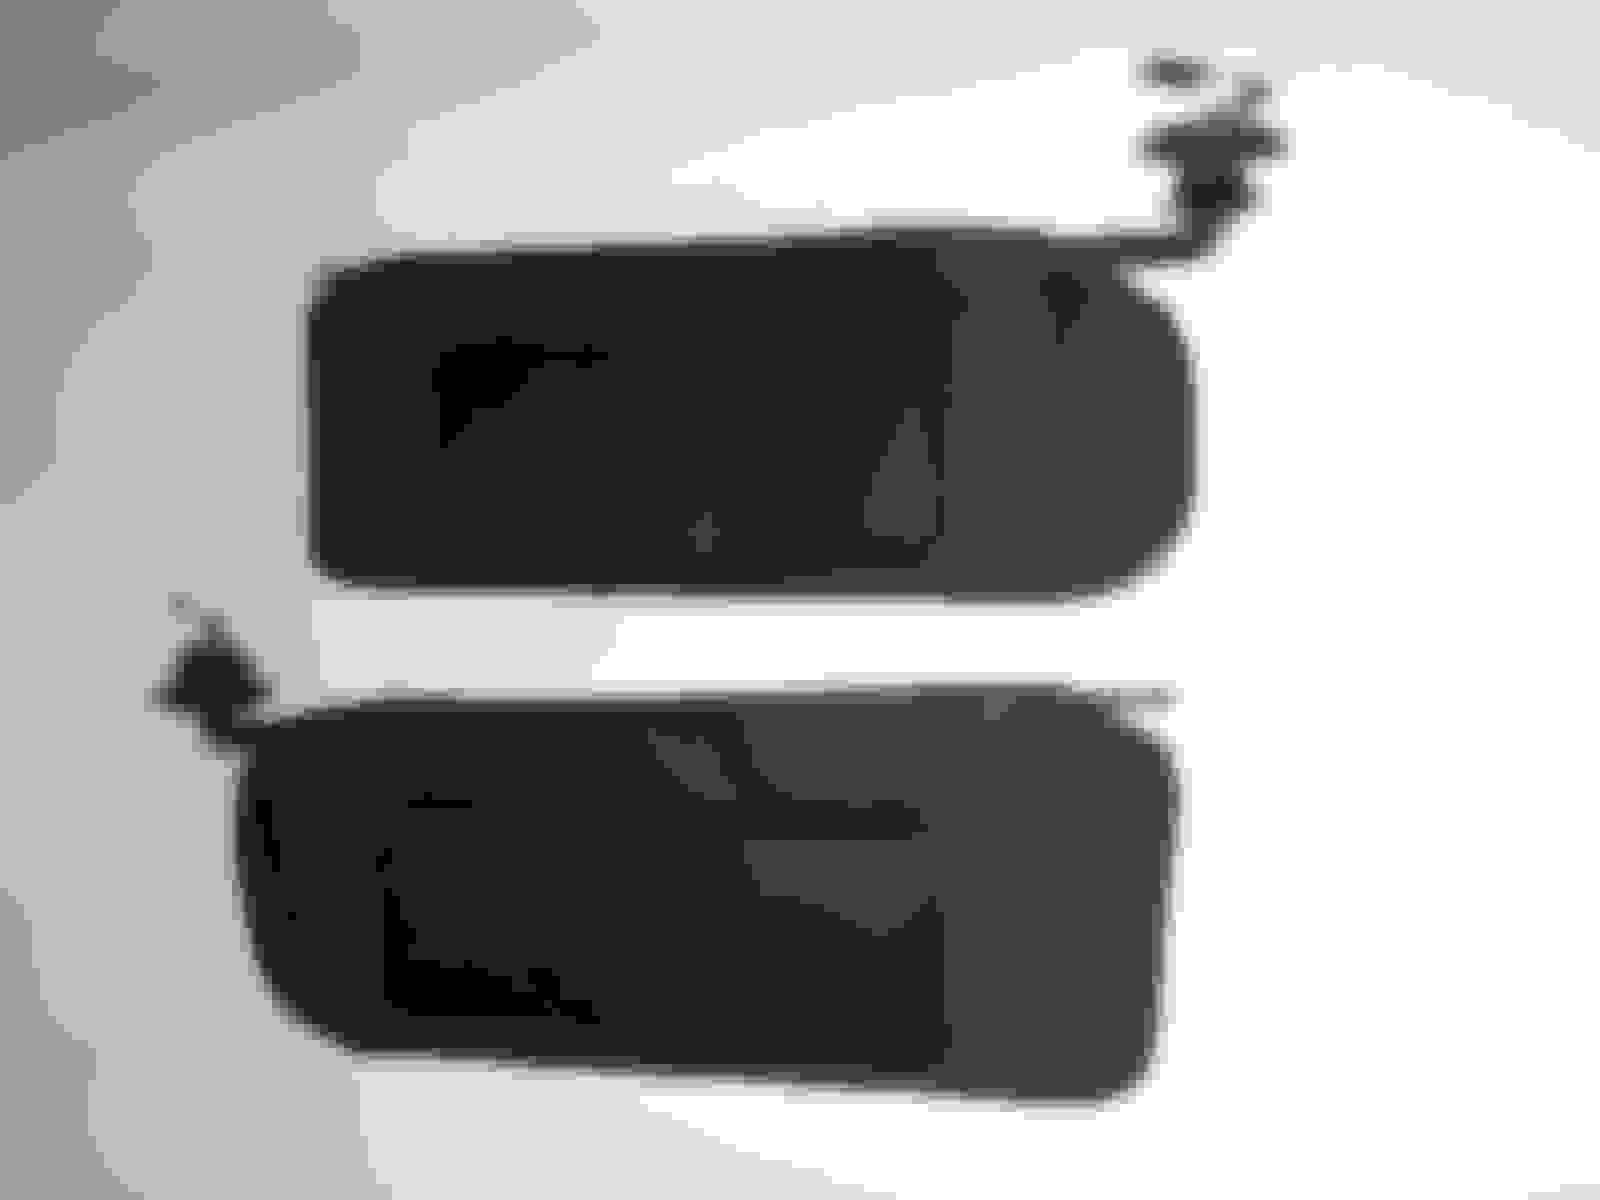
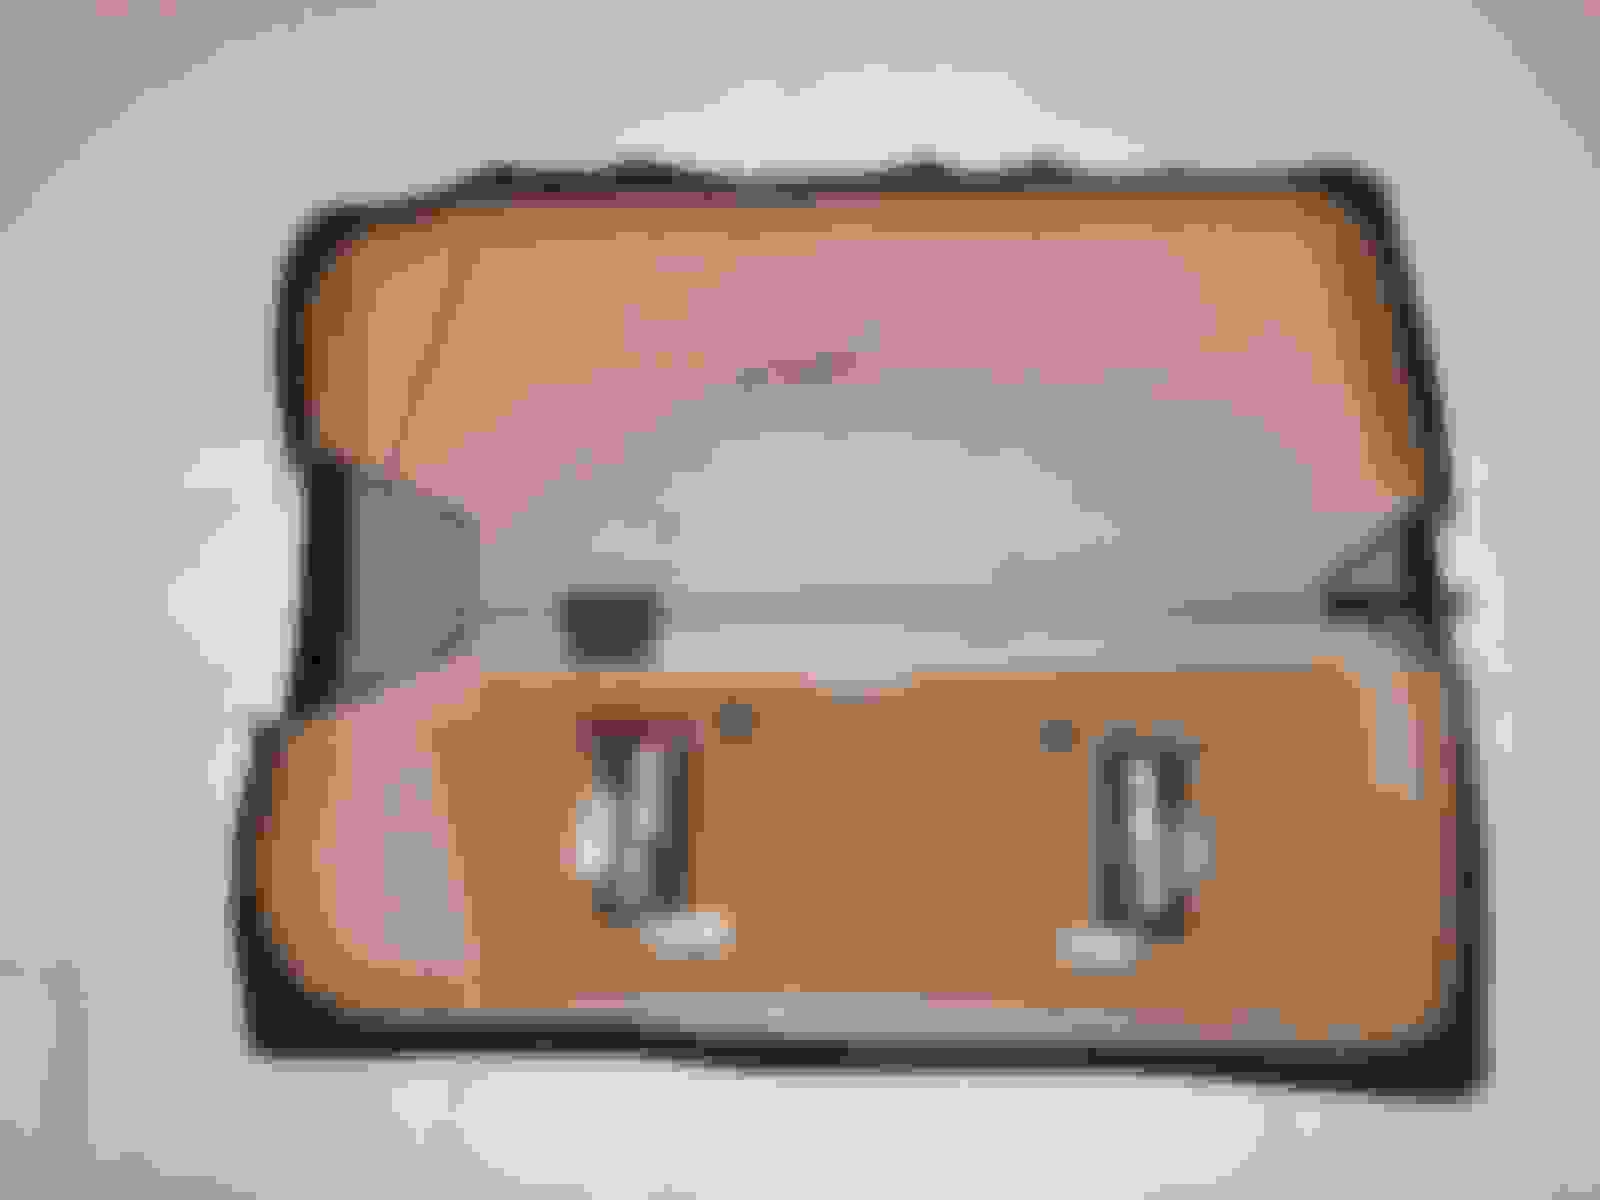
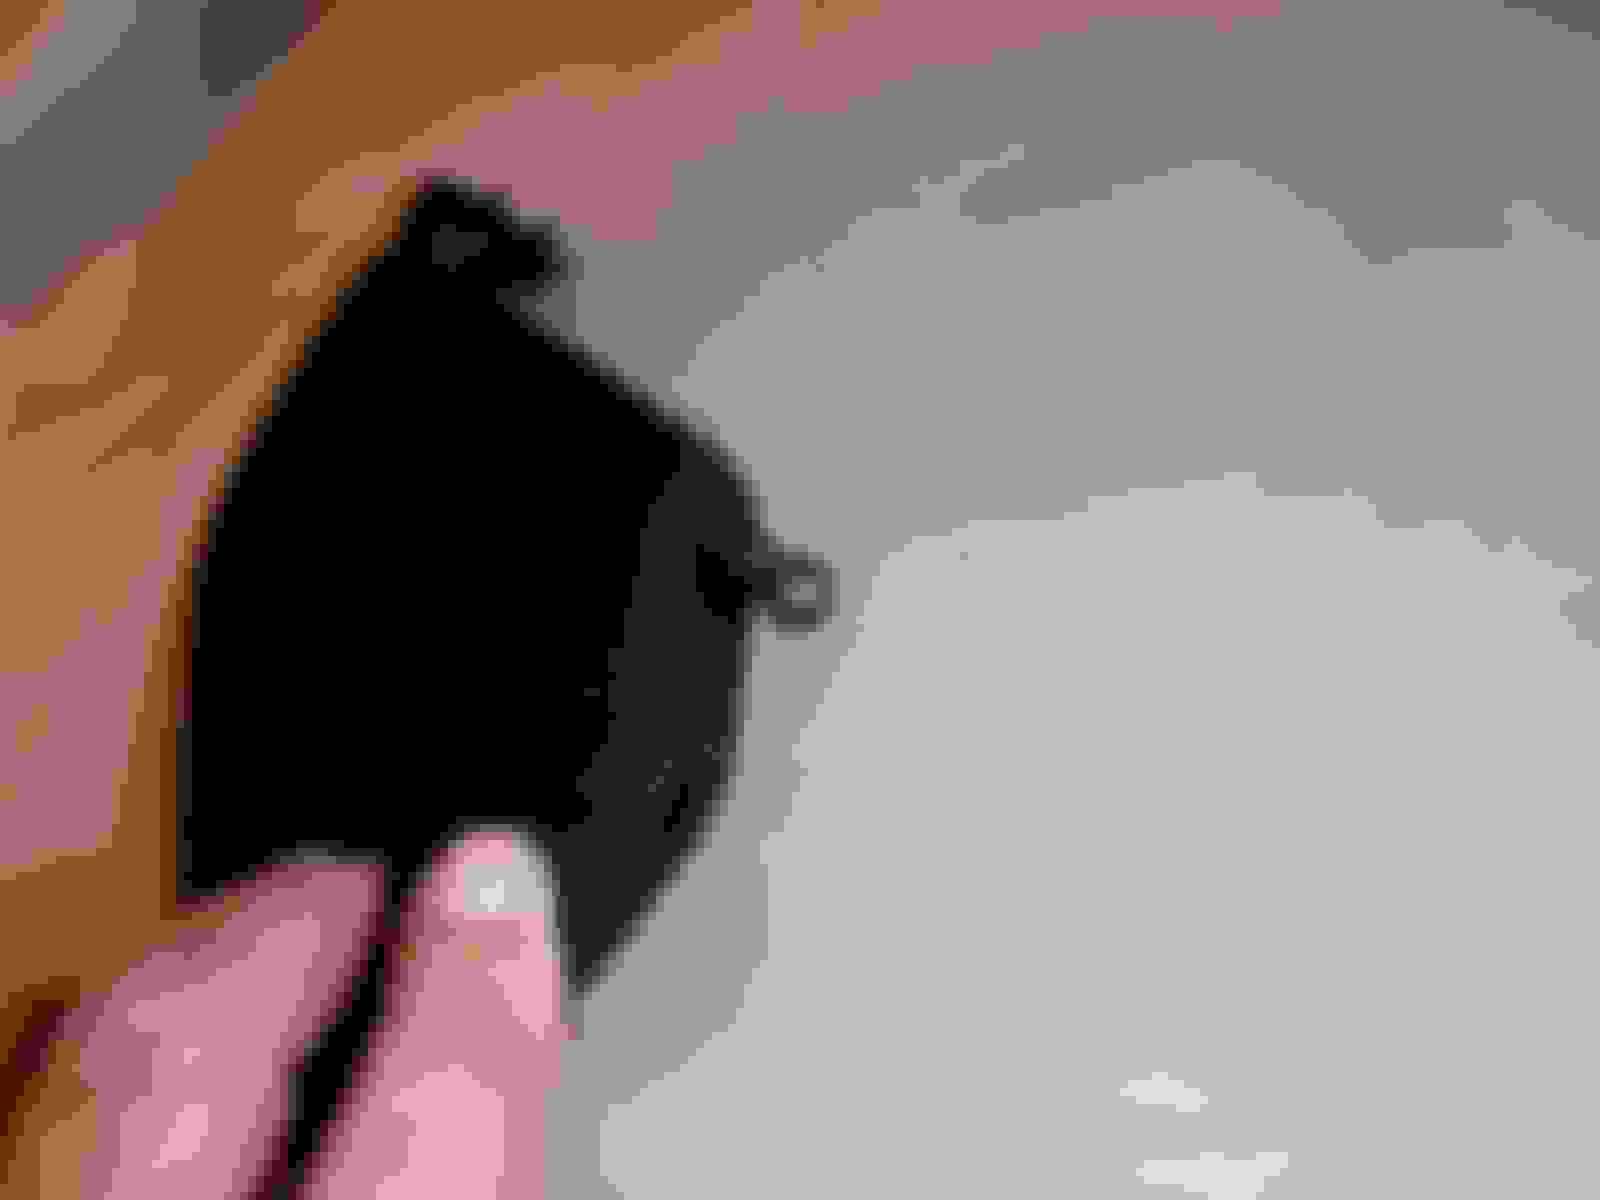
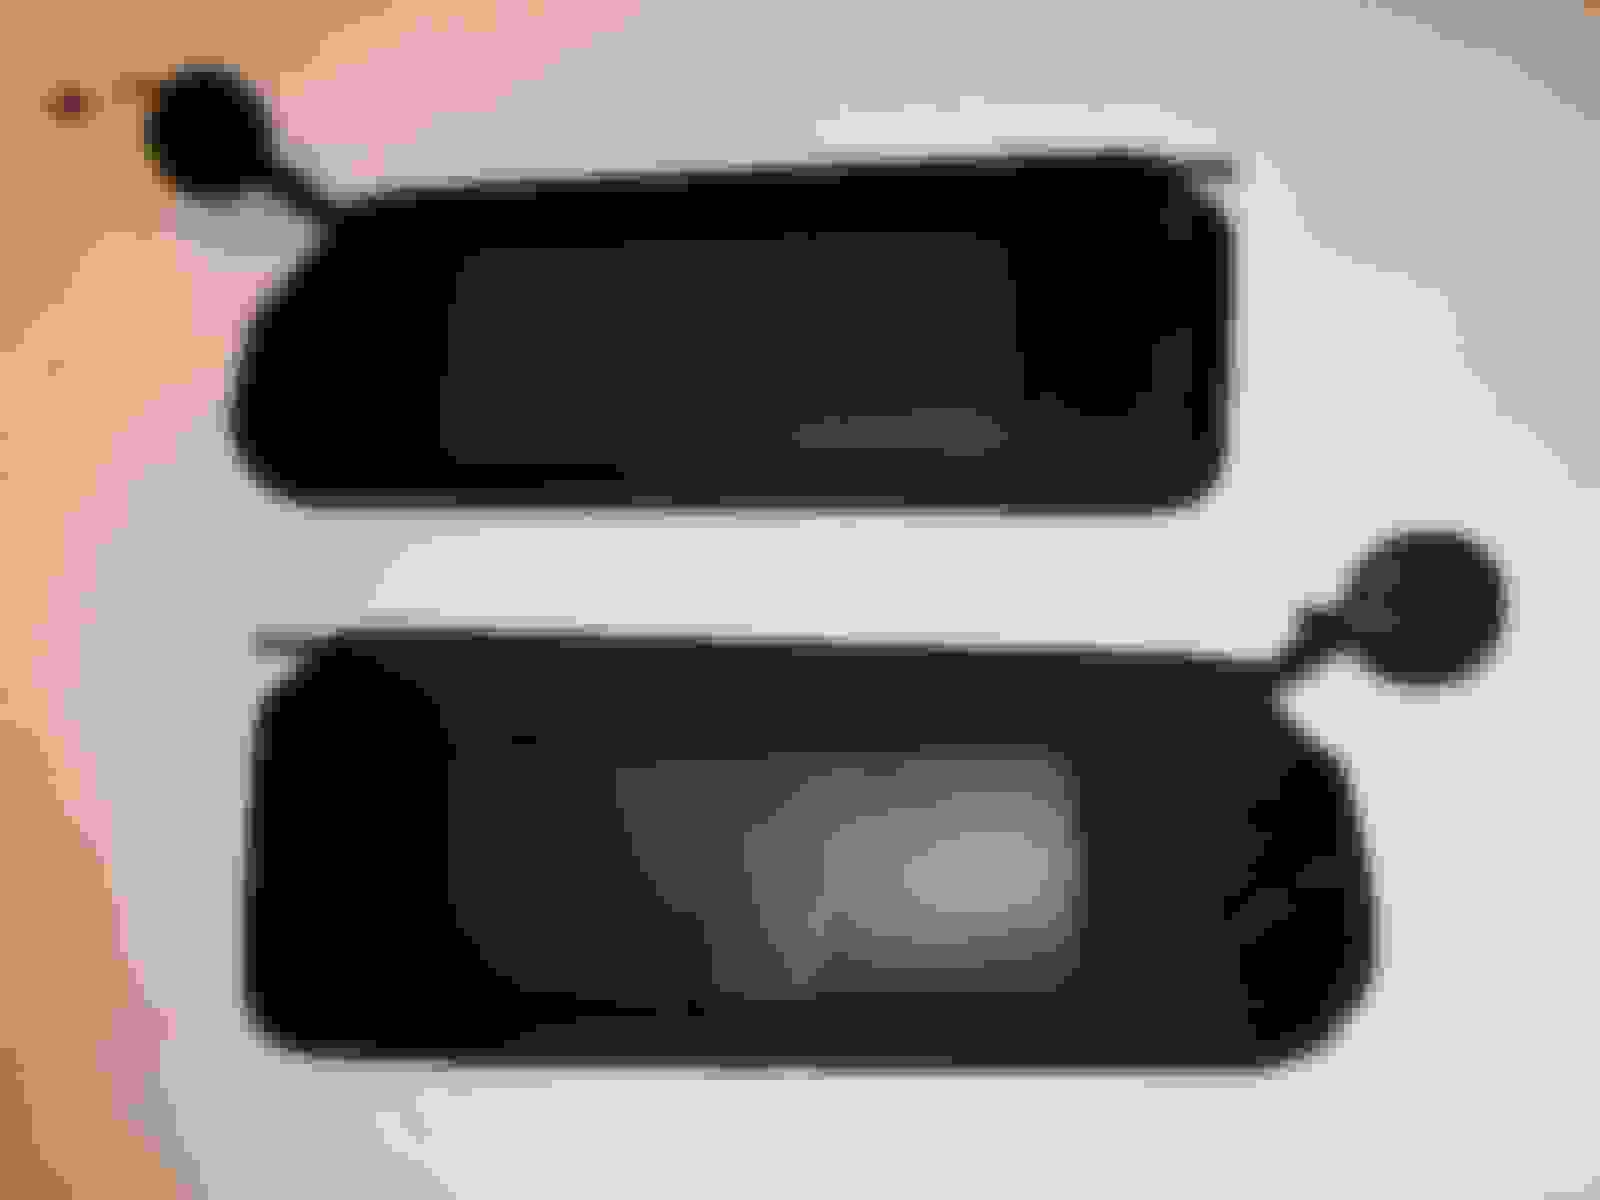
These visors are heavily worn, with the inside cardboard broken, the ends are dog-eared, and with the mirrors separated from the visor. Ideally, it is preferable to have the mirrors still attached as we'll see later. Don't pry the mirrors off the visors, it just breaks the studs off as you'll see.
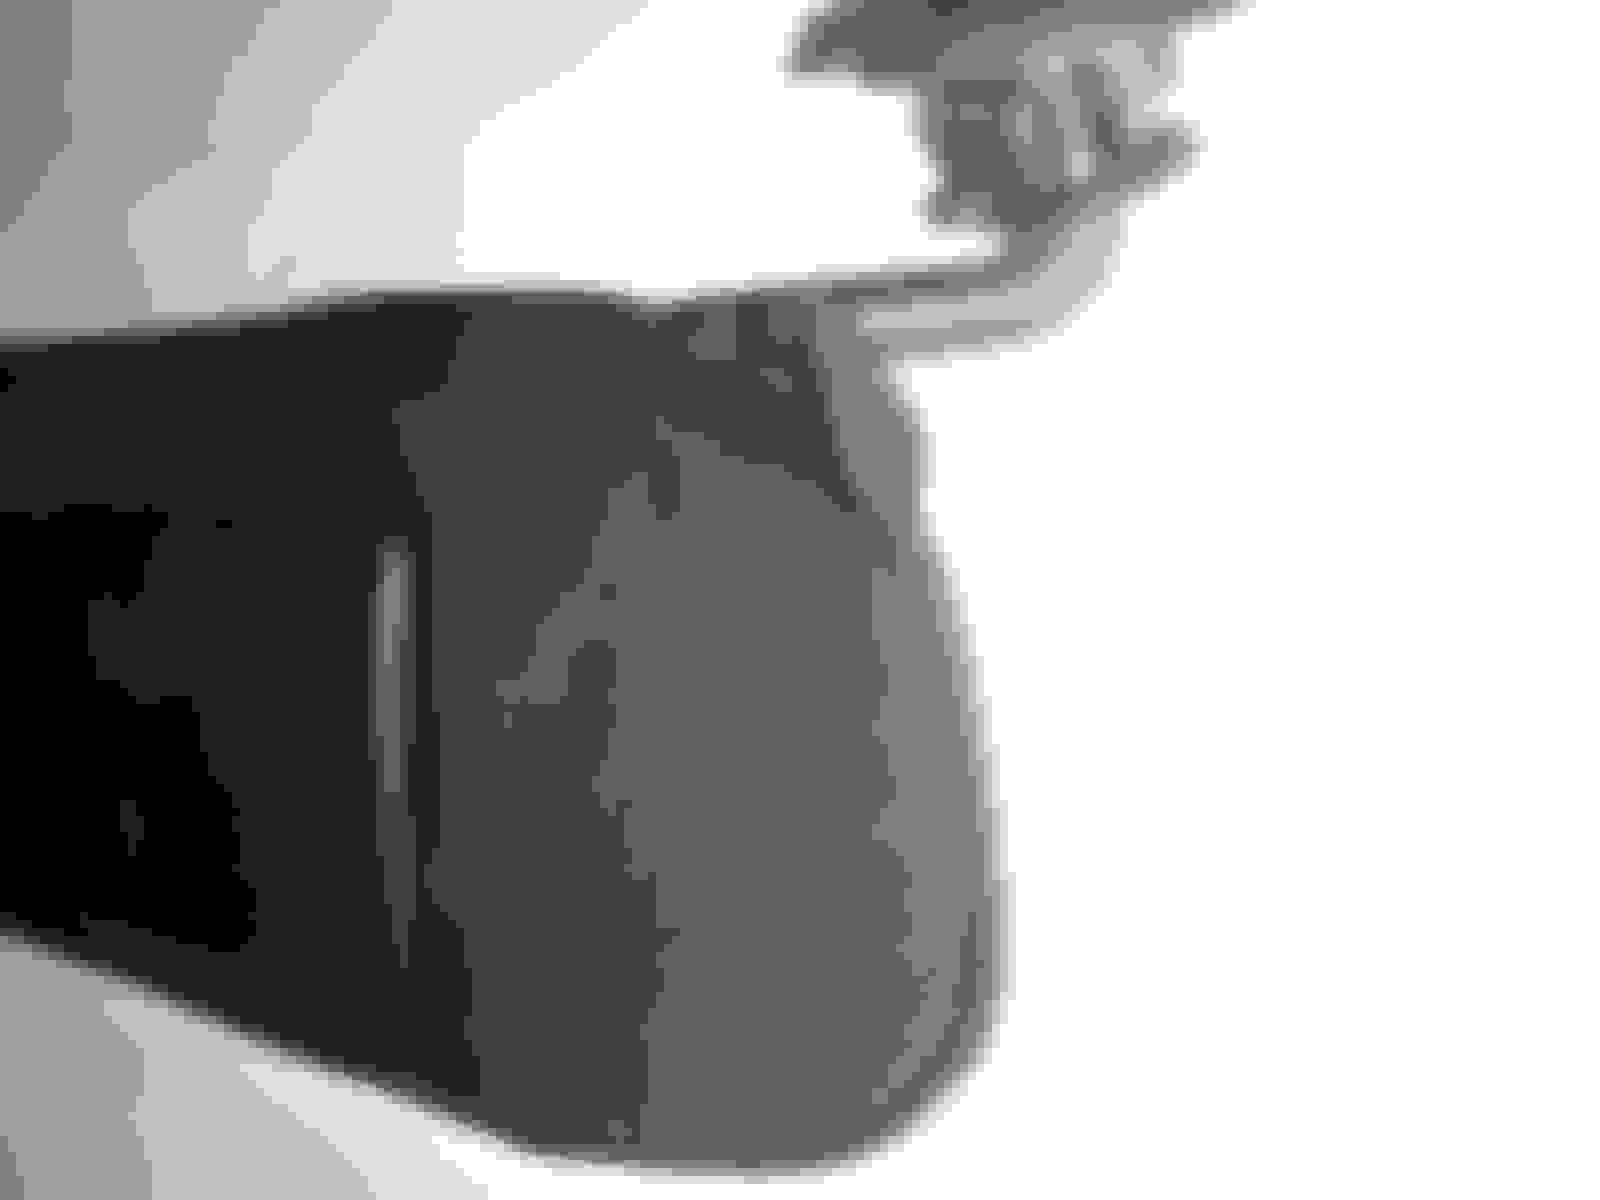
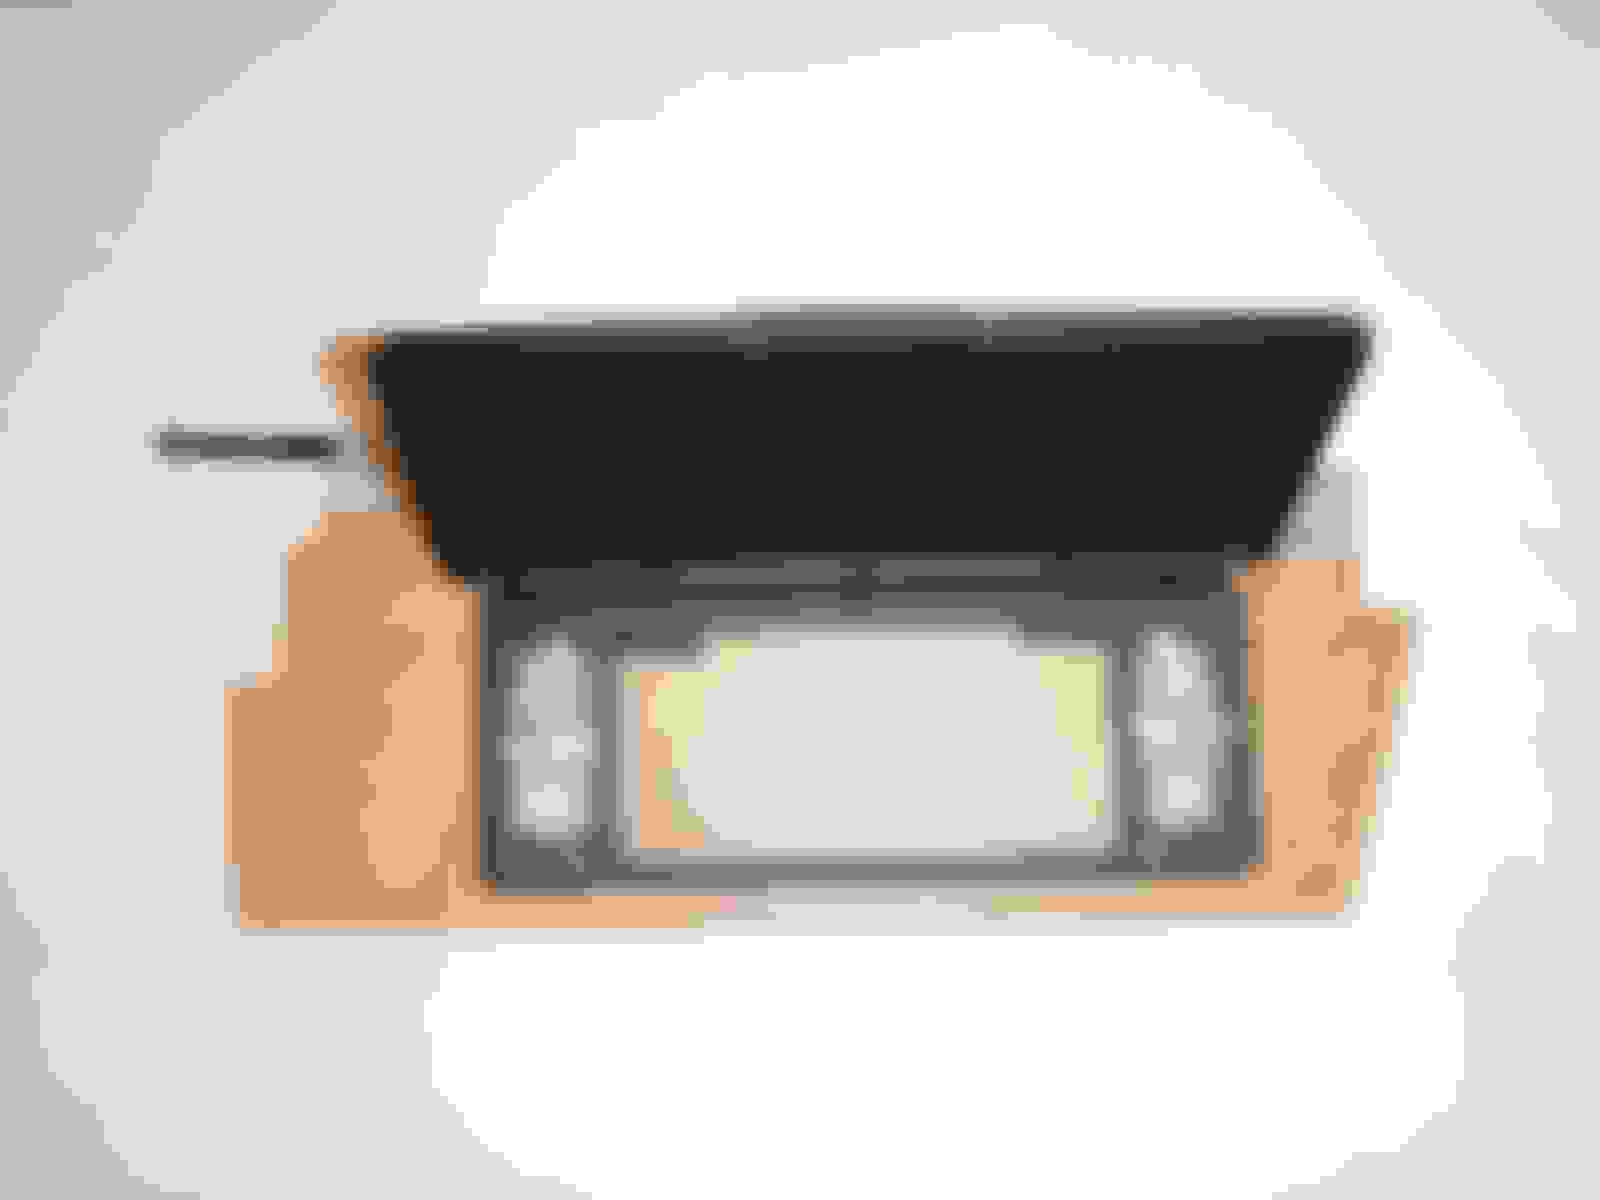
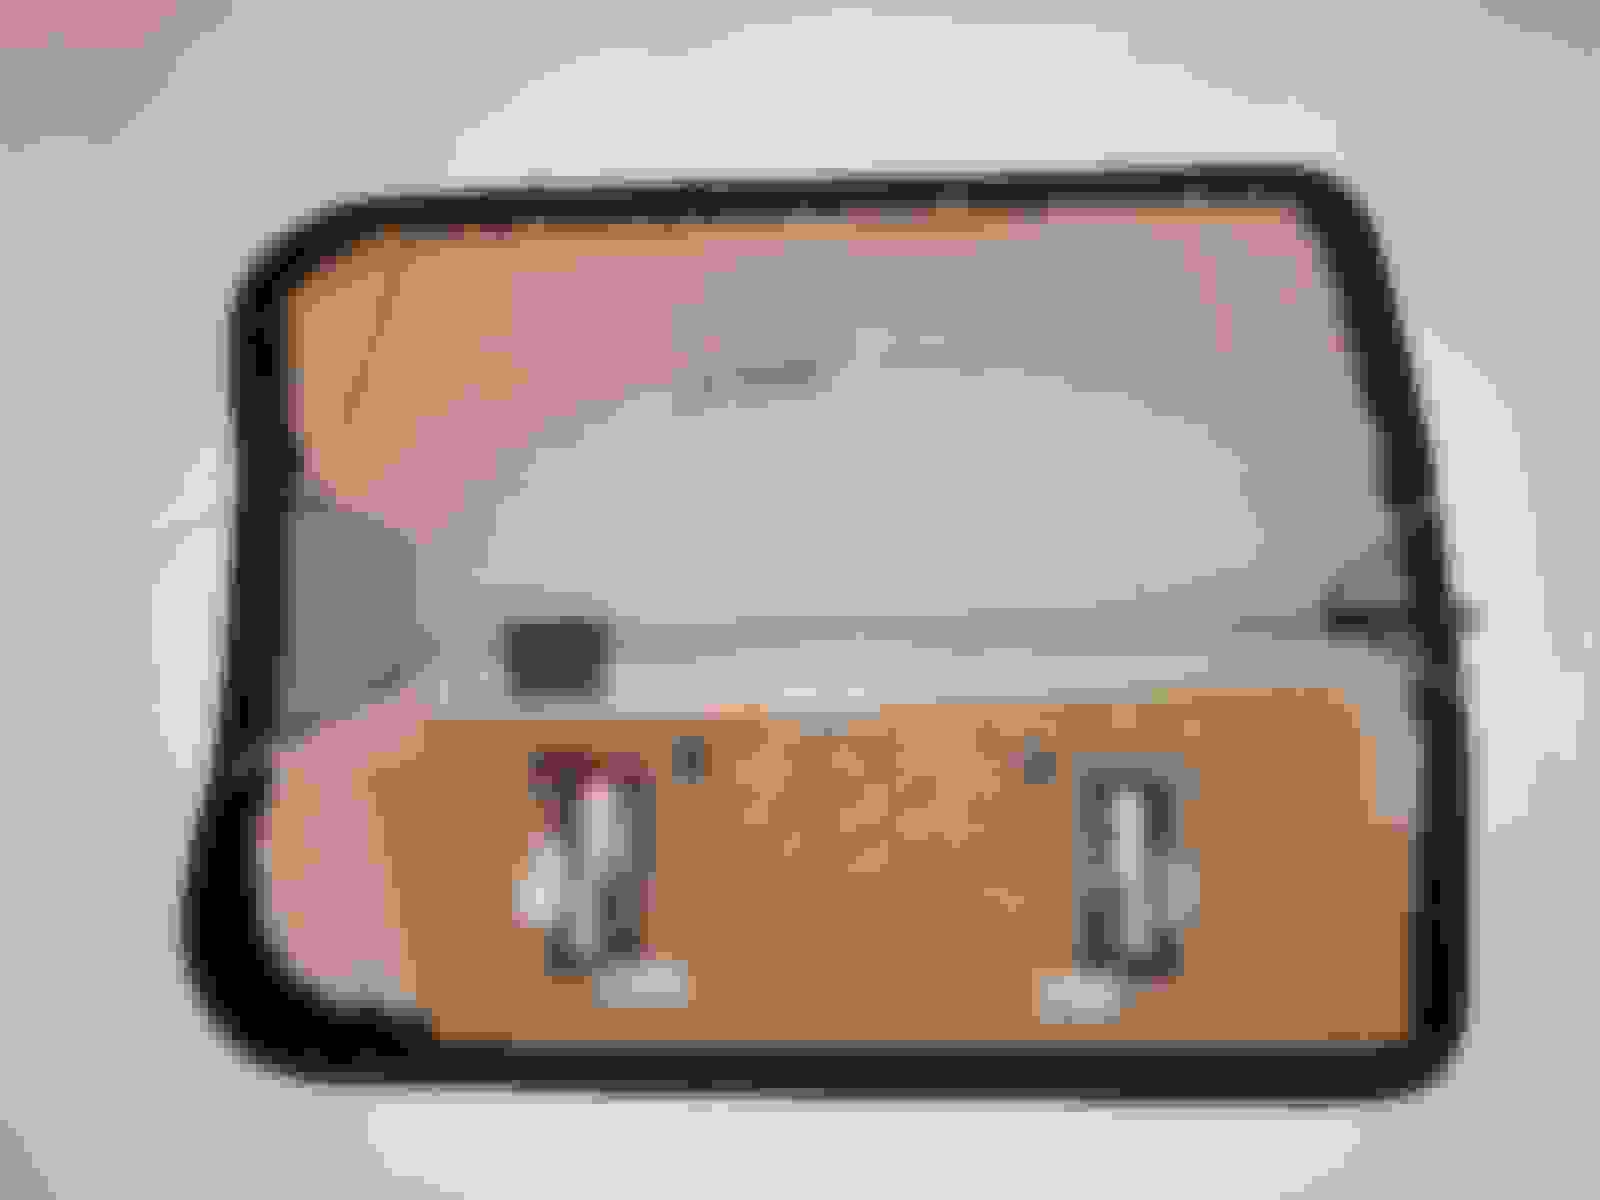
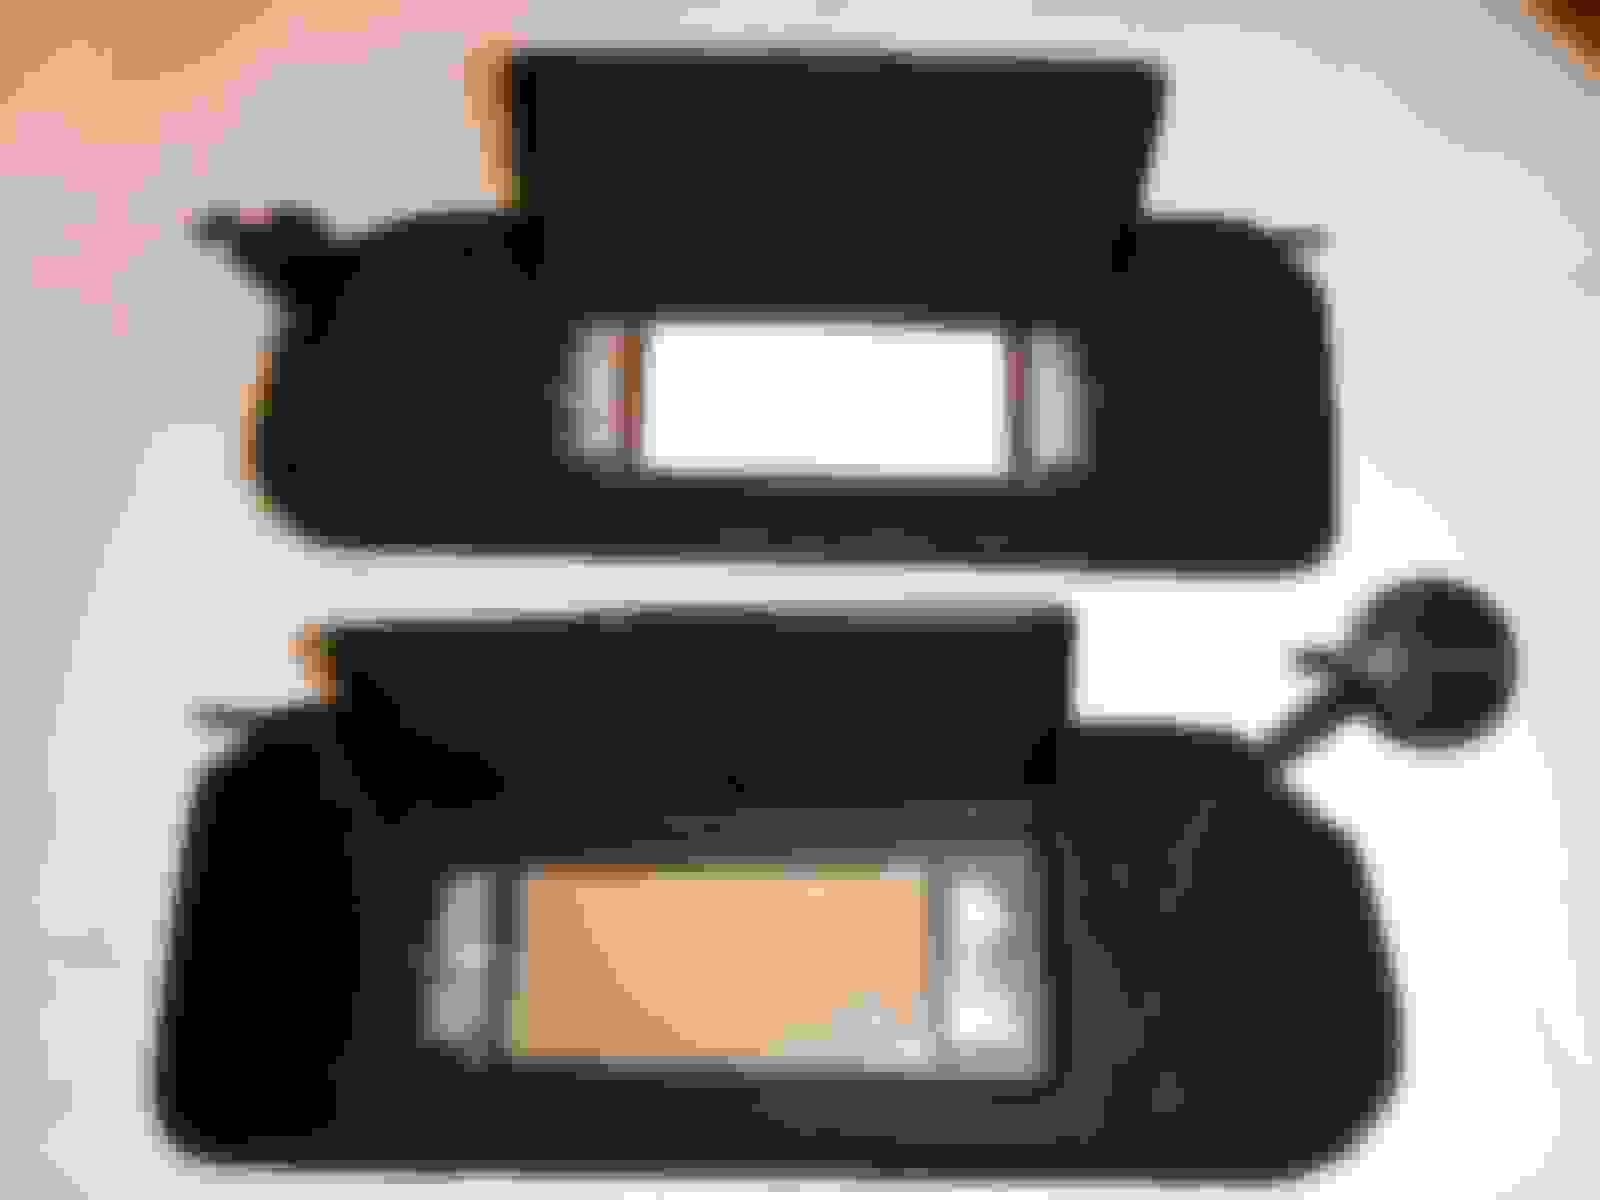
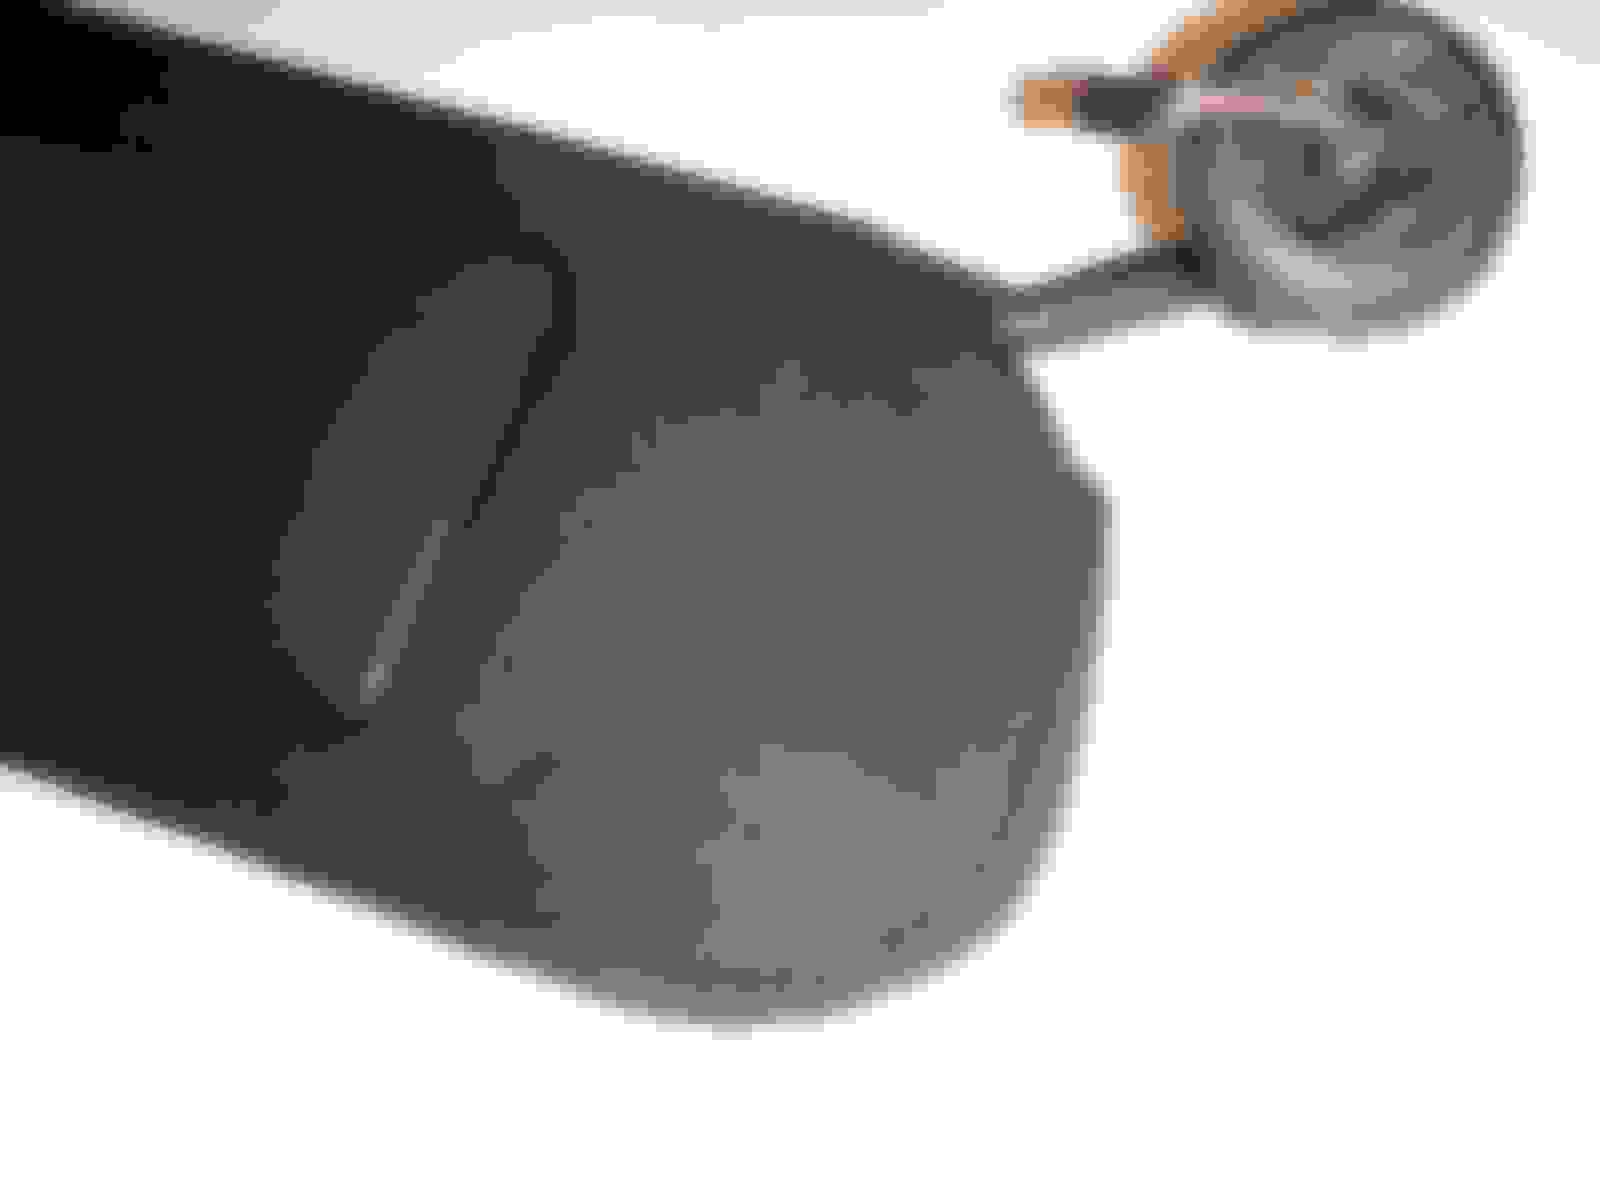
The first step is to cut the stitching holding the visor together. Untuck one end of the visor to create a start point and then cut through the stitching to open the visor like a clamshell.
After cutting the stitching I flipped the visor over, opened the clamshell and continued with the following steps.
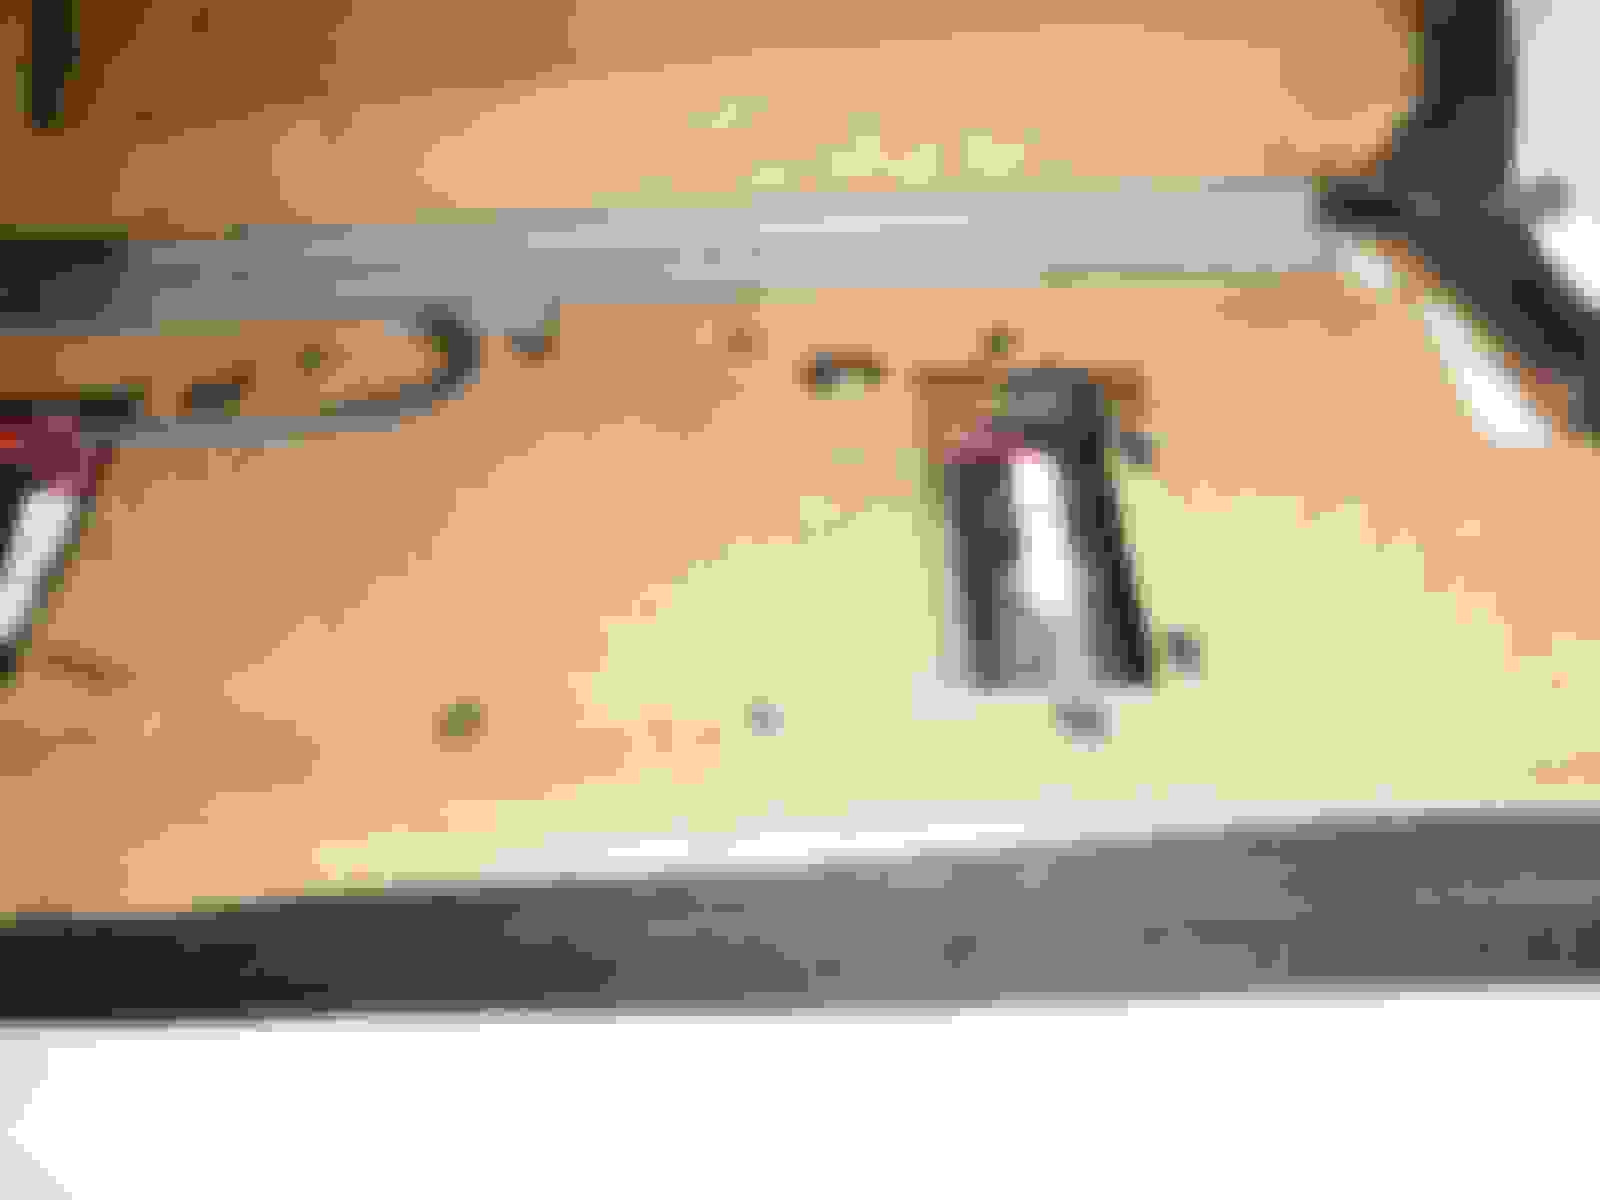
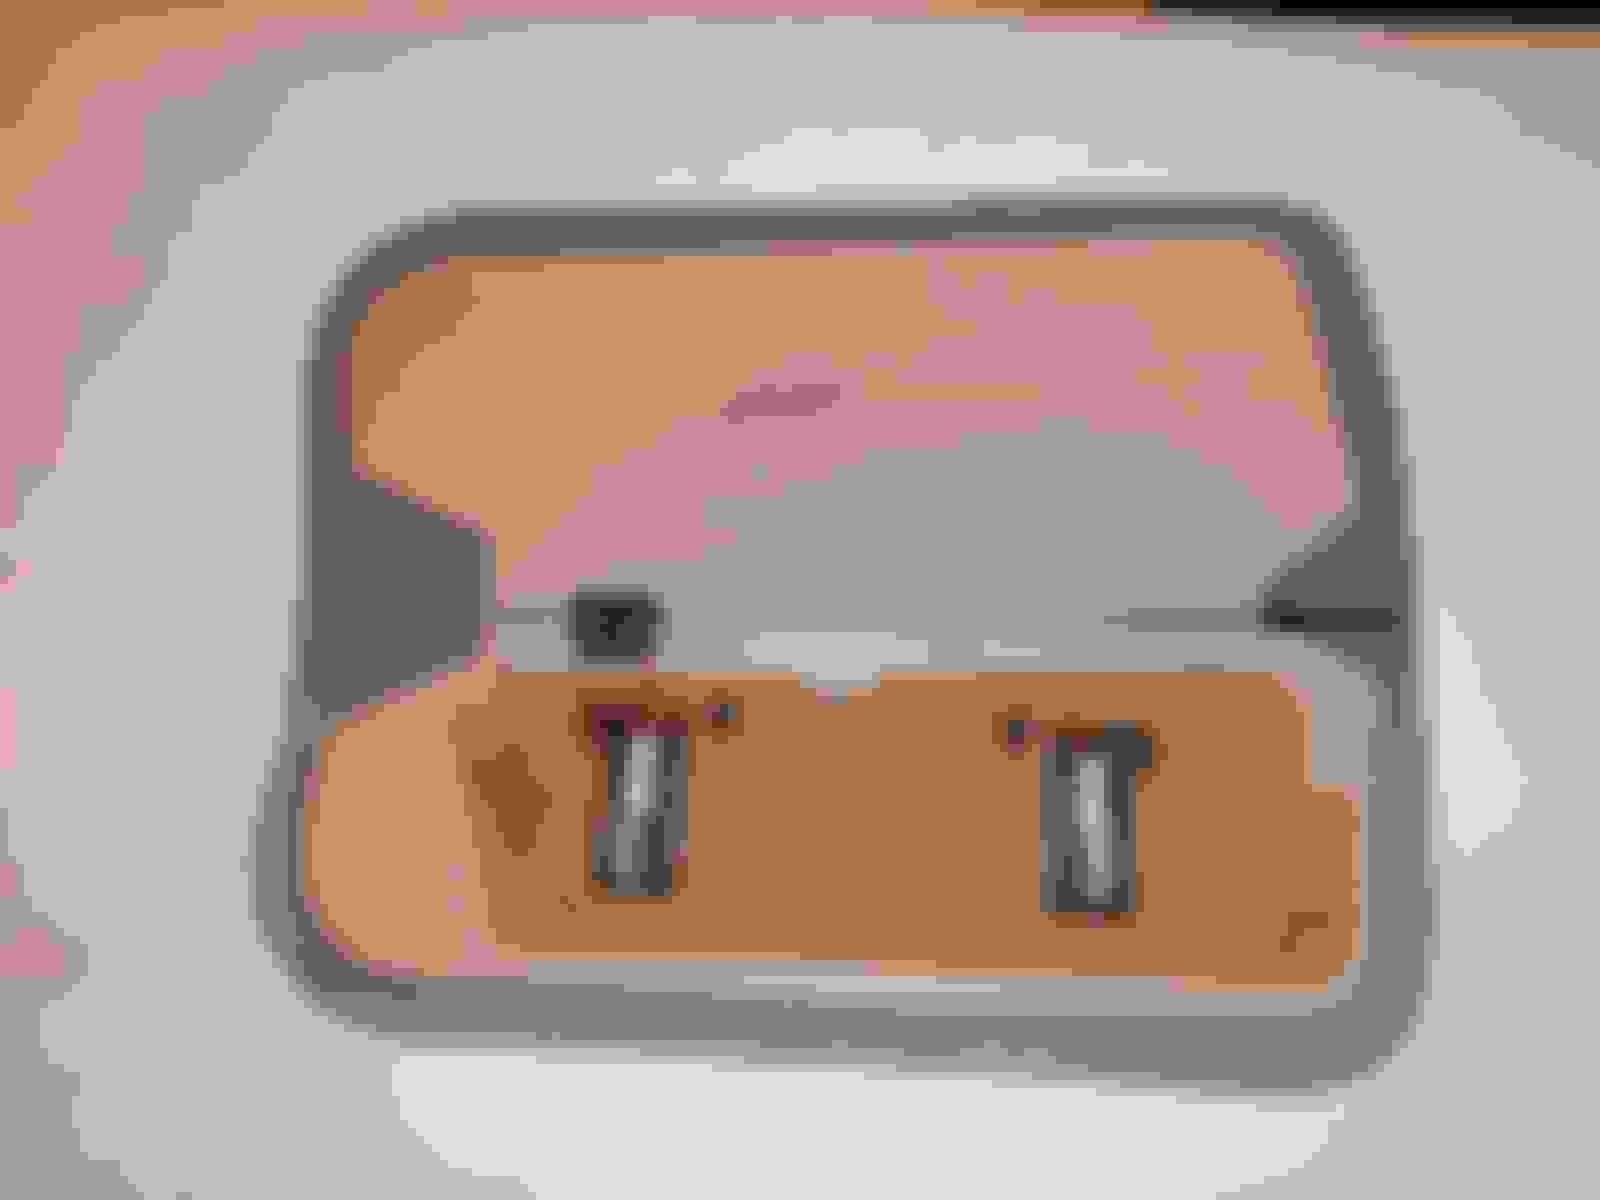
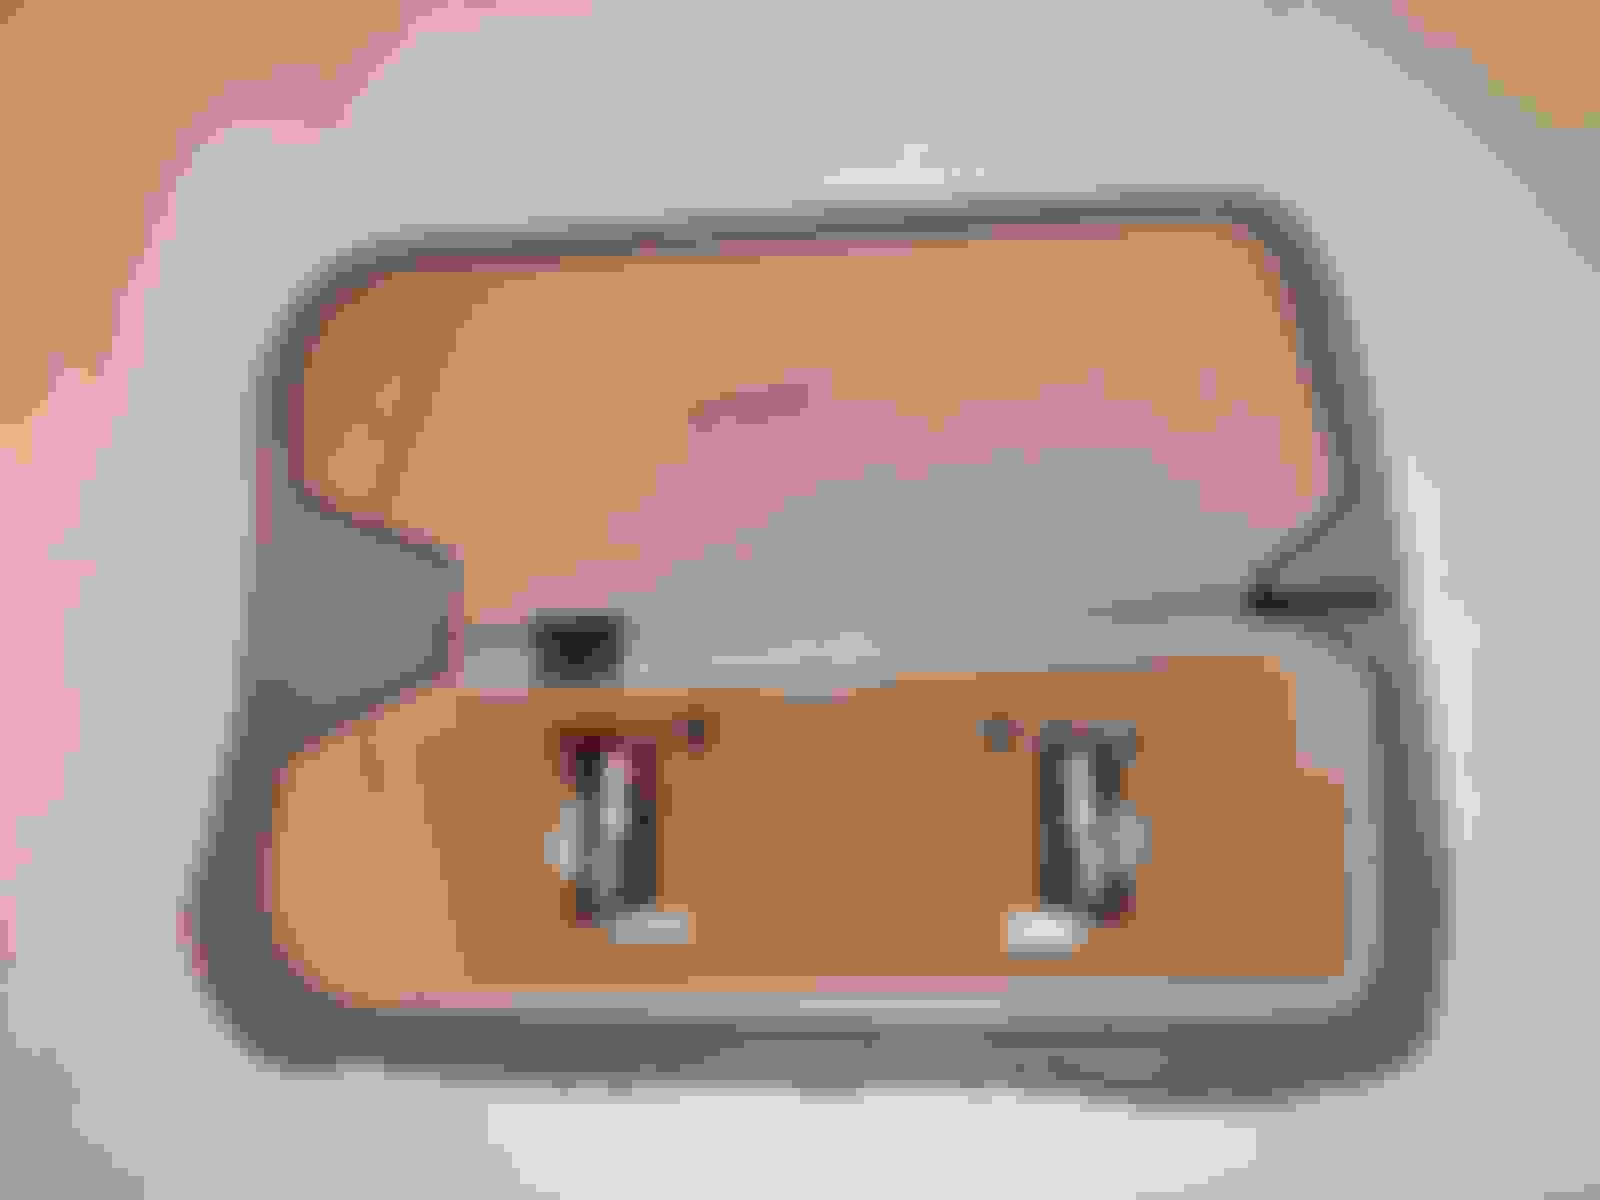
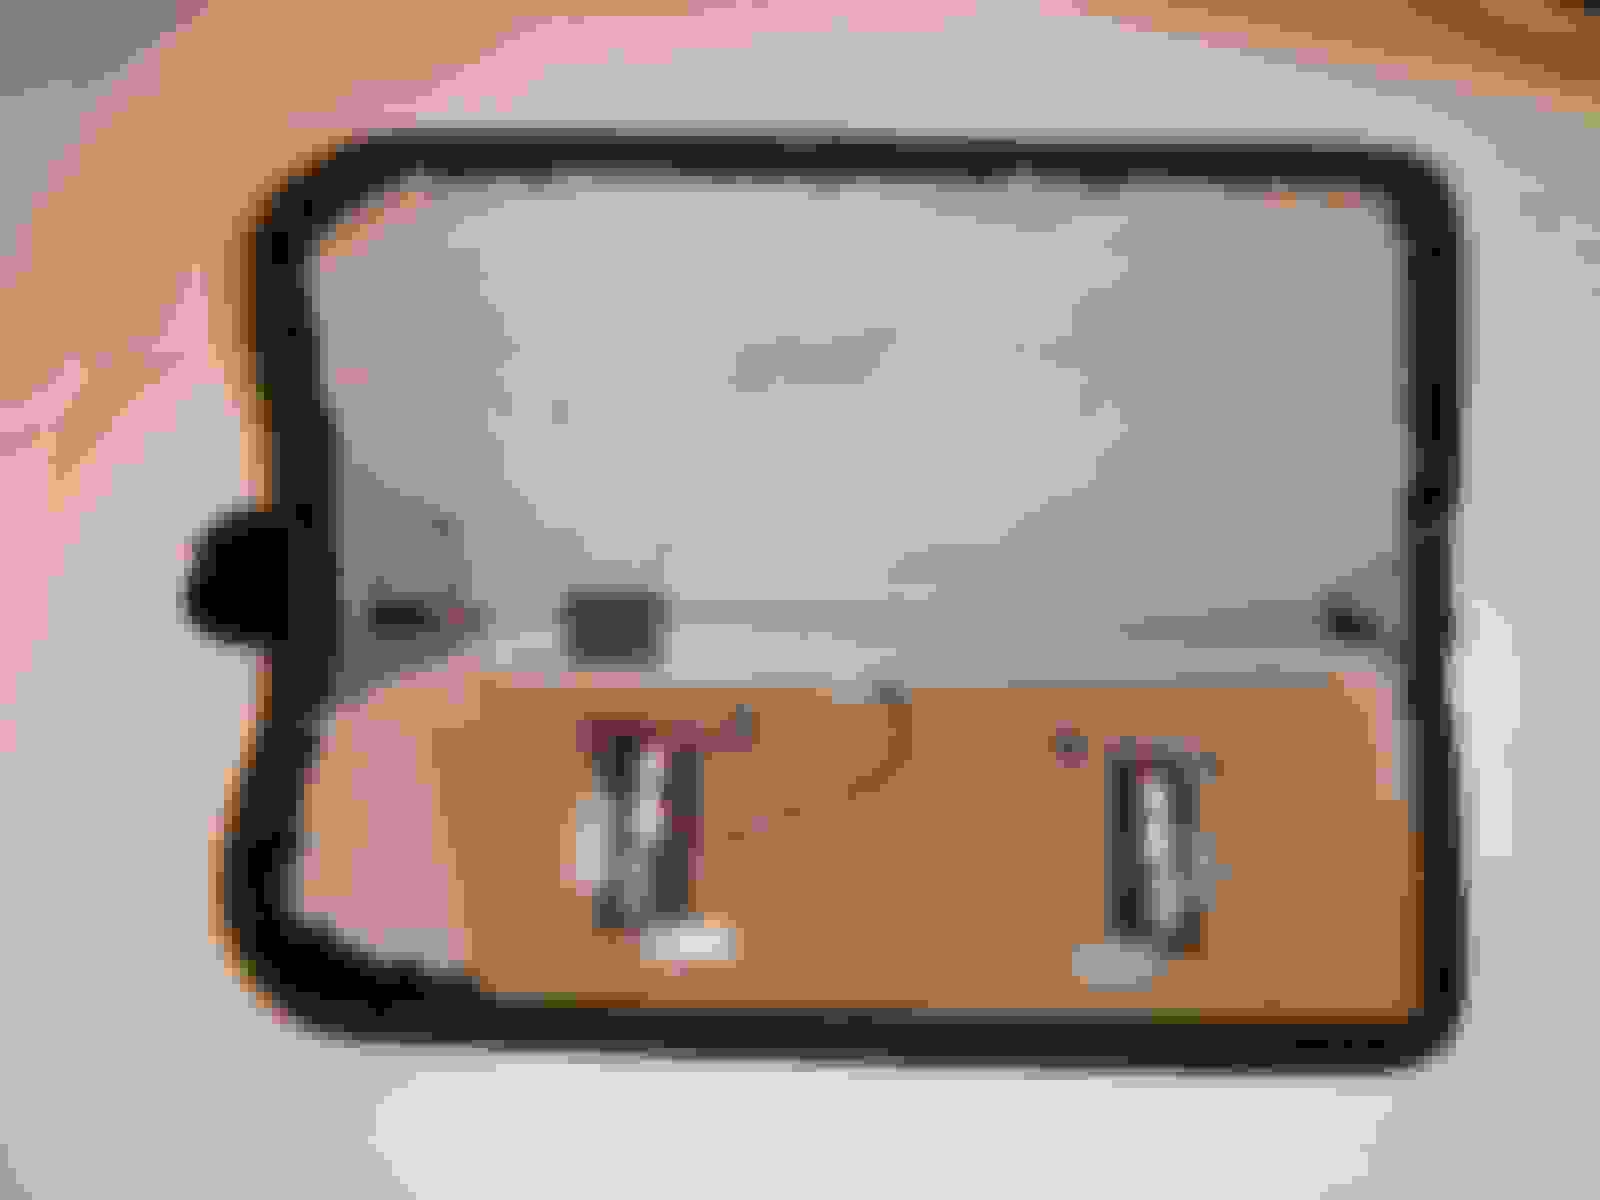
If the mirror is still attached to the visor then the melted ends of the plastic studs are what is holding the mirror to the visor. In this case the mirror was not attached and most of the plastic studs were broken. If yours are still attached; cut or grind the ends of the studs to allow the mirror to separate from the hardboard.
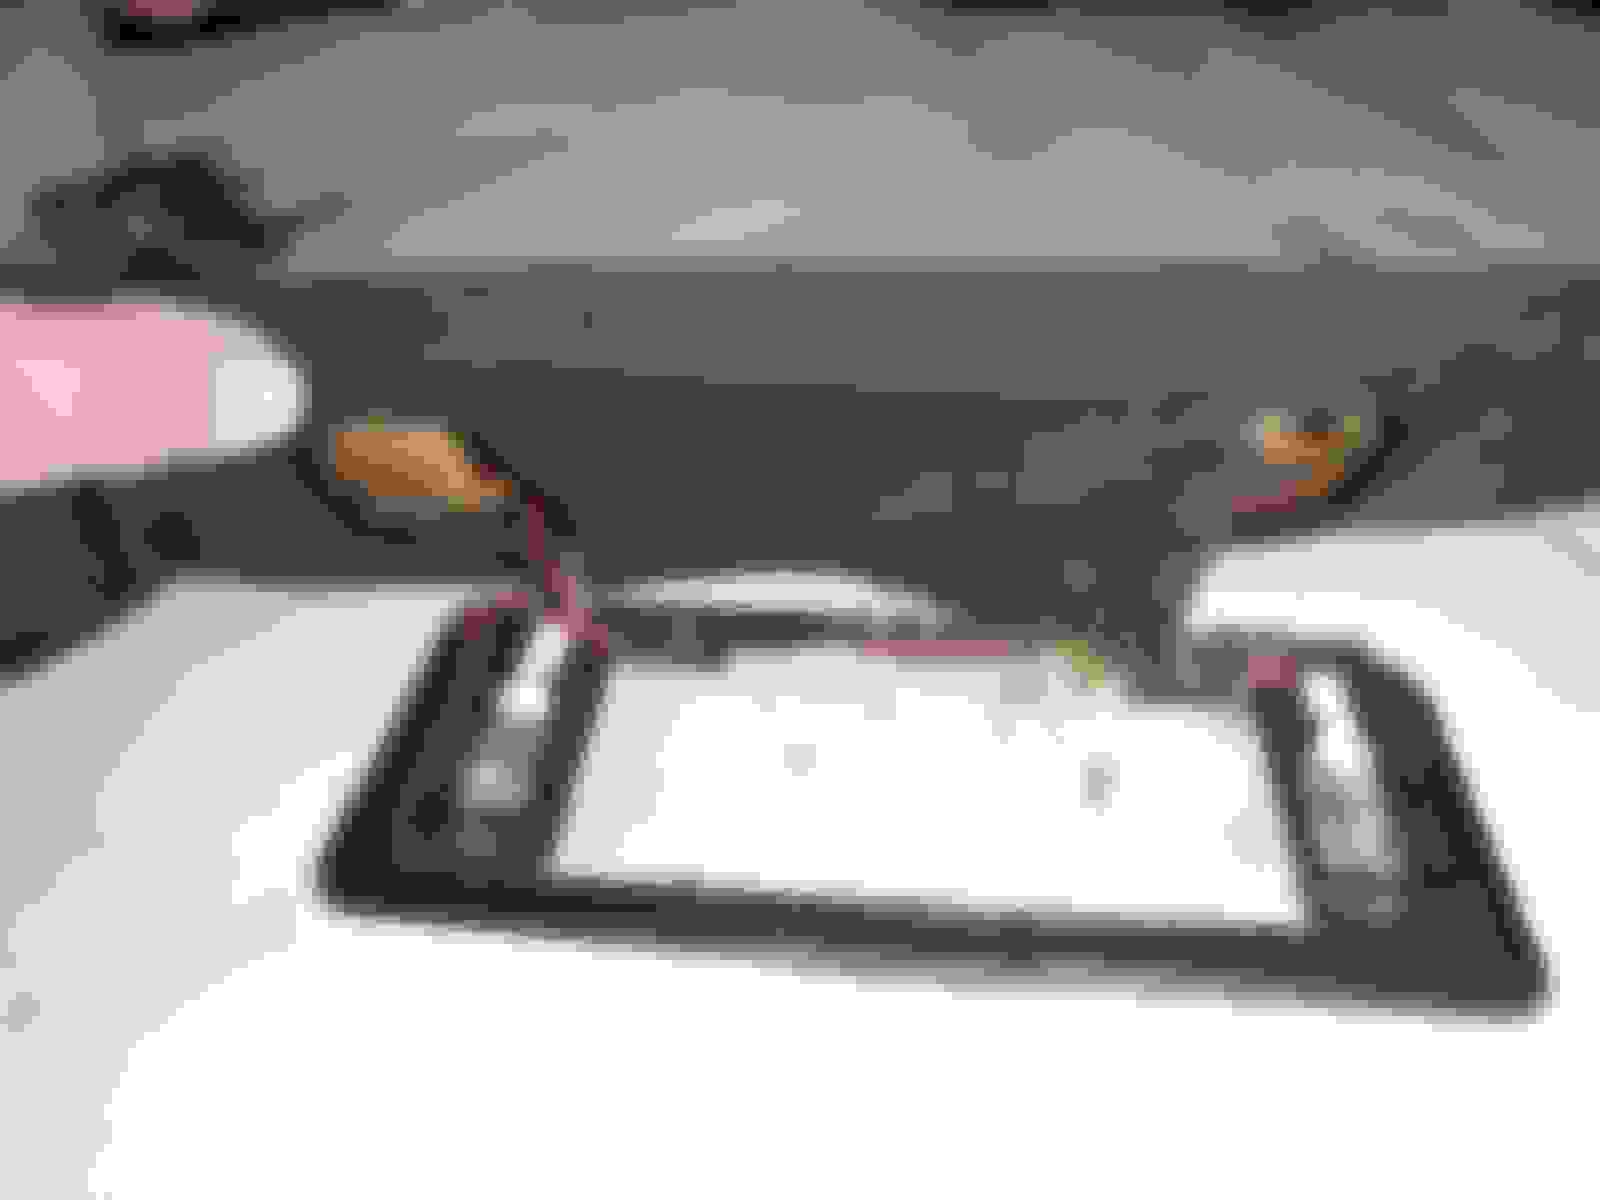
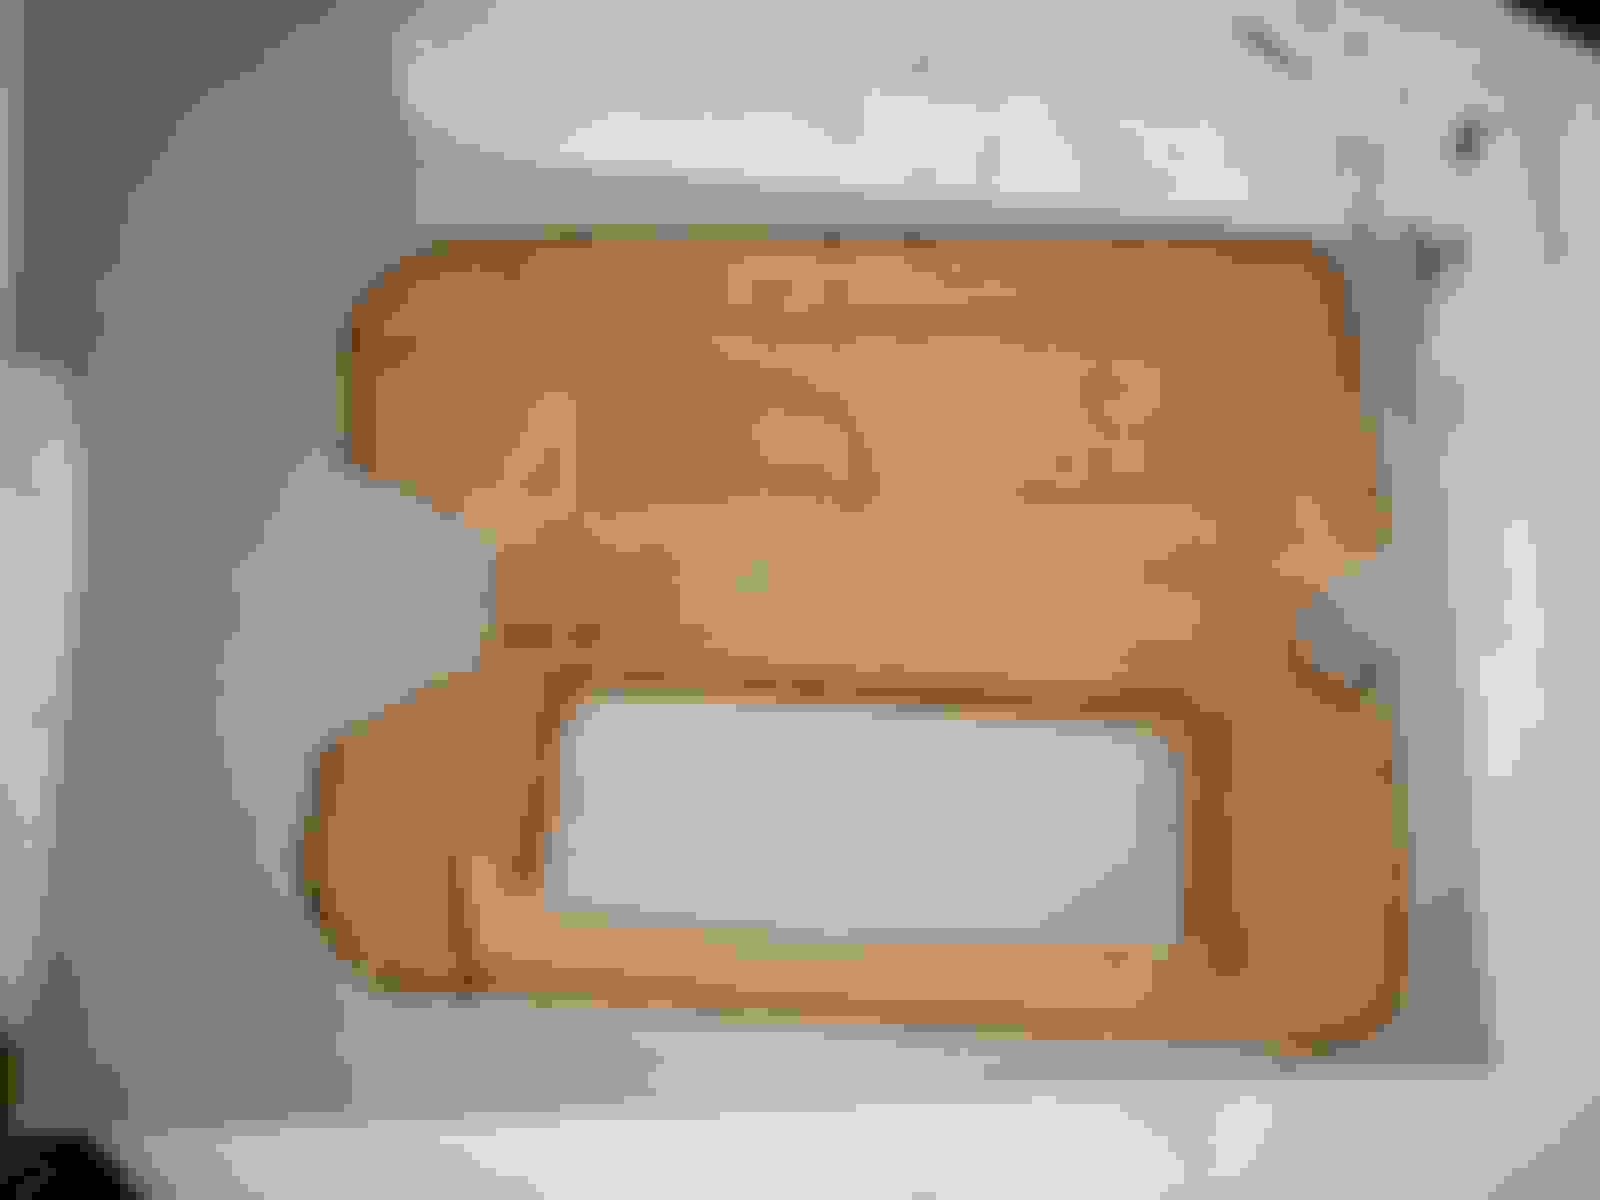
The perimeter of the mirror shows the broken studs on the sides, top and lower edge of the mirror. A couple of studs are still projecting. The studs are needed to realign the mirror on the hardboard later.
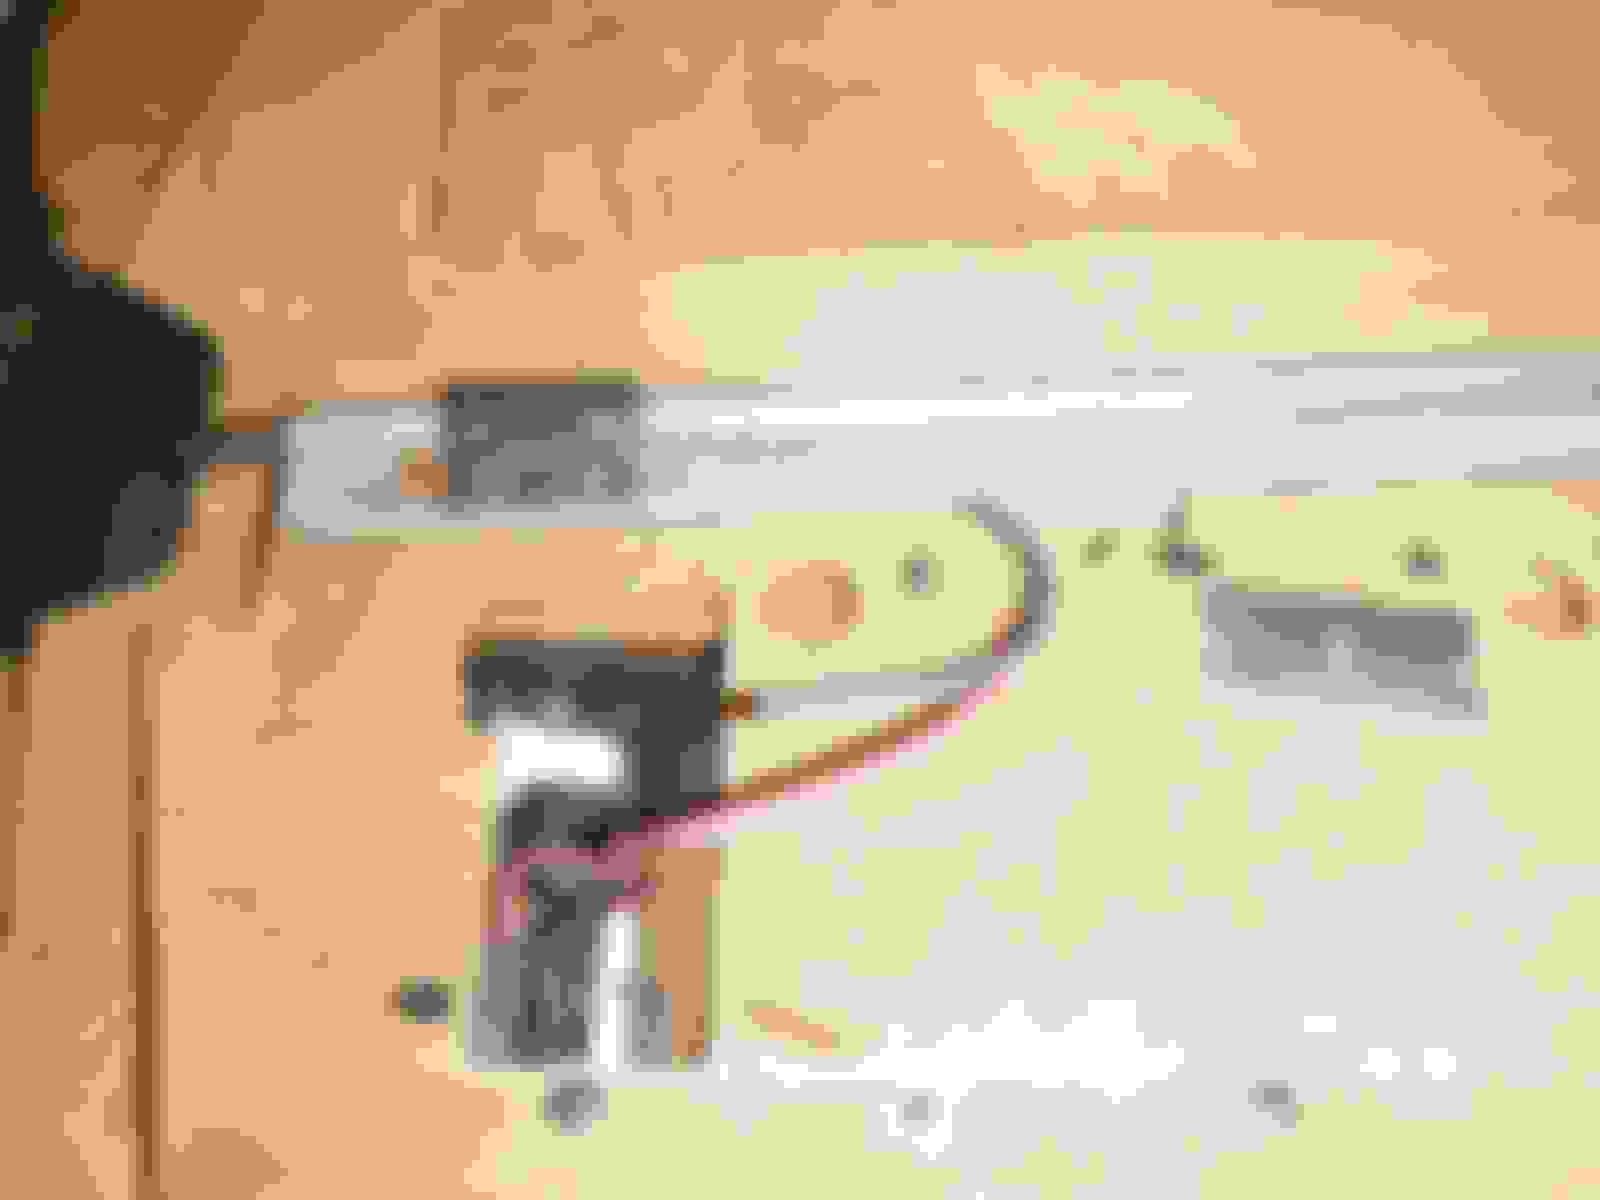
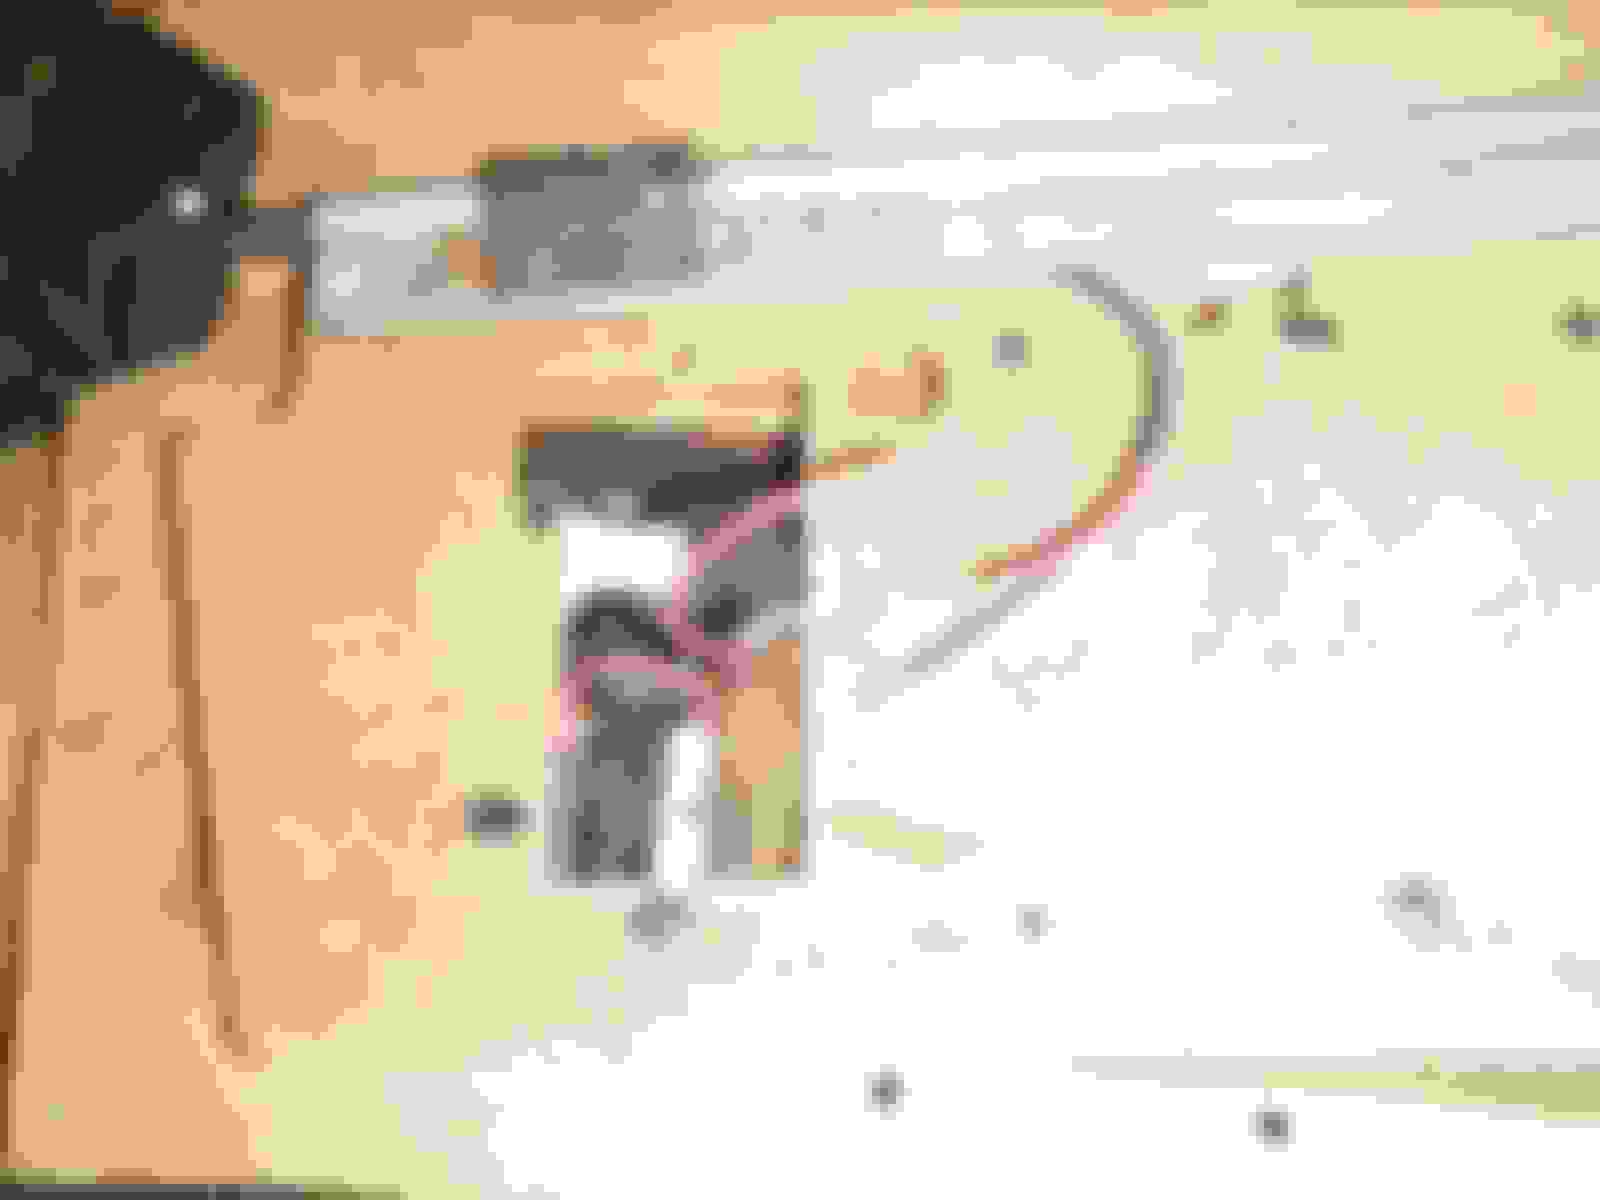
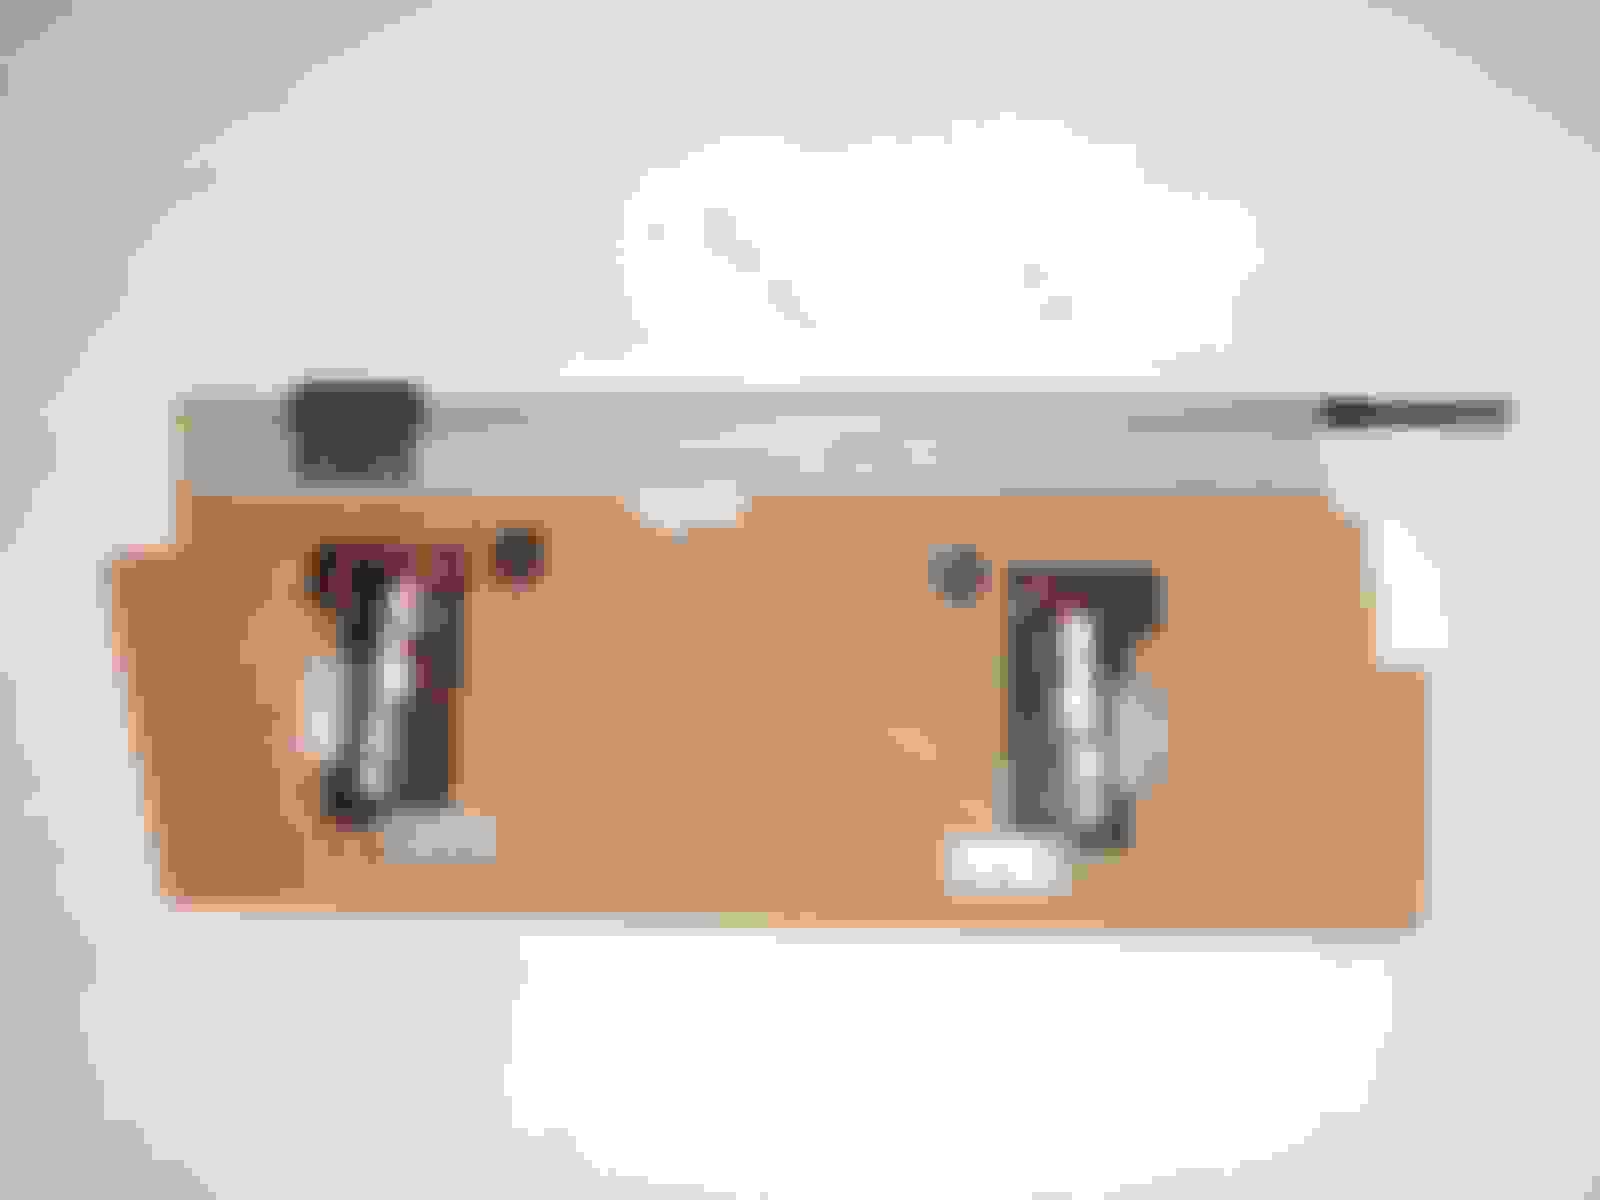
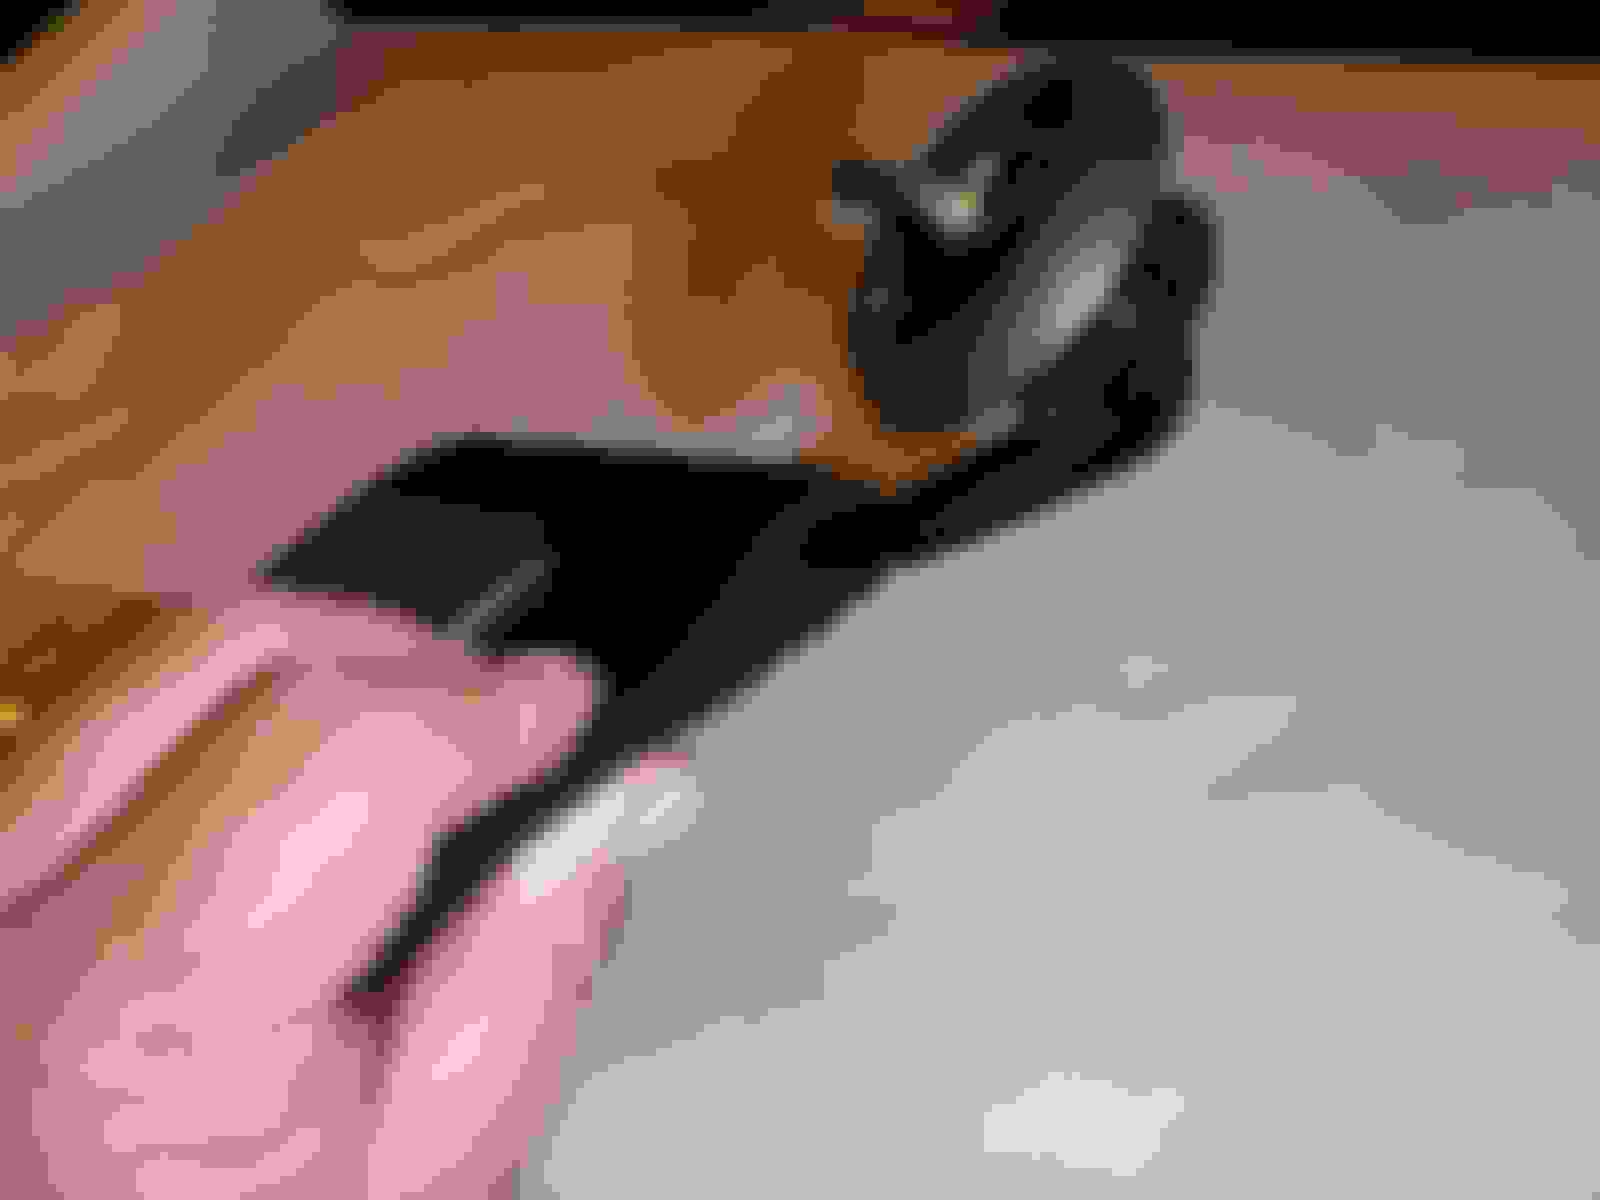
Next, the mirror needs to be separated from the visor. Since the vanity mirror studs were broken in this example, the melted ends are still seen, I'll pop them out later. Cut back the wiring insulation and cut the wires so they can be spliced back together later. Notice how the wiring is routed to the mirror through the hardboard, the wiring will need to be routed back the same way during assembly.
Remove the vanity mirror and set it aside. The visor rod and wiring can be removed from the hardboard by firmly pulling and twisting it out. The visor hardboard, cardboard and fabric clamshell are left. Set the hardboard aside and peel the edge of the fabric away from the cardboard and separate the fabric from the cardboard. Usually the ends that are dog eared are torn away from the cardboard. "Update: The white foam wasn't re-used, it may have been used to help level the mirror to the visor but it will still look good without it. You can see the adhesive where it was attached to the old cardboard. It can be re-glued back in the same spot on the new cardboard, just make a note on the new cardboard where it will go."
Place the old cardboard on a new piece of cardboard and , using a pencil, trace around it, inside the large opening, and mark the vanity mirror stud holes. I used a marker so it could be photographed.
The spine of the old cardboard is perforated with slits. Make some hash marks on the new cardboard so new slits can be marked on the new cardboard. Using scissors and an exacto knife, cut out the new visor including the opening. If you're doing both visors, now is the time to make a 2nd new cardboard. The view below is of the inside of the passenger cardboard. When you make the 2nd one flip it over and mark is as inside driver's side. It's easy to confuse the two.
Mark the slits at 1/8" intervals. Also, I didn't make marks to perforate the dog ear area since that's where they seem to break down. I believe the factory used this visor cardboard for both passenger and driver visors, the large perforated sections on each half of the old style cardboard was just removed depending on if it was a passenger or driver visor.
Cut the 1/8" slits with an exacto knife. This allows the cardboard to bend over the spine of the hardboard.
Since I only have two studs on the mirror that were intact; I punched out the stud locations through the cardboard. "Update: Punch as many as you have on your vanity mirror. Again, they are needed to line things up later." I also marked "inside" and "outside" on the cardboard. It's easy to get it turned over and if you're doing both visors at the same time it's even more confusing.
The fabric I bought appears identical to the factory fabric even the grain looks the same.
Place the cardboard on the fabric, center it, then trace around the cardboard. Although I didn't trace around the cardboard in the next few pictures, I did it later. Next trim the fabric to at least 1" to the edge of the cardboard. "Update: Actually, more than 1" turned out better."
Next, place the mirror between the cardboard and the fabric with the studs facing up. Place the cardboard on top with the studs coming through the cardboard holes. Then place the hardboard on top with the plastic studs in the holes, align the hardboard at the top edge so it's parallel with the spine perforations in the cardboard. Try to shift the hardboard down but keeping it straight with the perforations. "Update: Fold the cardboard over to determine where the hardboard will ultimately sit inside. Make sure the spine is squared up, it's easy for it to sit at an angle." We want to keep things in line so the cardboard will fold over evenly over the spine later. Unfold the visor and while holding the hardboard in place; trace around the hardboard to make an outline reference mark on the cardboard.
Remove the mirror, place the hardboard back on the cardboard, using the reference mark. Next, trace out the hardboard openings with a sharpie onto the fabric foam. Cut out the openings, I used an exacto knife. On the right side the rectangular hole doesn't need to be trimmed out completely. The larger round holes for the lid hinge clips are very close to the upper edge of the mirror and if the holes are made too large you may be able to see them when the visors are completely assembled. The holes I made for the visor hinge clips could have been smaller. They're just relief holes. "Update: While doing the Driver's visor; I didn't make these holes, I just nicked the fabric so the clips popped through when I was attaching the vanity mirror to the visor, you really don't need to make holes, they could show once assembled."
On any transferred sharpie lines, cut on the inside of the lines.
The next few steps are important for a nice fit and even edge of the visor once it's sewed. It's also a time to make any small adjustments to the location of the mirror, hardboard, and cardboard. Up til now we have tried to trace and trim the cardboard and foam. Now before finally gluing on the fabric there's an opportunity to see how it will all go together. Take your time here, it counts.
Take the hardboard and place it on the cardboard. Fold the cardboard over the hardboard and try to get the spine square while lining up the edges. The perimeter of the visor needs to be perfect. When the cardboard is folded over and the spine is perfect then the perimeter needs to be trimmed so the front and back of the visor are even. When the upholsterer stitches the edge it needs to be perfectly even. In the second picture below the edge needs to be trimmed even with the other half of the cardboard clamshell. "Update: After you square everything up and the spine is straight, open the clamshell and double check your outline and adjust it if necessary. It's really important everything lines up and fits well."
Flip the assembly over a few times and look for proper alignment and the spine is square. Also, check the holes in the cardboard to the hardboard, make any adjustments to the cardboard holes and overall fit and do any adjustments to make it perfect.
I want to take a moment to discuss a couple of options. The new visor does not have perforations for the visor to flex like the old one did by the visor mounting pivot. I made a line on the cardboard at the end in question. This can be cut off similar to the other aftermarket visors available. It's your choice, or you can perforate the cardboard like stock. Or you may want to trim the curved part a little shorter and make the length of the visor shorter. I left it alone on my car and it seems to work fine. Also, you'll notice on the right end of the hardboard I made a line. Trimming this small section may allow the upholsterer's sewing machine foot to run flat while the visor is being sewn around the edge. If the foot is forced close to the edge of the visor it may run off the visor leaving an uneven stitch. I noticed my stitching on the visors I did for myself had the stitching close to the edge. Just something to think about. "Update: Round off the lower corner after cutting off the edge.
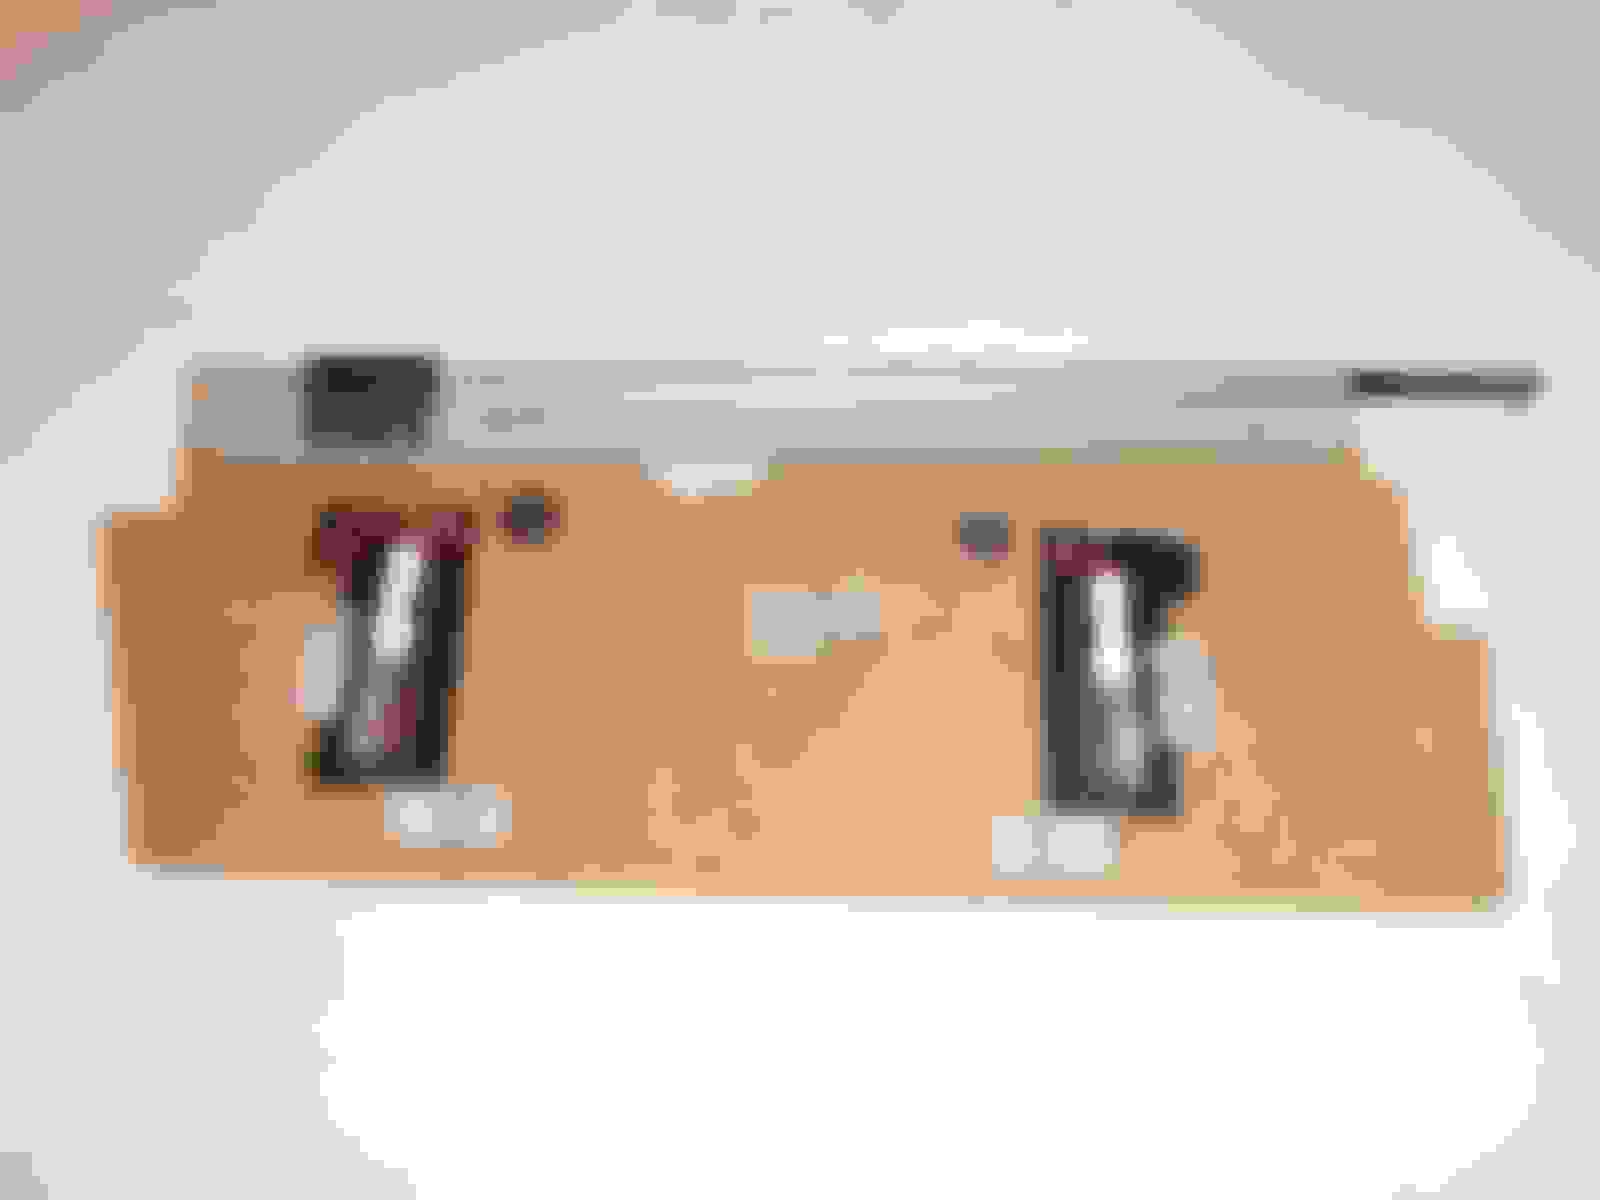
In order for the vanity mirror to attach to the visor it needs to attach to something. Since the plastic studs can't be melted a different method of attachment is needed. Below, sitting on the center of the hardboard, is a type of clamp I had which I hammered flat and cut off the hole end. I did this to four clamps and just set them on the hardboard near where I feel they should be so small screws can be used to hold the vanity mirror to the hardboard. You may have to pick up clamps or metal strap from the local hardware store or you may have something you can cut and use. "Update: Try to find some thin metal to make the brackets. Something like the thickness of a steel food can or thin aluminum. Thick metal, like the clamps I used, had an impact on the #4 screws screwing into the metal I used often causing the philips head of the screw to strip." If someone has a better suggestion please let me know. Also, in the following pic I trimmed down the right side of the hardboard as detailed in the previous paragraph above and rounded the edge. The metal brackets are placed in the locations shown in case all your plastic studs are intact and using the old holes to align it to the hardboard.
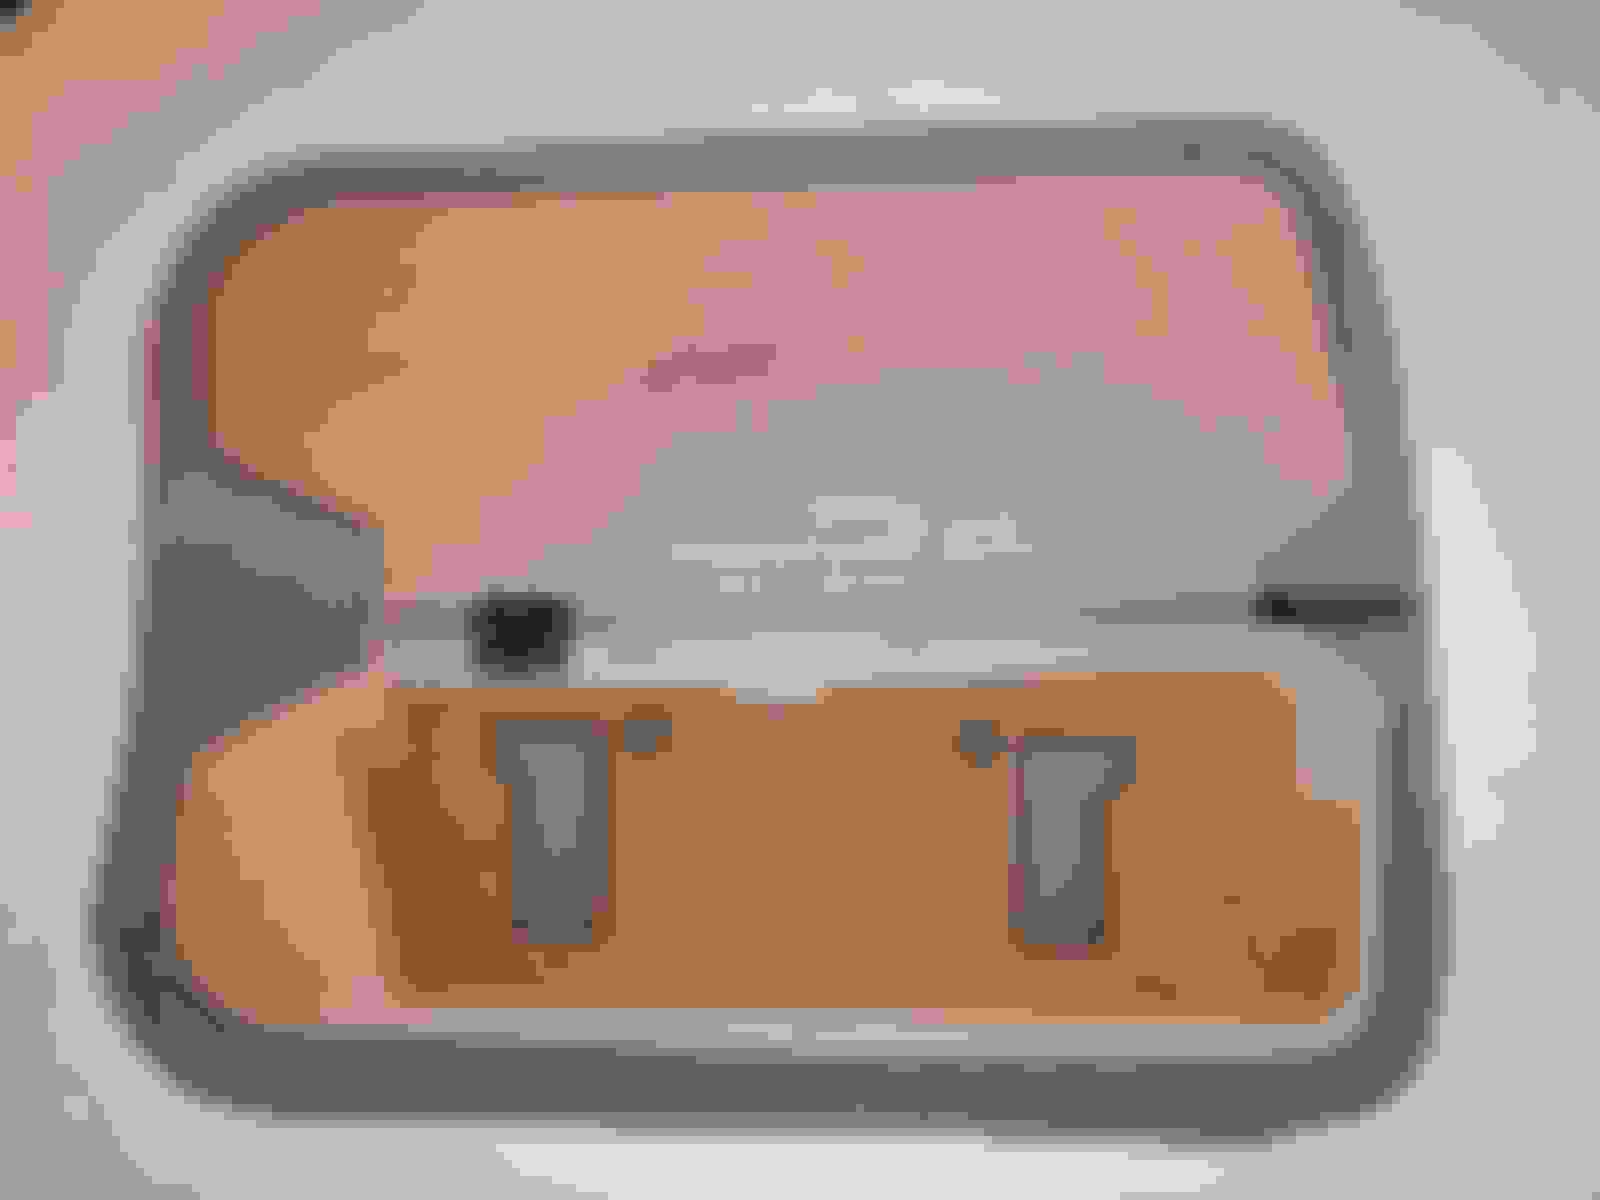
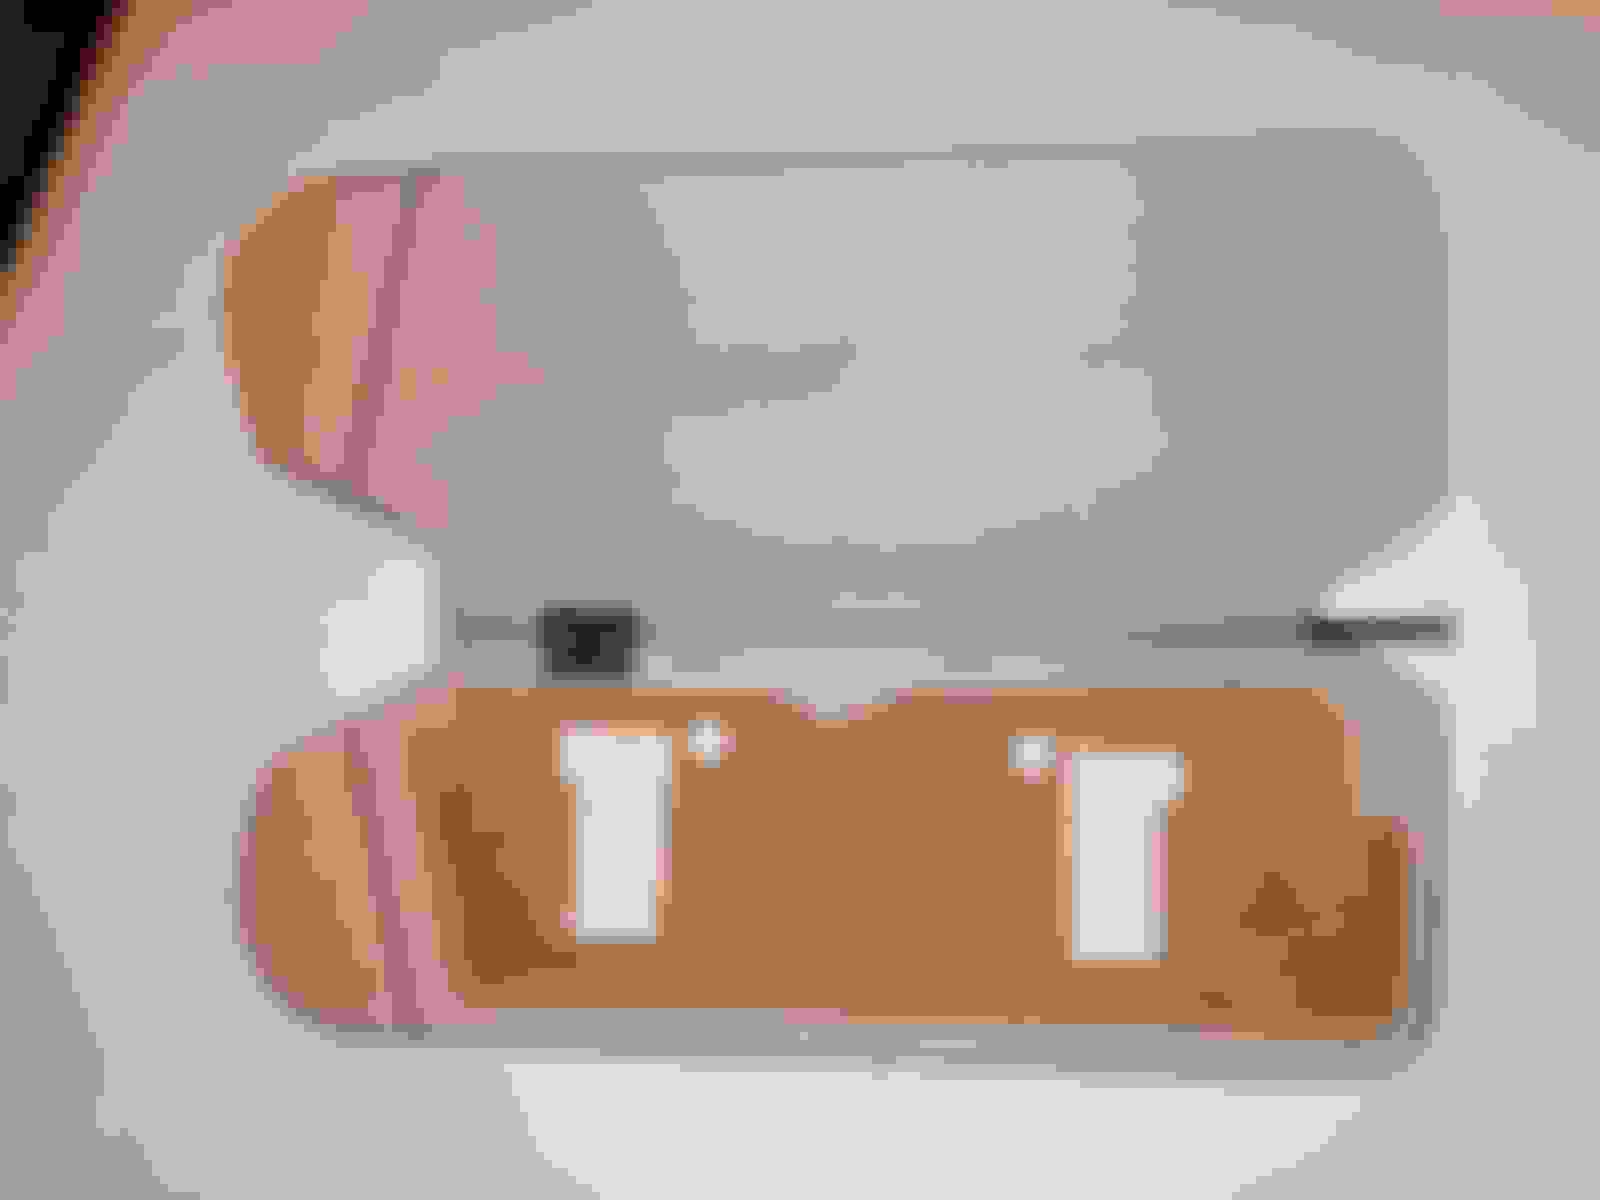
The brackets are attached to the hardboard with 1/8" diameter rivets. They are for 1/16"-1/8" grip depth. The end of the rivet that expands needs to be on the side shown in the first picture since the vanity mirror needs to sit as flat to the visor as possible. I attached the brackets to overhang the openings. I could have done a better job but I didn't realize the lower brackets needed to be moved up a bit. They needed to, in this example, so the screws attaching the vanity mirror would catch onto the metal. You can see the location of the screws in the second picture. They can be placed in different parts of the plastic so just be sure you have something to screw into depending on where you want to drill the holes for the screws. Screwing directly to the hardboard is not suggested since the hardboard material is so soft. Besides, the screws could miss the hardboard completely depending on where you drill the screws through the vanity mirror plastic. The hardboard and bracket is drilled with a 1/8" drill and the bracket only is chased with a 9/64" drill so the rivet slides through the bracket easily. After riveting the brackets to the hardboard, flip the hardboard over like in the second picture. Note: The existing vanity mirror stud holes in the hardboard are 1/8". If your plastic studs are broken off on your vanity mirror you might want to use these holes for the bracket rivets. The bracket size and location of it all depends on what you're working with. In this example, I could have used the existing stud holes with longer brackets since the vanity mirror had some broken studs. I'm doing it this way as if all the studs on the vanity mirror are intact.
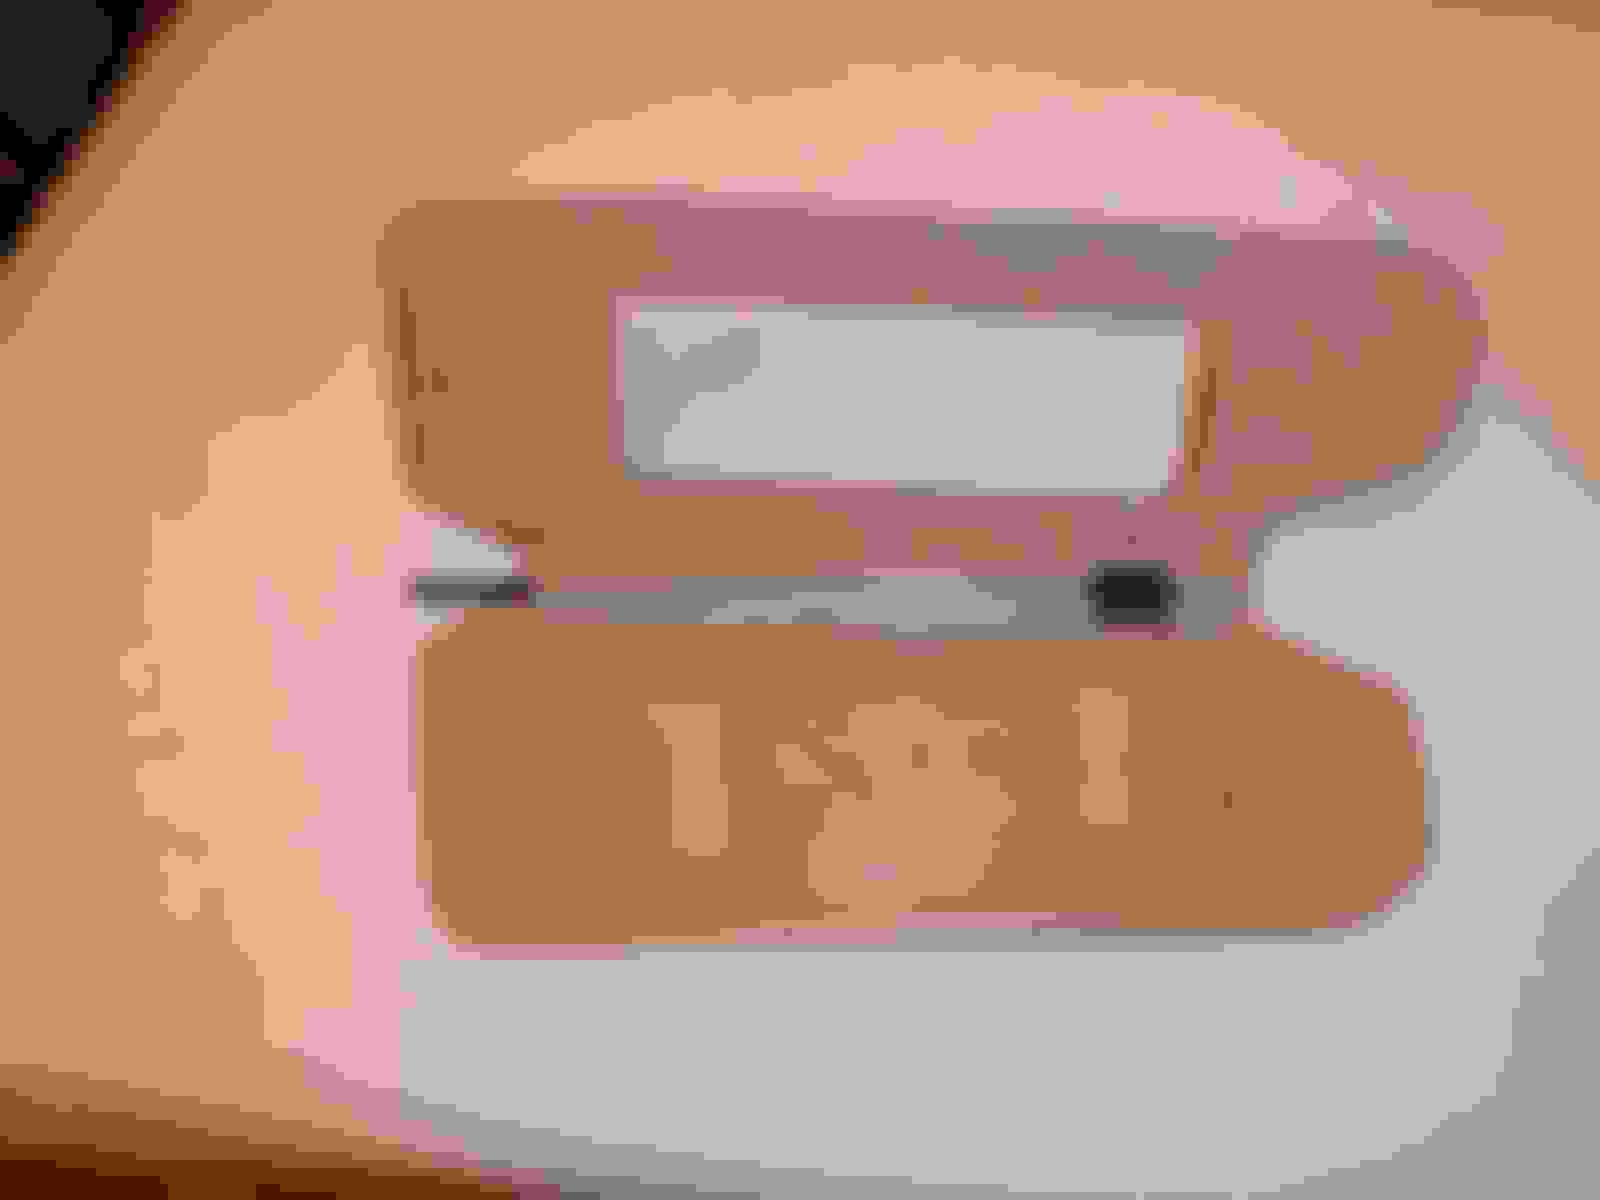
Place the vanity mirror on the hardboard and engage the plastic studs in the hardboard holes. Use a 3/32 drill to drill through both the vanity mirror plastic and into the metal bracket. Go slow and let the drill do the work. Keep the vanity mirror from moving by keeping pressure on it and keeping the studs engaged with the holes in the hardboard. If you want, put one screw in part way to hold things from moving around. Once the holes are drilled, drill a 7/64" hole in just the vanity mirror plastic to give the screw a little wiggle room, it helps when putting the screws in. It takes a little patience to get them screwed to the metal bracket. The screws are #4 x 5/8" sheet metal screws. Even though you only need 8 screws for both visors, buy at least 20. I found that the screw metal is soft and when screwing and unscrewing them the phillips in the screw can get messed up. Once the brackets are attached and the vanity mirror is attached, take it apart. "Update: While working on the Driver's side visor I was having some problems installing the vanity mirror to the hardboard. Since the vanity mirror on the driver's side didn't have any studs to help hold it in place to the hardboard, it became crooked after final assembly. As I mentioned earlier, it's much better to have the vanity mirror with intact studs. If it helps, keep the lower edge of the vanity mirror parallel with the lower edge of the hardboard. Once it's attached, remove it and re-install it with both the fabric and cardboard to see how it looks and to make sure no edges of the fabric are showing on the finished side. Make any adjustments before gluing the fabric on. This was all due to the studs being broken off."
Spray the adhesive, per the directions, on both the foam side of the fabric and on the outside side of the cardboard. After it tacks up assemble the two together. In my case the outline I made on the foam around the cardboard was close enough. I used 3M Headliner and Fabric Adhesive I bought at AutoZone. Bond the cardboard to the foam. Then, heat up a small diameter nail and push the hot nail through the cardboard holes to melt the fabric to make holes for the visor studs. In the example below I already made my holes but it's easier to do it once the fabric is bonded to the cardboard. These holes need to be small since they are very close to the lower edge of the vanity mirror when assembled.
I attached the vanity mirror and it looks good with no gaps or holes showing around the perimeter. When attaching the vanity mirror to the visor the screws will be going through the fabric and the cardboard for the first time. Take your time and make sure everything is lined up the best you can before putting in the screws. Maybe punching through the cardboard with a nail and running a hot nail through the fabric will help. Just make sure that's where you want the visor before punching holes in the fabric and cardboard. Before making any holes, fold over the cardboard to check the edges etc. It's really important you get it mounted straight.
This is just a quick example of how the foam can be folded over the edge of the cardboard. The existing adhesive on the foam is just barely holding the foam to the cardboard. Doing it this way is fast and easy. It also makes the edge of the visor thick where it will be stitched since the clamshell will be closed and ultimately sewn. The sewn area will have four thicknesses of foam and two thicknesses of cardboard. Or we can remove the foam from the black fabric and only glue the fabric to the cardboard. This will significantly make the visor edge thin. I think it looks better and if you look at the finished visors at the end of this thread you can see for yourself. It is more work and more tedious but it's up to you. Pinch the edge and see if you are satisfied with it.
I'm going to make a thin edge. To begin, separate the foam from the fabric. It's a little tricky to start but once it separates it's easy to continue separating. Separate fabric from the foam just to the edge of the cardboard and work your way around. Only separate the fabric where it will be attached to the cardboard. Don't separate the fabric at the ends where the rod goes into the visor and the rod that sticks out to the visor clip. Snip the fabric at an angle so the fabric that is not going to be attached to the cardboard can fold over onto itself, with the attached foam.
Pull on the foam slightly and trim the foam flush with the cardboard surface. Do the best you can and as close as you can. It doesn't have to be perfect as the picture shows. I lay the $1 Harbor Freight scissor flat and carefully cut the foam. Do not nick the black fabric otherwise there will be a hole on the edge of the visor. Separate the fabric from the foam further if necessary. We are cutting a away at least two layers of foam when the visor is folded over and sewn. You can also see each end of the visor where the fabric that is not going to be attached to cardboard is simply folded over itself. I also snip the fabric at an angle there.
I sprayed some of the headliner adhesive into a spray can cap and brushed the adhesive around the perimeter of the cardboard and let it dry a while. I applied another brushing of adhesive. I didn't put it on the black fabric. On the visors I previously completed, I put the adhesive on the black fabric and it was more work due to the adhesive getting all over.
Stretch the fabric when pulling it over the cardboard edge and press it onto the adhesive. When doing the corners don't leave wrinkles at the edge, stretching the fabric before pressing it down is the answer. It's not very pretty especially if you don't have a lot of fabric to pull as was in this example since I didn't leave much fabric when I trimmed around the cardboard in an earlier step. It will be just fine when it's finally stitched up. There is still another step and that is to dismantle the hardboard and vanity mirror (yes, again) so we can make some holes for the visor rod that will go back in and for the rod that goes to the visor clip on the windshield. We'll also re-connect the wiring for the lights.
The visor was disassembled and a couple of slits made in the fabric. "Update note: The slits can be smaller than I made. Cut off just the pointy end of the screws with some diagonal pliers, this will prevent them from damaging the cardboard when it's folded over." The hardboard was re-installed along with the vanity mirror. The main rod and wiring was re-assembled and spliced back together. When the visor is folded over and ready for stitching the fabric around the slits were tucked in along with the fabric that wasn't glued to the cardboard. A little stitching and I think they will be a nice addition to someone's car. The stitching will only be on the cardboard where the fabric was glued to the cardboard. See the picture of the finished visors at the end of this thread to see what I'm referring to.
Here are the pictures of the finished visors. The local upholsterer charged me $20 to sew them up.
Is it worth it? You be the judge. Materials are about $40-$50 with enough to probably do four visors. Is there satisfaction in doing things yourself? Of course. Plus now you know how the visor is assembled. I guess my suggestion is...don't pry off the vanity mirror even though it seems like the only way to get the visor apart.
Art
Last edited by MrRenoman; 06-19-2016 at 11:57 AM.
Reason: Add text and pictures
An absolutely superb writeup on how its done. I have one brief question. Where were you able to obtain your fabric? I re-did my driver visor a couple of years ago and also installed the Homelink opener while I was in there. My fabric was similar but not exactly the same as yours is. Was it somewhere that everyone can procure?
Well, I think I'm done except for having it stitched. Thanks for following this thread and for your thread replies and PM messages. I'm editing the thread trying to clean it up to make it easier to read and follow. I hope my multiple edits isn't notifying you as a subscriber each time I save the edited post.
Good DYI info with pictures that explain the process. Well Done
Thank you, I've attached pictures of the completed and sewn visors.
If you have any questions about the steps, fabric, cardboard, rivets or anything about doing this yourself; just PM me. I'll be happy to help you in any way possible.
An absolutely superb writeup on how its done. I have one brief question. Where were you able to obtain your fabric? I re-did my driver visor a couple of years ago and also installed the Homelink opener while I was in there. My fabric was similar but not exactly the same as yours is. Was it somewhere that everyone can procure?
Cool idea adding homelink? Do you have any pics and which part did you use? THanks
Appreciate the flowers but the homelink idea wasn't original. Many others have done it in the past. Do a Google search for "homelink C5 Corvette" and you'll find multiple threads on it. I used the install instructions from here. http://www.digitalcorvettes.com/foru...ad.php?t=40470 Mine looks exactly like that one. I bought my homelink unit off the auction site for less than $20. Go there and search "homelink visor black" or whatever color you require. It gets its power from the lighted vanity mirror leads so you never have to worry about replacing batteries. And of course, while I was in there, I fixed the floppy ear on the visor. My passenger side was ok, just needed to redo the drivers side.
Forgot to mention that in the past, some of the site vendors used to sell a visor with the homelink already installed but in checking, those appear to be discontinued. Too bad as its a really good idea and would still be selling units today if it were available.
Nice restoration. Did I miss where you got the fabric?
I got the fabric from my local fabric store. It's headliner material. They sell all types of fabrics for home upholstery and they have an automotive section that sells carpet, headliner and all types of vinyl trim etc. They are called Mill End Fabrics in Reno, NV. Pm me if you need more info.
The cardboard came from Mill End Fabrics in Reno, NV. They are a fabric store that also carried some automotive upholstery supplies. It's called chipboard. It's plain uncoated grayish color cardboard. It's about .040" thick. I believe it came as a 26"x38" sheet. It's like the cardboard on the back of a 50 sheet 8-1/2" x 11" writing pad like you'd buy for a clipboard. The factory cardboard is about .025" thick. I spoke to a couple of upholsterers that use it for visors. Try asking an upholsterer in your area where it can be found. PM me if you find something.
what is the trick to remove the clamps from mirror door?
great write-up
I lay the visor flat on a table and open the mirror lid straight up or 90 degrees. I use a hook type tool and lift up the curved metal piece and slide the lid out from under. It take a bit of effort. I don't pry on the plastic anywhere, just lift the metal piece. Try not to move the lid too far since the other end is under the other metal piece and could break if torque too much.
I lay the visor flat on a table and open the mirror lid straight up or 90 degrees. I use a hook type tool and lift up the curved metal piece and slide the lid out from under. It take a bit of effort. I don't pry on the plastic anywhere, just lift the metal piece. Try not to move the lid too far since the other end is under the other metal piece and could break if torque too much.
I have another set of visors I'm going to rebuild. The pair has broken hardboards so I'm going to use plastic instead. Maybe even try to replace the cardboard with plastic and who knows, maybe even try using leather or vinyl instead of a fabric covering. I'll post a link when I'm starting or done with pictures. I already made the replacement plastic hardboards which came out nice, I dont' think they'll ever break. Thanks for following this thread. Stayed tuned.
Here's a sneak peek and a link to the new thread...

 11-26-2015, 01:20 PM