When you click on links to various merchants on this site and make a purchase, this can result in this site earning a commission. Affiliate programs and affiliations include, but are not limited to, the eBay Partner Network.
Question on making your own spark plug wires (MSD)
I bought a set of Universal spark plug wires from MSD (part# 32073) to coincide with a coil relocation project. I followed all the steps there were on this process straight from MSD and I don't feel a solid connection is being made at the ignition coil. There is no audible or feeling of a "click" to give me confidence they are on...and will stay on. I'm using the LS1/6 terminals and boots supplied in the kit.
I've got them listed for sale right now since I spent so much time working on them and disappointed in the fitment...I basically gave up. Thought maybe someone else with more experience could make a go of it and I'd just move on. But I have all winter and nobody seems interested in purchasing, so figured I would see if I'm just missing something in the process before I spend more money on a new set of longer premade GM 8.1L truck wires.
Is there something I need to do to the terminal ends to make them fit better over the ignition coil connector? Like widen the circle part more? I don't have any other wire sets here to compare size.
I'm not sure if that is the issue, if the boot is sliding up too far and I'm not getting enough pressure on the terminal area itself to push it on, or if the wire itself is too far into the terminals (though they are just as the instructions stated).
I don't have pictures at the moment, but let me know if any are necessary to assist.
I'll jump in. If you've got an extra terminal then install it on a short piece of wire with no boot. Then install that into a coil so you get a feel for how they snap in. That should tell you if you've got a boot or terminal issue. Hope it helps.
Are you sure you positioned the terminal clip far enough into the boot so it can engage the receiver in the coil? Last time I assembled a set of Taylor universal wires, I used a stock wire as reference for how far to install the terminal into the boot.
I did DIY length wires (Accel IIRC) many eons ago, what a PITA. The one problem I recall was the boot slipping on the wire making a firm click connection more difficult.
I'll jump in. If you've got an extra terminal then install it on a short piece of wire with no boot. Then install that into a coil so you get a feel for how they snap in. That should tell you if you've got a boot or terminal issue. Hope it helps.
Great suggestion. I do have an extra terminal and just crimped it on some of the extra wire.
Originally Posted by Patches
Are you sure you positioned the terminal clip far enough into the boot so it can engage the receiver in the coil? Last time I assembled a set of Taylor universal wires, I used a stock wire as reference for how far to install the terminal into the boot.
Just took a look at them and some were at the right position, but many did look like they fell back further. I did have them all aligned when I originally made them. I think the pressure I was putting on them to click may have shoved some back too much. Just fixed them all.
Hopefully this weekend I'll get a chance to try both of these suggestions out.
I did DIY length wires (Accel IIRC) many eons ago, what a PITA. The one problem I recall was the boot slipping on the wire making a firm click connection more difficult.
After looking at them tonight, I think that may be a contributing factor here. It was a PITA to make these too.
The Taylor boots I installed were so tight on the jacket, I had to come up with a special tool and method to get them to slide on. They will NEVER slip on those wires. Here's the thread I posted detailing it.
These were tight going on too, in fact it was a bear to get these to move back in alignment again. Had to get some grease in there to wiggle them loose again.
I had used some dieletic grease during the original install to help slide the boots over the wires. It was still tight, which surprises me that they moved possibly during install. Hoping to test tomorrow night.
^^^ What up Ed? How's the C7 doing? Get bored in C7 section and come back to check on us poor C5/C6 owners?? Hope all is well.
Yeah, thought I'd slum it for a while.
Originally Posted by imgn tht
These were tight going on too, in fact it was a bear to get these to move back in alignment again. Had to get some grease in there to wiggle them loose again.
I had used some dieletic grease during the original install to help slide the boots over the wires. It was still tight, which surprises me that they moved possibly during install. Hoping to test tomorrow night.
I finally got a chance to check the fitment with an extra terminal and scrap wire without a boot and it clicks in perfectly. So the boot is my issue and I addressed the alignment as Patches suggested. I need to get back out with the finished boots (likely tomorrow) and see if I'm all set now. At least I now know I just need to tweak my boots and not needing new terminals or even a new set anymore.
The weather here has been cold and rainy, so hopefully this weekend I will have the motivation to get back at it.
Tried them again today, they feel better. Still no "click", but they take effort to pull off so I'm going to use them and see what happens when I finally wrap up the rest of the makeover (fuel rails and lines left to do).
I think the trick was to straighten the LS 45* boot as I push them in.
just did mine couple weekends ago, making the 16" plug wires was the worst part of the whole project. I am told using a ratcheting crimper helps. Heres my pic, how about a pic of yours.
I'm still working on it, so no finished pic. Only one I have now is this. The rails were vinyl wrapped before I painted to see if I liked it and they're just sitting there. Working on the paint now actually.
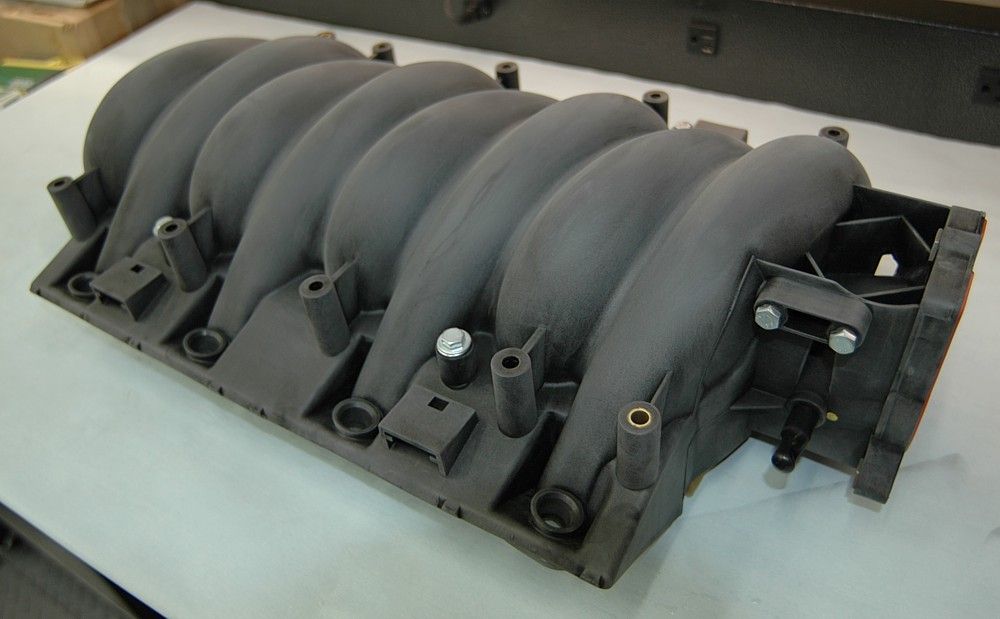
Thought I'd paint the intake too, but for now the factory black works good enough for me with the black crinkle covers. I want to live with it like this before I do anything else. Maybe I'll go body color (quicksilver) in the future.
My last decision is if I want to paint the ignition coils to match the rails or not.
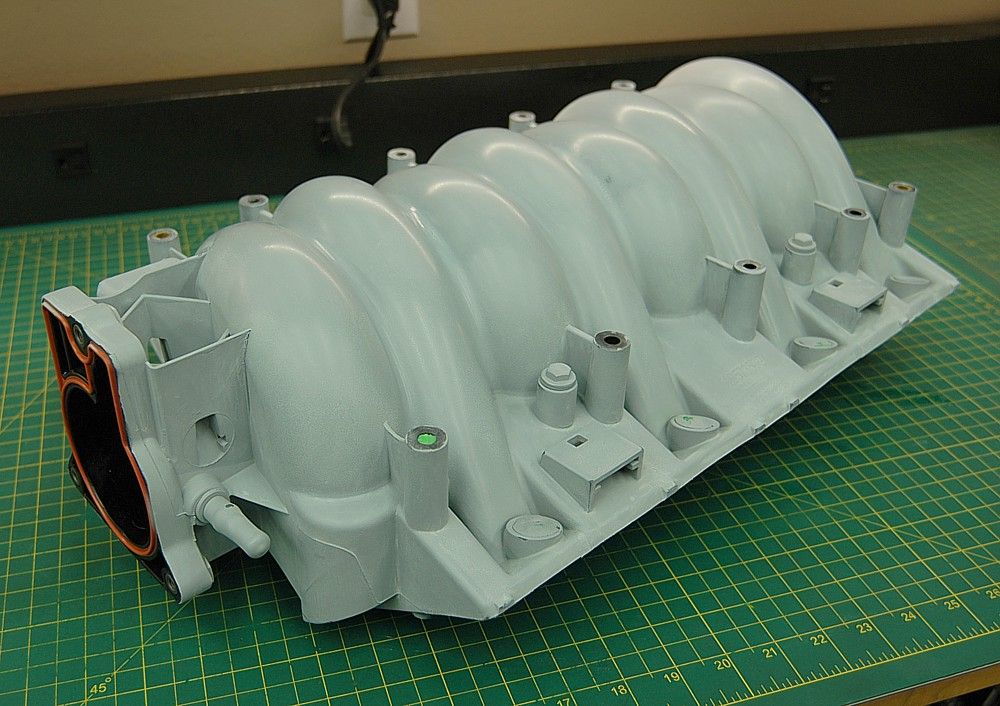
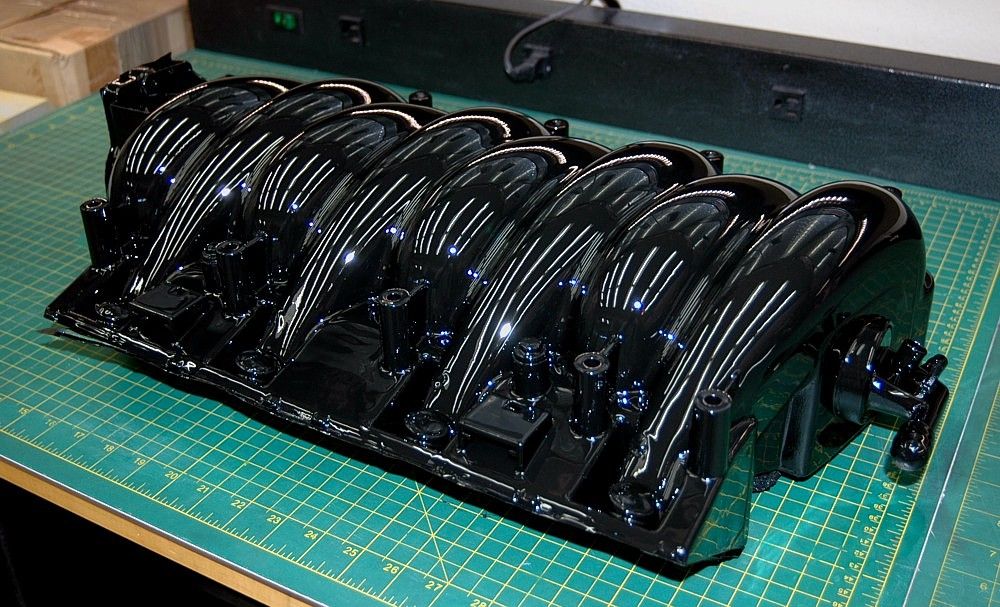
Paint the intake - it's not difficult and looks so much better, especially since you're doing so much engine bay upgrading. The intake is the centerpiece so it's worth spending a little time on it. I did mine in gloss black - just some sanding to smooth it out, primer and several coats of high-temp engine paint.
Paint the intake - it's not difficult and looks so much better, especially since you're doing so much engine bay upgrading. The intake is the centerpiece so it's worth spending a little time on it. I did mine in gloss black - just some sanding to smooth it out, primer and several coats of high-temp engine paint.
Trust me, it has been on my mind from the beginning. More so now as I'm close to reinstalling the fuel rails. Half my brain says take it off now so I don' t have to reinstall fuel lines twice. The other half is worried I won't like the final color.
Gloss black was the original idea to keep the overall black look with just a pop of the blue color. But sometimes I think the silver could look good too. Either way, I hope I'm not taking away from the valve covers since that was the start of this whole thing. Ugh decisions, decisions...thank goodness I have all winter.

 01-10-2017, 01:41 PM