
Insulation from Exotic Vetts and Windbreaker from GM Installed
 03-04-2007, 08:48 PM
#1
Moderator


Thread Starter
Member Since: Dec 2002
Location: Lakewood Ranch, FL
Posts: 40,065
Received 3,578 Likes
on
1,619 Posts

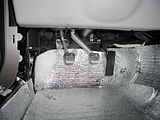
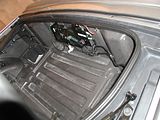
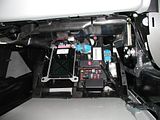
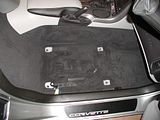
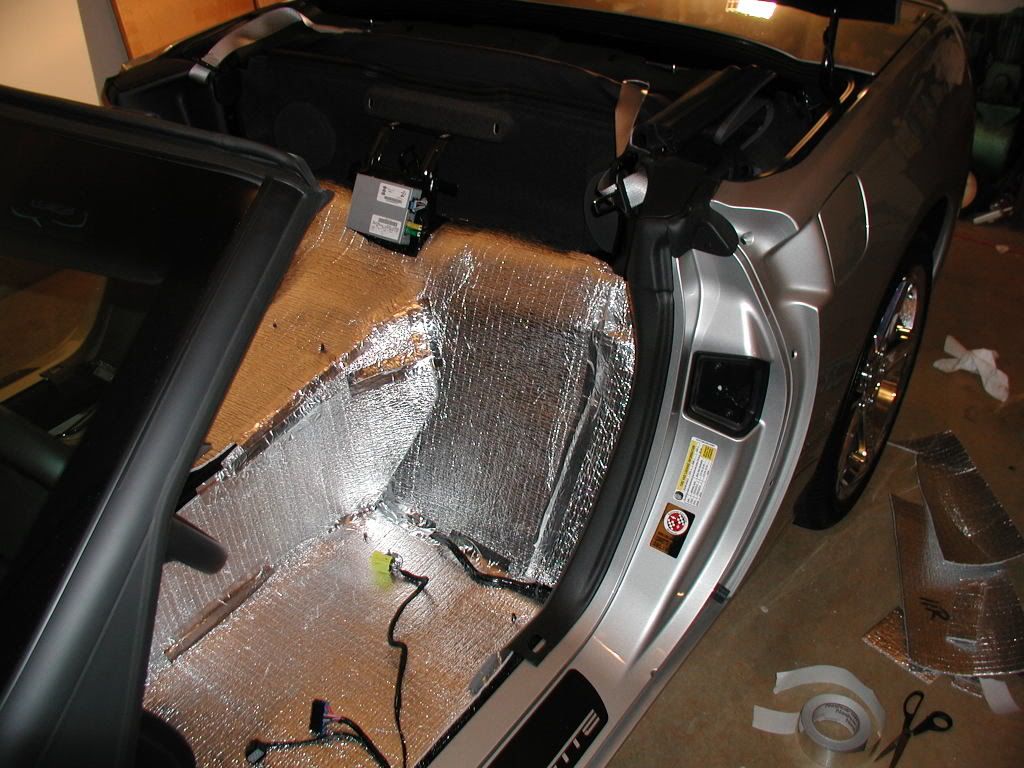
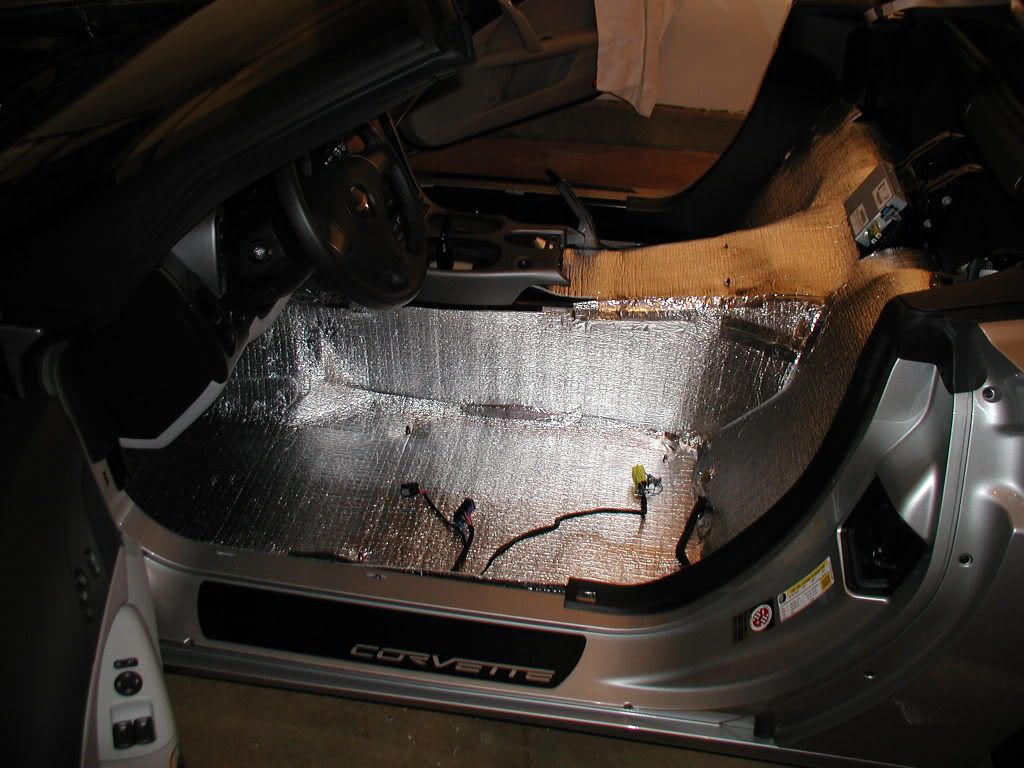
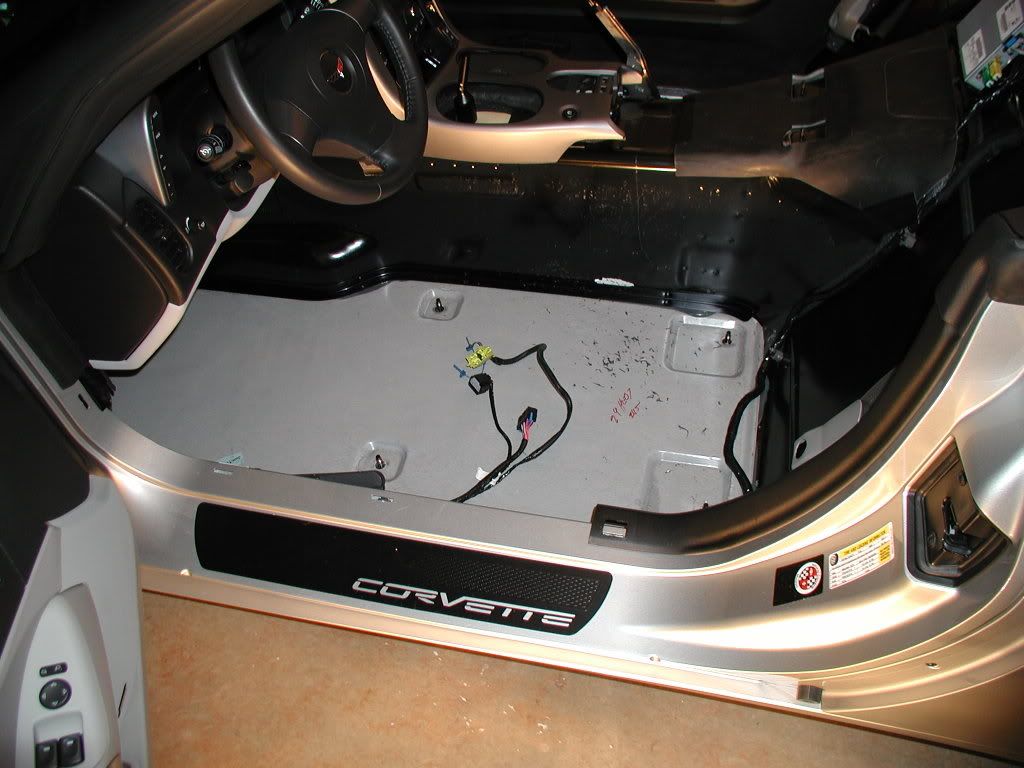
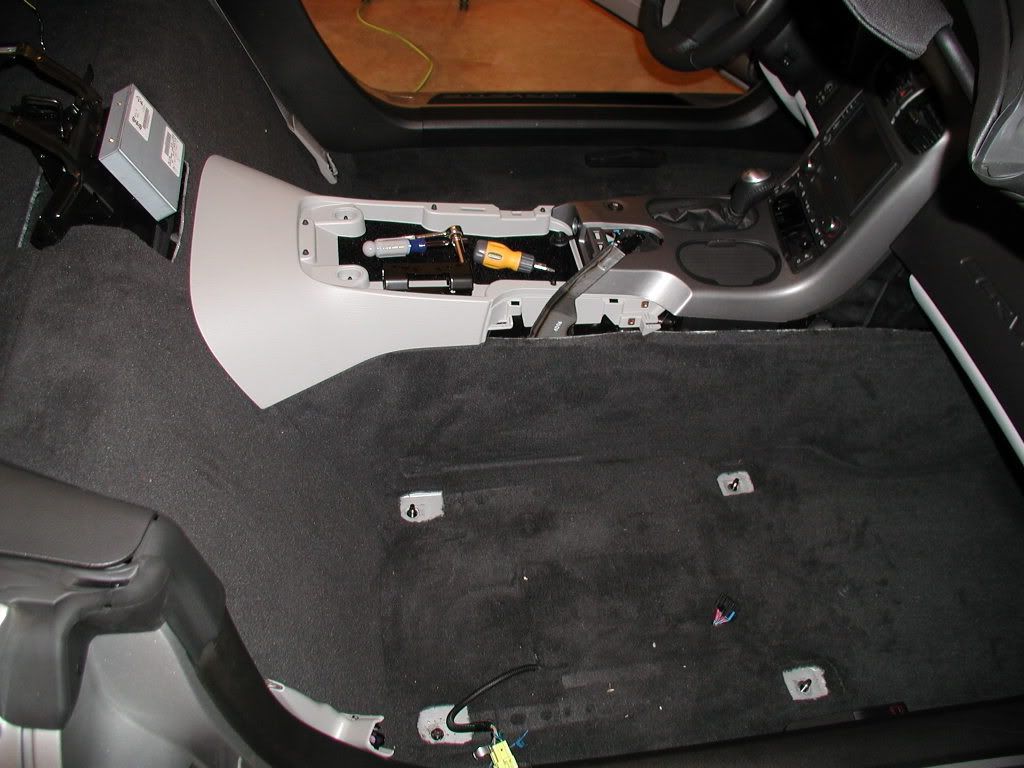
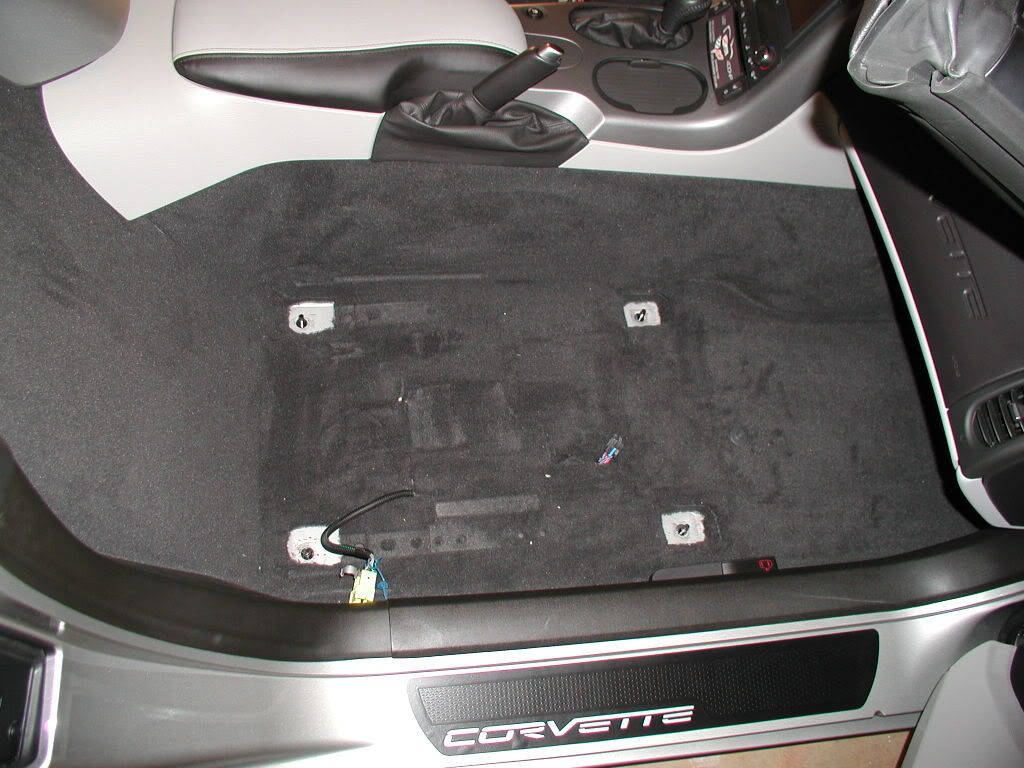
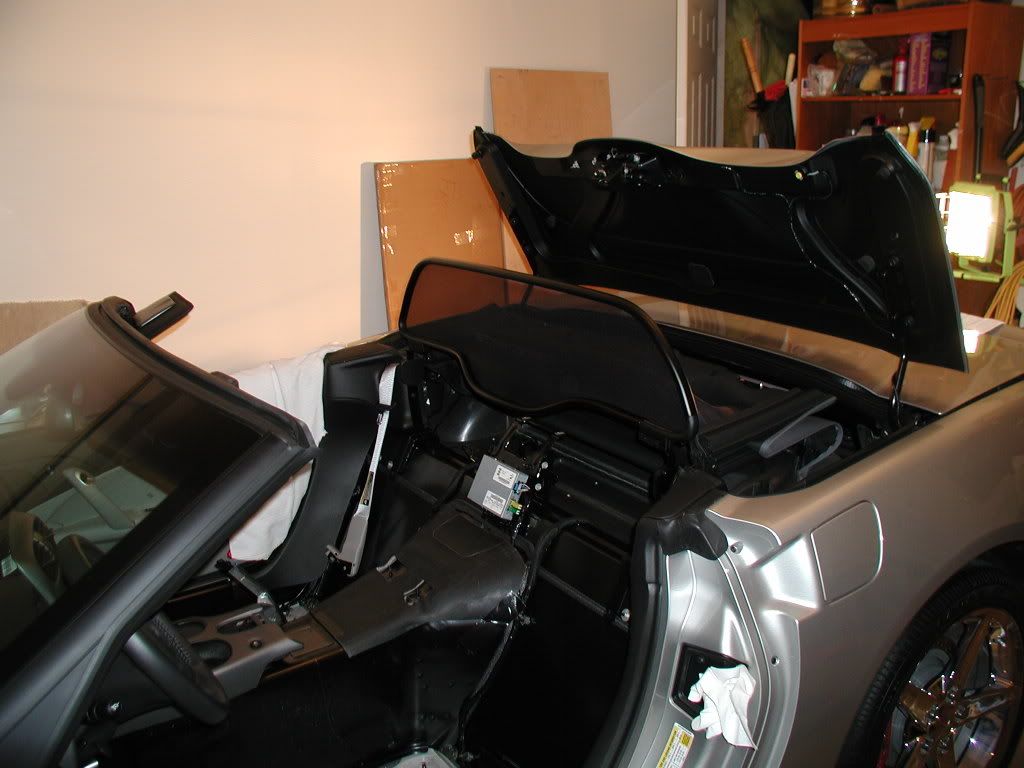
18 hours (ok, I'm old and work slow) over three days and the insulation is in, the wind breaker is in, Boots from DS Vettes are in and the car is back together. And get this - it works!! Thanks to Forum Member Sven for assisting me today to reinstall the seats. That was a bunch easier with help!
The entire process was a difficulty level 2, (so easy a caveman can do it) it is just tedious work at times. Having good tools helps, especially the v shaped pry tool and small right angel picks. One thing that would have really helped in reinstalling the carpet behind the seats would have been a carpet stretcher like carpet installers use.
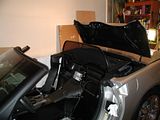
Here are some pics in various stages. (pics are really in reverse but I am to lazy to rearrange )
)


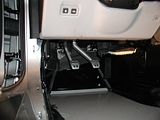


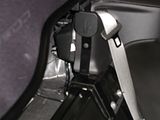
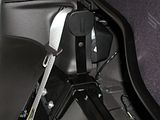
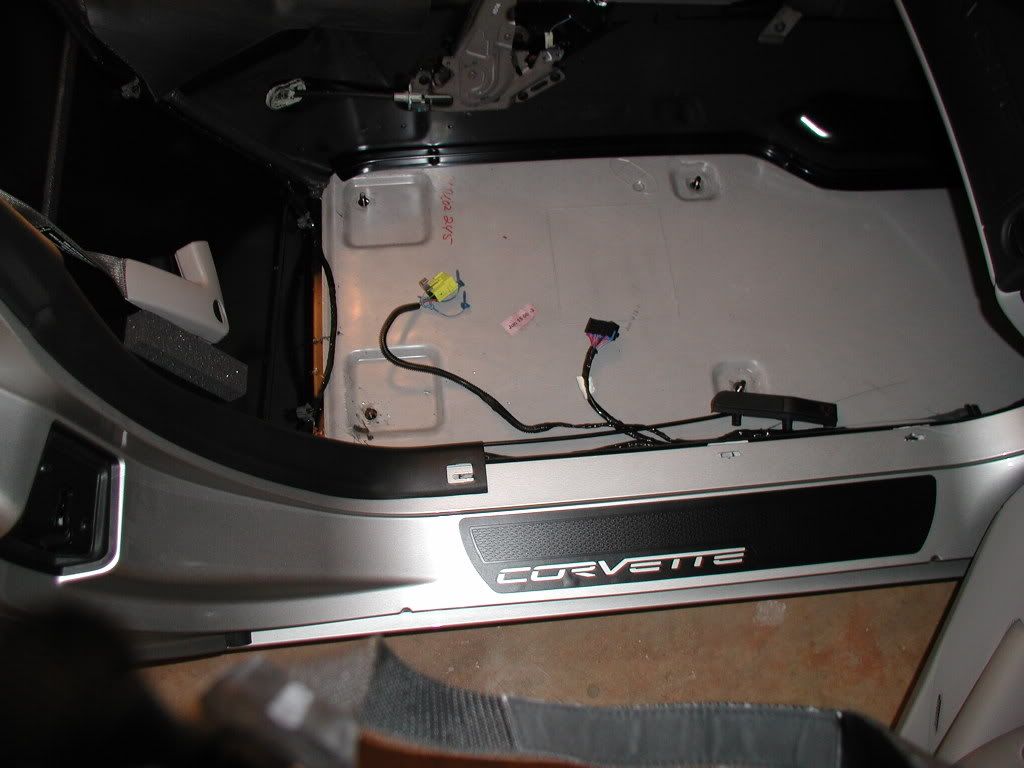
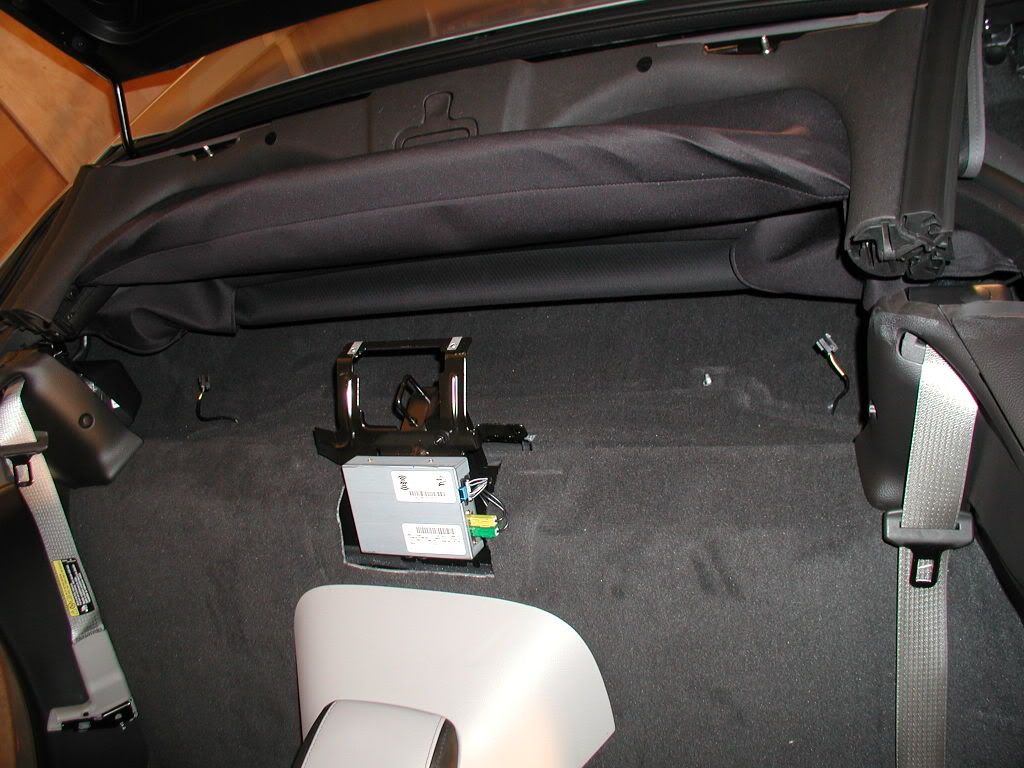
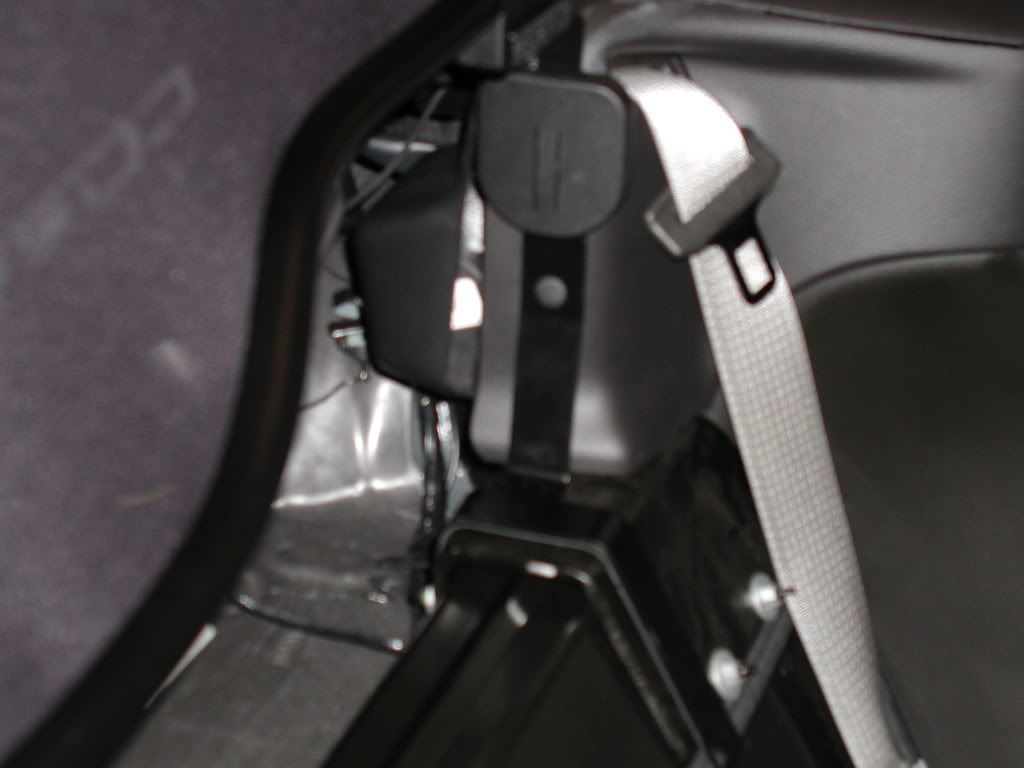
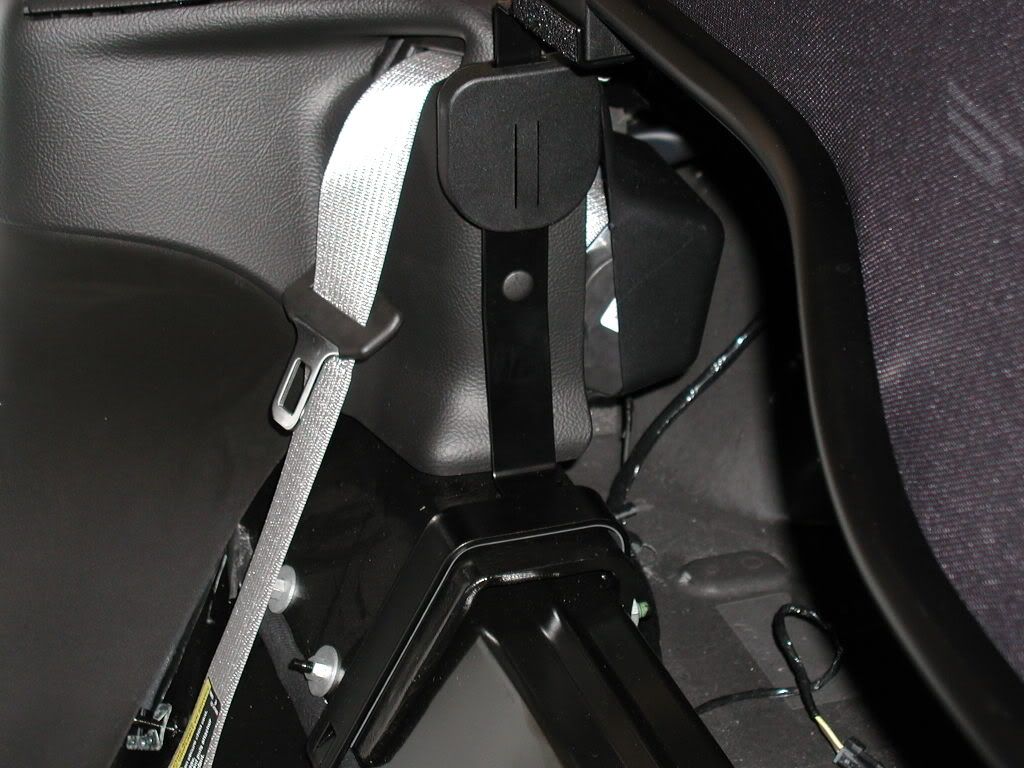
Here are pics of the GM windbreaker. If you get one, the instructions tell you to remove the 27torx from the trim piece around the seat belt. Well, guess what, my car has a push pin not a bolt! The push pin will hold it fine (I hope). There is no way to use the bolt supplied without drilling and taping the seat belt bracket.
The entire process was a difficulty level 2, (so easy a caveman can do it) it is just tedious work at times. Having good tools helps, especially the v shaped pry tool and small right angel picks. One thing that would have really helped in reinstalling the carpet behind the seats would have been a carpet stretcher like carpet installers use.
Here are some pics in various stages. (pics are really in reverse but I am to lazy to rearrange
)


Here are pics of the GM windbreaker. If you get one, the instructions tell you to remove the 27torx from the trim piece around the seat belt. Well, guess what, my car has a push pin not a bolt! The push pin will hold it fine (I hope). There is no way to use the bolt supplied without drilling and taping the seat belt bracket.


 03-04-2007, 10:59 PM
#3
Team Owner

Member Since: Jun 2005
Location: Northern, VA
Posts: 46,104
Received 2,481 Likes
on
1,944 Posts
St. Jude Donor '15
"In honor of jpee"

good pix and write up. thx.

 03-04-2007, 11:20 PM
#6
Team Owner

Nice work, insulation looks good.
03-05-2007, 09:08 AM
#7
Moderator
Thread Starter
Member Since: Dec 2002
Location: Lakewood Ranch, FL
Posts: 40,065
Received 3,578 Likes
on
1,619 Posts
 03-05-2007, 12:37 PM
#9
Instructor

Member Since: Apr 2001
Location: Hamilton New Jersey
Posts: 224
Likes: 0
Received 0 Likes
on
0 Posts

18 hours (ok, I'm old and work slow) over three days and the insulation is in, the wind breaker is in, Boots from DS Vettes are in and the car is back together. And get this - it works!! Thanks to Forum Member Sven for assisting me today to reinstall the seats. That was a bunch easier with help!
The entire process was a difficulty level 2, (so easy a caveman can do it) it is just tedious work at times. Having good tools helps, especially the v shaped pry tool and small right angel picks. One thing that would have really helped in reinstalling the carpet behind the seats would have been a carpet stretcher like carpet installers use.
Here are some pics in various stages. (pics are really in reverse but I am to lazy to rearrange)
Here are pics of the GM windbreaker. If you get one, the instructions tell you to remove the 27torx from the trim piece around the seat belt. Well, guess what, my car has a push pin not a bolt! The push pin will hold it fine (I hope). There is no way to use the bolt supplied without drilling and taping the seat belt bracket.
The entire process was a difficulty level 2, (so easy a caveman can do it) it is just tedious work at times. Having good tools helps, especially the v shaped pry tool and small right angel picks. One thing that would have really helped in reinstalling the carpet behind the seats would have been a carpet stretcher like carpet installers use.
Here are some pics in various stages. (pics are really in reverse but I am to lazy to rearrange
)Here are pics of the GM windbreaker. If you get one, the instructions tell you to remove the 27torx from the trim piece around the seat belt. Well, guess what, my car has a push pin not a bolt! The push pin will hold it fine (I hope). There is no way to use the bolt supplied without drilling and taping the seat belt bracket.
03-05-2007, 05:33 PM
#10
Moderator
Thread Starter
Member Since: Dec 2002
Location: Lakewood Ranch, FL
Posts: 40,065
Received 3,578 Likes
on
1,619 Posts
Thanks for that tip. I thought about it but did not try it since the location was a slot vice round. How did you cover up the bolt head or did you just leave it?
 03-05-2007, 07:26 PM
#12
Team Owner
Member Since: Aug 2006
Location: Coppin' a tan from the Messiah's aura
Posts: 32,921
Likes: 0
Received 1 Like
on
1 Post
St. Jude Donor '08-'09
Saw John's handiwork in a couple of major stages ... while the kit is good, his attention to detail made this come out right ... it is a legitimate 2 on wrench scale; just plan on the time investment to gut your cockpit, install insulation and reassemble.
 03-06-2007, 09:41 AM
#15
Moderator
Thread Starter
Member Since: Dec 2002
Location: Lakewood Ranch, FL
Posts: 40,065
Received 3,578 Likes
on
1,619 Posts
 and it is still cold as heck with snow possible for tomorrow
  .
.I am going to the C5/C6 bash in BG the end of April and that will be the best test of heat and noise.

Last edited by johnodrake; 03-06-2007 at 09:45 AM.