When you click on links to various merchants on this site and make a purchase, this can result in this site earning a commission. Affiliate programs and affiliations include, but are not limited to, the eBay Partner Network.
Installed a HUD a few weeks ago without a hitch. Thought I would do a write-up with some TIPs, many of which I wish I would have known to speed my install. Should take no more than 2-3 hours with this "cut the a/c duct" procedure. PCMusicGuy's PDF was most valuable and I suggest you get it, especially if you make your own harness as I did.
1) Pull dash surround bezel by prying on both bottom corners (below right start button and left a/c vent) with a scratch-free tool. Once those areas pop out, you can work your fingers around, popping off the bezel. TIP: may have to lift top of dash slightly to remove and re-install this piece AND the instument cluster. Remove the dimmer, DIC, start and sensor plugs during removal. Remove the left pod dummy piece and install the new HUD switch.
2) With a 7mm nutdriver, remove the 4 cluster screws and the 1 left a/c vent retaining screw. Pull the cluster out, disconnecting the gray and black plugs.
3) Using a hacksaw that is an open blade on one end with a handle on the other, carefully cut the large duct on the right side. TIP: Don't just cut it wide enough to get the projector in - you need some room to get your hand in to tighten the right nut. You will want to cut it fairly close to the sensor that is screwed into the duct.
4) Once the duct is cut completely through, pull on it to yank it out which will break off the mounting tab on the left side. You can now remove the filler bezel on top of the dash and replace it with the HUD bezel. TIP: This is done by pushing the panel forward (toward the windshield) and pulling it up and out of the slots.
5) Fit projector into dash working it onto the 2 studs. I cut a notch in the left mounting ear so the projector can be dropped over the right stud and then swung over onto the left stud without having to lift it over the stud. Might try this if clearance is tight. To secue the back of the projector, get a J-nut or Speednut with screw and washer. A J-nut might slide over the leg of the projector but since there is a channel inside the leg you can just hold it in position while starting the screw. The rectangular speednut will not spin while tightening the screw (with a stubby screwdriver) because it is caught inside the channel of the leg. Install 2 6mm nylon locknuts with flatwashers on the studs. Hard to get to but can be done. TIP: use a 10mm ratcheting box end wrench since it is tight in there.
6) Reinstall a/c duct. I recommend aluminum HVAC tape over duct tape. TIP: first place a piece or two of tape on the top of the duct before inserting the cut-off section as it is hard to work tape around the top after installing it. Make sure tape is worked all the way around. Reinstall screw at left vent.
7) Time to wire it up. Plug in the brown HUD connector. Cut back the tape from the gray and black cluster plugs about where the 2 groups of wire meet into one. TIP: clean up the sticky wires with something like degreaser, acetone or paint thinner. You will need 6 red wire splices that either come with your harness or from Radio Shack (bag of 7 for $1.99)
8) Make your connections according to directions. I will do a HUD harness write which has how I did it. TIP: I used a continuity tester to make sure my connections were right.
9) Connect gray and black plugs and reinstall instrument cluster using the 4 screws. TIP: Make sure all plugs are sticking out where they need to be. The 2 blue connectors (one for DIC switch and one for HUD switch) should be sticking out of the upper left and right corners. Don't let the DIC plug fall down with the start button plug.
10) Reconnect all the plugs into the surround. TIP: Before installing surround by snapping back in at all spring clips, do a test of the HUD by starting the car and seeing if all functions work.
Have a beer. Hope this helps. Not bad for about 333 bucks which I am sure I will get back in resale value when I sell it. So why not do it soon and enjoy it. Let me know what I missed as this was done a few weeks ago and I am working off memory.
Thanks for the tips. Very useful. I got mine installed in about 2.5 hrs. I wasted a buch of time trying to squeeze it in under the flat duct and rotate it, but in the end I cut the duct.
Here are a few extra tips I thought I'd add...
- Either remove the entire dash or cut the duct. Don't waste time trying to make it fit when it wont.
- When making the cut on the big duct, don't go too far right, or you'll hit the mounting tab and won't be able to cut through it (ask me how I know). Instead feel behind the duct with your finger. Find the tab and cut about a finger's width to the left of that. There's plenty of room to get everything in.
- Take some pictures of the smaller duct and how it fits behind the big one. This was another area that slowed me right down when I came to reinstall.
- When tapping into the harness, take special note of the wire colors. The brown one is *really* dark brown, so it looks grey or black. Note that the brown looking one is actually Tan. I had to redo one of my splices for that. Any questionable wires should be tested with a multimeter or similar. Use a thin sewing needle to push through the insulation and another to push into the connector... this way you can test continuity easily and make sure you have the right wires.
- Removing the solid bezel from the dash is hard if you don't do it right. Make sure you push up from underneath in the middle at the front (near the windshield) to lift the notch, then slide the whole thing toward the windshield to remove.
Lastly I wanted to mention that the focus point for the HUD is about 6' away. This is probably fine for most people, but for me, it's in a focus weak spot. I'm slightly short sighted in one eye and slightly long sighted in the other, which means my vision isn't perfect between about 6 and 10 feet. The HUD display falls right into that weak zone for me, but it sharpens up if I squint or put on my TV watching glasses. Just something to think about since I've seen a few posts saying the HUD was out of focus.
Thanks to everyone who provided information to help this go relatively easy
I did mine the hard way . Of course did the cut the duct method too and it shaves some time off but if you're good enough you can get the dash done quickly. Something else that will help is pulling the steering wheel. It doesn't take much to do it and if you have a manual transmission I think its a must. For some reason the auto's seem to have just a lil bit more room to fit the display in with out pulling steering wheel. Weird huh
I also installed the HUD mine via the Cut-The-Duct method, was a pretty simple installation. Some of the electrical connections were a little stubborn to be disconnected. Light the light dimmer, I ended up using two feeler gauges to free the catches and then it came apart easily.
I used a pencil soldering iron to cut the duct. Took my time and it went pretty quick. Did ensure that I didn�t go too deep when cutting through the top.
The other thing, is when I went to put the duct back in, it was a little tight getting it to fit up in place. So, I cut another � inch off of the duct, and it went back up in perfectly. It would have been nice to cut this off earlier to make a little more room to get the nuts on the HUD display without having the cut off duct into my hand and leaving some DNA evidence behind.
Also, I found this video on another thread which was very helpful on getting through this project.
and they said it couldnt be done that way,,,,,,,, glad to hear it went well
Just finished mine. Piece of cake. I used a flush cut saw from harbor freight for the a/c duct. Took 6 seconds and made a perfect cut. Couldn't have been easier. Cant add anything else to this thread. Its all good.
Well, you�re subscribing to an old thread. Yes, lots of people have completed the install, including myself. Lots of information out there on a how to.
To secue the back of the projector, get a J-nut or Speednut with screw and washer. A J-nut might slide over the leg of the projector but since there is a channel inside the leg you can just hold it in position while starting the screw. The rectangular speednut will not spin while tightening the screw (with a stubby screwdriver) because it is caught inside the channel of the leg. Install 2 6mm nylon locknuts with flatwashers on the studs.
This saved the day for me, so thank you, 12 years later. I was pretty pissed the kit didn�t come with the 2 M6 nylon locknuts or the screw for the back of the projector. I had no clue what size to get, and this saved me. The J type speednut was brilliant as well. I used size #8. Thanks!
Other than that, I echo the other input from you and others.
- The connector for the interior illumination was a pain to get off for me. Only the smallest very back part comes off and you need to really pinch down hard on the top, back edge and pull out.
- 10mm ratcheting wrench was key for the M6 nylon nuts as you noted. Your hands will get cut to shreds in this process.
- I struggled way more that I should have trying to get out the HUD cover on the dash and actually put a very small crack in my windshield when it finally popped fully forward. Put a towel up front! You have to slide it forward and use a trim tool to pry up and release a downward curving plastic piece that catches in a slot. Getting the new cover on was a pain too and took numerous attempts to get it flush.
- The wiring was actually the easiest part, but I almost didn�t give myself enough slack in the wires out of the blue connector that goes into the new HUD controls. Make sure that blue connector can reach up and to the left where it needs to go and have the wires tap closer to the instrument panel connectors, if needed.
- Sliding the HUD in was a much tighter fit than I expected and it took me about 5 tries to get it in. I was worried for a minute it would break or my dash would crack. I found I was a little too far left my first coupe tries. I didn�t need to cut slits in the tabs that go over the studs.
Thanks again!
Very useful addition to the thread, thanks. Maybe the small crack will expand enough to get a free windshield replacement from your insurance and you can switch out for the HUD windshield at that time. I've been contemplating this mod since the day I bought my car but the install seems like a real pain.
Good idea on the insurance. Seems like in every other car I�ve been hit with a rock and needed a new windshield. Not this one yet, maybe because it�s so low.
Go for it. I don�t routinely work on cars and it wasn�t that bad. Just frustrating.
- 20 min struggling to get the last clip to snap free left of the steering wheel.
- Another 30 min struggling with the electrical connector for the interior illumination and not wanting to break it.
- Cutting the duct was no problem with a PVC cable saw.
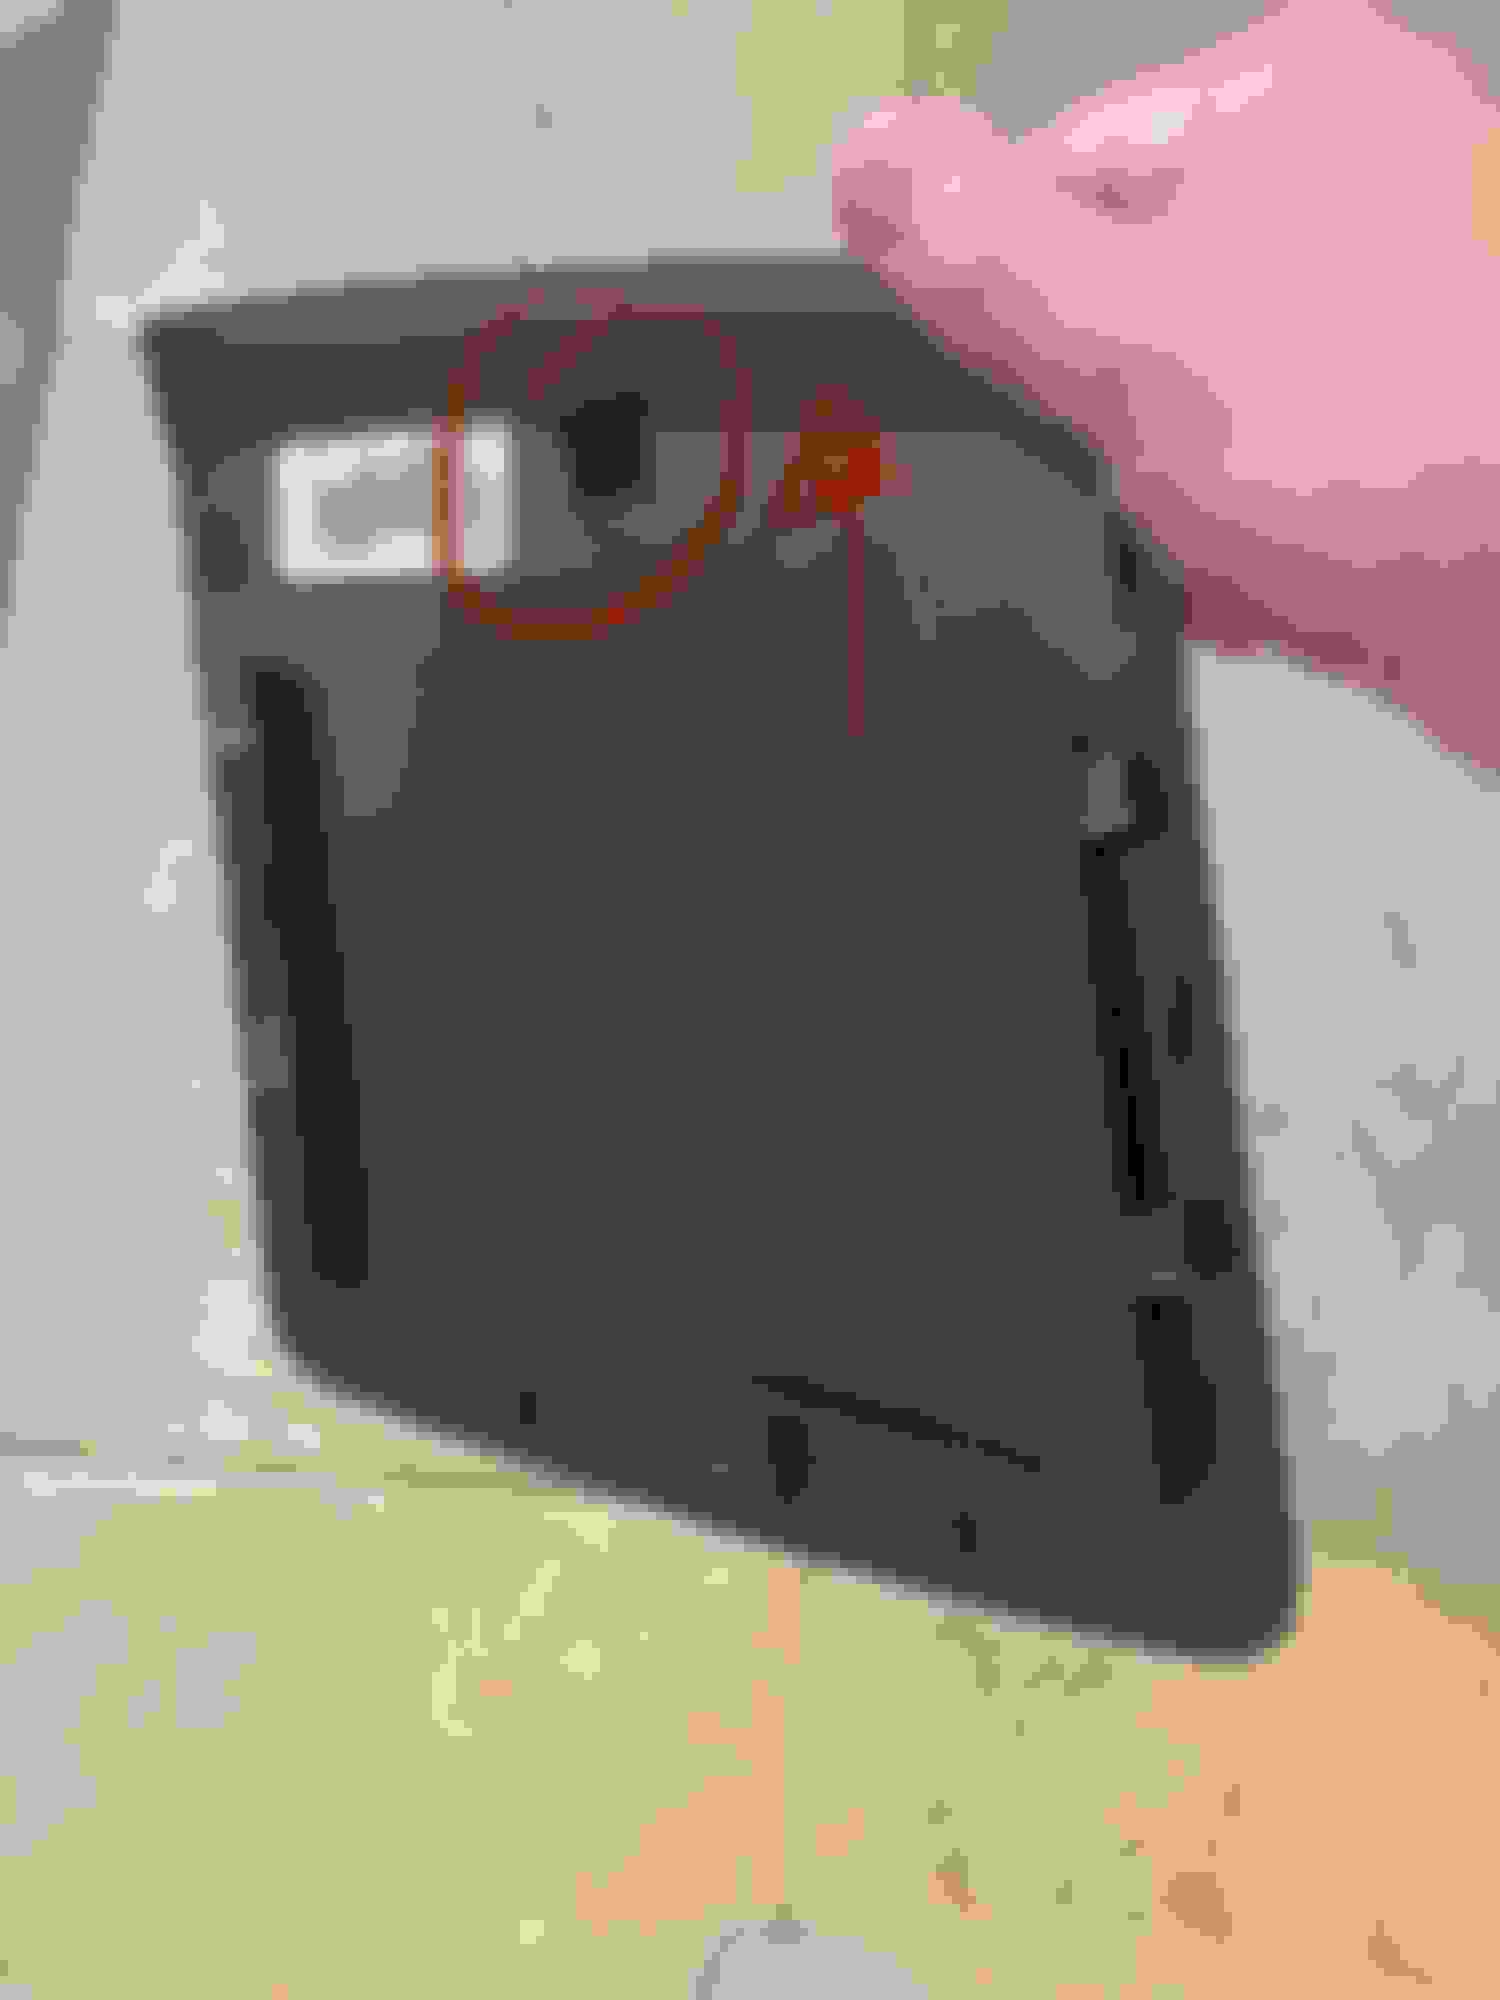
- Getting the HUD cover off was a pain, but put a towel up there. Now I could do it first time. Slide forward and use a trim tool to GENTLY loosen the hook. See pic.
- Sliding the HUD in is super tight, but it made it.
- Need to get the two M6 nylon nuts and the J type speednut (I did #8), a # 8 screw, and washer. I had to double up the washer because the #8 diameter washer was too small. I put a bigger one behind it.
- Electrical was the easiest.
- Putting the cover back on was another pain. Just take a lot of time and apply down pressure on the sides.
Old thread, but I'll add this. Turn the wheel 180 degrees. It's offset top to bottom, so it gives more room to fish the cluster out. Use a cable saw to cut the duct, and use real HVAC metal foil tape to reseal it, not duct tape.

 02-09-2010, 09:55 PM


 . Of course did the cut the duct method too and it shaves some time off but if you're good enough you can get the dash done quickly. Something else that will help is pulling the steering wheel. It doesn't take much to do it and if you have a manual transmission I think its a must. For some reason the auto's seem to have just a lil bit more room to fit the display in with out pulling steering wheel. Weird huh