
So I broke my radiator support...
 01-25-2012, 10:26 PM
#41
Burning Brakes


I had considered using epoxy, but wasn't sure if it would stand up to the stress and vibration, especially when the front air dam scrapes the pavement.
Last edited by brettbolt; 10-10-2012 at 06:43 PM.
 01-25-2012, 11:22 PM
#42
The bigger rivnut is for the frame that the support attached too. Sometimes they spin in the hole when you take the broken support off. I had to replace two of those ones.
01-26-2012, 03:37 AM
#43
Burning Brakes
Then I used vice-grip pliers to hold a large flat washer above the rivnut and to keep it from turning. This was followed by adding a drop of oil to the top of the flat washer, and oiling the threads of the tightening nut and bolt.
After 3 to 4 full turns of the tightening nut, the rivnut was nicely locked into place!
Now I can finish installing the radiator support and will be able to drive my car, instead of waiting a week for the rivnut tool.
02-10-2012, 10:24 PM
#44
Instructor

Thread Starter
Finally got her put back together! Sorry it took me so long to get back on here, but I was out skiing the Rockies for a week 
Anywho, I ended up doing what brettbolt did with the homemade "tool", and the rivnuts compressed like a charm. As for the rivnuts themselves...my local Ace Hardware to the rescue! They call them "jacknuts" there but they're essentially the same thing. They were a little oversized for the hex-holes in the radiator support, so I had to round it out a little with a 1/4" drill bit and a grinder to remove burrs.
Anywho, I ended up doing what brettbolt did with the homemade "tool", and the rivnuts compressed like a charm. As for the rivnuts themselves...my local Ace Hardware to the rescue! They call them "jacknuts" there but they're essentially the same thing. They were a little oversized for the hex-holes in the radiator support, so I had to round it out a little with a 1/4" drill bit and a grinder to remove burrs.
02-10-2012, 11:26 PM
#45
Instructor
Thread Starter
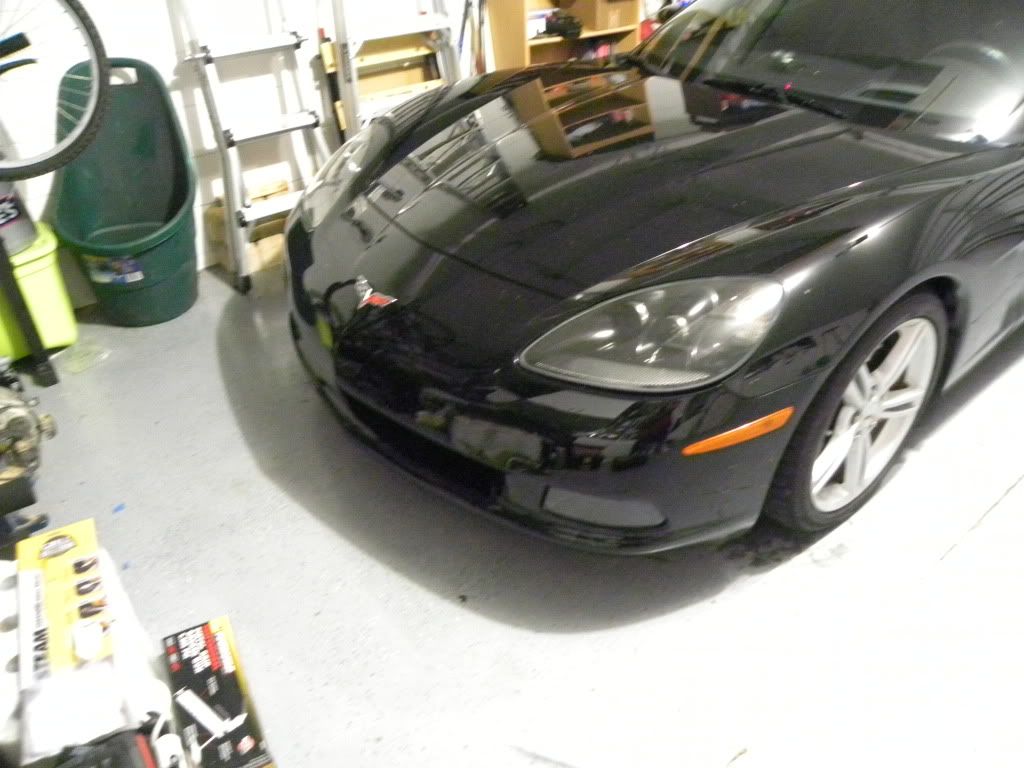
Ok, so here's what happened: I was out messing around with my Vette at an empty business park...doing burnouts and basically some autocross practice. On one instance I was hauling some tail, pulled the e-brake to do a quick u-turn, but I spun out, lost control and hit a concrete curb. No damage to the bumper, but the radiator support was toast, along with the plastic upper radiator support and the drivers side front fender liner & filler panel. The following describes how to fix this all-too-common issue with the C6...enjoy:
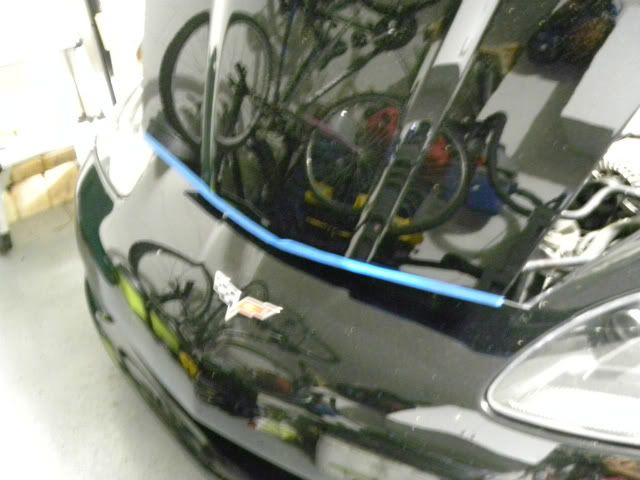
First tape the edge of your hood, so that it, nor the bumper fascia get scratched up during removal:
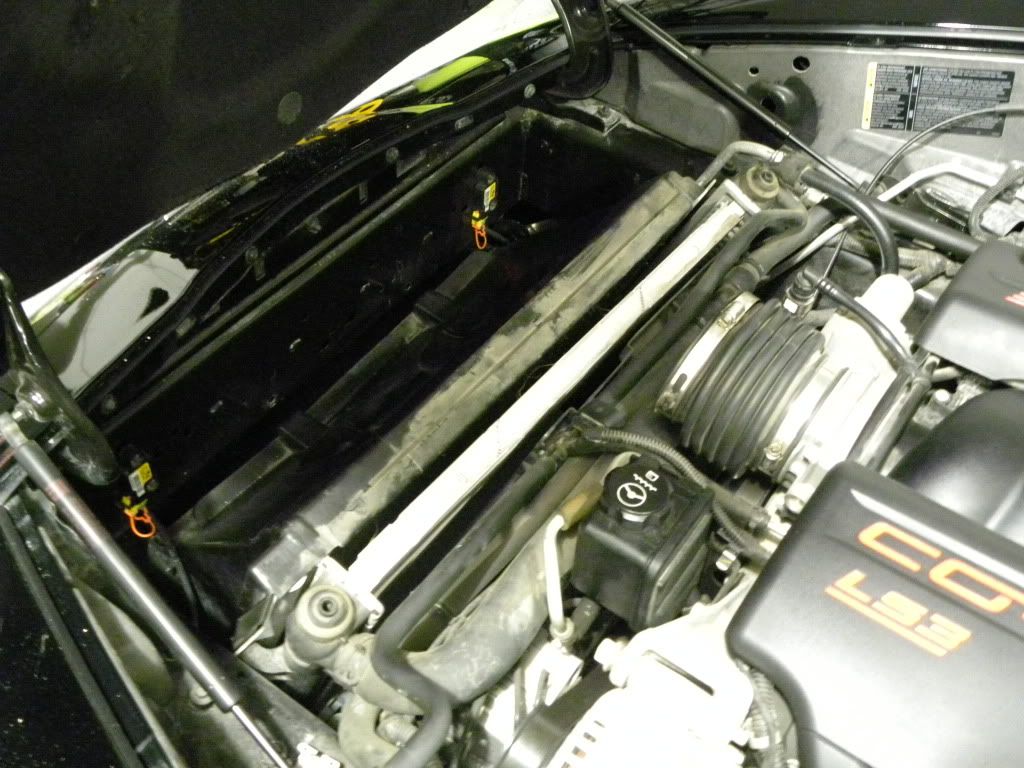
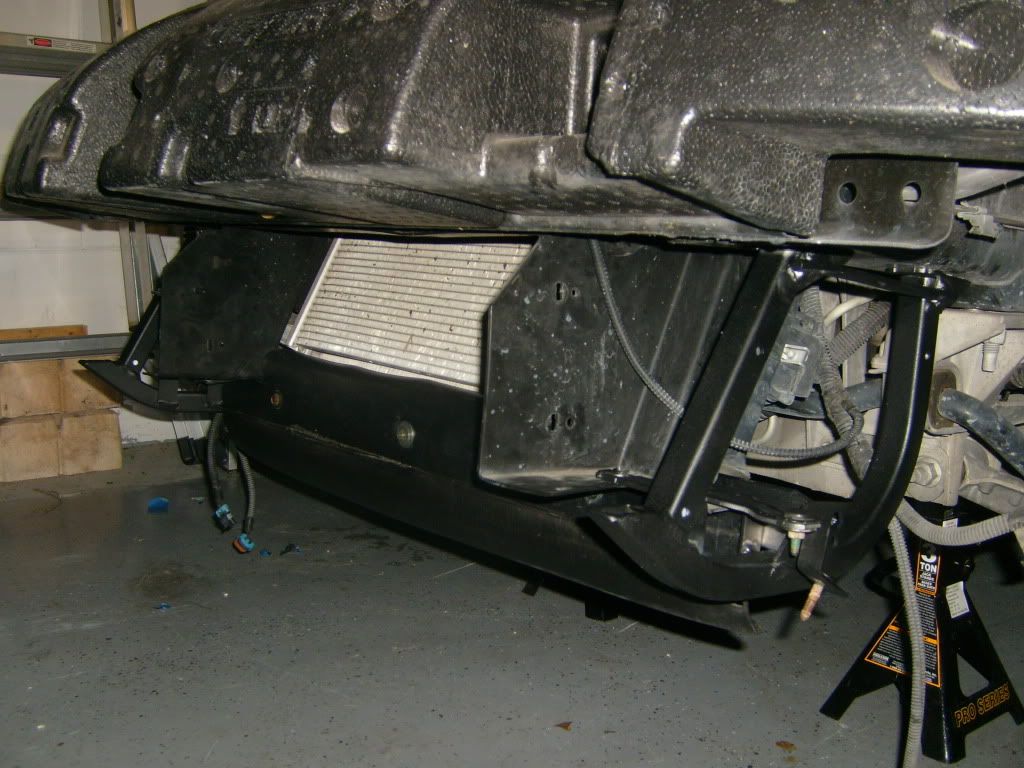
Next, remove the front wheels, fender liners, upper radiator support, and intake assembly to get access to the fascia mounting bolts:
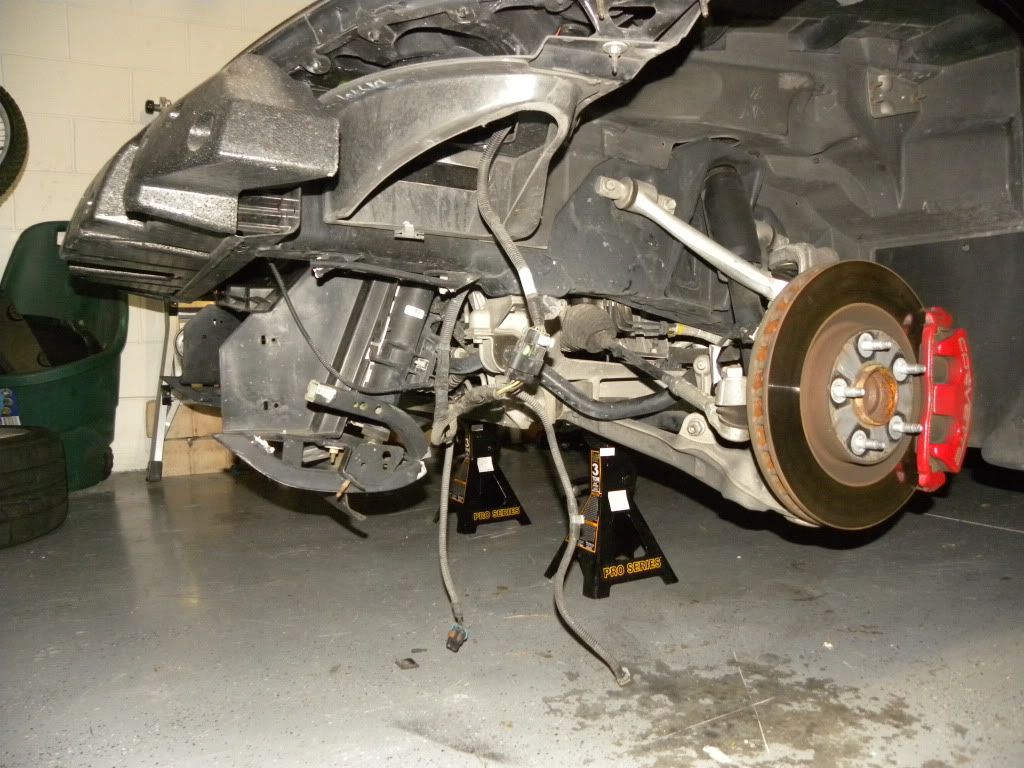
Remove the front fascia, front fender liners, air dam, and disconnect any wire harnesses using the procedure found elsewhere on this forum (it's actually really easy).
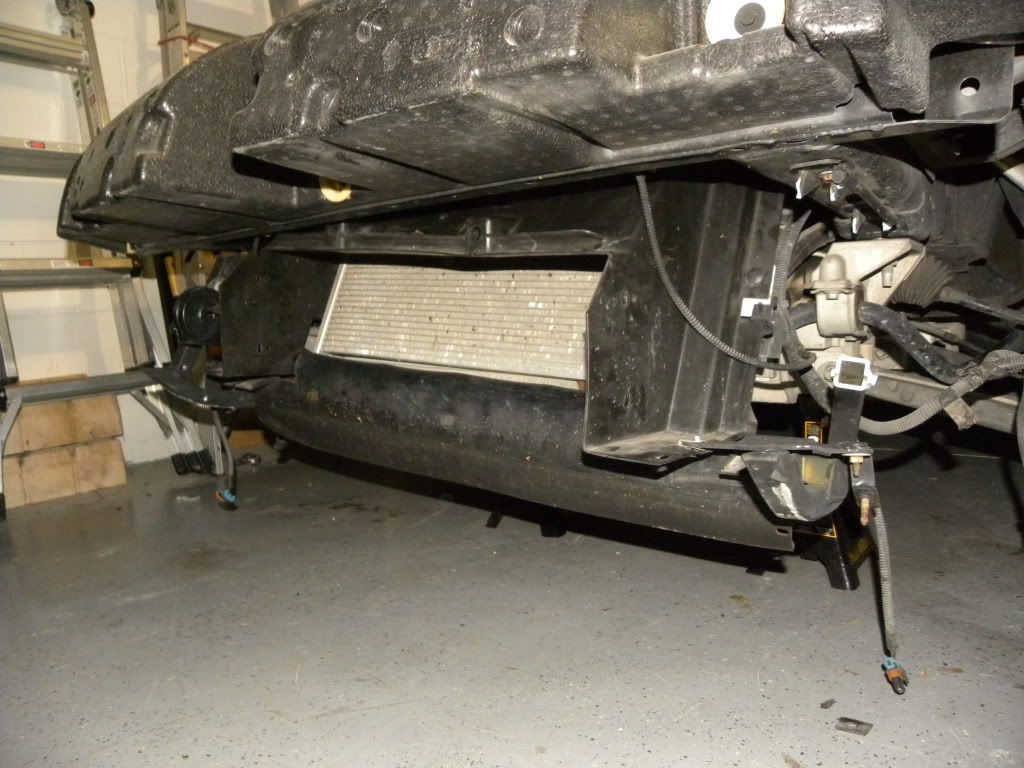
After I removed my fascia, here is how the right side looked. Notice how the radiator support has been broken off its mount in the upper left corner: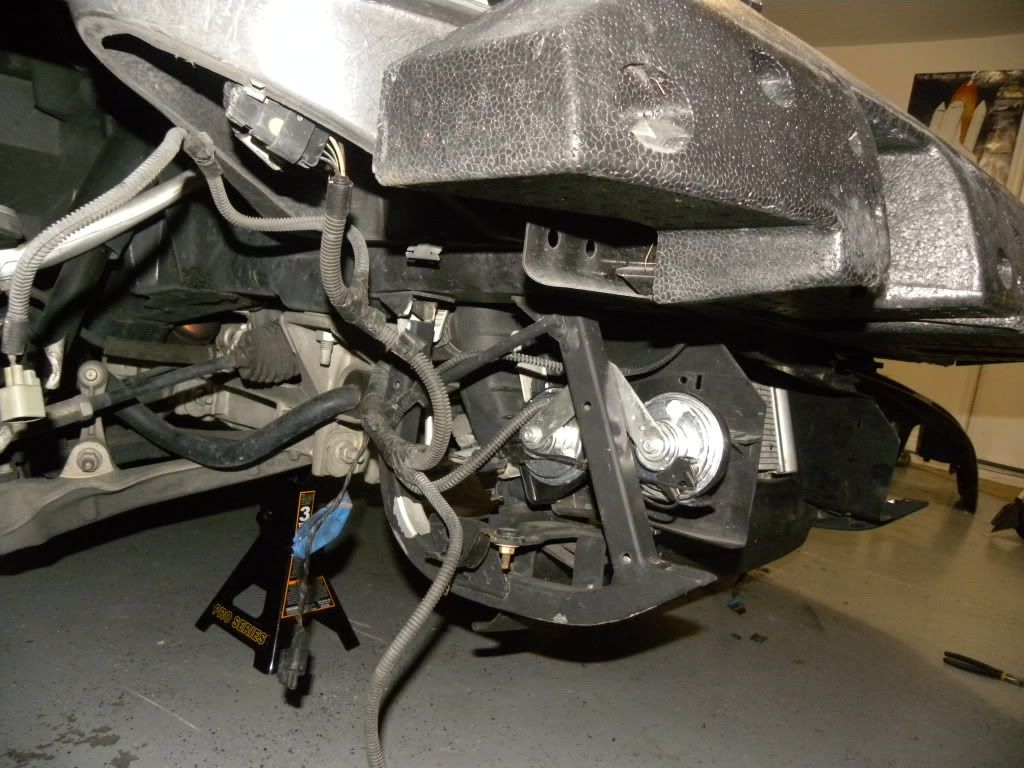
Here's the driver's side. Notice how the radiator support is completely sheared off its mounts and pretty much flattened here:
Here's another look:
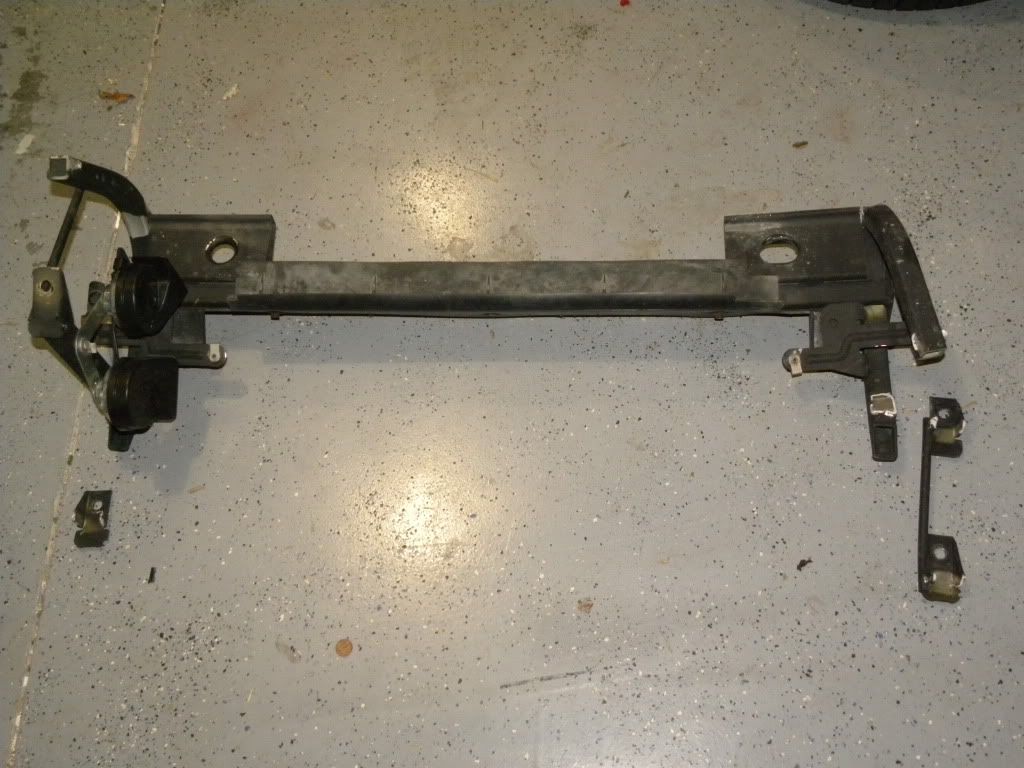
Unbolt the support (or in my case, what's left of it) from the frame and remove it. Here's what mine looked like:
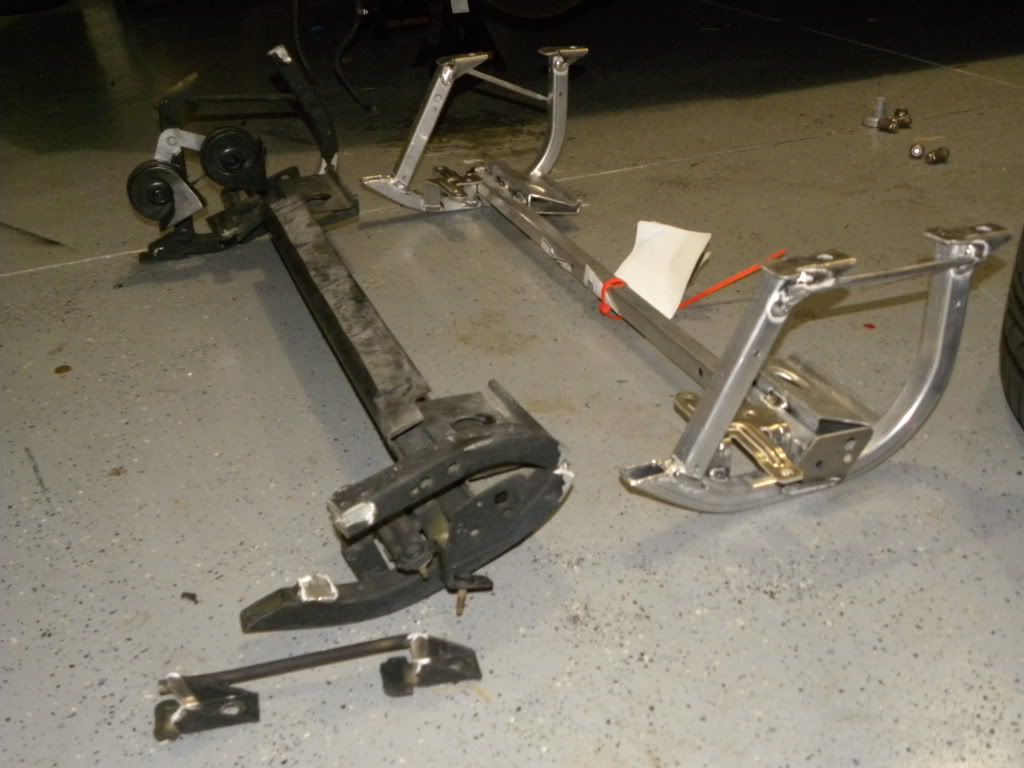
Here's a side by side pic of the old one and the new one to show just had bad I messed that sucker up:
Next, prime and paint the new radiator support, and install the rivnuts.
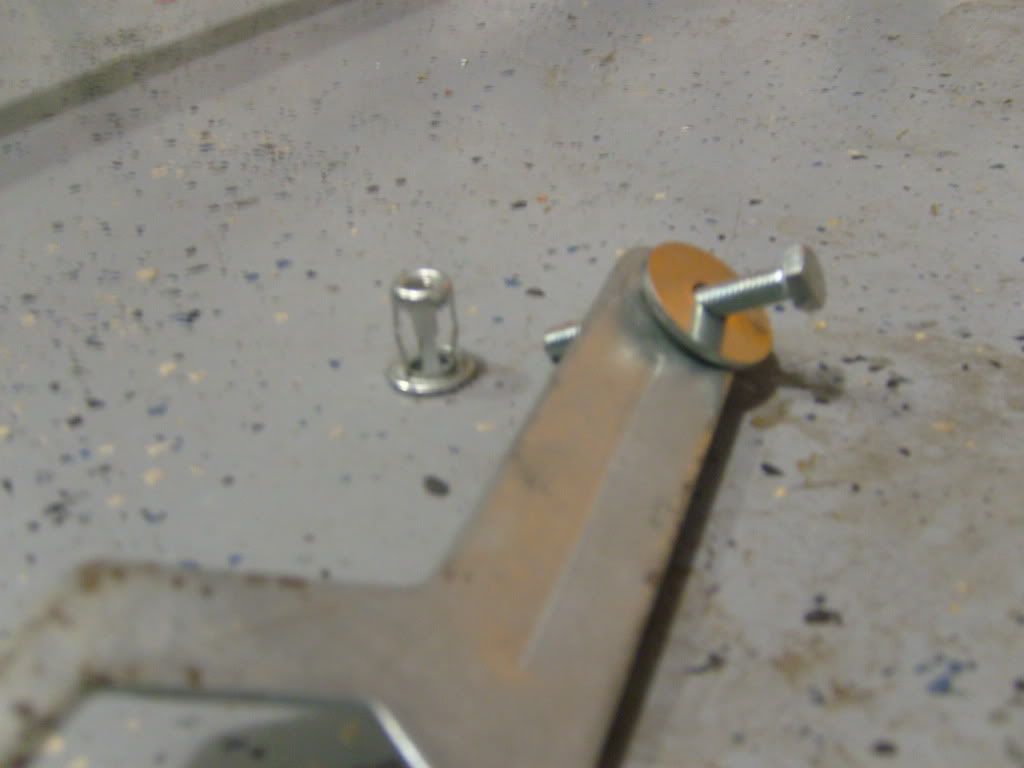
Here's a pic of the homemade tool I used to compress the rivnut (rivnut/jacknut is on the left) I made the tool out of an old piece of metal, a bolt, a nut, and a washer. By the time I installed the 2nd or 3rd rivnut, I realized that the nut really isn't necessary. Just use a vise-grip to clamp the lip of the rivnut and torque the screw.
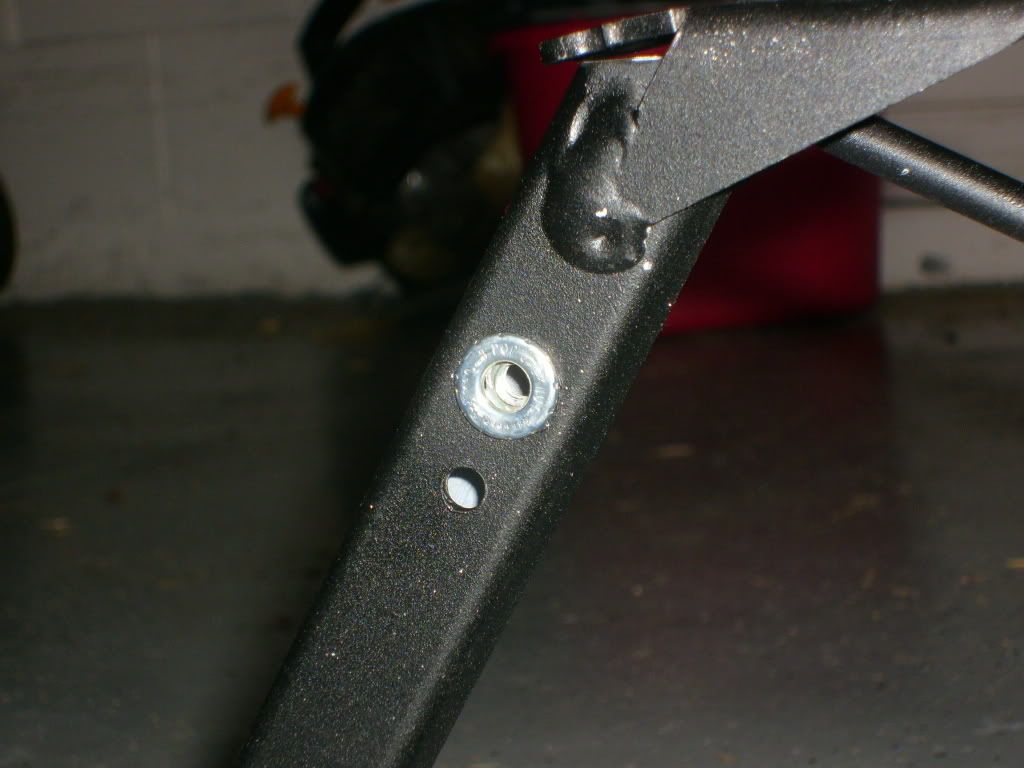
Here's a pic of the rivnut installed. I used an M6-10 medium sized riv nut. If those are not available, you can use a 1/4"-20 medium sized rivnut, but don't forget to buy four 1/4-20 X 1" screws if you do this.
Locate the new radiator support, and bolt it in:
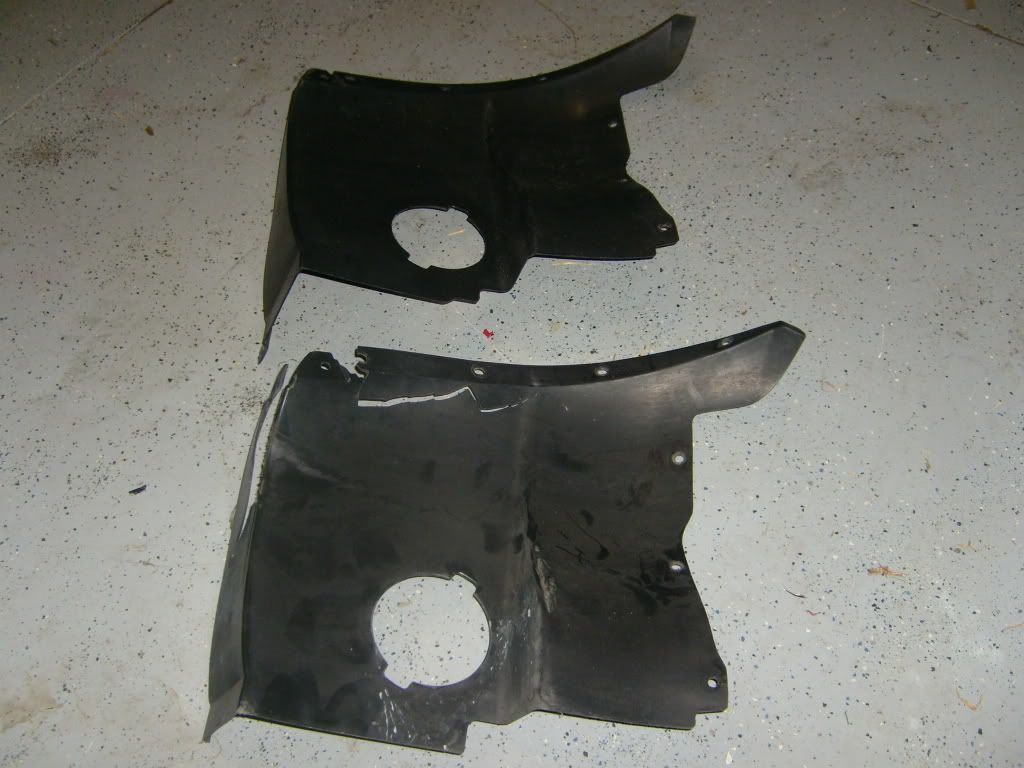
I also broke my driver's side front fender liner...here's a pic of that just for kicks:
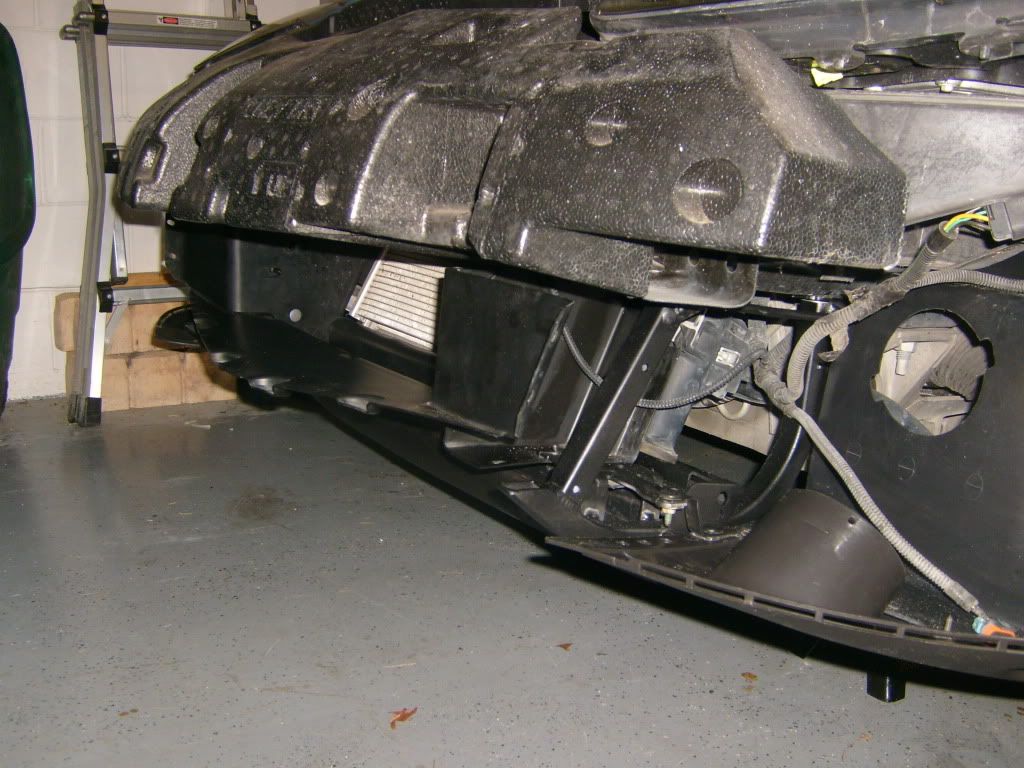
Reinstall all the plastic parts (air dam, fender liners, bumper extension covers) and do some clean-up while you're in there:
Reinstall the front fascia and wheels, torque everything down, and get back on the road
First tape the edge of your hood, so that it, nor the bumper fascia get scratched up during removal:
Next, remove the front wheels, fender liners, upper radiator support, and intake assembly to get access to the fascia mounting bolts:
Remove the front fascia, front fender liners, air dam, and disconnect any wire harnesses using the procedure found elsewhere on this forum (it's actually really easy).
After I removed my fascia, here is how the right side looked. Notice how the radiator support has been broken off its mount in the upper left corner:
Here's the driver's side. Notice how the radiator support is completely sheared off its mounts and pretty much flattened here:
Here's another look:
Unbolt the support (or in my case, what's left of it) from the frame and remove it. Here's what mine looked like:
Here's a side by side pic of the old one and the new one to show just had bad I messed that sucker up:
Next, prime and paint the new radiator support, and install the rivnuts.
Here's a pic of the homemade tool I used to compress the rivnut (rivnut/jacknut is on the left) I made the tool out of an old piece of metal, a bolt, a nut, and a washer. By the time I installed the 2nd or 3rd rivnut, I realized that the nut really isn't necessary. Just use a vise-grip to clamp the lip of the rivnut and torque the screw.
Here's a pic of the rivnut installed. I used an M6-10 medium sized riv nut. If those are not available, you can use a 1/4"-20 medium sized rivnut, but don't forget to buy four 1/4-20 X 1" screws if you do this.
Locate the new radiator support, and bolt it in:
I also broke my driver's side front fender liner...here's a pic of that just for kicks:
Reinstall all the plastic parts (air dam, fender liners, bumper extension covers) and do some clean-up while you're in there:
Reinstall the front fascia and wheels, torque everything down, and get back on the road
02-10-2012, 11:51 PM
#46
Le Mans Master

Not sure why you pulled the front facia off? I've R&R'd the lower rad support at least a half dozen times and have never had to pull the facia. There's plenty of flexability in the underside of the facia once you remove the bottom screws from it.
02-11-2012, 12:31 AM
#47
Burning Brakes

Replaced mine last month and it was easy to remove the radiator support without removing the front facia.
02-13-2012, 12:37 PM
#48
Instructor
Thread Starter
In reality though, I wanted to make sure I didn't break any other parts that are hidden by the fascia, also I wanted to see just how easy it really is to take off...turns out it is!
I do agree, in the future I'll omit the fascia removal step if I ever need to fix the support again (which I may, that thing is so flimsy)
 08-14-2014, 04:07 PM
#50
Melting Slicks

Sorry to bring up an old thread, but I need to replace my skid plate and I noticed that the fascia is not perfectly aligned. Will replacing this skid plate most likely fix the alignment of my fascia? The driver side skid plate is pushed back some.

 08-14-2014, 05:16 PM
#52
Melting Slicks
Not sure if this is a sarcastic post or what? I was told by the body shop that my skid plate was pushed back and that replacing it would fix the alignment issue I am having with the front fascia. I have a larger gap on my driver side headlight than I do my passenger side. Also the top corner of the front fascia is flush against the hood on the driver side while the passenger side isn't.
08-14-2014, 06:42 PM
#53
Team Owner

Member Since: Jun 2005
Location: Northern, VA
Posts: 46,104
Received 2,481 Likes
on
1,944 Posts
St. Jude Donor '15
"In honor of jpee"

No, it's just a "watching this thread for a post telling how-to"---that's all. It's been used that way and with "big ears" (listening for answer) for years now. 
09-08-2014, 09:07 AM
#55
I have broken my support at least 6 times to date.... track car... off track driving... I drill the rivnut mount and use 10MM bolt and compression nut on the back side.. faster and easier than installing rivnuts... Just me $0.02 ..... a
has anyone done a real weld to the joints.. they are sloppy from the dealer and crack when u fart in their general direction..lol
has anyone done a real weld to the joints.. they are sloppy from the dealer and crack when u fart in their general direction..lol
02-27-2017, 12:56 PM
#56
Thanks, but 11609836 is too big (13 mm). Thats what my dealer ordered by mistake. My radiator support has an unused 13 mm opening on each side, so that may be the source of confusion.
On my '08, it takes 4 10mm rivnuts, 3 for the air dam and 1 for the horn.
My dealer ordered new rivnuts today and didn't tell me the part number.
On my '08, it takes 4 10mm rivnuts, 3 for the air dam and 1 for the horn.
My dealer ordered new rivnuts today and didn't tell me the part number.


 02-28-2017, 06:46 PM
#60
Team Owner
I did mine myself and did NOT remove front bumper cover. The hardest part was trying to hacksaw the frame (in place in a hard to get at position) as the wiring actually ran through it and there was no way to get it out without either cutting the wiring or cutting the frame. 
Last edited by Racer; 02-28-2017 at 06:47 PM.