
JWMotoring seat kit kit installed. Turned out awesome! With PICS!
 05-27-2012, 03:23 AM
#1
Melting Slicks

Thread Starter
I installed the JW Motoring seat rebuild kit after talking to another member who told me that he was quite pleased with the kits he bought for his car. I am EXTREMELY pleased with the result of this project. The job was a piece of cake, too.
My car only has 7k miles on it. I had trouble believing that cars with under 10k miles would have tears in the seat foam, but I couldn't have been more wrong. I'll let the pictures tell you the rest of the story.
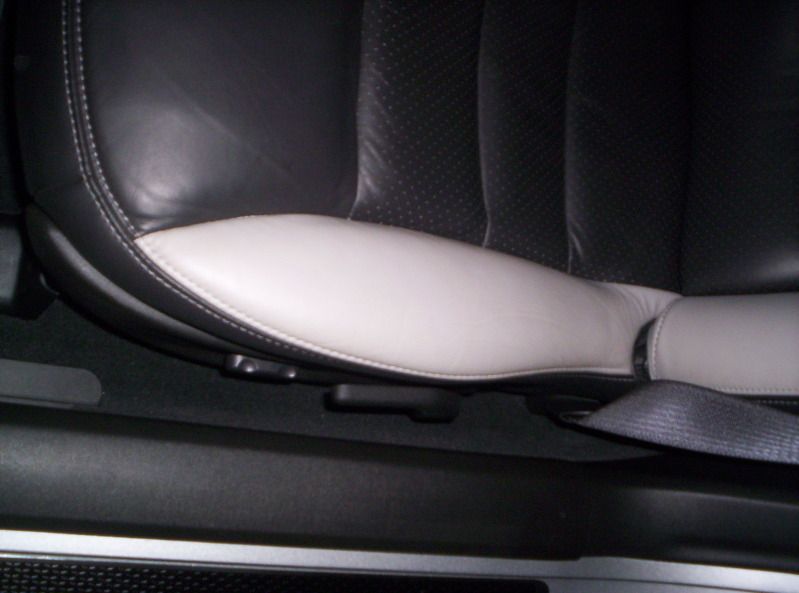
Tear is 3/4" deep. At least that. It was probably 8" long as you can see in these pictures. Arrows indicate the torn spot.


This is the part of the frame that does the tearing. Then, it appears to sit in the torn spot and allow the leather to sag and develop deep creases.

Mine was developing some slight creases, but after installing the seat rebuild kit, it filled the outside seat cushion bolsters right back out. The slowly developing creases in my seat were bugging me a little bit, and honestly I can't even see them now. It seriously looks better than brand new. My car looks like it's never been used before.

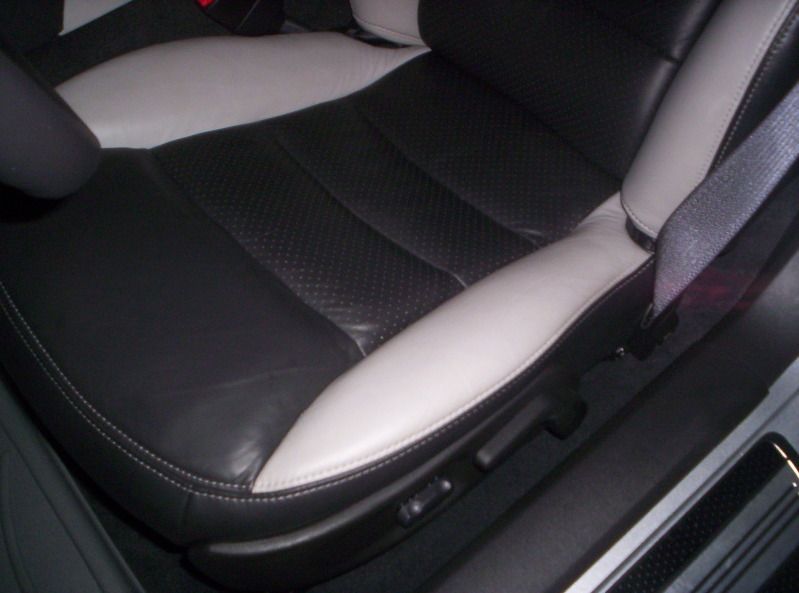
Thanks JWmotors. My seat looks awesome now.
My car only has 7k miles on it. I had trouble believing that cars with under 10k miles would have tears in the seat foam, but I couldn't have been more wrong. I'll let the pictures tell you the rest of the story.
Tear is 3/4" deep. At least that. It was probably 8" long as you can see in these pictures. Arrows indicate the torn spot.
This is the part of the frame that does the tearing. Then, it appears to sit in the torn spot and allow the leather to sag and develop deep creases.
Mine was developing some slight creases, but after installing the seat rebuild kit, it filled the outside seat cushion bolsters right back out. The slowly developing creases in my seat were bugging me a little bit, and honestly I can't even see them now. It seriously looks better than brand new. My car looks like it's never been used before.
Thanks JWmotors. My seat looks awesome now.
 05-27-2012, 08:28 AM
#2
Banned Scam/Spammer

Member Since: Feb 2007
Location: Oklahoma City
Posts: 50,094
Received 265 Likes
on
253 Posts
St. Jude Donor '09-'10-'11-'12-'13-'14-'15-'16-'17,'19,'22


Thank you for your business and the post!
For anyone else interested this is the product that brought those seats back to life
http://www.shop.jwmotoring.com/produ...&categoryId=31
For anyone else interested this is the product that brought those seats back to life
http://www.shop.jwmotoring.com/produ...&categoryId=31
05-27-2012, 01:39 PM
#3
Racer

I did this as part of a a seat upgrade this weekend (seat back with flag logos.) I was lucky enough to enough to not have any tears or separation. I only have a couple thousand miles so had my fingers crossed. As an additional step, I cut some strips of flexible leather that I glued into the slot of the bottom cushion that actually sits on top of the seat frame. Not sure it was needed but I had a pair of leather chaps from my motorcycle days that I grew out of  and figured what the heck. I was only able to drive around for a half hour or so after completing things but can tell already I'm gonna like this. Really an easy upgrade to do. Probably the hardest part was re tying the draw string knot and keeping the string snug.
and figured what the heck. I was only able to drive around for a half hour or so after completing things but can tell already I'm gonna like this. Really an easy upgrade to do. Probably the hardest part was re tying the draw string knot and keeping the string snug.
05-27-2012, 01:50 PM
#4
Team Owner


Member Since: Apr 2008
Location: Coloring within the lines
Posts: 27,333
Received 1,919 Likes
on
1,332 Posts
I WILL be getting this kit when I replace my worn out seat cover later this summer.
05-27-2012, 02:00 PM
#5
Melting Slicks
Thread Starter
I did this as part of a a seat upgrade this weekend (seat back with flag logos.) I was lucky enough to enough to not have any tears or separation. I only have a couple thousand miles so had my fingers crossed. As an additional step, I cut some strips of flexible leather that I glued into the slot of the bottom cushion that actually sits on top of the seat frame. Not sure it was needed but I had a pair of leather chaps from my motorcycle days that I grew out of and figured what the heck. I was only able to drive around for a half hour or so after completing things but can tell already I'm gonna like this. Really an easy upgrade to do. Probably the hardest part was re tying the draw string knot and keeping the string snug.
and figured what the heck. I was only able to drive around for a half hour or so after completing things but can tell already I'm gonna like this. Really an easy upgrade to do. Probably the hardest part was re tying the draw string knot and keeping the string snug.


 05-27-2012, 04:10 PM
#8
Melting Slicks
Thread Starter
