When you click on links to various merchants on this site and make a purchase, this can result in this site earning a commission. Affiliate programs and affiliations include, but are not limited to, the eBay Partner Network.
I will be updating this post with any additional items or pertinent information as long as there is enough interest and I have the will to keep it going.
I should be able to include the Airbag, steering wheel base, and steering wheel shroud in this thread (eventually).
I would not recommend trying to make your own leather items if you are just looking to save some money. A project like this is more for people that like doing it themselves, learning new skills, and the pride of knowing you gave it the ol' college try. I never counted the hours, but it seems like I spent enough time hand sewing french seams, that I would make less than min wage if I sold any of the pieces for the price the pros charge.
In the past two years, I have made a decent amount of leather items for my car with varying success. So far I have done the padded armrest and armrest assembly, radio bezel, shift boot, shift ****, E-brake boot, E-brake handle, the molding to the right of the radio bezel, and the items shown here. With each one, I wanted to take pictures and make a DIY thread, but I never got the camera out to do it. This time I did, unfortunately it is for an item few people will actually replace, but the techniques can still be used for other items. When I started the first piece for the car, I had never sewn leather and the extent of my needlework was patching holes and trying to hem a pair of pants or two. I watched as many YouTube videos as I could find, read some tips and tricks that I found around the web, and bought a book on auto upholstery (that I cant find atm to get a name of).
Tools and Materials:
Tools:
Razor blades
Scissors
Sharpie: fine point marker
Water soluble marking pencil or cloth chalk - found at most sewing stores. Useful on Alcantara, not so much on the leather.
Leather - It needs to be auto upholstery grade for UV protection. I bought half a hide from leatherseats.com
Alcantara - It has superior wear and UV resistant characteristics over other Faux suede. I bought a yard from JPM Coachworks
Polyester Thread - size 207 for accent stitching (can use other sizes based on preference). Home sewing machines can not handle over size 069 (purportedly). I bought 'way too much' from The Thread Exchange (it was on sale).
Any material that is cheepish and close to the same stiffness and elasticity as the material you are working with. I went to JoAnn and bought some "duck cloth" @ $6.00 a yard.
Loctite Spray Adhesive 100 Light. - This stays sticky for a long time, but the stickiness stays on the cloth generally.
Part 1: Pattern Making
You can use large scraps or one whole piece, just make sure the pieces you want as one piece of leather are all joined together in the end. This is where you want to experiment with designs and layout. The better your pattern making is, the easier it will be to get the leather right. This was the first project I used cloth for making patterns, all previous projects were using masking paper or existing GM "leather" products cut at the seams. I would never go back to paper!
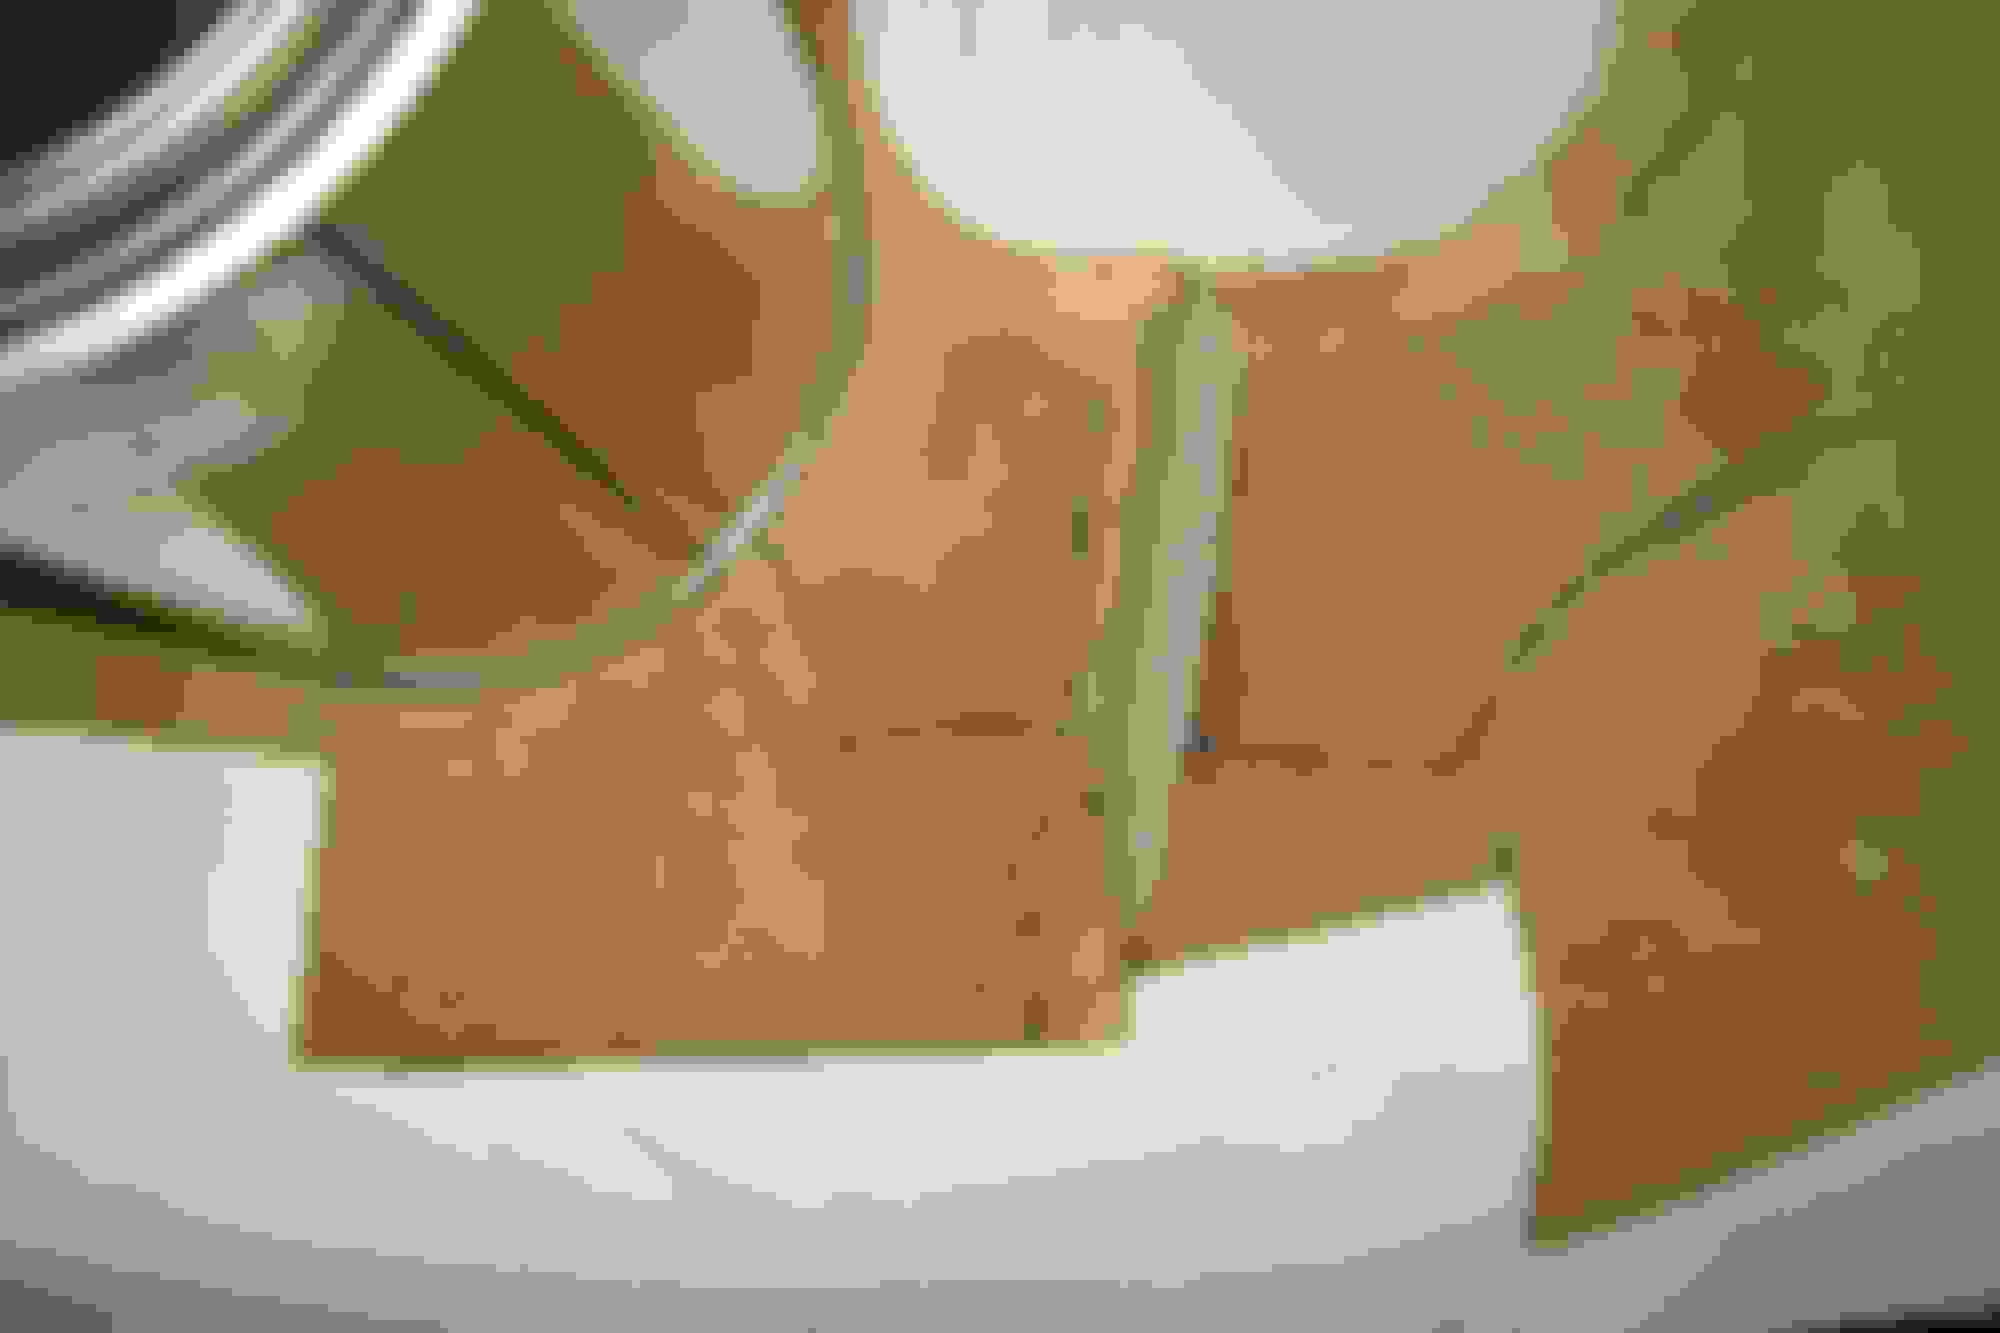
Part 2: Transfer the pattern to the leather
I lightly use a Sharpie fine tipped marker on the leather. It has never bled through, but the needle or awl will occasionally push some black onto the front if I make the lines too heavy. Last picture: I was thinking of using Alcantara in the center section, so I made up a piece of that as well.
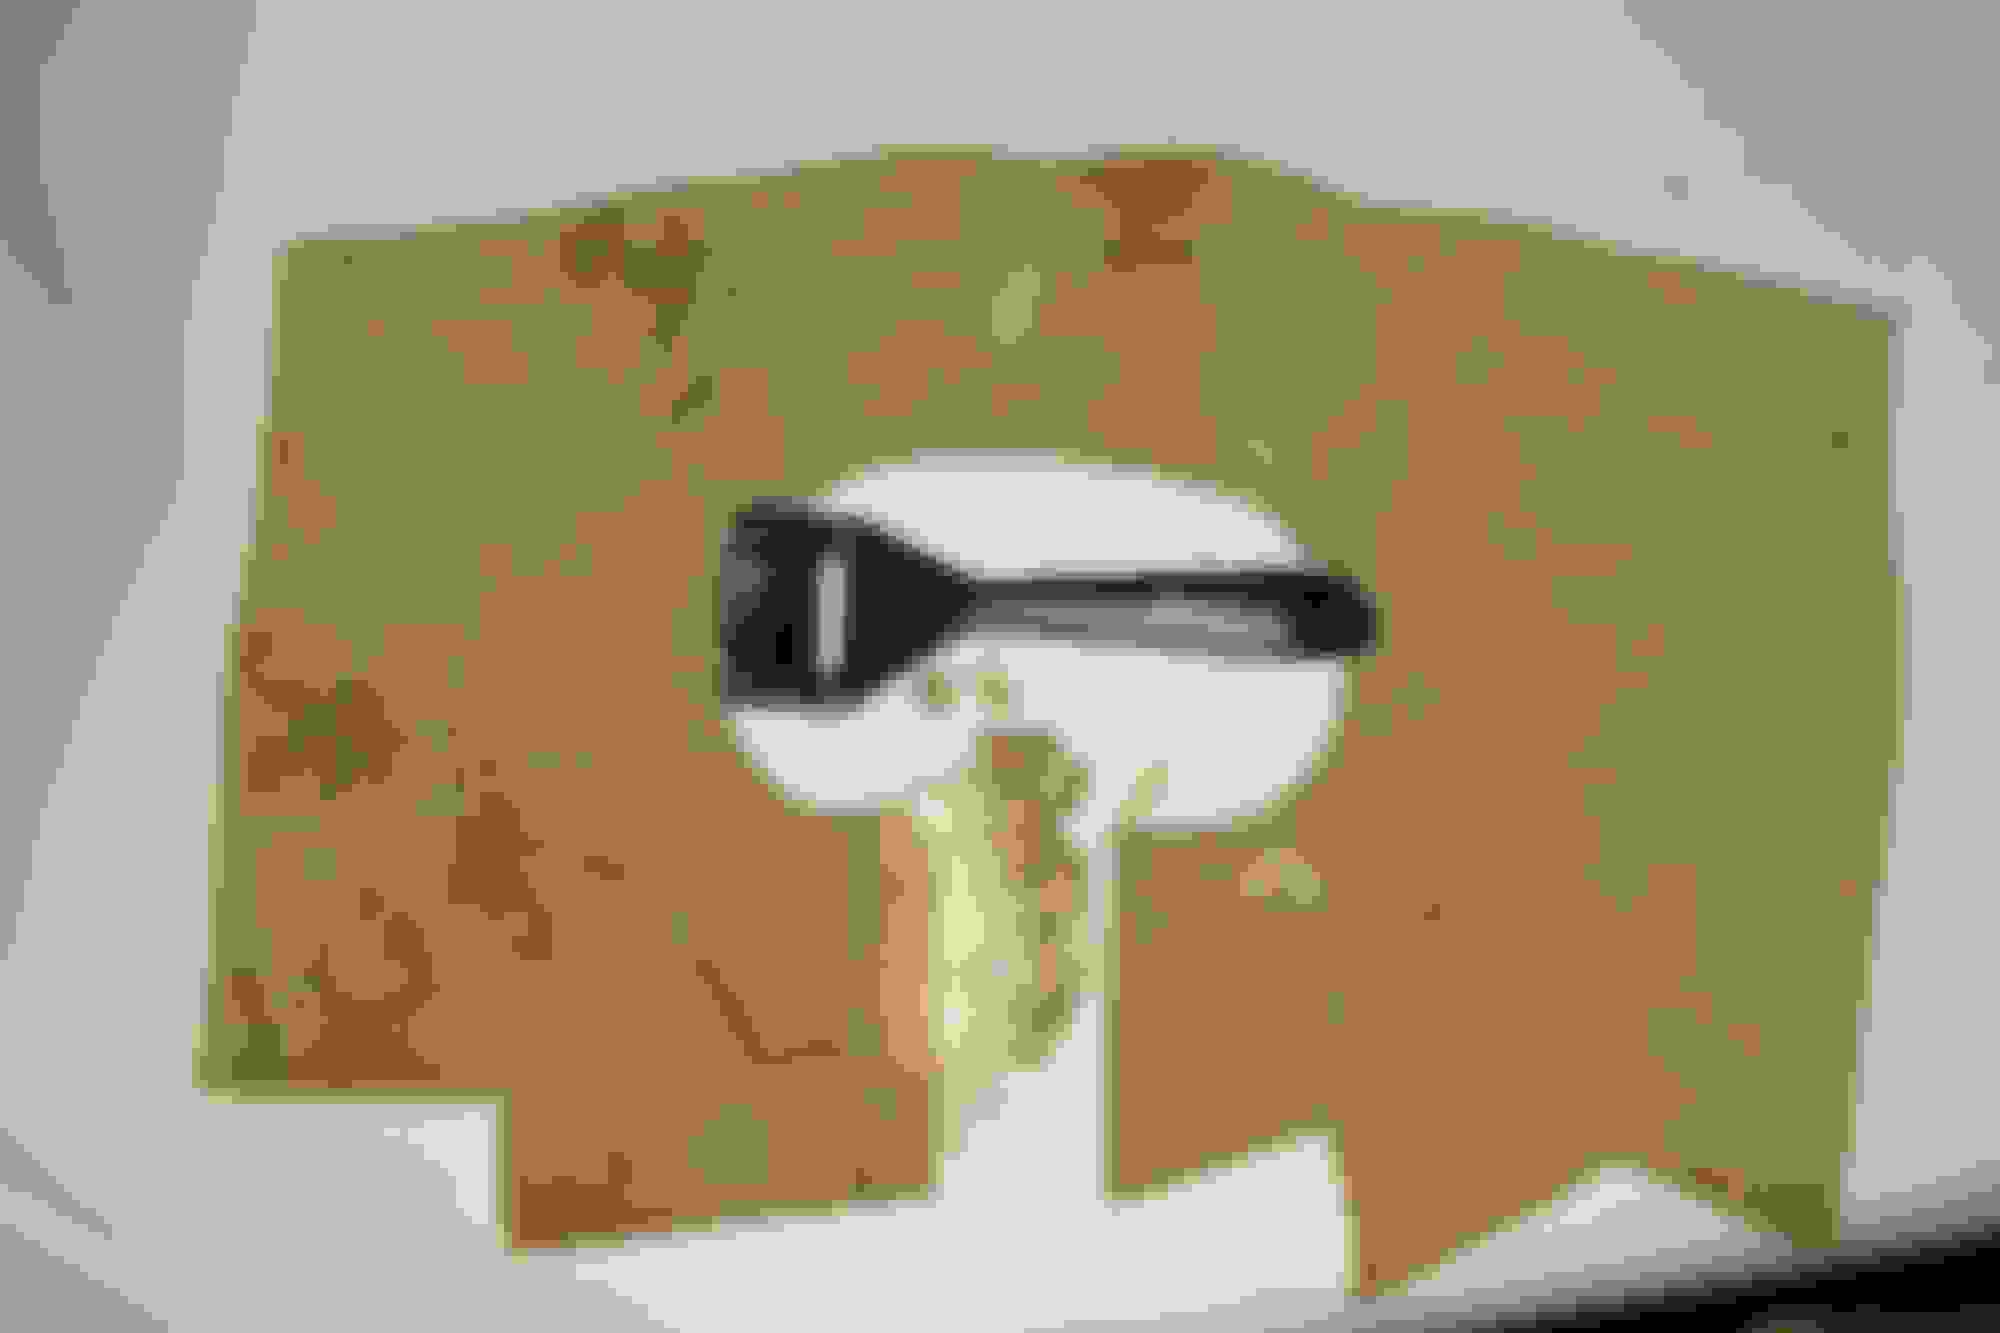
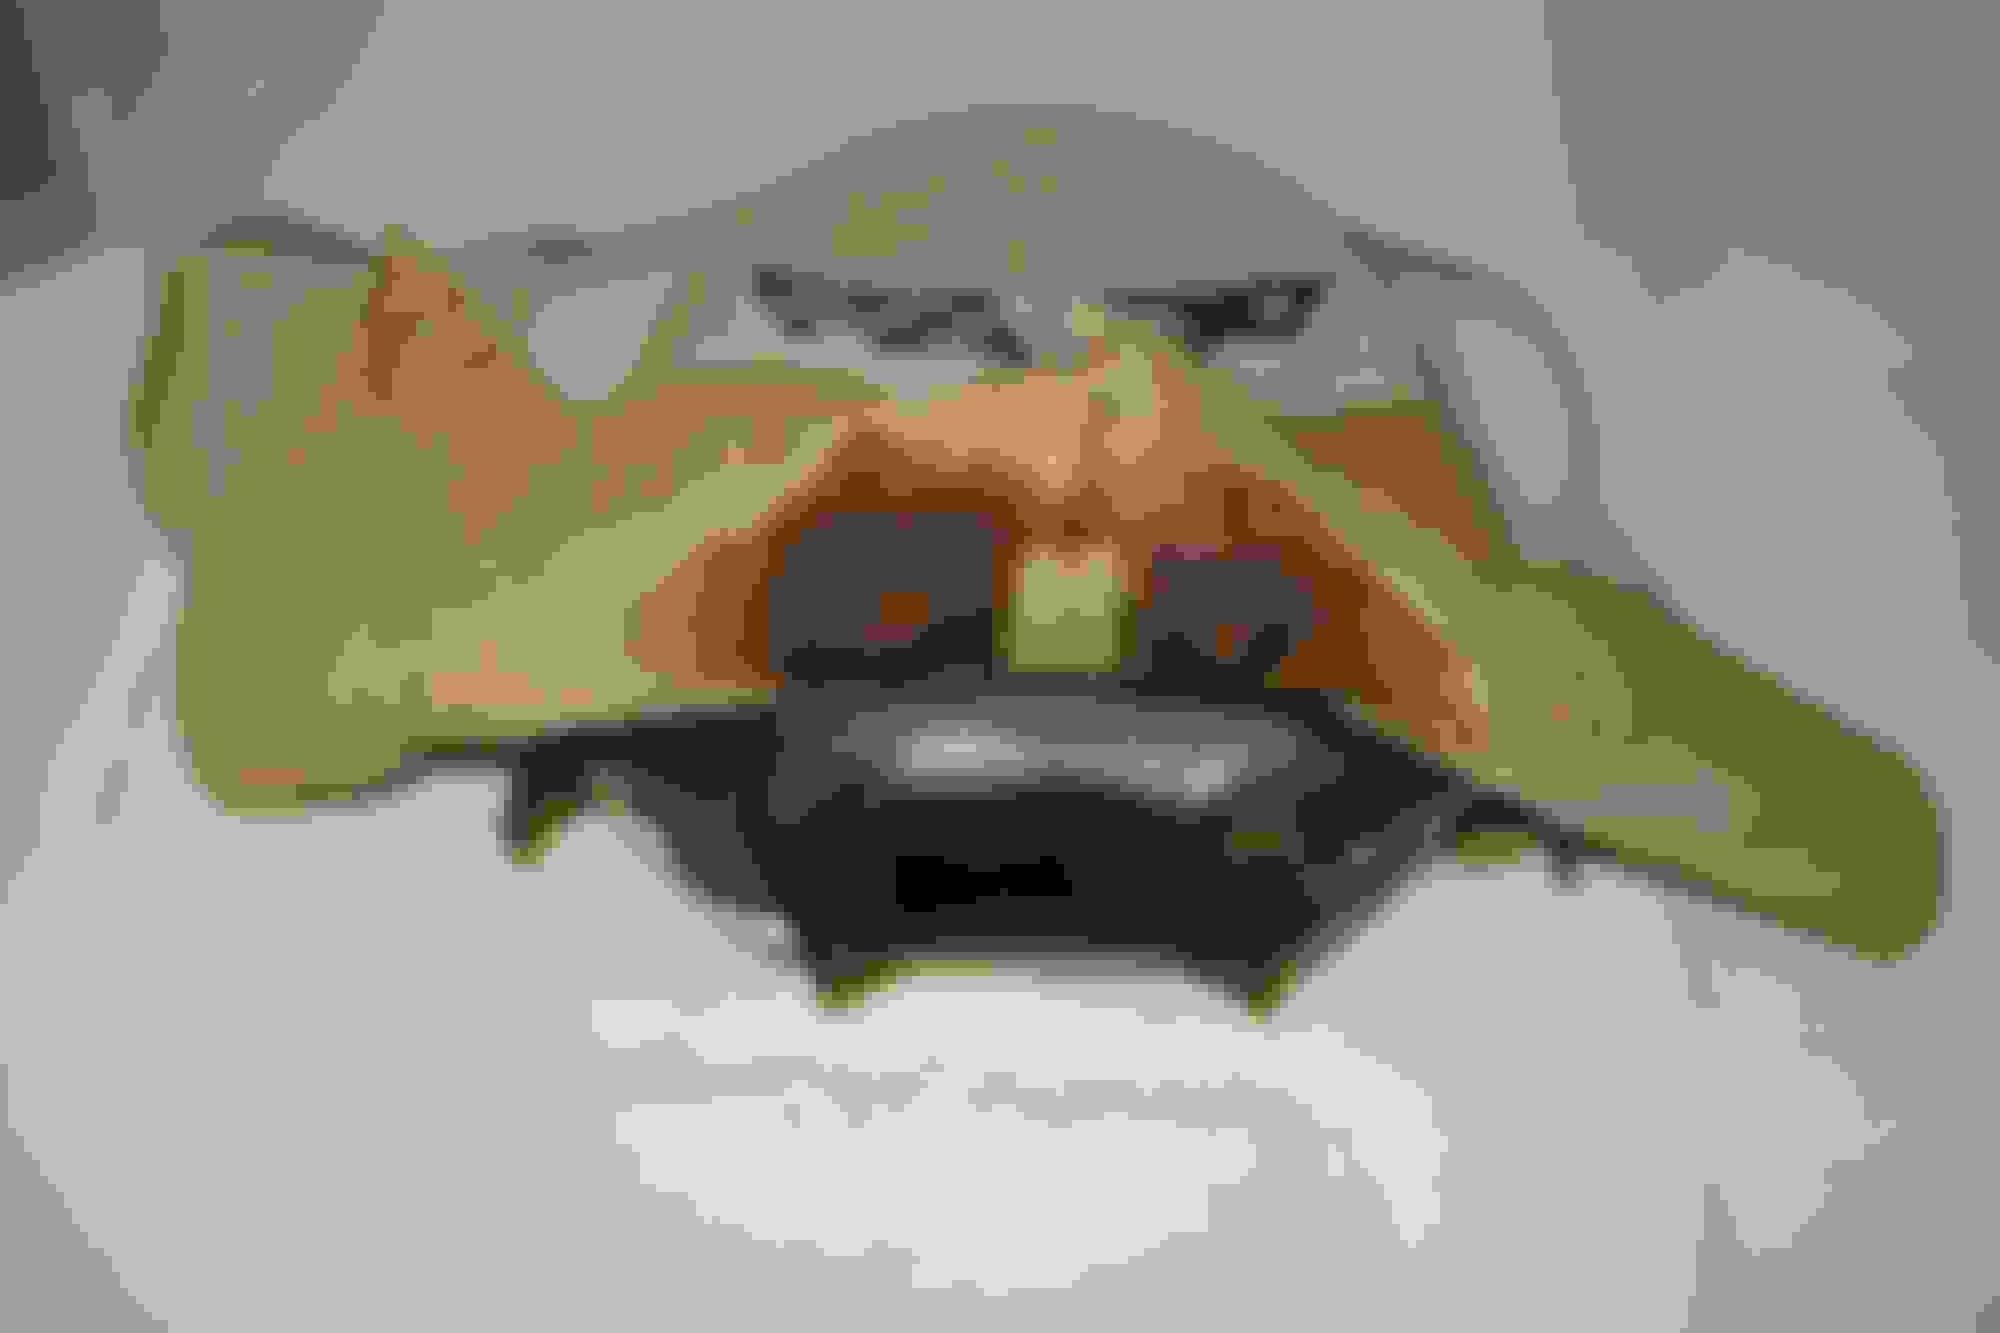
Part 3: A cut and a shave (or skive)
I recommend watching some videos on skiving, you may want to use a different tool than the one I have. I think I searched Google video for "Leather Skiving" or some such.
I cut the interior areas that will be sewn to other piece of leather, then use the skiving tool to shave the leather down. If done correctly, this reduces or eliminates the seam salvage (flaps) from showing in the end product. I was sewing all french seams for accent, in previous pieces, so gluing down the back of the seam is what I learned. You can buy a tool that will cut the leather very close to the seam and you wont need to skive, but I think it raises the seam more that way.
I used a Dremel tool with a sanding blade to shave down most of the other pieces (after I discovered skiving), but my Dremel broke. I wanted to try the skiving tool to see what it was like. The leather is too thin for me to use the skiver correctly. I prefer using the Dremel, but be warned, it makes a HUGE mess.
Practice shaving/skiving on scrap leather first. The Razor dulls quickly, so when changing to a fresh blade, it can go too deep if not careful. The Dremel can shoot the leather away or bunch/tangle it up, if you are not holding it well.
Picture #1 shows the ideal skive. The last picture was using the Dremel.
Part 4: Using the Needle and Awl
You dont need to use the awl for the main stitch, per say, but it can make thing easier. I found that lining up the pieces to be sewn together, using a ruler, then punching the holes with the awl was the best course of action to keep my hand sewn stitches straight (straight stitches only). For the curved stitches, I did not use the awl. Thinning out the leather made pushing the needle through it a bit easier, but I use a doubled over piece of scrap leather between my thumb and the back of the needle (you can see it in the tools picture above).
For the main stitch, I use a saddle stitch. It is very strong and I like it because it puts even pressure on each side of the leather. Here is a video of the saddle stitch on heavier leather. Same principle, accept the upholstery leather will not stay stiff like that. I do not wax my thread or buy it that way.
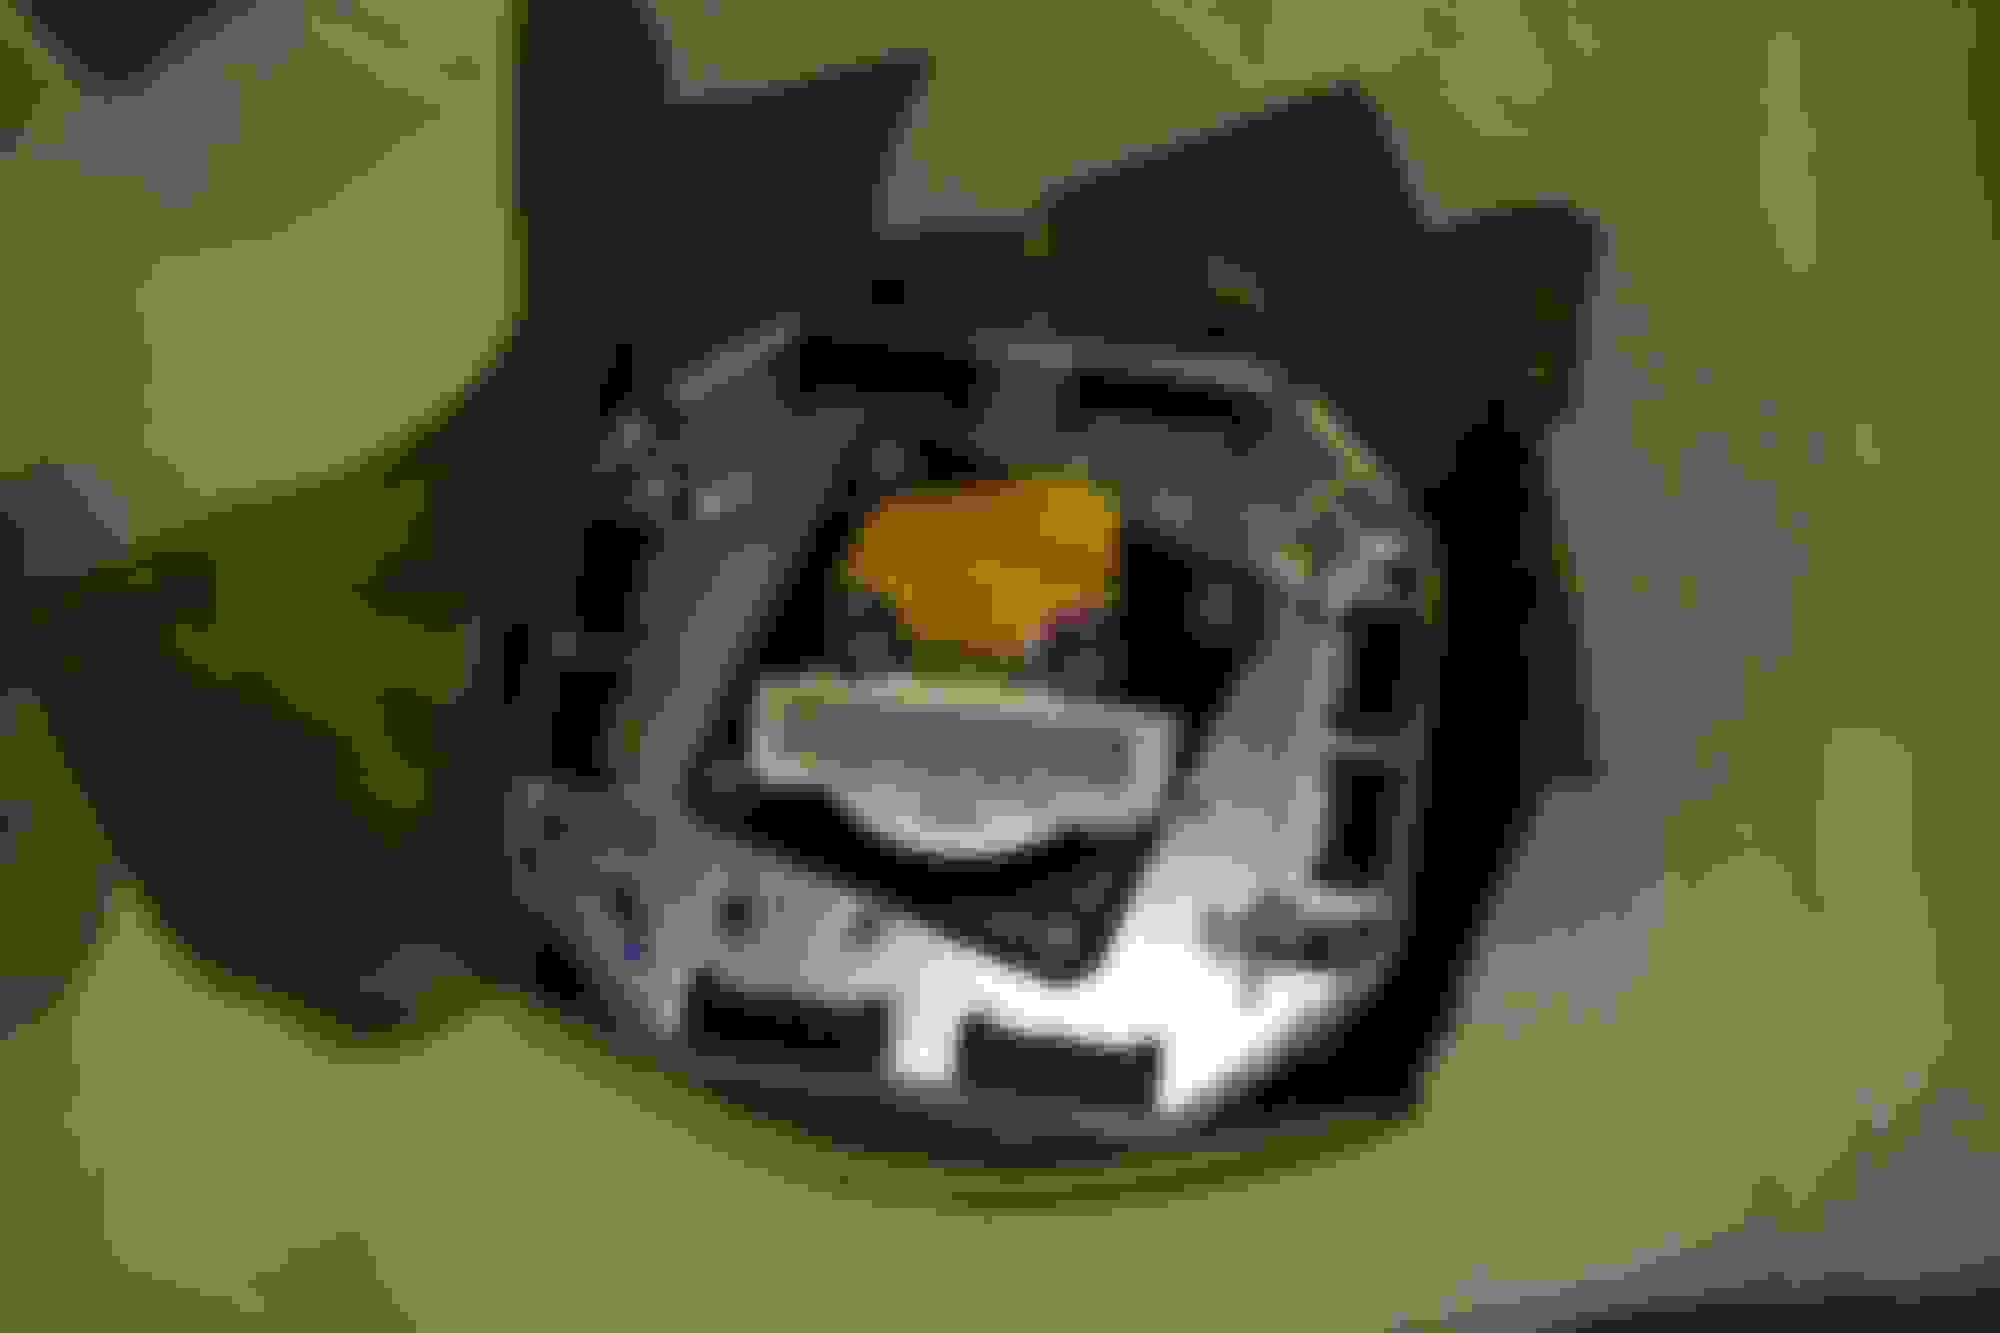
Part 5: Gluing the seam
Fairly simple step, get out the DAP Wellwood HHR T&T, apply to both sides of the seam, wait until it is tacky (up to 15 min depending on the temp/humidity), then press them together. When pressing the glue together, try to keep the leather flat and tight. In the first picture with glue, after it has become tacky, I hold the left side of the leather, where the can is at, then take my finger and work left to right, like there are air bubbles that need to be pressed out.
In the curved areas, you need to make stress relief cuts on the long side, and take out small V shaped pieces on the short side.
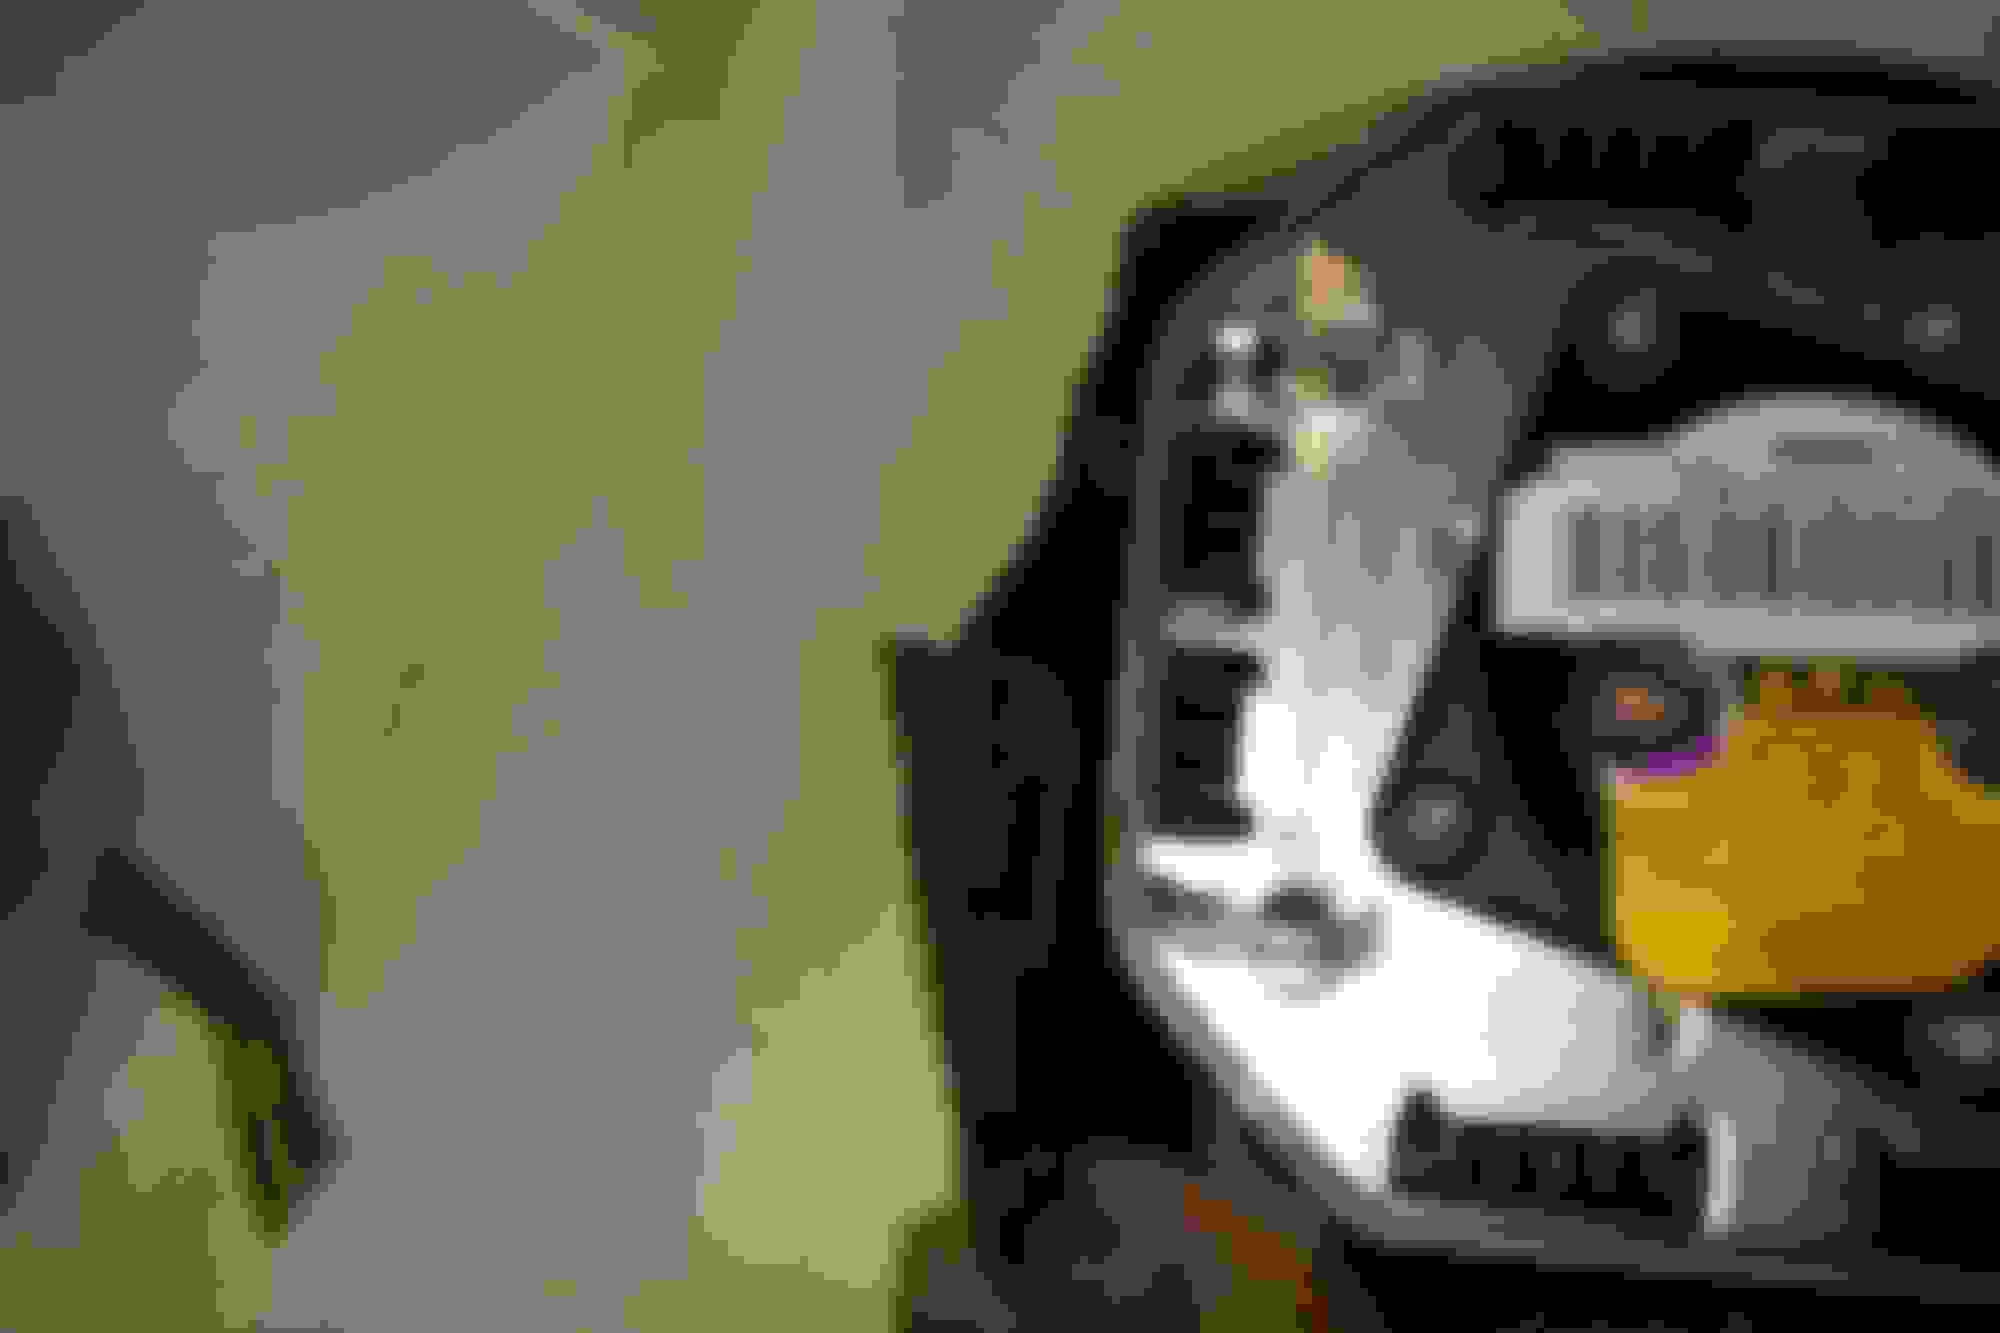
Part 6: Covering the part
I this instance, I forgot to take a couple pictures. I glued the round top piece down first, a half at a time, after aligning as close as possible. Then used the glue to get the leather to form into the curves of the item. Finally, I trimmed up the excess leather and tucked it around the back for a stronger hold.
I should mention, that you dont always need to use this much glue. It is preferable to float as much material as you can. To do this you need mostly flat or convexing surfaces. You use the glue on the inside (unseen) area of the part you are covering and the edge of the leather, pull the leather tight, then tuck it around the backside where the 2 glued sides affix to each other.
A couple of the pictures have too much glare, others not enough light, but I cant go back and re-shoot them now.
Next will be the backside of the steering wheel, then the shroud. For the steering wheel itself, I want the D-shape 05 two tone design, so I wont be doing it myself.

 10-08-2014, 12:23 AM