
F1X C6-driveline-interior-suspension build-pics
 09-30-2013, 05:38 PM
#1
Melting Slicks

Thread Starter

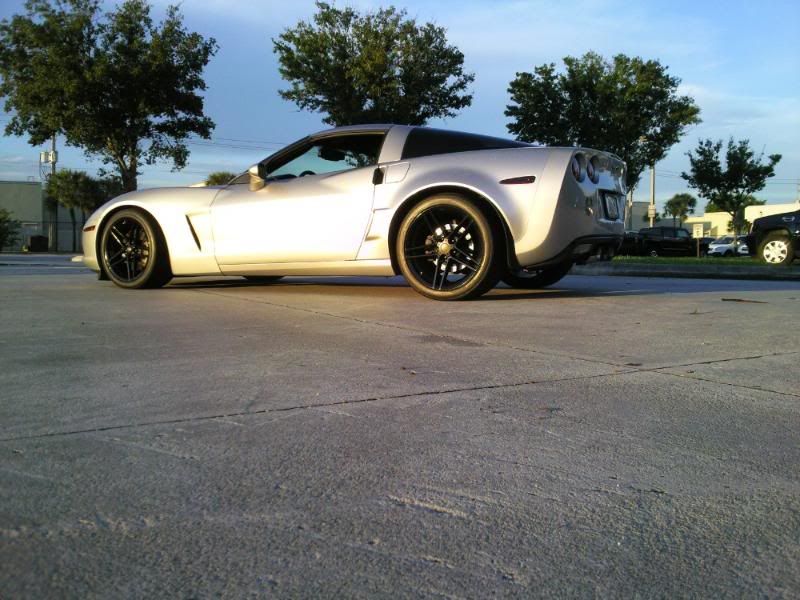
Car:05 6 speed C6. Current mods, Procharger P1SC,42lb inj,KOOKS 1 7/8-3" offroad X, B&B bullets, hotchkis sway bars, shifter, and rear Z06 fenders.
i just copied his list of the build here...(the script underneath)
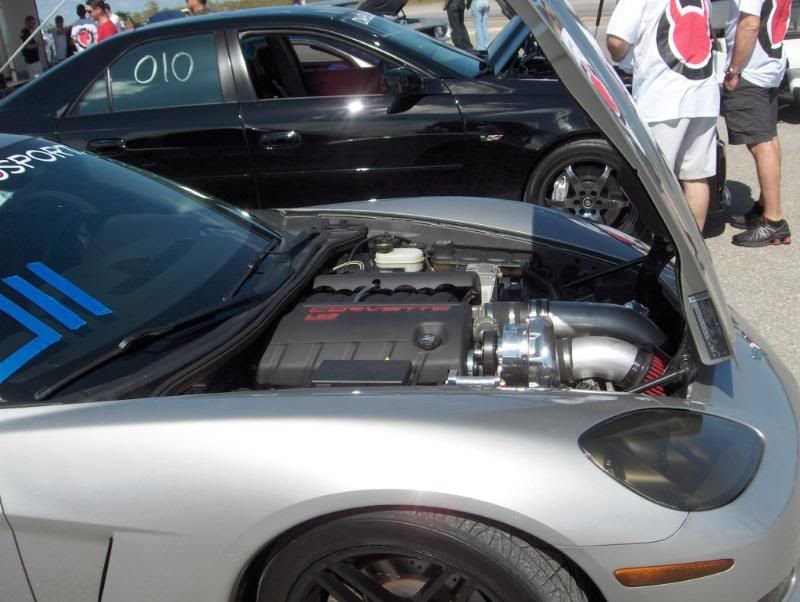
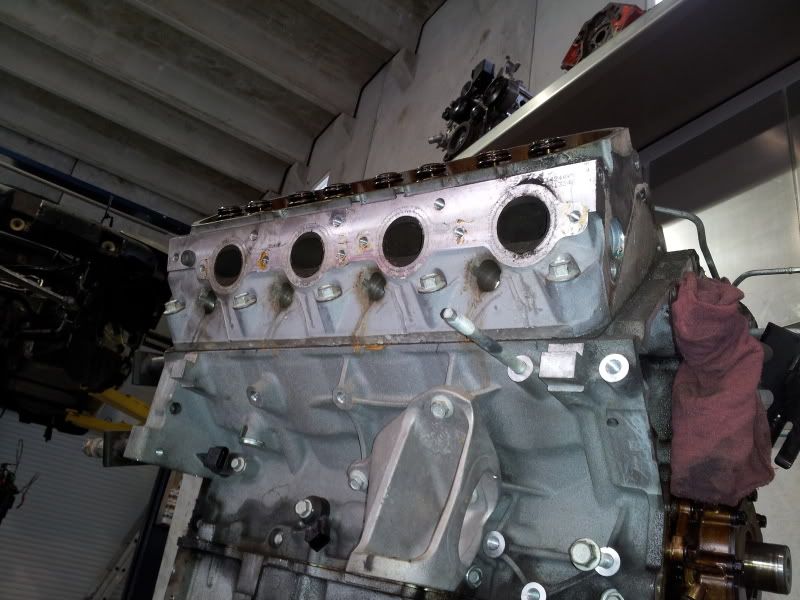
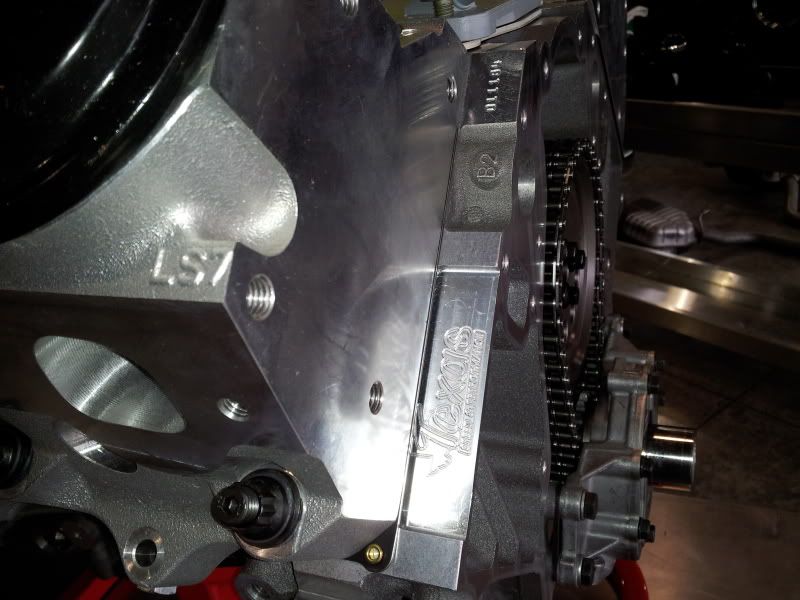
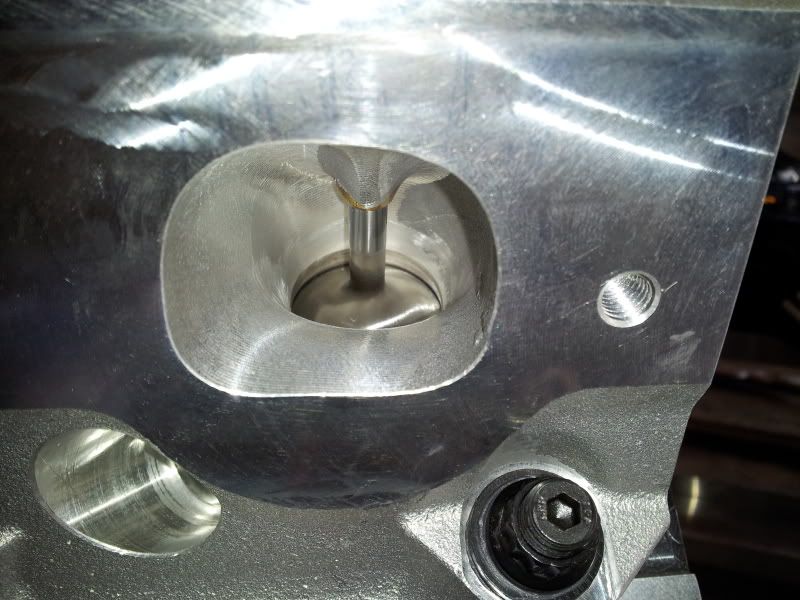
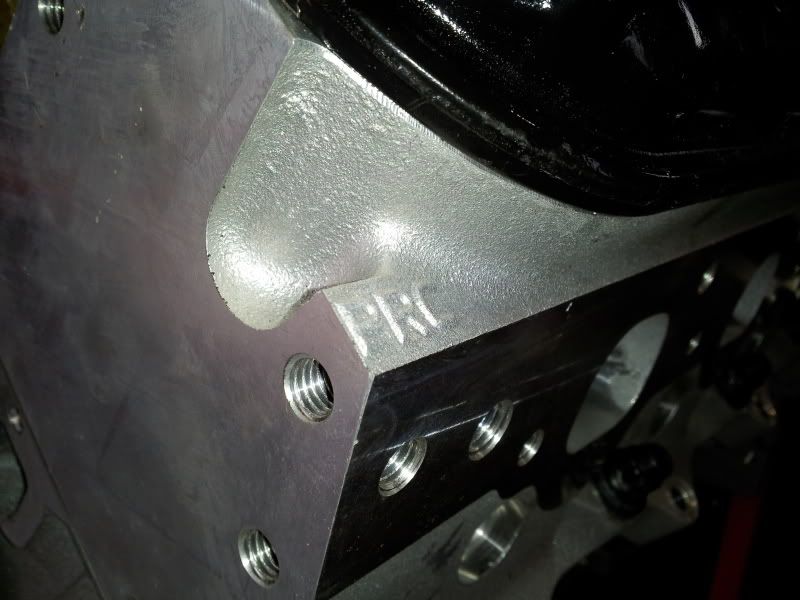
1) Texas Speed 418 LS3 Forged 10.5:1, PRC LS7 265cc, FAST 102 Intake (done in Hydrocarbon, raised lettering in red to match fuel rails and blow-off valves) and NW 102 TB, Kooks 2" Headers (already have Kooks X-pipe and B&B Bullets), Cam 236/244 .637/.648, ARP Hardware, TS Upgraded Rocker Package, Pfadt Engine Mounts, working on custom gauges
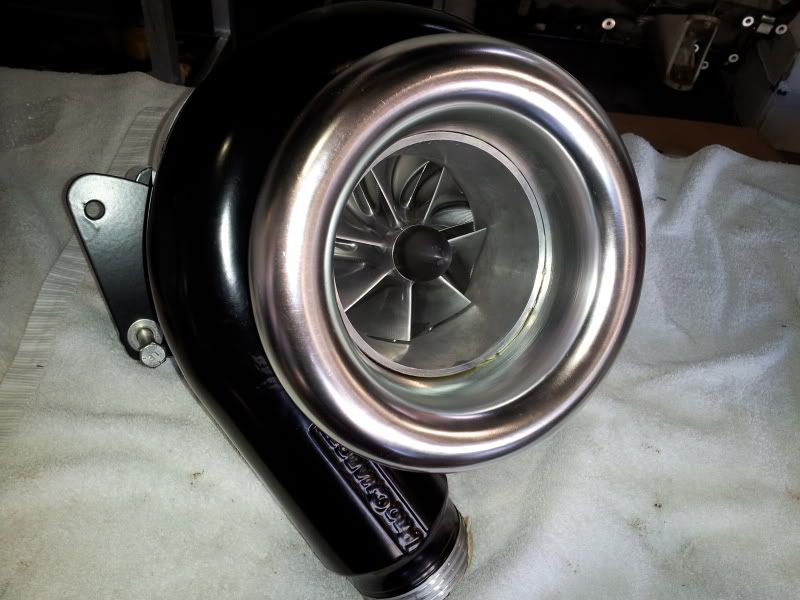
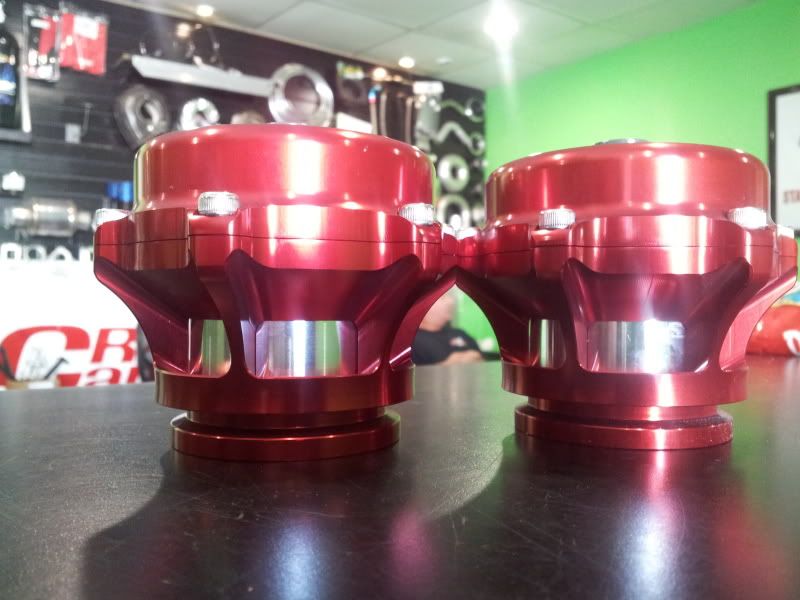
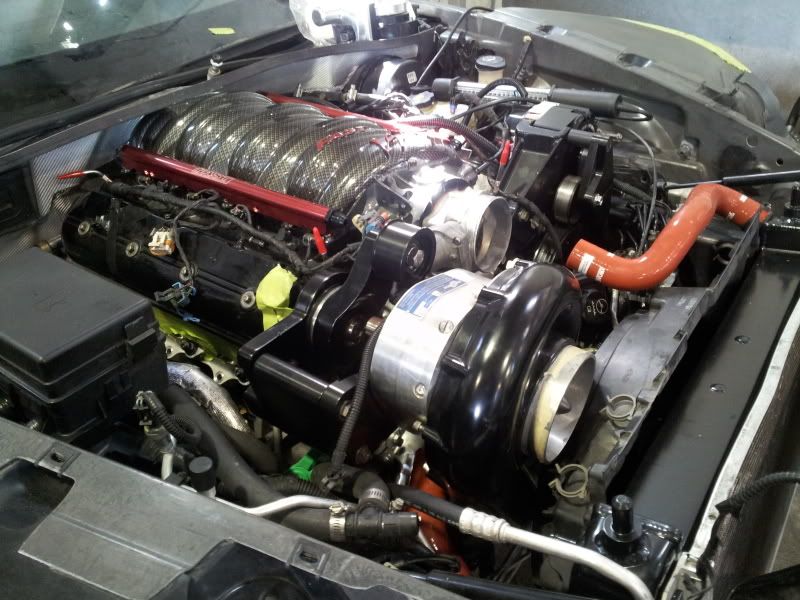
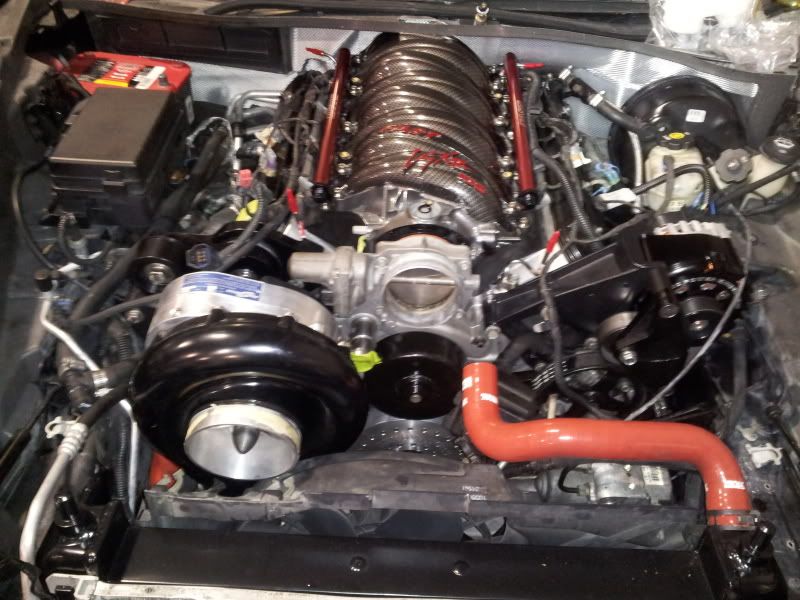
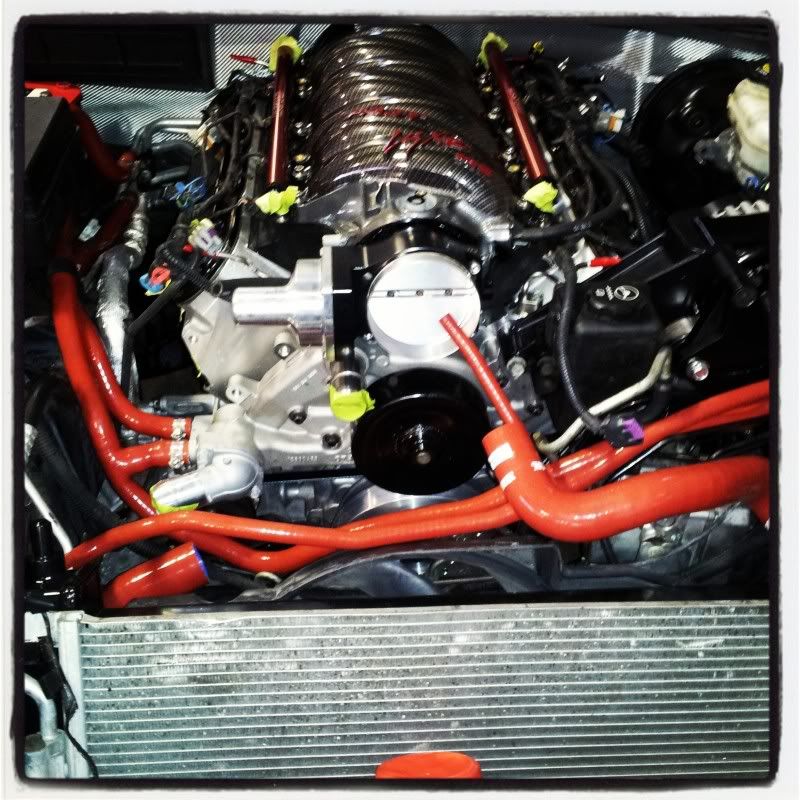
2) ProCharger F1x, ECS bracket, DP Direct Drive, 10-rib Balancer, 3.40" Blower Pulley, 5" Velocity Stack, dual Tial 50mm (Red) Blow Off Valves, Gates Green Belt 10-rib, Custom Piping by Race Part Solutions
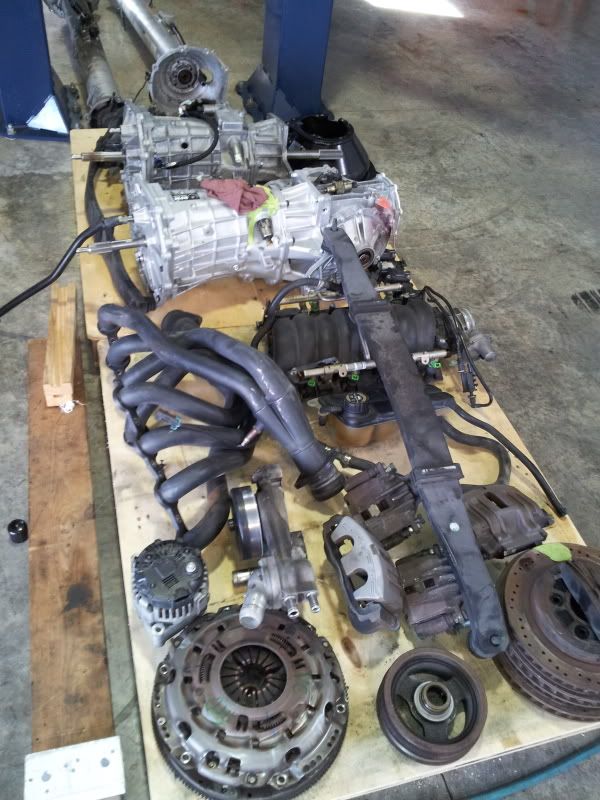
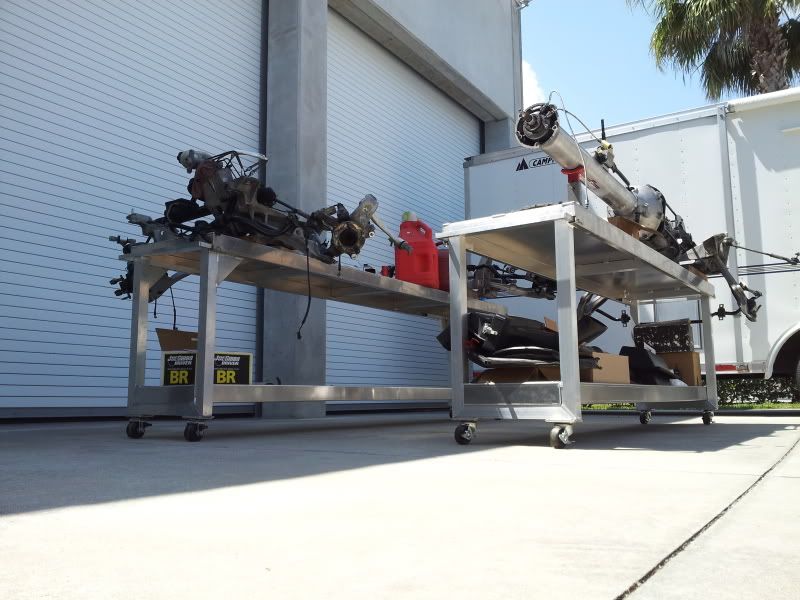
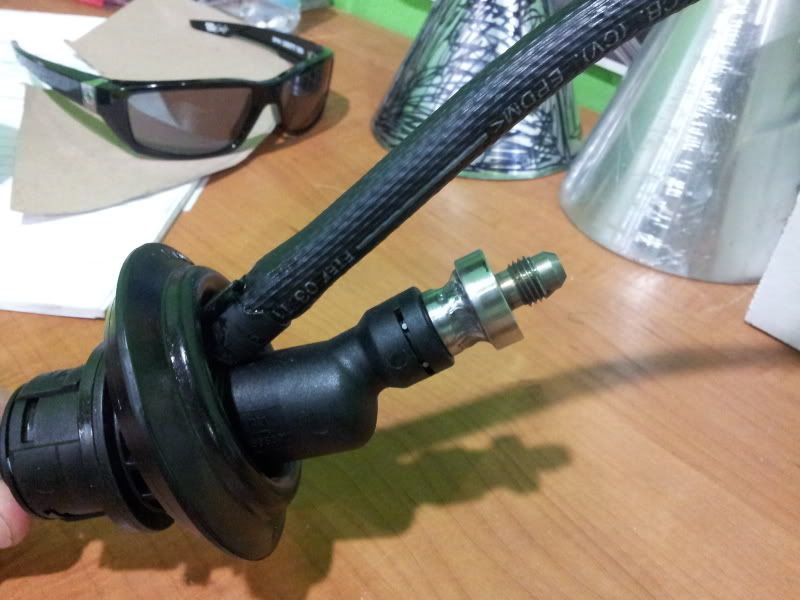
3) Built RPM TR6060 Stage VI w/short 5th gear, GM C6Z 2011 Diff, DSS Carbon Propshaft, Ceramic Torque Tube Bearings, McLeod Twin, Quick Time Bell Housing, Tick Master Cylinder w/braided line, Pfadt Trans Mount
4) Custom Fuel System by Race Part Solutions, Bosch 100LB injectors
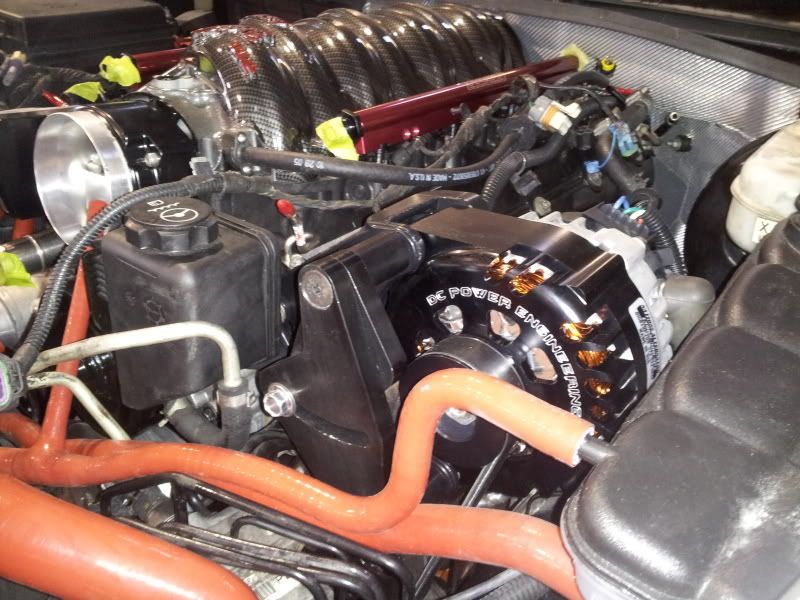
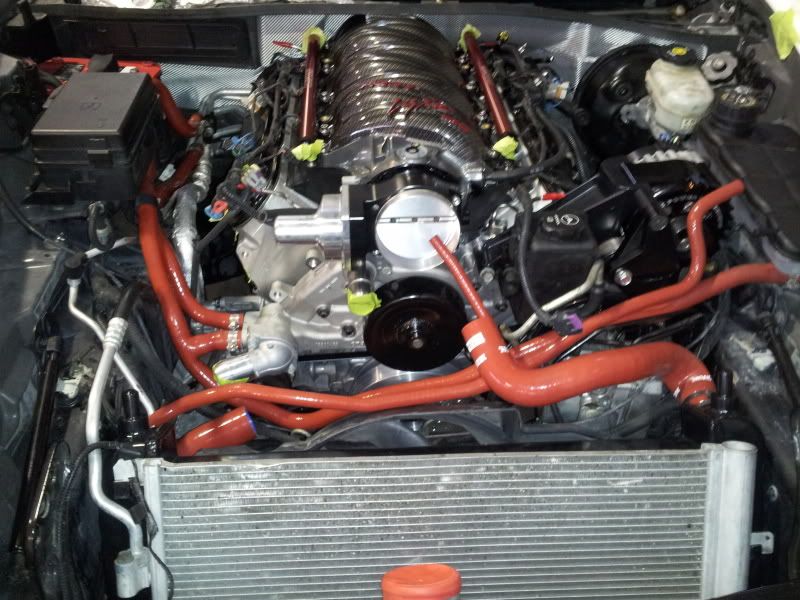
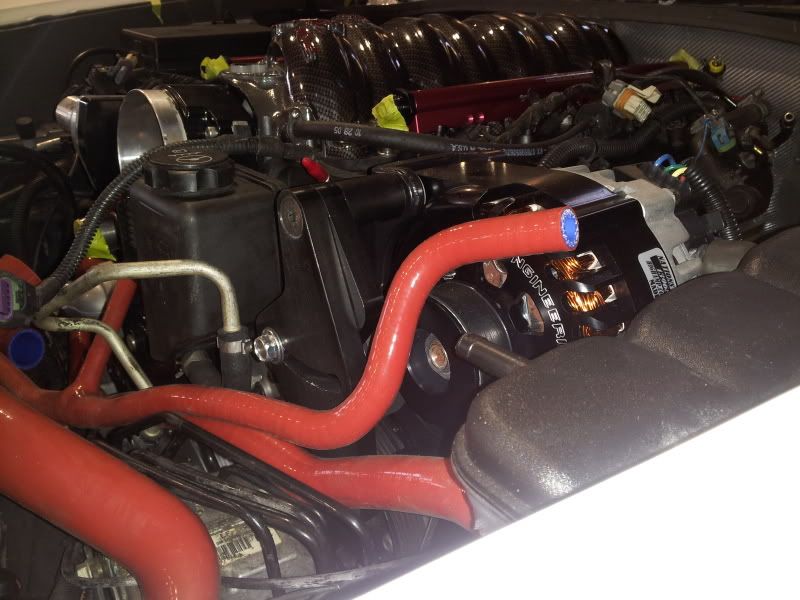
5) Lingenfelter Radiator--specific for larger blower unit, Treadstone IC, new GM Front Cradle, red silicone hosing, new GM Water Pump, 180 Stat, Nations S&A 300-amp Alt--black anodized
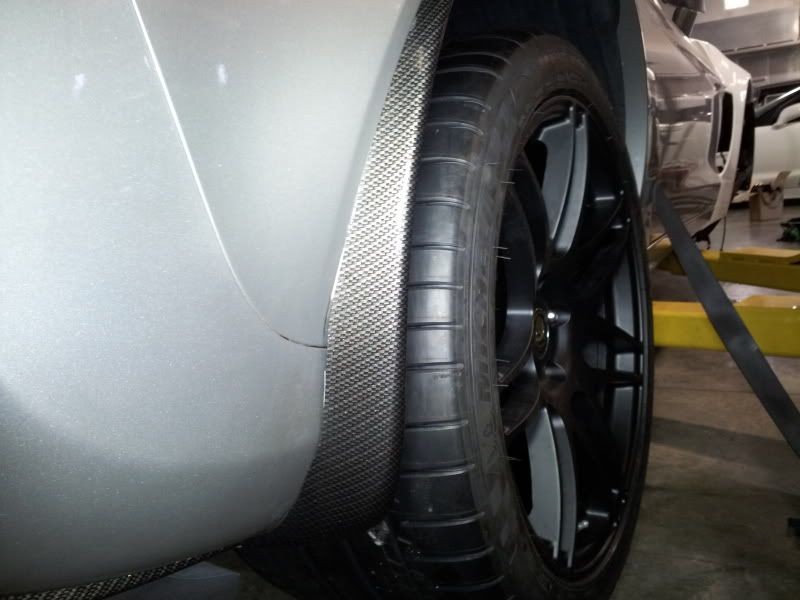
6) Forgestar F14 Deep Concave Matte Black w/CF Center Caps, 19X10 & 20X12, Michelin Super Sports 275/345, McGard Lugs, also have C6Z 19X11 Black Powder Coasted to be mounted with DRs, New TPMS-
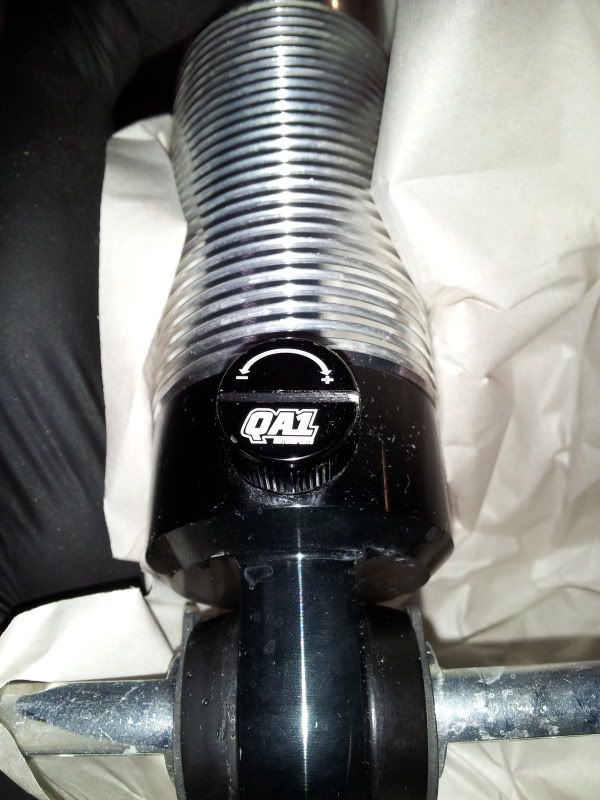
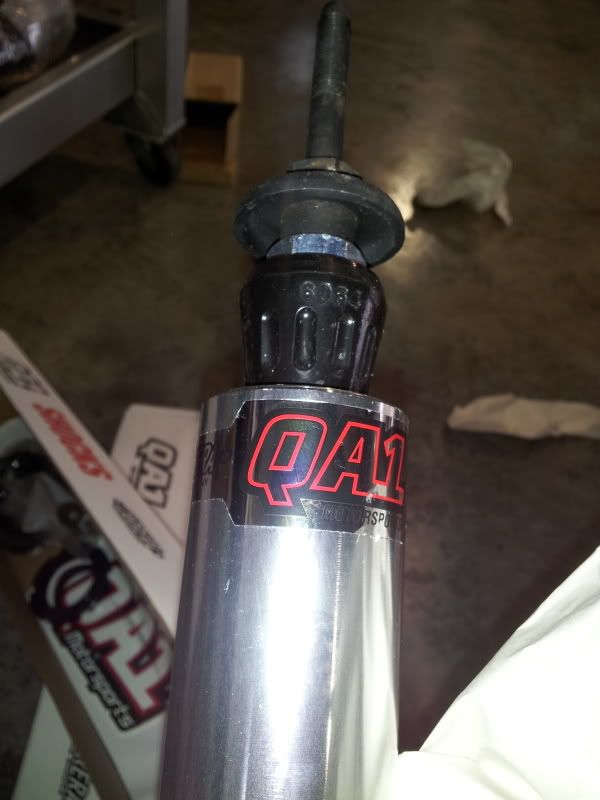
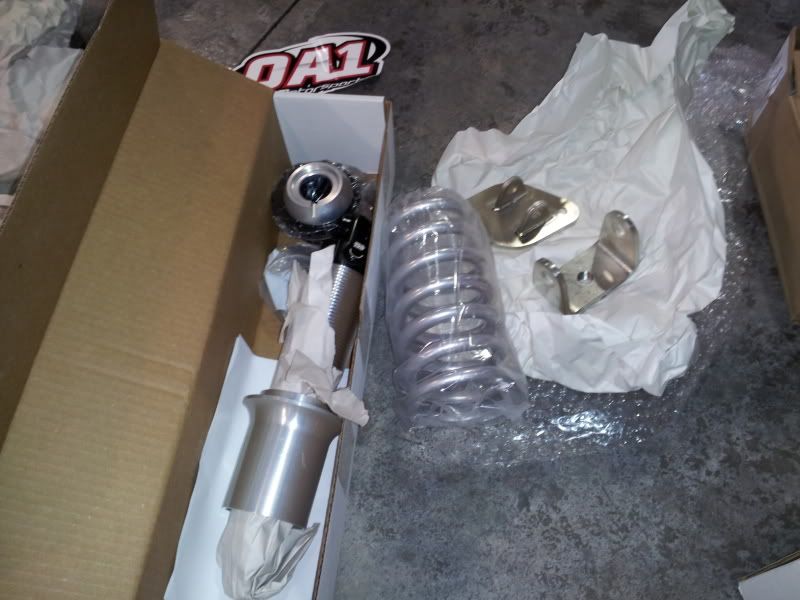
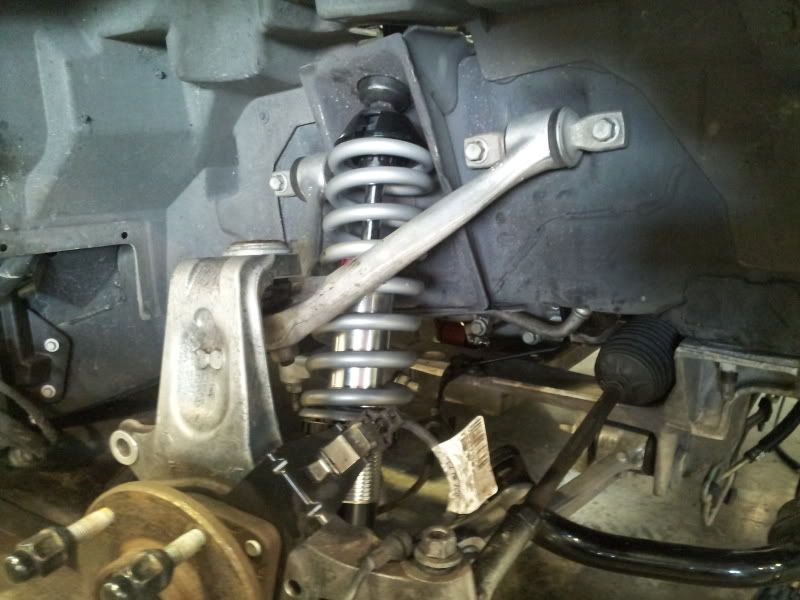
7) QA1 Coilovers, already have Hotchkis Sways
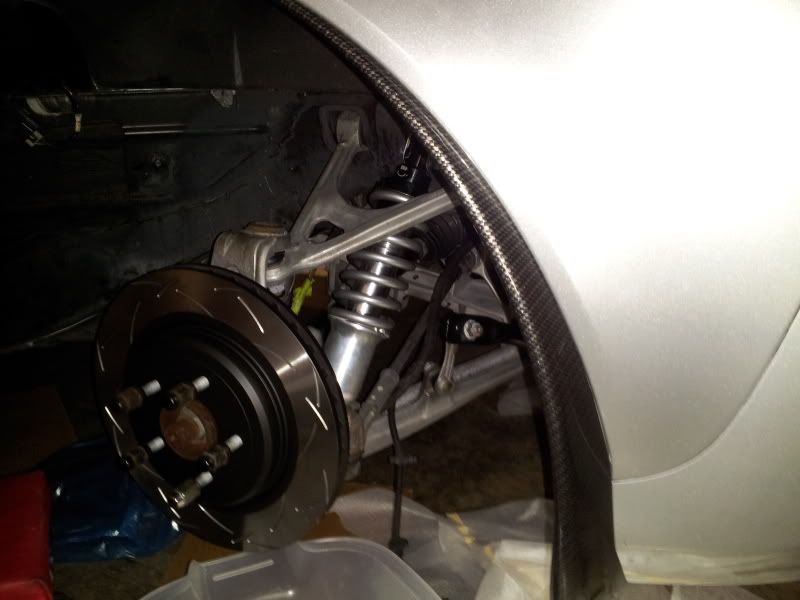
8) C6Z Calipers Powder Coated in ZR1 Blue w/all new hardware, DBA 4000 T3 Slotted Rotors, Hawk Pads, SS Lines
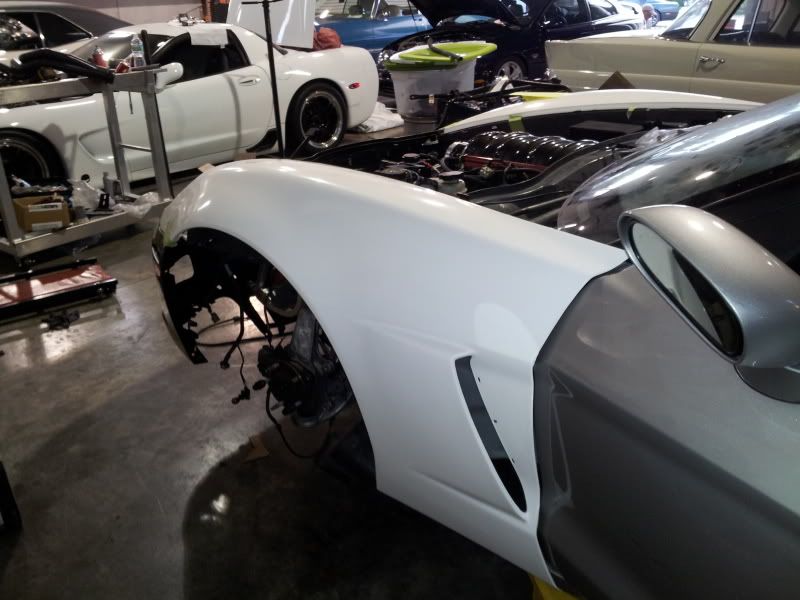
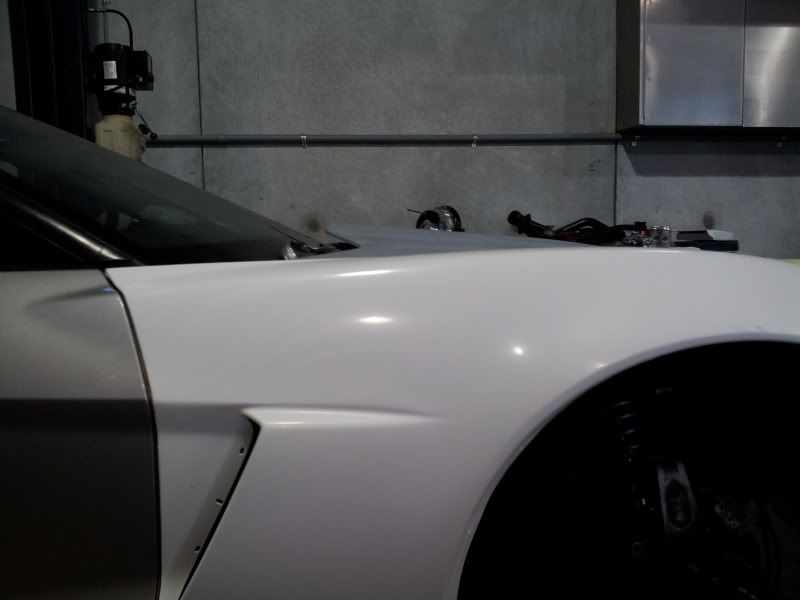
9) C6Z Front Bumper and C6Z Front Quarters�NO ZO6 EMBLEMS!!, already have rear wide body
10) 2012 GM Seat Upgrade w/heaters, matching stitched C6 Emblem, JWM seat bolster kit
11) Pioneer Z140 Head Unit with Ipod plug ,,, working on upgrading speakers, maybe an amp---still weighing spending more money on something that may not be heard
12) Custom D-Style Steering Wheel done in Suede w/CF Inserts and Double Stitching, Matching Titanium Stitch for all interior parts, Padded Console with C6 logo, Two-Tone (black & titanium) Shifter Boot and Ebrake Boot, Custom Stitch Ebrake, CF Pistol Grip Shifter (no shift pattern engraved, as amateurs need not apply), all interior removable pieces already done in Hydrocarbon
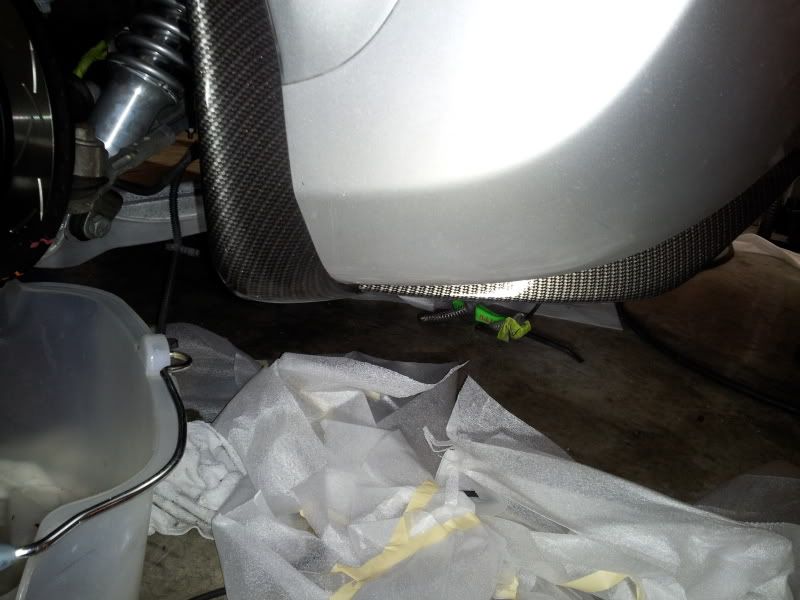
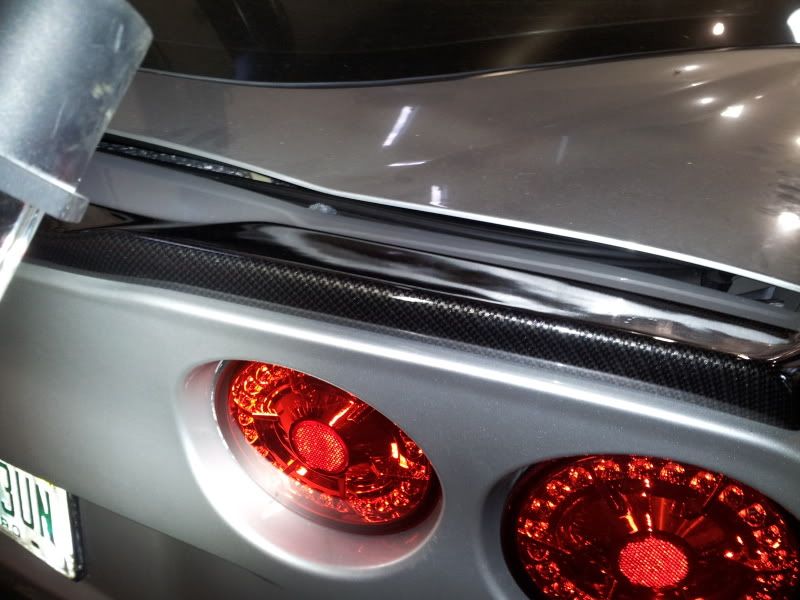
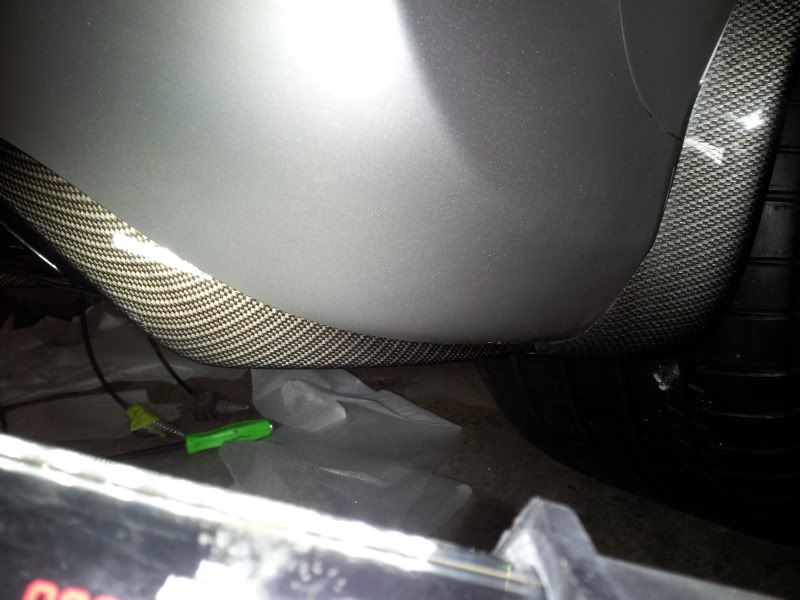
13) Rear Diffuser, ZR1 Spoiler, C6Z Front Splitter, Side Skirts, Front & Rear Quarter Vents, Front & Rear Splash Guards, Door Handles, Gas Cap, all parts finished in Hydrocarbon
14) All exterior (lamps, fogs, rears) lighting in LEDs, Headlamp Rebuild Kit, Bezels finished in Hydrocarbon
15) More sho' than go stuff,,, Jake Skull Mats in matching titanium stitch, CF emblem overlays, Aluminum Black Anodized Pedals, 6-Piece Chevy Bowtie Carbon Fiber Fluid Caps, Jake Skull 3" Emblems for front quarters (not a C6Z wannabe!!)
Only the windshield, rear view mirror, fuel cells and key fobs are unchanged. I am sure I am forgetting a few parts, and some new parts will be added. The car will also be painted, or wrapped, in either a dark gray or flat black. No time table, as want to make sure when done it is best it can be!![/QUOTE]
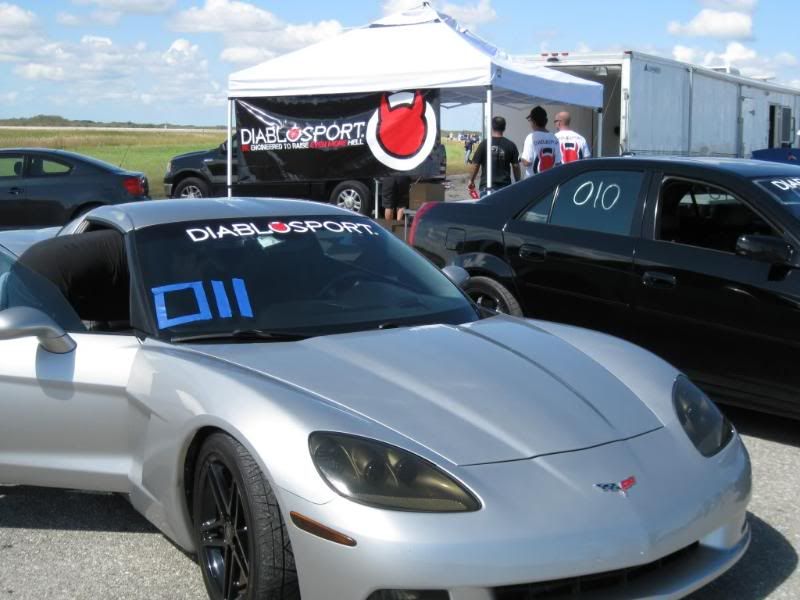
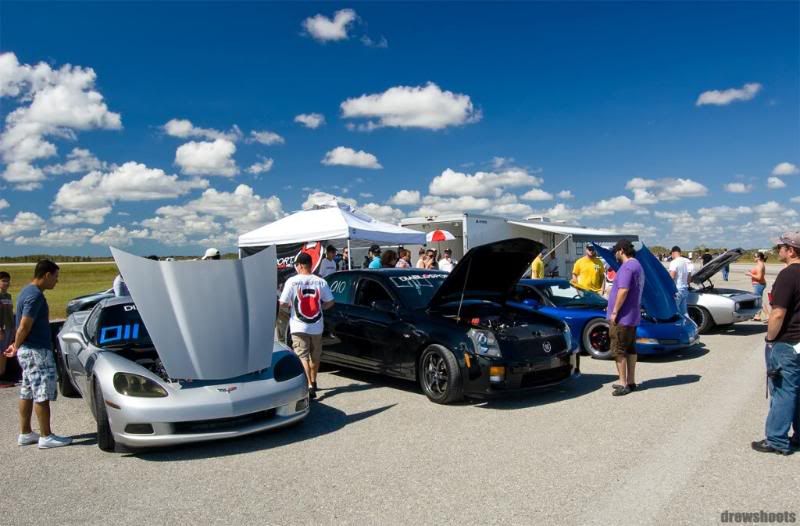
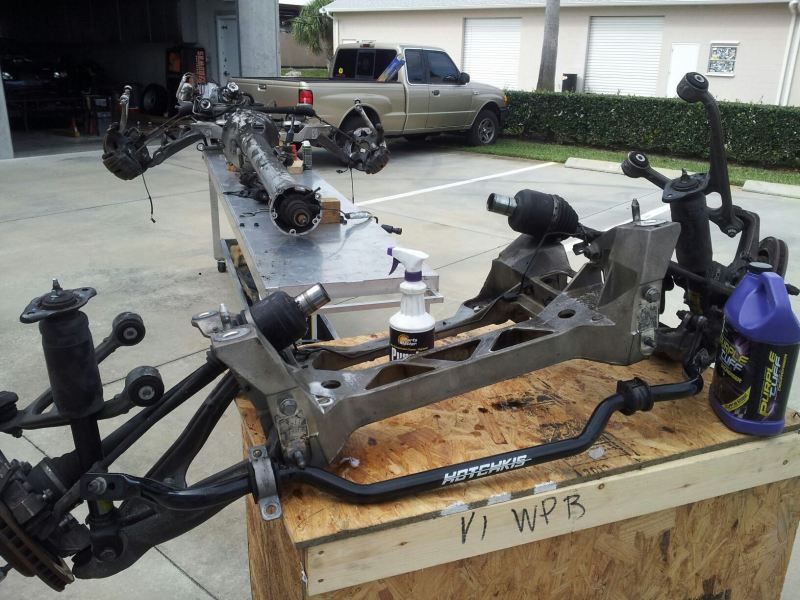
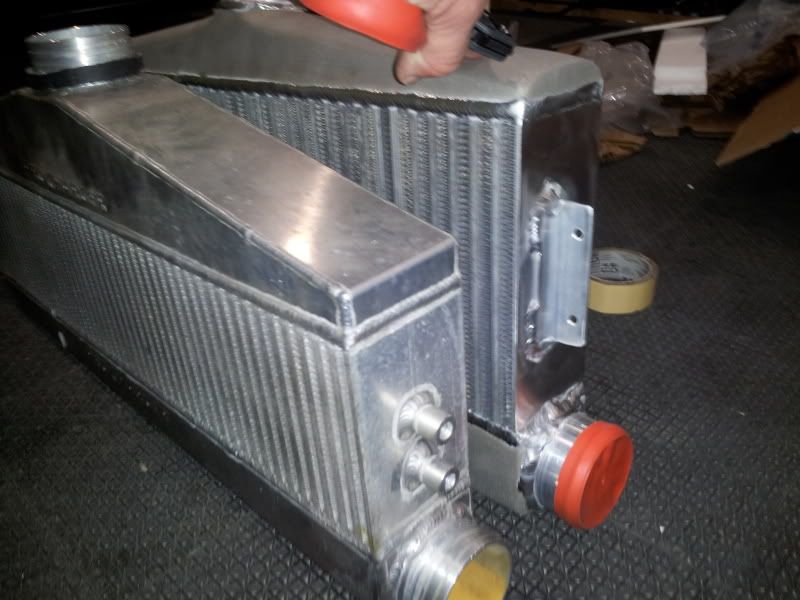
I wanna see it go 9's on it's daily driven setup as well. Here she is...

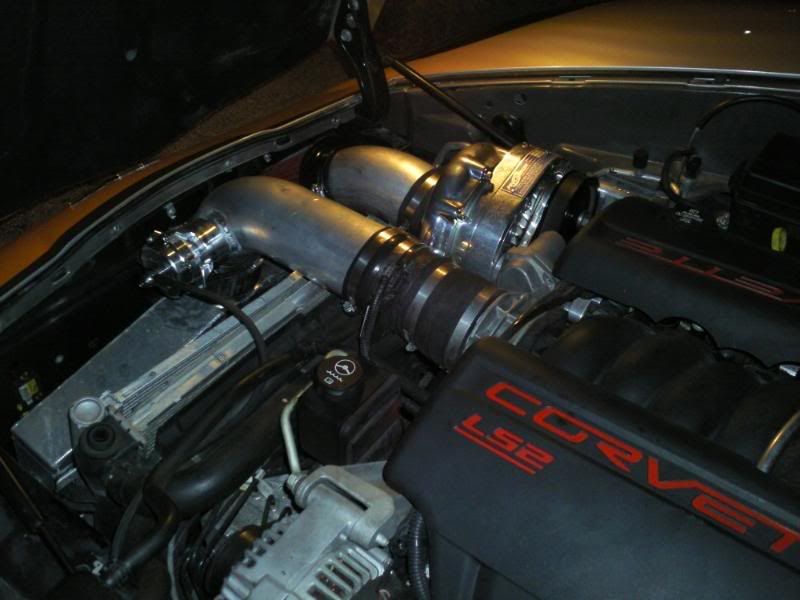


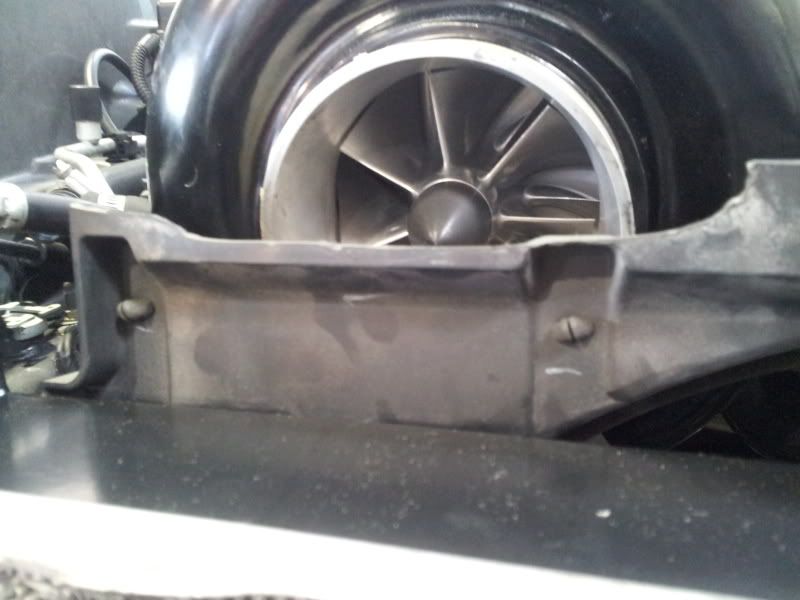
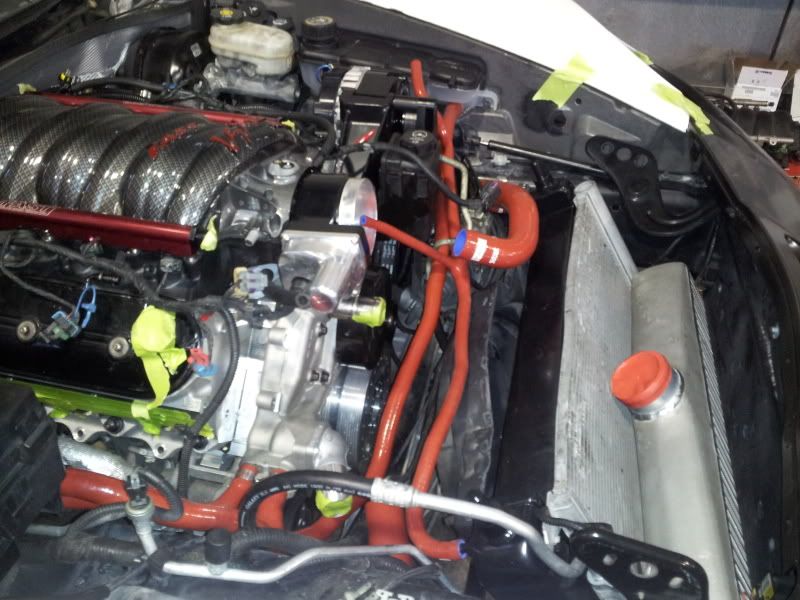
Treadstone vs procharger
[IMG]http://i70.photobucket.com/albums/i86/V-seriesTech/1364508011_zpse8db4277.jpg[/IMG
old
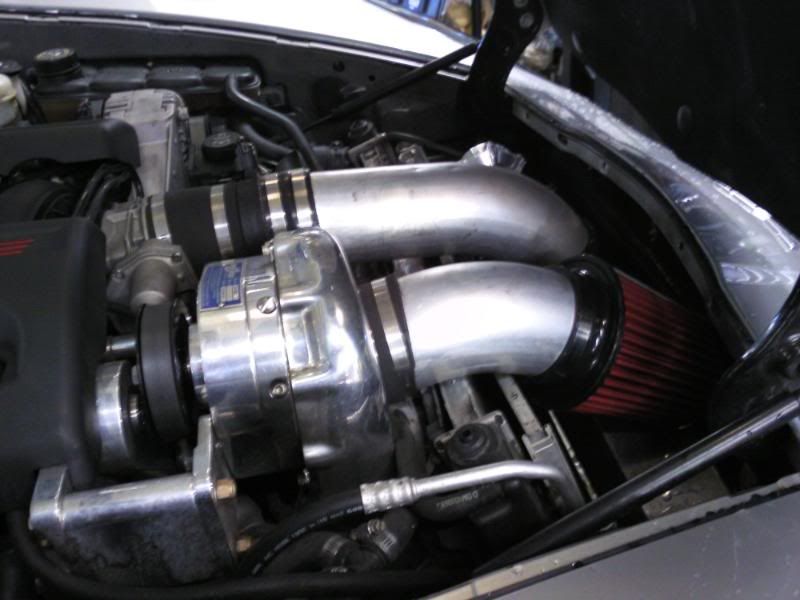
Mild updates.
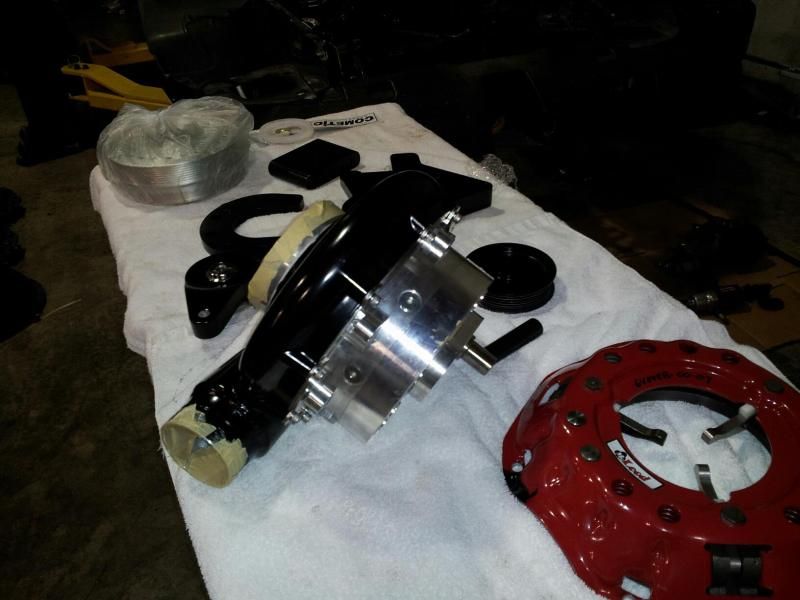
will be changing, and selling this bracket soon
Modified master cylinder..
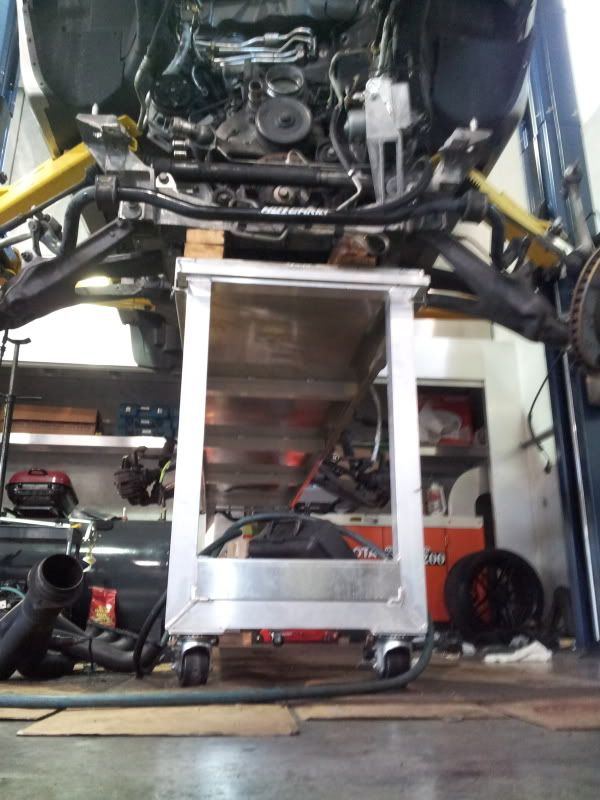
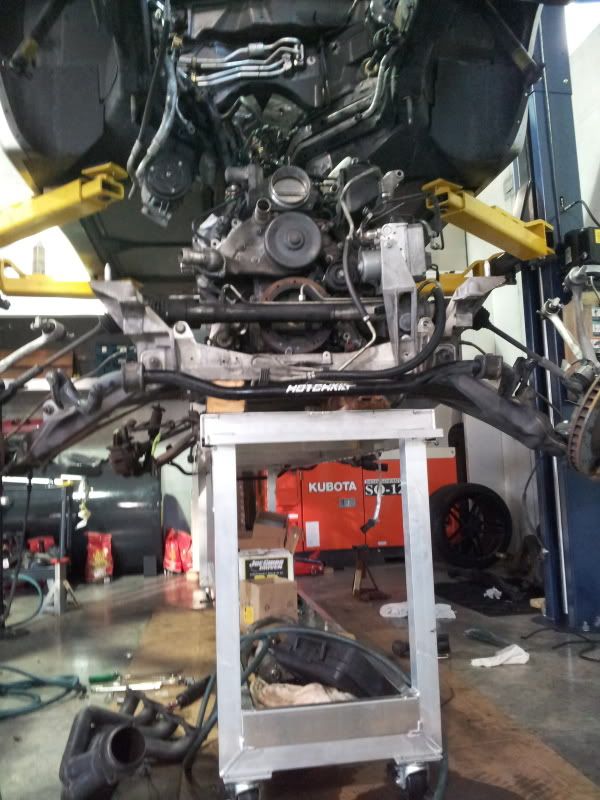
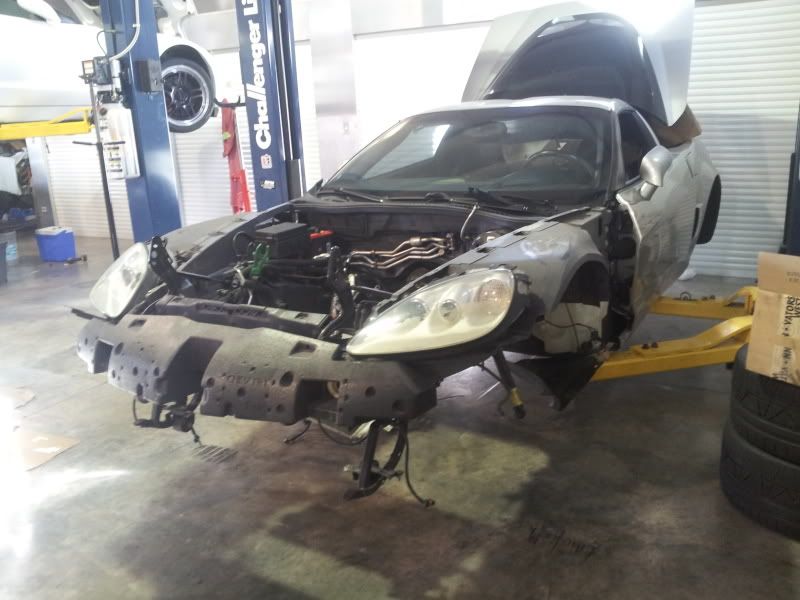
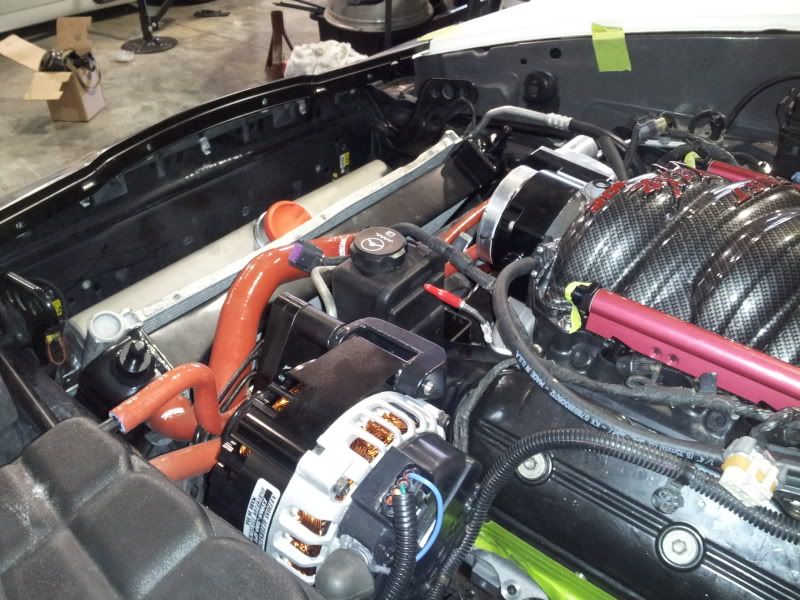
this shroud has since been modified. This was a dewitts radiator, with a stock fan, at a stock height...I lowered, and moved the cradle forward(still have to weld) and also Josh modified the shroud. Looks better but,..before..
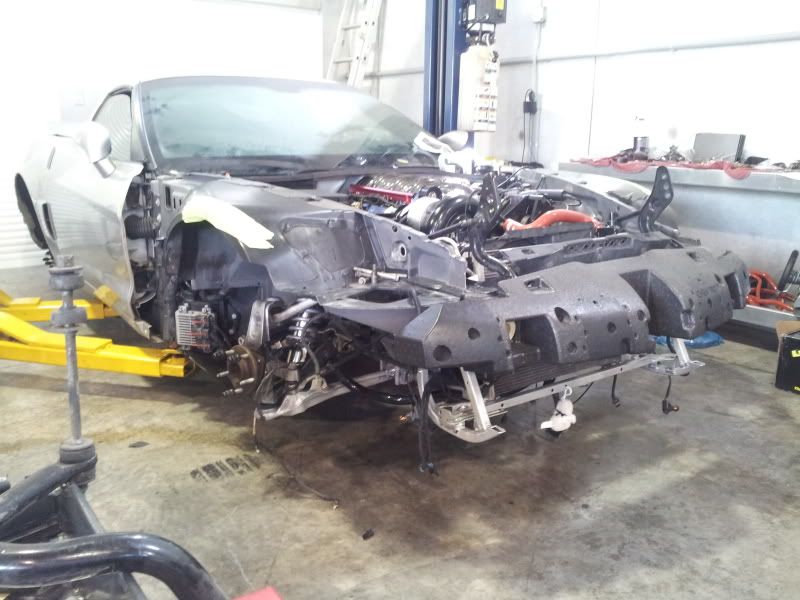

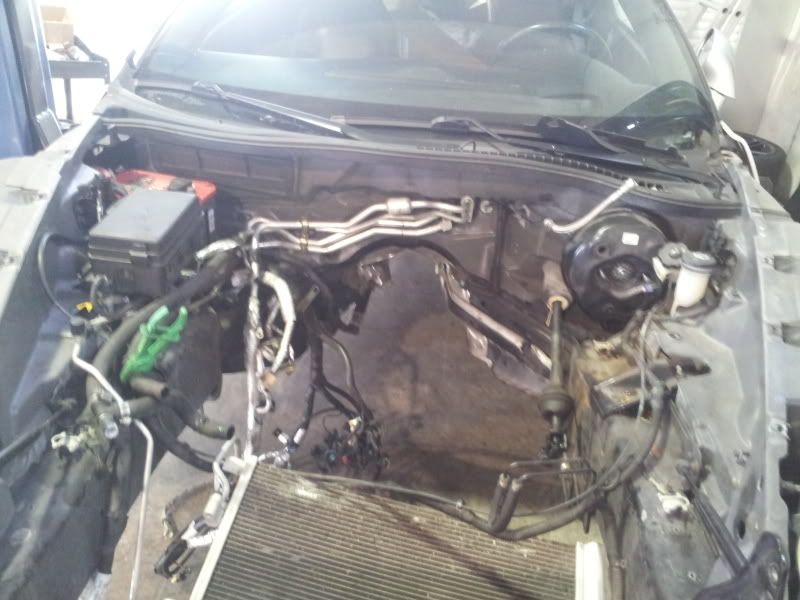
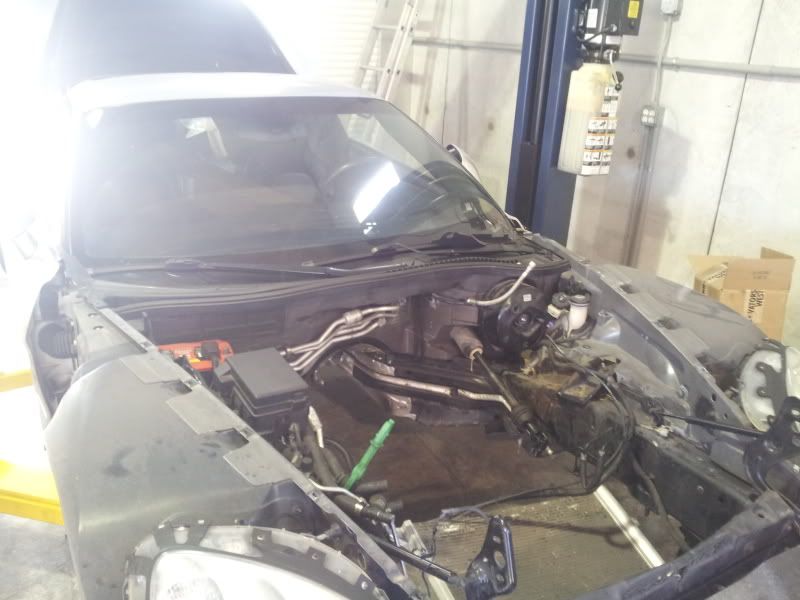
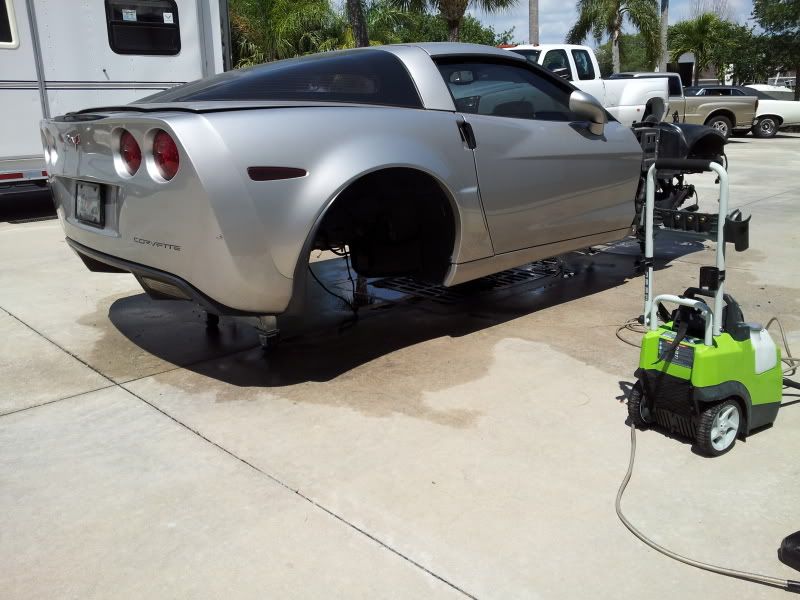
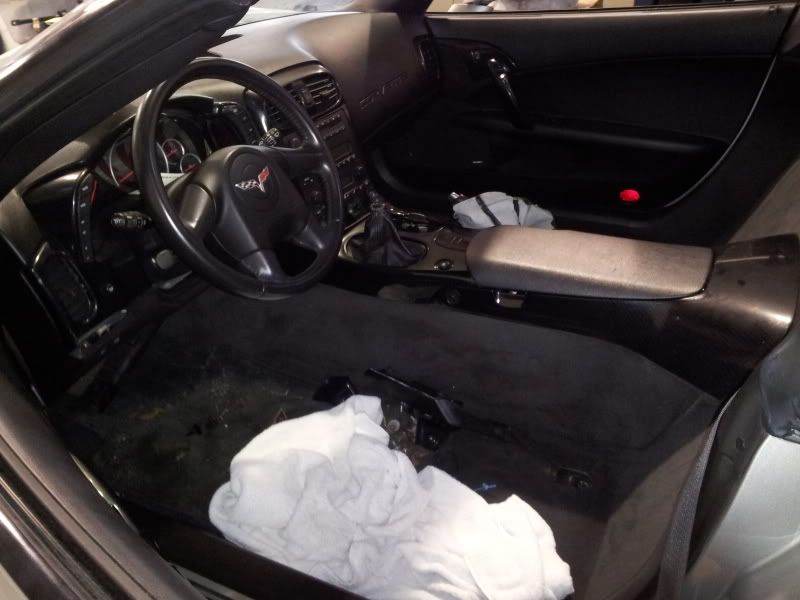
pulling interior...
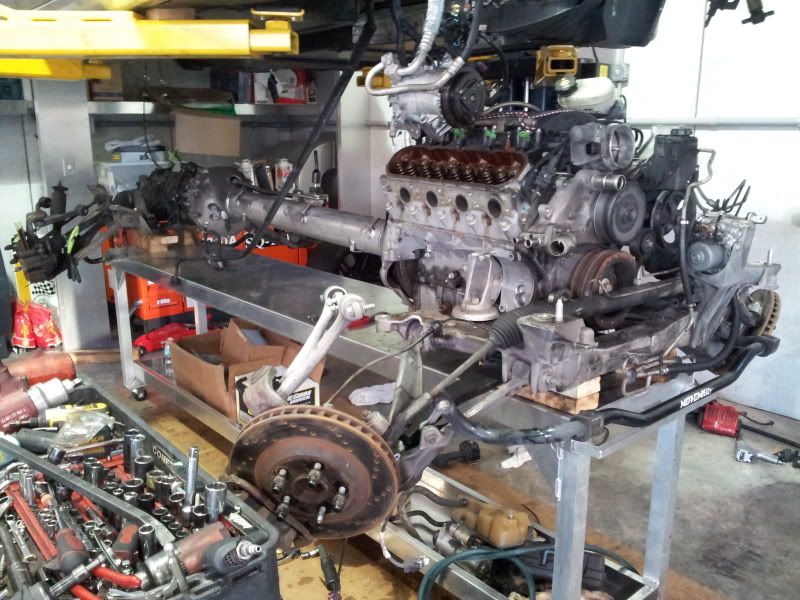
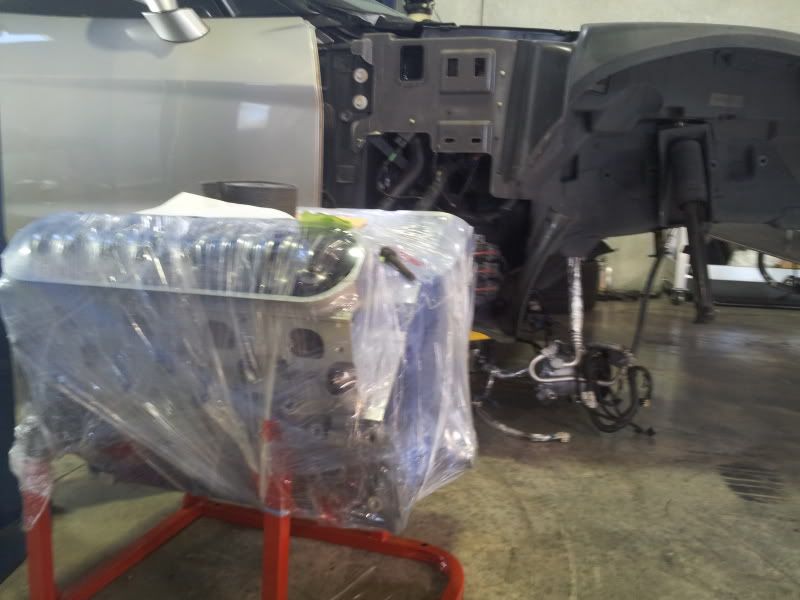
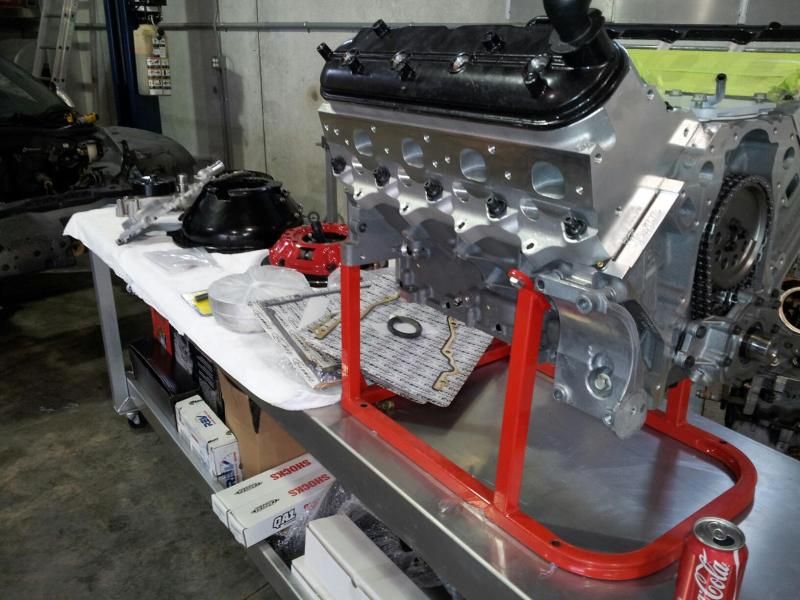
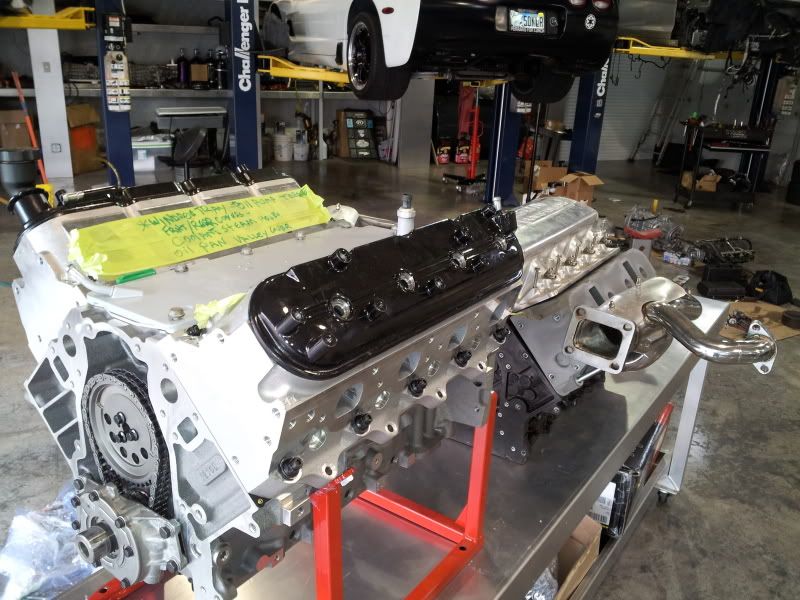
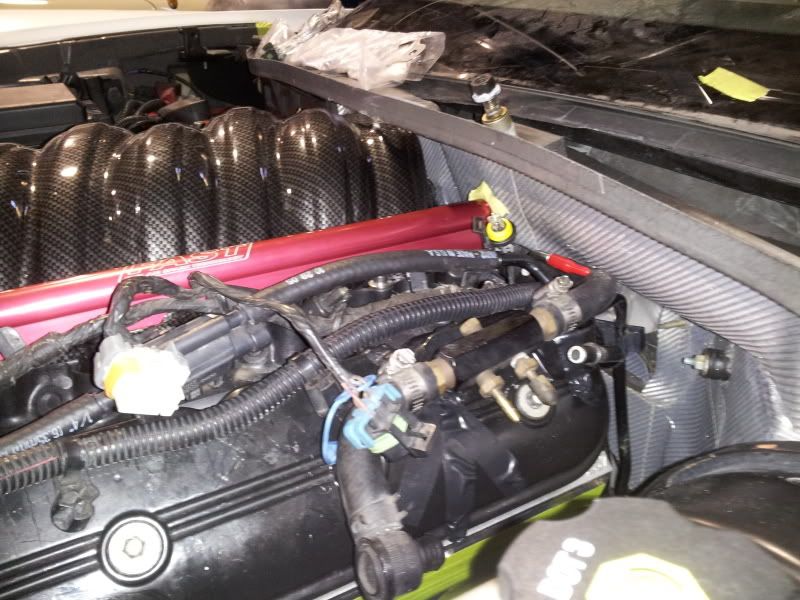
w/mock valve covers...
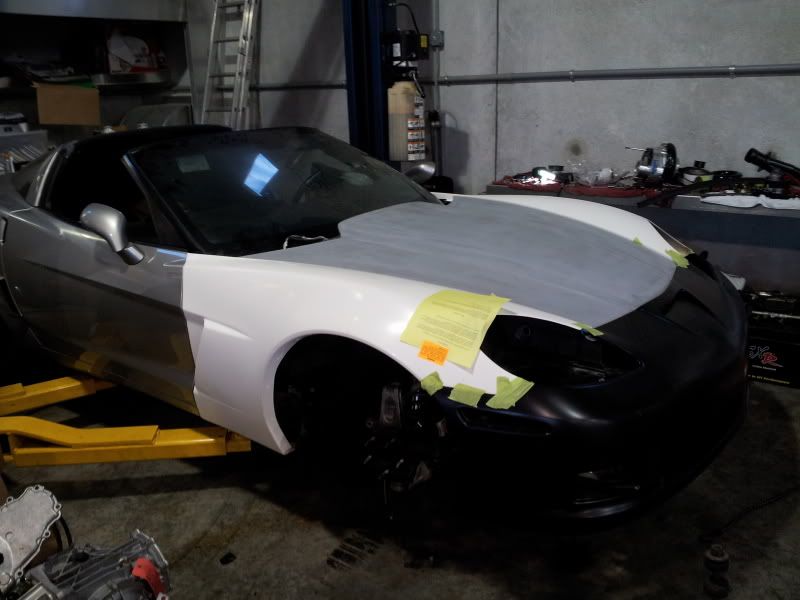
I ,..we, have lots left. Every part, has to be custom fit. All panels, still have to be removed, and drilled,..as they are JUST blanks,..with no provisions. So,..yippie lol.
Fun times,..getting there.
i just copied his list of the build here...(the script underneath)
1) Texas Speed 418 LS3 Forged 10.5:1, PRC LS7 265cc, FAST 102 Intake (done in Hydrocarbon, raised lettering in red to match fuel rails and blow-off valves) and NW 102 TB, Kooks 2" Headers (already have Kooks X-pipe and B&B Bullets), Cam 236/244 .637/.648, ARP Hardware, TS Upgraded Rocker Package, Pfadt Engine Mounts, working on custom gauges
2) ProCharger F1x, ECS bracket, DP Direct Drive, 10-rib Balancer, 3.40" Blower Pulley, 5" Velocity Stack, dual Tial 50mm (Red) Blow Off Valves, Gates Green Belt 10-rib, Custom Piping by Race Part Solutions
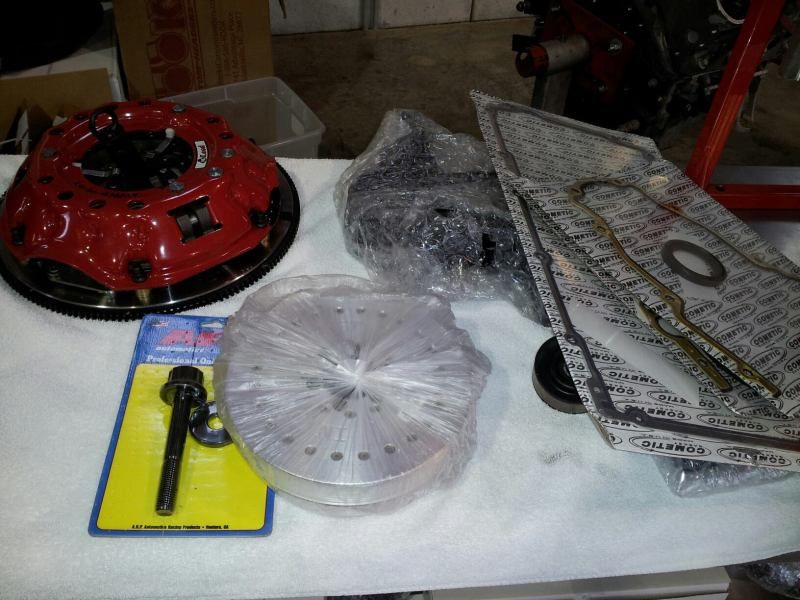
3) Built RPM TR6060 Stage VI w/short 5th gear, GM C6Z 2011 Diff, DSS Carbon Propshaft, Ceramic Torque Tube Bearings, McLeod Twin, Quick Time Bell Housing, Tick Master Cylinder w/braided line, Pfadt Trans Mount
4) Custom Fuel System by Race Part Solutions, Bosch 100LB injectors
5) Lingenfelter Radiator--specific for larger blower unit, Treadstone IC, new GM Front Cradle, red silicone hosing, new GM Water Pump, 180 Stat, Nations S&A 300-amp Alt--black anodized
6) Forgestar F14 Deep Concave Matte Black w/CF Center Caps, 19X10 & 20X12, Michelin Super Sports 275/345, McGard Lugs, also have C6Z 19X11 Black Powder Coasted to be mounted with DRs, New TPMS-
7) QA1 Coilovers, already have Hotchkis Sways
8) C6Z Calipers Powder Coated in ZR1 Blue w/all new hardware, DBA 4000 T3 Slotted Rotors, Hawk Pads, SS Lines
9) C6Z Front Bumper and C6Z Front Quarters�NO ZO6 EMBLEMS!!, already have rear wide body
10) 2012 GM Seat Upgrade w/heaters, matching stitched C6 Emblem, JWM seat bolster kit
11) Pioneer Z140 Head Unit with Ipod plug ,,, working on upgrading speakers, maybe an amp---still weighing spending more money on something that may not be heard
12) Custom D-Style Steering Wheel done in Suede w/CF Inserts and Double Stitching, Matching Titanium Stitch for all interior parts, Padded Console with C6 logo, Two-Tone (black & titanium) Shifter Boot and Ebrake Boot, Custom Stitch Ebrake, CF Pistol Grip Shifter (no shift pattern engraved, as amateurs need not apply), all interior removable pieces already done in Hydrocarbon
13) Rear Diffuser, ZR1 Spoiler, C6Z Front Splitter, Side Skirts, Front & Rear Quarter Vents, Front & Rear Splash Guards, Door Handles, Gas Cap, all parts finished in Hydrocarbon
14) All exterior (lamps, fogs, rears) lighting in LEDs, Headlamp Rebuild Kit, Bezels finished in Hydrocarbon
15) More sho' than go stuff,,, Jake Skull Mats in matching titanium stitch, CF emblem overlays, Aluminum Black Anodized Pedals, 6-Piece Chevy Bowtie Carbon Fiber Fluid Caps, Jake Skull 3" Emblems for front quarters (not a C6Z wannabe!!)
Only the windshield, rear view mirror, fuel cells and key fobs are unchanged. I am sure I am forgetting a few parts, and some new parts will be added. The car will also be painted, or wrapped, in either a dark gray or flat black. No time table, as want to make sure when done it is best it can be!![/QUOTE]
I wanna see it go 9's on it's daily driven setup as well. Here she is...
Treadstone vs procharger
[IMG]http://i70.photobucket.com/albums/i86/V-seriesTech/1364508011_zpse8db4277.jpg[/IMG
old
Mild updates.

will be changing, and selling this bracket soon


Modified master cylinder..


this shroud has since been modified. This was a dewitts radiator, with a stock fan, at a stock height...I lowered, and moved the cradle forward(still have to weld) and also Josh modified the shroud. Looks better but,..before..


pulling interior...


w/mock valve covers...


I ,..we, have lots left. Every part, has to be custom fit. All panels, still have to be removed, and drilled,..as they are JUST blanks,..with no provisions. So,..yippie lol.
Fun times,..getting there.
 09-30-2013, 06:01 PM
#3
Melting Slicks
Thread Starter
Yeah, couple of reasons.
The bower bracket will change, probably get lower, which should present more of a proximity problem with the fan,..so, we massaged the fan shroud...which looks way different now. I also have the radiator sitting in a location that it is not currently at..so...the radiator sits lower then this pic allows to see.
Also,..we moved it forward,..and it will be about another inch lower.
More worried about making a coolant hose work for the ebcm area,...as THAT,...is close.
ECS bracket should be here by the weekend...hopefully, I can have the blower side of things done by the weekend.
I have a velocity stack for the race setup, and I am working on a filter design for it.... I want to run that all the time but,..I think I will have a 45 degree pipe with filter as a worse case scenario for the filter.
Too soon to tell but,...the plan is yessir.

 09-30-2013, 07:11 PM
#5
Melting Slicks


just a bit of info since i saw you saw 3.4" blower pully
if you have the inovators west 8" pully with that 3.4" @7k rpm you will be spinning the blower to near 89K rpm.. which is WAY over the rated 72K rpm suggested max.
If you have stock 7.2" pully 7k is 80K rpm.
IMO you are WAY over spinning the blower.
also.. IMO you are going to need bigger injectors too for that pully combo.
 09-30-2013, 10:36 PM
#7
Safety Car

Serious build going on.
09-30-2013, 11:10 PM
#8
Le Mans Master


Nice build, Should make some great power. Looking forward to the results.
What about using dual Spal fan setup with that radiator. It will give you a little more room to work around. I used that radiator with the dual fan and lowered my cradle and mounting points on the cradle. It was a little tight on the upper hose, But it fit without too many problems. If I was starting over, I would upgrade the 4 rib to the 6 rib on the A/C Jackshaft setup.
What about using dual Spal fan setup with that radiator. It will give you a little more room to work around. I used that radiator with the dual fan and lowered my cradle and mounting points on the cradle. It was a little tight on the upper hose, But it fit without too many problems. If I was starting over, I would upgrade the 4 rib to the 6 rib on the A/C Jackshaft setup.
10-01-2013, 01:51 PM
#9
Melting Slicks
Thread Starter
Thanks player. It's been a long road, not a lot of free time,..the free time I do have,..goes to cars, usually other peoples. Almost there bro...almost....starting to feel good about it.
Yea a copied and pasted the parts list from his post,..I have a few pully's to play with,..I believe that is the smallest one(that I listed/you mentioned), the one we are going with, is larger. I don't know the size off the top of my noggin but, I will post it up asap,..which will probably be after this weekend, since I have have to drive almost 2 hours north to work on this thing.
The injectors,..I agree.
long story short...this build started small...he bought-
D1, rpm C6 trans and diff, rated to 800rwhp, 8 rib pulley(innovators) and I spec'd out his motor with texas for about 1100hp or so.....
...then,..power numbers came up...goals came up,..the realization came up that, the setup may not meet the goals...
so,..and F1X was had, 10 rib..then a TR6060, then a 2012 Z06 diff,...etc.....so yes, the injectors where spec'd out for a lesser build,...which is why the build/parts list has changed so many times.
now, I have a BUNCH of new, unable to use parts to get rid of. So, the puzzle, has been changed many times...hoping for the best.
Definitely not a blower guru so any insight, like yours, always appreciated. Thanks for the heads up.
Thanks, We have 6 bolt heads, on a 4 bolt block. Hoping for the best.
Trying our best.
Good info. Is the SPAL fan setup a "kit" for these cars, or is it a random set of fans that I need to build a mounting location/cage for? Guessing more of a kit.
I THINK the setup we have is a 4 rib...I think.
Thanks everyone for they're insight/comments, much appreciated.
-J
just a bit of info since i saw you saw 3.4" blower pully
if you have the inovators west 8" pully with that 3.4" @7k rpm you will be spinning the blower to near 89K rpm.. which is WAY over the rated 72K rpm suggested max.
If you have stock 7.2" pully 7k is 80K rpm.
IMO you are WAY over spinning the blower.
also.. IMO you are going to need bigger injectors too for that pully combo.
if you have the inovators west 8" pully with that 3.4" @7k rpm you will be spinning the blower to near 89K rpm.. which is WAY over the rated 72K rpm suggested max.
If you have stock 7.2" pully 7k is 80K rpm.
IMO you are WAY over spinning the blower.
also.. IMO you are going to need bigger injectors too for that pully combo.
The injectors,..I agree.
long story short...this build started small...he bought-
D1, rpm C6 trans and diff, rated to 800rwhp, 8 rib pulley(innovators) and I spec'd out his motor with texas for about 1100hp or so.....
...then,..power numbers came up...goals came up,..the realization came up that, the setup may not meet the goals...
so,..and F1X was had, 10 rib..then a TR6060, then a 2012 Z06 diff,...etc.....so yes, the injectors where spec'd out for a lesser build,...which is why the build/parts list has changed so many times.
now, I have a BUNCH of new, unable to use parts to get rid of. So, the puzzle, has been changed many times...hoping for the best.
Definitely not a blower guru so any insight, like yours, always appreciated. Thanks for the heads up.
Trying our best.
Nice build, Should make some great power. Looking forward to the results.
What about using dual Spal fan setup with that radiator. It will give you a little more room to work around. I used that radiator with the dual fan and lowered my cradle and mounting points on the cradle. It was a little tight on the upper hose, But it fit without too many problems. If I was starting over, I would upgrade the 4 rib to the 6 rib on the A/C Jackshaft setup.
What about using dual Spal fan setup with that radiator. It will give you a little more room to work around. I used that radiator with the dual fan and lowered my cradle and mounting points on the cradle. It was a little tight on the upper hose, But it fit without too many problems. If I was starting over, I would upgrade the 4 rib to the 6 rib on the A/C Jackshaft setup.
I THINK the setup we have is a 4 rib...I think.
Thanks everyone for they're insight/comments, much appreciated.
-J
10-01-2013, 01:55 PM
#10
Melting Slicks
Ragin Racing sells the Spal dual fans with brackets for use on a stock radiator. Dewitt's sells the same fans with brackets meant for a Dewitt's radiator. If you are going custom radiator, you would be better off just buying the fans for $230 and making your own brackets.
10-01-2013, 01:58 PM
#11
Melting Slicks
10-01-2013, 02:17 PM
#12
Melting Slicks
Thread Starter
Ragin Racing sells the Spal dual fans with brackets for use on a stock radiator. Dewitt's sells the same fans with brackets meant for a Dewitt's radiator. If you are going custom radiator, you would be better off just buying the fans for $230 and making your own brackets.
Is the fan setup shorter?
I'll have to look into it.
08-06-2014, 05:14 PM
#14
Melting Slicks
Thread Starter


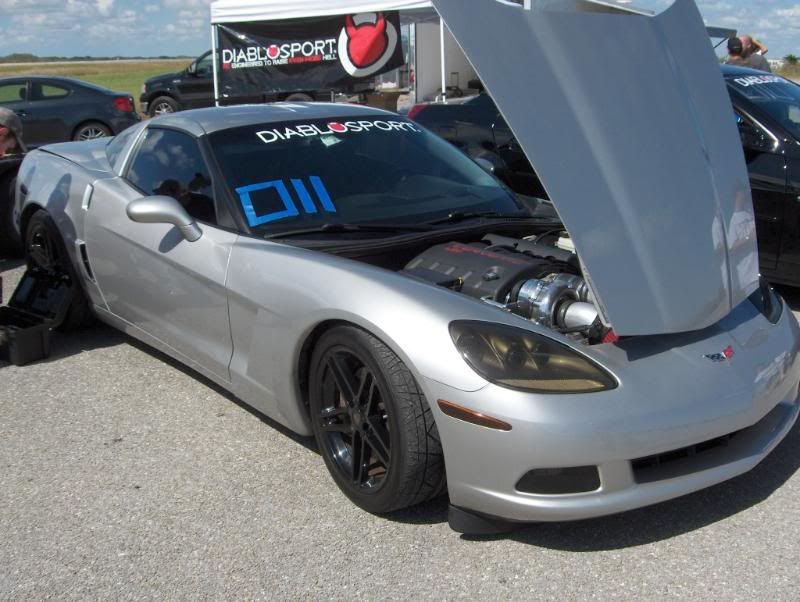
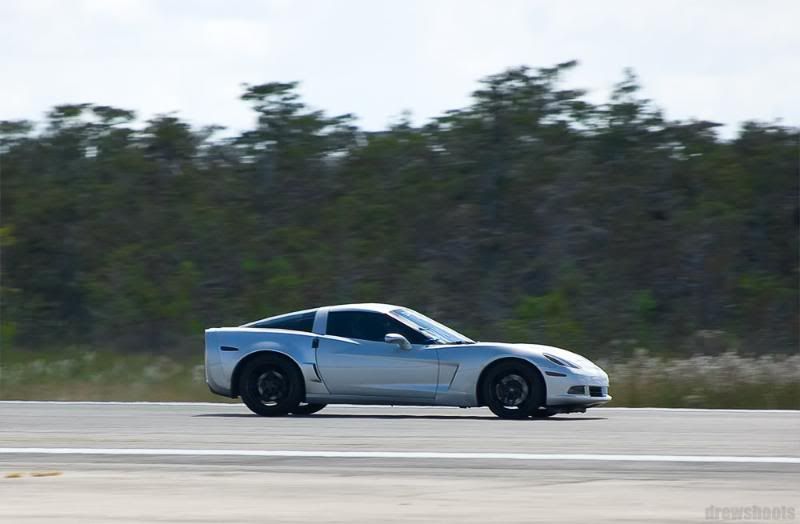
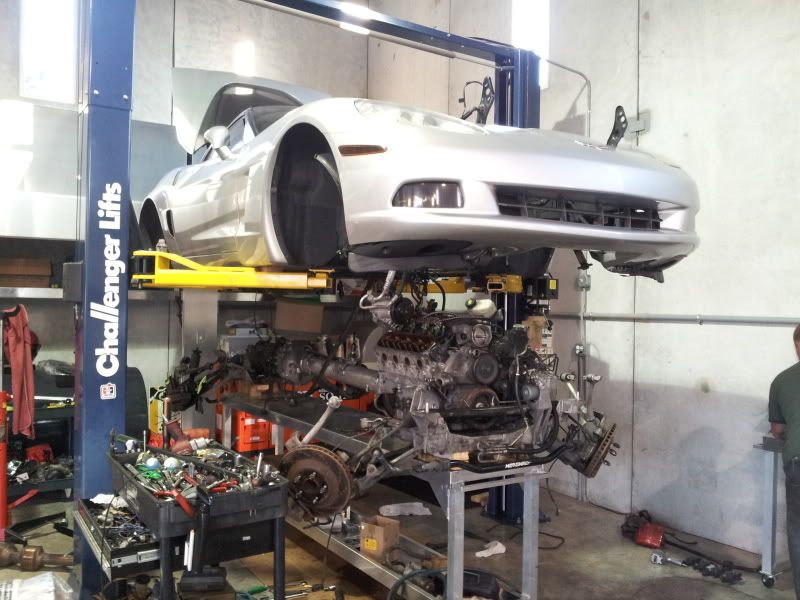
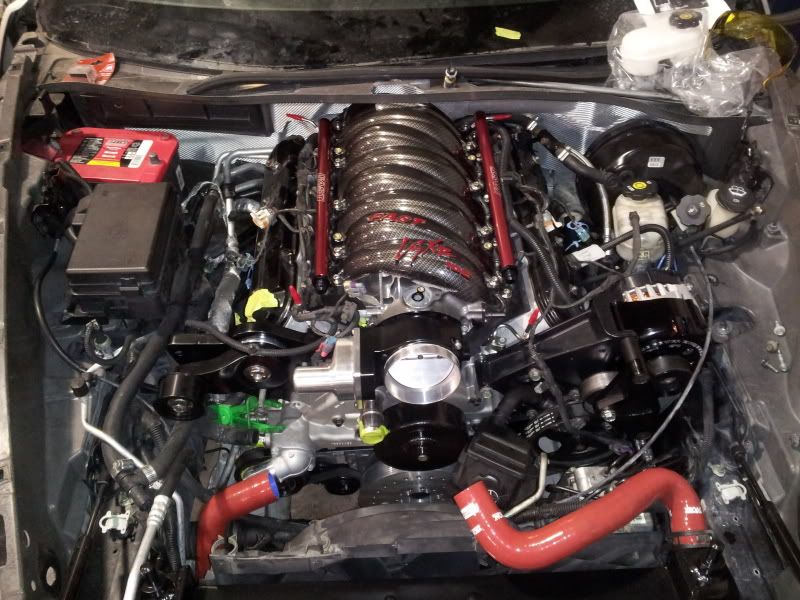
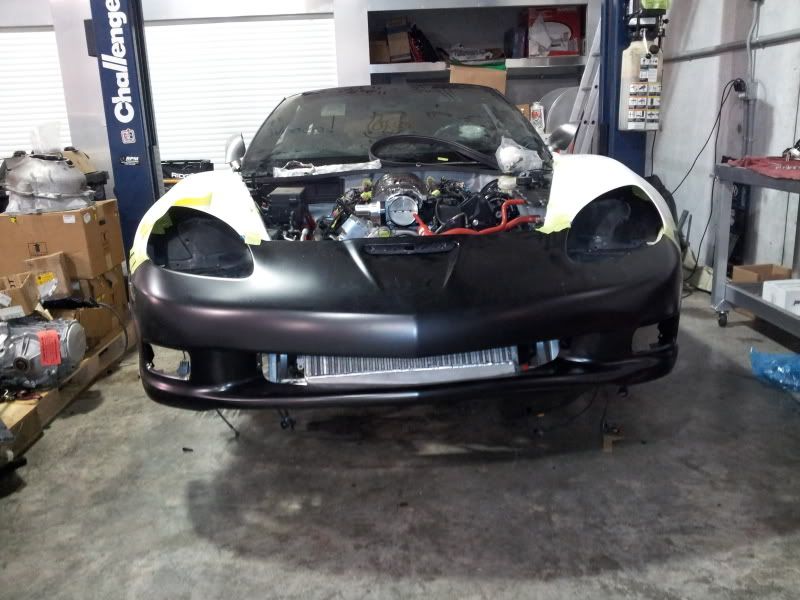
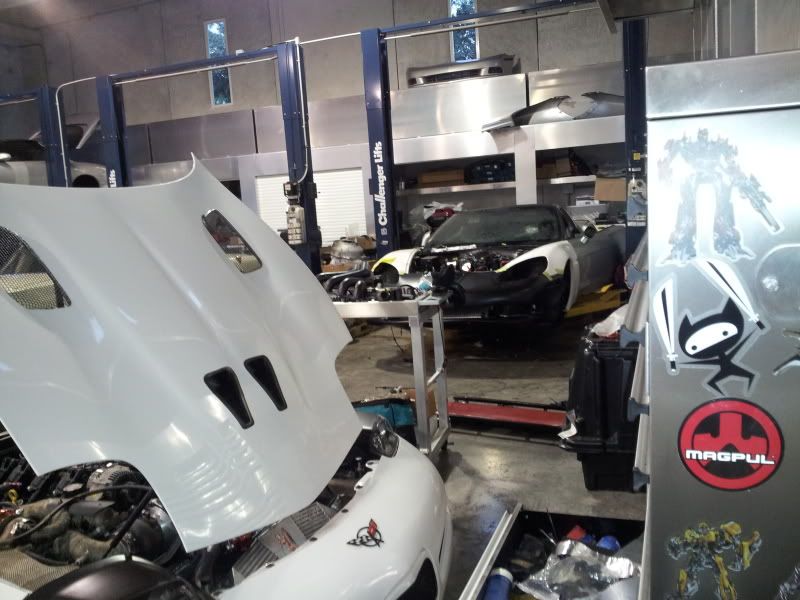
Finally...after all the mishaps...all the issues...this thing is finally on the tarmac.
Not operating yet but...close. Felt good to sit in it actually...and roll down the street. More updates to come in the weeks to follow. For more current, and up to date pics/build progress on this C6 and other GM rockets, follow
https://www.facebook.com/TheFixedRoof


 08-06-2014, 05:16 PM
#16
Melting Slicks
Thread Starter
I still need to figure out which map to use on this 2005 ...I use an older style 3 bar on my 2000....what are you gurus using on your C6's?
Hoping to be close to startup soon...just trying to get some small stuff done first...
Hoping to be close to startup soon...just trying to get some small stuff done first...
08-06-2014, 05:39 PM
#18
Team Owner

I use a DPE 2.5 bar. I believe Dave Steck has his own plug and play units for the 05-06 cars.
08-07-2014, 11:36 AM
#20
Melting Slicks
Thread Starter
Thank you. It has been a long road, still a few bumps I am sure but we'll get there.