When you click on links to various merchants on this site and make a purchase, this can result in this site earning a commission. Affiliate programs and affiliations include, but are not limited to, the eBay Partner Network.
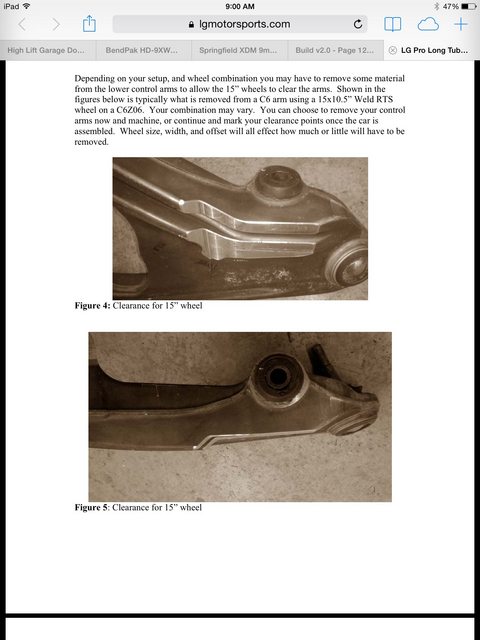
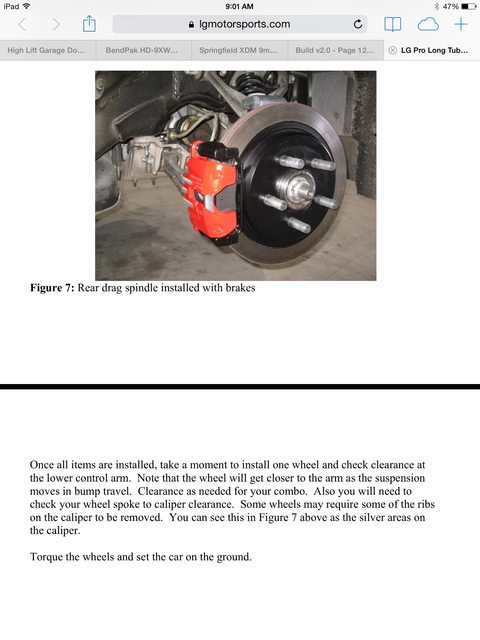
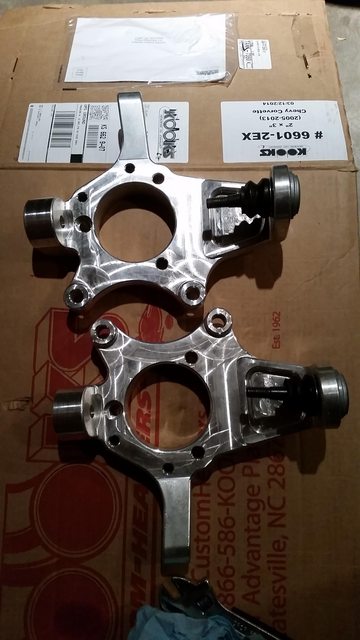
Yep, and brake calipers. You grind a lot more than you would think. A lot comes off the control arms.
Even on base c5/c6 brakes?
My z51 calipers are the same as base, the rotor is just larger with the mounting bracket to match. I have base c5 brakes from my road course days, so maybe I'll have an easier time
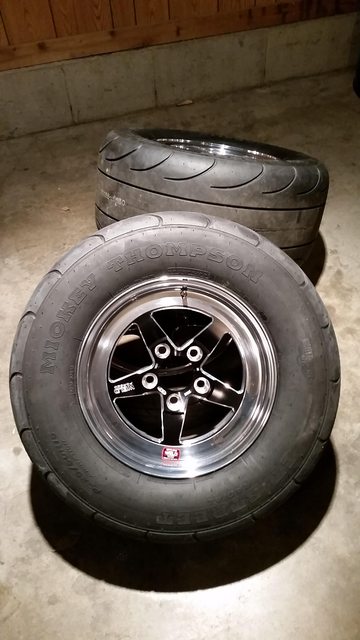
Yes, you grind the base c5 brakes. Also have to be careful where the wheel weights are on the rims because they will hit. There is very very little clearance.
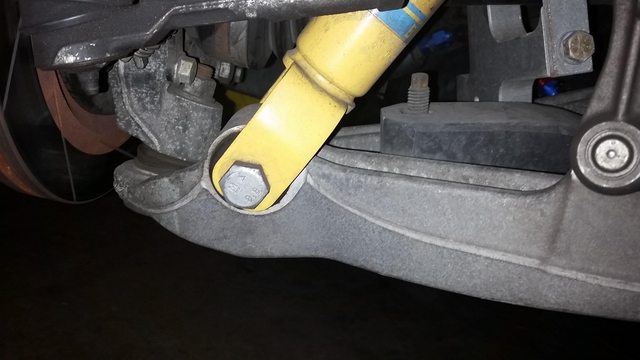
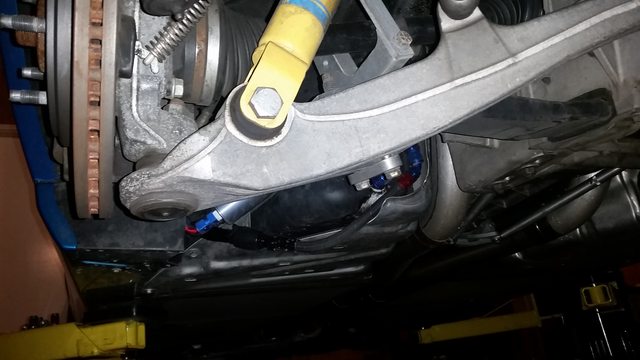
speaking from personaly experience LOL! I would use a sawzal for the majority and then a tiger disc to finish it off and all of that should take about 20 min for both sides. I did a little at first and then found out that the arm articulates a whole lot so you have to set it on the ground to get an accurate look at the clearance. Also flipped the bolt on the lower shock from going in the front to going in from the rear as the end of the bolt was so close it was questionable.
Last edited by inspector12; 10-19-2014 at 05:14 PM.
I had mine ground down so it cleared with a 1/8" clearance between a-arm and rim but when I got into the 1.50 sixtyfoots it started hitting again... Didn't have to cut as much as your pics show tho...
When I get home I'll get some pictures of mine. Had to redo it 3 times because I kept knocking the wheel weights off. The caliper also needed a lot more than that picture shows.
When I get home I'll get some pictures of mine. Had to redo it 3 times because I kept knocking the wheel weights off. The caliper also needed a lot more than that picture shows.
If you start having over heating issues or even too high of coolant temps. Remember about what I told you about how I shifted the bottom further foward etc... It will make a huge difference if you need etc... That is quite s change on the impeller design.
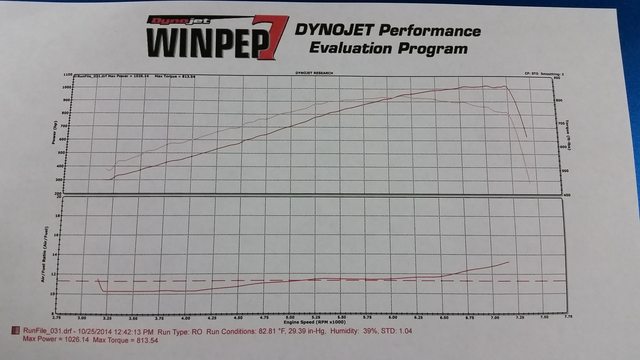
The impeller changed drastically, and the volute changed even more. However its hard to see that from the images shown. If you could see them side by side from the "front" you will see that.
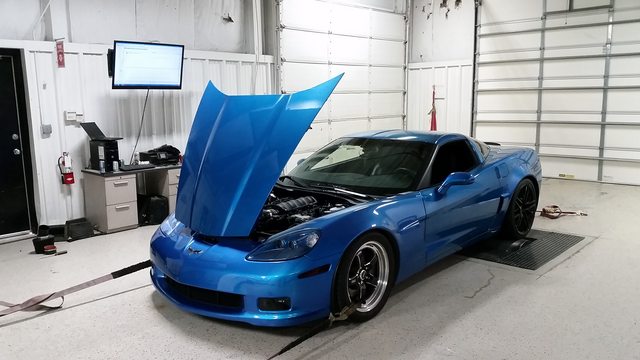
Again, this blower is NOT for people making less then 900HP.
The standard A and C are good for that. The F-1A-94, is a rock start on the big end.
The impeller changed drastically, and the volute changed even more. However its hard to see that from the images shown. If you could see them side by side from the "front" you will see that.
Again, this blower is NOT for people making less then 900HP.
The standard A and C are good for that. The F-1A-94, is a rock start on the big end.
any chance of bringing these changes to a new better X?
The impeller changed drastically, and the volute changed even more. However its hard to see that from the images shown. If you could see them side by side from the "front" you will see that.
Again, this blower is NOT for people making less then 900HP.
The standard A and C are good for that. The F-1A-94, is a rock start on the big end.
Will he be sacrificing any low end with this blower vs his old setup? I am curious if you have to give a little down low to gain the amount of power he should up top..
I really like the idea of having a step up from a YSi and still being able to fit it under my stock hood without a bunch of tricks, this blower sounds like the possible solution.
you can get away with not taking as much off the lower control arm by having a shop balance the wheels to the inside lip with hammer on weights... no one will ever see the hammer ons on the inside lip and you don't have to worry about knocking the stick ons off.. been there done that way to many times.

 10-18-2014, 09:51 PM