
Well, I finally did it.. (ECS /FSP)
 12-18-2014, 01:04 PM
#121
Race Director

Thread Starter
Member Since: May 2004
Location: Raleigh, NC
Posts: 16,664
Received 1,193 Likes
on
1,052 Posts
St. Jude Donor '15

 12-18-2014, 08:21 PM
#122
Race Director
Thread Starter
Member Since: May 2004
Location: Raleigh, NC
Posts: 16,664
Received 1,193 Likes
on
1,052 Posts
St. Jude Donor '15
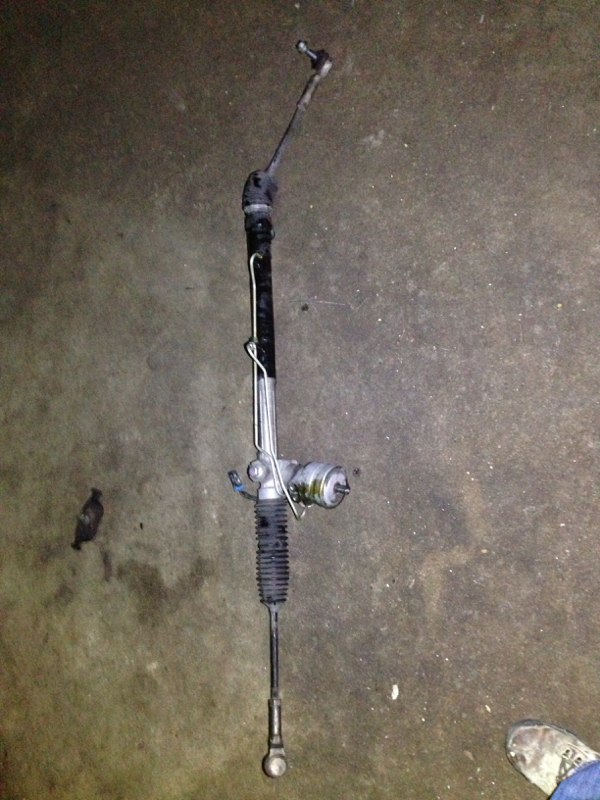
Steering rack is out. That thing was w bitch. Balancer bolt is out. Head unit is still on. Pulled piping from HU to IC but left head unit on. Good news is I can fix the routing of a few hoses and lines now that I have decent access
Can't find my puller so I'm off to buy one. Will be tomorrow before I finish getting balancer off
Feeling better about getting it back on the road this weekend!
Can't find my puller so I'm off to buy one. Will be tomorrow before I finish getting balancer off
Feeling better about getting it back on the road this weekend!
12-18-2014, 08:53 PM
#123
Burning Brakes

Steering rack is out. That thing was w bitch. Balancer bolt is out. Head unit is still on. Pulled piping from HU to IC but left head unit on. Good news is I can fix the routing of a few hoses and lines now that I have decent access
Can't find my puller so I'm off to buy one. Will be tomorrow before I finish getting balancer off
Feeling better about getting it back on the road this weekend!
Attachment 47849051
Can't find my puller so I'm off to buy one. Will be tomorrow before I finish getting balancer off
Feeling better about getting it back on the road this weekend!
Attachment 47849051
12-18-2014, 09:04 PM
#124
Race Director
Thread Starter
Member Since: May 2004
Location: Raleigh, NC
Posts: 16,664
Received 1,193 Likes
on
1,052 Posts
St. Jude Donor '15
12-19-2014, 07:43 AM
#125
Drifting

One thing I forgot to mention is the alignment of the timing cover. For whatever reason the new hb may throw this out of specs. When I replaced the cam the method I used was to leave the cover bolts loose and install the hb. That way the cover was somewhat centered. It didn't leak until I replaced the ud hb unit with the stock sized one.
12-19-2014, 07:52 AM
#126
Race Director
Thread Starter
Member Since: May 2004
Location: Raleigh, NC
Posts: 16,664
Received 1,193 Likes
on
1,052 Posts
St. Jude Donor '15
One thing I forgot to mention is the alignment of the timing cover. For whatever reason the new hb may throw this out of specs. When I replaced the cam the method I used was to leave the cover bolts loose and install the hb. That way the cover was somewhat centered. It didn't leak until I replaced the ud hb unit with the stock sized one.
One question--how did you get the balancer back on? I've seen all sorts of contraptions from long threaded rods to purpose built tools. I've also read that if you heat it up first it'll slide on a lot easier, so I'll probably try to do that regardless
I'm going to try to find some threaded rod the right size during lunch and also planning on heating the balancer up to make it a little
Also, does anyone have any suggestions on something I can use to clean up power steering fluid that got on the head unit? Normally I'd just use brake cleaner, but not sure if that will hurt the black coating on the SC.
Last edited by schpenxel; 12-19-2014 at 07:58 AM.
12-19-2014, 09:25 AM
#127
Burning Brakes
12-19-2014, 09:39 AM
#128
Race Director
Thread Starter
Member Since: May 2004
Location: Raleigh, NC
Posts: 16,664
Received 1,193 Likes
on
1,052 Posts
St. Jude Donor '15
One thing I forgot to mention is the alignment of the timing cover. For whatever reason the new hb may throw this out of specs. When I replaced the cam the method I used was to leave the cover bolts loose and install the hb. That way the cover was somewhat centered. It didn't leak until I replaced the ud hb unit with the stock sized one.

Guess I shouldn't have bothered trying to work around the head unit... it has to come off anyways to get the water pump off to get the timing cover off. Or I can try to get the timing cover seal out from the front with cover still installed. Guess I could try that, and if successful, won't have to pull the rest off. If not, then I will have to
12-19-2014, 11:11 AM
#129
Premium Supporting Vendor
Member Since: Oct 2004
Location: Providing the most proven supercharger kits for your C5/6/7 609-752-0321
Posts: 23,313
Received 1,084 Likes
on
656 Posts
I was reading more about this and it looks like there's an install tool that makes alignment easy, but probably more of an engine builder tool than for the average guy changing out a damper in the driveway
Guess I shouldn't have bothered trying to work around the head unit... it has to come off anyways to get the water pump off to get the timing cover off. Or I can try to get the timing cover seal out from the front with cover still installed. Guess I could try that, and if successful, won't have to pull the rest off. If not, then I will have to
Guess I shouldn't have bothered trying to work around the head unit... it has to come off anyways to get the water pump off to get the timing cover off. Or I can try to get the timing cover seal out from the front with cover still installed. Guess I could try that, and if successful, won't have to pull the rest off. If not, then I will have to
You can change the seal without pulling the cover, just use a seal puller.
 12-19-2014, 11:14 AM
#130
Race Director
Thread Starter
Member Since: May 2004
Location: Raleigh, NC
Posts: 16,664
Received 1,193 Likes
on
1,052 Posts
St. Jude Donor '15
So, that is the plan! Hopefully tonight I can get the seal changed/new balancer on.. then tomorrow get it back together. We'll see
12-19-2014, 08:33 PM
#131
Race Director
Thread Starter
Member Since: May 2004
Location: Raleigh, NC
Posts: 16,664
Received 1,193 Likes
on
1,052 Posts
St. Jude Donor '15
Got balancer off. Barely. Harbor freight puller was screaming for mercy. Took a heat gun to balancer for a while and it finally came off
Seal came right out
New seal went in no problem.
Made a balancer installer. Put new balancer in oven at 200* and it went on a decent little bit. Used installer and pulled it on rest of way. Seated with old bolt and pinned new balancer in new spot on the crank. Def. easier with steering rack out of the way.
Torqued new balancer bolt (holy mother of god).
Installed new AC belt
Made new hose for heater to water pump to reservoir. Much better fit now
Also figured out I had routed a radiator hose wrong which was interfering with the transmission cooler lines. Lines were previously pushing on tube from HU to IC. Got that fixed.
Couldn't get belt on 100% but got it far enough to see alignment looks awesome now
Will start on putting rack back in tomorrow. That's the biggest thing remaining.
I need food and beer. And sleep.
12-19-2014, 10:36 PM
#132
Race Director
Thread Starter
Member Since: May 2004
Location: Raleigh, NC
Posts: 16,664
Received 1,193 Likes
on
1,052 Posts
St. Jude Donor '15
Few picture. Hard to take any when working in the dark
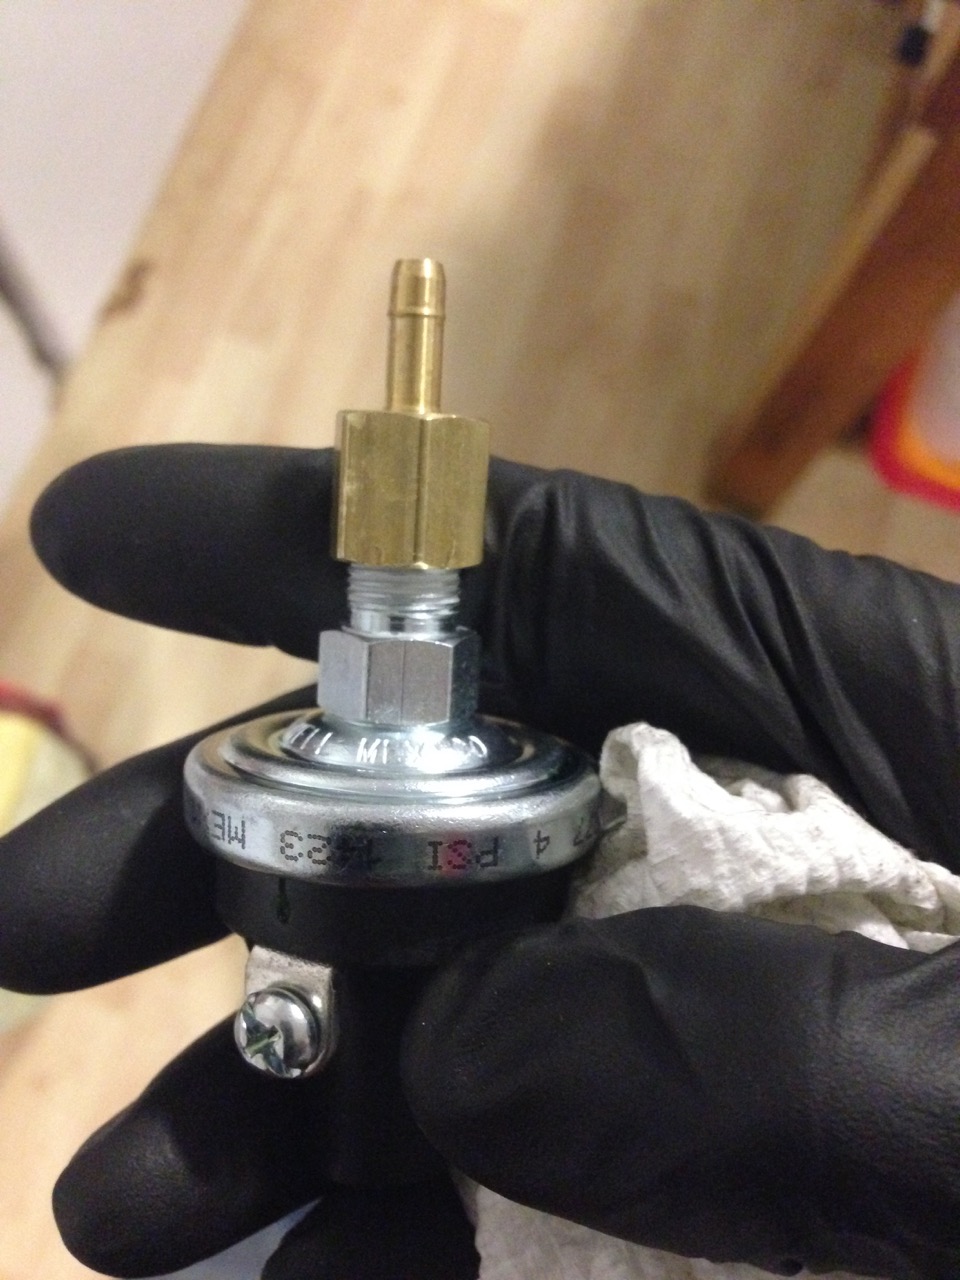
Put barb on pressure switch. Actually ordered another with a weatherpack connector so this was kind of a waste of time
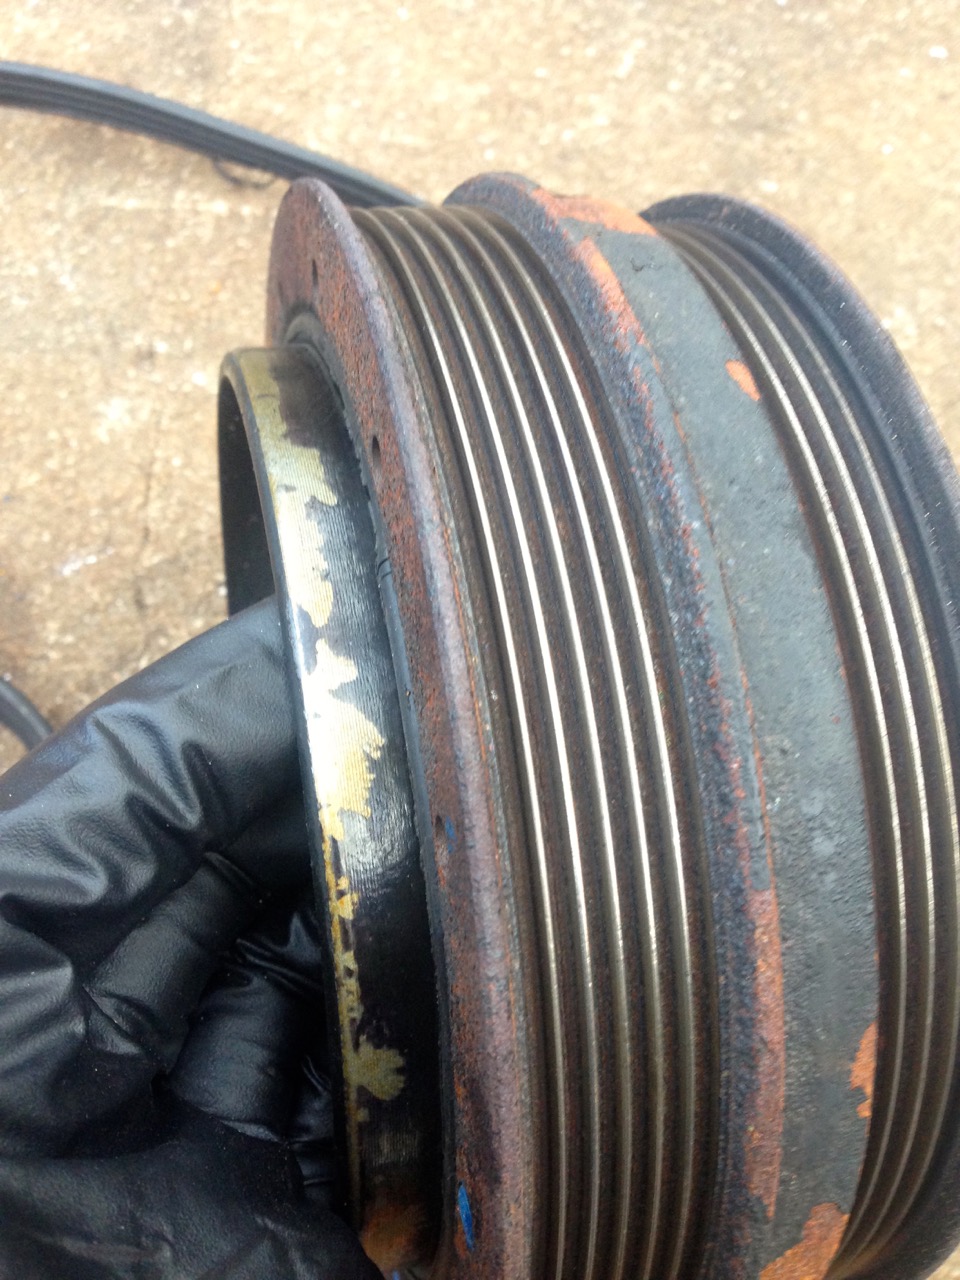
Old balancer and old AC belt
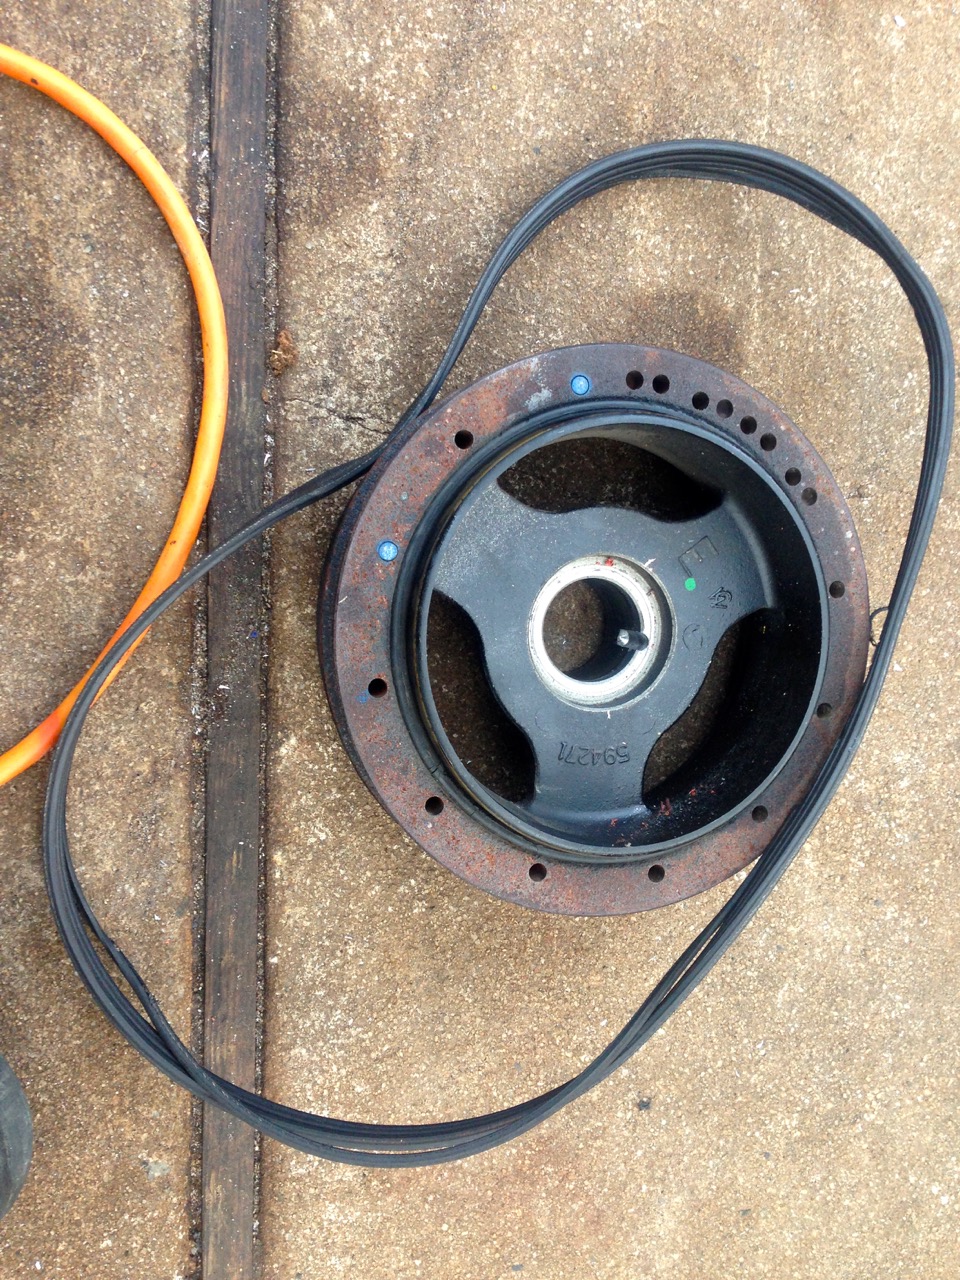
Old balancer
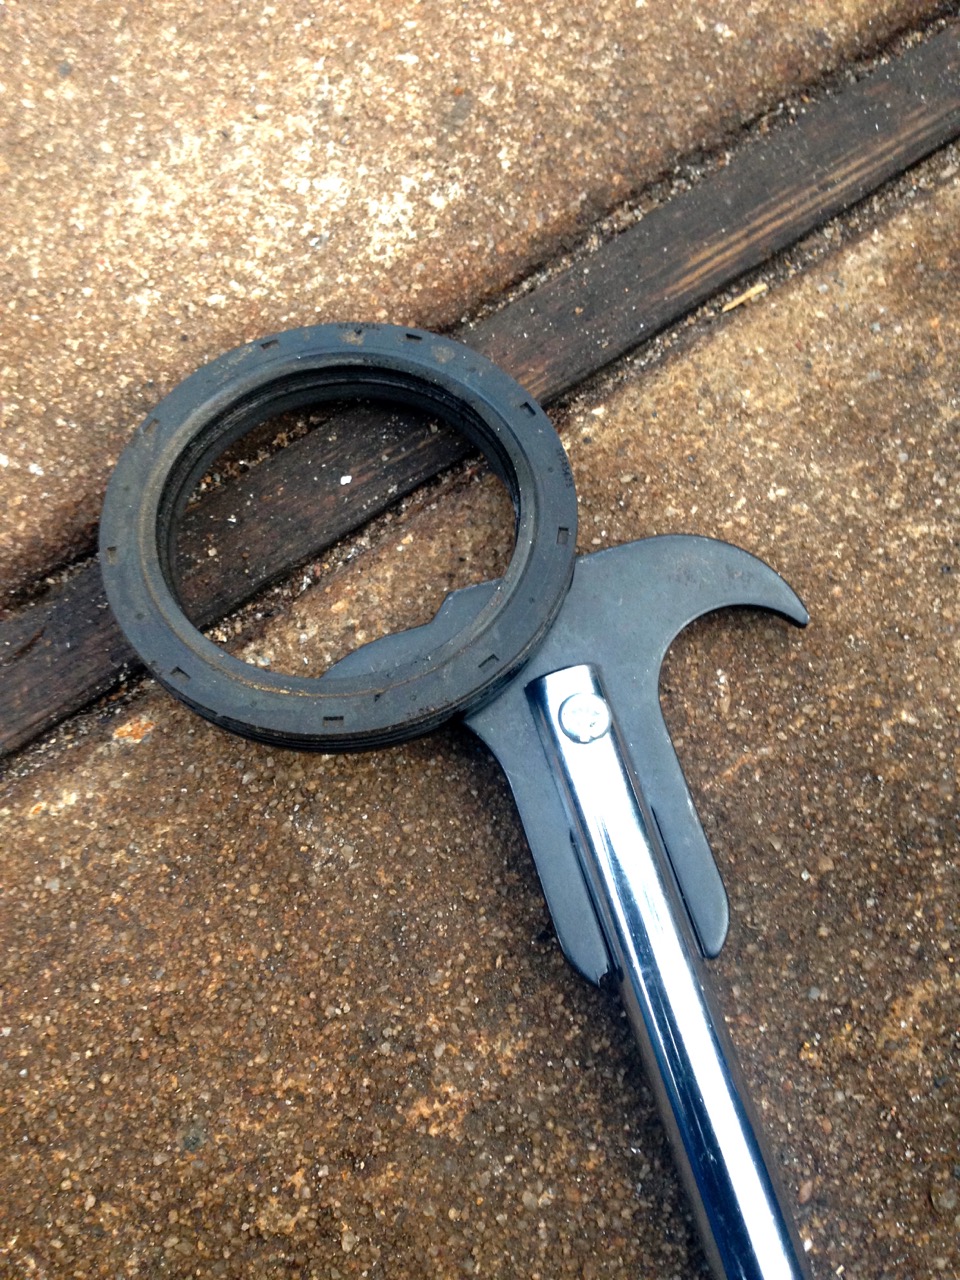
Seal / seal remover
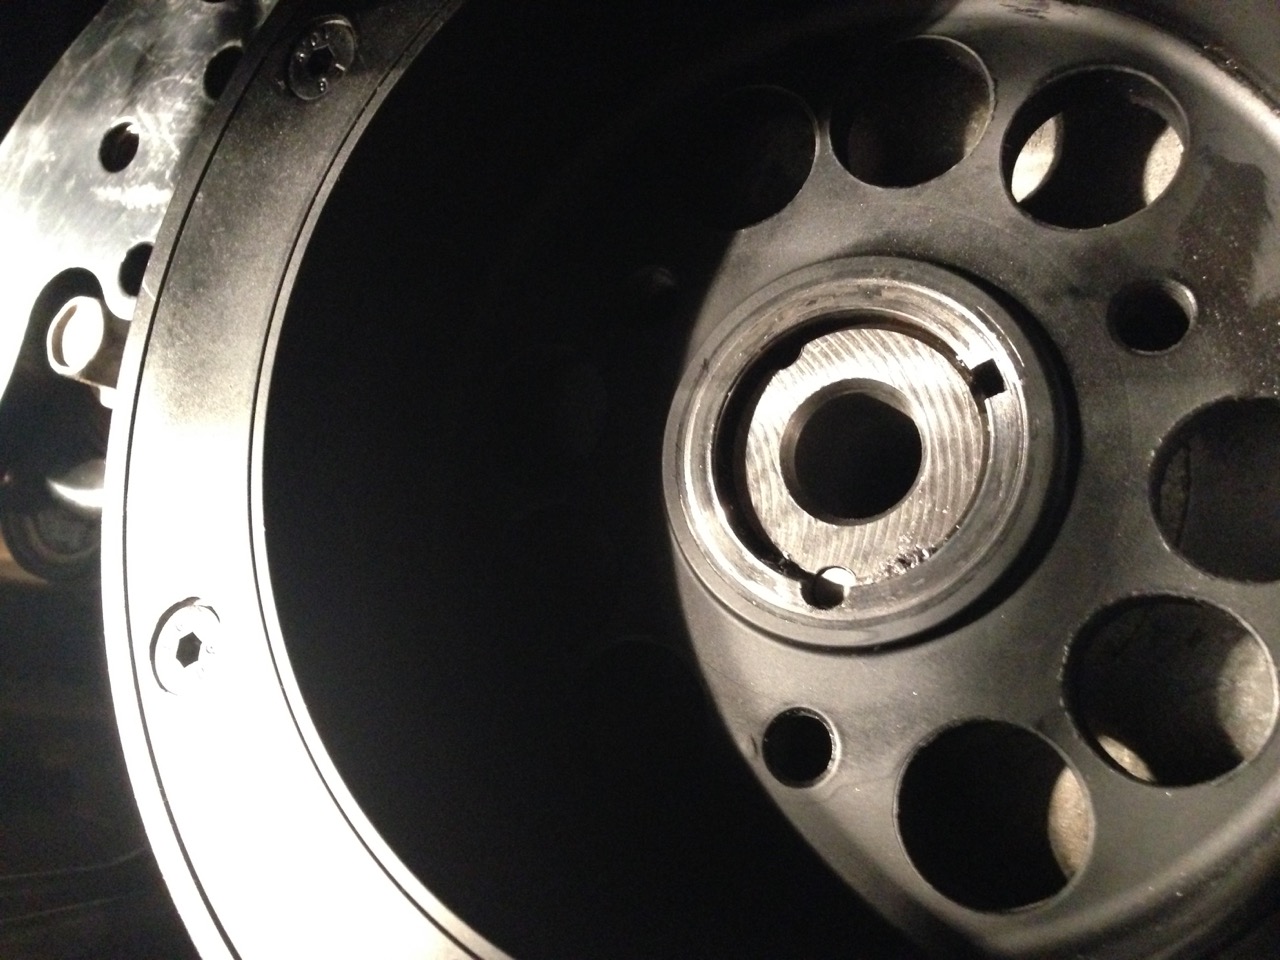
Crank pinned. Again.
If I can get steering rack in in the morning then rest should go quick. Should.
Put barb on pressure switch. Actually ordered another with a weatherpack connector so this was kind of a waste of time

Old balancer and old AC belt

Old balancer

Seal / seal remover

Crank pinned. Again.

If I can get steering rack in in the morning then rest should go quick. Should.
12-20-2014, 05:07 PM
#133
Race Director
Thread Starter
Member Since: May 2004
Location: Raleigh, NC
Posts: 16,664
Received 1,193 Likes
on
1,052 Posts
St. Jude Donor '15
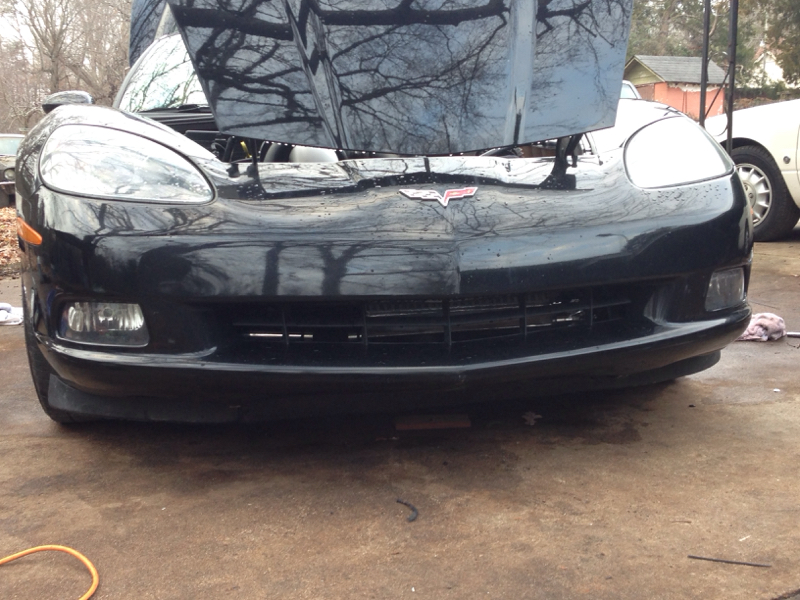
No pictures, but I'm driving it now!
Sounds ridiculous already and I can't even get on it yet
Better update later
Sounds ridiculous already and I can't even get on it yet
Better update later
12-20-2014, 05:27 PM
#134
Burning Brakes
12-20-2014, 05:34 PM
#135
Race Director
Thread Starter
Member Since: May 2004
Location: Raleigh, NC
Posts: 16,664
Received 1,193 Likes
on
1,052 Posts
St. Jude Donor '15
12-20-2014, 10:03 PM
#136
Race Director
Thread Starter
Member Since: May 2004
Location: Raleigh, NC
Posts: 16,664
Received 1,193 Likes
on
1,052 Posts
St. Jude Donor '15
Couple of pictures. Video tomorrow
Still need to put the final "cover" over the top of radiator/IC/supercharger piping but left that for when I'm really done done
Anyways. Will post some more details later.
Still need to put the final "cover" over the top of radiator/IC/supercharger piping but left that for when I'm really done done
Anyways. Will post some more details later.
12-20-2014, 10:03 PM
#137
Race Director
Thread Starter
Member Since: May 2004
Location: Raleigh, NC
Posts: 16,664
Received 1,193 Likes
on
1,052 Posts
St. Jude Donor '15
 12-23-2014, 12:00 PM
#139
Race Director
Thread Starter
Member Since: May 2004
Location: Raleigh, NC
Posts: 16,664
Received 1,193 Likes
on
1,052 Posts
St. Jude Donor '15
Thanks! I wish I had done a little better on the documentation at the end, but it took so much longer than I had expected it to already that I just had to work. (mainly due to my balancer issue, not the kit's fault). I would strongly recommend anyone doing this to INSPECT their balancer prior to pinning the crank. If you aren't sure it's 100%, at least replace it with the one from Summit listed earlier in this thread so you don't have to worry about it.
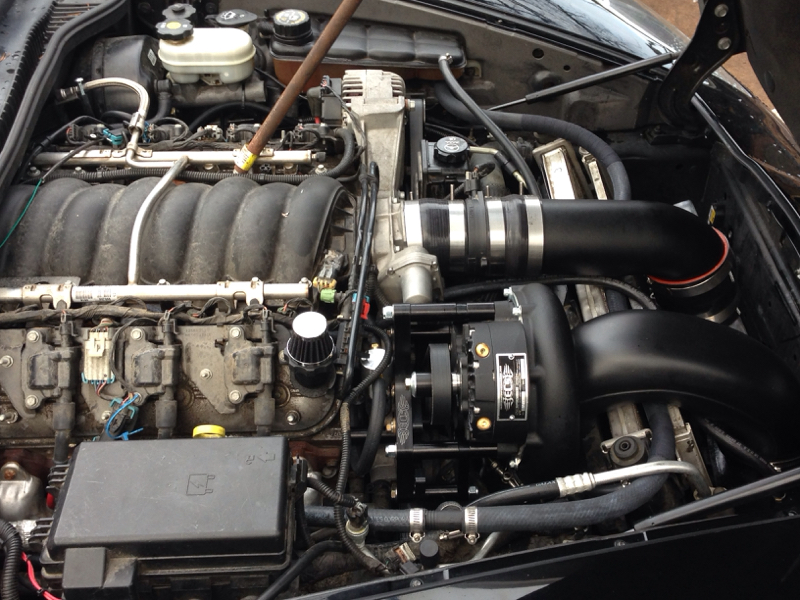
Honestly I'm a little embarrassed by how dirty the rest of the engine is now. I promise I'll clean it over the Holidays!
Oh, AND I'll replace the shock thing that holds the hood open
Looking a little ghetto with a rusty pipe and dirty valve covers 
Honestly I'm a little embarrassed by how dirty the rest of the engine is now. I promise I'll clean it over the Holidays!
Oh, AND I'll replace the shock thing that holds the hood open
Looking a little ghetto with a rusty pipe and dirty valve covers
12-23-2014, 12:04 PM
#140
Race Director

Member Since: Dec 2010
Location: Atlanta, GA
Posts: 10,426
Received 1,260 Likes
on
1,055 Posts
2020 Corvette of the Year Finalist (performance mods)
C5 of Year Winner (performance mods) 2019

is your bracket/spacers anodized or powdercoated?
