When you click on links to various merchants on this site and make a purchase, this can result in this site earning a commission. Affiliate programs and affiliations include, but are not limited to, the eBay Partner Network.
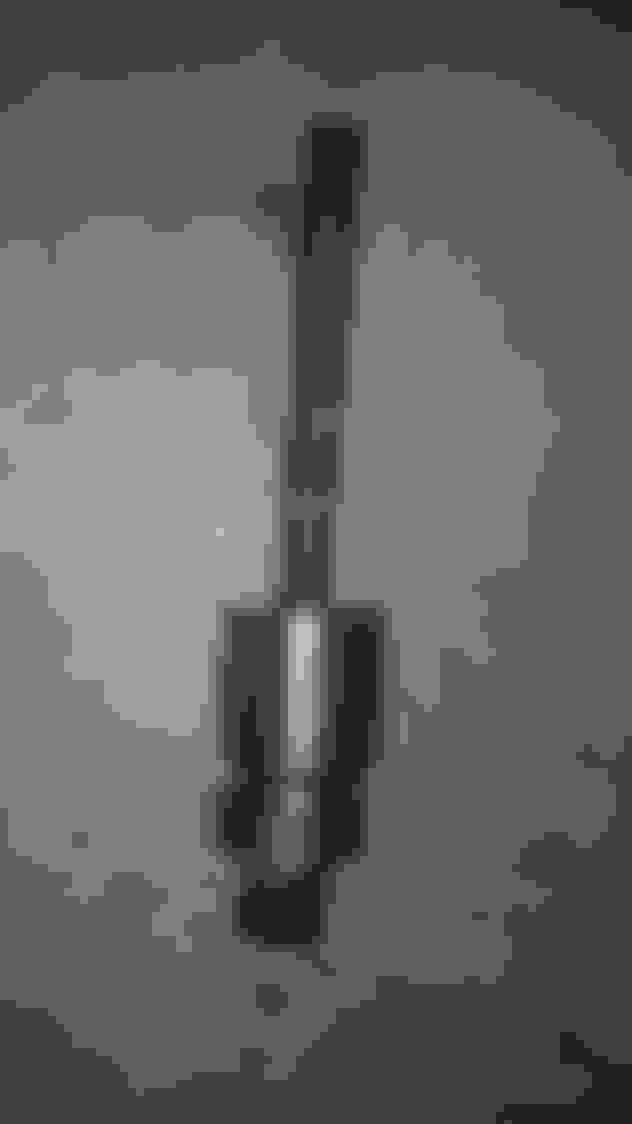
One of the stainless bolts on the balancer. One was sticking out maybe a 1/8". Tried to tighten it and it snapped. Drilled it out and put another one in. It was a easy fix.
One of the stainless bolts on the balancer. One was sticking out maybe a 1/8". Tried to tighten it and it snapped. Drilled it out and put another one in. It was a easy fix.
My original daily driver was hit by a girl with out insurance so while waiting on my the two missing pieces to my Supercharger kit. I decided to upgrade the wheels and tires on my second daily. Original tires needed replaced and ive been looking to trade it in on something more capable of hauling my motocross bikes and my car to the track.
I ended up having to take everything back off and space the tensioner. Put everything back on again. Went to put the supercharger belt on and the ls3 water pump pulley was to narrow. Never even thought about the water pump. So I had to take the supercharger, all brackets, intercooler intake pipe, water pump, coolant hoses back off and drain the coolant. Good news, I went with a ls6 water pump and thermostat. Couldn't find a thermostat housing so hopefully my ls3 housing works. I ended up welding the pulley to the water pump. That way it don't back off.
Tested to see what material its made of. It's definitely carbon steel.
Done! Took literally 2 minutes.
I used 316L stainless steel wire and once it cooled down I painted the bare area to prevent rusting.
Progress to far. Taking everything blocking the parts I need to reach off.
In order to take the balancer off. You have to take out the steering rack. In order to do that you have to take the wheels off, unbolt part of the suspension, unbolt the brackets holding the brake lines and power steering lines. Unbolt the steering rack and pull it through the small opening on the driver side.
This allows you just enough room to remove the balancer.
We didn't have a dowel pin kit so my dad being a CNC machinist and me being a fabricator. We decided to just drill it.
We also used a threaded rod and my dad made a spacer to put on the balancer. That way we couldn't strip out the threads.
Dowel pin fit perfect. We drilled it so it wouldn't be able work its way out.
Nice. Getting the rack out is a chore for sure, I really really dread the day I ever have to mess with mine again. I've heard you can push it way over to the passenger side wheel well and get it out of the way enough to get the balancer off. I've never done it though so not sure if it works like that or not.
Good job on the pinning also, looks like it came out good
Installed the cog drive pulley but left off the pulley that puts tension on the belt cause its pretty obvious I would not be able to get the steering rack back in.
With the cog drive on. I now need to trim the power steering bracket. I marked it off and cut it off with small grinder.
Next I put on the tensioner that's located on the passenger side of the balancer. I kept trying to get it on but wasn't having much luck so I beveled the edge a bit so when I tighten it down it'll guide itself into place. Worked the first try.
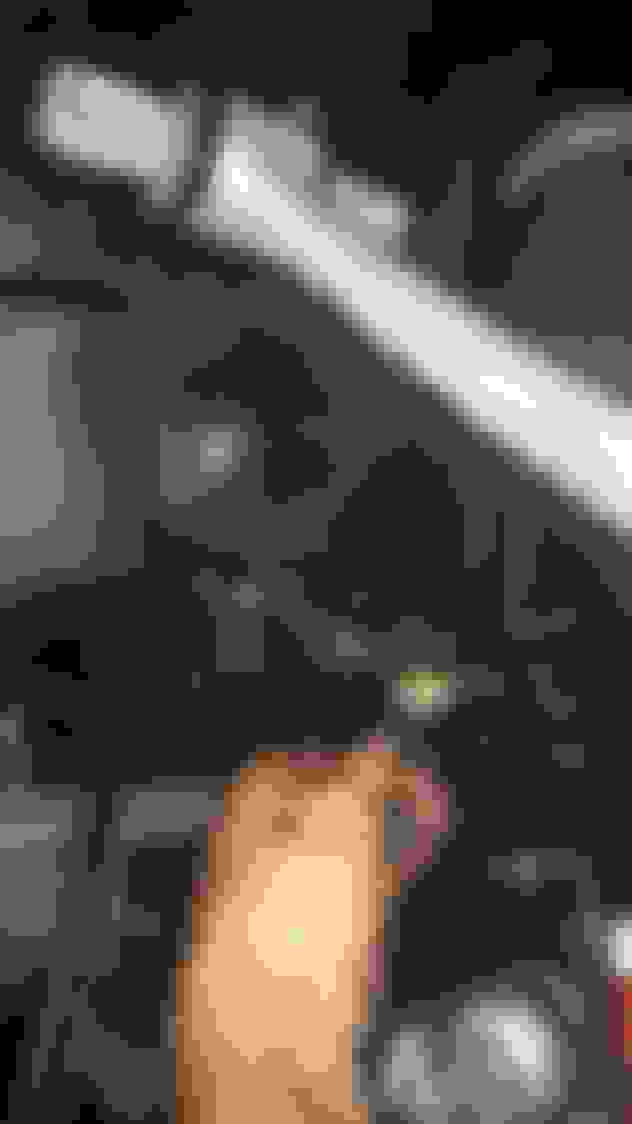
I broke off a small thin piece of wood and folded it into a piece of cardboard to prevent damage to the balancer.
Now is time to install power steering rack, alternator and flip drive.
Next was installing the water pump
Installed the supercharger brackets and head unit.
There is a tensioner bracket made for the OD balancer that clocks it slightly to the passenger side to keep it off the balancer. It will also save the balancer if your belt breaks. You might talk to ECS about it. I doubt it costs much. Mine was included with my kit, I guess because I bought the balancer and cog setup at the same time as the supercharger.
There is a tensioner bracket made for the OD balancer that clocks it slightly to the passenger side to keep it off the balancer. It will also save the balancer if your belt breaks. You might talk to ECS about it. I doubt it costs much. Mine was included with my kit, I guess because I bought the balancer and cog setup at the same time as the supercharger.
I'll give them a call Monday. Idk why it wasn't sent cause I bought my head unit and cog drive 10 rib which was part of the tensioner. Maybe it's the same balancer I don't know. I didn't see any other way to move it. It's going to sick to take everything back off again.
Nice work! Lots of satisfaction in doing it yourself. Only thing I'll toss out there is if you didn't already, you should weld the water pump pulley on.
Nice work! Lots of satisfaction in doing it yourself. Only thing I'll toss out there is if you didn't already, you should weld the water pump pulley on.
Nice. Getting the rack out is a chore for sure, I really really dread the day I ever have to mess with mine again. I've heard you can push it way over to the passenger side wheel well and get it out of the way enough to get the balancer off. I've never done it though so not sure if it works like that or not.
Good job on the pinning also, looks like it came out good
Looks like you are making progress again!
I tried doing the lazy/easier way and pushing it to the side. I couldn't find any angle or push it far enough towards the radiator to have enough room to do anything.
There is a tensioner bracket made for the OD balancer that clocks it slightly to the passenger side to keep it off the balancer. It will also save the balancer if your belt breaks. You might talk to ECS about it. I doubt it costs much. Mine was included with my kit, I guess because I bought the balancer and cog setup at the same time as the supercharger.
Agree. I was coming to say the same thing. That tensioner will smack the balancer it the belt breaks and risks breaking it. Get the right one from ECS. I wish they did a better job of telling people this stuff.
The bracket should be stamped with OD. I have a spare I think laying around. Just moves it enough so when it is there it doesn't touch the balancer.
You can see where it says OD on mine here
Another great mod if you have access to welding/maching is to do something like this
I welded a 1" aluminum nut onto the balancer. I kept stripping the 3/8" drive. Now just put a 1" socket on it and super easy to open the balancer with no issues.

 05-25-2015, 09:34 PM