**DIY: Changing all 3 belts on ECS/Cartek Flip Drive kit**
#41
Burning Brakes


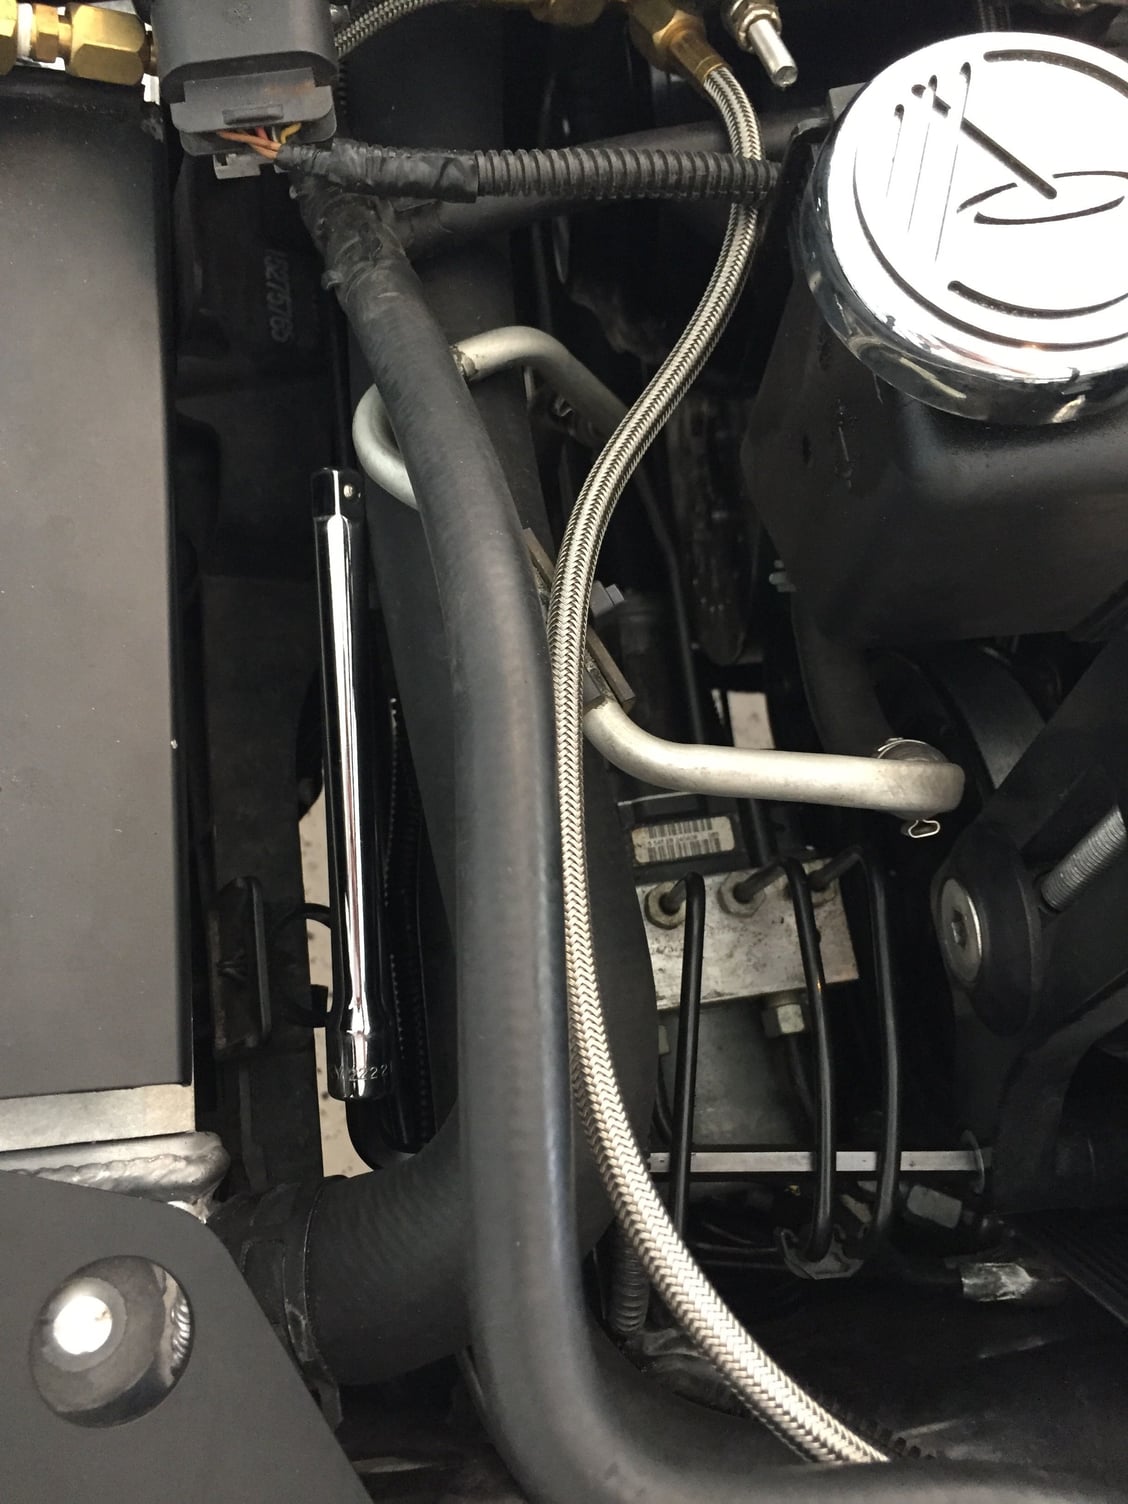
Just in case someone needs to know, that pulley below the jack shaft you guys are talking about is a manual tensioner. I guess it doesn't come with all the kits since you already use the ac tensioner but that is the tensioner for the cog belt on my setup. If you look at it closely you will notice that the bolt is not in the center. It has an offset eccentric behind it that is knurled so when you turn it with your fingers it moves the pulley so you can apply tension before tightening the bolt. It doesn't move very far.
Also, the only reason there is a manual tensioner on the blower is so you can get the belt on easier and for more belt wrap. That way you can use a longer belt and still have the spring loaded tensioner in the proper position for the best tension. The manual tensioner can't add more tension than the spring loaded tensioner unless you tightened it until the spring loaded one ran out of travel. If you ran a short enough belt to put the spring loaded tensioner in the correct position without the manual tensioner you would have a heck of a time trying to get it on there.
Also, the only reason there is a manual tensioner on the blower is so you can get the belt on easier and for more belt wrap. That way you can use a longer belt and still have the spring loaded tensioner in the proper position for the best tension. The manual tensioner can't add more tension than the spring loaded tensioner unless you tightened it until the spring loaded one ran out of travel. If you ran a short enough belt to put the spring loaded tensioner in the correct position without the manual tensioner you would have a heck of a time trying to get it on there.
Last edited by Xtremespeed; 08-24-2015 at 05:27 PM.
#42
Melting Slicks


Thread Starter
Oh trust me i had a heck of a time too lol..
#43
Race Director


Member Since: Dec 2010
Location: Atlanta, GA
Posts: 10,426
Received 1,261 Likes
on
1,056 Posts
2020 Corvette of the Year Finalist (performance mods)
C5 of Year Winner (performance mods) 2019

a buddy of mine modified a c5 ac bracket, used some larger idlers, and the belt was damn near touching in the middle of the top and bottom ac idlers and was also oriented really close to the balancer so it had quite a bit of wrap on it... on top of that it was 6 rib
#44
Melting Slicks


Thread Starter
Seems there is no solution thus far..
#45
Melting Slicks


Thread Starter

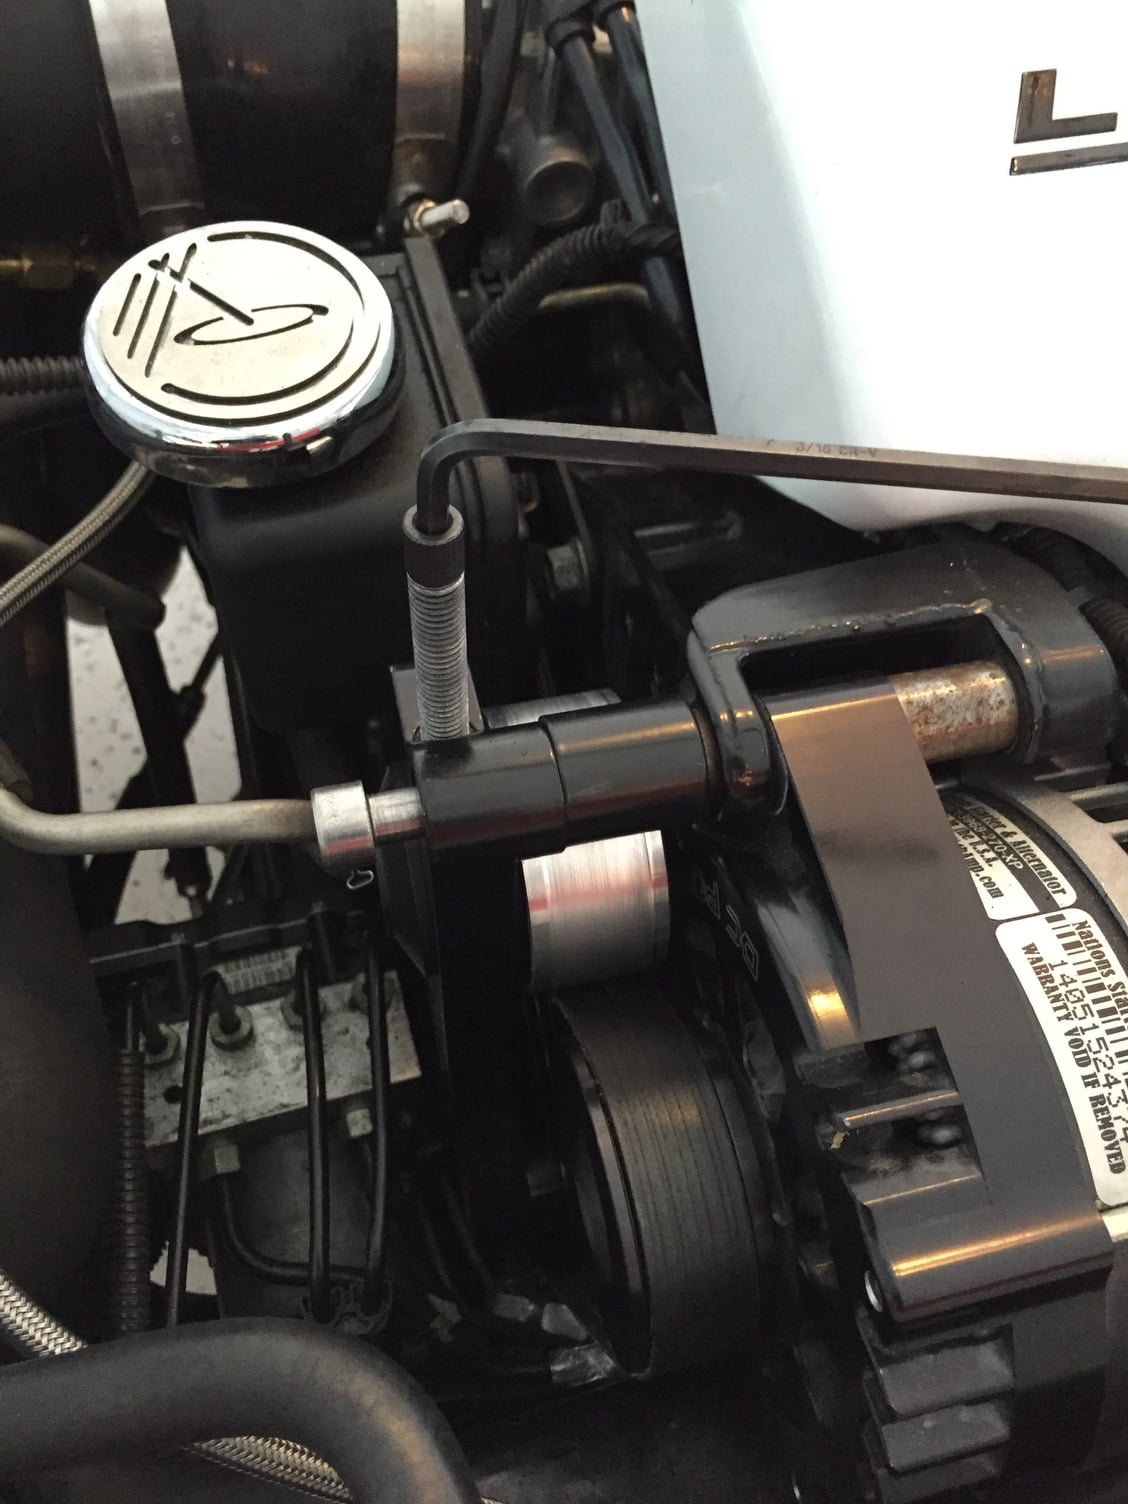
Ok some tips for the alt belt. This bottom bolt doesnt necessarily need to come off. It is a MAJOR PITA anyway so you loosen it about 1/4 in out so the tensioner pulley can move left some.

It should look like this. The belt must be popped off and pull left then slide threw the 1/8 in space between the tensioner pulley and alternator and slide it down and remove.

Putting a new belt on is NO easy task and here is why im giving this tip. Route the belt from bottom to top at alt pulley. Then put your hand like so, pulling and pushing the belt to the right on the ribs of the alt pulley. This is the hardest part be prepared to get your hand caught and slowly remove it then repeat. The belt will pop on.

Once its on make sure you do not tighten the tensioner fully, only hand tight so you can rotate the tension bolt using 3/16 allen key all the way down max tension. Then and only then fully tighten the tensioner pulley bolt with the 8mm. Ensuring the pulley is flush and parallel with belt alignment tool or laserz.
#46
Melting Slicks


Thread Starter
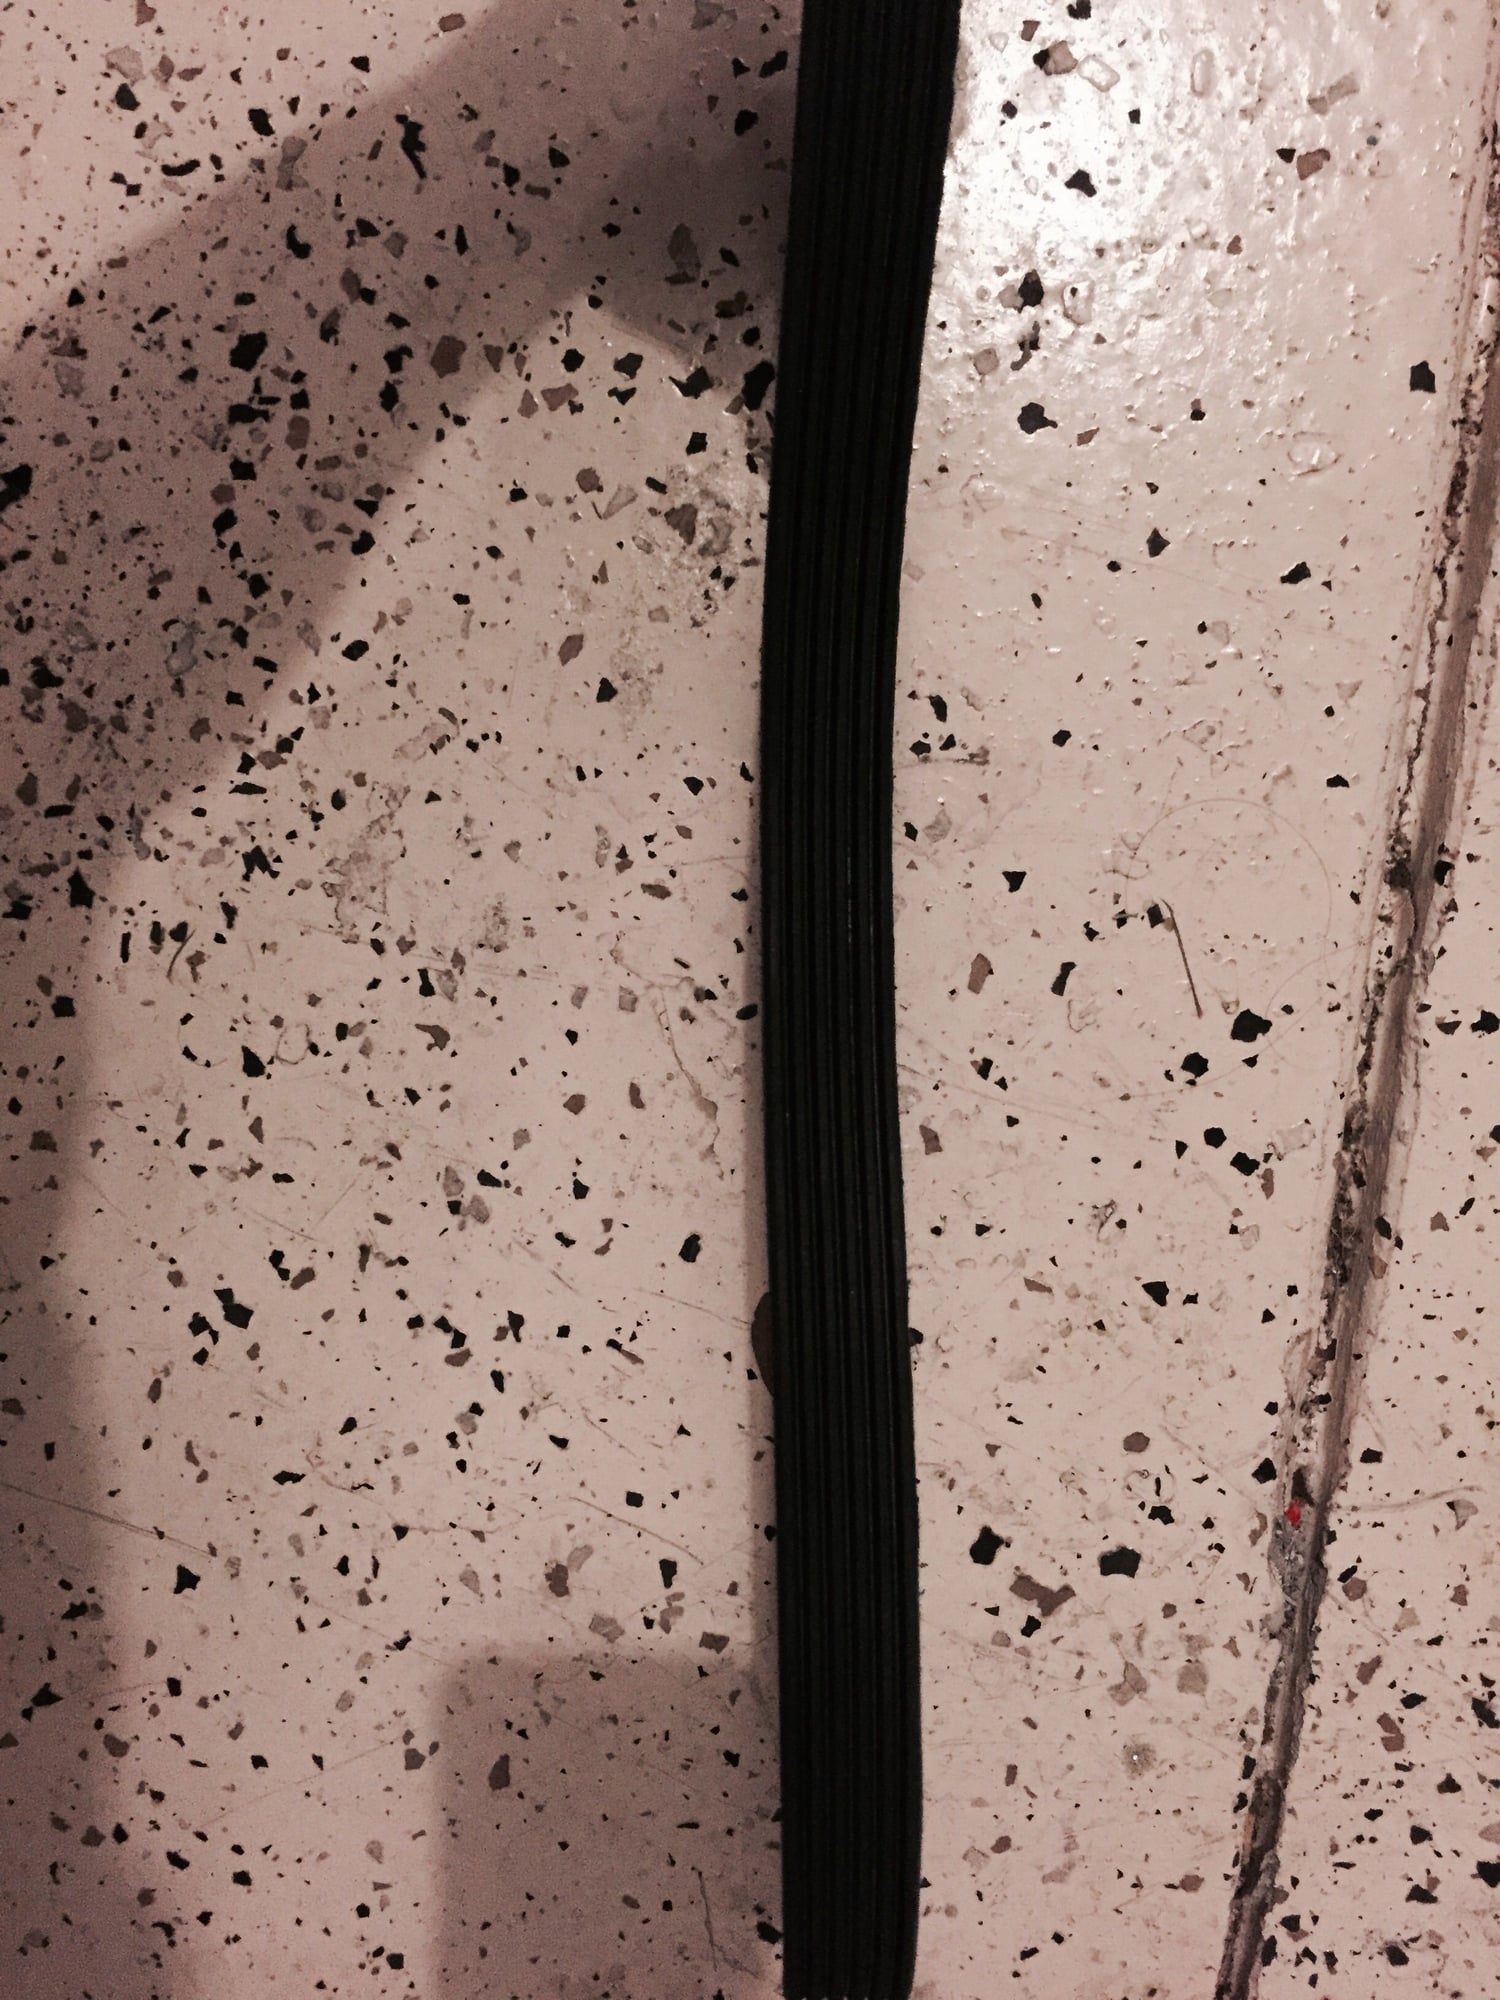
Btw looked at 4 rib today and looks perfect. Im thinking it snapped cause it was too tight. ��
#47
Race Director


Member Since: May 2004
Location: Raleigh, NC
Posts: 16,664
Received 1,194 Likes
on
1,053 Posts
St. Jude Donor '15

Is that black dust between the fins of the alternator belt dust? Kind of looks like it. Mine did that when belt alignment was off
It will be very interesting to see what your alignment looks like once you get that alignment tool in
It will be very interesting to see what your alignment looks like once you get that alignment tool in
#48
Melting Slicks


Thread Starter

#49
Melting Slicks


Thread Starter
I got tool in havent had a chance to mess with it tho.
#50
Burning Brakes


This may or may not help you, but I don't use a wrench on the manual tensioner below the alternator like you have in that last pic. I just tighten it by hand and then use a wrench on the small set screw on the back side and just snug it down so the tensioner bolt doesn't move. The tensioner bolt is knurled so you can use your fingers to tighten it. The hex is there to make it easier to get loose. That has been more than tight enough for me.
Last edited by Xtremespeed; 08-27-2015 at 05:56 PM.
#51
Melting Slicks


Thread Starter
I didnt use a wrench only allen keys. Dunno what u mean but that bolt on the tensioner needs to be tight, very tight
#52
Burning Brakes


• Back out larger set screw so that the idler may ride up.
• Remove upper alternator bolt and install tensioner, tighten the two M10x140 bolts.
• Now run larger adjustment screw (#2 in picture above) in moving the idler towards the belt and setting tension on the belt. This process can be done with the fingers only.
• Check belt tension on the accessory belt as the belt is tightened. Not much belt tension is required, the belt should be able to be twisted to just about perpendicular to itself and that is it.
• Once proper belt tension is set, tighten the large Allen bolt in front that runs through to the idler and then tighten the small set screw. Not too much pressure is needed on the small set screw. Excessive tightening of this set screw can damage the threads on the larger adjustment screw.
#53
Melting Slicks


Thread Starter
I didnt break my ac belt and its not tensioned, except spring. I only replaced all my belts this week and have no issues since. Keep in mind this is on a 900whp car which was being broken in on dyno. So of course belts may be stressed a bit and prob why it broke going WOT like 30 times. I dont follow you bud.
#54
Melting Slicks


Thread Starter


#55
Burning Brakes


I didnt break my ac belt and its not tensioned, except spring. I only replaced all my belts this week and have no issues since. Keep in mind this is on a 900whp car which was being broken in on dyno. So of course belts may be stressed a bit and prob why it broke going WOT like 30 times. I dont follow you bud.
After going back to read, I think I see where the miscommunication is. You broke your original ac belt I believe? You said in post 46 "Btw looked at 4 rib today and looks perfect. Im thinking it snapped cause it was too tight. ��" The original belt was what I referring to, not your new one. If you over tighten the tensioner below the alternator, that could cause more strain on the ac belt causing it to break. That's why I referenced the instructions after you said that tensioner needs to be very tight. I'm just trying to help so you don't break another belt with the tensioner too tight.
Last edited by Xtremespeed; 08-27-2015 at 06:59 PM.
#56
Melting Slicks


Thread Starter
I get you now. Well i did all as FSP recommended. Keep in mind i had no instructions just knew bolt tq according to fsp and tension Matt advised. He has been doing these a while so i trust his judgement. If you have a pic of your tension pls post.
#57
Melting Slicks


Thread Starter
Post pics of yours. Your post makes more sense now but i got diff advice on the alt tension. Pls draw your hypothesis because the alt tensioner has nothing to do with the ac compressor belt. It was a smaller AC belt that FSP originally installed which came with the kit. My new belt is an inch bigger or more so thats why i said it popped because it was too tight imo. But id like to see what your basing these comments on. Very interested.
#58
Burning Brakes


I agree about Matt. Not sure why he would recommend that to be very tight though. That belt is the least likely to slip since it's no longer on the crank pulley. There is a mention in the instructions about making sure the bolt is down far enough to clear the hood though. Maybe Matt was just trying to make sure you didn't damage the hood. Mine is pretty close. If you want to pm me your email address, I can send you a copy of the instructions ECS sent me.
#59
Burning Brakes


Post pics of yours. Your post makes more sense now but i got diff advice on the alt tension. Pls draw your hypothesis because the alt tensioner has nothing to do with the ac compressor belt. It was a smaller AC belt that FSP originally installed which came with the kit. My new belt is an inch bigger or more so thats why i said it popped because it was too tight imo. But id like to see what your basing these comments on. Very interested.
#60
Melting Slicks


Thread Starter
Lol i dont want their instructions now i already figured it all out mostly blind. Id like to see how high your bolt is.. But i must say at the tension i have it the belt looked perfect when i pulled it off actually. The only belt that broke has been the old ac belt but the blower belt was kinda beat up it lost about an inch of a rib so i tossed it and now have the hd belt. I think Matt believes in tight tension because these belts stretch a lot and i agree once they break in they are a lot different.


