
Failed Timing Chain and Cleaned Piston pictures
 12-20-2008, 03:02 PM
#1
Drifting

Thread Starter

Member Since: Feb 2007
Location: Alpharetta Georgia
Posts: 1,843
Likes: 0
Received 12 Likes
on
8 Posts

Original thread here http://forums.corvetteforum.com/c6-t...n-failure.html
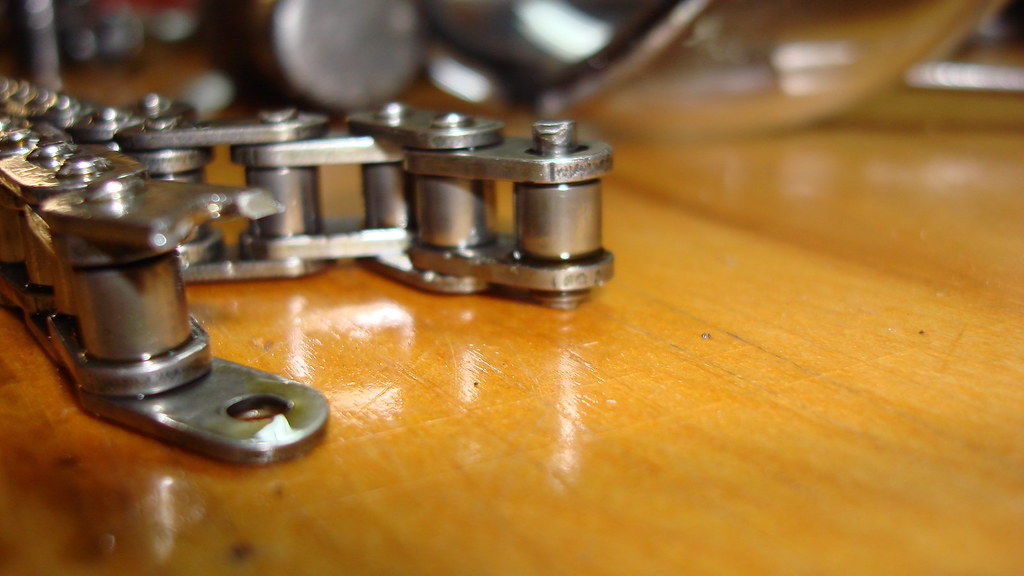
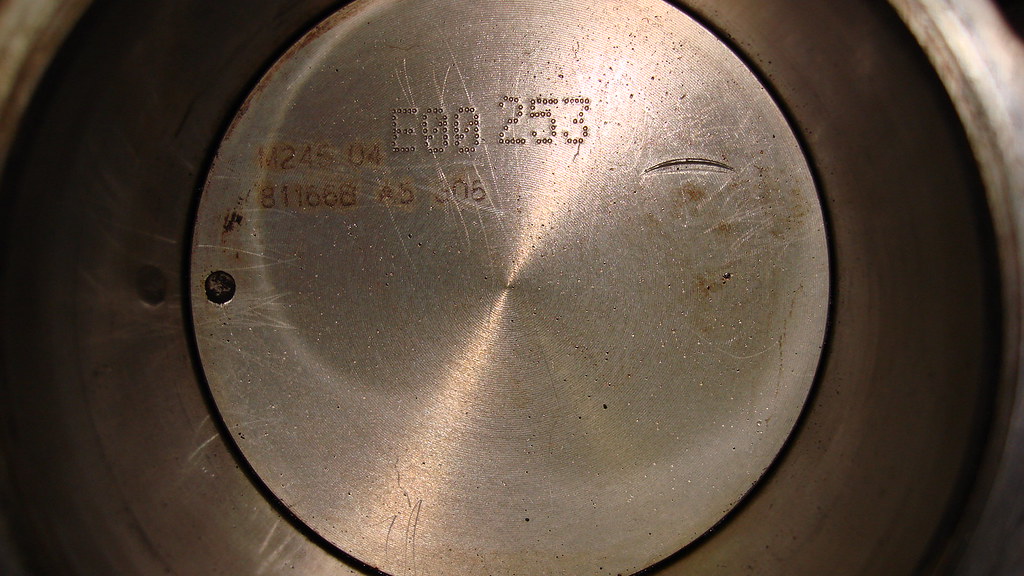
I figured this deserved its own thread as most will not make it to page 7 for the pictures. I am looking for comments on what people think of the chain failure and how my pistons look. The piston pictures are in order from 1 through 8.
I think my chain may have been defective. It failed at the master link and the pin was still intact. The link is what failed, which from what I have read, is rare in the fact that most of the time, the pin is what fails. Anyways, here they are:
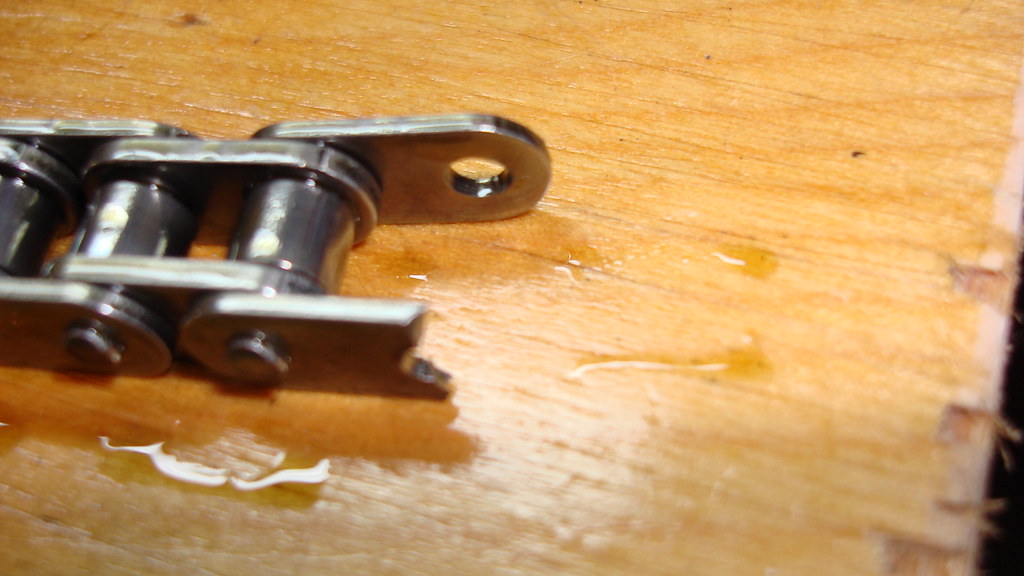
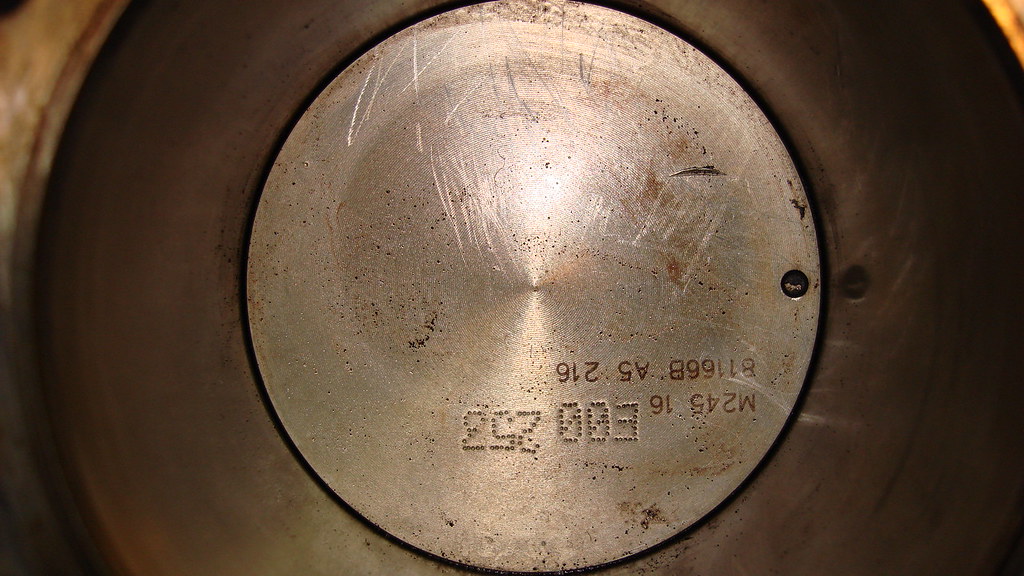
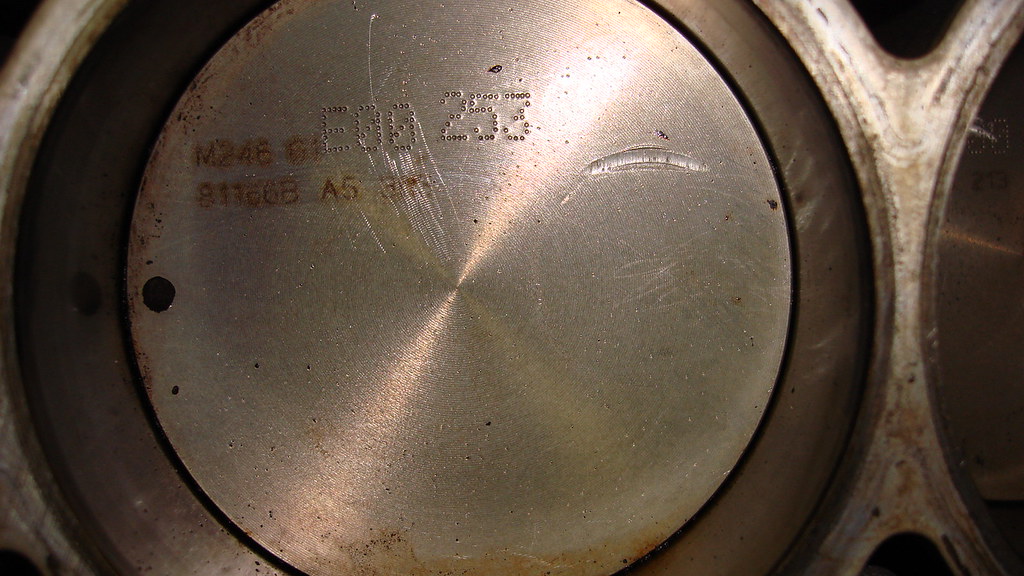
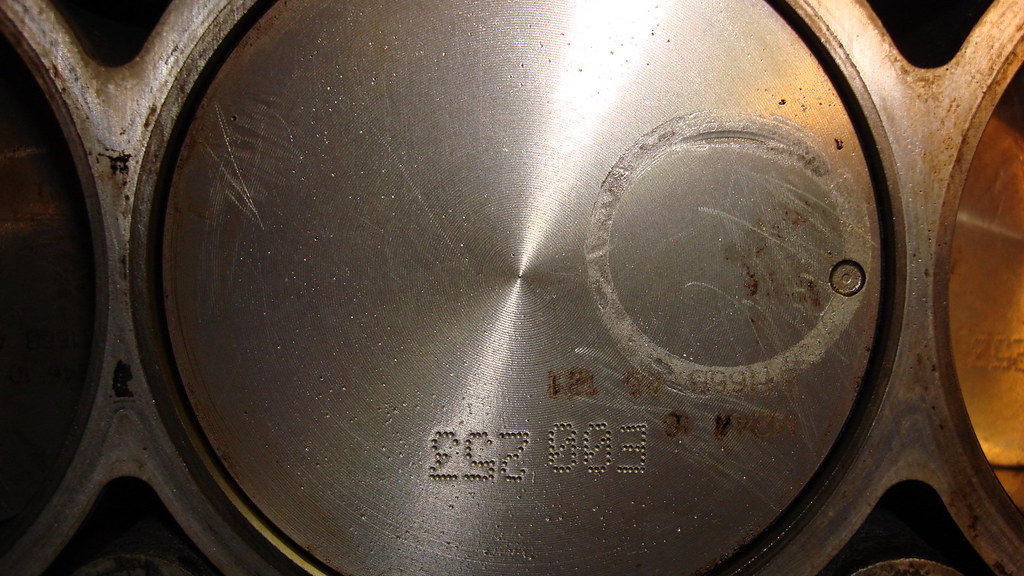
Last edited by 1.8t; 12-20-2008 at 03:43 PM.

 12-20-2008, 03:19 PM
#3
Melting Slicks

Member Since: Jun 2004
Location: trenton nj
Posts: 2,336
Likes: 0
Received 2 Likes
on
2 Posts
St. Jude Donor '09
i dont know why the chain failed...the pics arent good enuf...as far as the pistons...the indentations dont look as deep as the locator notch [hole] but i think they would be okay to run but for peace of mind pull the motor out and start writing checks. the speed at what you want to be able to run will be goverened by the size of the checks you write
12-20-2008, 04:04 PM
#7
Safety Car


Member Since: Jan 2006
Location: Miami FL
Posts: 4,598
Received 69 Likes
on
45 Posts
2020 C6 of the Year Finalist - Unmodified
St. Jude Donor '08-'09-'10-'11-'12-'13-'14-'15-'16,'17,'18-'19-'20-'21-'22

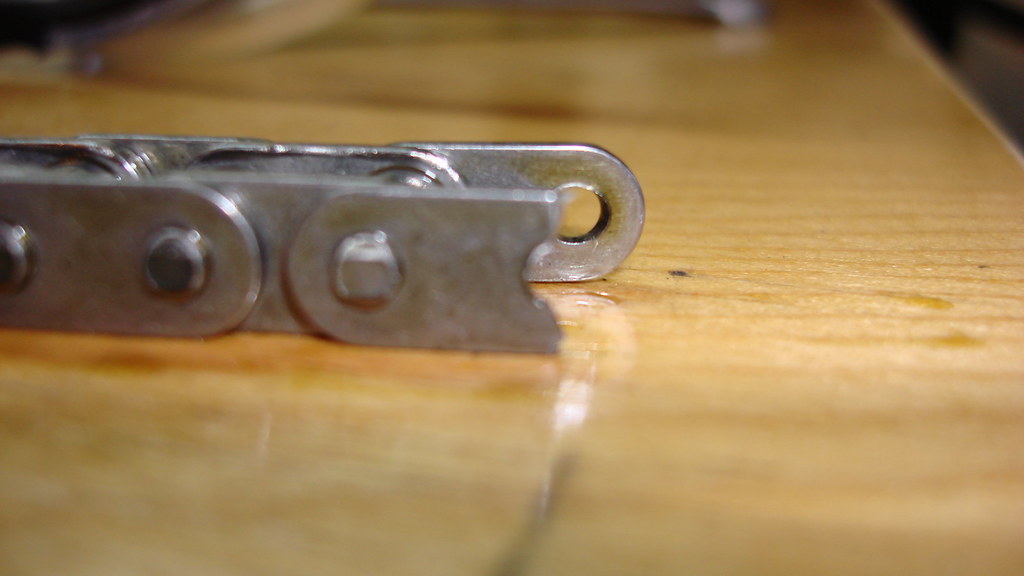
The actual fracture surface on the broken link is not photographed in sufficient detail to see if there is plasticity, shear lips, fatigue beach marks, or evidence of inclusions or quench cracks. Even good macro photographs can help a lot in a basic failure analysis of a broken steel part. Of course, a good scanning electron microscope session would be useful as well.
12-20-2008, 04:27 PM
#8
Safety Car
Member Since: Jun 2005
Location: DFW This user does not support or recommend the product or service displayed in the ad to the right
Posts: 3,989
Likes: 0
Received 3 Likes
on
3 Posts
For your own peace of mind get yourself some dye penetrant/black light and check those pistons. It is fairly cheap.
Thanks for all the pics.
Thanks for all the pics.
12-20-2008, 05:32 PM
#12
Melting Slicks

You did a very nice job of cleaning. The pistons are fine. Run them all the way down and check the bores for scuffing.
The chain almost looks like it was side stressed from the cam walking forward in the block. The chain also looks like very poor quality. The peen marks on the pin ends that are supposed to hold the links on look like they were manufactured at the Yugo factory. Good quality chains have a stamp on the links, like Reynolds ect and the pins are uniformly peened all the way around the pin.
If you are looking for an excuse to build a stroker motor, then pull it. If cost is a factor, check the bores for scuffing and if they look good, go for it. Take the heads down to the machine shop and have them replace the bent valves, cut the seats, and check the guides. Make sure you check all the pushrods.
Find a better quality chain/gear set and put it back together. Best of luck!
12-20-2008, 05:40 PM
#13
Drifting
Thread Starter
Member Since: Feb 2007
Location: Alpharetta Georgia
Posts: 1,843
Likes: 0
Received 12 Likes
on
8 Posts
Thanks for the tips Vito. I have already purchased a very high quality chain from Cloyes that is manufactured by Reynolds. So far the bores look absolutely flawless. Can anyone suggest a spring compressor that will work on LS3 heads? I bought the Crane tool that lets you do 2 springs at the same time and it won't work on friggin LS3 heads.
Last edited by 1.8t; 12-20-2008 at 05:42 PM.
 12-20-2008, 06:04 PM
#15
Melting Slicks
I have owned several spring compressors over the years, even a pnuematic one that cost over $1000. My favorite mechnaical spring tool is from Powerhouse products, part number POW351015. It uses a quick release pin to adjust for height and has great mechanical leverage. We use it on the race cars with 350# seat and 1050# open spring pressure.
12-20-2008, 06:04 PM
#16
Burning Brakes

Member Since: Apr 2005
Location: Cincinnati Ohio
Posts: 901
Likes: 0
Received 0 Likes
on
0 Posts

I am looking for comments on what people think of the chain failure and how my pistons look.
I think my chain may have been defective. It failed at the master link and the pin was still intact. The link is what failed, which from what I have read, is rare in the fact that most of the time, the pin is what fails.
I think my chain may have been defective. It failed at the master link and the pin was still intact. The link is what failed, which from what I have read, is rare in the fact that most of the time, the pin is what fails.
12-20-2008, 06:40 PM
#17
Drifting
Thread Starter
Member Since: Feb 2007
Location: Alpharetta Georgia
Posts: 1,843
Likes: 0
Received 12 Likes
on
8 Posts
Upon further inspection, I am not sure if these chains even have a "master link". I am pretty sure these chains links/pins are all the same. Can anyone confirm/deny that?
12-20-2008, 06:42 PM
#18
Drifting
Thread Starter
Member Since: Feb 2007
Location: Alpharetta Georgia
Posts: 1,843
Likes: 0
Received 12 Likes
on
8 Posts
Haven't taken off the oil pump yet, but I will get pictures of that once I get everything else out of the way. It "appears" to be in good shape, but the plastic portion of the spring loaded damper was dislodged from the break. Or perhaps it dislodged itself prior to the break, I am not sure? I will investigate further after getting a good look.

 12-20-2008, 06:52 PM
#20
Safety Car
Member Since: Jun 2005
Location: DFW This user does not support or recommend the product or service displayed in the ad to the right
Posts: 3,989
Likes: 0
Received 3 Likes
on
3 Posts
http://www.ndtsupply.com/shop/produc...d2=100&id3=347
I am not sure this is the cheapest or the best place but it is a good example. You just follow the MFR directions, it is usually very easy to use, brush on or spray wipe away, use the activator, view under a handheld black light. If there is any fatigue or stress cracks they will typically be very visible.
I would just call one of the MFR's like sherwin, or Met-L-Check, tell them what you are working on and see what product they recommend.