ZR1 Splitter, Side Skirts and Rear Spoiler Install
 05-04-2013, 11:41 PM
#1
Instructor

Thread Starter

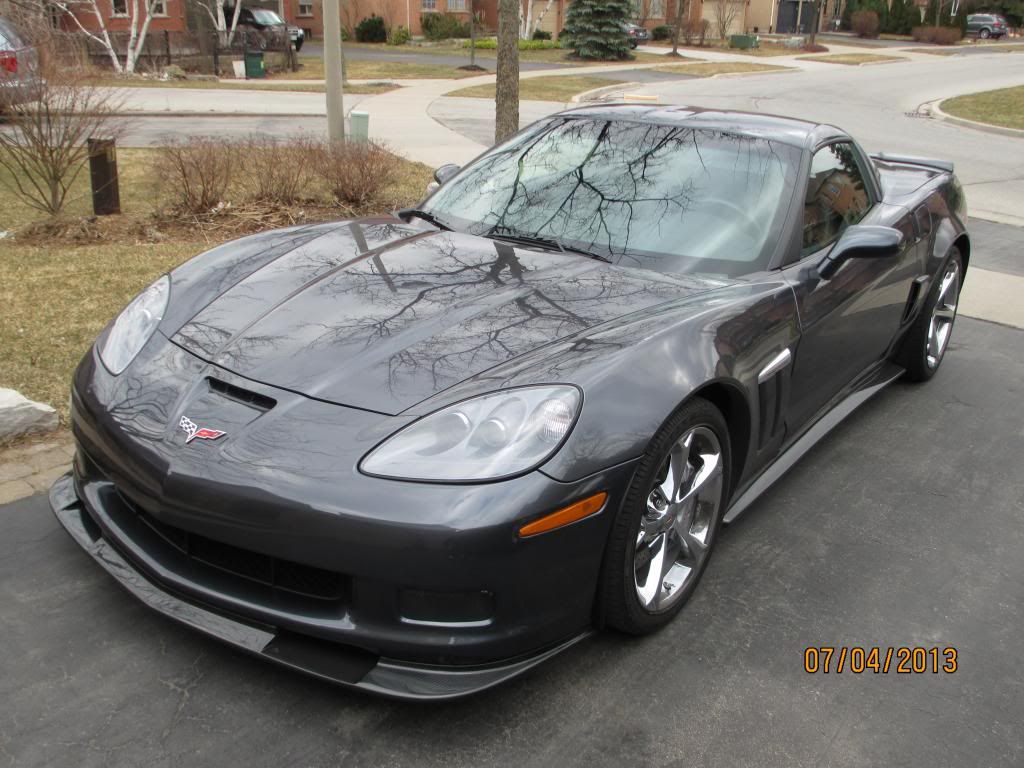
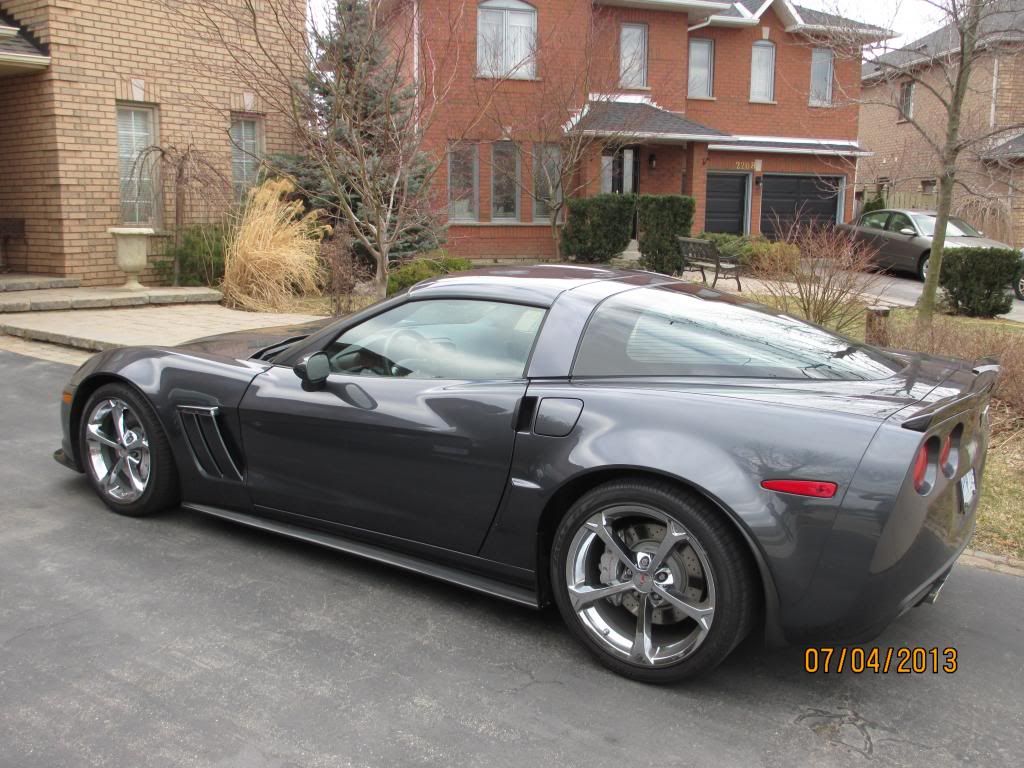
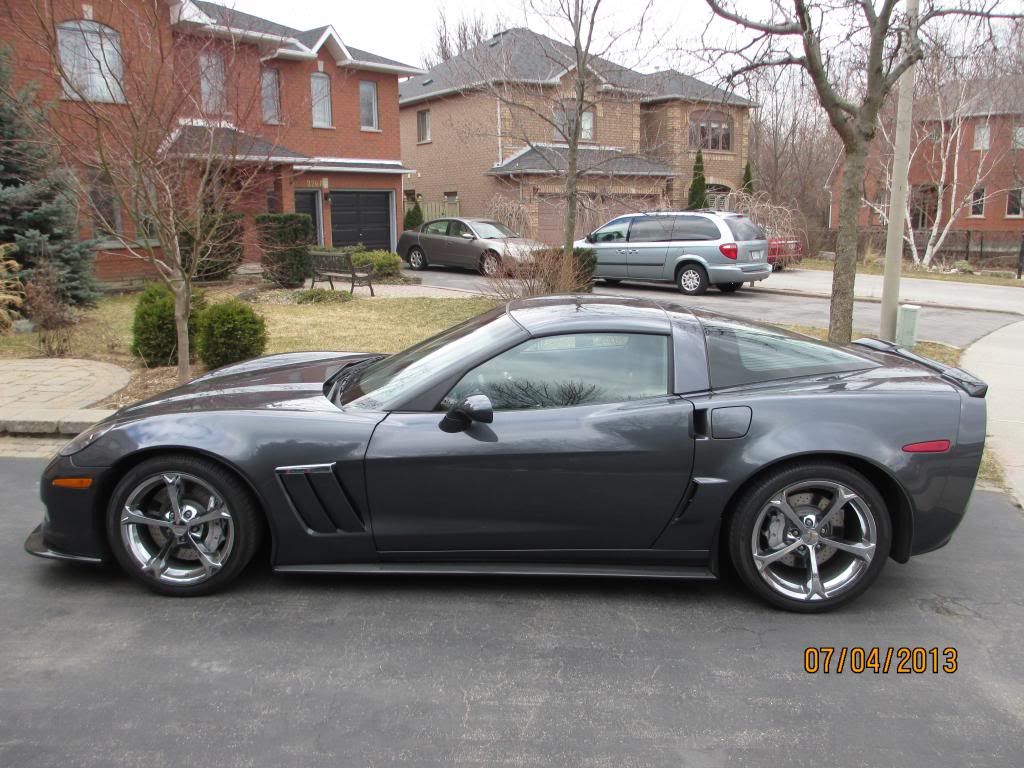
APR carbon fibre splitter, side skirts and rear spoiler
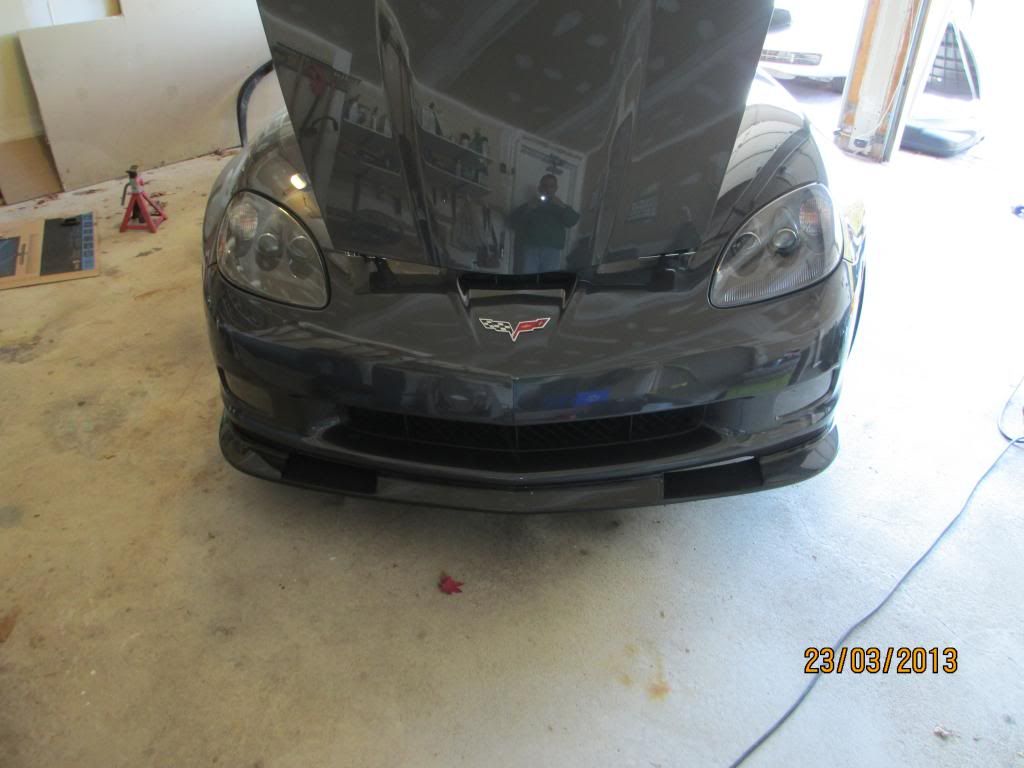
I followed the post: http://forums.corvetteforum.com/c6-z...ll-how-to.html almost exactly. The only thing I did differently for the splitter install was close the hood before reinstalling the fascia. I found I couldn't get it to seat correctly with the hood up as the fascia was hitting the front edge of the hood in the up position. I did also install the brace.
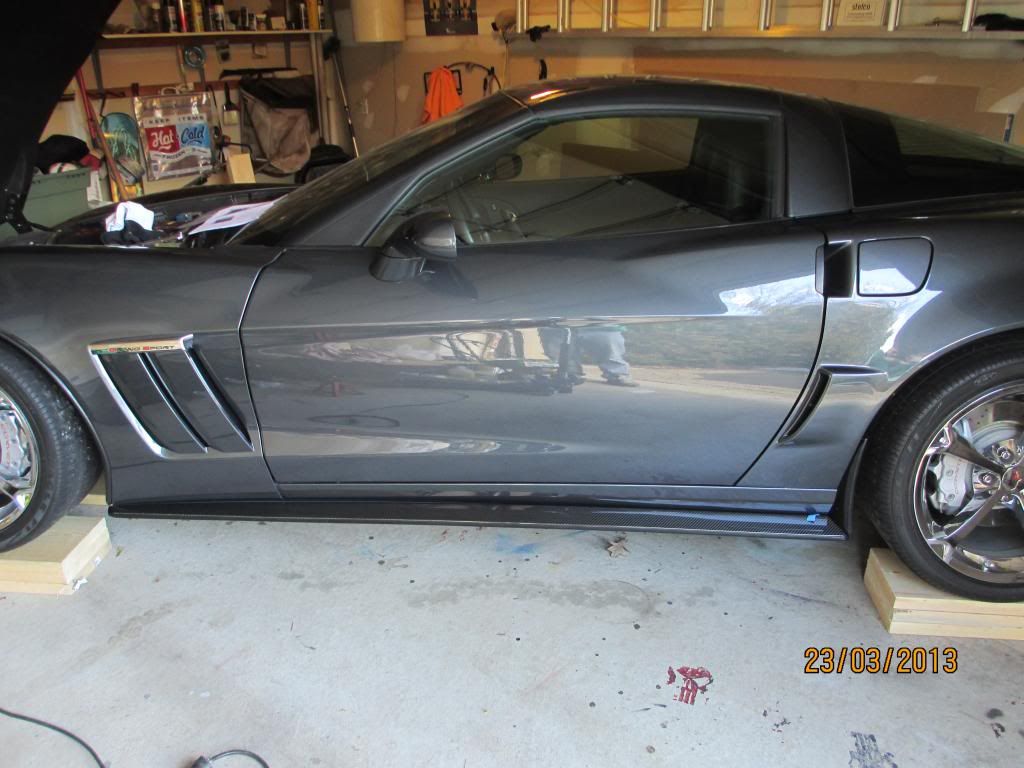
Side skirts went on easily following the instructions. Did one side at a time and found that if I connected the back of skirt to the rear fender piece (keeping the screws a little loose) I could secure the front without help. Used 1/32 smaller drill than recommended to ensure the screws were tight in the holes I had to drill.
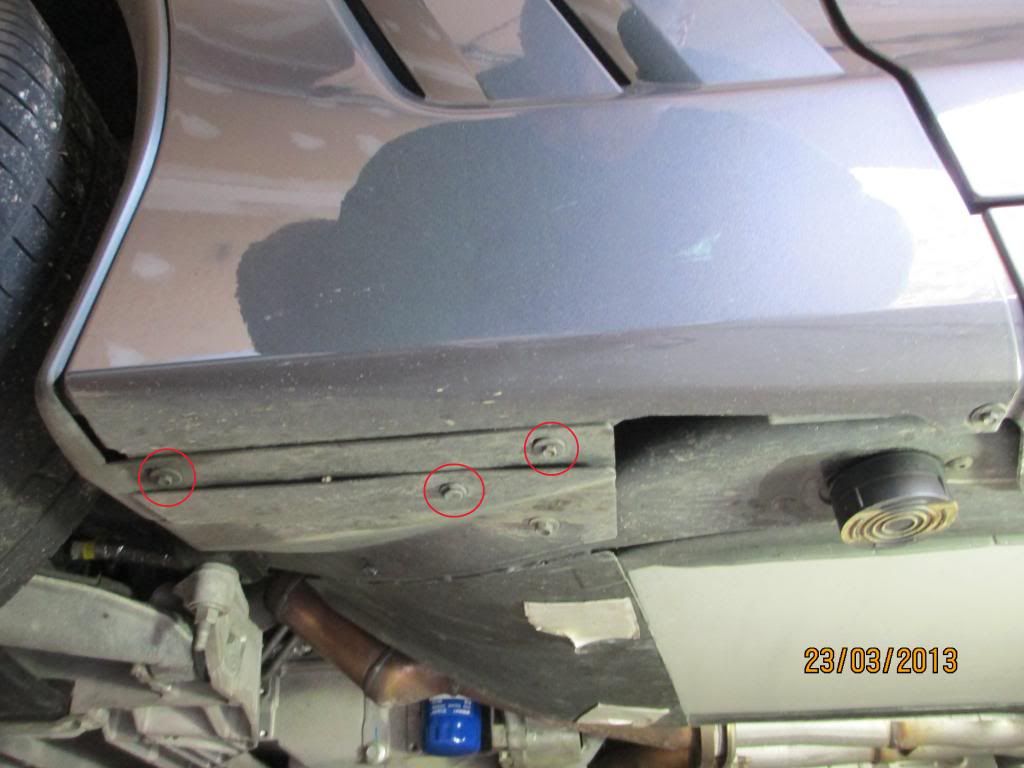
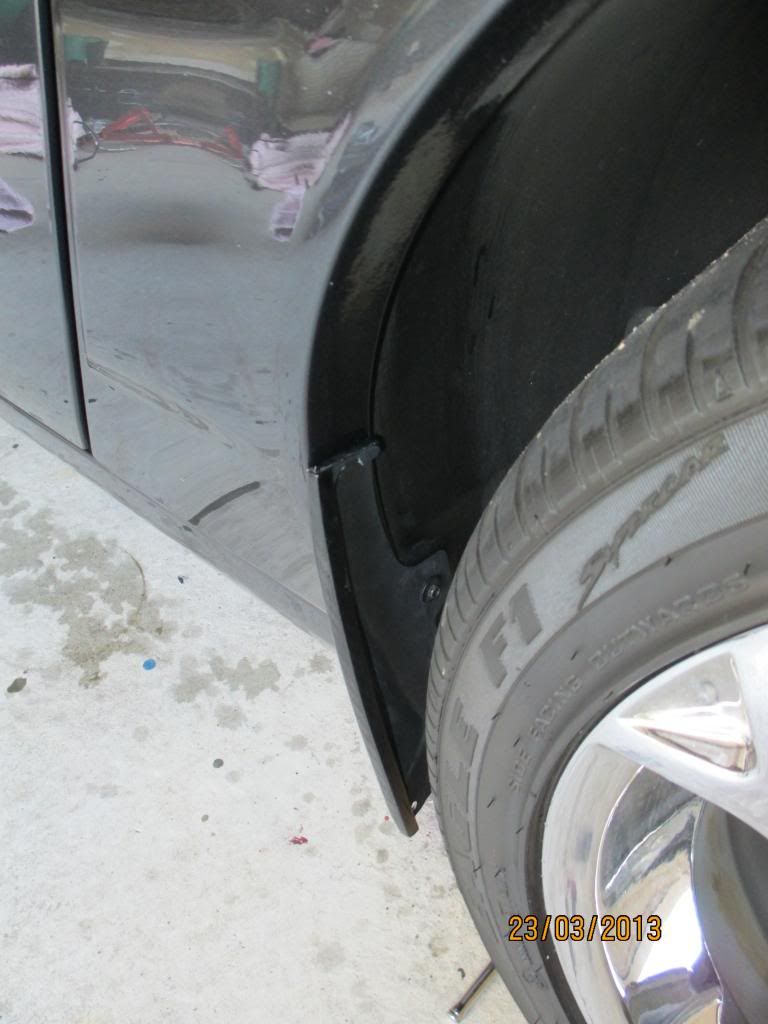
Underside at front fender - remove the 3 screws.

Then behind the door - remove the 1 screw
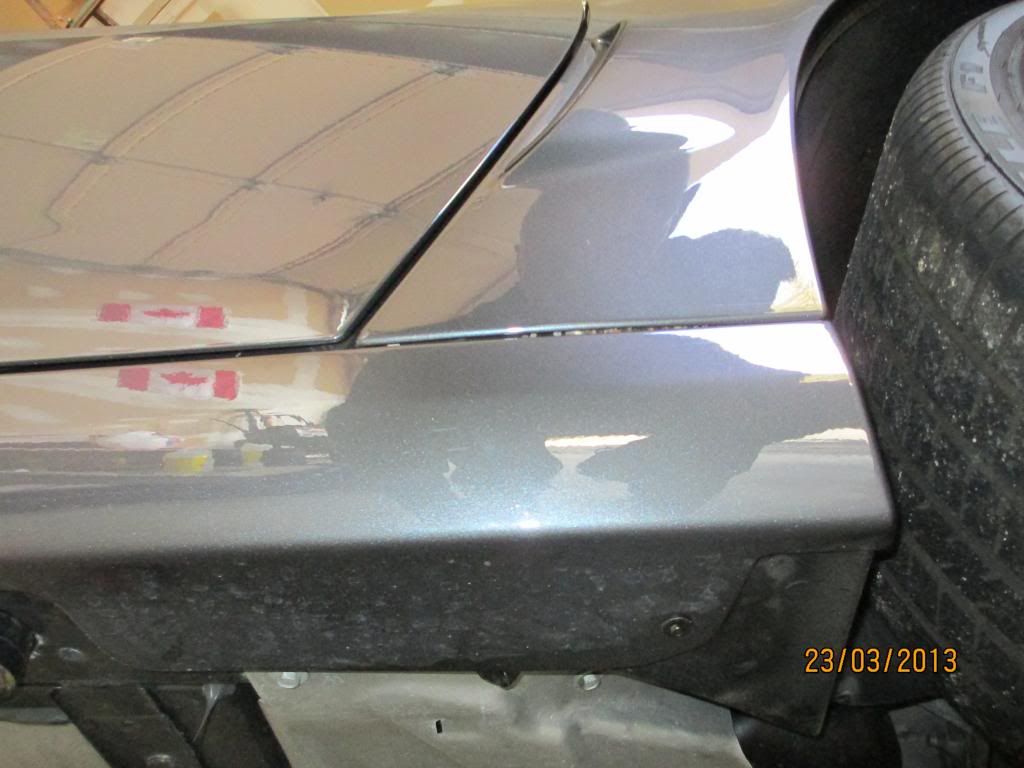
Remove the screw in wheel well to attached fender piece
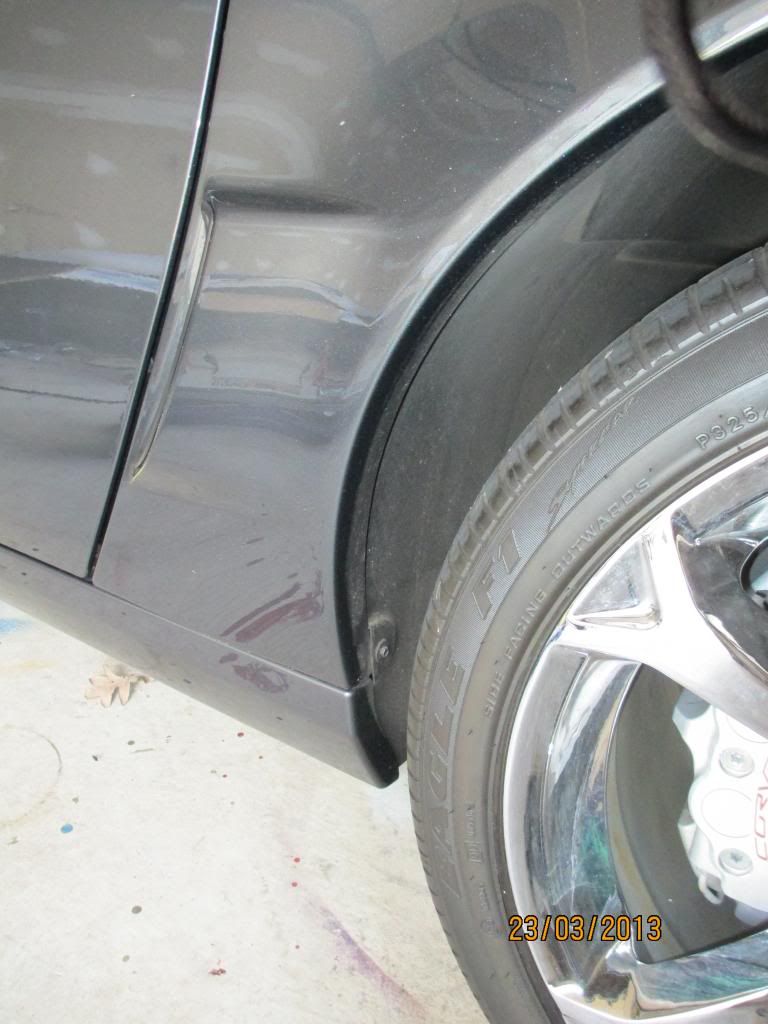
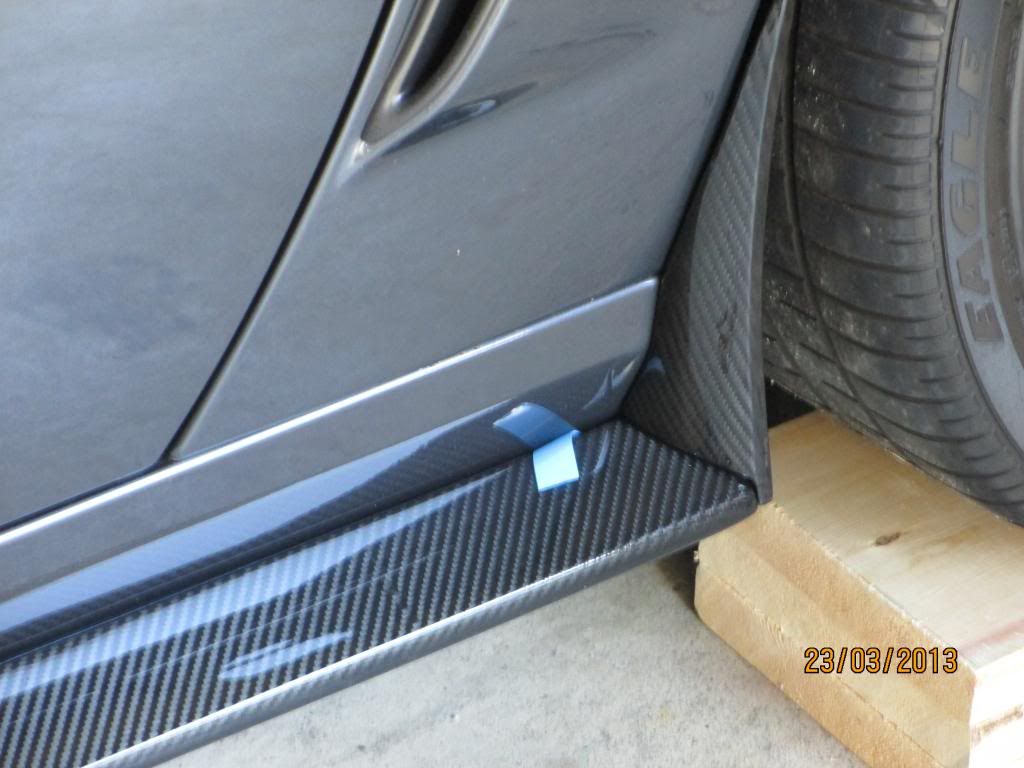
Adhesive tape - before tightening all screws - pull the tape off and the press firmly - tighten the scews
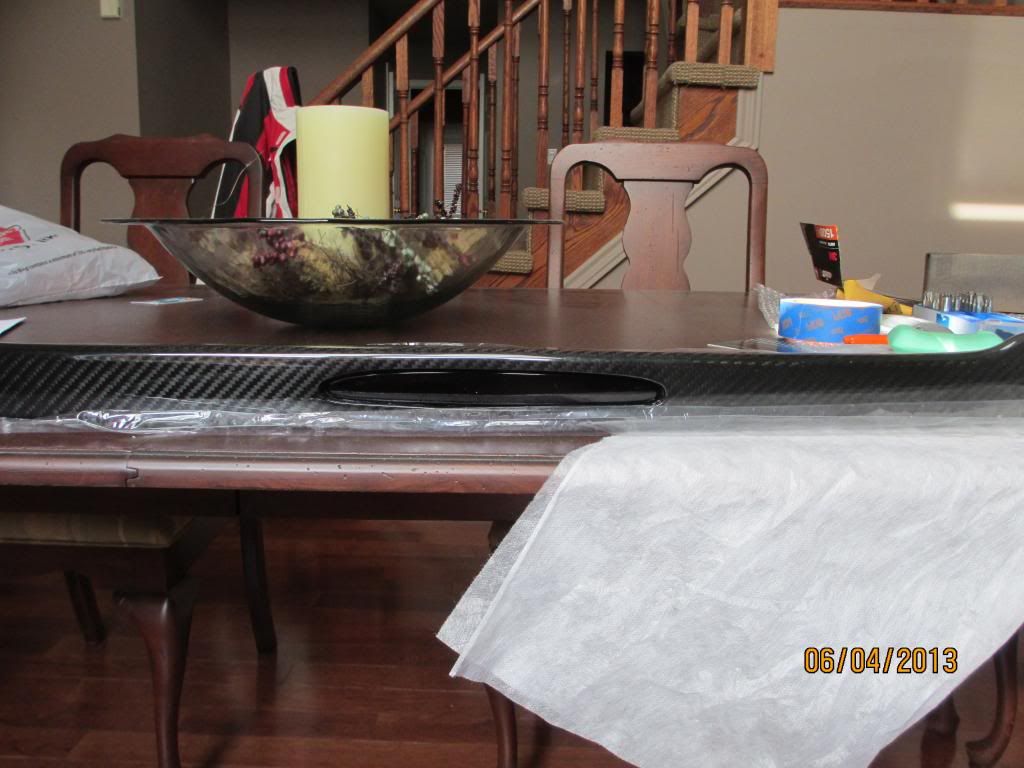
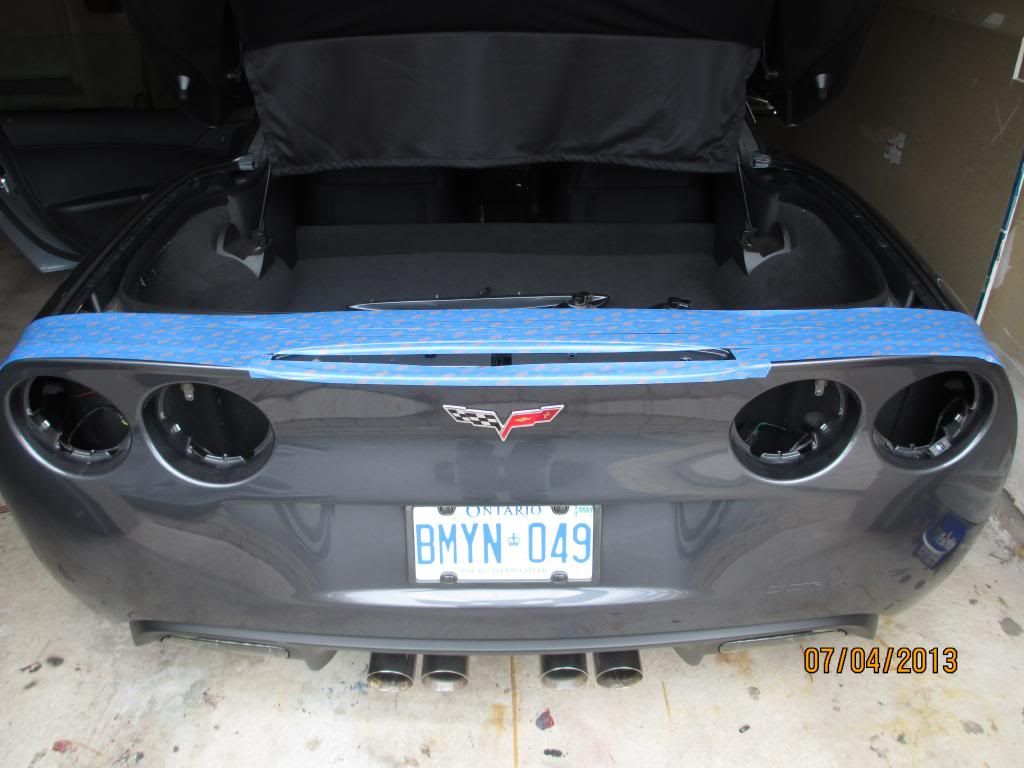
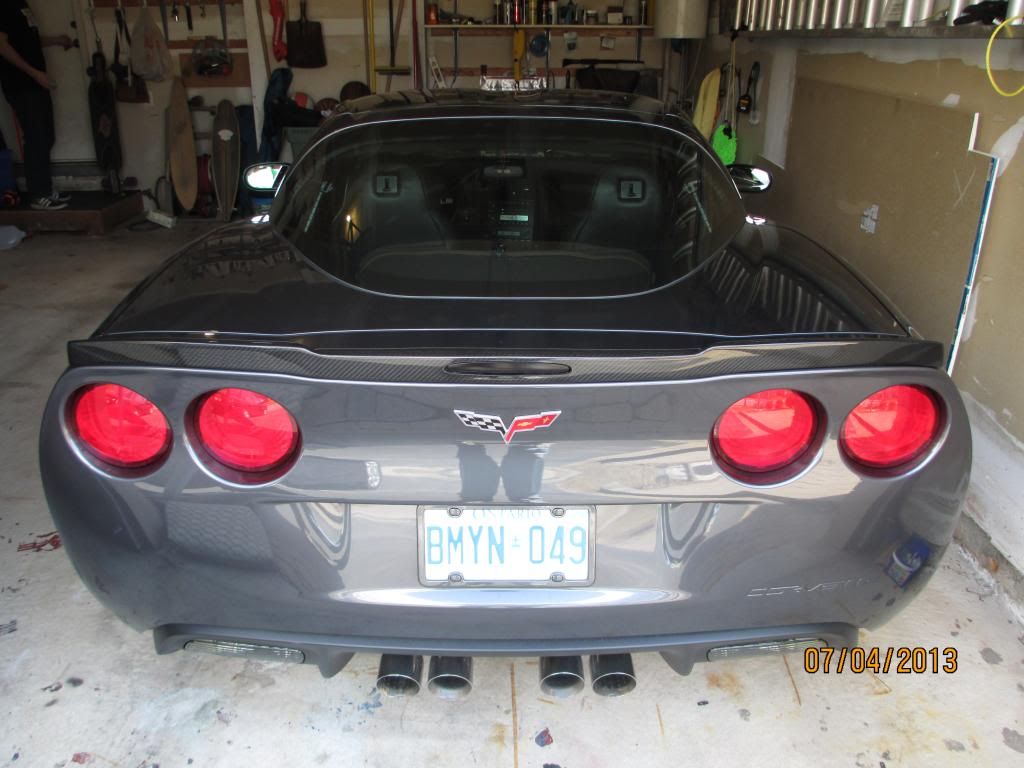
Install of rear spoiler
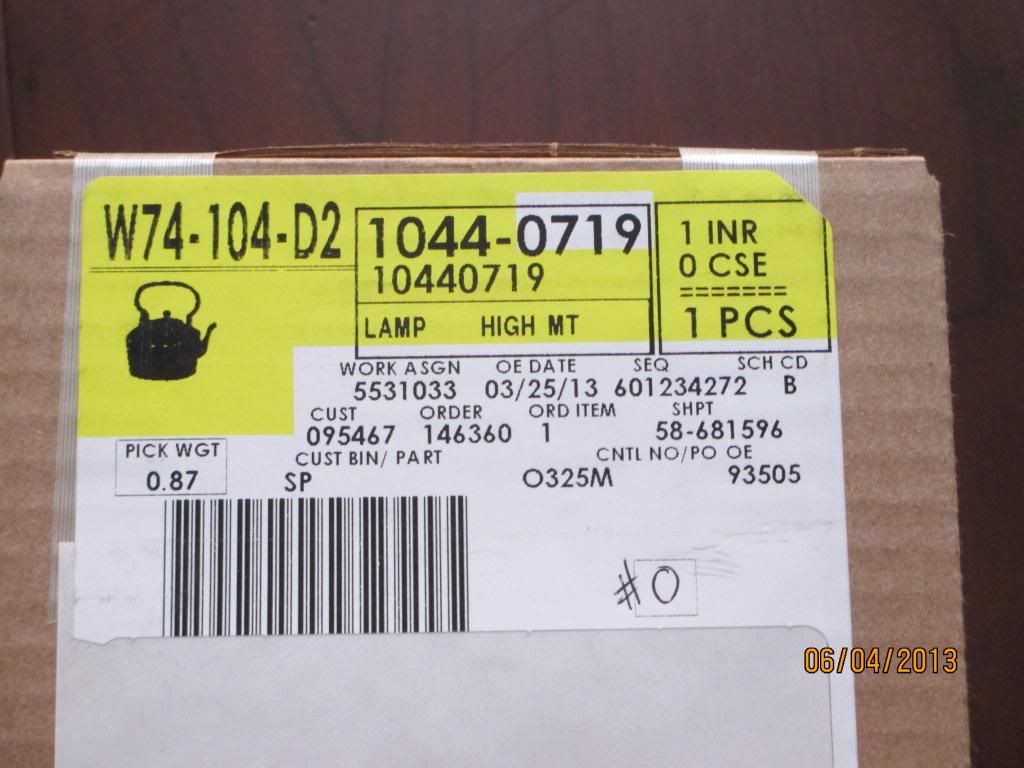
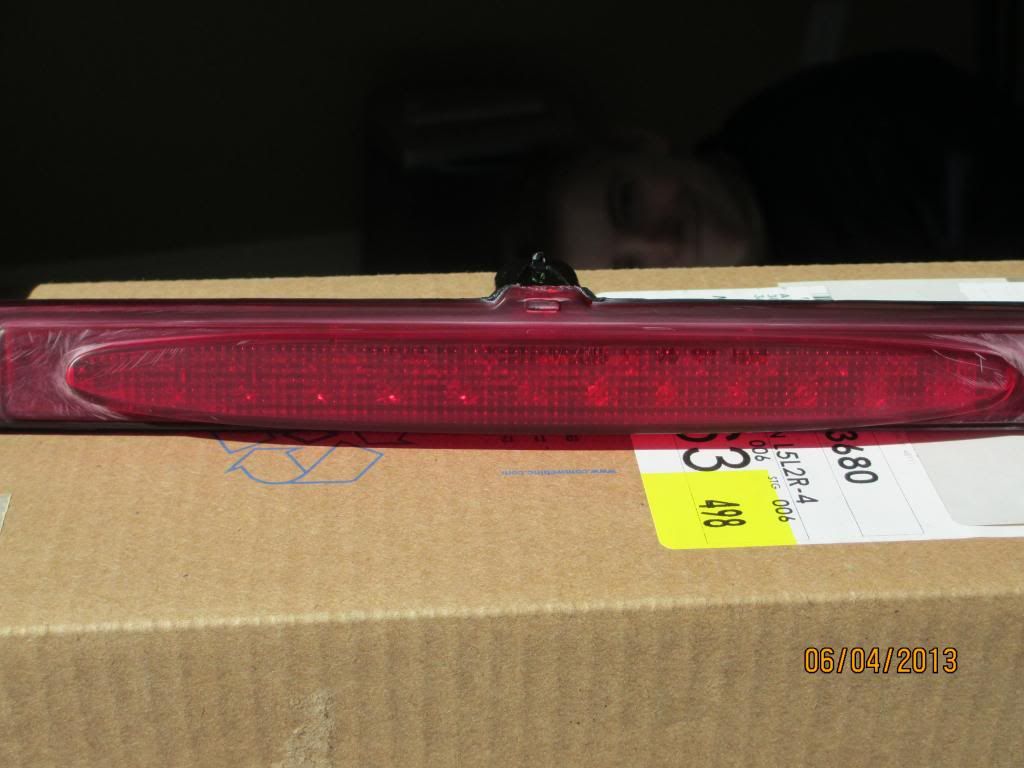
The original high level brake light did not fit the APR spoiler so I ordered the ZR1 unit from GM
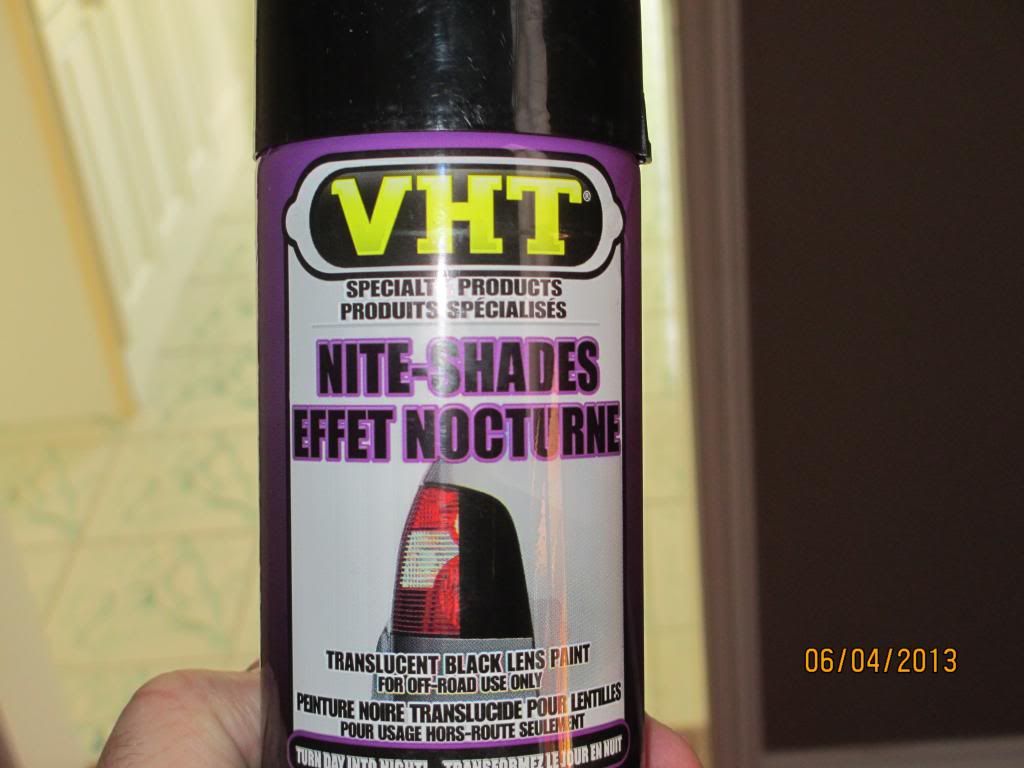
I scuffed the suface as prep (1500 grit wet paper) for blacking out the high brake light so it wouldn't contrast with the CF spoiler
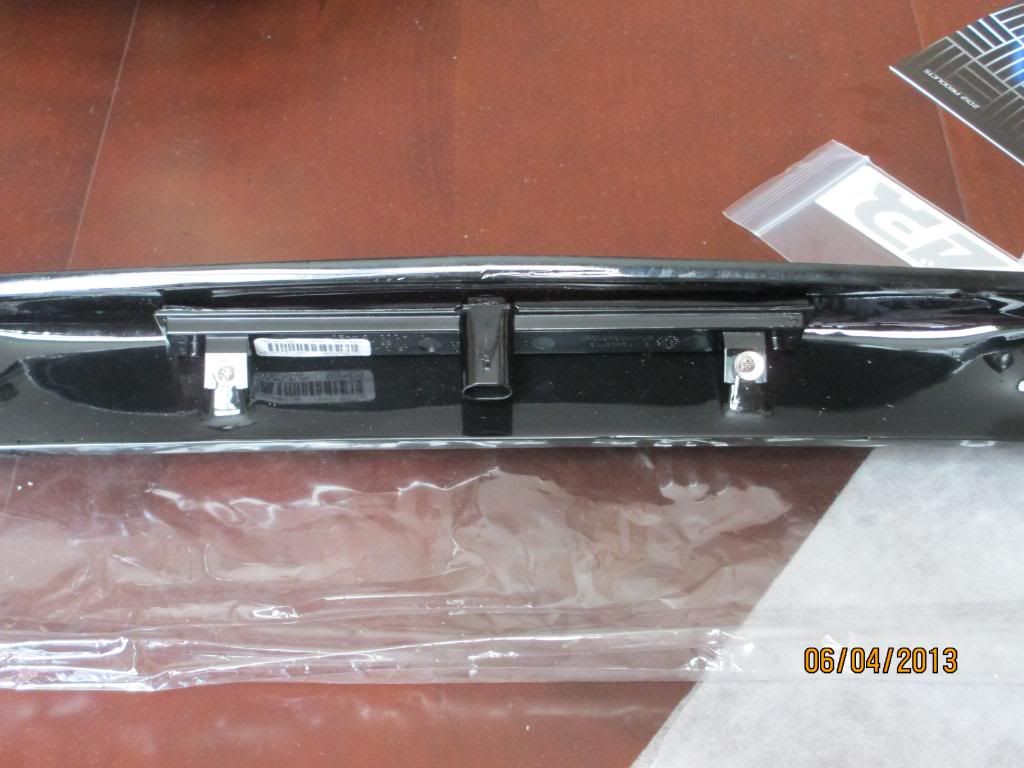
High level brake light installed after black out.
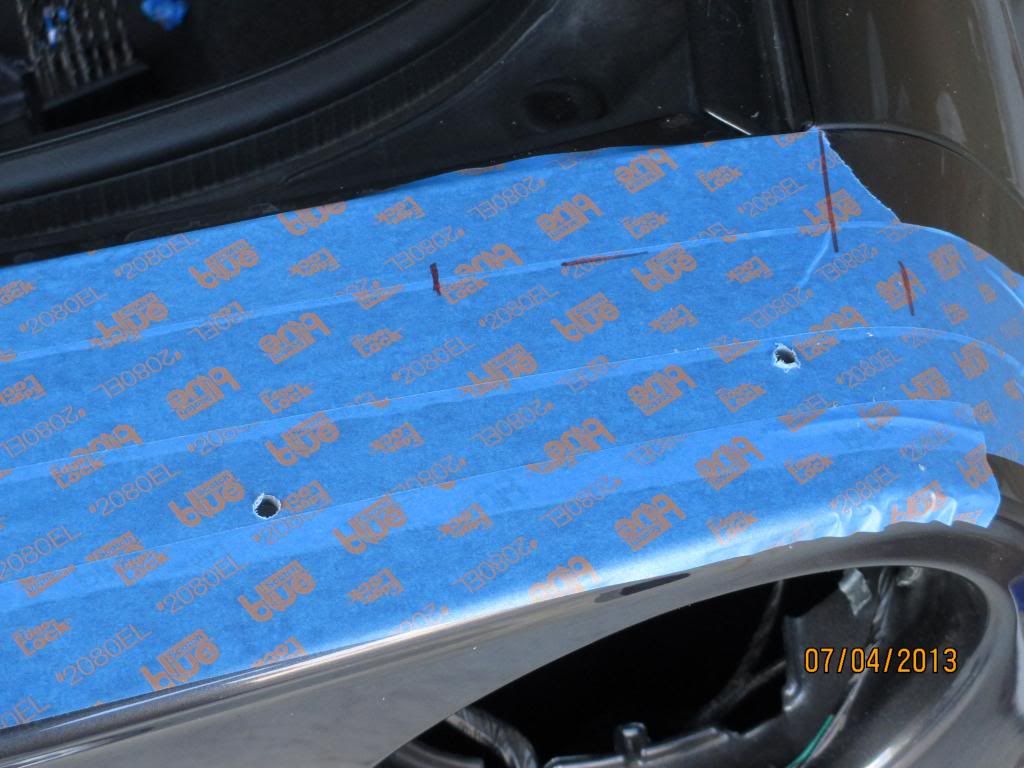
Taped the area and removed the tail lights
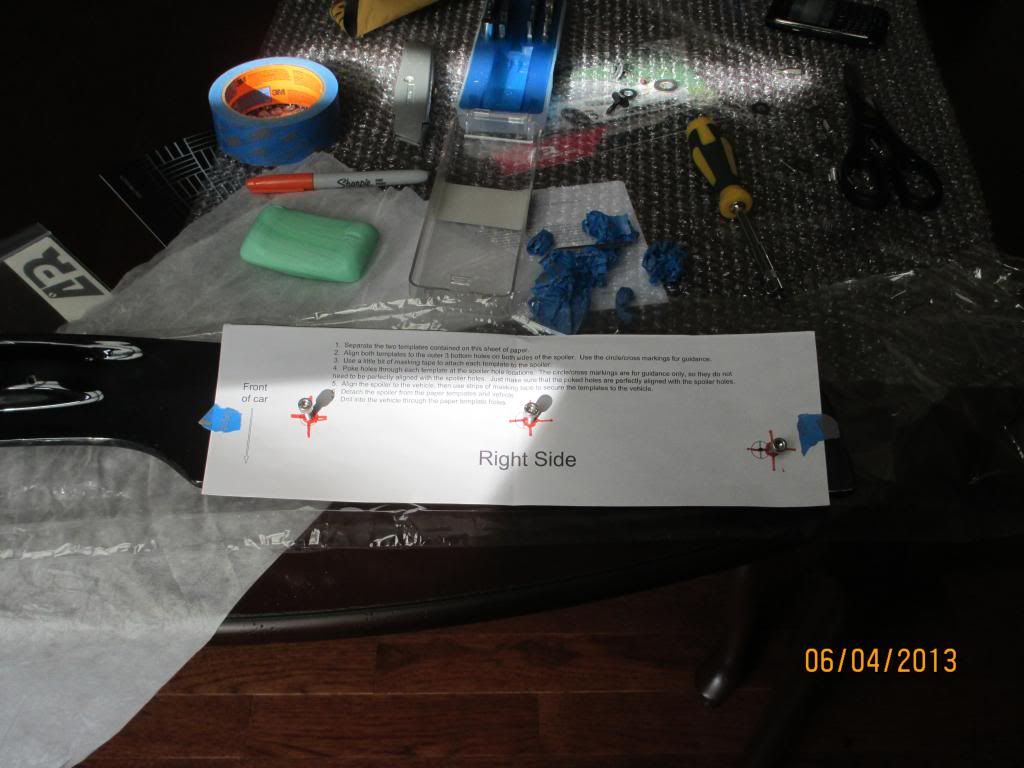
Arranged templates on the spoiler - used some soap to lubricate the screws in the spoiler because the tapped holes were really tight. You can see the template was not an exact fit to the holes in the spoiler.
Found the socket for the high level brake light interfered with the rear fascia so I used a file to notch it out a bit until I could precisely position the spoiler without the socket binding.
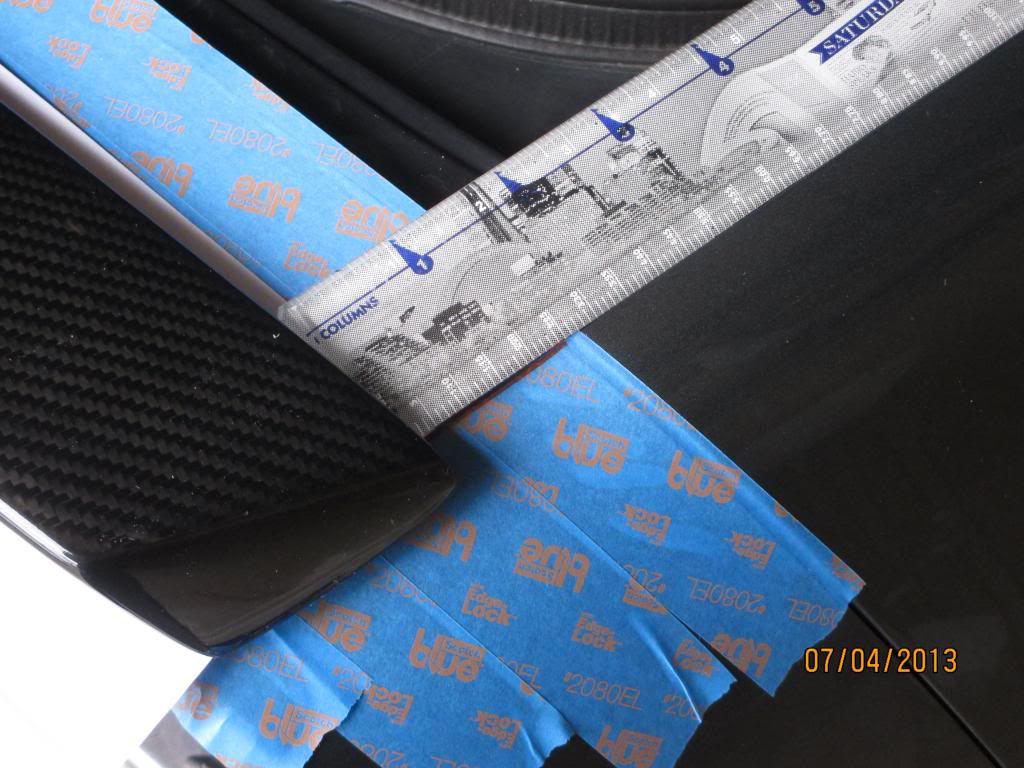
I spent a lot of time making sure the positioning was perfect - once you drill the holes there is no turning back. I used a ruler along the edge of the rear fender and extended the line on the tape to measure from the end of the spoiler on both sides to ensure it was centred.
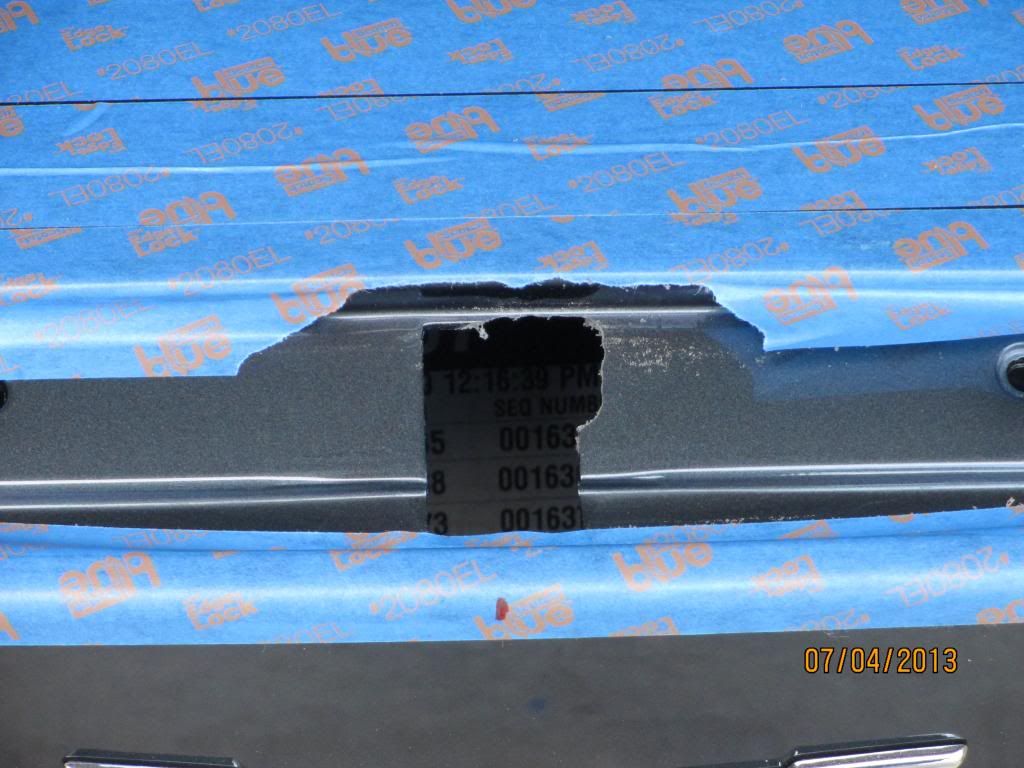
Transferred the template to the rear fascia and drilled the holes.
Finished!
I followed the post: http://forums.corvetteforum.com/c6-z...ll-how-to.html almost exactly. The only thing I did differently for the splitter install was close the hood before reinstalling the fascia. I found I couldn't get it to seat correctly with the hood up as the fascia was hitting the front edge of the hood in the up position. I did also install the brace.
Side skirts went on easily following the instructions. Did one side at a time and found that if I connected the back of skirt to the rear fender piece (keeping the screws a little loose) I could secure the front without help. Used 1/32 smaller drill than recommended to ensure the screws were tight in the holes I had to drill.
Underside at front fender - remove the 3 screws.
Then behind the door - remove the 1 screw
Remove the screw in wheel well to attached fender piece
Adhesive tape - before tightening all screws - pull the tape off and the press firmly - tighten the scews
Install of rear spoiler
The original high level brake light did not fit the APR spoiler so I ordered the ZR1 unit from GM
I scuffed the suface as prep (1500 grit wet paper) for blacking out the high brake light so it wouldn't contrast with the CF spoiler
High level brake light installed after black out.
Taped the area and removed the tail lights
Arranged templates on the spoiler - used some soap to lubricate the screws in the spoiler because the tapped holes were really tight. You can see the template was not an exact fit to the holes in the spoiler.
Found the socket for the high level brake light interfered with the rear fascia so I used a file to notch it out a bit until I could precisely position the spoiler without the socket binding.
I spent a lot of time making sure the positioning was perfect - once you drill the holes there is no turning back. I used a ruler along the edge of the rear fender and extended the line on the tape to measure from the end of the spoiler on both sides to ensure it was centred.
Transferred the template to the rear fascia and drilled the holes.
Finished!
Last edited by ROBMARZ; 05-05-2013 at 05:54 PM.

The following users liked this post:
timmyZ06 (10-13-2015)
05-05-2013, 12:41 AM
#2

Looks awesome! 
If you out some black wheels on it, that thing would look real sinister!
I just ordered a katech carbon fiber splitter for my car as well, but I had no idea that you had to pull the whole nose off the car, and drill extra holes!
I thought it simply bolted on from the bottom, using the existing hardware that holds up the stock GS splitter? I can understand taking the fascia off to install the brace though.
05-05-2013, 08:20 AM
#3
Instructor
Thread Starter
The splitter doesn't require drilling any holes. I did have to buy some longer screws for the front 3 holes to allow for the extra thickness of the splitter.
The fascia comes off to allow for installation of the brace. I researched the hell out of whether to install it or not and the response depended on who's splitter you bought. I opted to play it safe and install the brace. I really took my time getting it off and on but in the end was pretty easy with a little help from my son.
Only thing was I couldn't get it back on with the hood open so I taped the edge of the hood and the spliltter to make sure if they rubbed I wouldn't damage the paint and it went on easy.
I went with APR - because the reviews were all good and the rear spoiler (holes need to be drilled) was the one I liked the best and I wanted them to all be matching carbon weave.
My son would like me to put black wheels on too but I have my eye on a CAI and Cat back system next.
Last edited by ROBMARZ; 03-31-2015 at 09:12 PM.
05-28-2013, 04:33 PM
#4
Racer
Good post. Thank you for it!
Question on the side skirts.. the 3 bolts you were refering to... are they the ones clustered together? Just wanted to make sure.
Thanks!
Question on the side skirts.. the 3 bolts you were refering to... are they the ones clustered together? Just wanted to make sure.
Thanks!
05-28-2013, 06:42 PM
#5
Instructor
Thread Starter
Three screws are circled below. The side skirts were an easy job; I agonized over drilling the holes for the rear spoiler - but am extremely happy with the result. The APR pieces all fit perfectly.