C6 rear wheel stud removal/replacement step by step
#1
Racer


Thread Starter
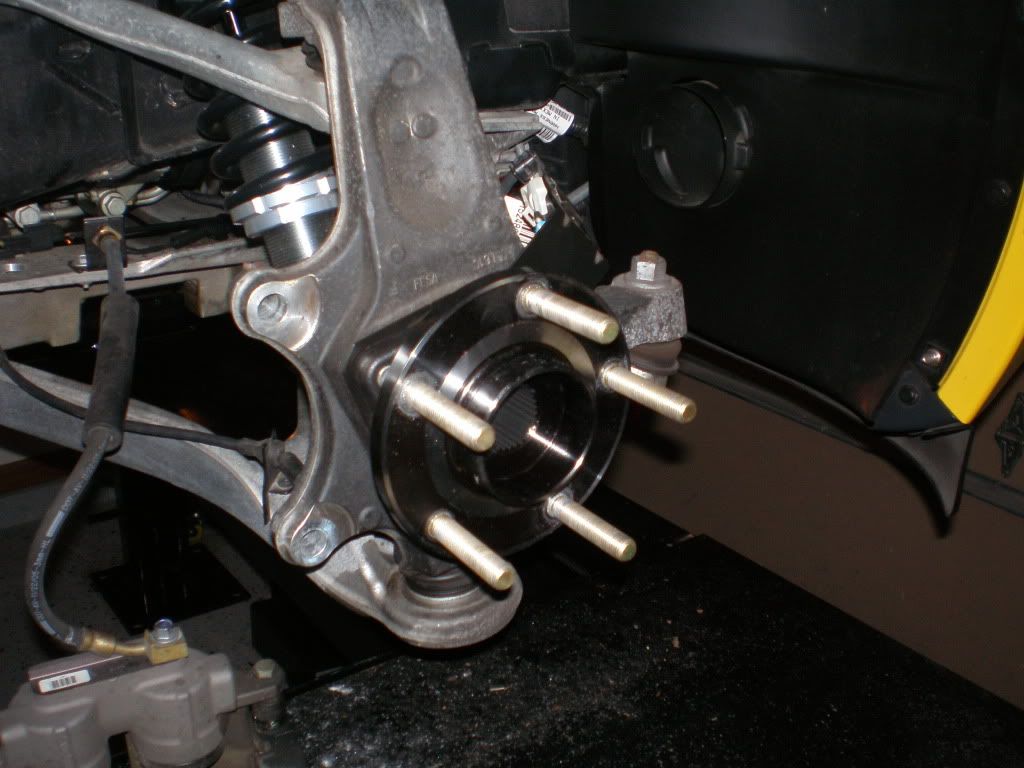
Ok guys, just did this today. I am removing all the studs to replace them with the arp 2.5" longer studs. I am doing so because I am updating my base C6 brakes to Z06 brakes. I realized I have to space my wheels a bit, so the correct way is to replace the studs with longer ones.
I found a thread on here to remove the fronts, it was very easy. Seems a lot of people here say the rears have to come apart. I looked at it today and found it can be done assembled.
First I obviously removed the caliper and rotor. Next I pushed the emergency brake pad forward about 3/8" toward the front of the car. I did this to access the retaining spring. I slid the spring out of the tab. The tab is part of the backing plate.
[IMG] [/IMG]
I had already lightly tapped the stud and it slid out of its pressed fit fairly easy. Do not hammer the crap out of it, you will do damage!
Ok, next I drilled a hole in the backing plate. Located just above the tab that was holding the spring that we already removed. The reason for this spring to be unhooked is to let the stud pass without interruption. The overall diameter I drilled was 5/8". I then made the hole an oval with a die grinder. A dremel will work or if you really want, use a file.
[IMG] [/IMG]
I found a thread on here to remove the fronts, it was very easy. Seems a lot of people here say the rears have to come apart. I looked at it today and found it can be done assembled.
First I obviously removed the caliper and rotor. Next I pushed the emergency brake pad forward about 3/8" toward the front of the car. I did this to access the retaining spring. I slid the spring out of the tab. The tab is part of the backing plate.
[IMG]
 [/IMG]
I had already lightly tapped the stud and it slid out of its pressed fit fairly easy. Do not hammer the crap out of it, you will do damage!
Ok, next I drilled a hole in the backing plate. Located just above the tab that was holding the spring that we already removed. The reason for this spring to be unhooked is to let the stud pass without interruption. The overall diameter I drilled was 5/8". I then made the hole an oval with a die grinder. A dremel will work or if you really want, use a file.
[IMG]
 [/IMG]
Last edited by Clover0925; 02-09-2014 at 09:44 PM.
#2
Racer


Thread Starter
Next I lined up the back of the stud with the hole, making sure the spring is out of the way. With some light tapping, it comes out. You may have to angle the stud a bit and continue to tap it till it is fully removed. This is because if the angle, I checked all 10 studs and none had any issues with the threads by doing so.
[IMG] [/IMG]
Here is a picture straight in.
[IMG] [/IMG]
You can see in this picture that the spindle is in the way, I did shave a little off it, mostly just the casting edge. The stud just needs to be finagled a bit to get past it.
[IMG]
 [/IMG]
Here is a picture straight in.
[IMG]
 [/IMG]
You can see in this picture that the spindle is in the way, I did shave a little off it, mostly just the casting edge. The stud just needs to be finagled a bit to get past it.
Last edited by Clover0925; 02-09-2014 at 09:45 PM.
#6
Race Director


Member Since: Aug 2005
Location: Hudson WI
Posts: 13,598
Received 181 Likes
on
162 Posts
NCM Sinkhole Donor

The hub bolts are tough to get out. Steel torx bolt in an aluminum knuckle, so you get corrosion. Don't laugh, but I wax the bottom of my car to keep it looking good and keep everything clean, but they still were a sun of a gun to get out.
Last edited by timd38; 02-09-2014 at 10:20 PM.
#10
Race Director


Member Since: Aug 2005
Location: Hudson WI
Posts: 13,598
Received 181 Likes
on
162 Posts
NCM Sinkhole Donor

60,000 BTU hanging from the ceiling.
http://www.qcsupply.com/modine-hot-d...FQsSMwodlnsARA
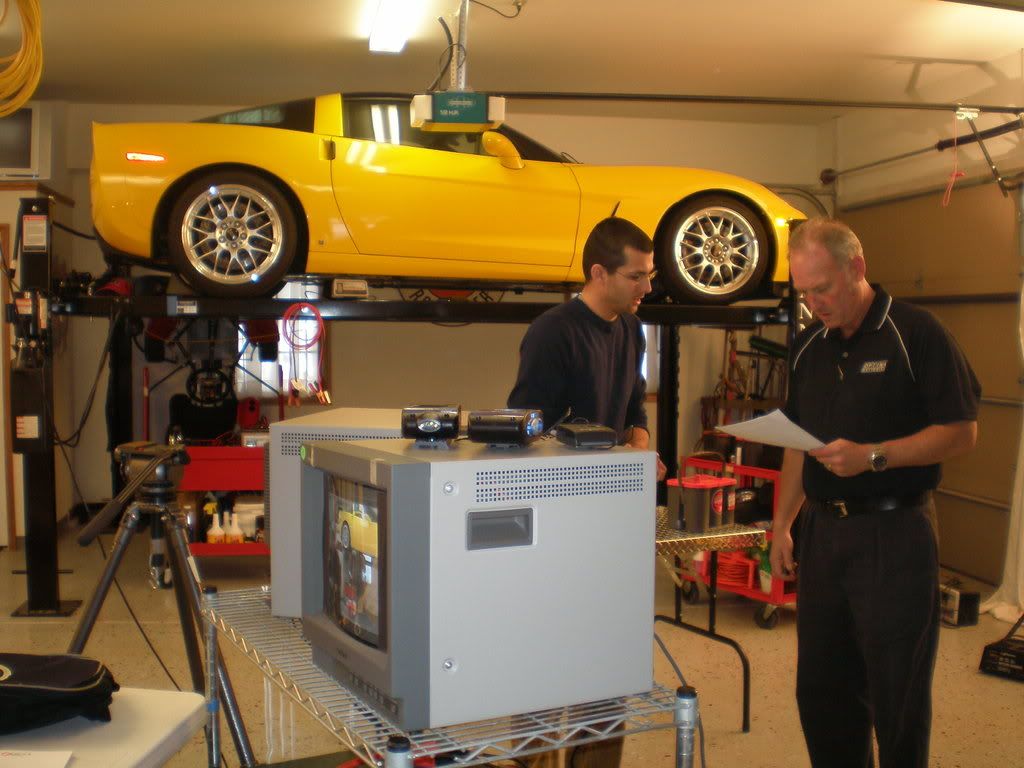
That's not me, we just used my garage ti film Optima Tech Tips that you can find on Tube. We did in Feb a couple years ago.
http://www.qcsupply.com/modine-hot-d...FQsSMwodlnsARA
That's not me, we just used my garage ti film Optima Tech Tips that you can find on Tube. We did in Feb a couple years ago.
#11
Instructor


Member Since: Mar 2010
Location: Chicago Illinois
Posts: 140
Likes: 0
Received 0 Likes
on
0 Posts

Ok guys, just did this today. I am removing all the studs to replace them with the arp 2.5" longer studs. I am doing so because I am updating my base C6 brakes to Z06 brakes. I realized I have to space my wheels a bit, so the correct way is to replace the studs with longer ones.
I found a thread on here to remove the fronts, it was very easy. Seems a lot of people here say the rears have to come apart. I looked at it today and found it can be done assembled.
First I obviously removed the caliper and rotor. Next I pushed the emergency brake pad forward about 3/8" toward the front of the car. I did this to access the retaining spring. I slid the spring out of the tab. The tab is part of the backing plate.
[IMG] [/IMG]
I had already lightly tapped the stud and it slid out of its pressed fit fairly easy. Do not hammer the crap out of it, you will do damage!
Ok, next I drilled a hole in the backing plate. Located just above the tab that was holding the spring that we already removed. The reason for this spring to be unhooked is to let the stud pass without interruption. The overall diameter I drilled was 5/8". I then made the hole an oval with a die grinder. A dremel will work or if you really want, use a file.
[IMG] [/IMG]
I found a thread on here to remove the fronts, it was very easy. Seems a lot of people here say the rears have to come apart. I looked at it today and found it can be done assembled.
First I obviously removed the caliper and rotor. Next I pushed the emergency brake pad forward about 3/8" toward the front of the car. I did this to access the retaining spring. I slid the spring out of the tab. The tab is part of the backing plate.
[IMG]
 [/IMG]
I had already lightly tapped the stud and it slid out of its pressed fit fairly easy. Do not hammer the crap out of it, you will do damage!
Ok, next I drilled a hole in the backing plate. Located just above the tab that was holding the spring that we already removed. The reason for this spring to be unhooked is to let the stud pass without interruption. The overall diameter I drilled was 5/8". I then made the hole an oval with a die grinder. A dremel will work or if you really want, use a file.
[IMG]
 [/IMG]
I also want to install 2.5" studs and can't to the same conclusion you have executed. The knuckle clearance seems to be the issue with a 2.5 but not for the original.
Did you cut off a stud to find the sweet spot for the drill or did you eye-ball it. Seems if I cut the stud and use a smaller chaser bit to through the spindle to line it up.
I have an A6 so I assume you rotated the spindle to line up each time and replace.
I already took the parking brake shoe off so it make it a little easier to see what is going on.
Did you seal up the drill hole after?


