
Help with Vararam 2008 LS3/Z51 install. (PICS)
 04-11-2013, 06:12 PM
#1
6th Gear

Thread Starter

Member Since: Nov 2012
Posts: 6
Likes: 0
Received 0 Likes
on
0 Posts
Haven't had much luck with Vararam responding to my requests for assistance so I thought I would try here. My issue is that I can't see either piece fitting, whether together or separate, under the hood in a way that would allow the hood to shut..
With the intake installed with the coupling flush on the TB, the coupling is squashed on the radiator. This doesn't change much by removing the plastic cover.
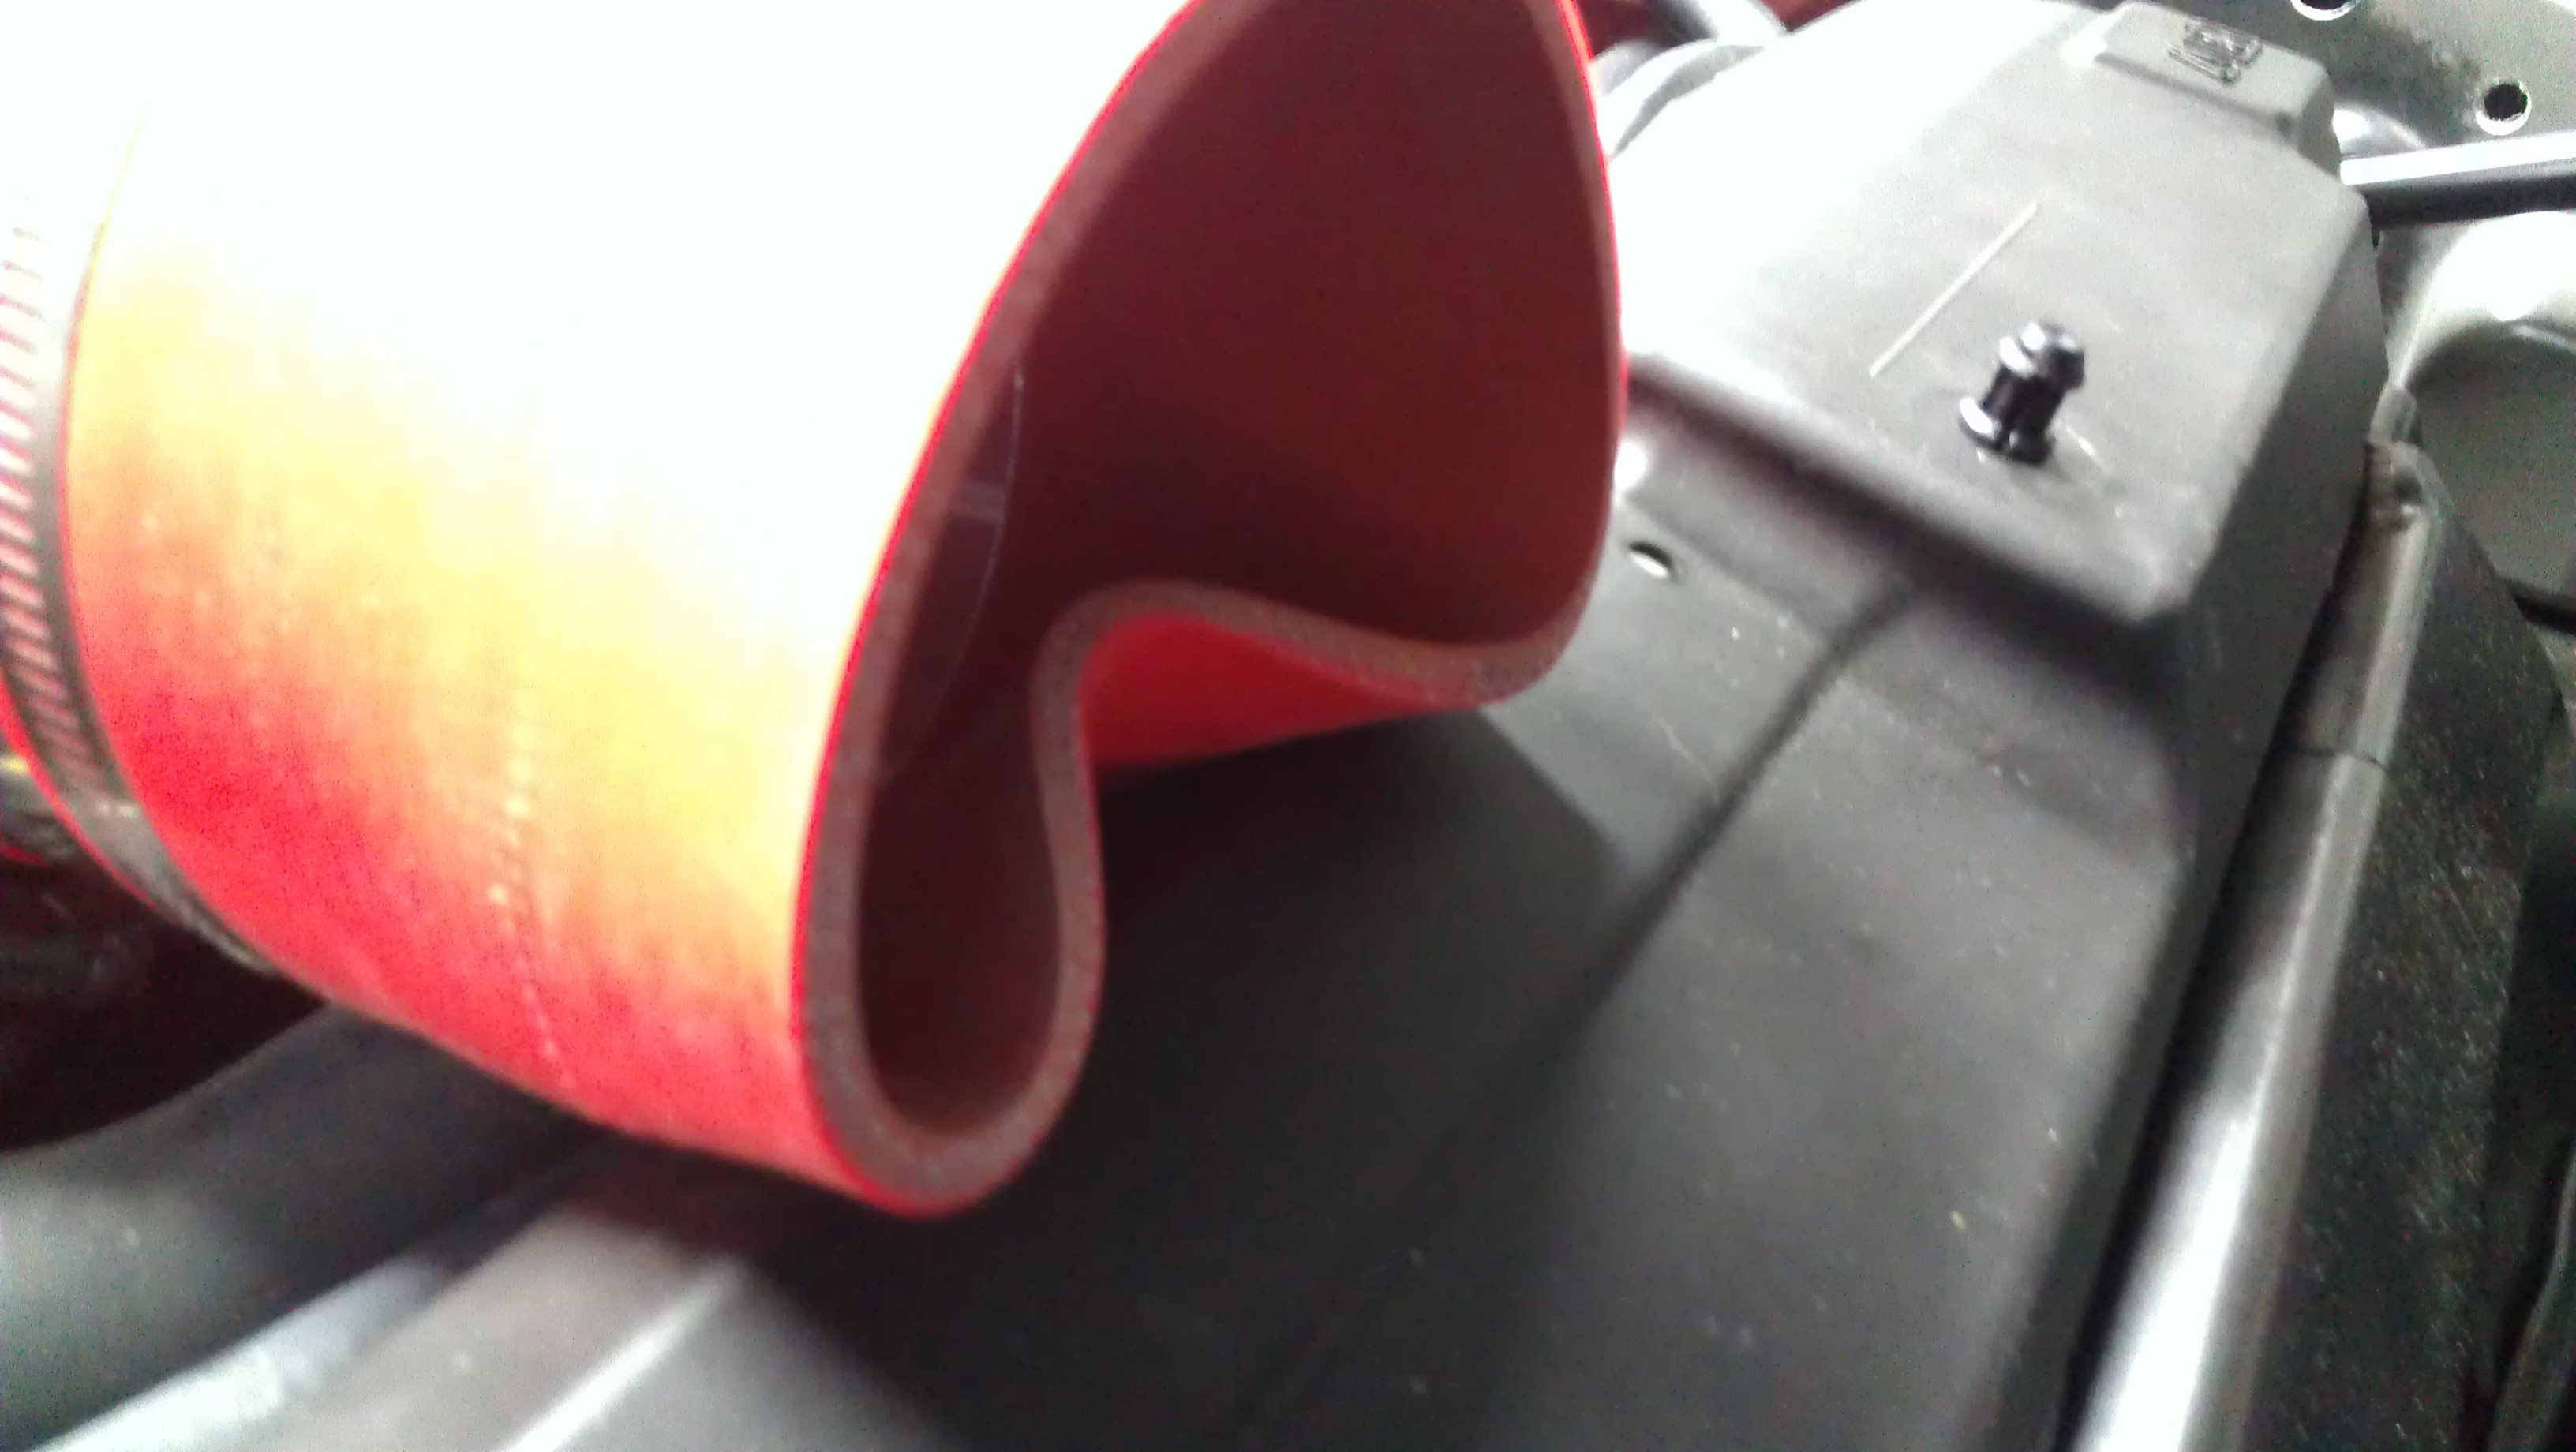
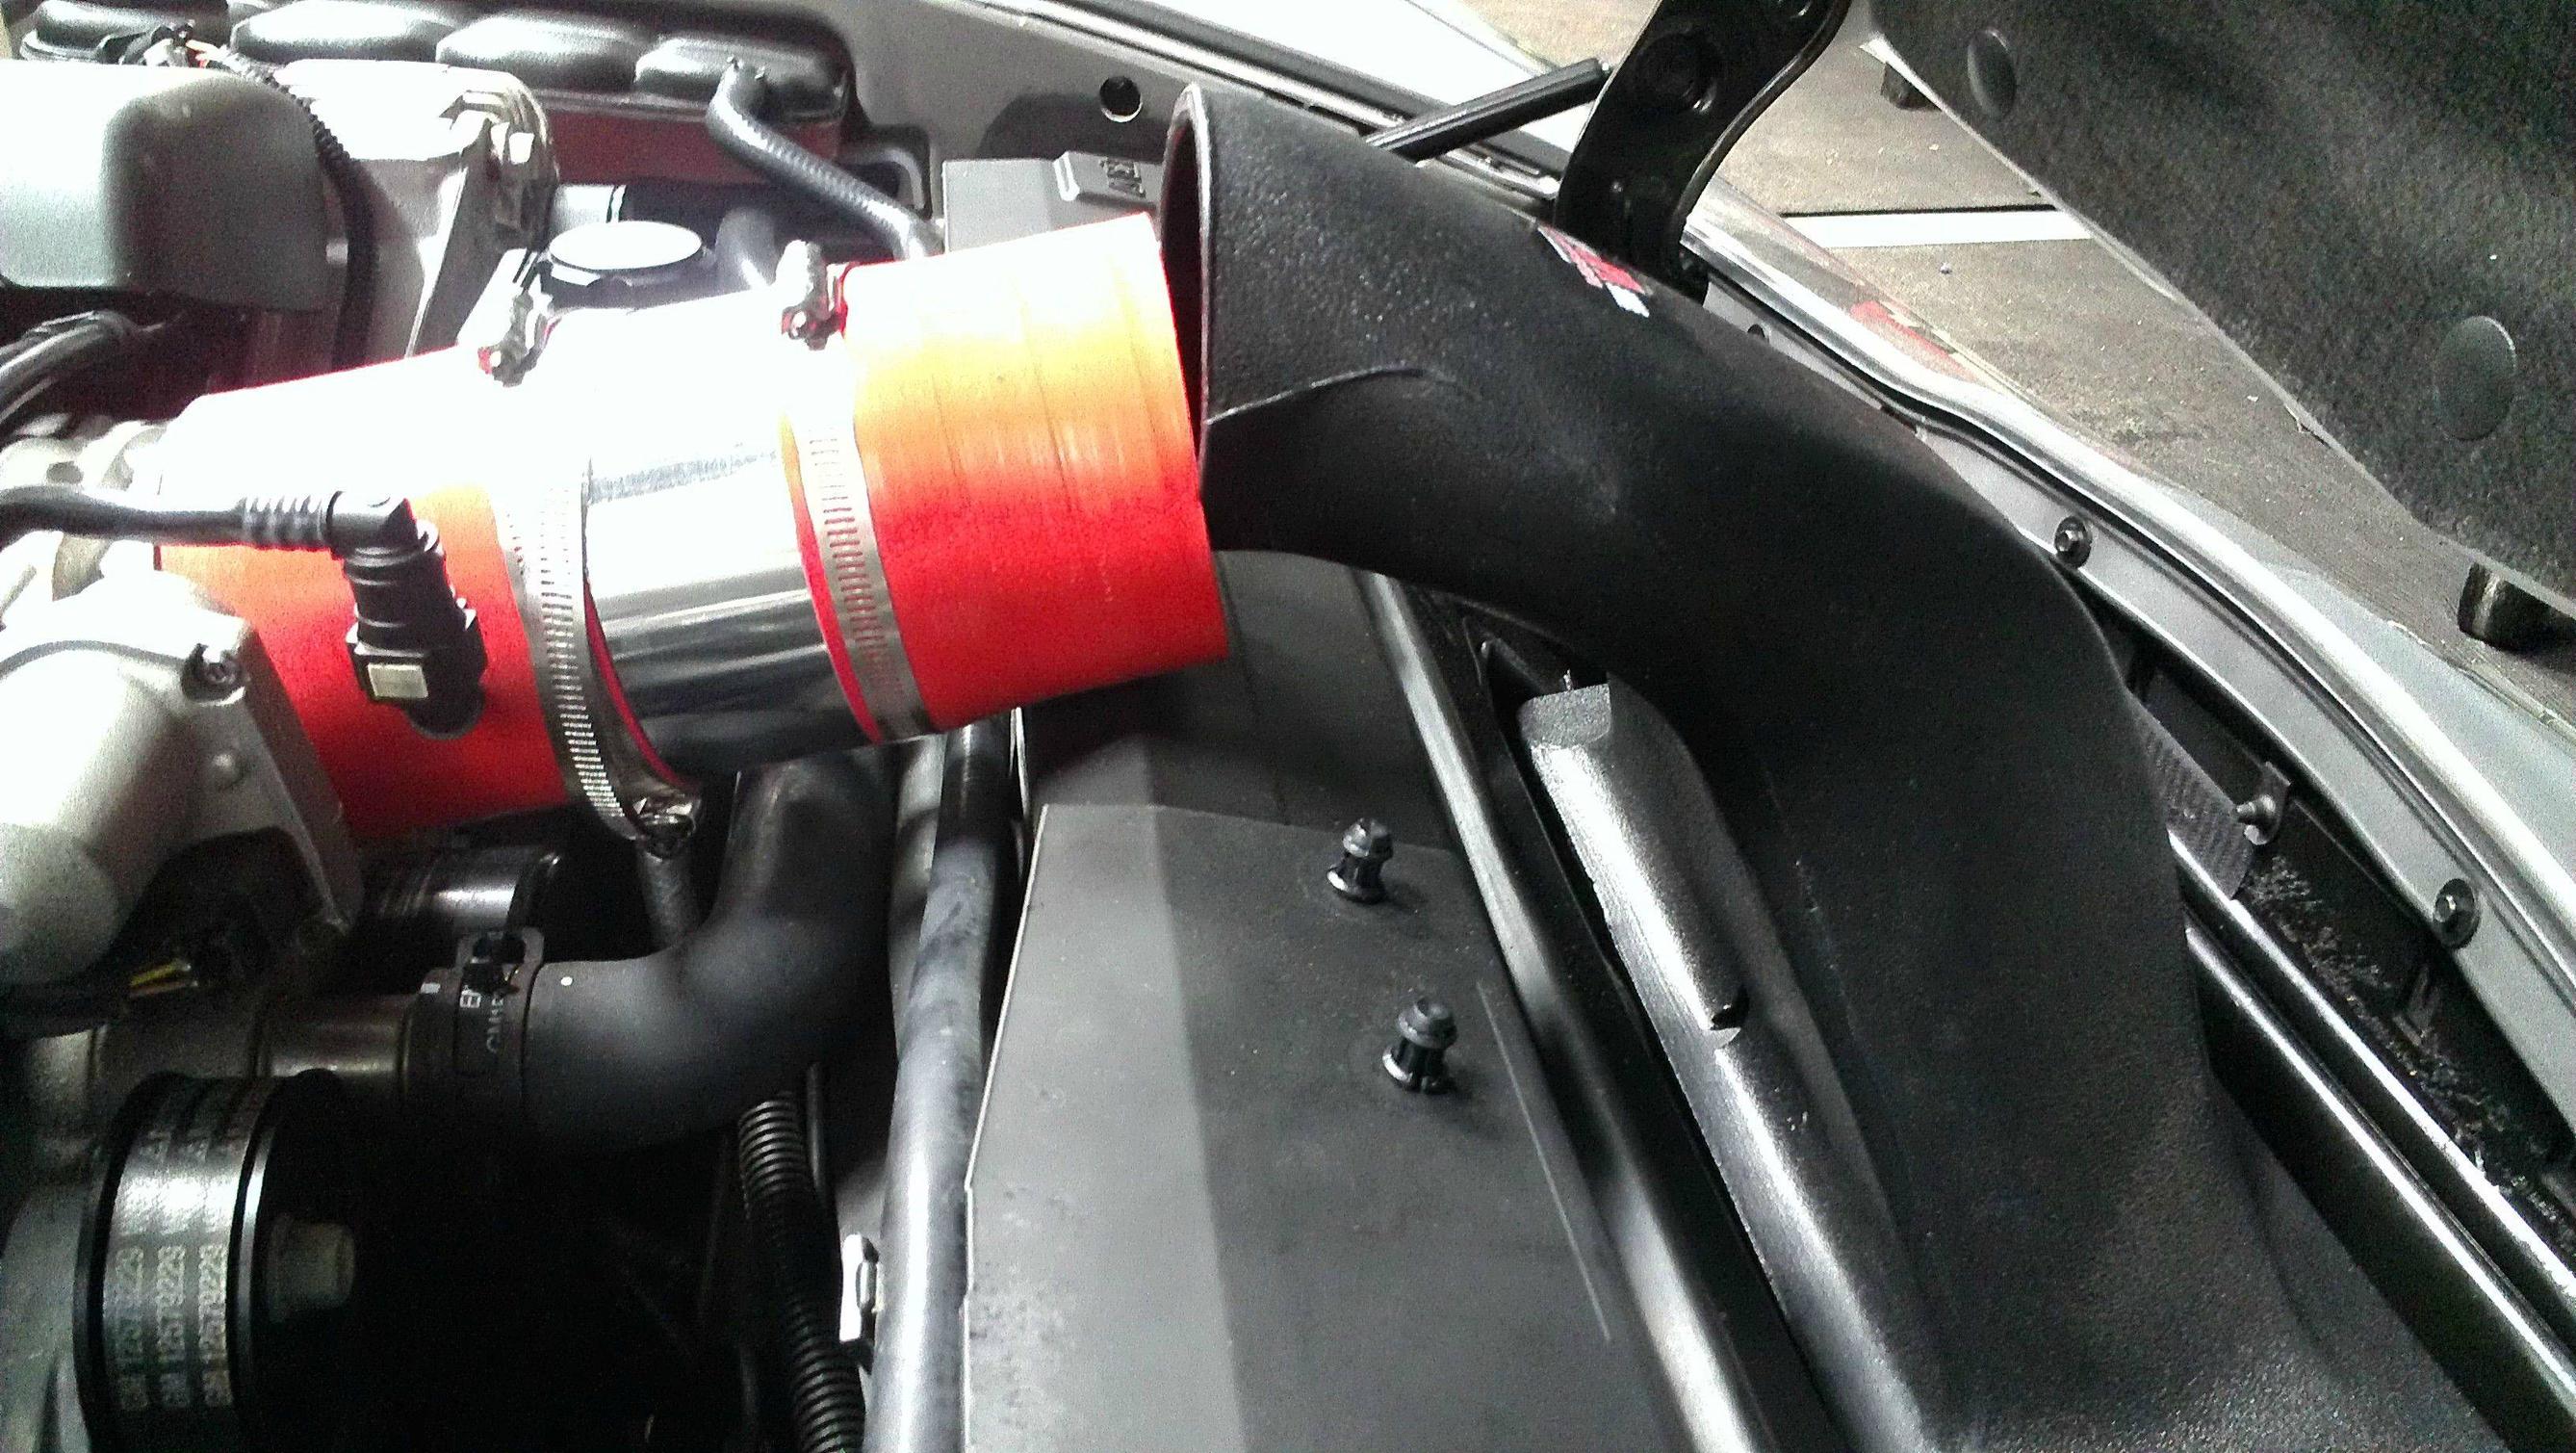
This image is with the Ram part installed with the rubber expanding drums in the proper holes, then the intake installed. If the Ram is moved any lower, the opening becomes partially blocked. Since there is only one possible place for the rubber bits on the Ram to go, I'm lost as to what adjustments to make. This is the part that has me the most confused, because even with a longer coupling forced in there that would sort of fit over the TB, there isn't anyway the hood would shut.

With the intake installed with the coupling flush on the TB, the coupling is squashed on the radiator. This doesn't change much by removing the plastic cover.
This image is with the Ram part installed with the rubber expanding drums in the proper holes, then the intake installed. If the Ram is moved any lower, the opening becomes partially blocked. Since there is only one possible place for the rubber bits on the Ram to go, I'm lost as to what adjustments to make. This is the part that has me the most confused, because even with a longer coupling forced in there that would sort of fit over the TB, there isn't anyway the hood would shut.
 04-11-2013, 09:37 PM
#2
Intermediate

Member Since: Sep 2012
Location: dayton ohio
Posts: 31
Likes: 0
Received 0 Likes
on
0 Posts
04-11-2013, 10:07 PM
#3
Drifting

Member Since: Feb 2006
Location: Lake Delton (WI Dells) WI
Posts: 1,339
Likes: 0
Received 1 Like
on
1 Post

It will fit, you just need to get your angles correct. You will need to cut the rubber pieces at an angle.
-THIS- thread used to have some good photos, but I see the OP took them down and apparently doesn't even have a Vette anymore.
-THIS- thread used to have some good photos, but I see the OP took them down and apparently doesn't even have a Vette anymore.
04-13-2013, 07:55 AM
#4
6th Gear
Thread Starter
Member Since: Nov 2012
Posts: 6
Likes: 0
Received 0 Likes
on
0 Posts
04-13-2013, 07:57 AM
#5
6th Gear
Thread Starter
Member Since: Nov 2012
Posts: 6
Likes: 0
Received 0 Likes
on
0 Posts
It will fit, you just need to get your angles correct. You will need to cut the rubber pieces at an angle.
-THIS- thread used to have some good photos, but I see the OP took them down and apparently doesn't even have a Vette anymore.
-THIS- thread used to have some good photos, but I see the OP took them down and apparently doesn't even have a Vette anymore.
Saw that thread too. If the pics were still up it would have been great.
04-13-2013, 09:52 AM
#7
Drifting
Member Since: Feb 2006
Location: Lake Delton (WI Dells) WI
Posts: 1,339
Likes: 0
Received 1 Like
on
1 Post
If my car wasn't put away in winter storage I would snap a couple pics and post them for ya. I tried looking back in what I have and I didn't save any of the photos I did take of it installed.
04-13-2013, 11:26 AM
#8
Melting Slicks

Member Since: Nov 2007
Location: Pittsburgh PA
Posts: 2,121
Received 434 Likes
on
268 Posts
St. Jude Donor '10-'11-'12-'13-'14
When I had a Vararam several years ago I found the duct was too high, which appears to be part of your problem. Here's what I did to lower it:
Measure the clearance between the bottom of the air scoop and the splash pan, and between the underside of the duct and the top of the radiator shroud. Check the clearance between the Vararam�s rubber clamp hinges and the fan shroud, too. Take the smallest of these measurements, subtract at least 1/8� safety factor, and drill two new mounting holes (the holes for the screws that attach it to the mounting bar) in the bottom duct that distance above the original holes. If the original holes were drilled off-center or at an uneven height, as mine were, this is a good opportunity to correct it. This results in the duct sitting lower. The original holes can be plugged with a dab of black high-temp sensor-safe RTV silicone.
Also, you may want to replace the two screws that go into these holes. The originals in mine were Phillips head, and there isn�t quite enough clearance to get even a stubby screwdriver on them to prevent them turning while threading down the lock nuts. Rather than fight them I used two hex-head machine screws, which let me put a small wrench on the end.
04-13-2013, 04:33 PM
#9

The new vararam I ordered has a front page instructional "tech note" for the new "mounting system that allows front to rear and some height adjustment". I can't seem to scan/ copy it onto the forum but if you ask Vararam they should know what I am talking about. It says something about up/down and left/right holes oversized allowing for 1/2in movement and included 1/4in rubber spacers and studs.
04-14-2013, 08:07 AM
#10
6th Gear
Thread Starter
Member Since: Nov 2012
Posts: 6
Likes: 0
Received 0 Likes
on
0 Posts
When I had a Vararam several years ago I found the duct was too high, which appears to be part of your problem. Here's what I did to lower it:
Measure the clearance between the bottom of the air scoop and the splash pan, and between the underside of the duct and the top of the radiator shroud. Check the clearance between the Vararam�s rubber clamp hinges and the fan shroud, too. Take the smallest of these measurements, subtract at least 1/8� safety factor, and drill two new mounting holes (the holes for the screws that attach it to the mounting bar) in the bottom duct that distance above the original holes. If the original holes were drilled off-center or at an uneven height, as mine were, this is a good opportunity to correct it. This results in the duct sitting lower. The original holes can be plugged with a dab of black high-temp sensor-safe RTV silicone.
Also, you may want to replace the two screws that go into these holes. The originals in mine were Phillips head, and there isn�t quite enough clearance to get even a stubby screwdriver on them to prevent them turning while threading down the lock nuts. Rather than fight them I used two hex-head machine screws, which let me put a small wrench on the end.
Measure the clearance between the bottom of the air scoop and the splash pan, and between the underside of the duct and the top of the radiator shroud. Check the clearance between the Vararam�s rubber clamp hinges and the fan shroud, too. Take the smallest of these measurements, subtract at least 1/8� safety factor, and drill two new mounting holes (the holes for the screws that attach it to the mounting bar) in the bottom duct that distance above the original holes. If the original holes were drilled off-center or at an uneven height, as mine were, this is a good opportunity to correct it. This results in the duct sitting lower. The original holes can be plugged with a dab of black high-temp sensor-safe RTV silicone.
Also, you may want to replace the two screws that go into these holes. The originals in mine were Phillips head, and there isn�t quite enough clearance to get even a stubby screwdriver on them to prevent them turning while threading down the lock nuts. Rather than fight them I used two hex-head machine screws, which let me put a small wrench on the end.
Thanks for the detailed instruction. I kind of thought I may have to do something like this, but was really hoping not to have to go to the trouble.
04-14-2013, 11:02 AM
#11
Melting Slicks
Member Since: Nov 2007
Location: Pittsburgh PA
Posts: 2,121
Received 434 Likes
on
268 Posts
St. Jude Donor '10-'11-'12-'13-'14
If, as TripleAstyle123 says, the new ones have some height adjustment, then you might not have to make alterations as I did. Good luck.
04-21-2013, 03:05 PM
#12
not to hijack BUT- I went to install mine today and it does not seem to fit at all with the factoy Z-51 oil cooler in place. I have the same kit as the OP it appears. Does anyone know what to do with the oil coler and mounting bracket that originally was supported on the factory shroud that's cut out. ??
04-21-2013, 05:45 PM
#13
6th Gear
Thread Starter
Member Since: Nov 2012
Posts: 6
Likes: 0
Received 0 Likes
on
0 Posts
not to hijack BUT- I went to install mine today and it does not seem to fit at all with the factoy Z-51 oil cooler in place. I have the same kit as the OP it appears. Does anyone know what to do with the oil coler and mounting bracket that originally was supported on the factory shroud that's cut out. ??
You should have got a bracket from Vararam with your kit for relocating. It isn't listed on their site, but you need some extra parts for Z51. Call Vararam and tell them you have the Z51. For $120 they will send you the bracket and a different coupling. However, for my Z51/LS3 the bracket they send is not bent correctly, so it doesn't reach any mounting points. They insist it will fit however. The coupling was useless as well. They also insist it will fit. So far their insistence has had no affect on physics.
I really think the Vararam kits are made to fit a few models perfectly, then any models that vary outside those few, it is left to the user to modify and overcome.
04-21-2013, 06:04 PM
#14
You should have got a bracket from Vararam with your kit for relocating. It isn't listed on their site, but you need some extra parts for Z51. Call Vararam and tell them you have the Z51. For $120 they will send you the bracket and a different coupling. However, for my Z51/LS3 the bracket they send is not bent correctly, so it doesn't reach any mounting points. They insist it will fit however. The coupling was useless as well. They also insist it will fit. So far their insistence has had no affect on physics.
I really think the Vararam kits are made to fit a few models perfectly, then any models that vary outside those few, it is left to the user to modify and overcome.
I really think the Vararam kits are made to fit a few models perfectly, then any models that vary outside those few, it is left to the user to modify and overcome.
04-21-2013, 07:14 PM
#15
6th Gear
Thread Starter
Member Since: Nov 2012
Posts: 6
Likes: 0
Received 0 Likes
on
0 Posts
Any chance you could send me a pic of what the mounting bracket looks like? I am hoping you are wrong because this was not in my plans when I ordered the kit. I swear I saw z-51 cars with it installed and no mention of anything special done compared to base car....
http://forums.corvetteforum.com/c6-t...r-bracket.html
 07-15-2014, 12:06 PM
#17
Race Director

My solution was to replace it with the oem unit.
I got it to fit but it was just a pain to check for good closure all the time, regarding the warping problem and poor fit tendencies of the filter housing.
Some deal with it but I found it to be unacceptable.
I got it to fit but it was just a pain to check for good closure all the time, regarding the warping problem and poor fit tendencies of the filter housing.
Some deal with it but I found it to be unacceptable.

