When you click on links to various merchants on this site and make a purchase, this can result in this site earning a commission. Affiliate programs and affiliations include, but are not limited to, the eBay Partner Network.
C6 Corvette ZR1 & Z06General info about GM’s Corvette Supercar, LS9 Corvette Technical Info, Performance Upgrades, Suspension Setup for Street or Track
Thanks to Gene I finally got a ZR1 splitter to put on my Katech Z. I thought I’d document the installation process with lots of pictures for folks like me that need pictures. I’m assuming that you’re going to install the support brace that goes behind the front fascia as well.
The first step is to remove the front fascia, this also makes an excellent time to install a front tow hook like the removable one that Phoenix Performance sells. Start by putting the car up in the air and removing the front wheels. You could do this entire procedure on jack stands but I had a lift.
I put some painters tape along the top of the front fascia and where it meets the fenders on either side. I found the last time I did this those areas are prone to get scratched or scuffed if you aren’t careful. Especially the top of the fascia when you go to put it back on.
Pop the hood and remove the four 7mm head screws at the front of the engine compartment that hold the fascia to the support.
Unhook the two tabs in the same area
In each wheel well first remove the five T-15 screws
Then the 3 push pins to loosen up the wheel well liner
Peel back the wheel well liner then disconnect the turn signal bulb by turning then pulling the bulb and wire out. You also need to disconnect the fog lights from the wires.
Remove the two 10MM nuts holding the fascia to the fender.
Under the front bumper remove two 10mm nuts (these are the silver ones with integrated washers
Remove the five center 7 mm screws (really 3 in the center and one on each side slightly back and set in a well).
With the 3 center screws removed you can now pull the flexible flap back and see up in to the area behind the grill. Right above where the flap is and off to either side is a push pin (these are the kind you need to pry out rather than those with a removable center). Use a screwdriver or better yet the proper tool to remove these push pins.
In the same area on one side you will see that the plastic trim has a slot with a pin through it. Pull the trim piece toward you and unhook it from the pin.
I couldn’t get a good picture of this area due to space constraints so here’s where the push pin was after I pulled the fascia out.
At this point the fascia is almost free. Make sure hood is open and lift up the part of the fascia under the hood where you previously removed the four screws and the tab. On the far corners of this same area the fascia will still be held in place by a metal clip that snaps in to a slot in the fascia. Just grab the fascia all the way in the upper corner by the headlight and pull straight up. The fascia should pull out of the clip. Do the same on the other side.
Here’s what it looks like once it’s unclipped
At this point make sure the fascia is off of the studs connecting it to the fenders, make sure the brake duct pieces are out of their slots, and just lift a bit and pull the entire fascia off as a unit. If you missed a step you’ll know it now so go slow and if you feel something caught go see what you missed. I’ll also note that it’s a tight fit to clear the part where it goes under the front of the hood. You might have to experiment with closing the hood first but make sure you don’t pinch the fascia when closing the hood.
Here’s what the removed fascia looks like from the back
Remove the push pins inside the grill and pull the grill out the front.
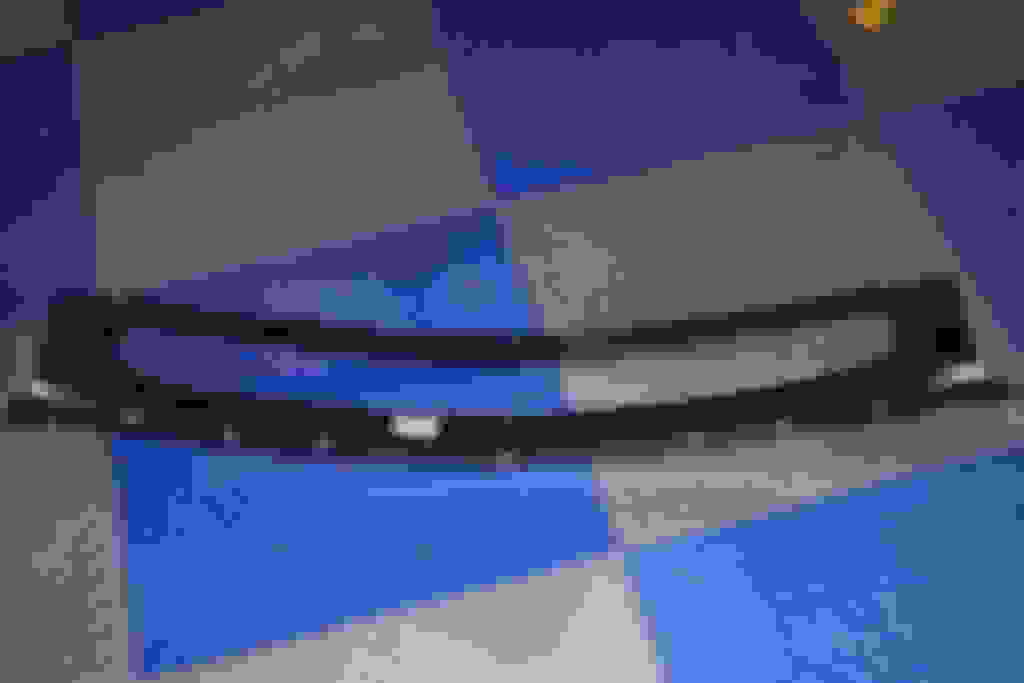
Here’s a couple pics of the new splitter as well as a comparison of the two.
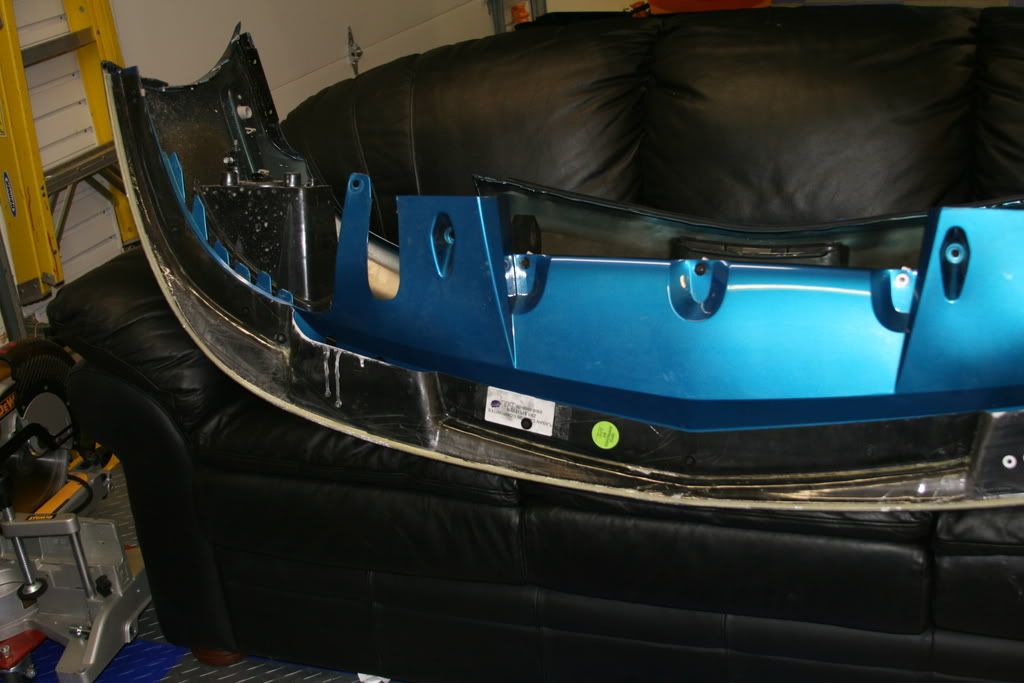
Here is the new support piece that goes inside the front fascia and becomes the new mount point for the splitter.
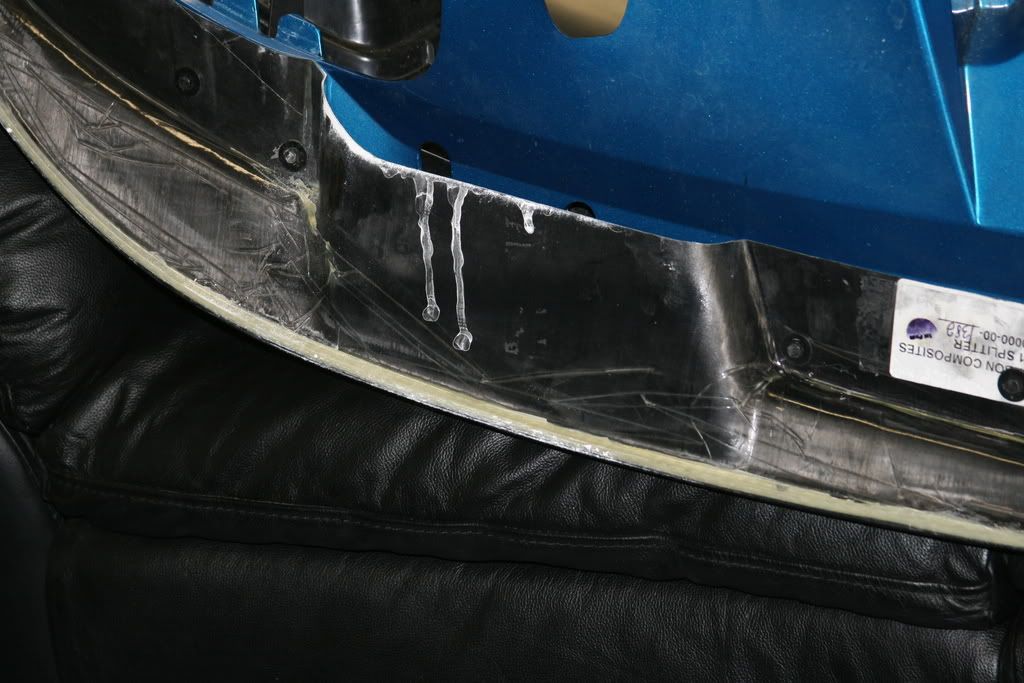
At this point I removed the two plastic reinforcement pieces already inside the fascia. The new support goes in front of them and while you might be able to wedge it around them I thought it best just to remove the existing pieces and then put them back after the new support was in.
The first support is held on with two push pins and four 7mm screws.
Then there are two more screws on each side holding the last support to the fascia. Here is a quick pic of those pieces removed.
The new support just drops in around the grill opening. I had just set the whole fascia on the couch in the garage to work on so it didn’t get scratched up.
Now remove the 7mm screws that are holding the old splitter on and remove all but the 3 outer clips since you will be screwing directly to the support now.
Go ahead and line up the new splitter and start screwing it to the clips. There are four clips in locations from the original spoiler that you will no longer use and four new ones with holes already in the new splitter and the support (with clips). The new holes are on either side of the openings in the splitter.
Last edited by Poor-sha; 08-01-2017 at 06:19 PM.
Reason: started fixing pictures
I went ahead and installed all the screws I already had holes for as this made sure the support and splitter were already aligned. Then I drilled out the fascia for the four remaining and installed them.
As the saying goes installation is the opposite of removal. Just like with removal getting the top of the fascia under the front of the hood is a bit tough but doable. This is why I used the masking tape to keep from scratching it. Also if you’re having trouble getting the rest to bolt up make sure that you're clear of the foam bumper support. I wasn’t and had to reach up from underneath to lift the fascia over the foam bumper.
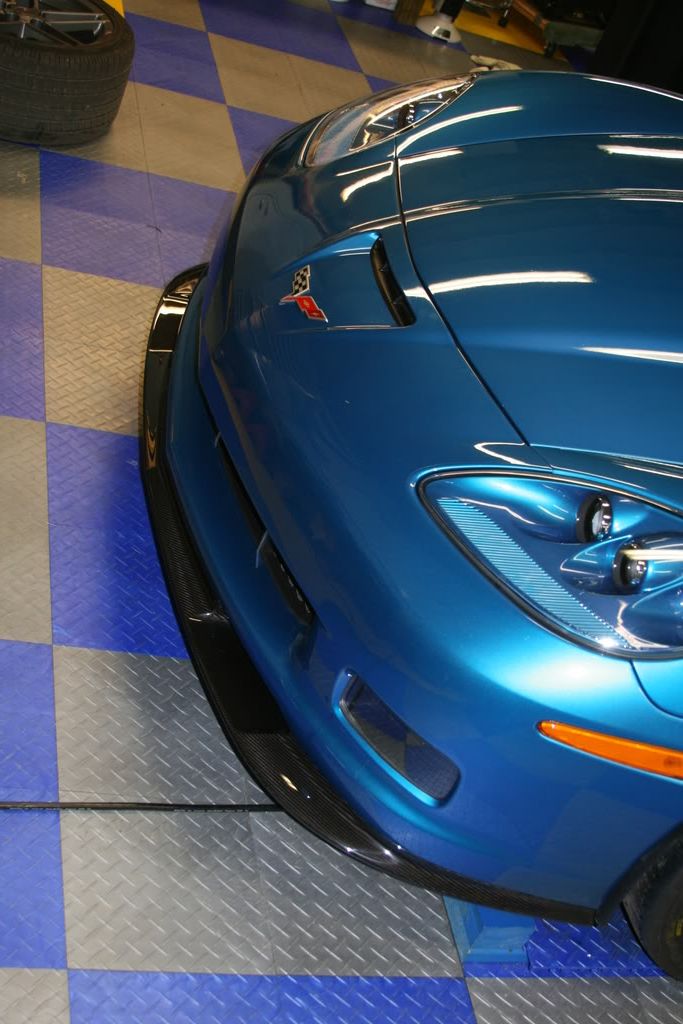
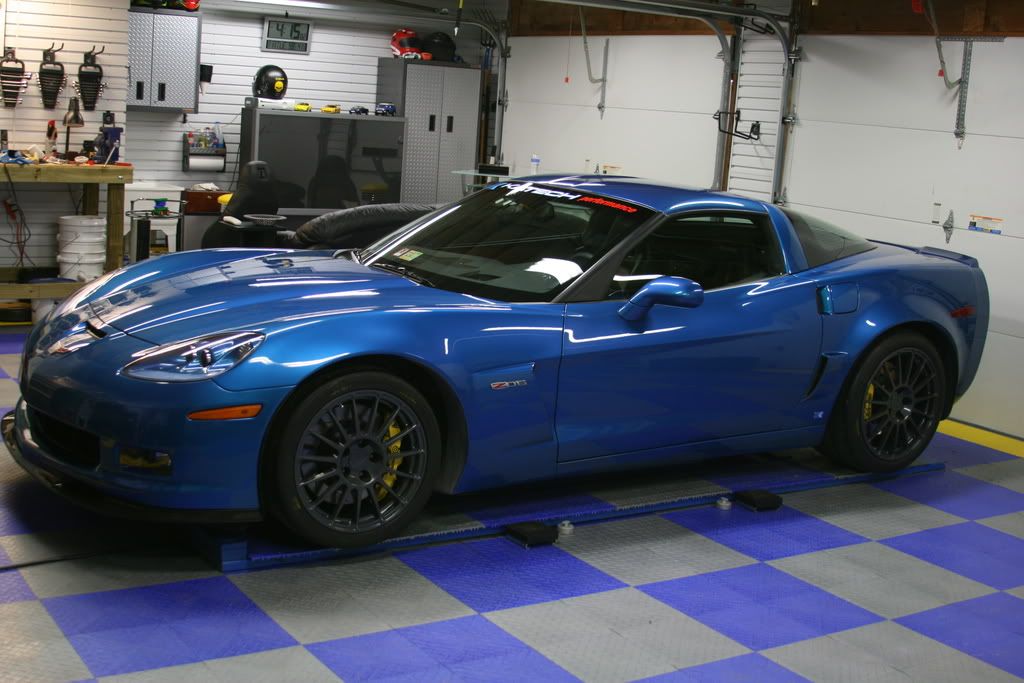
Here are a couple pics of the finished project. When we get some decent weather and I can get out in the daylight I’ll take some better pictures and post them. You’ll notice that I also added the RPI painted ZR1 spoiler. Now I just need those sided skirts.
When I spoke to an engineer at Carlisle, he said they had to significantly stiffen the front overhang to support the ZR1 splitter at speed. I tested this by putting a fair amount of pressure on the ZR1 splitter and it did not flex.
From the pictures, it doesn't look like there is enough support to keep the splitter horizontal at speed.
How much splitter deflection are you getting when you press hard on it?
I'll try that tomorrow but this is the same reinforcement that is in the ZR1. The new reinforcement is very stiff and wraps around the grill area as well as butting up against the lower fascia. The splitter bolts through the fascia to the support itself so I would expect it to be very stiff.
The engineer I spoke to said they didn't notice the problem until the 24 hours track test so I thought it was more of a fatigue problem. In any event I could have gone the easy route and just bolted it to the fascia but I wanted to do it right.
Damn!!! Now that is a post! Very well done Poor Sha! Awesome!! Ive heard many members post and say they wanna do some stuff like this, you just made it a heck of a lot easier on them. The Z looks Sick!!!!!
for some reason these damn computers in Afghanistan wont let me see the photos right now!!! Hopefully they will stop being retarded tomorrow. I just ordered mine myself and can't wait to get home to install it!
looks bad *** man!!! good job on the writeup, i am glad more people are getting into documenting stuff like this for others to share for future reference.
there should be an install library at the top of the forum for these kind of post


 02-19-2015, 06:38 PM