When you click on links to various merchants on this site and make a purchase, this can result in this site earning a commission. Affiliate programs and affiliations include, but are not limited to, the eBay Partner Network.
C6 Corvette ZR1 & Z06General info about GM�s Corvette Supercar, LS9 Corvette Technical Info, Performance Upgrades, Suspension Setup for Street or Track
Hey everyone. I very seldom post on the forums but I figured it would be worthwhile to share my supercharger / meth kit install on my 2007 Z06. It's not quite complete yet due to my work schedule (currently working 7 days a week ~ 11-12 hours per day) but I'm getting there. All work was done myself (I generally prefer to work alone) except for a few times when I needed a spare set of hands and my girlfriend gave me some help
First, a quick background on my car. It's a 2007 Z06 that I purchased with only an intake an Borla catback. It dyno'd 467rwhp 444rwtrq in that form. I initially built the car to be NA. Here's what it has/had prior to the superharger...
- 227 / 242 @ 0.050, .650" / .646: lift, 113 LSA
- Heads milled .020"
- SS valves, new guides, retainers, .660" springs
- FAST intake with Fast fuel rails (currently stock injectors)
- Halltech MF103
- Hand Ported LS7 throttle body
- ARH 1-7/8" LT's through 3" catted x pipe
Car currently makes 548rwhp 510ft lbs on 93 octane (91octane + Torco in CA).
I opted to purchase the ECS1500 kit alongside the Alky Control Meth kit. I currently live in California so I was running 91octane + Torco Accelerator. I'll ditch the latter for 91 pump gas + 100% M1. The fuel system will consist of ECS fuel pump booster, ID1000's, & meth kit.
Car is black on black. Purchased with 14k miles in 2014. It currently has 20k.
My goal with this thread is to try and provide some helpful tips/advice to anyone undergoing a similar project as there are a few pitfalls you may experience. The Z06 in particular has a few added items that can slow you down a bit. We'll get there later though. First here's a dyno graph showing the baseline pull (plus headers, ported throttle body, & intake, but no tune) and after the cam, headwork, etc.
The ECS1500 kit took about 2 weeks to arrive once I ordered it. It was a little longer then expected but that's OK as it gave me time to get the car apart in order to key the crank.
The kit arrived nicely packaged and the various components were separated in various sections. No issues there. The beginning portion of the instructions were straightforward. I took my time here and taped all the loose fasteners to the parts as they came loose or screwed them back in so they wouldn't get lost.
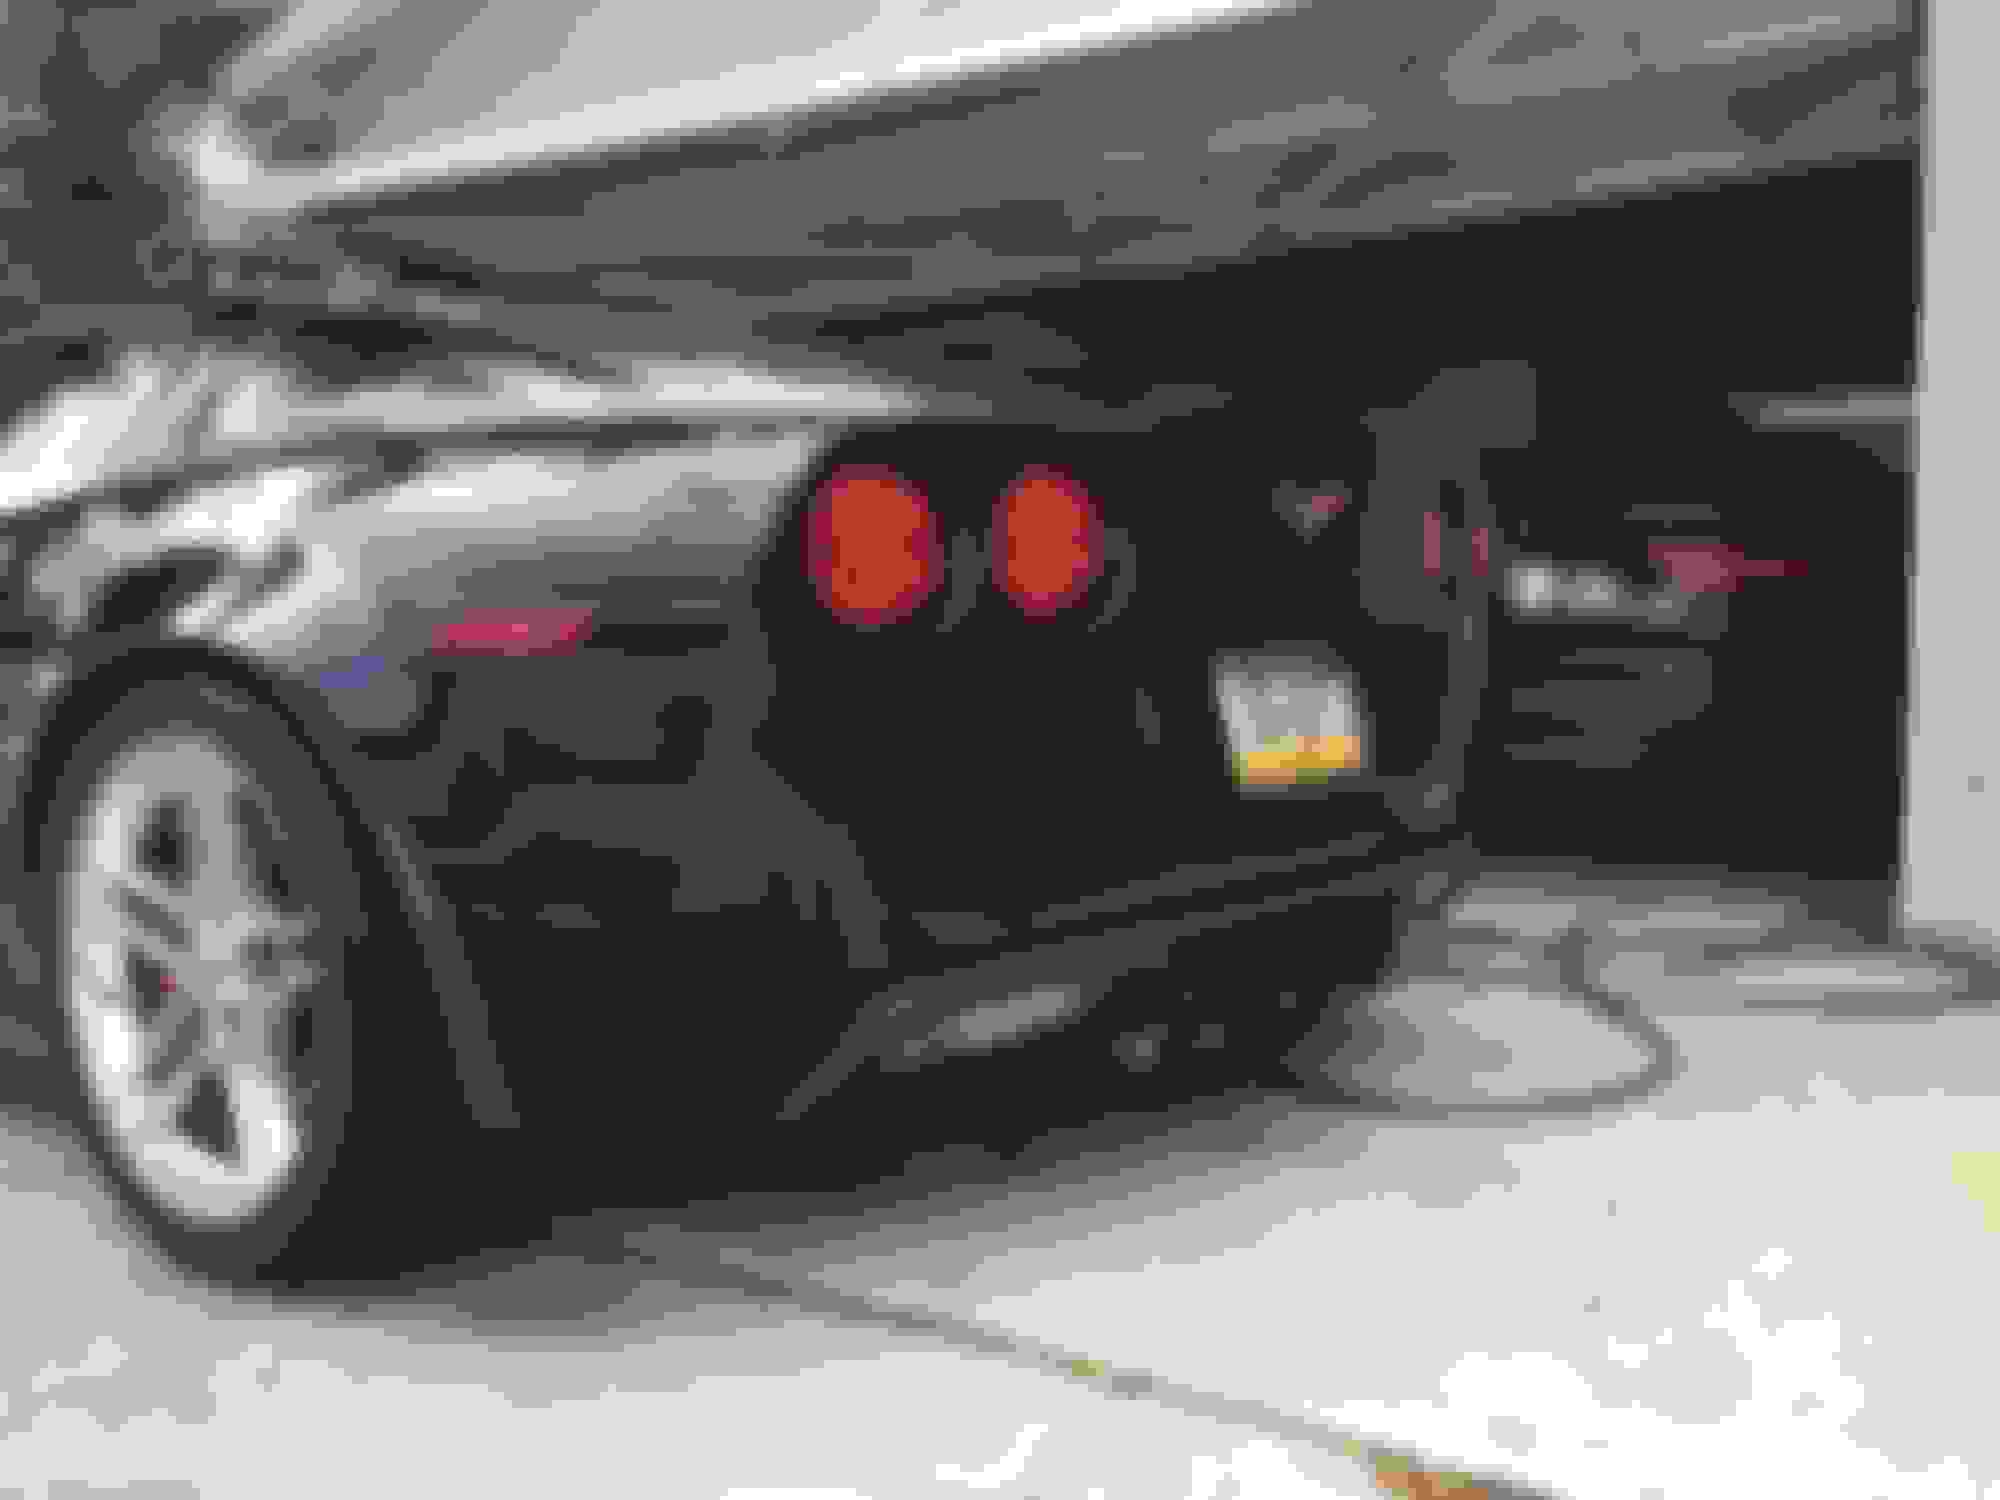
No need to get fancy with lifting the car up. I opted to drive the car on 2x12's that I had previously section into 4' sections. I put 2x4's underneath the jack points between the car and jack stands (not where you see it in the first picture). I also removed the driver side fender in preparation for the meth kit install. I learned a while ago it makes sense to remove things vs. fighting trying to do an install with a bunch of parts in the way.
As far as pinning the crank goes. The instructions are pretty good. I will say for cars with a trans cooler just get prepared to spill an incalculable amount of trans fluid on yourself....
It will drain and then stop, wait for you to put your face near/under it and leak some more. This goes on for a while. The power steering cooler will play a similar game. By the end of the install you'll be able to discern the difference in taste between coolant, trans fluid, power steering fluid, etc. FYI I never touched the oil lines. The instructions lead you to believe you'll need to remove these but that's unnecessary.
In my case the drill bit they supplied was far to long to drill the crank assuming your radiator is in place. I used two shorter length bits to get it started. As I recall I eventually switched to the larger bit for the final depth. A right angle drill would definitely save you some heartache here. As they say use sockets or another cylindrical object to drop the engine cradle down > 0.75"
I had no issues removing the stock crank bolt with my 18V Milwaukee cordless impact driver. Re torquing the replacement crank bolt to 235ft lbs was a different story. I actually found that standing from above the car pulling the torque wrench while a helper pushed simultaneously on my hands from the opposite side allowed me to slowly pull the torque wrench in a controlled fashion and click off 235ft lbs. Other attempts by myself required me to yank to try and get a click and that's simply not the correct way to do it. For people with a lift I imagine you could torque the crank bolt from beneath the car but at the height I was at I couldn't get the leverage. I'm 6'5" 215lbs and I was practically sliding across the floor.
I really didn't start running into any issues until the crank had been pinned and all the removed components were reinstalled. To be fair I understand there are going to be issues with any aftermarket kit. I will say ahead of time that ECS was very helpful once I voice my concerns and made every effort to rectify any issues and that I'm very thankful for.
First, it was the rivnuts to attach the intercooler. Technically a rivnut installation tool should be used to properly set the rivnuts. However, jam nuts can be used to do the same thing. The kit was supposed to come with an allen head cap screw and jam nut. These parts were missing from my kit. Luckily once you realize how a rivnut works there are some each ways to get around it. In my opinion a traditional bolt with a nylock nut and washers drilled completely through the support would be more ideal but that's just me.
Second, it was the support bracket for the lower charge pipe coming off the intercooler. After drilling the hole per the instructions the fitment wasn't even close. I wound up re drilling a second hole and bending the aluminum bracket. This seemed to work much better.
Third, it was the interference between the stock power steering cooler and the silicone L shaped pipe that attaches to the head unit. No matter how you angled it it would always hit the power steering cooler.
Aside from that there were a few other minor issues (missing wire loom, head unit & bracket weren't shipped installed so I had to eyeball the correct clocking orientation of the blower). I wound up getting it pretty close after a few attempts.
Finally, it was the instructions in general. It appears the the instructions were older and there have been a few design updates since then. This is obvious when you look at some of the parts they supply vs. the drawings. It's all pretty self explanatory but with updated instructions I guarantee you'd save some time and head scratching.
Chris and Alex at ECS were very receptive and helpful with my fitment issues.
ECS overnight air freighted me a replacement aftermarket power steering cooler that was much smaller. The replacement cooler allowed for the proper fitment of the L shaped silicone charge pipe. The only issue I found here was the bracket was not the same size as the original bracket. One of the two holes used to attach the aftermarket power steering cooler was not tapped from the factory. I can't blame ECS for this because it's possible this was missed at the factory. Without checking against another Z06 I have no way of knowing whether this hole is normally tapped or not.
ECS also sent me some wire loom that was missing with the original kit along with some pictures of a properly clocked head unit. If your head unit wasn't shipped attached to the blower it may require re-clocking so that the charge pipe points in the right direction.
For anyone having issues regarding belt routing there's a youtube link that Chris/Alex sent me that shows a complete belt installation. Trust me it's a big help!
After getting the belt installed and tensioned I was pretty much on the home stretch. I ran into a minor issue with the ID1000's as they are 14mm taller then the stock LS7 injectors.
This is an interesting one because I had opted for the ID1000's which are not a part of the normal kit. My understanding is that the supplied Motron 60# injectors are also taller then stock. Either way I didn't have the 14mm spacers in the kit. I wound up going to a hardware store in search spacers.
I was able to get threaded metric spacers which I had to drill out and cut to height. It was a pain but worked fine. At the same time I swapped the original allen head bolts for metric hex head. Don't forget to install with loctite.
I was a little confused regarding the vacuum hose routing since the Z06 is not set up like the base model given it has a dry sump. The dry sump tank has two vent lines. For any other people wondering how to route all the vacuum lines here's what you do. Follow the instructions as if you had a base C6. The Z06 has a vacuum line upstream of the throttle body. Since this doesn't see boost on the stock car you'll need to route this over to the new air intake filter (non pressurized side of the head unit). Make sure your PCV valve is in the correct orientation.
The fuel pump booster wiring is mostly straightforward. I mounted mine on the passenger side inner fenderwell. The instructions give you ideas for dry sump cars but in my opinion it would be a tight fit between the fuse box and dry sump tank. There's also a bracket that's used to hold some of the electrical connectors which will cut your hand every time you reach by it.
The solution was to mount the fuel pump booster further forward. There's a ground near the passenger side hood strut that can be used. As for tapping into the fuel pump wire my car's wiring system didn't follow the instructions color coding exactly. I wound up finding a forum post online and verified the fuel pump wire using a multimeter and tracing it's location based on the location of the fuel pump relay. There's really only one larger grey wire but before cutting use a multimeter to be sure. I spliced in closer to the fuse box as opposed to across the connector near the dry sump tank. Either way it doesn't matter. I wound up having to modify the ring terminal provided since the ground near the hood strut utilizes a 10mm bolt which was too large in diameter.
Still on the fence about my use of the wire loom here. I just hate stray wires.
Used wire loom and took some time here to make the box look as stock as possible.
I should have mentioned earlier that prior to starting this project (knowing it would be somewhat wiring intensive) I went ahead and bought a set of quality Klein strippers and Channelock crimpers. Do yourself a favor, head to Amazon, and get them. It will save you a ton of time and headache....
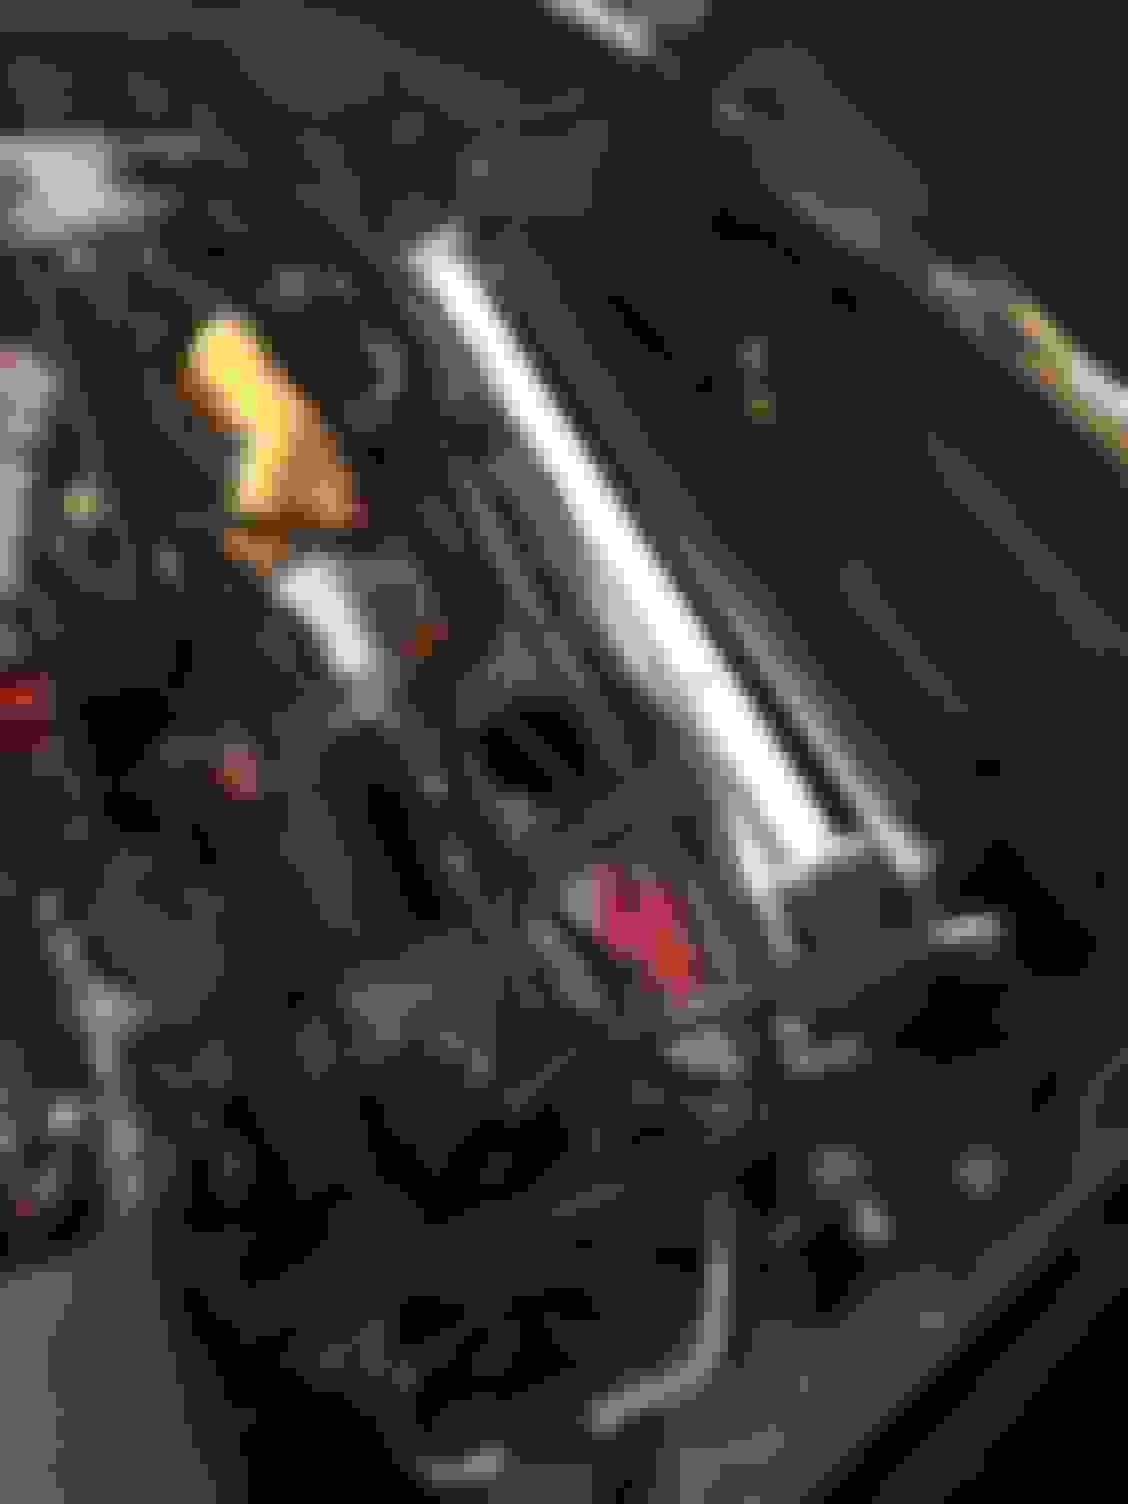
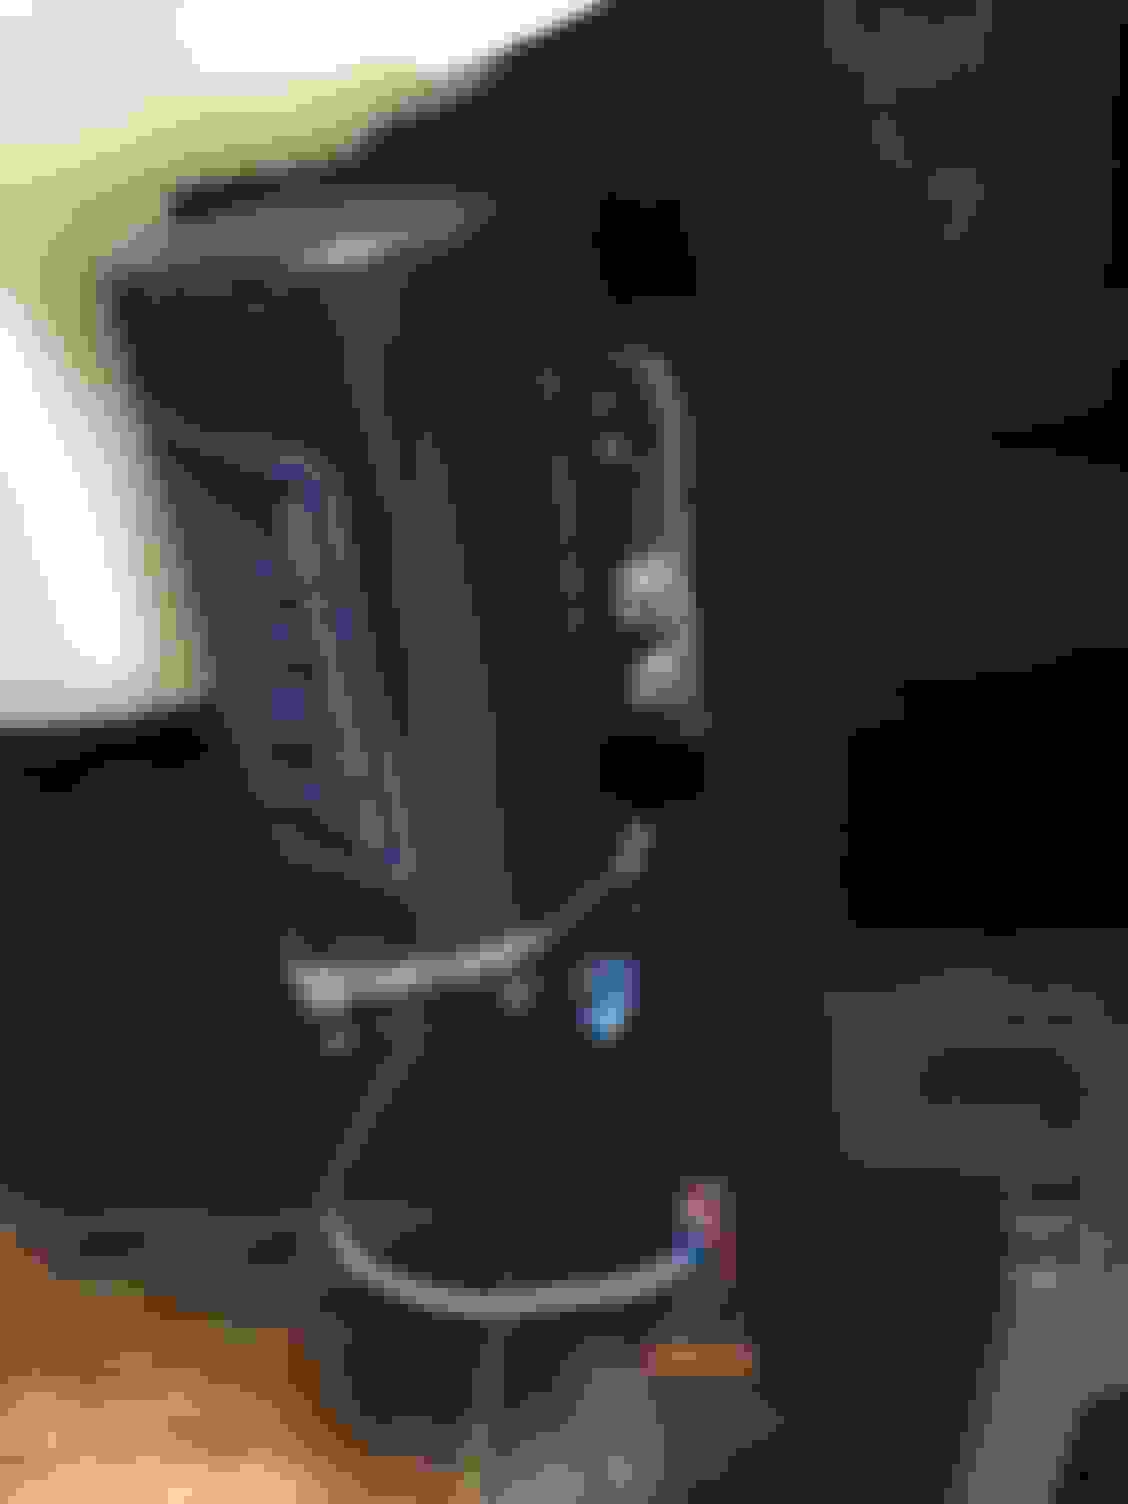
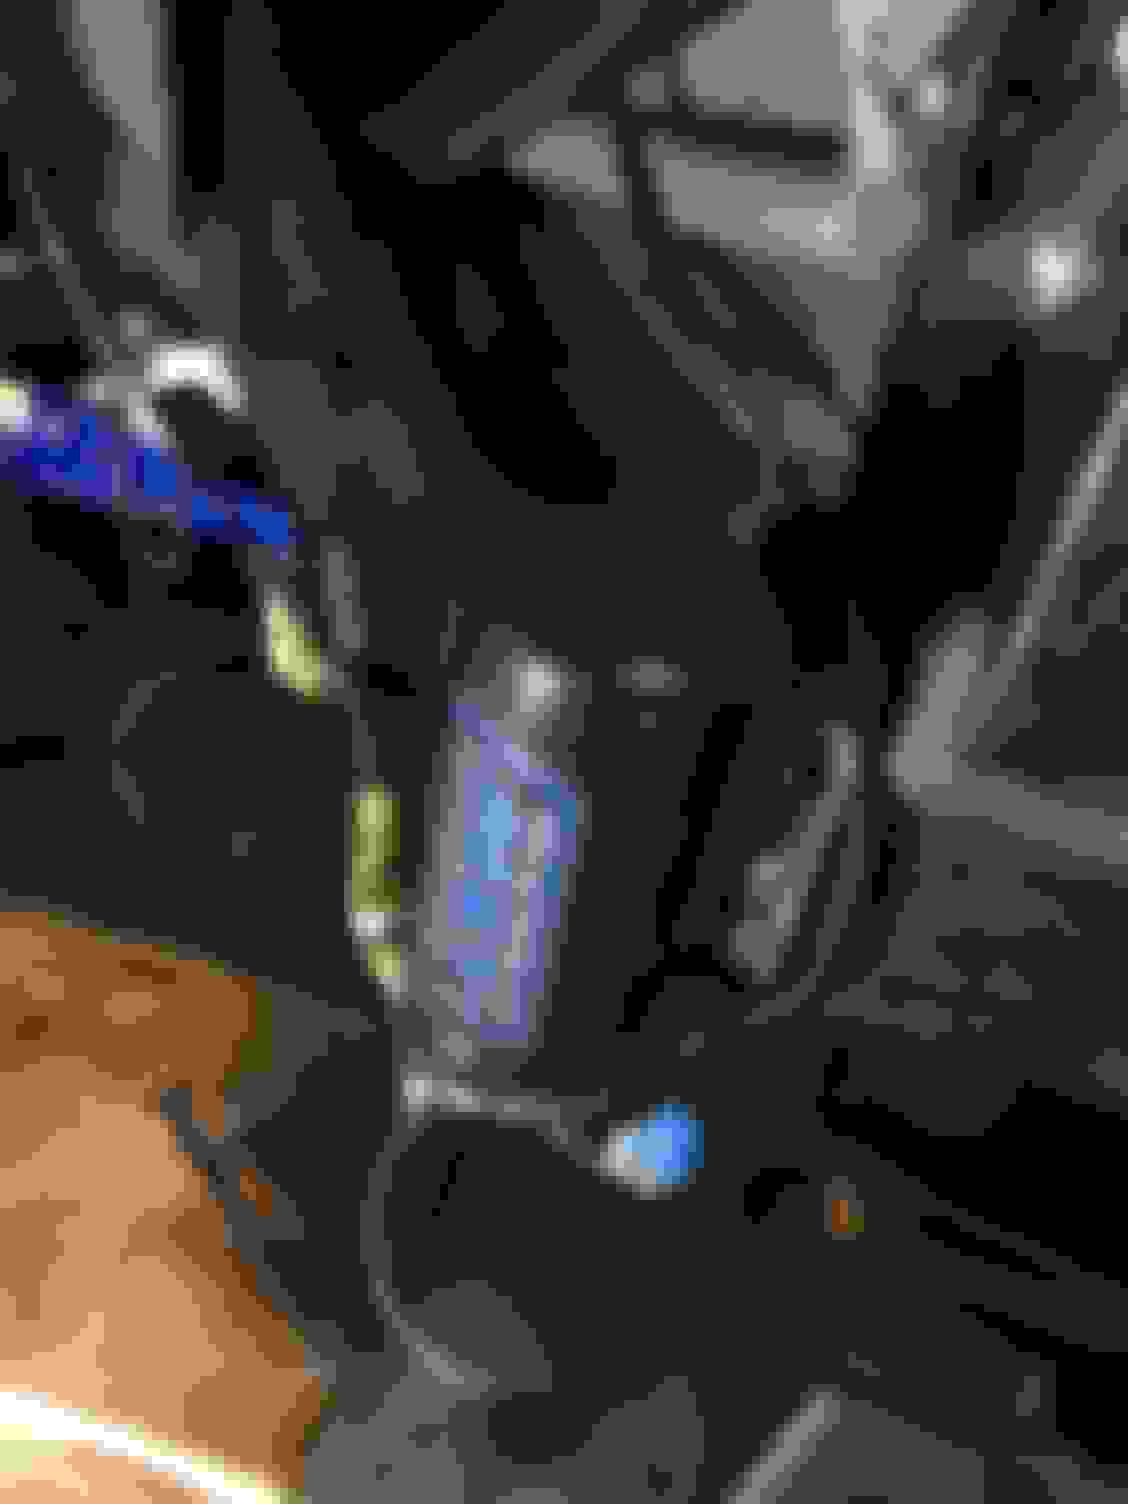
IAT has been relocated with a C5 IAT sensor. The rubber grommet OD measures 0.66" (with my cheapo calipers). I installed this as close to the throttle body as reasonable possible while still allowing space for the t-band clamp. I'm somewhat worried about the placement of the meth nozzle. Ideally I'd like to spay out the three pieces so there's no way meth could accidentally flow backwards towards the MAF sensor. Being an engineer I also worry about the IAT sensor too close to the meth sprayer. In a perfect world there would be more room to allow the meth to mix properly with the pressurized hot air but the placement of the welded MAF bung doesn't allow it.
Ok we're finally getting caught up to where I am at. This would have been more useful had I taken pictures after each day I worked but I didn't do that.
All that's left is to route the meth nozzle to the intake, route the boost line to the MAP sensor on the Alky Control kit, and complete the wiring inside the car for the meth system.
I also modified the meth pumps bracket to allow me to use all four fasteners into a meaty part of the Z06 frame. I also made a separate bracket so the stock windshield washer reservoir can still use all 3 fastening points even though it has been moved 1" upward.
After some thought I think I've come up with a better way to read boost then to buy a standalone boost gauge + gauge pod. The Alky Control kit comes with a 2 bar map sensor (07 Z06 is 1 bar MAP stock). The green wire on the meth kit's sensor is 0-5V. I purchased a dash logic which accepts a 0-5V input signal. All I'll need to do to is tee a wire into the meth kit's green 0-5V signal wire to route to the dashlogic.
With the ignition on (but the car not started) you can measure the voltage at the green wire. This is ambient pressure (in Volts). This will obviously change depending on whether you're in Denver or New Orleans. Once you know the voltage output and ambient and the high range of the sensor (i.e. 14.7psi @ 4.8V) you can determine the relationship between voltage and psi. Using some simple math (which I intend to check prior to posting on the forum) you can write a formula in the dash logic software and boom! no extra cost for a separate sensor to read boost and vacuum.
Lastly I should mention this car will be tuned by Rhyne at Cunningham Motorsports in Murrieta, CA.
I've spoken with Mike Franz throughout the install process and he has been very helpful. They also reflashed my stock ECU so that I could start the car up when I'm done.
If anyone from Cunningham Motorsports is reading this please let me know what to set the PAC controller to on the meth kit. I'm a little worried that since my car will only make ~6psi that the meth won't start spraying until I'm almost at max boost.
I can't wait to get it finished and tuned!. More updates to come.
I would ditch the fast and fast fuel rails IMO. Use the money towards tune/clutch/tires/etc.
Hindsight being 20/20 you're probably right on the Fast parts. They were installed a while ago when the car was NA. I've since sold the stock rails / intake mani on eBay.
Clutch/Tires to come once the money is there. For now it's just time for a tune.
Reliability. Seen too many fast blow apart with boost, and too many rails come apart and burn cars down. There is no reason to run them on your build. You can make $700-800 sellign them and get stock stuff for $200-250.
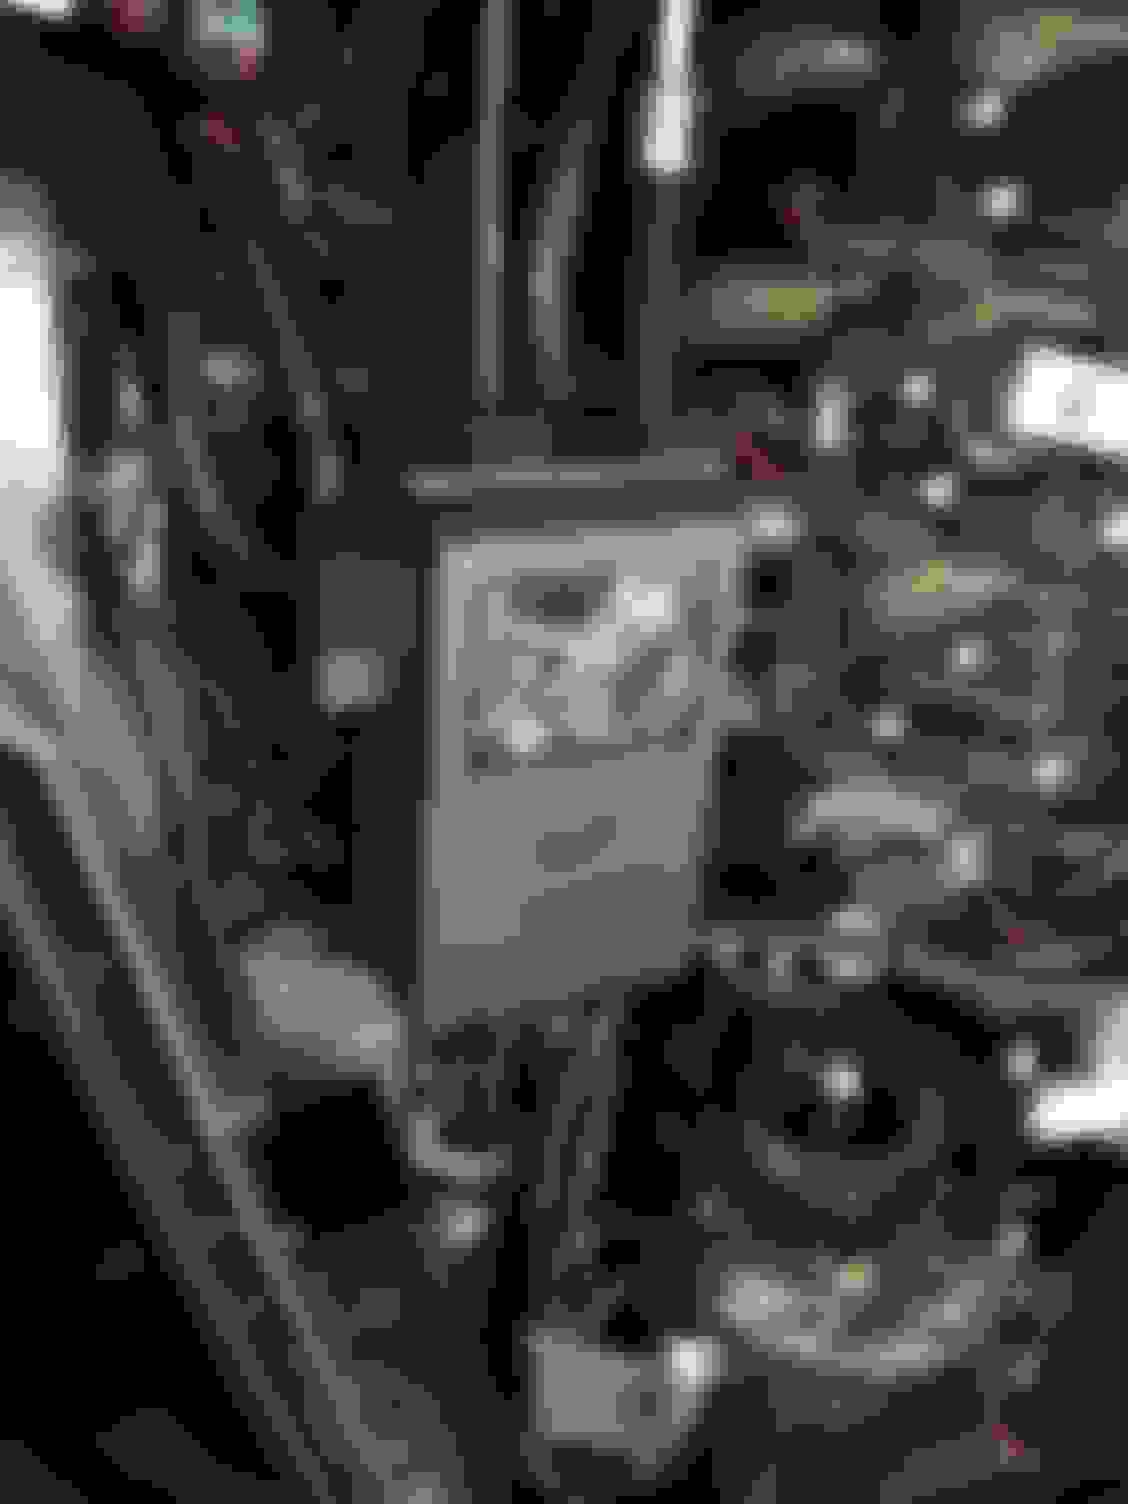
Got the gain controller for the alky control system installed tonight. I decided to go a slightly different route instead of just Velcroing the black box under the dash. If you take the box apart it's pretty easy to remove the insides and replace them elsewhere. This spot is out of the way but still accessible when you need it to be. I also haven't seen this done before but I think it adds a nice touch.
i also installed the meth nozzle and IAT sensor. I'm a little concerned about the spacing between the nozzle and IAT sensor. Due to the placement of the MAF you don't have a ton of space to play with when installing the nozzle and sensor. Ideally I'd like some more distance between the nozzle and IAT. Hopefully it doesn't cause tuning issues.
If anyone has done this before and can chime in how it worked out installed a meth nozzle on a newer ECS kit please let me know.
I even notched the coupler to maximize space for the sensor. If you go any further you risk hitting the sensor on the band clamp.
Finally got the car tuned. Clutch was slipping on the dyno at the end but it made 668/627 @ 6.6psi. I'm very happy with it. I was warned going into it that Cunningham Motorsport's dyno was a heartbreaker.

 11-27-2015, 11:23 PM