When you click on links to various merchants on this site and make a purchase, this can result in this site earning a commission. Affiliate programs and affiliations include, but are not limited to, the eBay Partner Network.
C6 Corvette ZR1 & Z06General info about GM�s Corvette Supercar, LS9 Corvette Technical Info, Performance Upgrades, Suspension Setup for Street or Track
I took this in to my sponsoring dealer and he put it on a frame bench. The tech said it was likely straighter when he finished than when it left GM. Those laser benches are super accurate. After straightening it we simply hung panels on it as you are planning to do. The only Gotchas we found were several relatively small and inexpensive brackets that looked straight but weren't when we got all the panels on and were actually measuring finished gaps. In my case as it was a race car we left all but one alone and that was easy to replace and cost about 9$.
Good luck. It appears you are going to have a great car. And I agree with you. An 07 with only 8,000 miles likely had an owner that was fastidious and wasn't going to put up with a rebuilt car at all and likely raised holy hell.
I picked up a complete running and driving rolling chassis for a 08 Z06 with 4,000 miles. Runs like a dream as probably the fastest go cart in history. I have found a donor body off a 2009 Z06 and want to transfer panels, windshield etc to get this thing running right. Any ideas as to how much work this will take to complete?
That'd be a really fun project to bang out an aluminum body on!!
I picked up a complete running and driving rolling chassis for a 08 Z06 with 4,000 miles. Runs like a dream as probably the fastest go cart in history. I have found a donor body off a 2009 Z06 and want to transfer panels, windshield etc to get this thing running right. Any ideas as to how much work this will take to complete?
Start a new thread for this.
Before you make up your mind about the future of this rolling chassis, consider what you paid for it, how much the donor car cost, how much needs to be spent on additional parts and how much time involved to put it back together. I think by the time you are done, you will end up with a salvage titled car that cost way more then a clean titled car. You can't put a price tag on the 69 resto-mod project but you can put a price tag on putting it back together as a complete 08 Z.
You need to start with replacing the windshield frame assembly which is a project in it's self. Then you need to find or transfer both front wheel houses, rear tub and rear hatch frame assemblies. Those are glued to the chassis and what the rest of the body bolts to.
Well, I got all my other projects done so the corvette is finally in the garage. I have almost every part I need to rebuild it, but still need a forward lamp harness #15924975. If anyone has one or knows where I can get one, let me know. I'm really trying to avoid spending $300 on a new one.
What paint is recommended to use on the impact bar? It's bare aluminum and needs painted. Also, what's the best way to remove the old wheelhouse and install the new one? Is there a special kind of glue or epoxy to bond it to the frame?
A heat gun, strong putty knife and elbow grease to get it off. I'm pretty sure I emailed you the body repair manual. I know it lists the approved adhesive to put it back together. Your local automotive paint supplier will know what paint to use on the frame. I don't think it is listed in the manual I sent you. You can probably get that harness from Autoworks
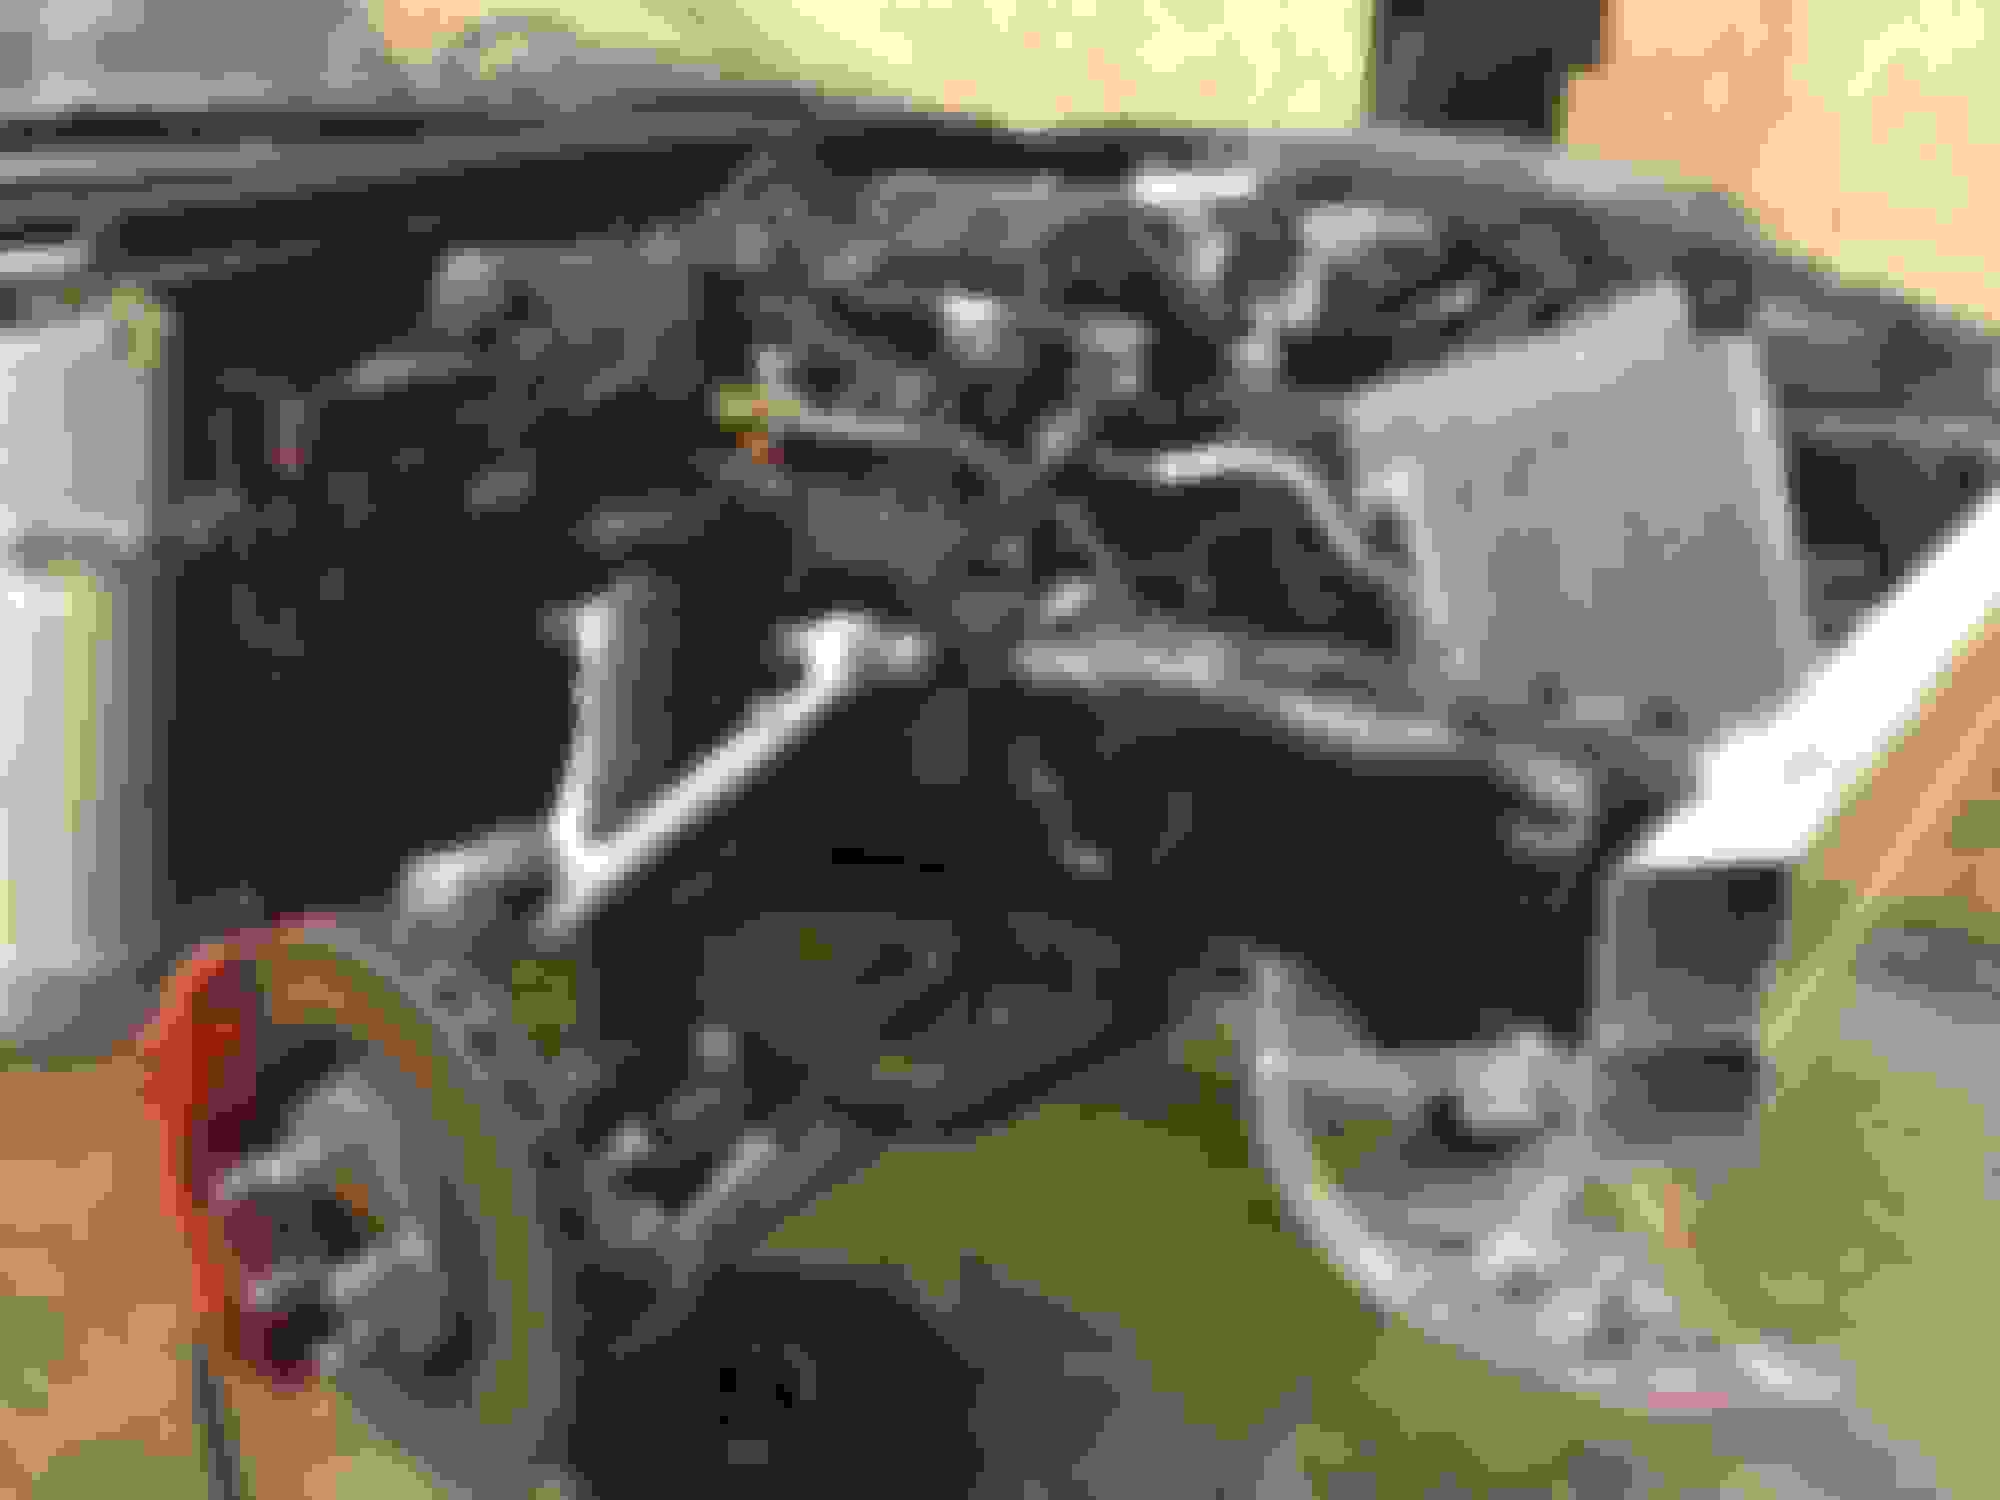
Does anyone have a picture of a c6 with the front bumper removed? I need to get an idea of how everything goes back together because the part diagrams don't really help. Right now the front end is down to the bare frame.
Should I put the whole car back together before I glue the wheelhouse to the frame?
Unless you absolutely know what you are doing, my suggestion would be to take it to a body shop that is familiar with these cars. You'll be glad you did.
If you used the manual I sent you, you will notice that you are instructed to only remove the old panel and any "loose" adhesive. Adhesive tightly bonded to the chassis should remain. This eliminates the need for dry fit and shims. The old adhesive is the shim. I think you are reusing the drivers side wheel house, correct??? Install the drivers side fender and hood so that the door gap and hood to fender gap is correct. Clamp the new wheel house to the chassis and mount the new pass side fender. Shim the wheel house so everything lines up. Make note of where each shim came from. Tack glue those shims to the chassis, apply the adhesive and install the wheel house with many clamps. I have seen people use self tapping sheet metal screws to hold things in place while the glue sets. Then take out the screws and fill the holes.
Please read the manual.
I have not done a wheel house but the rear tub had bosses that protruded down and those went against the frame and the rest of the gap was taken up by the glue and there was a tab that went into a hole in the frame to line up the tub, have you noticed anything like that with the wheel house?
If you used the manual I sent you, you will notice that you are instructed to only remove the old panel and any "loose" adhesive. Adhesive tightly bonded to the chassis should remain. This eliminates the need for dry fit and shims. The old adhesive is the shim. I think you are reusing the drivers side wheel house, correct??? Install the drivers side fender and hood so that the door gap and hood to fender gap is correct. Clamp the new wheel house to the chassis and mount the new pass side fender. Shim the wheel house so everything lines up. Make note of where each shim came from. Tack glue those shims to the chassis, apply the adhesive and install the wheel house with many clamps. I have seen people use self tapping sheet metal screws to hold things in place while the glue sets. Then take out the screws and fill the holes.
Please read the manual.
Most of the glue came off when I pulled the old wheelhouse off, so I just scraped the rest of it off the frame. I guess I'm going to have to install all the body panels before gluing the wheelhouse to the frame.
Pretty much where I'm at right now. I was hooking up the tranny cooler lines and one of the ends was messed up so I have to get a new line before moving on.
DO NOT FINISH PAINT THE FRAME WHERE THE ADHESIVE GOES.
only use primer per the manual.

 03-26-2016, 07:02 PM


 Not kosher to step all over the OP's thread.