When you click on links to various merchants on this site and make a purchase, this can result in this site earning a commission. Affiliate programs and affiliations include, but are not limited to, the eBay Partner Network.
C6 Corvette ZR1 & Z06General info about GM�s Corvette Supercar, LS9 Corvette Technical Info, Performance Upgrades, Suspension Setup for Street or Track
Think I have decided on a .030 mill and I can go with the .040 gasket if need be. Should put me around 12.2-12.3:1 SCR. In combo with the BTR stage 4, should still be able to run 93 octane if need be.
I'm only .2-.3 pts higher in compression and was tuned on 93 with no issues. Should be perfect for you and a BTR 4 cam.
You won't have fitment issues with the intake on a .050" mill. I just finished up my build with that amount of mill and had 0 problems.
Ok that's awesome news because I want the extra compression if I can get it while my heads are being worked on , plus I'll be running e85 almost exclusively
Worked for 20 minutes or so tonight. Pulled both valve covers off and removed the rockers and pushrods.
Couple observations
I was told the car has the comp camps trunions. I have not pressed them out yet to check for wear. I will need to find a press. Either way I should probably replace with a better kit. Any suggestions? Also, does fastener assembly lube become crusty with heat and age? My rocker bolts all appeared to have a crusty white crap on the threads.
that could be thread sealant, looks normal. just make sure you clean the threads good. I used a vacuum with a straw to help. I went with the Colorado speed trunions which seem to be very similar if not the same as the smith bros./old straub industries. My friend has the latest version straub kit, I recommend getting that. As far as the install, I went to harbor freight and bought a vise for around $40 and bought the trunion install tool which worked awesome. I think I got it from Colorado speed as well.
im digging that tray you have. where did you get that from?
Haha I was thinking the same about the tray... I just ordered one on ebay. search valvetrain organizer
that could be thread sealant, looks normal. just make sure you clean the threads good. I used a vacuum with a straw to help. I went with the Colorado speed trunions which seem to be very similar if not the same as the smith bros./old straub industries. My friend has the latest version straub kit, I recommend getting that. As far as the install, I went to harbor freight and bought a vise for around $40 and bought the trunion install tool which worked awesome. I think I got it from Colorado speed as well.
im digging that tray you have. where did you get that from?
Originally Posted by njk4o5
Haha I was thinking the same about the tray... I just ordered one on ebay. search valvetrain organizer
I will look into colorado speed or straub. I got this on amazon for ~$25. Jegs, summit and ebay also have them
Little progress in the last week or so. I have been waiting for parts and doing a lot of snowmobiling up North on the weekends. Weather is looking like I wont be doing any riding this weekend, unless I bring my rain gear, so I will hopefully get the time to bang out some serious wrenching time on the car.
My BTR Stage 4 cam showed up right as I was leaving to head north on friday, as did my LS cam swap gasket kit. I ordered some M16x2.0 threaded rod and washers from mcmaster to use to install the harmonic balancer.
Today I will be ordering:
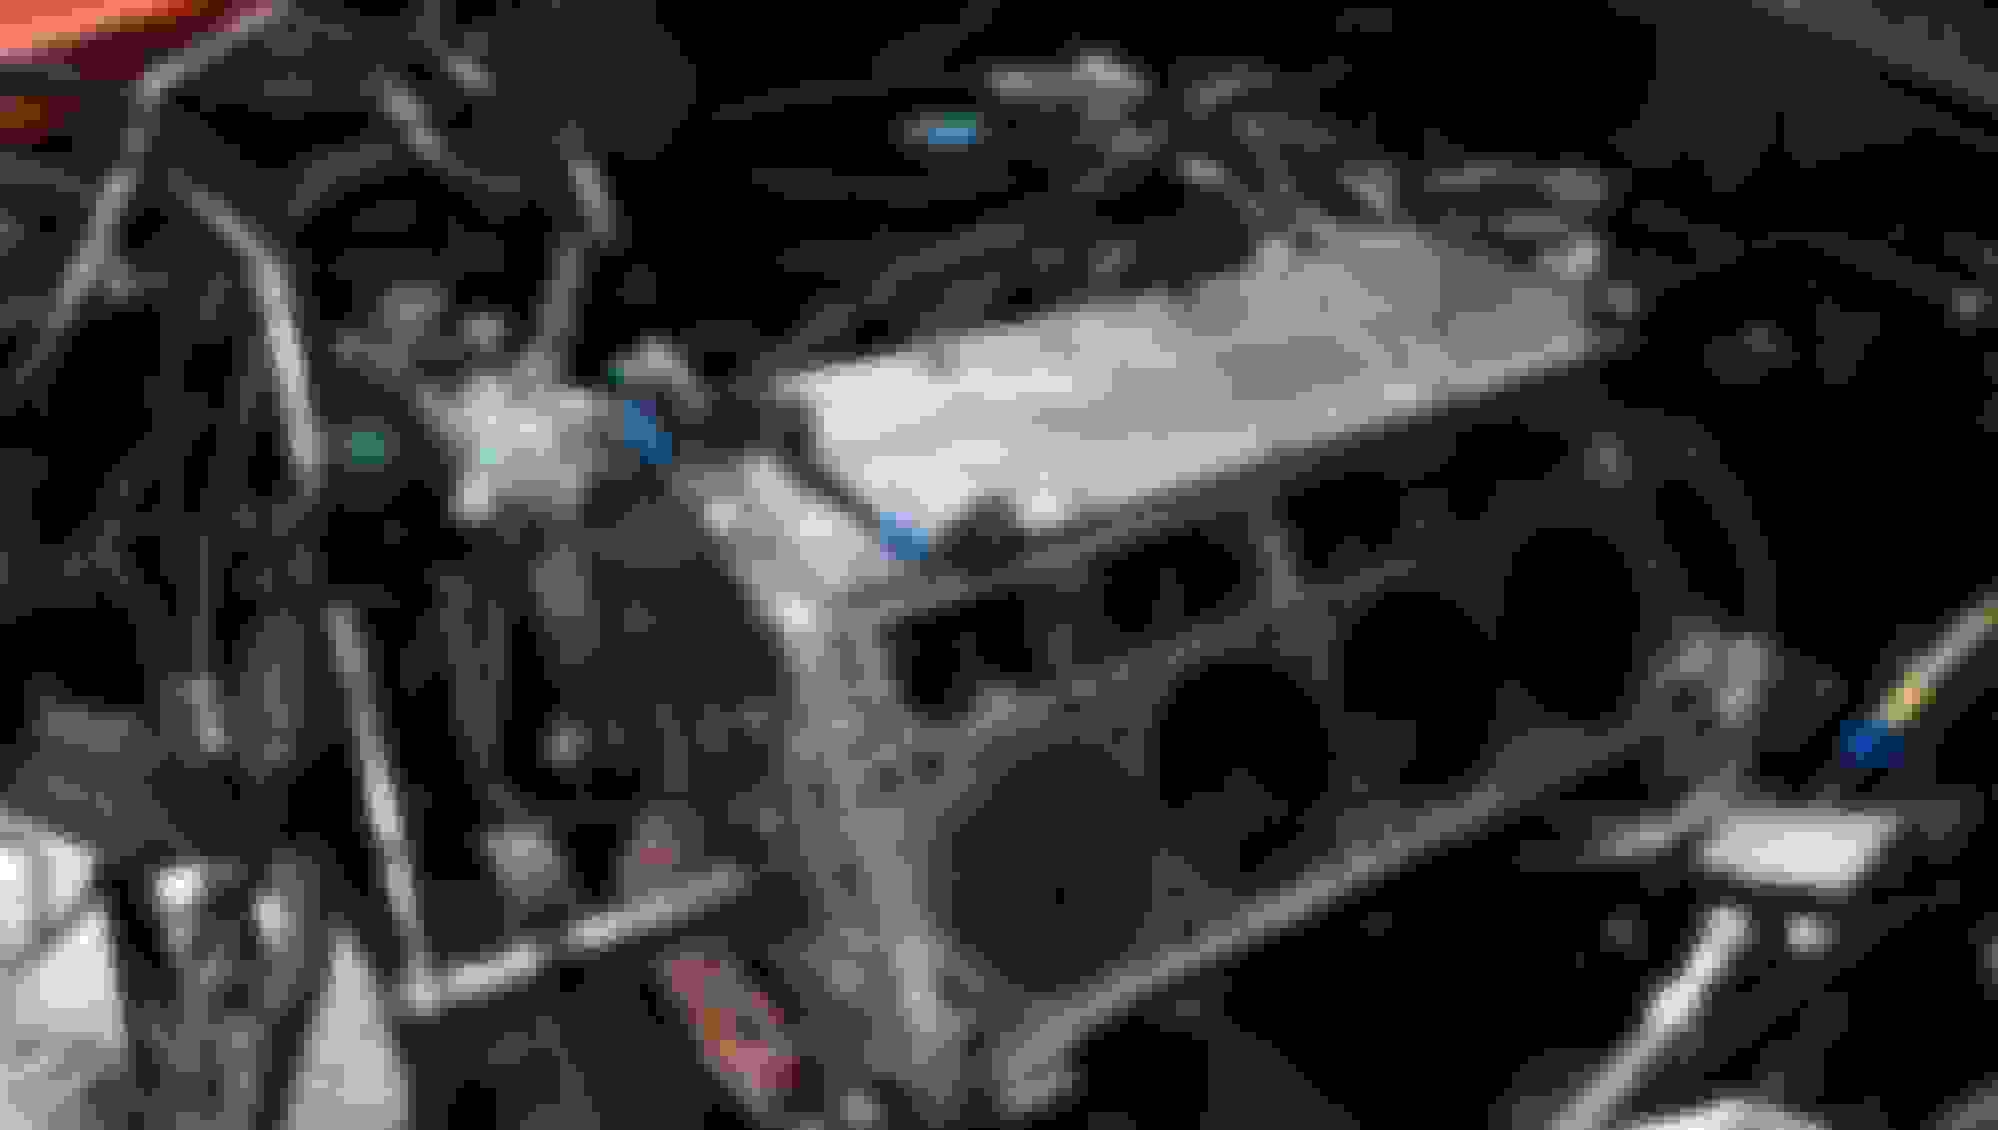
Last night I snuck down to the garage for 20 min or so and pulled off the passengers side head. Tonight I will pull off the drivers side and tomorrow they will go to the machine shop for cleaning and additional milling.
I also called 21st century Muscle cars (who originally assembled the heads in 2013), and they confirmed that the springs should be BTR dual platinum .660 springs. So I will not need to change springs. The plan as of now is stock ls7 lifters, CHE trunnions, and whatever pushrod length measurement I come up with.
Got the other head off last night. Dropped them at the machine shop this morning for an additional .010 mill, bringing the total mill to .030 for ~65cc combustion chamber. In combination with the .040 cometic gaskets I just ordered, should bring me to around 12.1-12.2. I tried calculating my DCR with the BTR stage 4 but kept getting ~11:1 which obviously isnt right. must have done something wrong.
Hopefully dont have any issues with the cometics leaking, it seems some people do and some people dont. Cam swap hopefully this weekend!
haha im still trying to decide if im going to part with my MSD or not. my friend just got a triumph tt600 I have to make sure I can smoke him this summer lol
Going to be a whole new car. I'm thinking I should have stayed with the BTR Stage 4 I originally purchased.
What did you end up going with? You get cold feet about driveability?
Anyone have any ideas about measuring PTV clearance with hydraulic lifters? I saw a youtube video about making my hydraulic roller temporarily solid. Anyone have some extra ls7 lifters lying around? Dont want to mess with my good ones.
Stepped down to the Stage 3. It drives great. Taking off from stops and such I need work on. I was concerned about the drivability with the Stage 4, yes.
Man, really wish I kept my stock push rods, head bolts, and lifters. I just chunked them because I didn't think I'd need them.
Made some more progress tonight. Pulled the steering rack all the way to the passengers side (what a mess). Pulled the harmonic balancer, timing cover is off. And pulled the oil pump. Looks like there is a small tear on the outermost seal. Hopefully I dont have to replace the whole oil pan gasket
I noticed the orange marks on the balancer do not line up on the crank. Possibly from previous owners cam swap? I made my own mark just in case but I will likely reinstall it with the orange marks lining up. i assume thats how it was from the factory.
Here you can see the slightly torn gasket where it seals to the timing cover. maybe I can get away with some black RTV on the timing cover on reinstallation?
Timing marks lined up
Removed tensioner, and timing chain and cam sprocket. Everything was going smoothly until it came time to remove the cam retainer bolts. Two of them appear to be seized into the block. My duralast t40 bit started to twist trying to remove, so i called it quits for the night before I made a mistake as I do when I get frustrated. Any tips? Was hoping maybe some light heat with a propane torch on the block might help tomorrow.
When i did my swap i cheated and only loosened up the oil pump bolts and moved it enough to be able to slide the sproket down and pop the chain off.
I would use a penetracting oil and let it soak over night.
Also use an impact screwdriver to get it loose that way.
I also added rtv gasket maker to the whole bottom where the oil pan meets the timing cover
Yeah I'll give it another go tomorrow with a better T40 bit. I also removed all my comp trunnions. My CHE set should be here wednesday. Also sacked up and ordered my Mamo ported MSD. That hurt the wallet a bit. 2 weeks or so and that should be here. Hopefully by the time it gets here, all I will have left is to toss it on and fire it up!
Good call just walking away when you are frustrated. You have plenty of time to finish the build so no need to rush. Take some pictures of the CHE trunnion bearings when you receive them. You'll be very pleased when you receive the mamo. Did you go for the stealth look? What are you doing about a throttle body?
Good call just walking away when you are frustrated. You have plenty of time to finish the build so no need to rush. Take some pictures of the CHE trunnion bearings when you receive them. You'll be very pleased when you receive the mamo. Did you go for the stealth look? What are you doing about a throttle body?
I didnt go for the stealth look because I am not sure what I will be doing as far as the engine bay yet. I may do a coil relocation, I may paint the coil covers, who knows. I am focusing on getting the car running and then I can do asthetics. I figure I am going to have to pull the intake to tighten the manifold clamshell bolts at some point anyways. I can remove the MSD lettering myself with some time with the dremel and my painter can paint it whatever color I want. Wasn't worth the money to me for Tony to do it. The $1600 was enough haha.
I will take some pictures of the Trunnions when they arrive.


 02-14-2017, 02:47 PM


 2 weeks or so and that should be here. Hopefully by the time it gets here, all I will have left is to toss it on and fire it up!