
How to install vinyl wrap on side skirts
 09-16-2014, 11:06 PM
#1
Tech Contributor
Thread Starter
Member Since: Aug 1999
Location: Should this thoughtful, valuable contribution meet with no acknowledgement or 'thanks' this post----
Posts: 16,382
Received 399 Likes
on
257 Posts

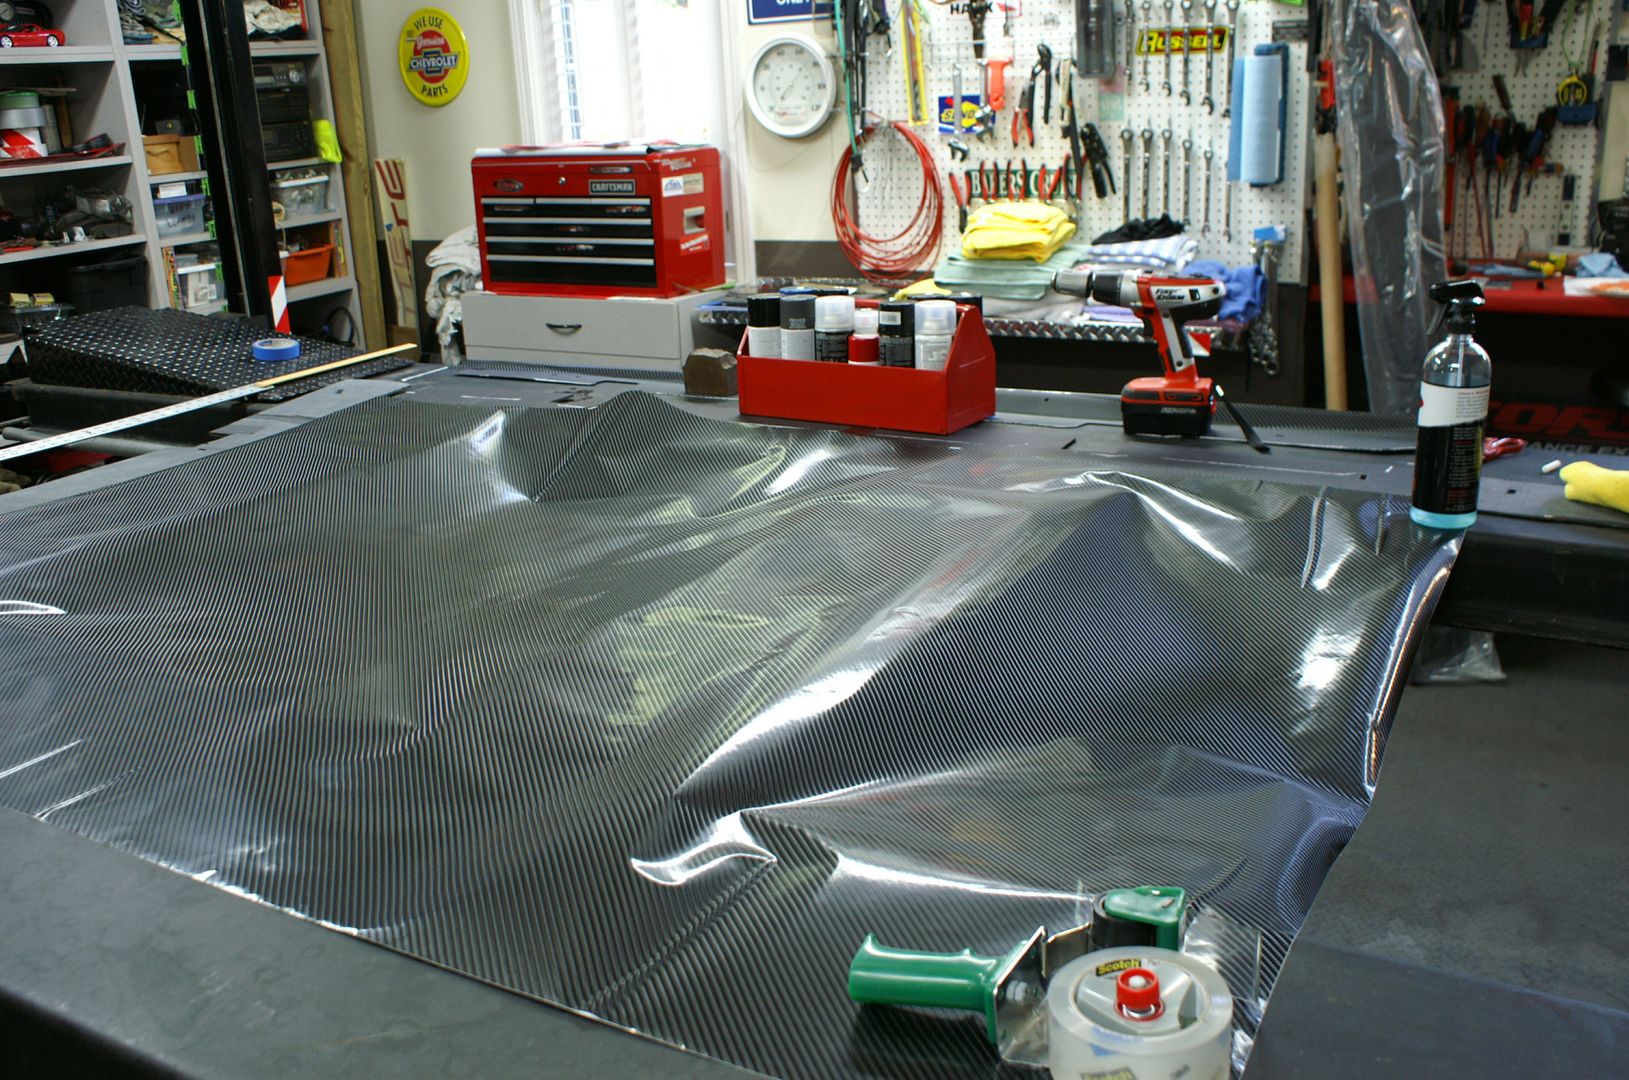
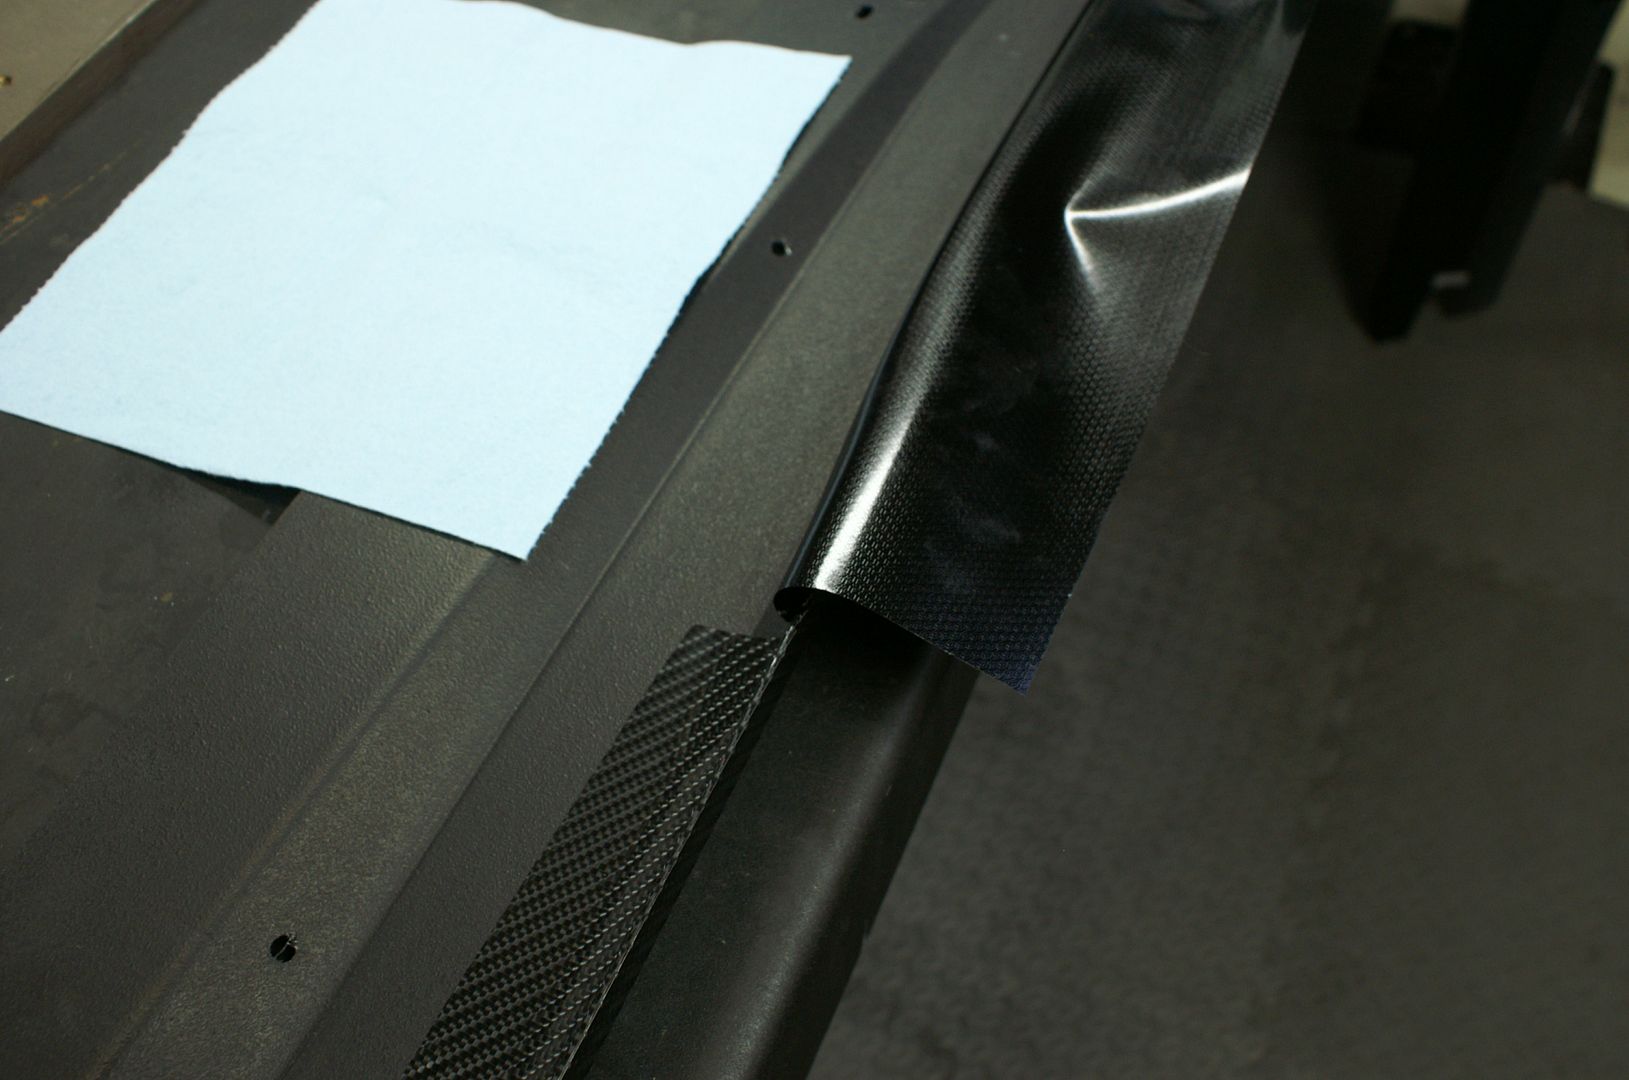
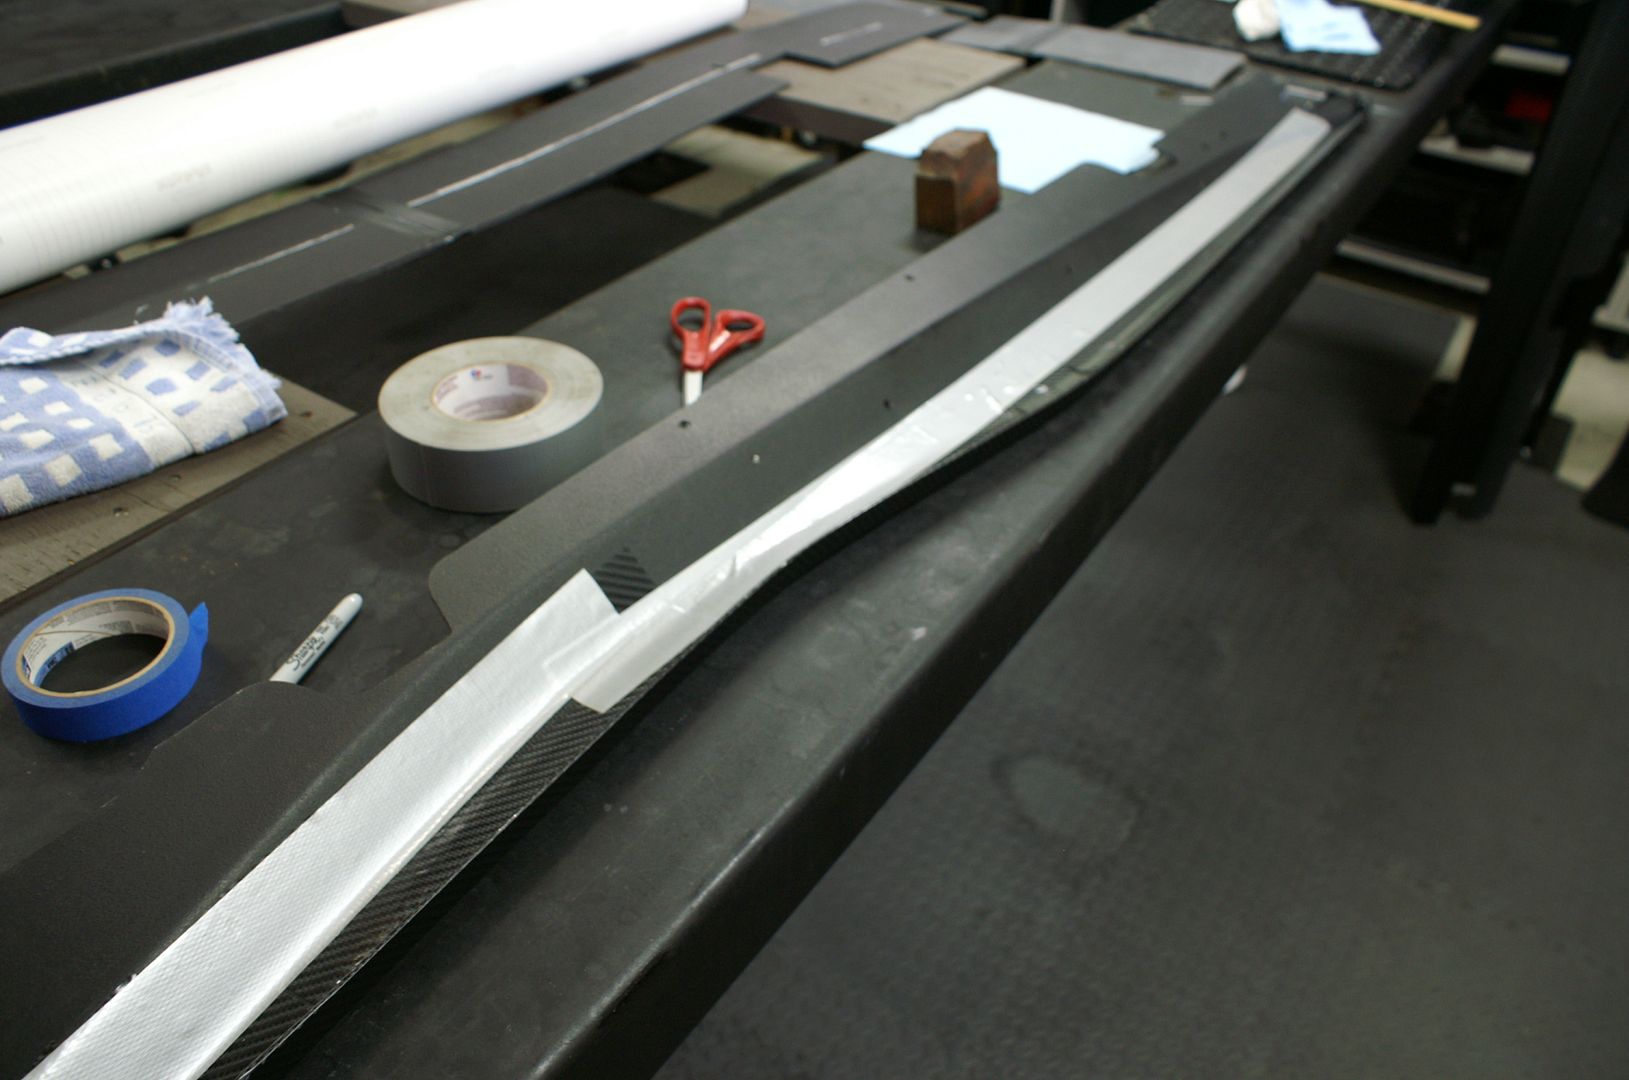
Here is a DIY for installing vinyl 4D carbon fiber wrap onto primed sideskirts. You will need to do this job without any butt joints. The only material I could find long enough was 78" x 60"...just enough to cover the skirt and go around its end sections. This is way more material than what is needed but it is the only way I could get enough length to cover the entire sideskirt with one long piece. You may be lucky enough to find a narrower piece, but I used ebay and this is all I could find in the proper length. It will come in a roll wound tightly, so the night before tackling the job hang the material up and let it settle overnight to straighten out and become flat for handling. Here is the huge sheet laying out for cutting into strips.
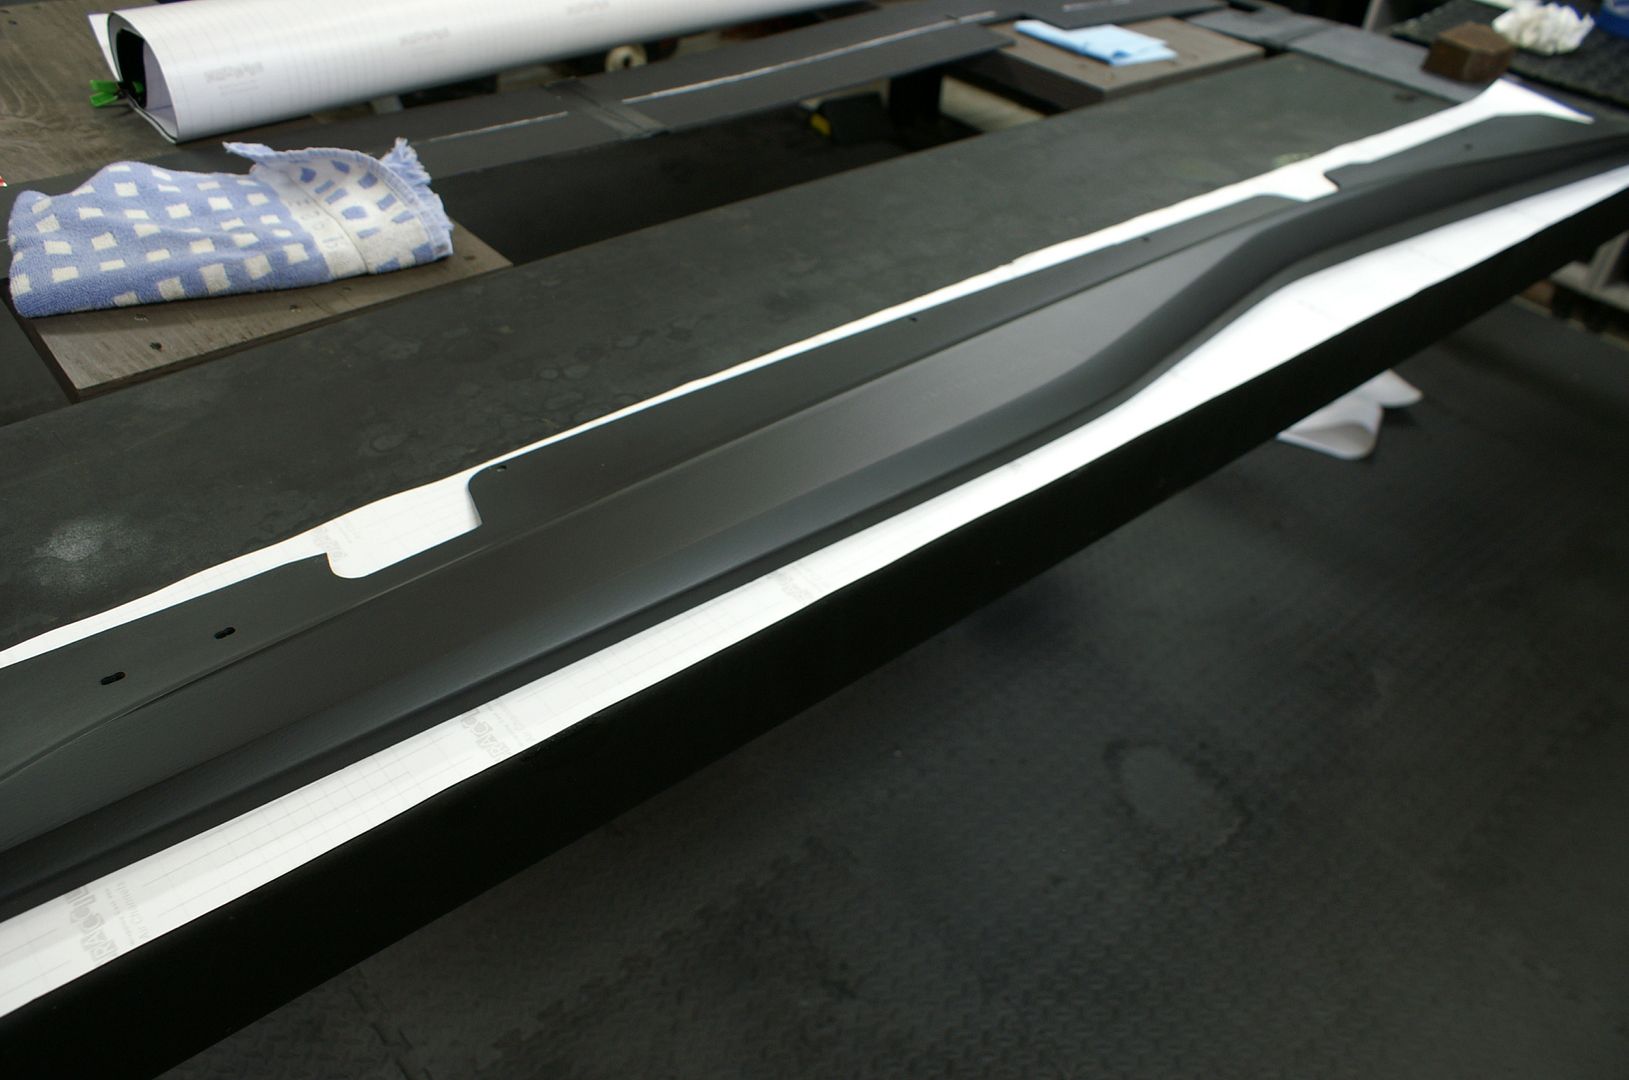
Preclean your sideskirt surfaces to allow the vinyl to adhere properly...it is very sticky, but can be lifted and re-positioned easily. I did all smoothing with my bare hand....no need to use a tool as with the wet method...the whole job is done dry because of the air channels in the back of the vinyl. Measure out the 78" length to enough width to wrap around to the deepest points...about 9-10" wide should be fine with some trimming on the backside once it is installed. Here it is ready to be fitted....
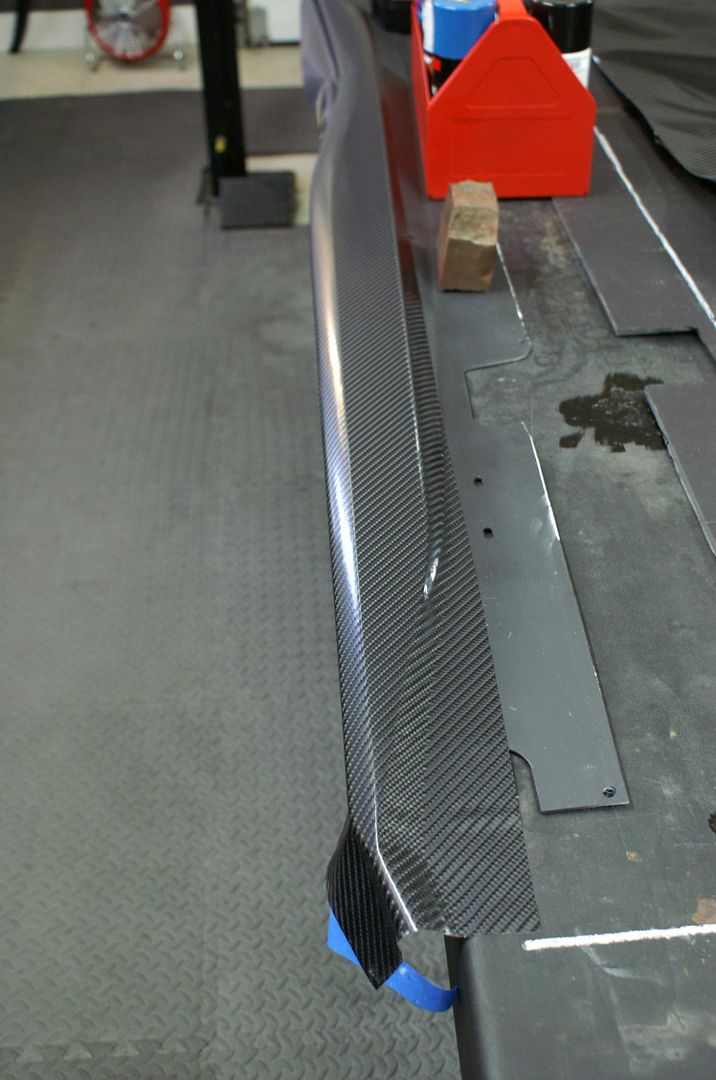
Lay a sideskirt on a table edge or other surface that allows you to wrap down the outer edge...I used one of my 4 post lift ramps set at a nice working height. Put some heavy weights on the back edge to keep the skirt in place while you work the vinyl starting from the interior section to the outer edge.
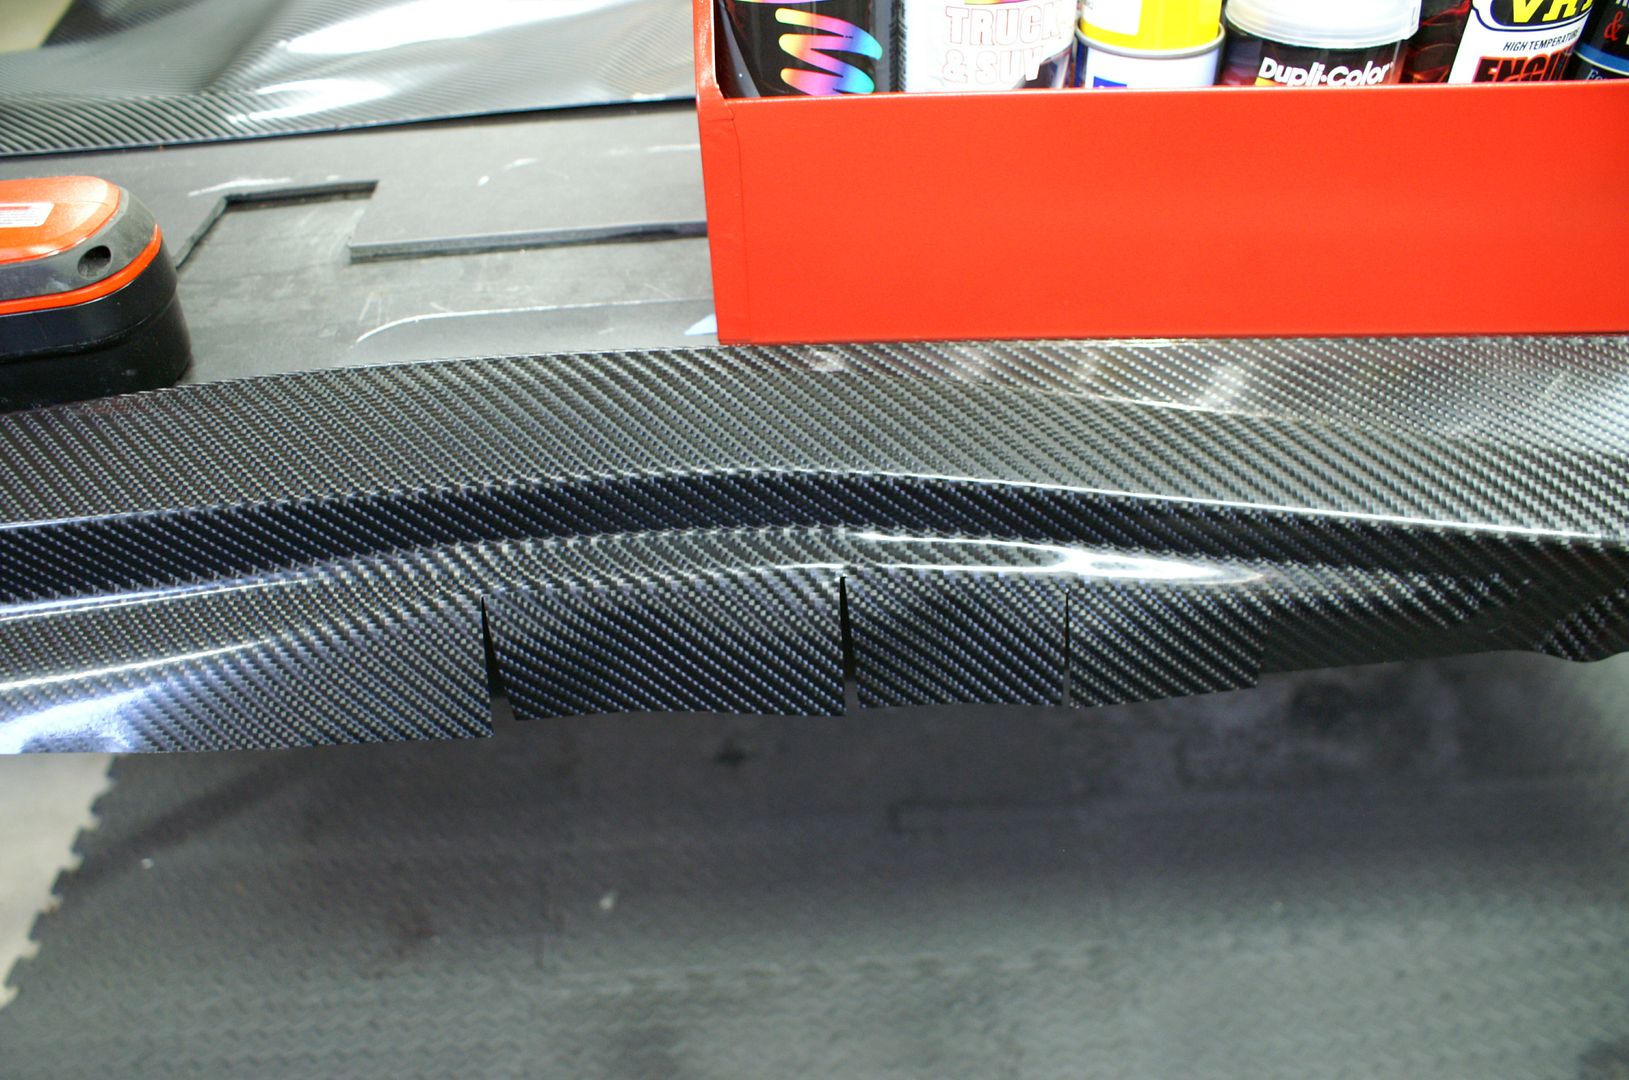
If you encounter a deep curve, make relief cuts to help pull the vinyl into the curve smoothly.
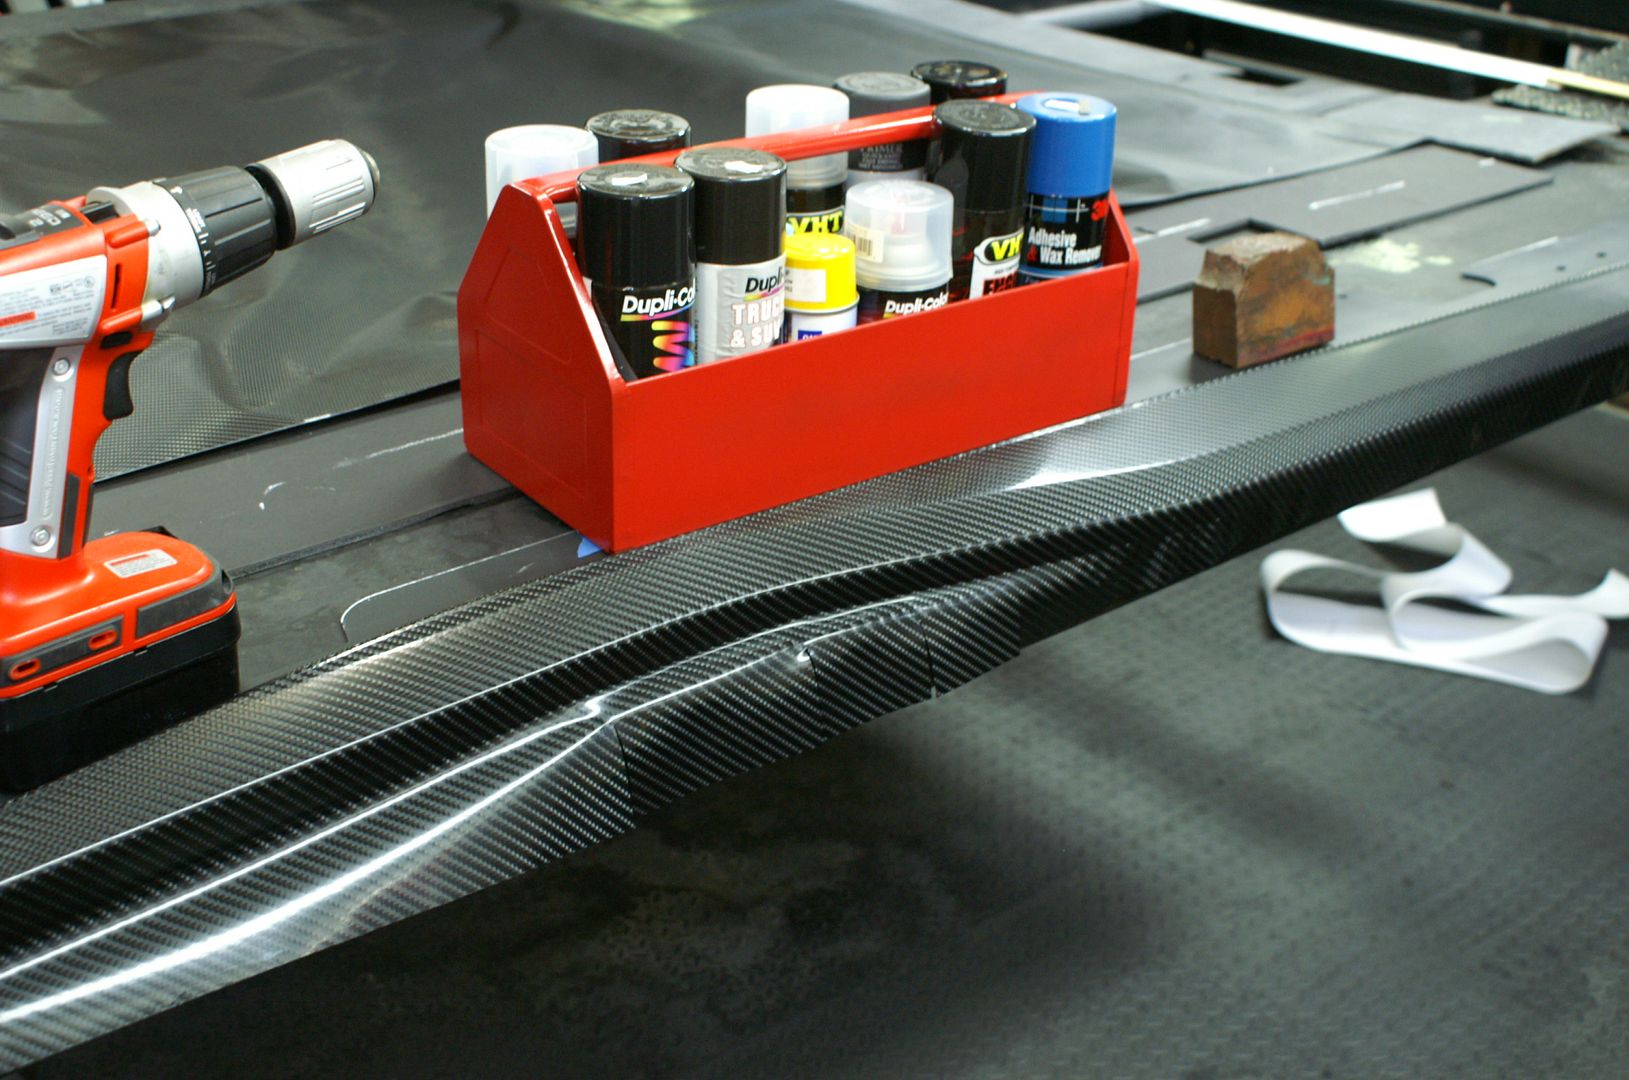
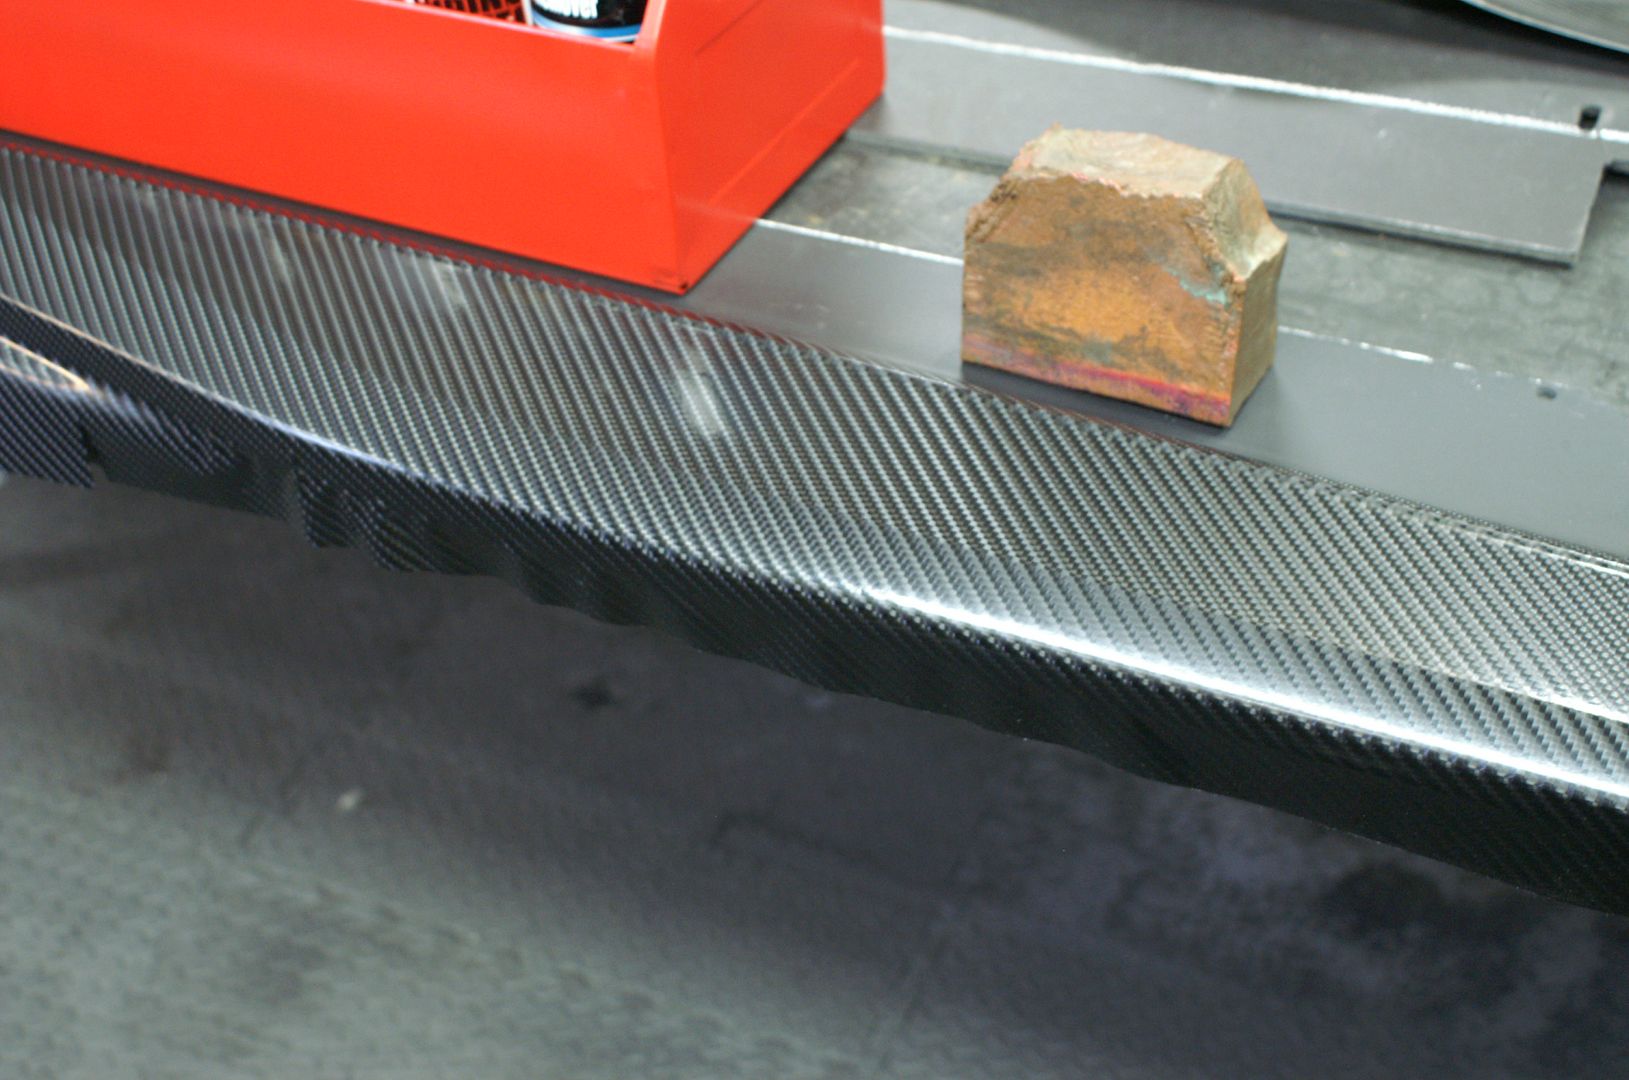
Visible side completed...
....now finish wrapping around the bottom surface.
Now seal off the bottom edge with duct tape. This will insure no water intrusion or poor adhesion issues pop up later...
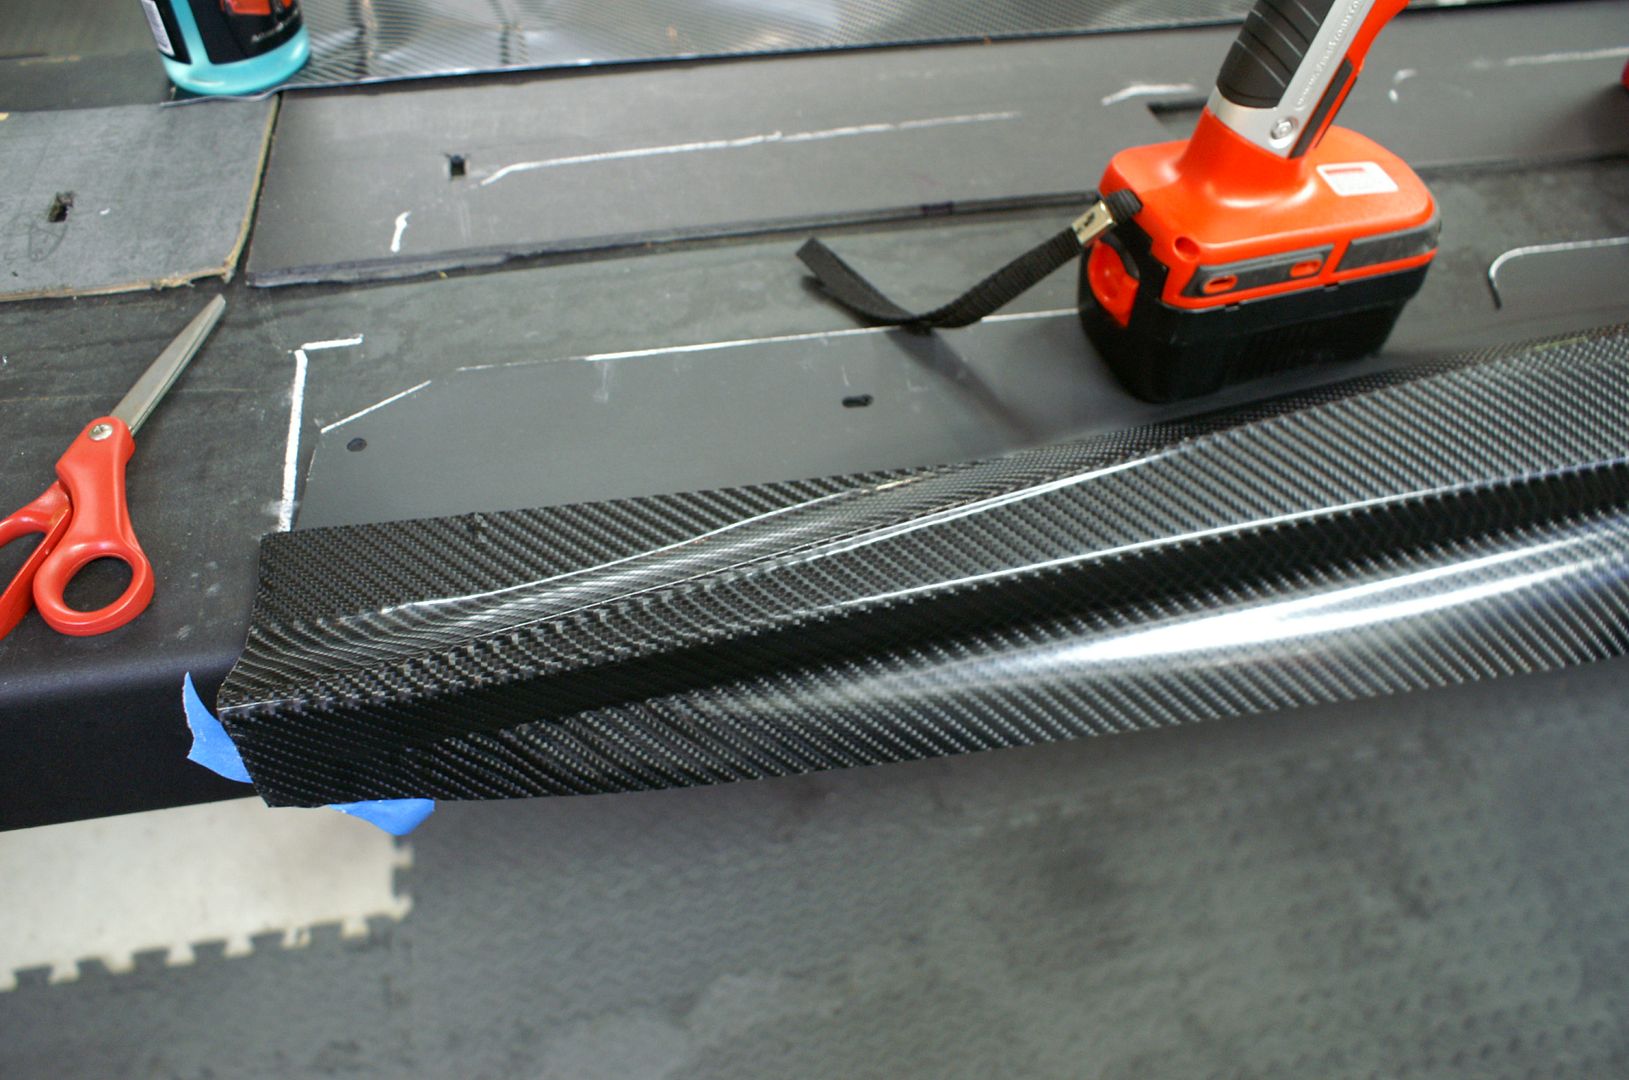
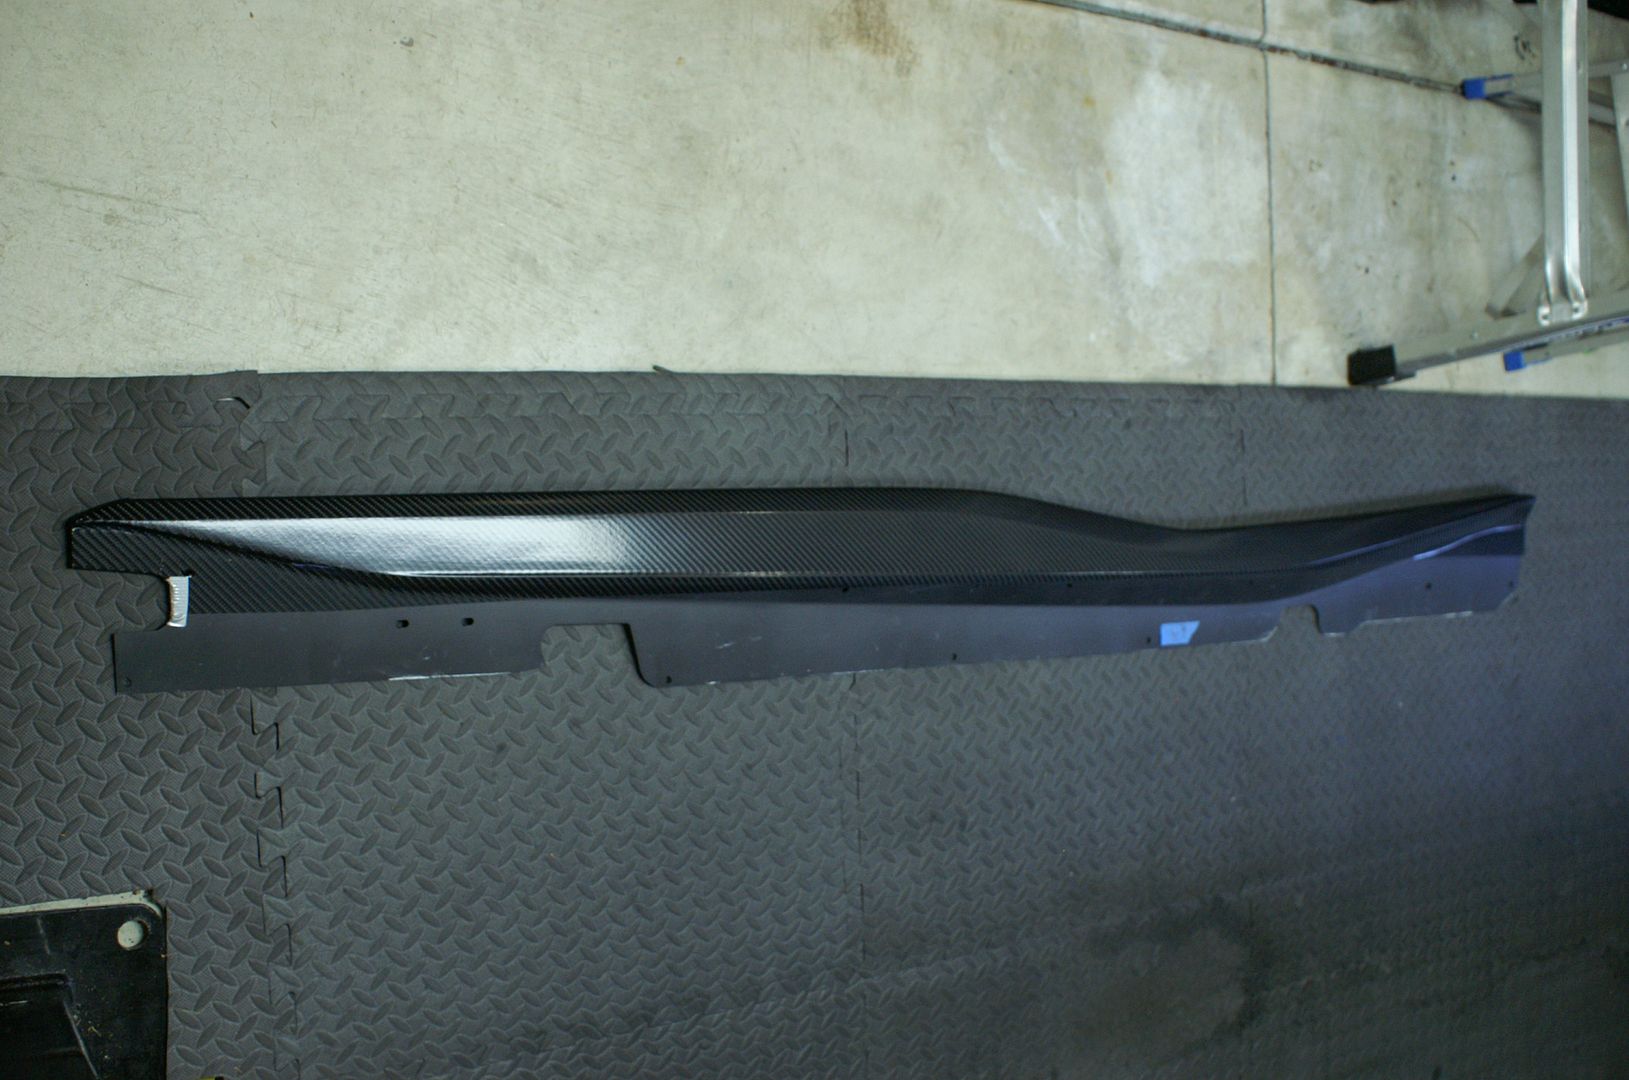
The finished product...no butt joints...one continuous piece, end to end.
Installed on your C7....


Obviously, I have a fair amount of material left over If someone wants to tackle the job PM me and we can work something out.

Preclean your sideskirt surfaces to allow the vinyl to adhere properly...it is very sticky, but can be lifted and re-positioned easily. I did all smoothing with my bare hand....no need to use a tool as with the wet method...the whole job is done dry because of the air channels in the back of the vinyl. Measure out the 78" length to enough width to wrap around to the deepest points...about 9-10" wide should be fine with some trimming on the backside once it is installed. Here it is ready to be fitted....

Lay a sideskirt on a table edge or other surface that allows you to wrap down the outer edge...I used one of my 4 post lift ramps set at a nice working height. Put some heavy weights on the back edge to keep the skirt in place while you work the vinyl starting from the interior section to the outer edge.


If you encounter a deep curve, make relief cuts to help pull the vinyl into the curve smoothly.

Visible side completed...

....now finish wrapping around the bottom surface.

Now seal off the bottom edge with duct tape. This will insure no water intrusion or poor adhesion issues pop up later...

The finished product...no butt joints...one continuous piece, end to end.

Installed on your C7....


Obviously, I have a fair amount of material left over
If someone wants to tackle the job PM me and we can work something out.


 09-17-2014, 08:46 AM
#8
Le Mans Master

Great job.
So that others reading this know, they make Black duct tape.
The best thing to do would be to Primer the edges to ensure the Vinyl doesn't lift.
So that others reading this know, they make Black duct tape.
The best thing to do would be to Primer the edges to ensure the Vinyl doesn't lift.
 Excellent.
 09-18-2014, 04:03 PM
#12
Tech Contributor
Thread Starter
Member Since: Aug 1999
Location: Should this thoughtful, valuable contribution meet with no acknowledgement or 'thanks' this post----
Posts: 16,382
Received 399 Likes
on
257 Posts
 09-18-2014, 04:45 PM
#14
Le Mans Master
12-18-2014, 08:54 PM
#15
Le Mans Master
Those are the ACS Zero 7s. I couldn't wait for the completion of the group purchase on the carbon fiber front splitter, followed by the sideskirts later. I used the 5 stock screws and tape. There are a couple areas that need a little more snugging up, so I am going to drill some holes in the rocker under the body and use some plastic push fasteners. I'll put up a DIY on this because I haven't seen anyone use these types of attachments yet. They are removable later for resale when I buy my next C7....
https://www.corvetteforum.com/forums...-stingray.html
12-17-2015, 05:14 PM
#18
Team Owner


Member Since: Jan 2007
Location: cookeville tennessee
Posts: 28,846
Received 1,762 Likes
on
1,529 Posts


 12-17-2015, 07:45 PM
#20
Race Director


The following users liked this post:
chefcg1 (12-18-2015)