When you click on links to various merchants on this site and make a purchase, this can result in this site earning a commission. Affiliate programs and affiliations include, but are not limited to, the eBay Partner Network.
Just food for thought, You never know… You may want to take this splitter off in certain situations. I travel a couple times a year for long trips and literally don't know where I'm actually staying or going, and the road conditions, so for my long trips it comes off. Unless your situation is locked in for the rest of the time you own a car , I would say don't use the tape because you may move to a new house,A new place to work etc. etc. Since the skirts don't have that situation, I screwed and taped them on because they're not coming off.
It's not like if you use the metal rivets you can NEVER take it off, but you would have to drill them out and it would be much more difficult. IF there is any way to get to the back side of the body panel, I would still use metal screws with a nut.
It's not like if you use the metal rivets you can NEVER take it off, but you would have to drill them out and it would be much more difficult. IF there is any way to get to the back side of the body panel, I would still use metal screws with a nut.
My lashway is on with just the 9 7mm screw bolts as they installed it. So mine comes off easily. Others may be diff.
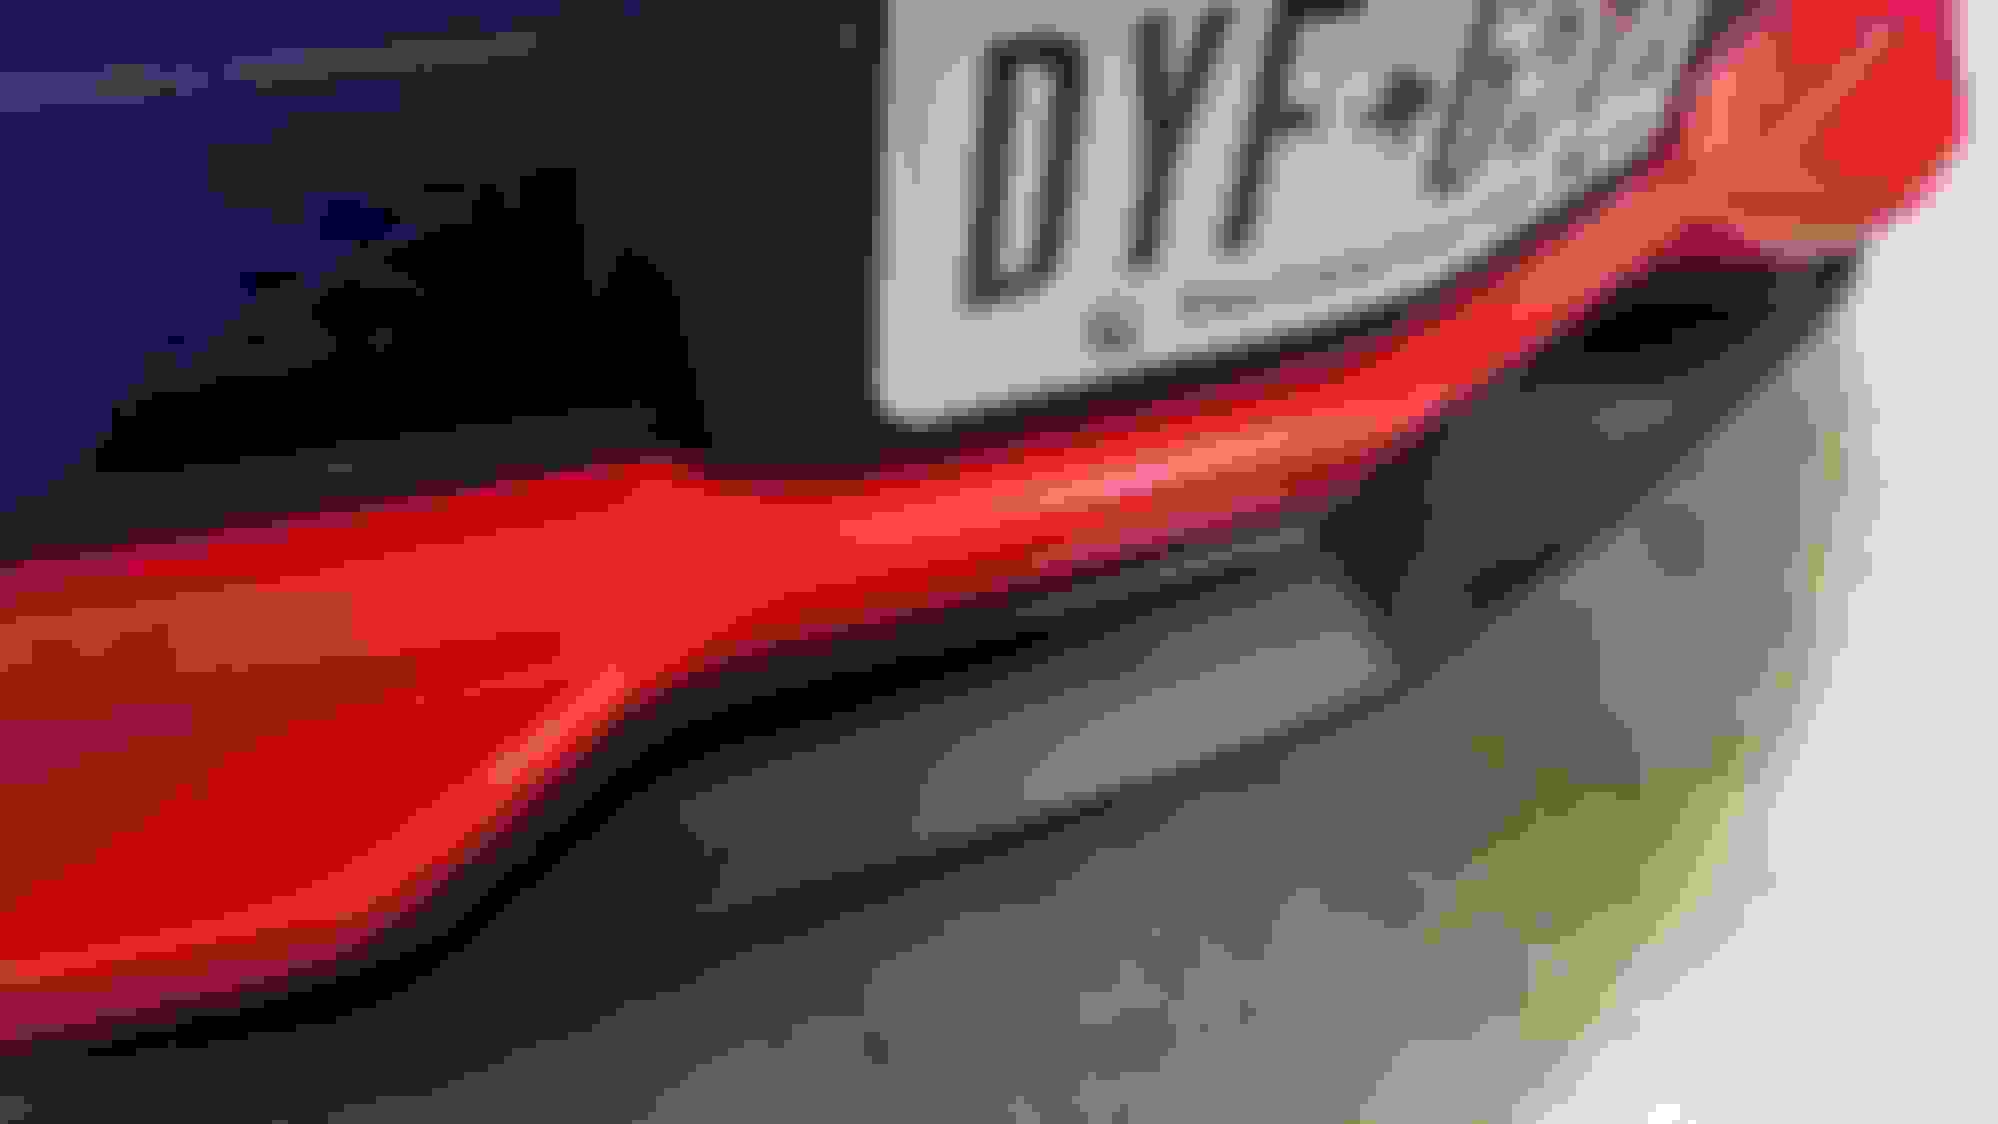
I took everyone's advice and took it down to Corvette World in Austin and they installed it for me for $60. Drilled holes (no tape). Not bad since I don't have a lift or jack. Here it is, plasti dipped, glossified (not sure if that's even a real word) and installed
nice job - the splitter needs paint, in it's stock form, it looks cheap, the flash matches everything... - sorry my opin...
A few tips..
1.skip the 1500 sand and go straight to 3000 - you may have to sand a bit more to get surface uniform matte, but will gloss better..remember to get gloss you will need at least 100 strokes to bring it up. Keep going!
2.unitl you fully xpel, look for the 3/8 in door edge guard from xpel on amazon - tape on the leading edge after waiting 25 days and alcohol wipe first. I have 6000 miles on my painted splitter with not a single ding or mark.
3. next tine do 3 coats of clear - more coats than that makes it more brittle....
4. as long as you don't hit anything, you can touch up with the base coat and 205 anytime....get some artist paint brushes, spay some base in a cup and touch up - then repolish after 2 weeks (not right away)
Glen,
Sorry, I'm a newbie at this but I'm looking to do this as well, not only to the same splitter as this (which I may never get thanks to backorder), but also thought of doing it myself to the license plate mount (since here in the "wonderful" state of VA they require a front tag). I've never really painted anything before so I have many questions. But for now...what exactly do you mean 100 strokes (or 300-500)? Also, do you have a quick link to your thread on doing this?
Big thanks though to you and the OP for all the information you guys supply! Major help to DIYers such as myself!
Making progress..Was able to get the splitter wet sanded and polished...turned out very nice...all that is left is to install this weekend! I sure learned a lot in this process, my next painting projects will be even better... I feel pretty good that it turned out pretty good!
Here is the 3000 Grit sandpaper I used for the wet sand. I wet sanded until the gloss from the clear coat was gone.
Then I started polishing with the Meguiar's 105 cutting polish!
To finish up I then I polished with Meguiar's 205 polish and then a Blackfire Polish and seal, and finally Blackfire Crystal Seal.
Almost ready to be installed!!
Color match almost perfect with all other Carbon Flash trim on the car! Yay!!
Looks really good...I will probably end up replicating what you did as soon as the plasti dip I put on there starts deteriorating...Was one can of each of the paints enough? Did you have any dripping or imperfections from spray painting with cans?
Looks really good...I will probably end up replicating what you did as soon as the plasti dip I put on there starts deteriorating...Was one can of each of the paints enough? Did you have any dripping or imperfections from spray painting with cans?
as I have said many times, search youtube for people using spray paints. The valve on the automotivetouch up cans is better than average, keep it moving and learn to spray in spritzes - not lock the can valve open. That's when you run. Practice on something first - Lowes electrical outlet switch plates are great to practice on...several LIGHT coats, not a thick heavy one...people try to coat the piece all at once instead of light coats that eventually coats it...
this splitter will require:
2 light primer coats - and the first should be a VERY light coat..almost like you did not put one on, (adhesion promotor)
2 base color colts
2-3 clear coats
Looks really good...I will probably end up replicating what you did as soon as the plasti dip I put on there starts deteriorating...Was one can of each of the paints enough? Did you have any dripping or imperfections from spray painting with cans?
Yes..One can of Carbon Flash, Adhesion Promoter, Primer, and Clear coat were enough..used at most 3/4 of can of the Carbon flash and Clear coat.
No issues with dripping or running. As Glen said, "keep it moving and learn to spray in spritzes - not lock the can valve open" that's the key. I also bought the spray handle for the cans, but did not use it this time.
Managerman, thanks for a great write up. I sent you a PM before I saw this thread. Disregard my PM, everything was answered in this thread. Looking forward to seeing the end result on your car.
I had my body shop paint mine it was $30 cost difference from DIY for the paints not considering my time and possible mess up LOL (Rudys auto body Orlando )
Rockers will be on in few weeks
I had my body shop paint mine it was $30 cost difference from DIY for the paints not considering my time and possible mess up LOL (Rudys auto body Orlando )
Rockers will be on in few weeks
About how much did it cost you all in? I will probably go the body shop route myself and then drop it off at the Xpel installer once done.
Next time try laying down the final coat of clear quite wet. Just short of getting runs or sags. You'll have very little if any colorsanding to do.
I've painted many cars/bikes in my garage and that's been my experience. Autobody painter old saying: "If you don't get any runs you're not even trying." Or something like that.

 01-20-2015, 05:54 PM


 !
!

 from DIY for the paints not considering my time and possible mess up LOL (Rudys auto body Orlando