When you click on links to various merchants on this site and make a purchase, this can result in this site earning a commission. Affiliate programs and affiliations include, but are not limited to, the eBay Partner Network.
HOW TO: Restore mirror finish to polished aluminum after a chemical mishap!
NOTE: This How-To guide is neither endorsed by or property of Corvette Forum or myself in any way/shape/form. All liability stemming from any actions taken in relation to this guide is solely placed upon the end user. (This means you!)
So yesterday I decided I wanted to pressure wash my engine down since its been a bit neglected lately. I just rolled 50K miles in my C7 so there's a good bit of road grime and dirt that's started to work its into my engine bay. So, I took my spray bottle of Purple Power, coated my engine bay entirely, and then pressure washed it off.
BAD IDEA! Unfortunately, I forgot that Purple Power is caustic to aluminum because it contains sodium hydroxide also known as "lye". This means if this substance touches anything aluminum, like my polished supercharger, piping, and catch can, it will etch into the metal and make it look really bad, and obviously not shiny anymore.
Well, yeah. I did that. LOL
Now, I am going to show you how to fix it. This technique can be used even if you just want to re-polish your aluminum to freshen up its luster, even if you haven't made a chemical mistake like me! So lets take advantage of my stupidity, and see if I can redeem myself!
Lets see what we are up against:
Yuck.. that thing looks awful..
Ok, let's get started. You're going to need a buffer and some supplies. (picture below) I used a 6" Buffer that I got from Harbor Freight. On the left side of the buffer is a 6" Spiral Buffing Wheel, and on the right side is a 6" Loose Cotton Buffing Wheel. You will also need the right polishing compound for the job, which is the White Polishing Compound, and Blue Polishing Compound. Again, all from Harbor Freight. You will also need a Scotch Brite kitchen sponge.
First, remove the damage (oxidation) done to the aluminum. This can be removed by scrubbing it with a wet Scotch Brite pad using the green (course) side. Picture Below:
Do this until the entire piece is dull looking as seen below:
Next, get out your White Polishing Compound and turn your buffing wheel on. Peel the paper back on the polishing compound, and touch the compound to the left buffing wheel (since it is the stiffer pad) in order to get some polish on the pad ready for the aluminum part as seen below:
Now work the aluminum part back and forth on the pad. At first, it will get the polish onto the metal, but after a few minutes it will start buffing it off, making it instantly much better looking.
In the picture below, you can see the difference it made as I polished the top half, and left the bottom half dull.
Go ahead and finish the entire piece before we move on the next part. (picture below of part ready for next phase). As you can see, its already taking on a nice shine!
Next, repeat the exact same process, but this time, use the right buffer wheel (the Loose Cotton Pad), still using the White Polish Compound the same way, touching it to the buffer wheel, then using the wheel on the part. After this is done, you can see in the image below, the finish is getting even better. There are less visible scuffs and scratches.
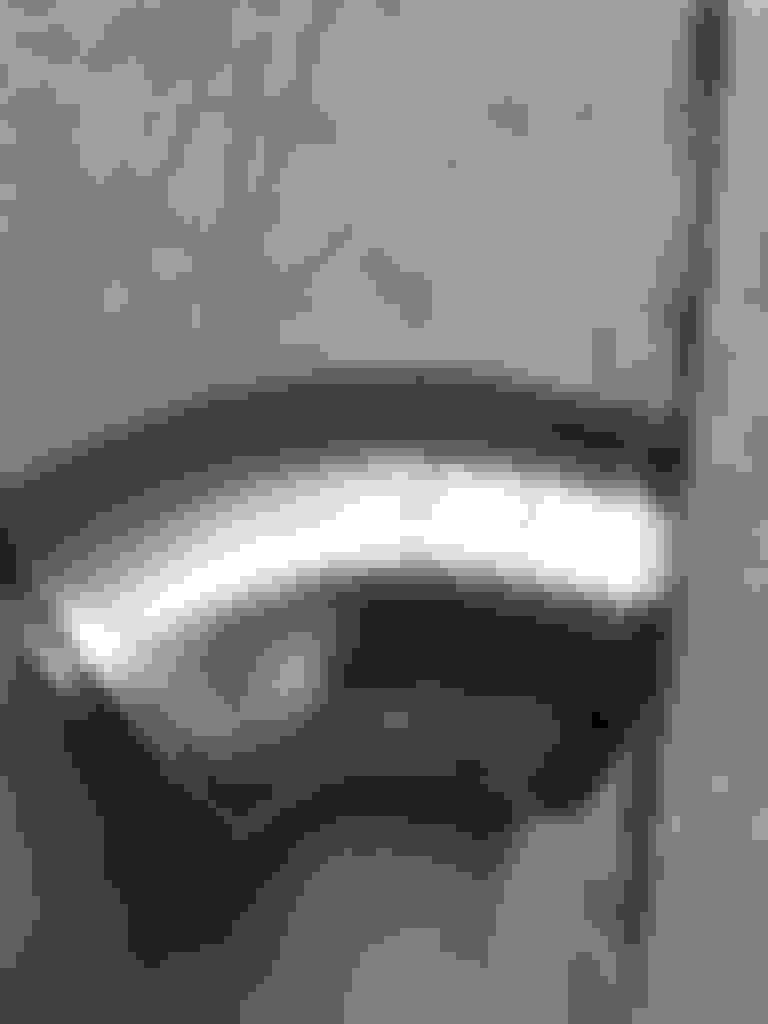
Next is the final stage. Repeat the same process, still on the right buffer wheel, but this time use the Blue Polish Compound. After this is done, your part should look pretty close mirror polished like these:
That's it, you're all done. Put those parts back on, and let them shine!

 11-06-2016, 11:50 PM