C7 General Discussion General C7 Corvette Discussion not covered in Tech
Sponsored by:
Sponsored by:

How to: Rear bumper adjustment.

Thread Tools
 
Search this Thread
 
Old 08-26-2018, 10:05 PM
  #1  
SSTG
Le Mans Master
Thread Starter
 
SSTG's Avatar
 
Member Since: Nov 2009
Location: Mo.
Posts: 5,679
Received 207 Likes on 137 Posts

Default How to: Rear bumper adjustment.

Among many panel adjustments that were needed on my 2019 Z06 was the rear bumper so I tackled that today.

I hope this this helps someone else on the Forum.

First off, I read the rear tail light bezels were a major pain to remove. I watched some videos that showed a couple different ways to remove them but in the end after studying them I found out it was best to reach up into the top corners of the each tail light (there is clearance) and pull them straight out, then work around the bezel to completely remove.

There are many threads showing which screws to remove when pulling the rear bumper off. I won’t go into that.
But I will add a tip that I seen on a video that helped me, since I was not removing it fully from the car and did not need to disconnect wires, a box under the bumper for it to sit on worked great!

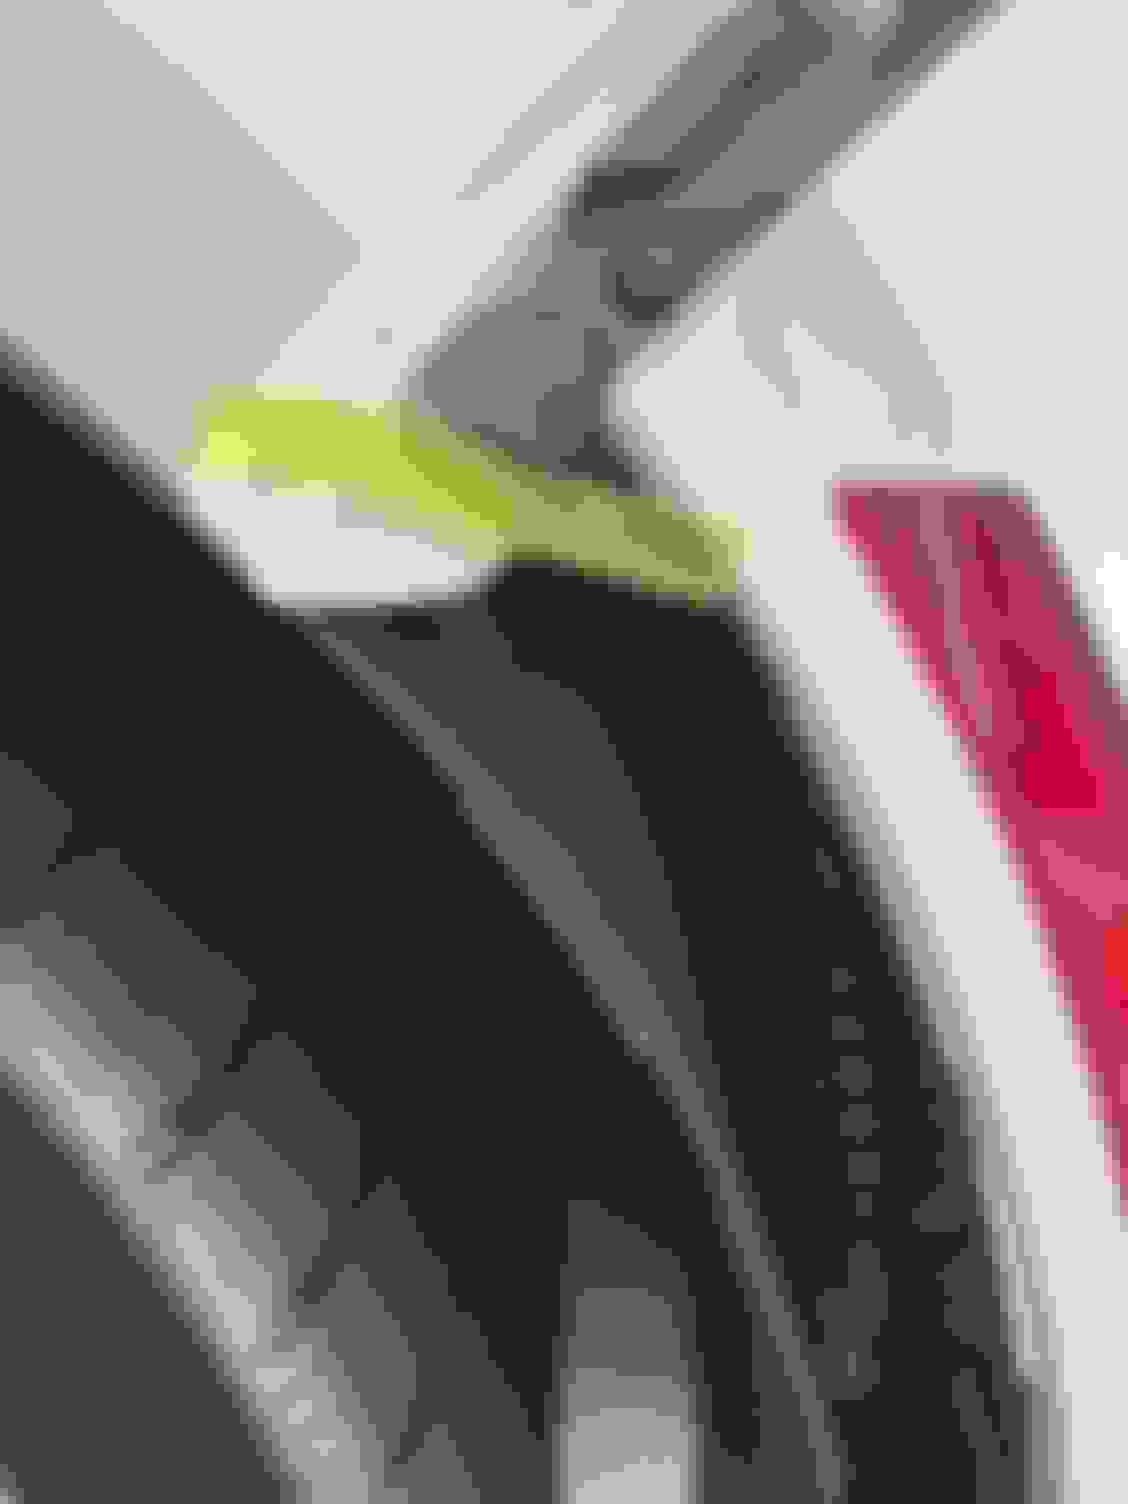
Once you get the bumper pulled back slightly, you will see the brackets that holds the bumper to the rear fenders. They look like this.
Old 08-26-2018, 10:06 PM
  #2  
SSTG
Le Mans Master
Thread Starter
 
SSTG's Avatar
 
Member Since: Nov 2009
Location: Mo.
Posts: 5,679
Received 207 Likes on 137 Posts

Default


Almost everything I read said there was no adjustment and that is somewhat correct. You will see in this picture that mine was adjusted all the way up from the factory which would not allow my bumper to go up any higher
Old 08-26-2018, 10:09 PM
  #3  
SSTG
Le Mans Master
Thread Starter
 
SSTG's Avatar
 
Member Since: Nov 2009
Location: Mo.
Posts: 5,679
Received 207 Likes on 137 Posts

Default


What I did was take a flat file and remove some of the area where the squares align the bracket. I used a rat tail file to open up the holes slightly. That gave me some additional adjustments.
Old 08-26-2018, 10:10 PM
  #4  
SSTG
Le Mans Master
Thread Starter
 
SSTG's Avatar
 
Member Since: Nov 2009
Location: Mo.
Posts: 5,679
Received 207 Likes on 137 Posts

Default

I Used painters tape to mark the original location of the bracket that way I knew how much adjustment I was making.
Old 08-26-2018, 10:12 PM
  #5  
SSTG
Le Mans Master
Thread Starter
 
SSTG's Avatar
 
Member Since: Nov 2009
Location: Mo.
Posts: 5,679
Received 207 Likes on 137 Posts

Default

Here are the before and after pics. Let me know if you have any questions.
Old 08-27-2018, 01:19 AM
  #6  
tstad9i1
Instructor
 
tstad9i1's Avatar
 
Member Since: Jun 2018
Location: Maricopa, AZ
Posts: 249
Received 35 Likes on 32 Posts
Default

Wow nice job. Looks good.
The following users liked this post:
SSTG (08-27-2018)
Old 08-27-2018, 01:29 AM
  #7  
KenHorse
Team Owner
 
KenHorse's Avatar
 
Member Since: Aug 2007
Location: I live my life by 2 rules. 1) Never share everything you know. 2)
Posts: 136,148
Received 2,401 Likes on 1,366 Posts
St. Jude Donor '11-'12-'13, '16-'17-'18

Default

Not worried about paint rubbing off in the joint?
Old 08-27-2018, 08:05 AM
  #8  
PatternDayTrader
Race Director
 
PatternDayTrader's Avatar
 
Member Since: Oct 2008
Location: Lansing MI
Posts: 17,982
Received 1,056 Likes on 769 Posts

Default

Nice !
You got it to fix perfect you perfectionist you.....

Keep the tutorials coming as you work your way around the car.

Last edited by PatternDayTrader; 08-27-2018 at 08:12 AM.
Old 08-27-2018, 08:09 AM
  #9  
beaversstonehaven
Melting Slicks
 
beaversstonehaven's Avatar
 
Member Since: Feb 2005
Location: San Marcos, Texas
Posts: 2,633
Received 129 Likes on 100 Posts

Default

While I would never attempt something like this I enjoyed reading your thread. The outcome looks great!
The following users liked this post:
SSTG (08-27-2018)
Old 08-27-2018, 09:35 AM
  #10  
SSTG
Le Mans Master
Thread Starter
 
SSTG's Avatar
 
Member Since: Nov 2009
Location: Mo.
Posts: 5,679
Received 207 Likes on 137 Posts

Default

Originally Posted by KenHorse
Not worried about paint rubbing off in the joint?
The panels are not rubbing against each other, if you zoom in you can see they are exactly like they were from the factory just even now. Lol!

Originally Posted by PatternDayTrader
Nice !
You got it to fix perfect you perfectionist you.....

Keep the tutorials coming as you work your way around the car.
Thanks, I hate being so particular. I own a Detail Shop here in St.Louis which over the years has brought my attention to things most people don’t notice. I went to a Corvette only are carshow this weekend and almost every car had panel alignment issues and these were show cars!

Get notified of new replies

To How to: Rear bumper adjustment.


Quick Reply: How to: Rear bumper adjustment.


All times are GMT -4. The time now is 08:31 PM.