
How to: Suede/microfiber interior conversion swap. Step by step with photos.
 05-16-2016, 08:03 AM
#41
Team Owner


I want to convert mine as well. Luckily with a convertible I don't have to buy as much.
 06-27-2016, 12:44 AM
#43

Question, is it possible to remove the A-Pillar trim without removing the top trim piece (behind sunvisors). I am trying to get wiring to a boost gauge which I will be mounting above the left dash speaker.
09-26-2016, 12:56 PM
#44

Did you get an answer to this question? I'm getting ready to remove mine to install a boost and AFR gauge pod. Would be nice if you didn't have to remove the center piece, especially since I just need to remove it to ensure the pods are aligned correctly before sending off to be wrapped in leather.
 04-18-2017, 06:36 AM
#46

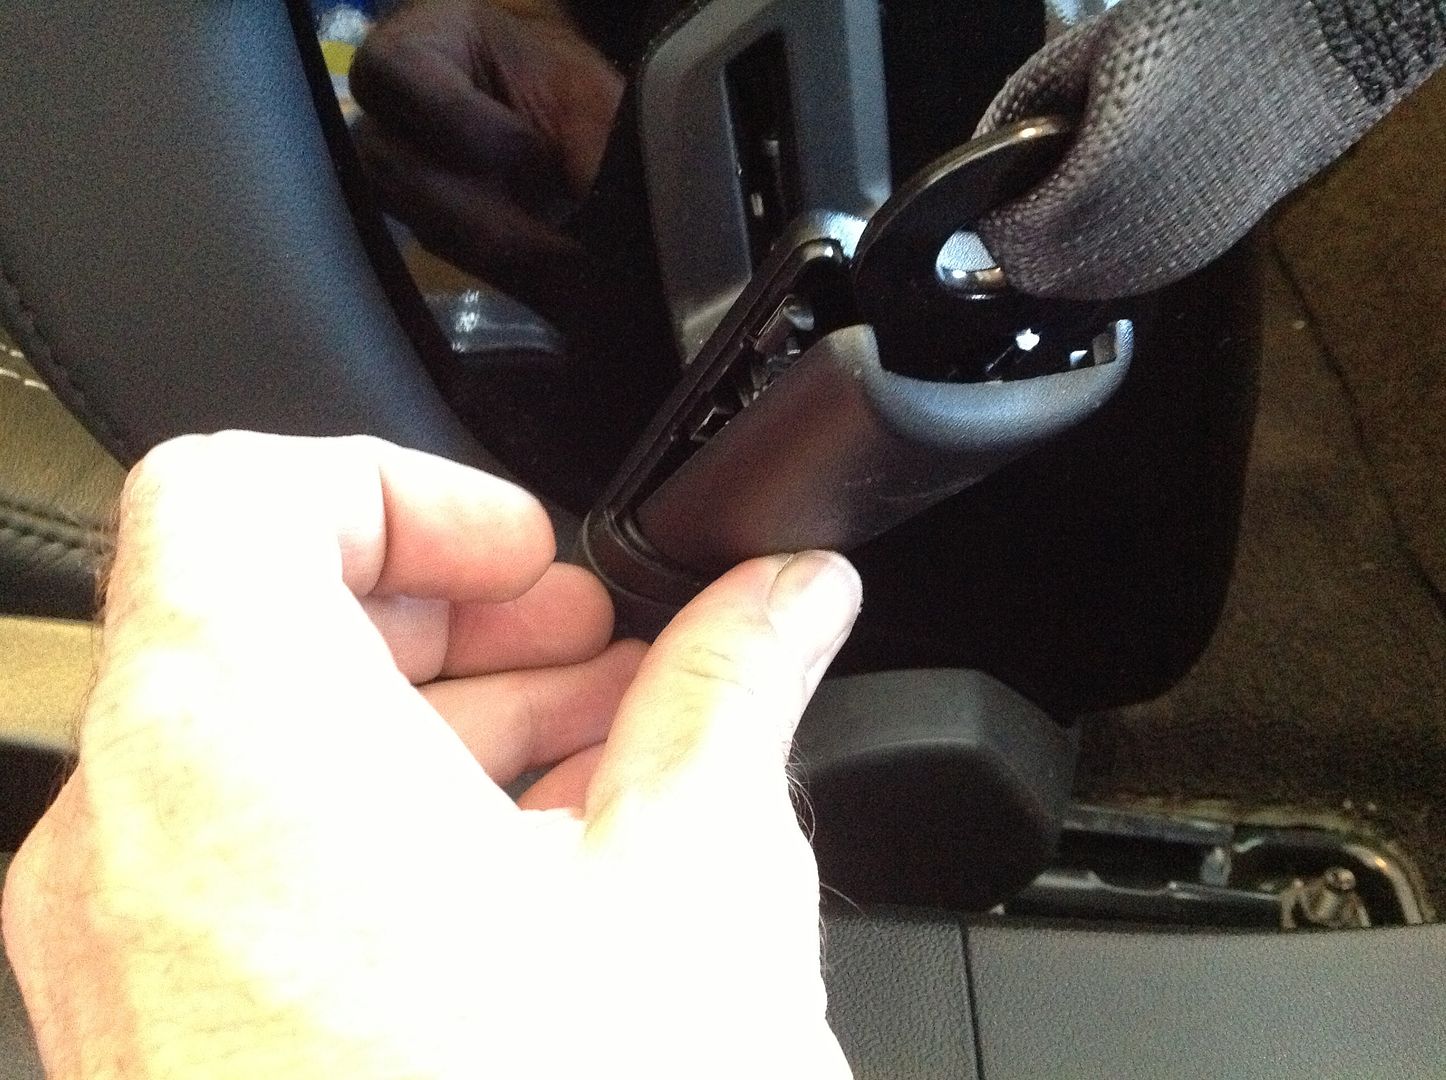
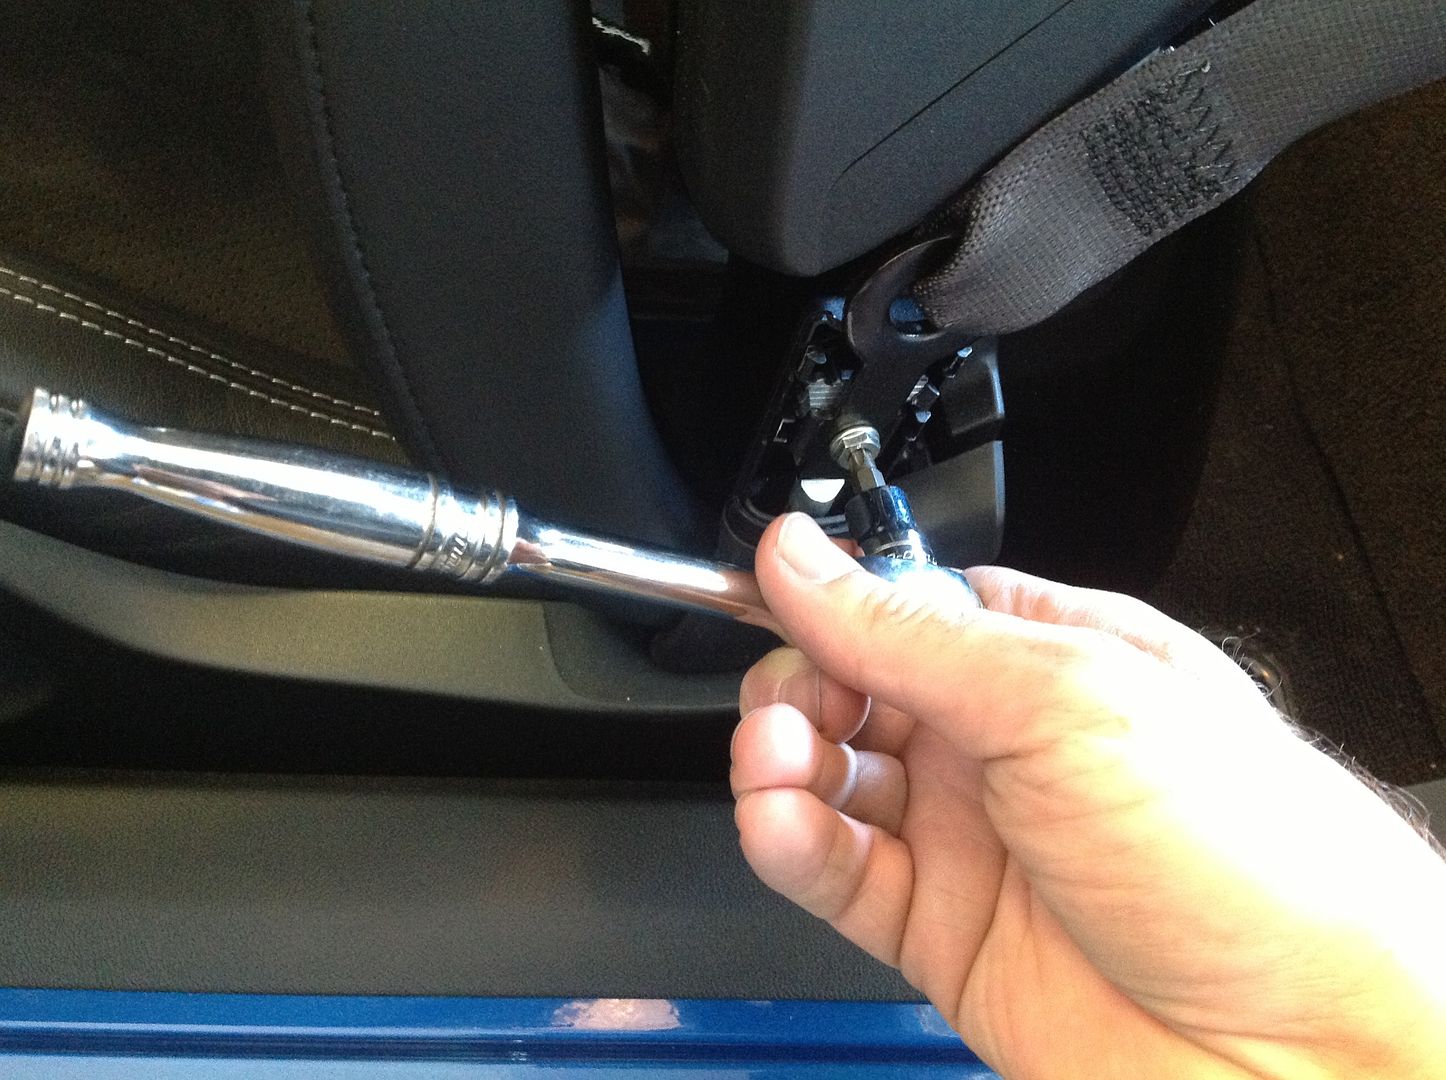
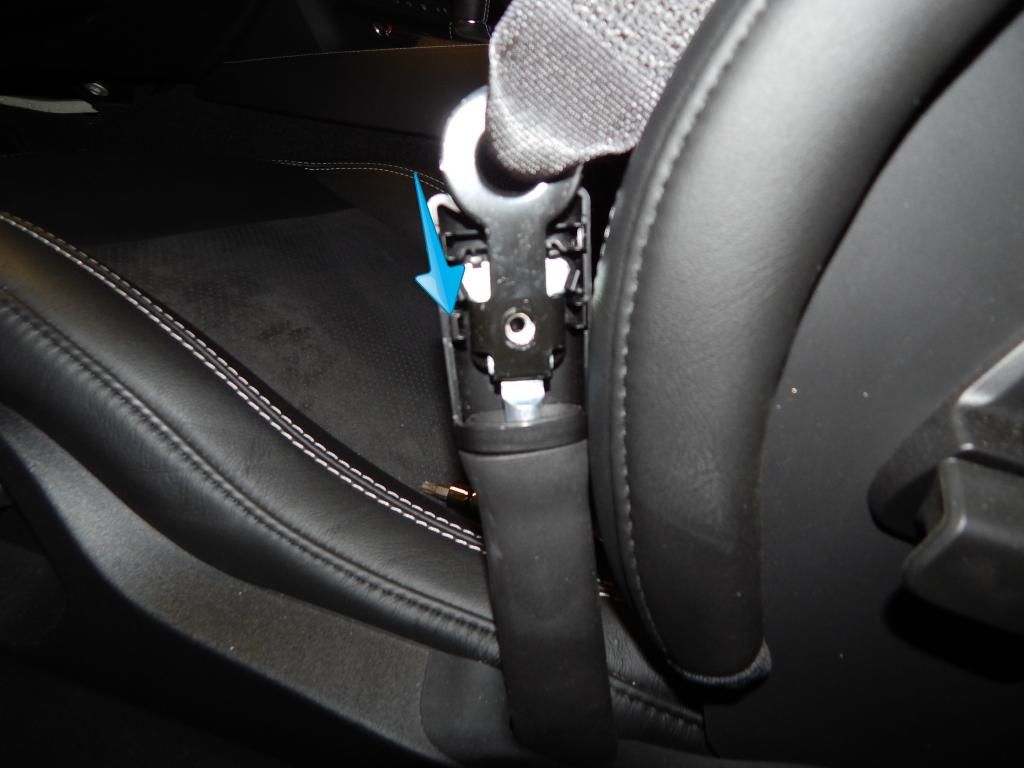
Pry out the seat belt bezel.
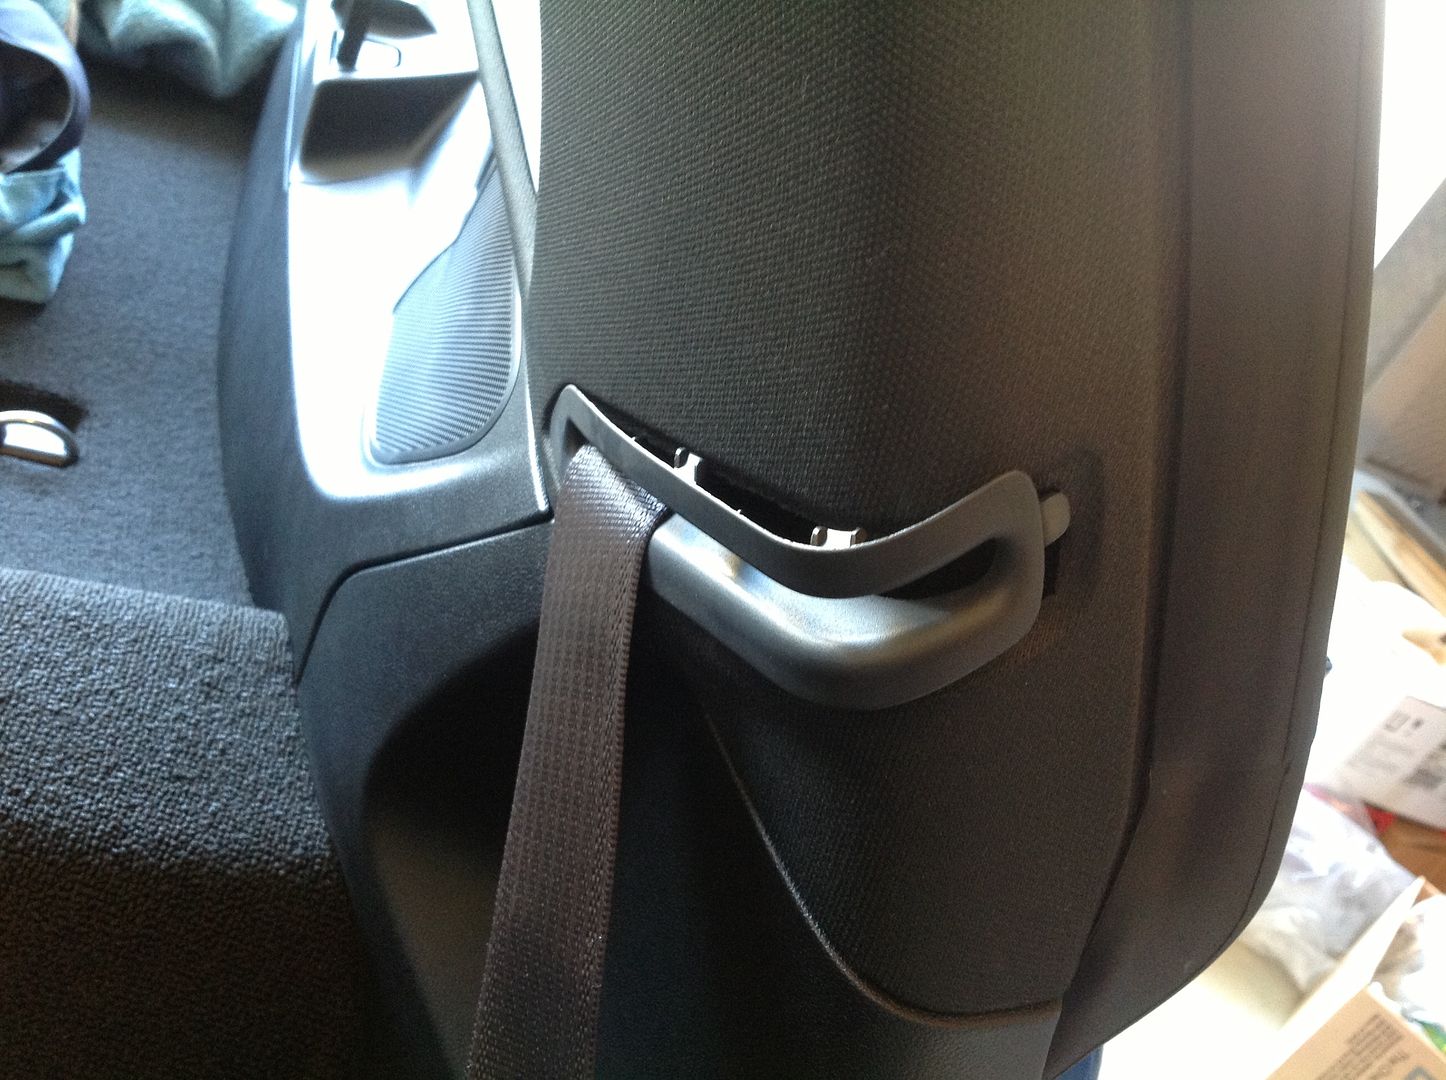
You will have to unbolt the seat belt from the seat, pry the plastic cover off, unbolt the seat belt. Be careful to not slip with the ratchet, you will damage the sill plate. Slide the seat belt down to unhook it.
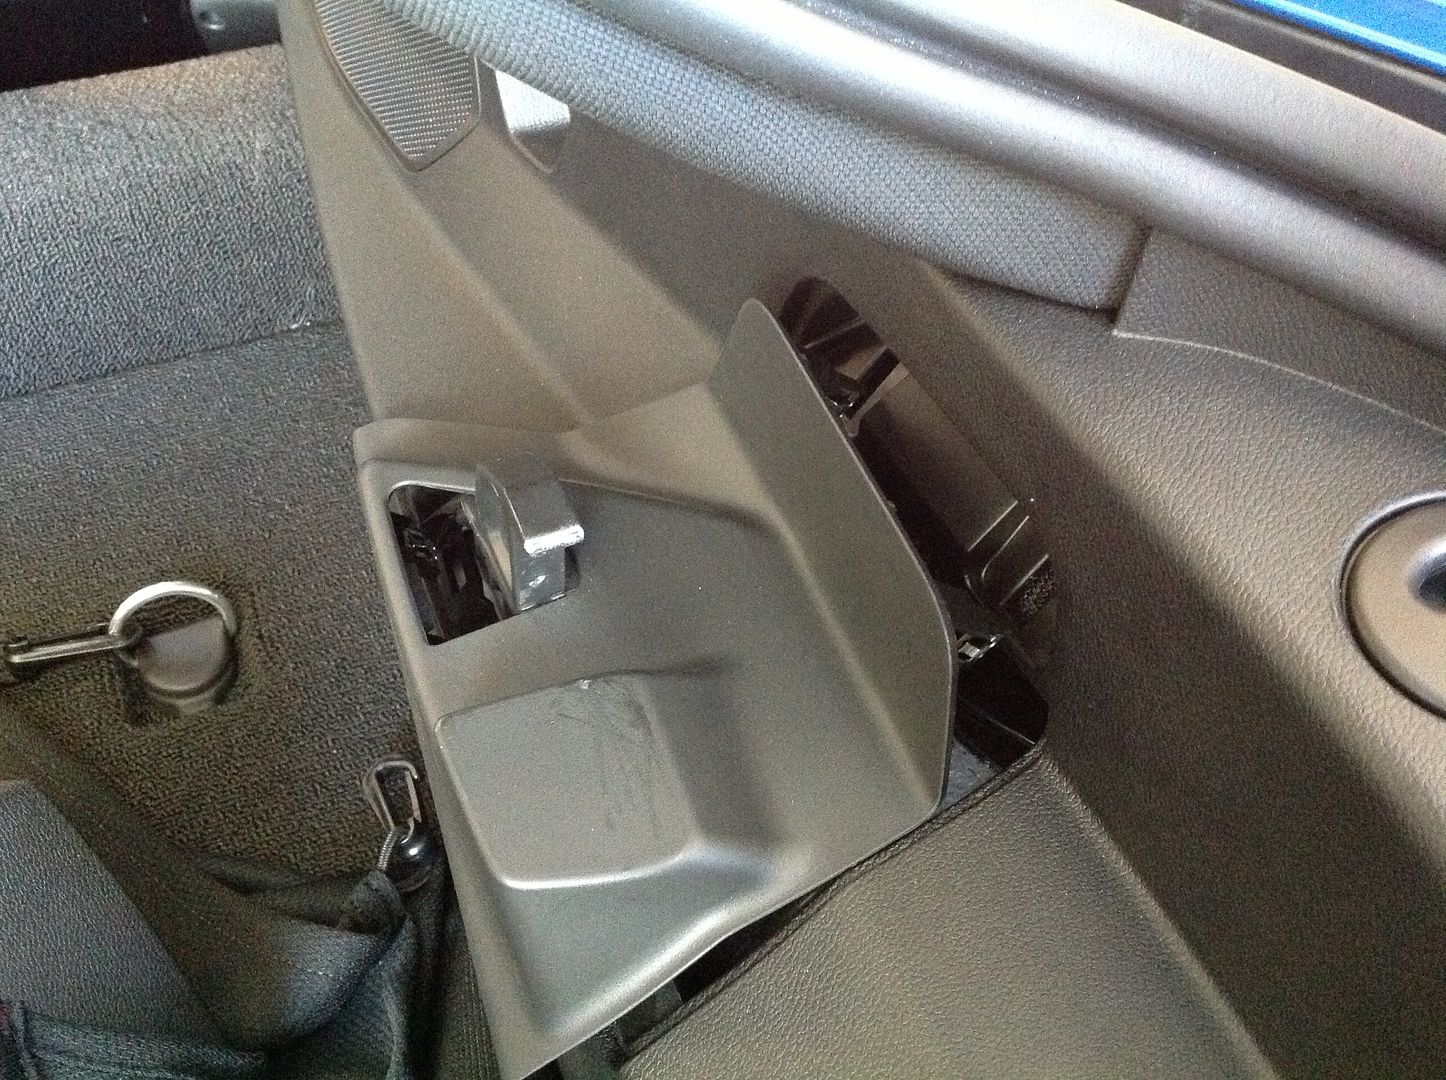
Pop the targa top hook cover off. Pry on the bottom first and then pull it sideways.
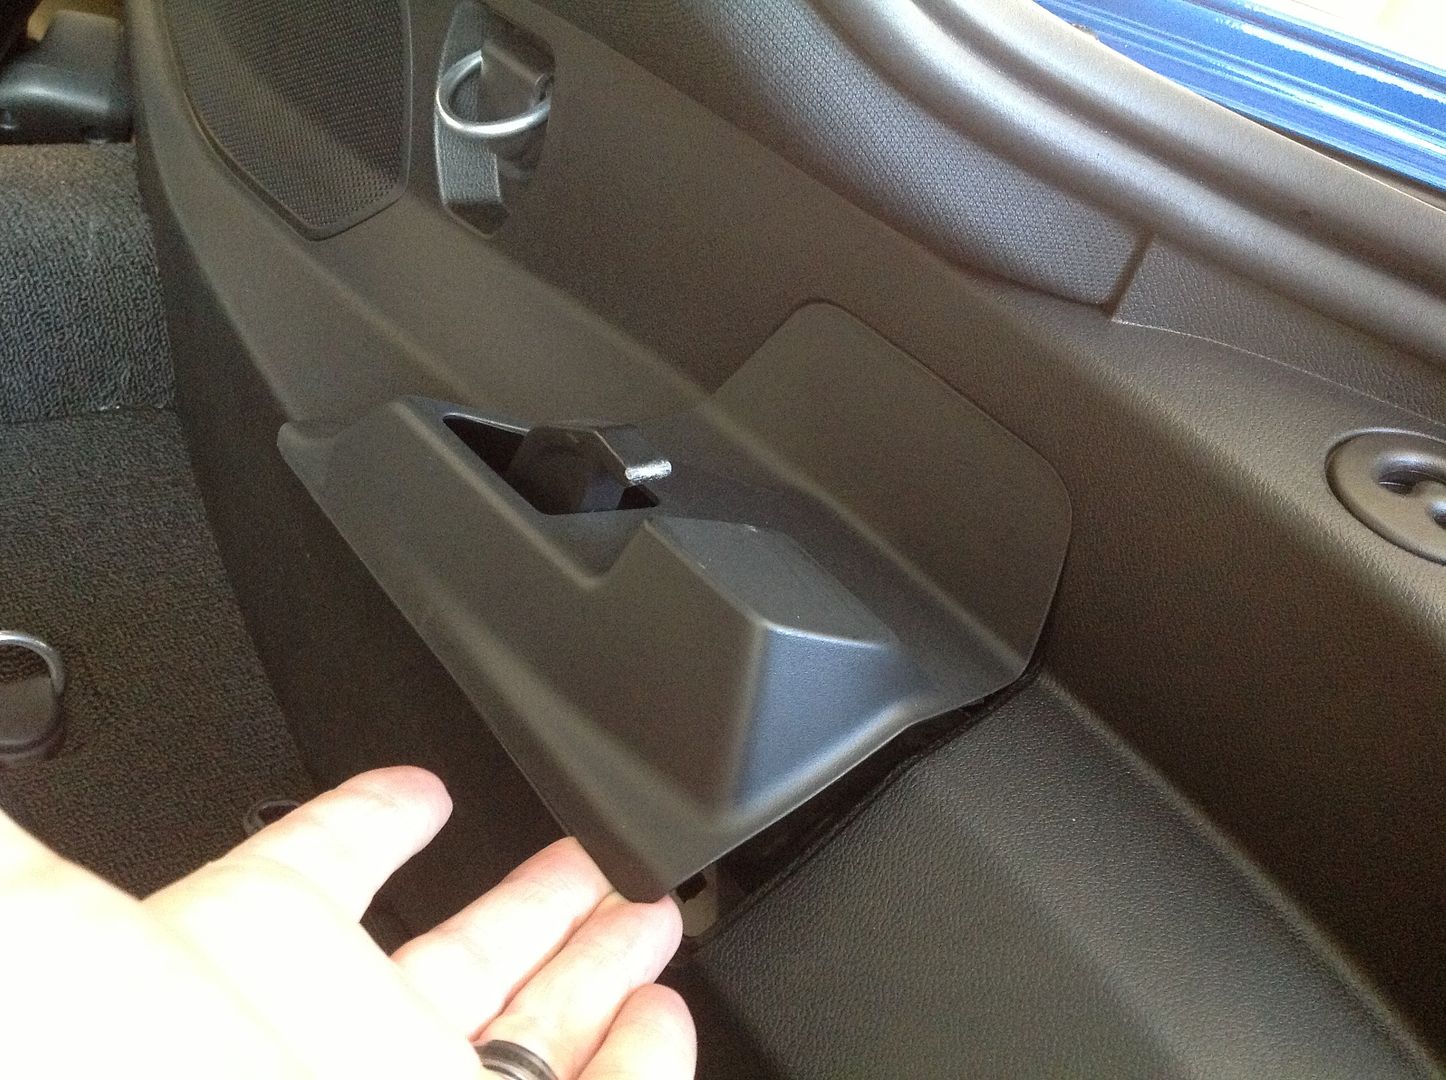
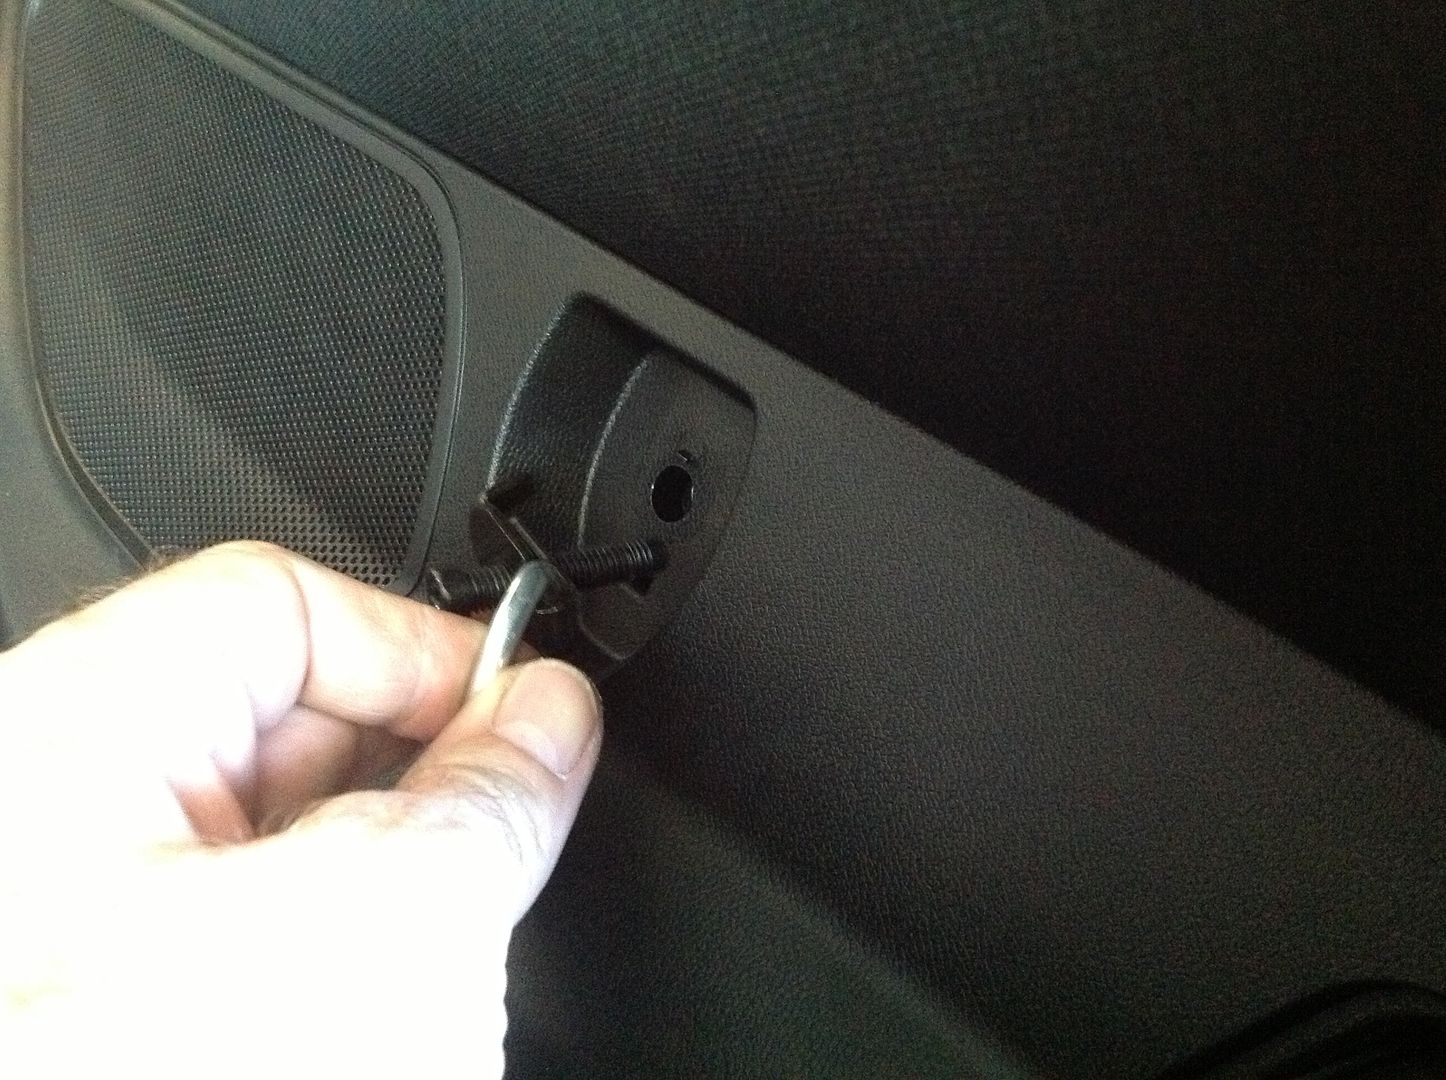
Pry off rear tie down hook cover and unbolt the D-ring with a torx bit.
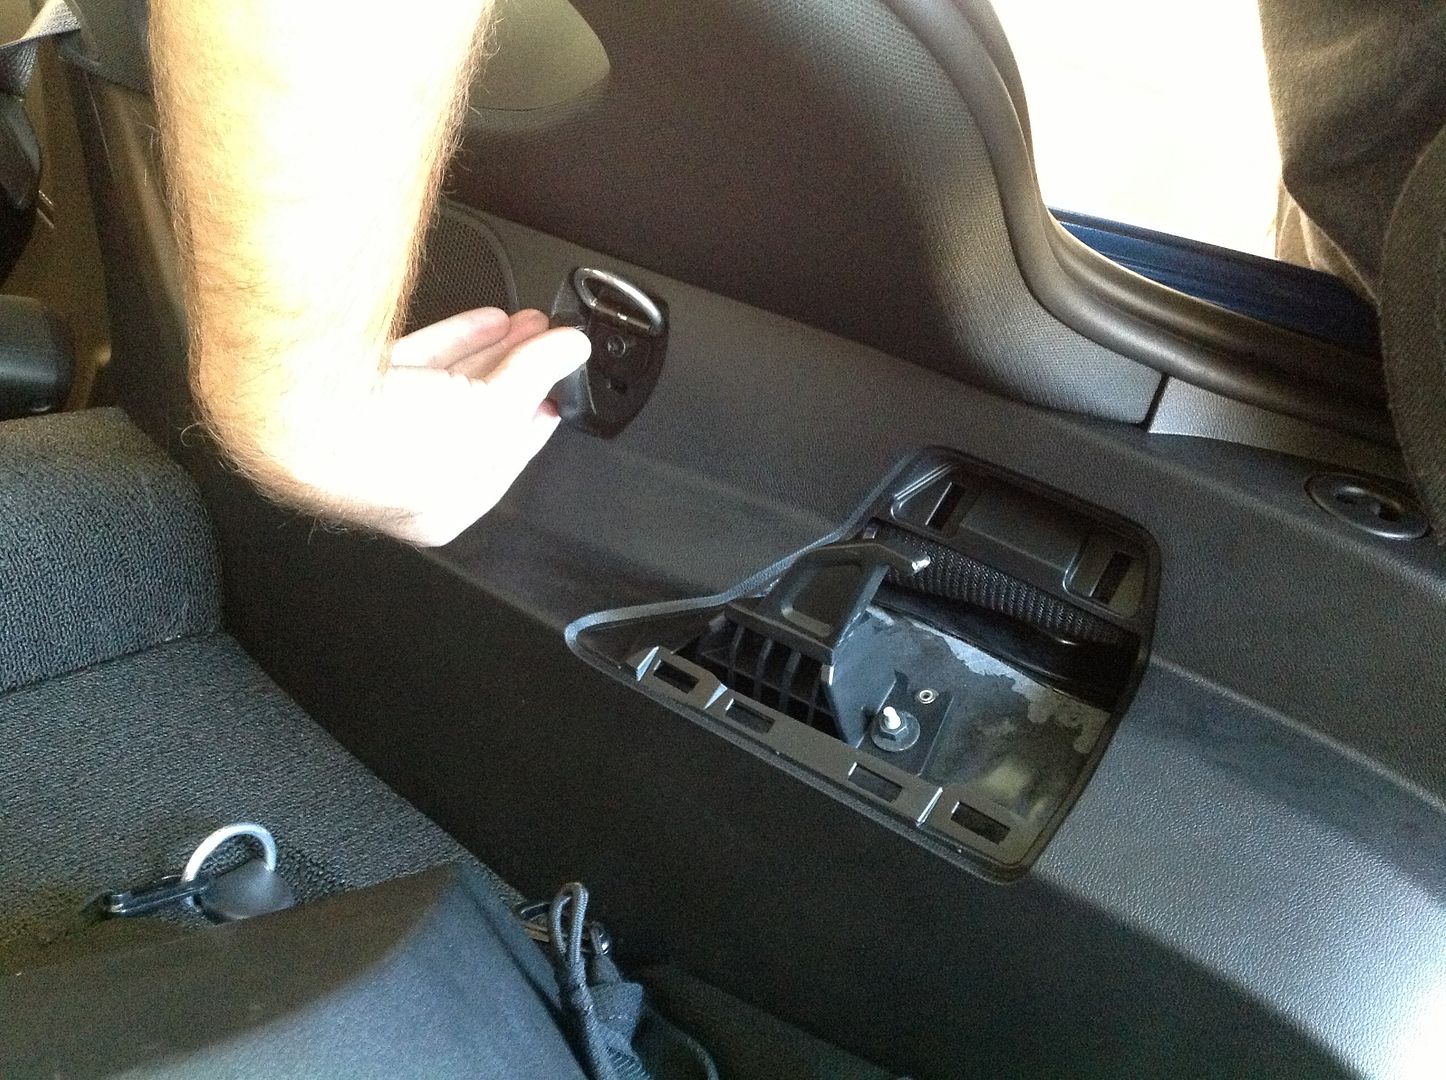

You will have to unbolt the seat belt from the seat, pry the plastic cover off, unbolt the seat belt. Be careful to not slip with the ratchet, you will damage the sill plate. Slide the seat belt down to unhook it.


Pop the targa top hook cover off. Pry on the bottom first and then pull it sideways.


Pry off rear tie down hook cover and unbolt the D-ring with a torx bit.


Did you remove the entire seat belt assembly? I'm looking to swap my black for red. I see how you got the bottom off, but what about the top. How does it attach? Was it hard to get the old one out? Thanx!

 12-09-2017, 01:05 AM
#48
Great thread... did the new visors not have the stickers or did you remove them?
 01-28-2019, 12:51 PM
#49
Intermediate

Thanks! This was just what I was looking for! Having trouble removing the LH A Pillar on my 2016. Knew it should just snap off, but wondered if there was a secret that I was missing! Cheers and happy cruising!
GW
GW