When you click on links to various merchants on this site and make a purchase, this can result in this site earning a commission. Affiliate programs and affiliations include, but are not limited to, the eBay Partner Network.
HOW TO: Add a new Windshield Washer Reservoir & Pump & Relocating them on a NON-Z51
Today I am going to show you how to install a new and relocated windshield washer fluid reservoir tank and pump in a NON-Z51. Who does this project apply to? I'm glad you asked. This is Primarily for NON-Z51 owners that are planning to use their OEM windshield washer fluid reservoir as a methanol injection fluid reservoir. When you do that, you lose the ability to wash your windshield, so this is how you can get that functionality back! This process is slated for NON-Z51 cars as the relocation of the new tank puts it directly where the Z51 dry sump tank would have gone on the passenger side of the engine bay. If you have a Z51, you are welcome to follow along, just note that you need to find an alternate mounting location under the hood.
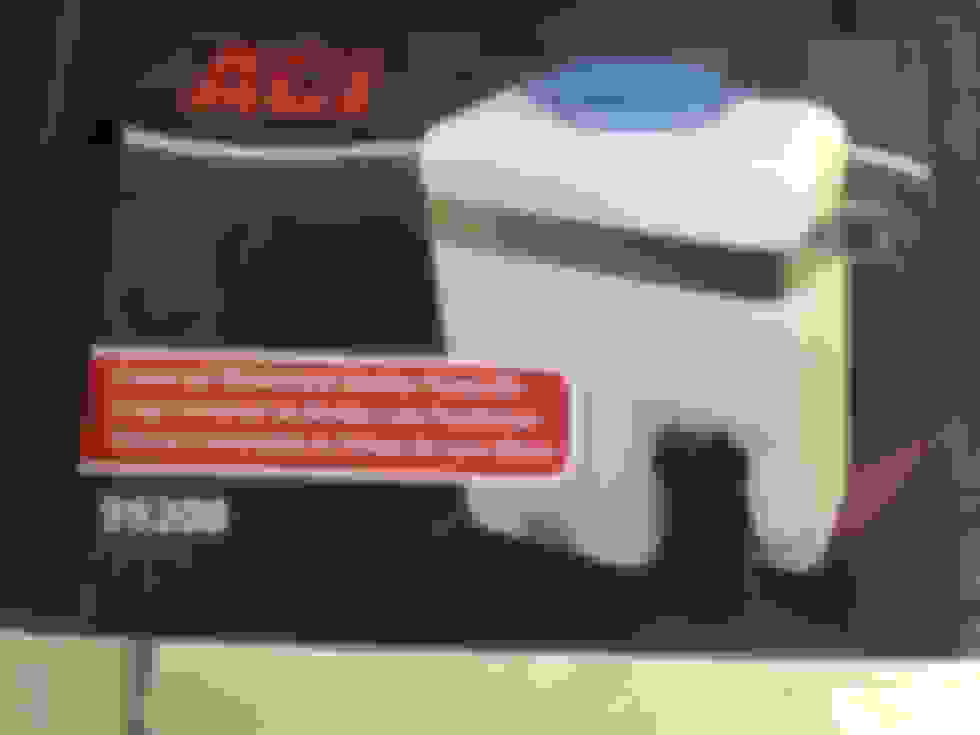
First things first. You need to go buy the reservoir and pump kit. Fortunately for you, almost all major auto parts stores sell the exact one you need. I confirmed that Advance Auto and Pep Boys both carry this in stock, but you may need to ask for it with a picture (below) as this is usually NOT out on the floor and is kept in the back. You will also need two (M6-1.0) flange bolts with washers that are about 2" long, and two (M6-1.0) nuts, four "fender washers" appropriately sized to fit your bolts, about 8' of speaker wire, one 12-pack of your favorite brand beer, and some patience!
Approximate cost: $20-$30, depending where you get it from
The bracket for the reservoir might as well have been made to fit the C7. In this picture, I will show you how the mounting will work. Note, the two stud's sticking through the mount that I have circled is already there, however, they are not quite long enough to mount our bracket to safely. So, we need to put some longer bolts in. That�s the painful part.
In order to get to these bolts, we need to get into the inner fender on the passenger side. Jack up the front of the car and put it on jackstands. Next, remove the 7MM bolt from the bottom of the splash guard, and pull the splash guard off. Then remove the three Torx bolts and two snap clips as shown.
Now remove all the 7MM and 10MM bolts to loosen the fender liner. Note there is a 10MM bolt hiding towards the aluminum brace where the red arrow is.
Now you will want to peel back the fender liner to reveal the ECM (red arrow). This works easiest if you turn the steering wheel all the way right.
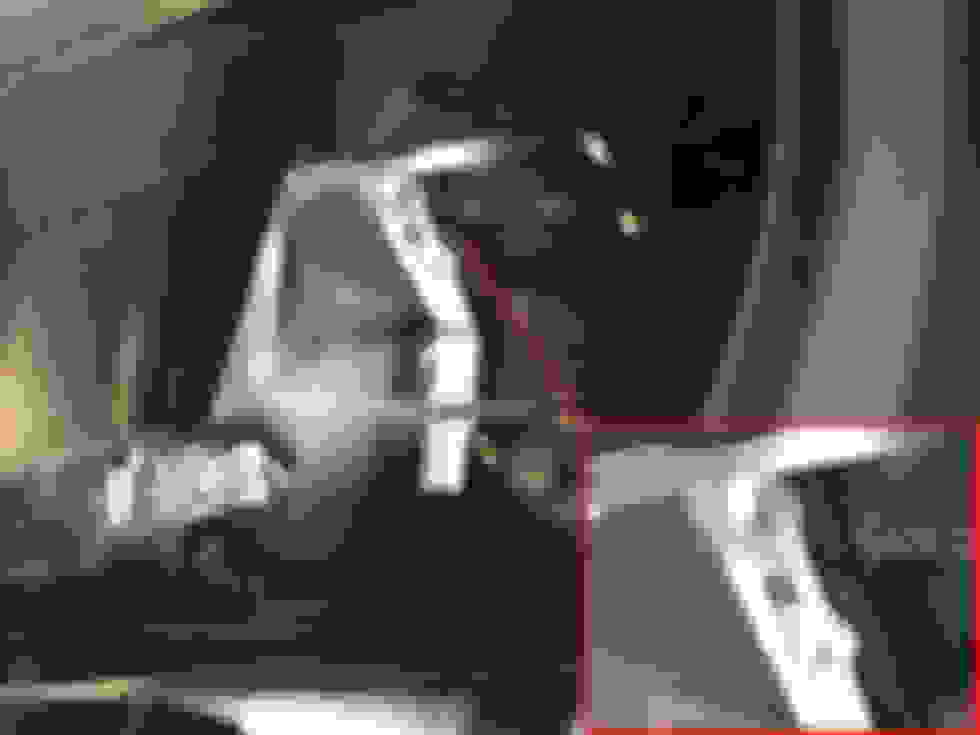
The bolts we need to replace with longer bolts are very hard to get to, and are hidden behind the ECM. So, we need to first release to two plastic clips (circled) holding the ECM in place. Next we need to basically pry the ECM away from its mount to be able to get in there which is a VERY tight squeeze. Note here that you will want to be careful as when you are prying the ECM out of the way, it WILL hit the inside of the fender vents and start damaging the fiberglass a bit as I pictured by the upper arrow. This is a part that is never exposed from the outside of the car and is only part of the vent bracket so I did not worry about it. The lower arrow shows me using a pry bar to hold the ECM out of the way.
Here, you can see I circled the two bolts that we need to replace. The one on the bottom is cake to get to, but the one higher up will take you an hour or more to get swapped out just because you have to be patient.
I used a combination of a pry bar and some step wrenches. Here you can see that with the right tool, you CAN actually get in there!
The bolts that you take out are about 1.5" long and have integrated washers. I replaced mine with like bolts (also with washers) that are about 2" long. This actually makes them too long for what I needed so I added two fender washers first, with a foam washer in between to account for a bit of vibration dampening. I then put the bracket on there and mounted it with the two small nuts (M6-1.0). It is best to use a wrench to hold the bolt heads by the ECM while tightening the mounting nuts for the bracket.
Next we need to open up the windshield cowl in order to run our wire and our wash sprayer tube. Remove the hood seal, be careful removing it from the circled hooks so it does not rip the seal. Also, now is a good time for you to take apart the driver�s side fender liner as well. Follow the same process as the passenger side.
Once you are in there you will see the OEM washer fluid tank with the pump mounted in it, the wire harness attached, and the small black tube that transports the washer fluid up to the wipers. What you need to do is first remove the black tube from the pump (I capped mine off with a vacuum cap) and remove the wire harness connector from the pump as well.
Next, you will want to bring that black tube up through the space between the brake booster and inner fender wall. You need to pop the plastic clips up holding the windshield cowl down, and turn the black tube so its facing the passenger side of the car like so. At this point it�s a good idea to connect the clear tubing you got with the new wash pump kit to the end of the hose to extend it the rest of the way needed.
Next, you need to also run your 8' of speaker wire from the factory pump location, up through the same channel your black fluid tube was using, and run the wire, as well as the black fluid tube, underneath the windshield cowl to the other side of the car. Try to keep as close to the yellow line in the below pic to ensure that neither the wire nor the tube will interfere with the windshield wiper motor or assembly.
Back on the driver�s side, you need to remove the electrical tape and wire loom from the wires that go to the OEM washer pump harness connector so the wires are exposed.
Next, using the two quick connect scotch locks that are included with the new washer fluid pump kit, to connect your wires to the wires of the OEM pump harness wires.
Next, go to the passenger side of the car, and get your new reservoir installed into the mount. (You may need to bring it in from the fender liner opening). Once it is mounted, get your kit's included electrical quick-connect type connector plugged in, and connect the wires to your wires you ran over to this area with some tube connectors. It's a good idea to test the pump to ensure your electrical connections are solid. If it does not fire up it means you either have the wires connected backwards, or the electrical connections are not making proper contact. You will use some wire loom later on to hide your wires (yellow arrow)
After you have performed a successful test to ensure the motor is functional, you will want to go back over by the driver�s side and tape up the wiring and connection really good to ensure water does not get into it. After this is completed, you can put both the driver�s side and passenger side fender liners back together.
Next, you will need to trim the clear tube coming to the reservoir from the windshield cowl and connect it to the bottom of the new washer fluid pump. I ran my tube behind the reservoir along the yellow line path pictured below. For the wiring, I covered it with wire loom, and taped it up with electrical tape to give it a factory look. After I had the reservoir mounted I used a small rubber vacuum cap to cover up the threads on the mounting clamp (in the green circle in the picture below). I then was able to take my OEM looking wire and tuck it behind here safely to make it look even cleaner (red line in picture below)
And that�s it! Your new reservoir and pump are all done! Fill up the tank and let er' rip. One thing to note is that you will want to get a long funnel to fill up the reservoir as the metal bracket for the hood stop is right in the way of filling it up but it's not too bad. Here is a shot of it completed.
Now you�re ready to do your methanol install using your factory washer fluid reservoir! I'll do a write up on that once I tackle that install.
Please let me know if you have any questions or if anything needs better explaining
Also nice to know how to get to the ECM. Now I just need to find a used one so I can tune my Vette with NO possible GM warranty issues!
Really? You're going to mod then expect to retain your GM power train warranty? Sorry man, that's fraud in my book. You play, you pay but to each his own. I highly doubt what you are suggesting will work. What about the mileage going from one ECM to another? I thought the ECM held the mileage?
Ant,
Thanks for the excellent write up. Now I need to find a spot for mine as my sump precludes me from using your location

 07-21-2015, 01:17 AM