When you click on links to various merchants on this site and make a purchase, this can result in this site earning a commission. Affiliate programs and affiliations include, but are not limited to, the eBay Partner Network.
Official C7 Corvette Stingray A-Pillar removal thread
I've seen too many people offer instructions that begin and end with there's 3 clips and you just pull hard.
Here's how to REMOVE it with more instructions to help get the job done right.
A picture is worth a 1000 words so here's 3 pics to tell the story but read the details just to be sure you don't miss something!
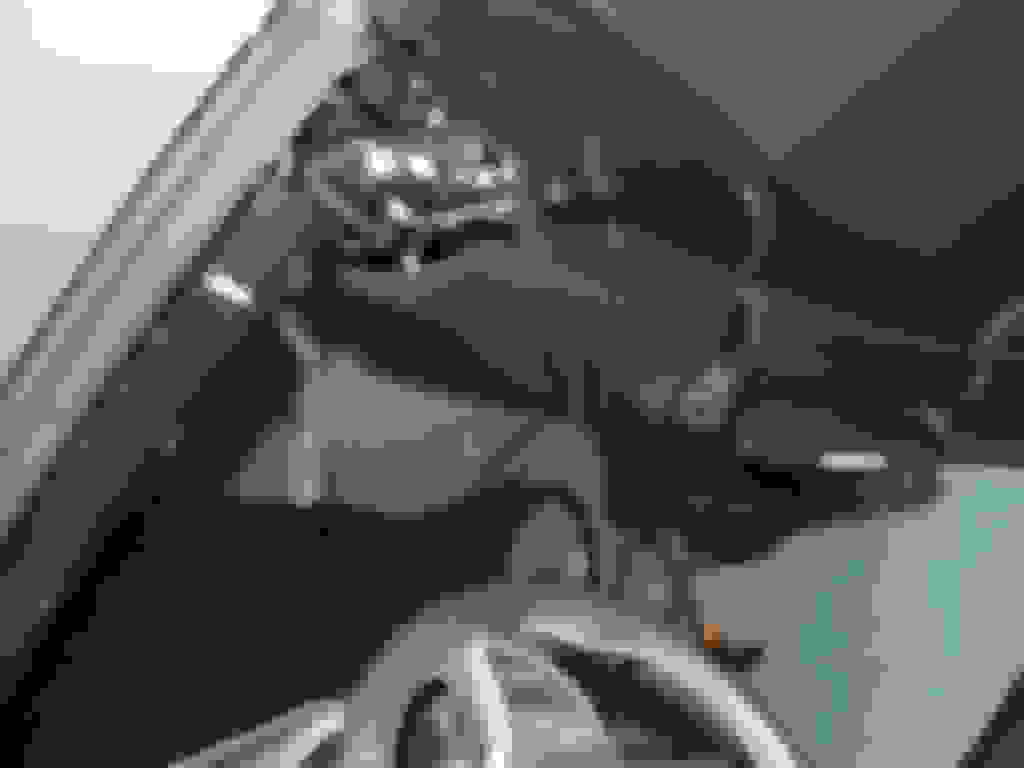
1) remove 3 torx screws from the visor and pull the electrical wire that supports the vanity mirror light. You can pull it out far enough to reach the plug and disconnect it. Use a screwdriver to slide down the seam that has a slit down one corner. Zoom in on this pic #1 and you will see the slit to pry open and pull apart.
Also notice the snap clips on the top panel that mate with the 2 square holes in the top of the a-pillar.
2) Use a flat blade screwdriver and pry the bluetooth microphone out, then pull the wire and disconnect just like the mirror light.
You will also notice the visor lock clip near the center of the molding along the windshield molding (just above the left dome light) has been removed. Use a screwdriver and pry open the cover to expose the torx.
Pry the panel along the top of the windshield starting at the left corner by the a-pillar. (See pic #3 below). The a-pillar has 2 square holes that the snap clips go through to attach the top windshield panel. This must come off before you remove the a-pillar.
You will also need to remove the panel just below the a-pillar in the door jam. It has snap clips and will pry off with a screwdriver.
Once you break loose the top panel, notice it is still firm, Just pry it loose and work it enough to unhook the 2 square a-pillar slots.
Now you can pop the a-pillar off by starting at the top and work your finger under the top and pull the 3 snap clips free top to bottom. See the pic #3 below so you know what you are working with.
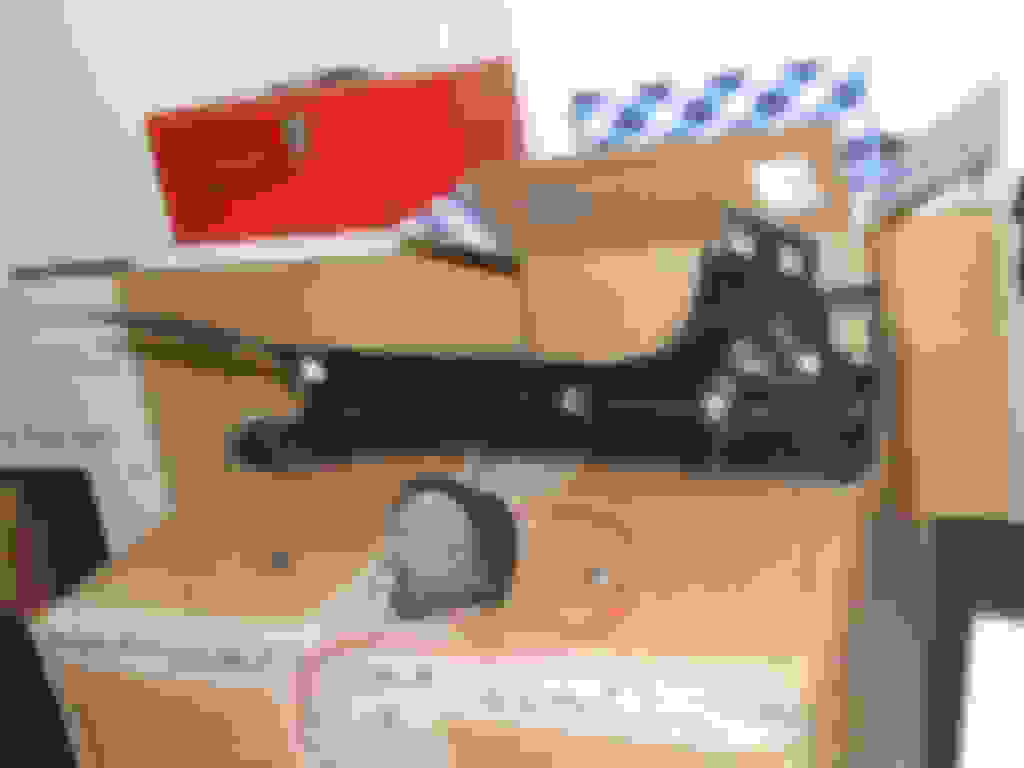
Pic #3
Putting in back on start by shoving the bottom of the a-pillar hard to seat it deep and get it in place.
If you have any additional questions, post here and I'll respond.
how /where did you run wires from a pillar thru into engine bay ?
There is a rubber grommet on the firewall - extreme left and high up. It dumps in the left fender area. You will likely need to cut it to make the job easier.

 12-20-2015, 10:56 PM